Stock is the body and soul of soups – Lindsay Bareham
I have been making my own stocks for years now and it is part of my regular kitchen routine. I sequester bones, meat offcuts, fish heads and trimmings, vegetable peelings and herb stalks in bags in the bottom of my freezer so that I can combine them appropriately whenever I need to. It’s a thrifty way of living; often making a large batch of stock costs only the price of the fuel that cooked it.
For those that do not cook much at home, stock-making is sometimes regarded as some kind of alchemy, yet this is a misconception, and indeed there are many very complicated stock recipes, but the home cook (I include myself here) need not bother with these. The chances are you have made stock several times and have thrown it down the sink without a second thought, because in its most basic form, the water you cook your vegetables in is a good, light vegetable stock.
From a history point of view, one cannot pin-point when stocks were first made, and one cannot unravel the origins of stock from soup. Take this example from Good Things in England by Florence White:
[The soup] is nothing more than the water in which young cabbage has been boiled…It is extremely good and delicate and tastes very much like chicken broth. It is not merely an economy but a luxury; one of the best of health and beauty drinks.
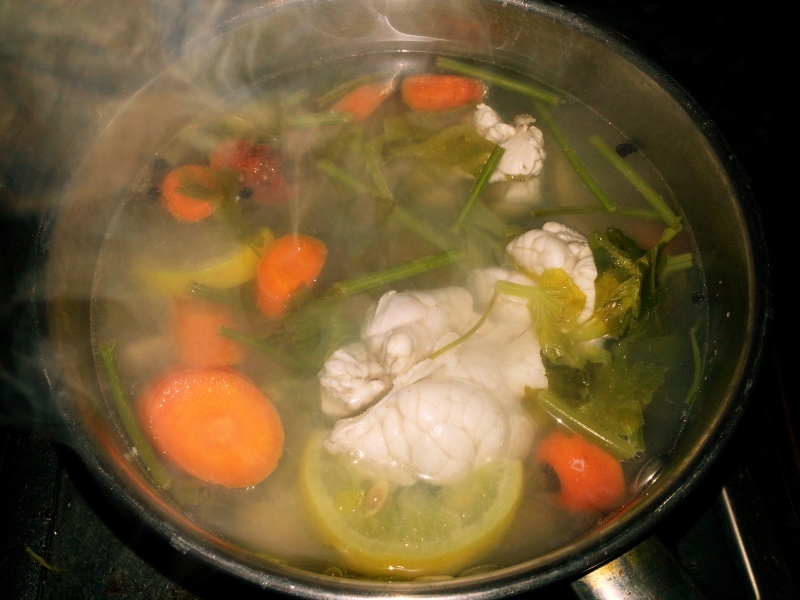
Wise and thrifty cooks throughout the millennia used the water that their tough meat joints were simmered in or their fish poached in and used them as the base of another dish. One of my favourite dishes is poached silverside of beef which consists of beef, herbs, a couple of veg and water. The resulting broth makes beautifully-tasting soup.
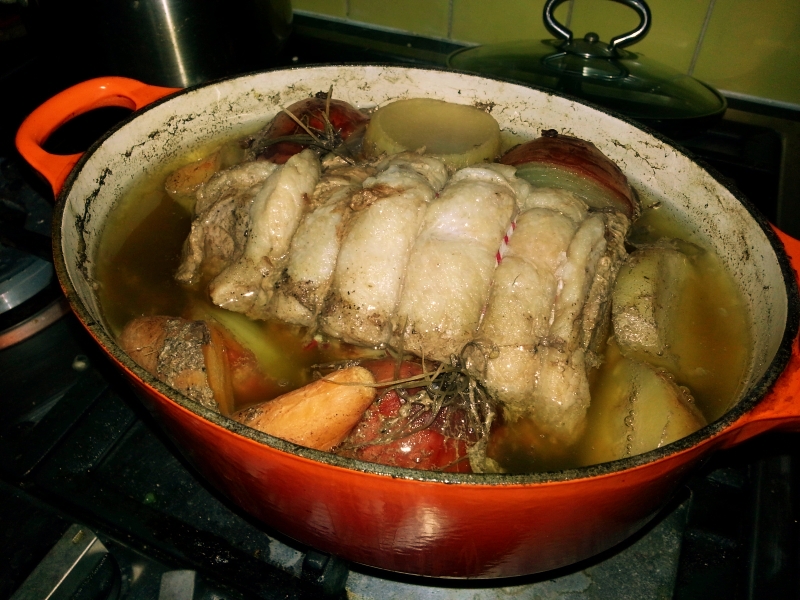
Poached Silverside of Beef
Seeing as we are trying to be thrifty folk, I thought I would give you a quick guide to stock-making. As I have mentioned, it will save you money, and – like when you make your own bread – you will see how sublime it can taste. Every stock you make will taste a little different each time and it can be tailored to suit its use, e.g. add a few fennel seeds to a stock for a fish soup. Best of all, your soups and stews won’t taste of stock cubes. There is nothing wrong with having a stash of them in your food cupboard, I would do too, but with my very frustrating onion and tomato intolerances, I usually have to do my own. The point is, that when you use bought stock cubes, every soup and stew ends up tasting the same.
If you like the blogs and podcast I produce, please consider treating me to a virtual coffee or pint, or even a £3 monthly subscription: follow this link for more information.
What makes up a stock?
This is the beauty of stock-making; there are no hard-and-fast rules with respect to ingredients.
All good stocks should contain some flavoursome vegetables and aromatic herbs and spices, often called a bouquet garni, as well as the main ingredient: this might be meat and bones, fish, or, more vegetables. The stock might be seasoned or enriched with salt, wine, soy sauce, Worcester sauce, tomato puree, mushroom ketchup or any number of other things, though it is usually best to do this once the soup or stew that the stock is being used for has been made.
Stock vegetables

The vegetables used in your stock are often key to the quality as they add a lot of depth. The three basic vegetables used for most stocks are carrots, celery and onion, though I personally add garlic and leek to this ‘trinity’ (a trinity in five parts?). My general rule of thumb is to try and include at least three of the five. Anything else is a bonus, really. Fennel is a good addition, if used sparingly, as are tomatoes, mushroom peelings, pea pods. Lentils, parsnips and potatoes add an earthiness, but should be avoided if you don’t like your stock cloudy. Brassicas such as cabbage, cauliflower, of sprouts should be used very sparingly, especially in meat or poultry stocks that have a lengthy cooking time, they are great in vegetables stocks though. Vegetables need to be roughly chopped in long-cooked meat stocks, and chopped small (a mirepoix as it is called in the trade) in quick-cook vegetable and fish stocks. A food processor makes an easy job of it.
Herbs, spices and other aromatics
Like the vegetables, the herbs and spices you add will depend upon what you have and they are essential. Must-haves herbs include bay leaves, parsley stalks, thyme and rosemary. Other herbs are great if you can get hold of them. Dill stalks in a fish stock are delicious as is a tiny mint sprig in a summertime lamb stock. I keep and freeze all my herb stalks to use later in stocks – there’s no need to throw them away. Must-have spices include black peppercorns, cloves and allspice berries.
The thinly-pared rinds of citrus fruits are also used quite a lot: a strip of orange peel transforms a game stock and lemon rind really lifts chicken, vegetable and fish stocks.
These herbs and spices are often tied up into a faggot or bouquet garni, though I never bother to tie mine up for stock, though I do for stews and soups where careful and efficient removal is required.
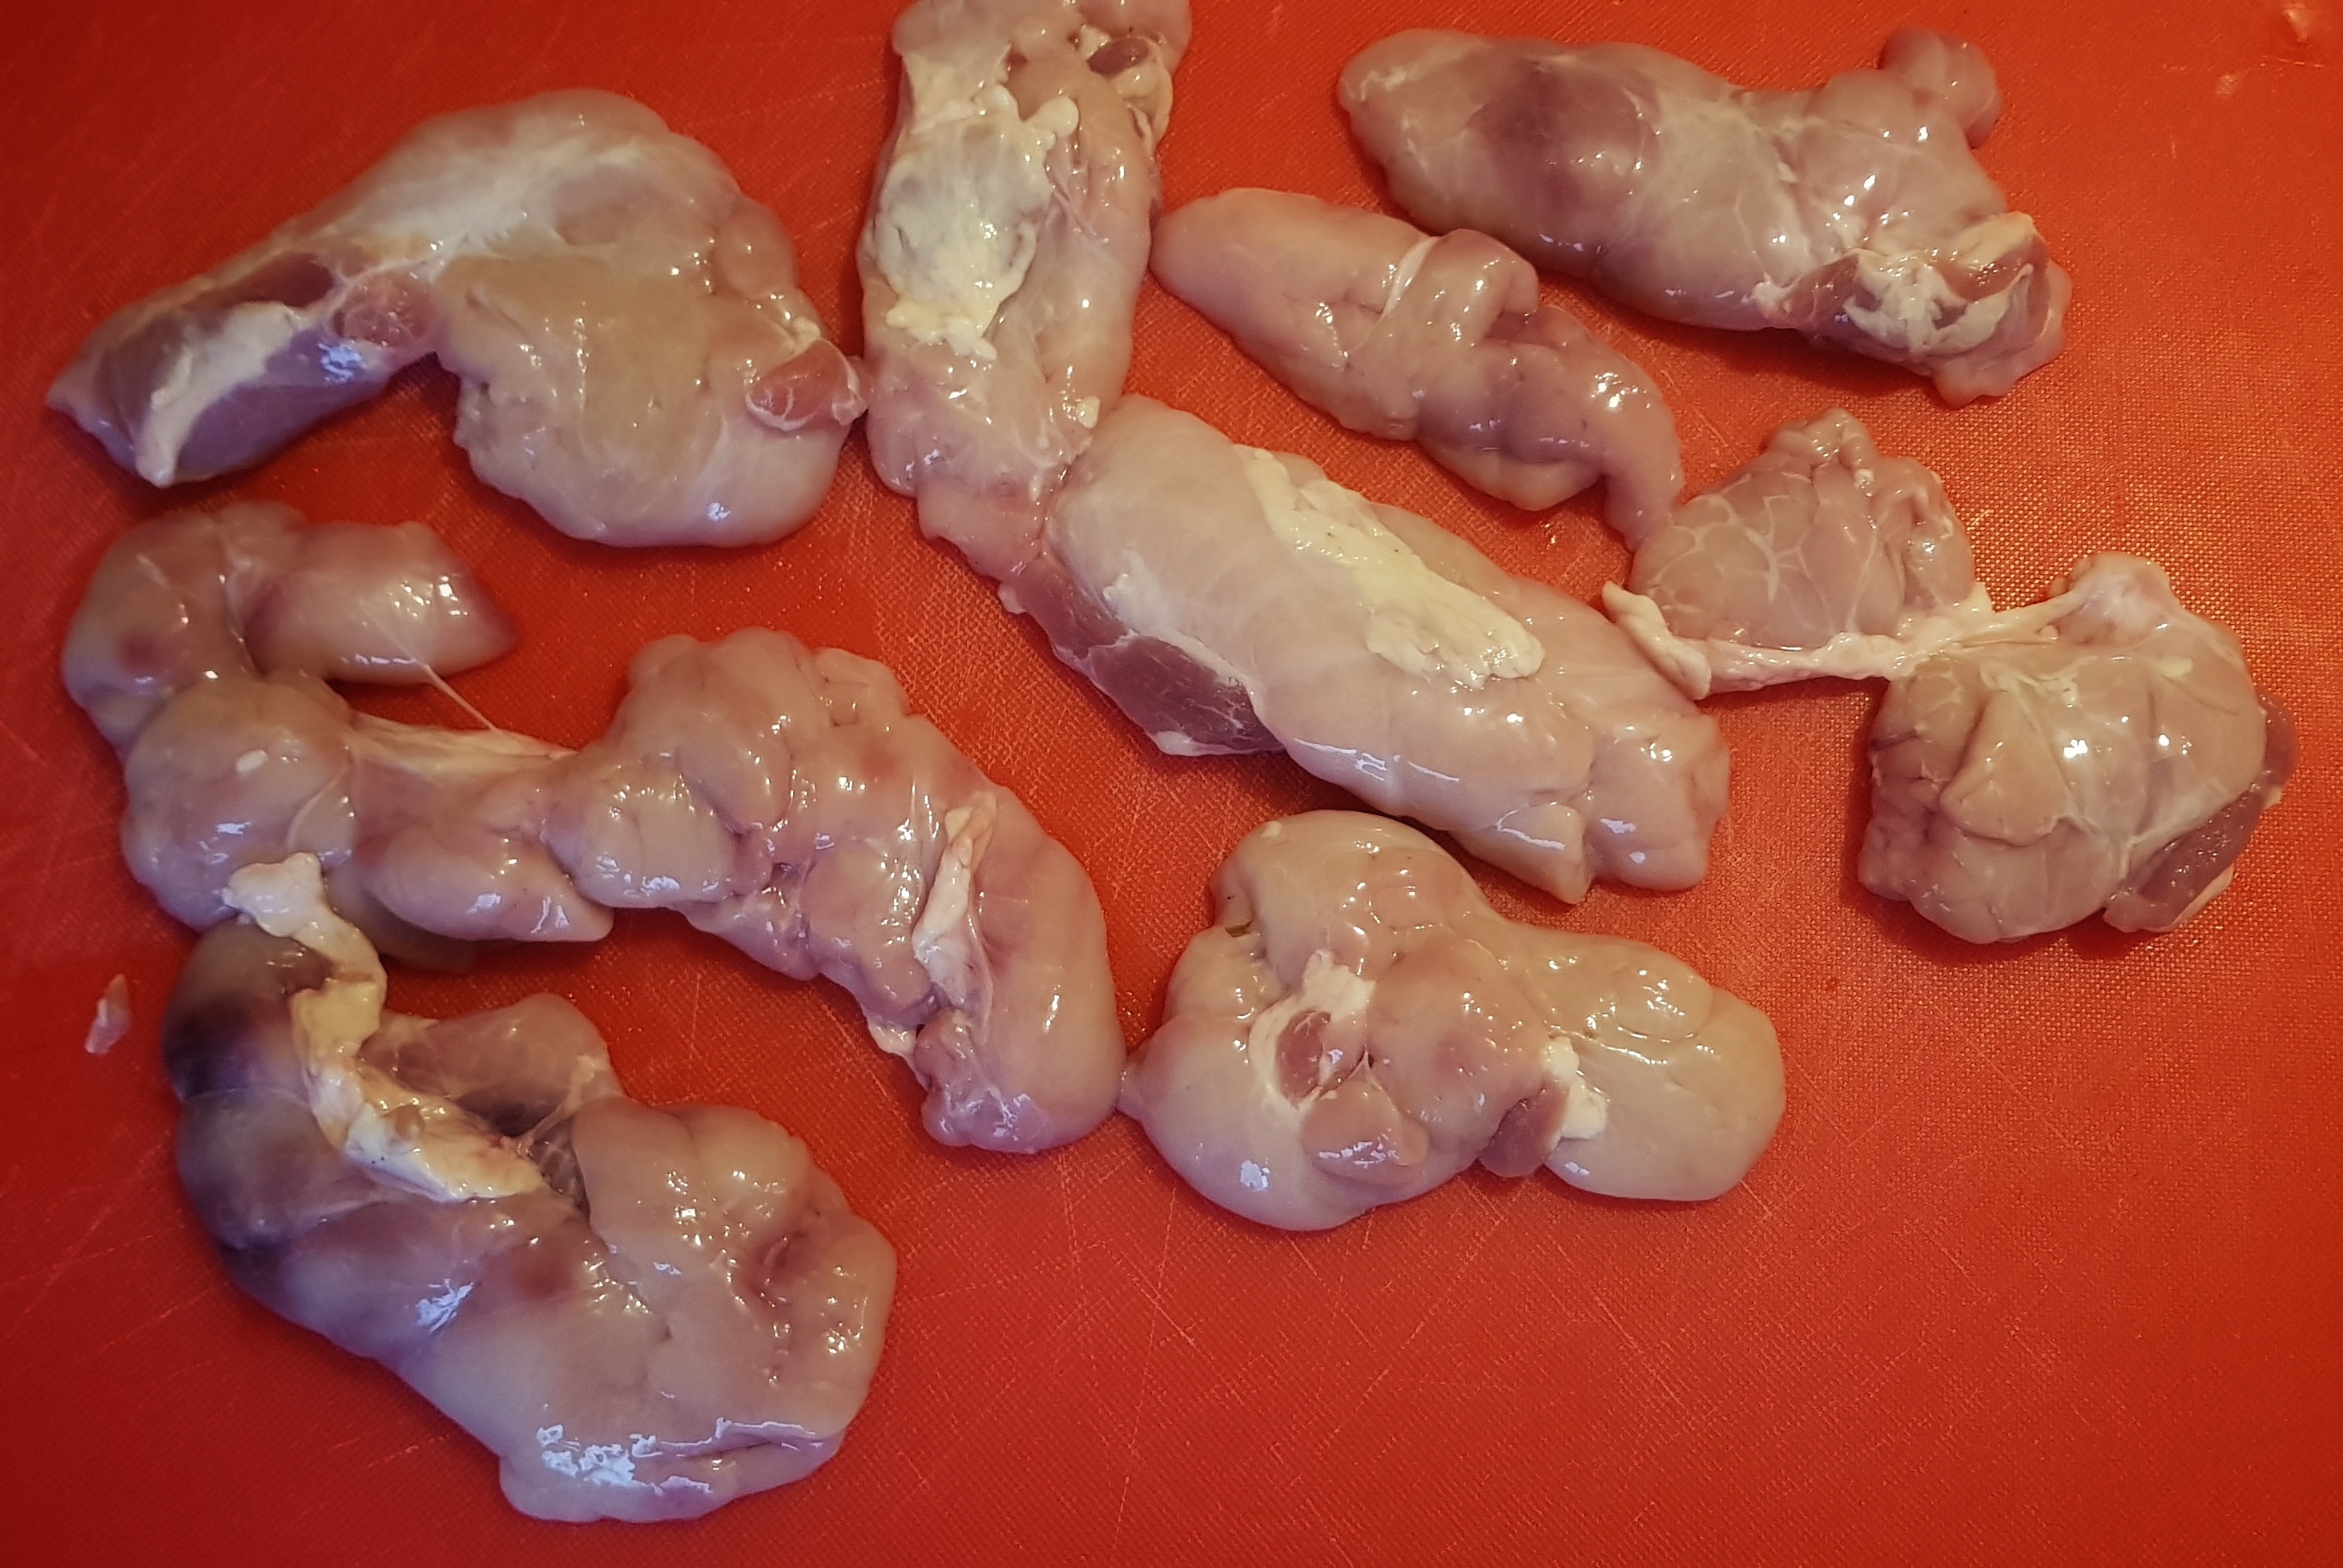
Poultry, meat and game
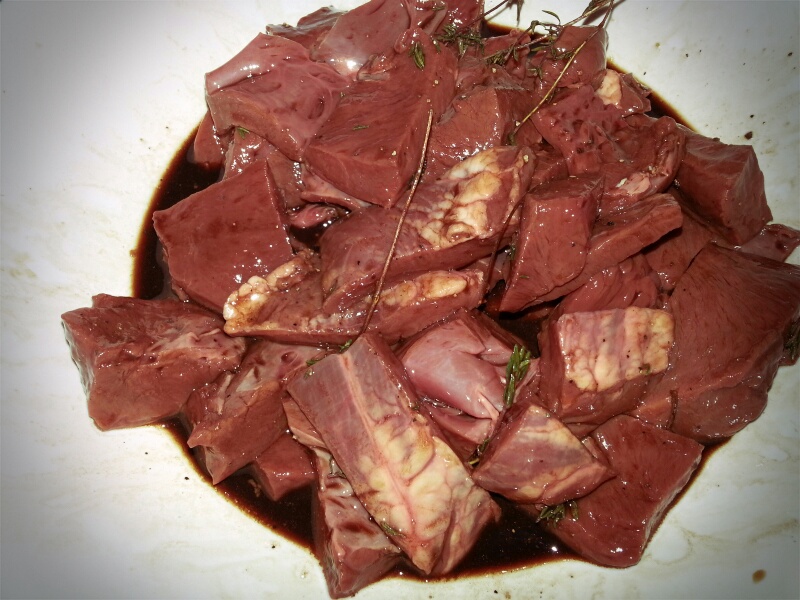
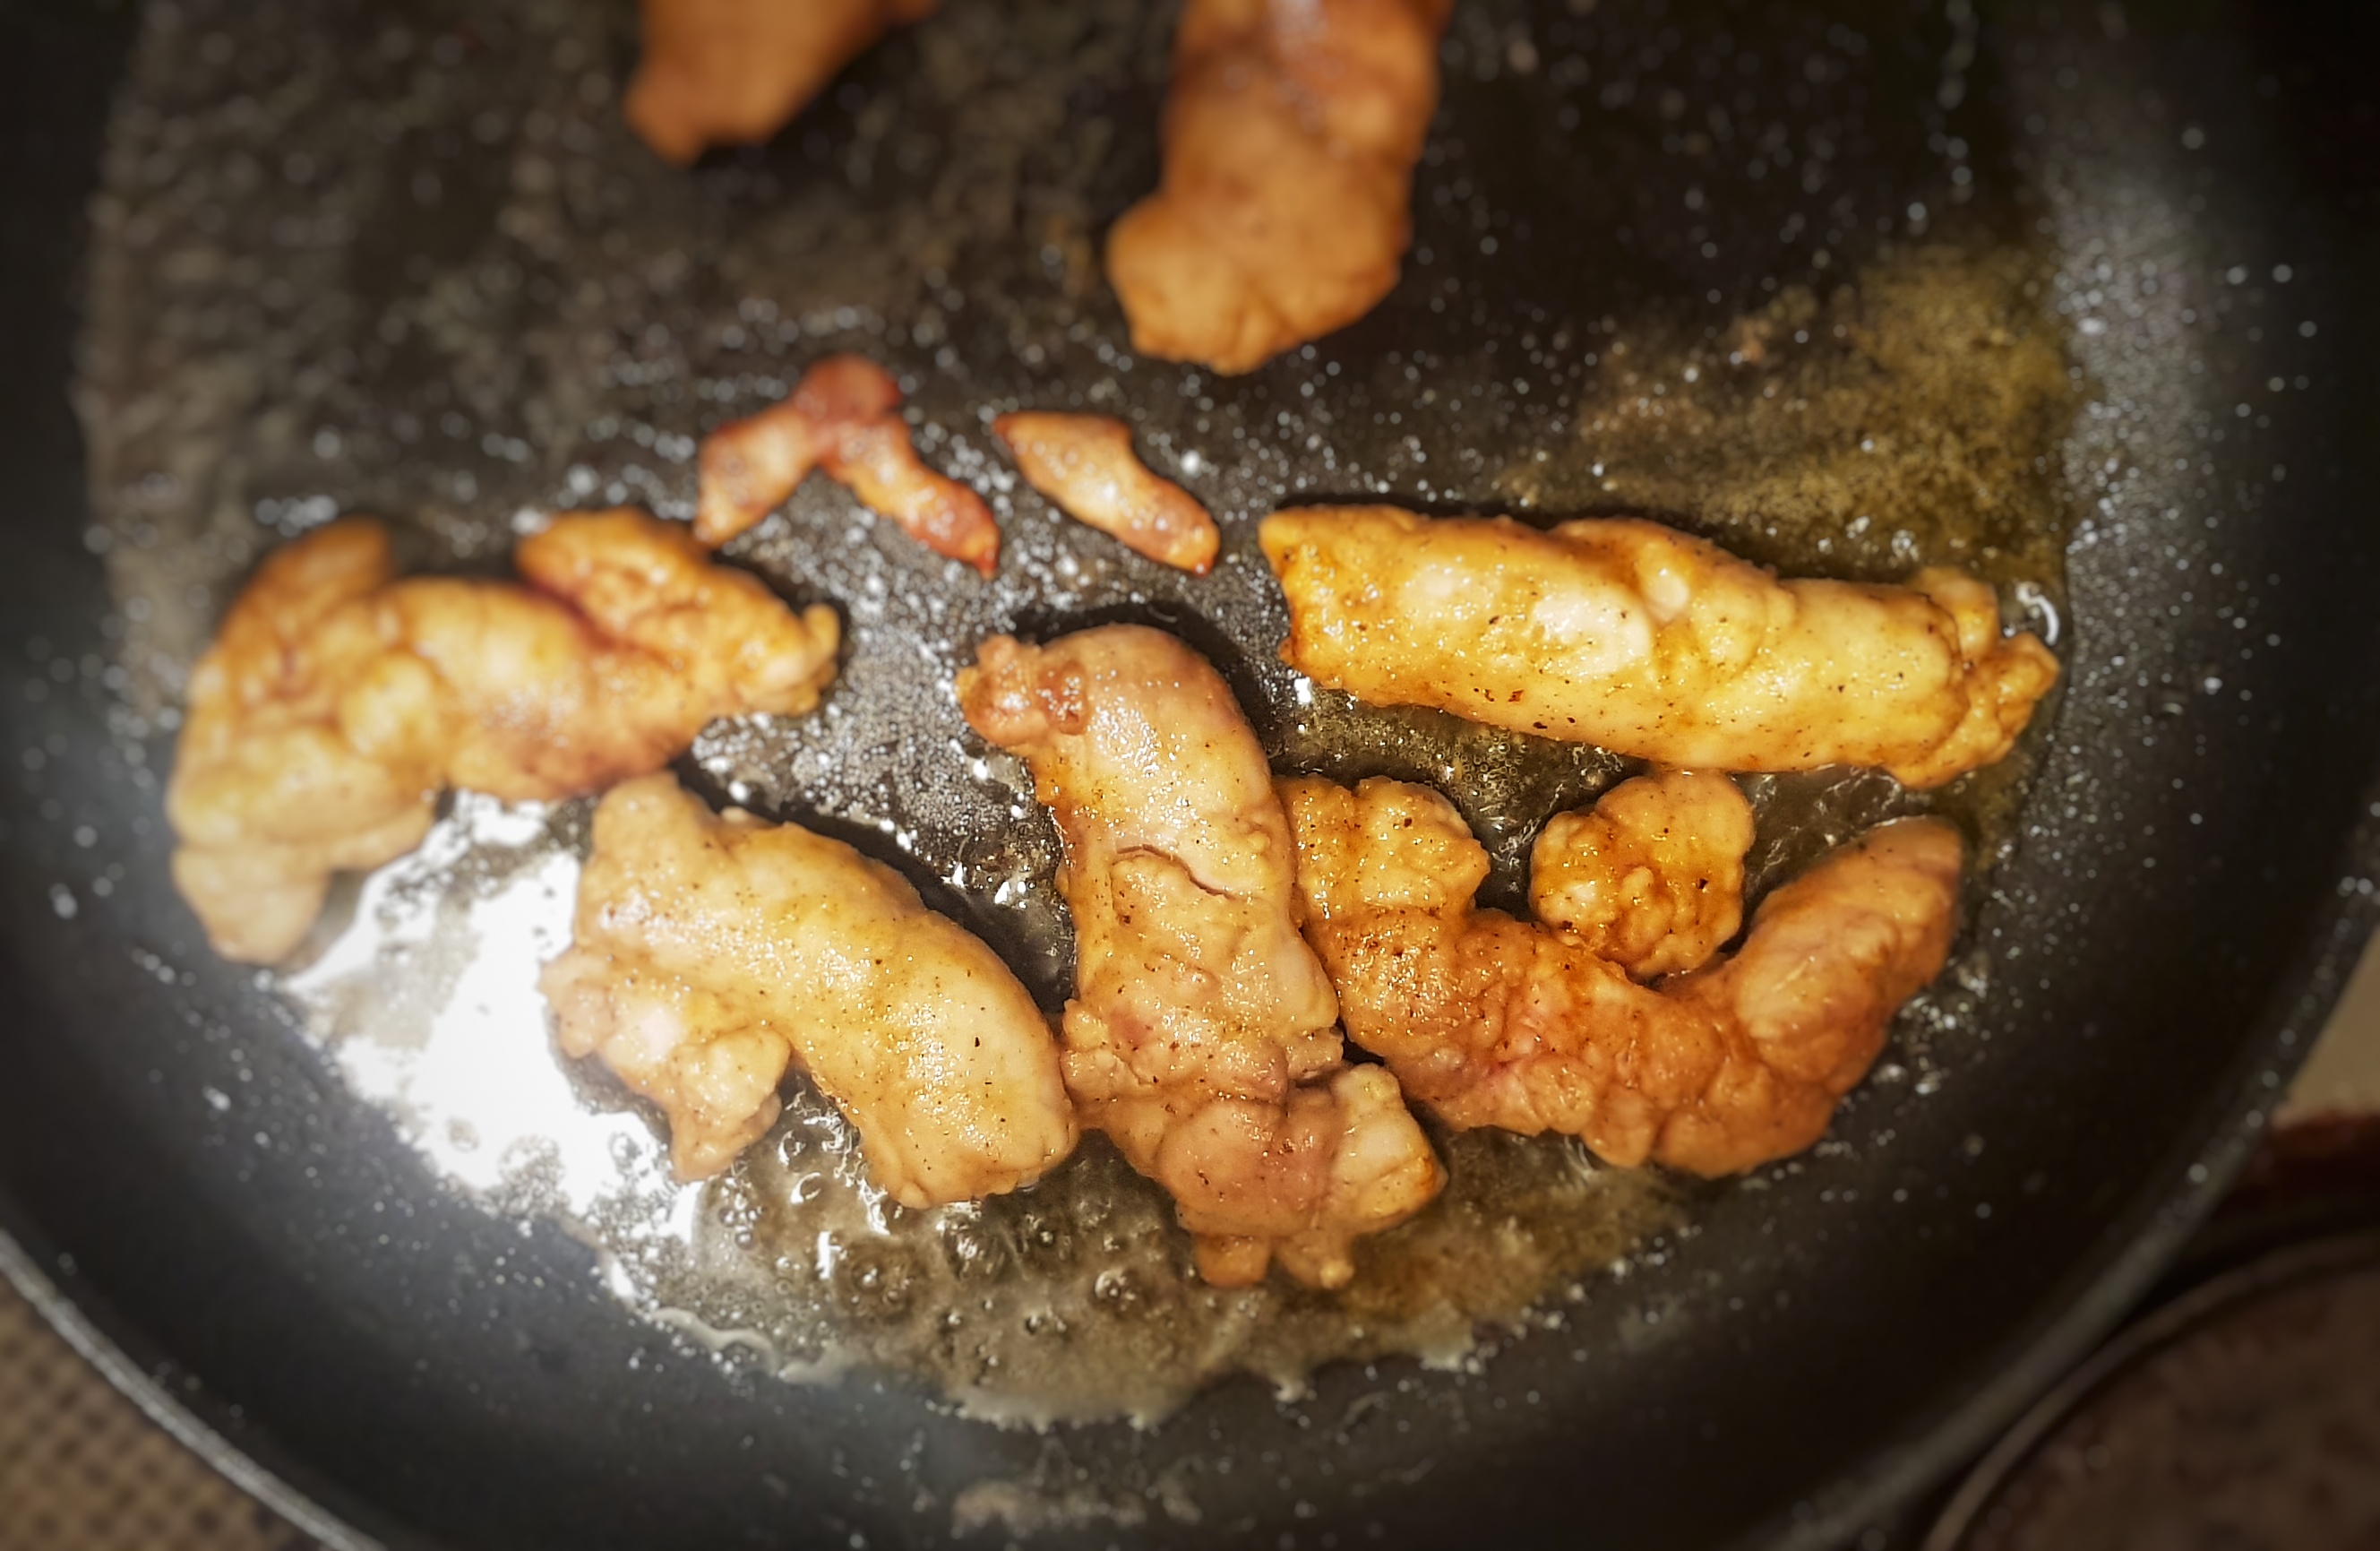
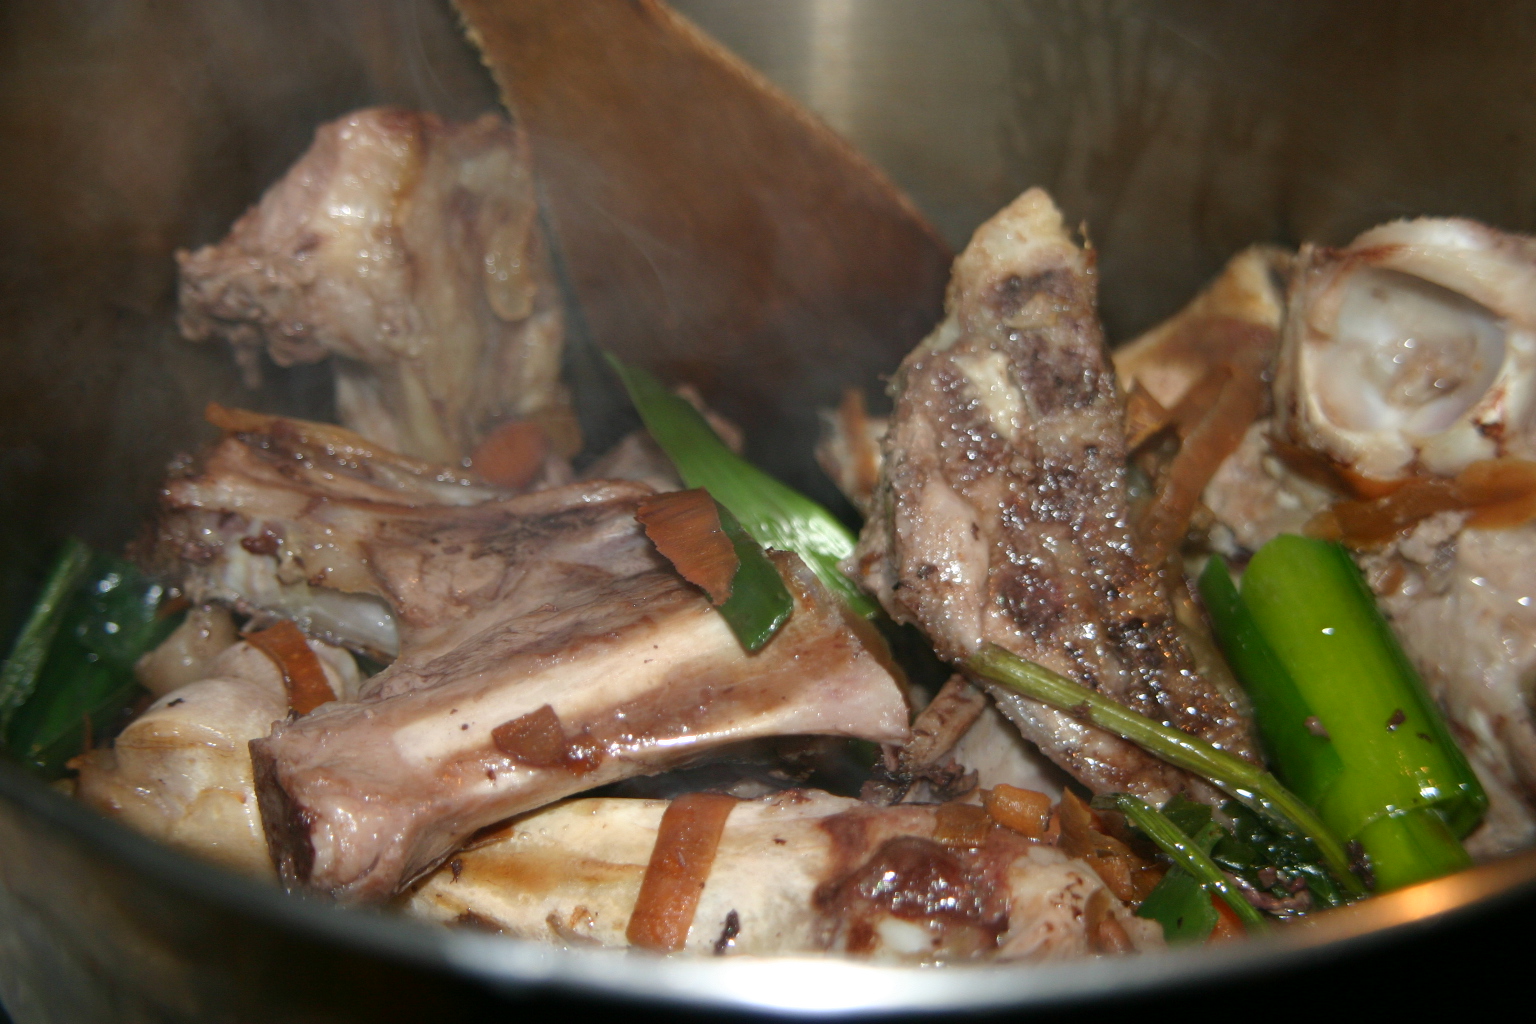
Use whatever you have – raw meat and bones, or bones from a roast. A little goes a long way: I have made game stock using a single woodcock carcass that still tasted great. It is best to avoid bones that have already been stewed as most of the flavour will already have leached out, but do add any left-over pan juices, jelly or gravy. Raw meat or bones will benefit greatly from a quick roasting in a hot oven for 20 minutes or so.
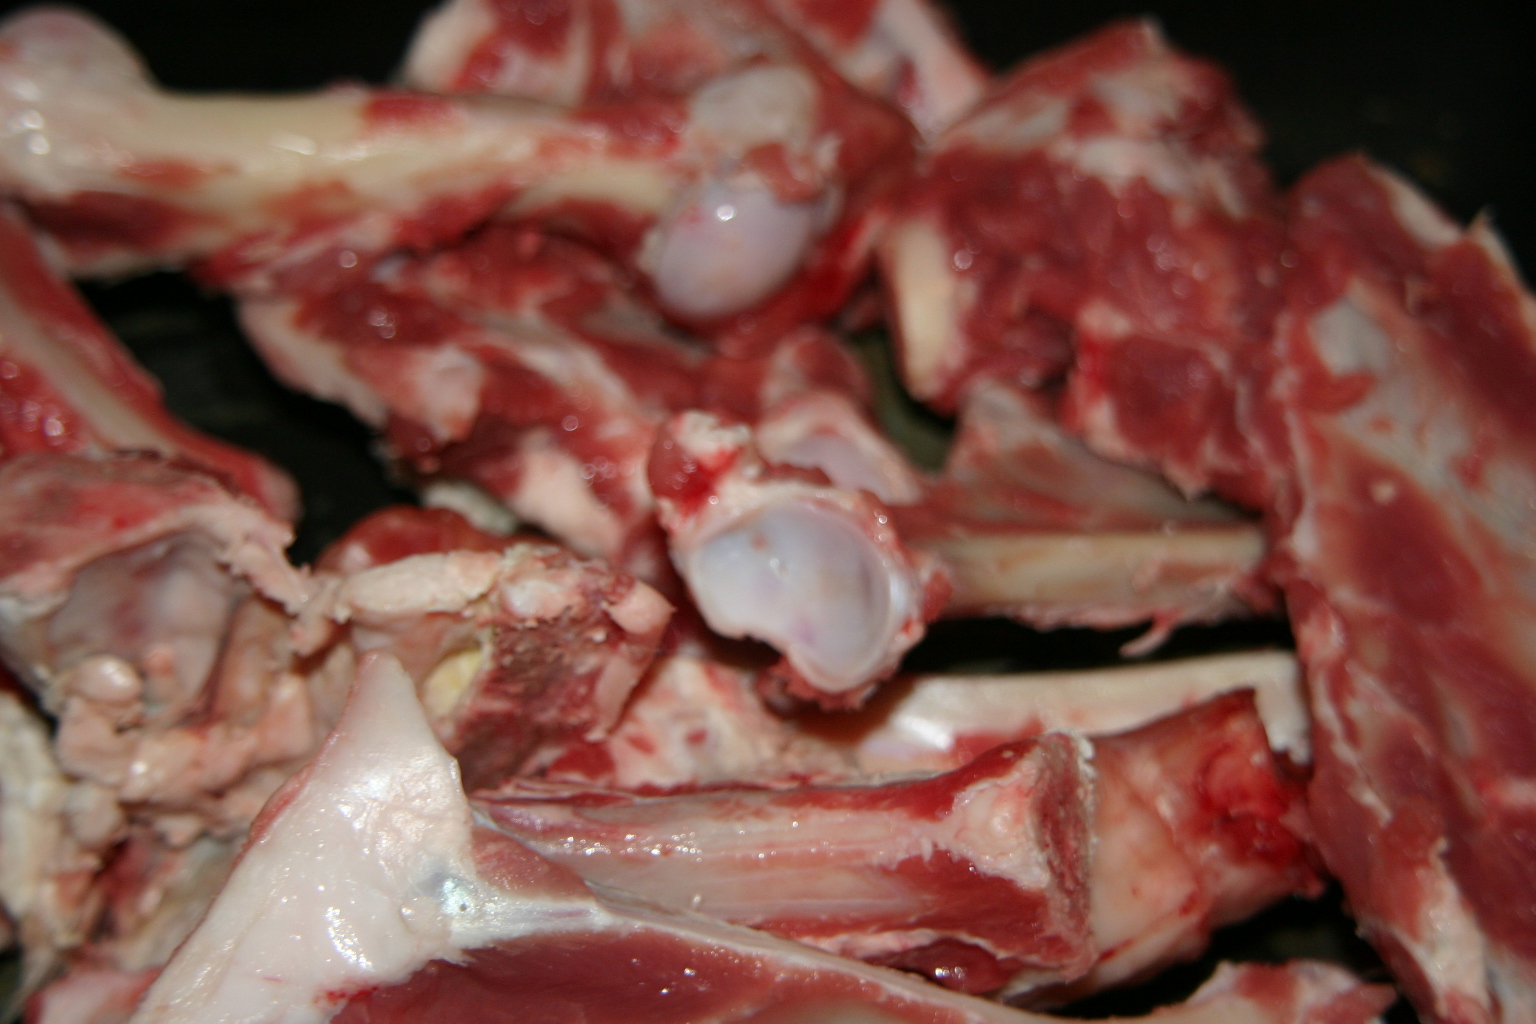
The important thing here is to treat your stock meat properly – if you boil the stock hard, the tasty amino acids and textural gelatine will not go into your stock, but will either form a nasty grey scum or will be trapped within the meat. Low simmers and long cooking times are essential.
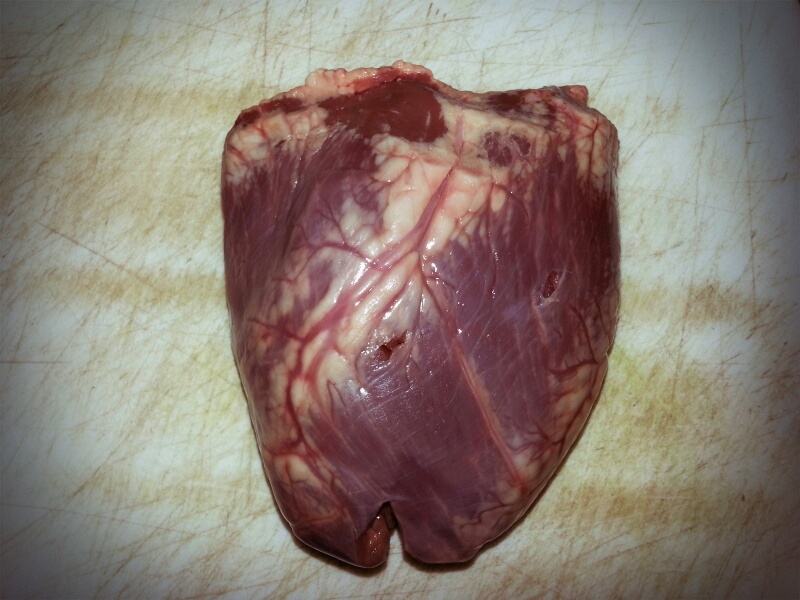
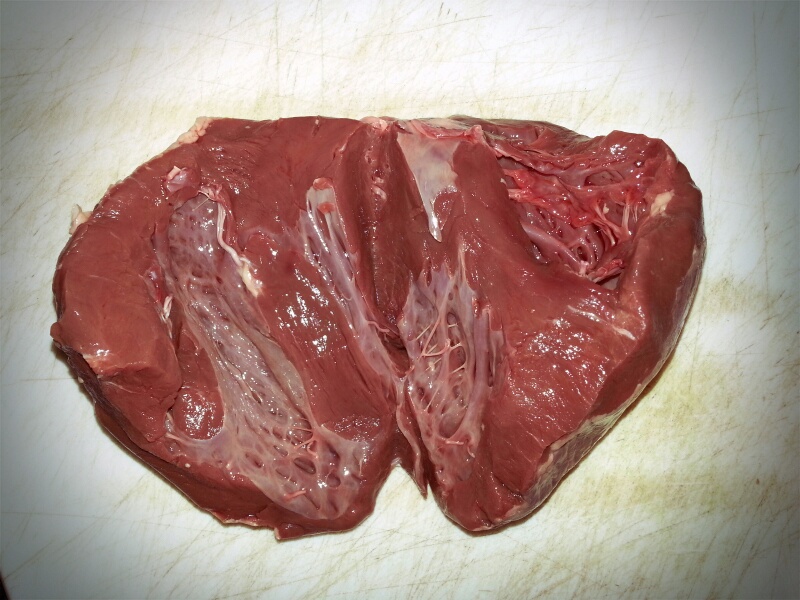
It is best to avoid kidneys and livers in stocks, as their flavour is far too strong, but hearts, tongues and heads all make good additions.
Fish
Fish stocks, in contrast to meat stocks, can be made in minutes. Use bones and trimmings in your stock, but avoid oily fish such as mackerel and sardines. Mussel, clam, cockle or oyster liquor would be delicious, if you ever have any.
Clarifying Stock
You might want to clarify your stock after straining it. This is straight-forward enough to do and there are several methods. The quick method is to whisk a mixture of egg whites and broken egg shells into the hot stock. The eggs grab hold of and magically mop-up the cloudy substances. The slow – and best – method is to freeze the stock, tie it in muslin and let the melting stock drip through. This method makes beautifully clear stocks.
There are a few tricks to avoid cloudiness in the first place: Don’t use starchy vegetables like potatoes, lentils and parsnips and avoid peppercorns. The best way is it leave the stock be; prodding, poking and rearranging items is the surest way to cloud it.
Some stock-making rules:
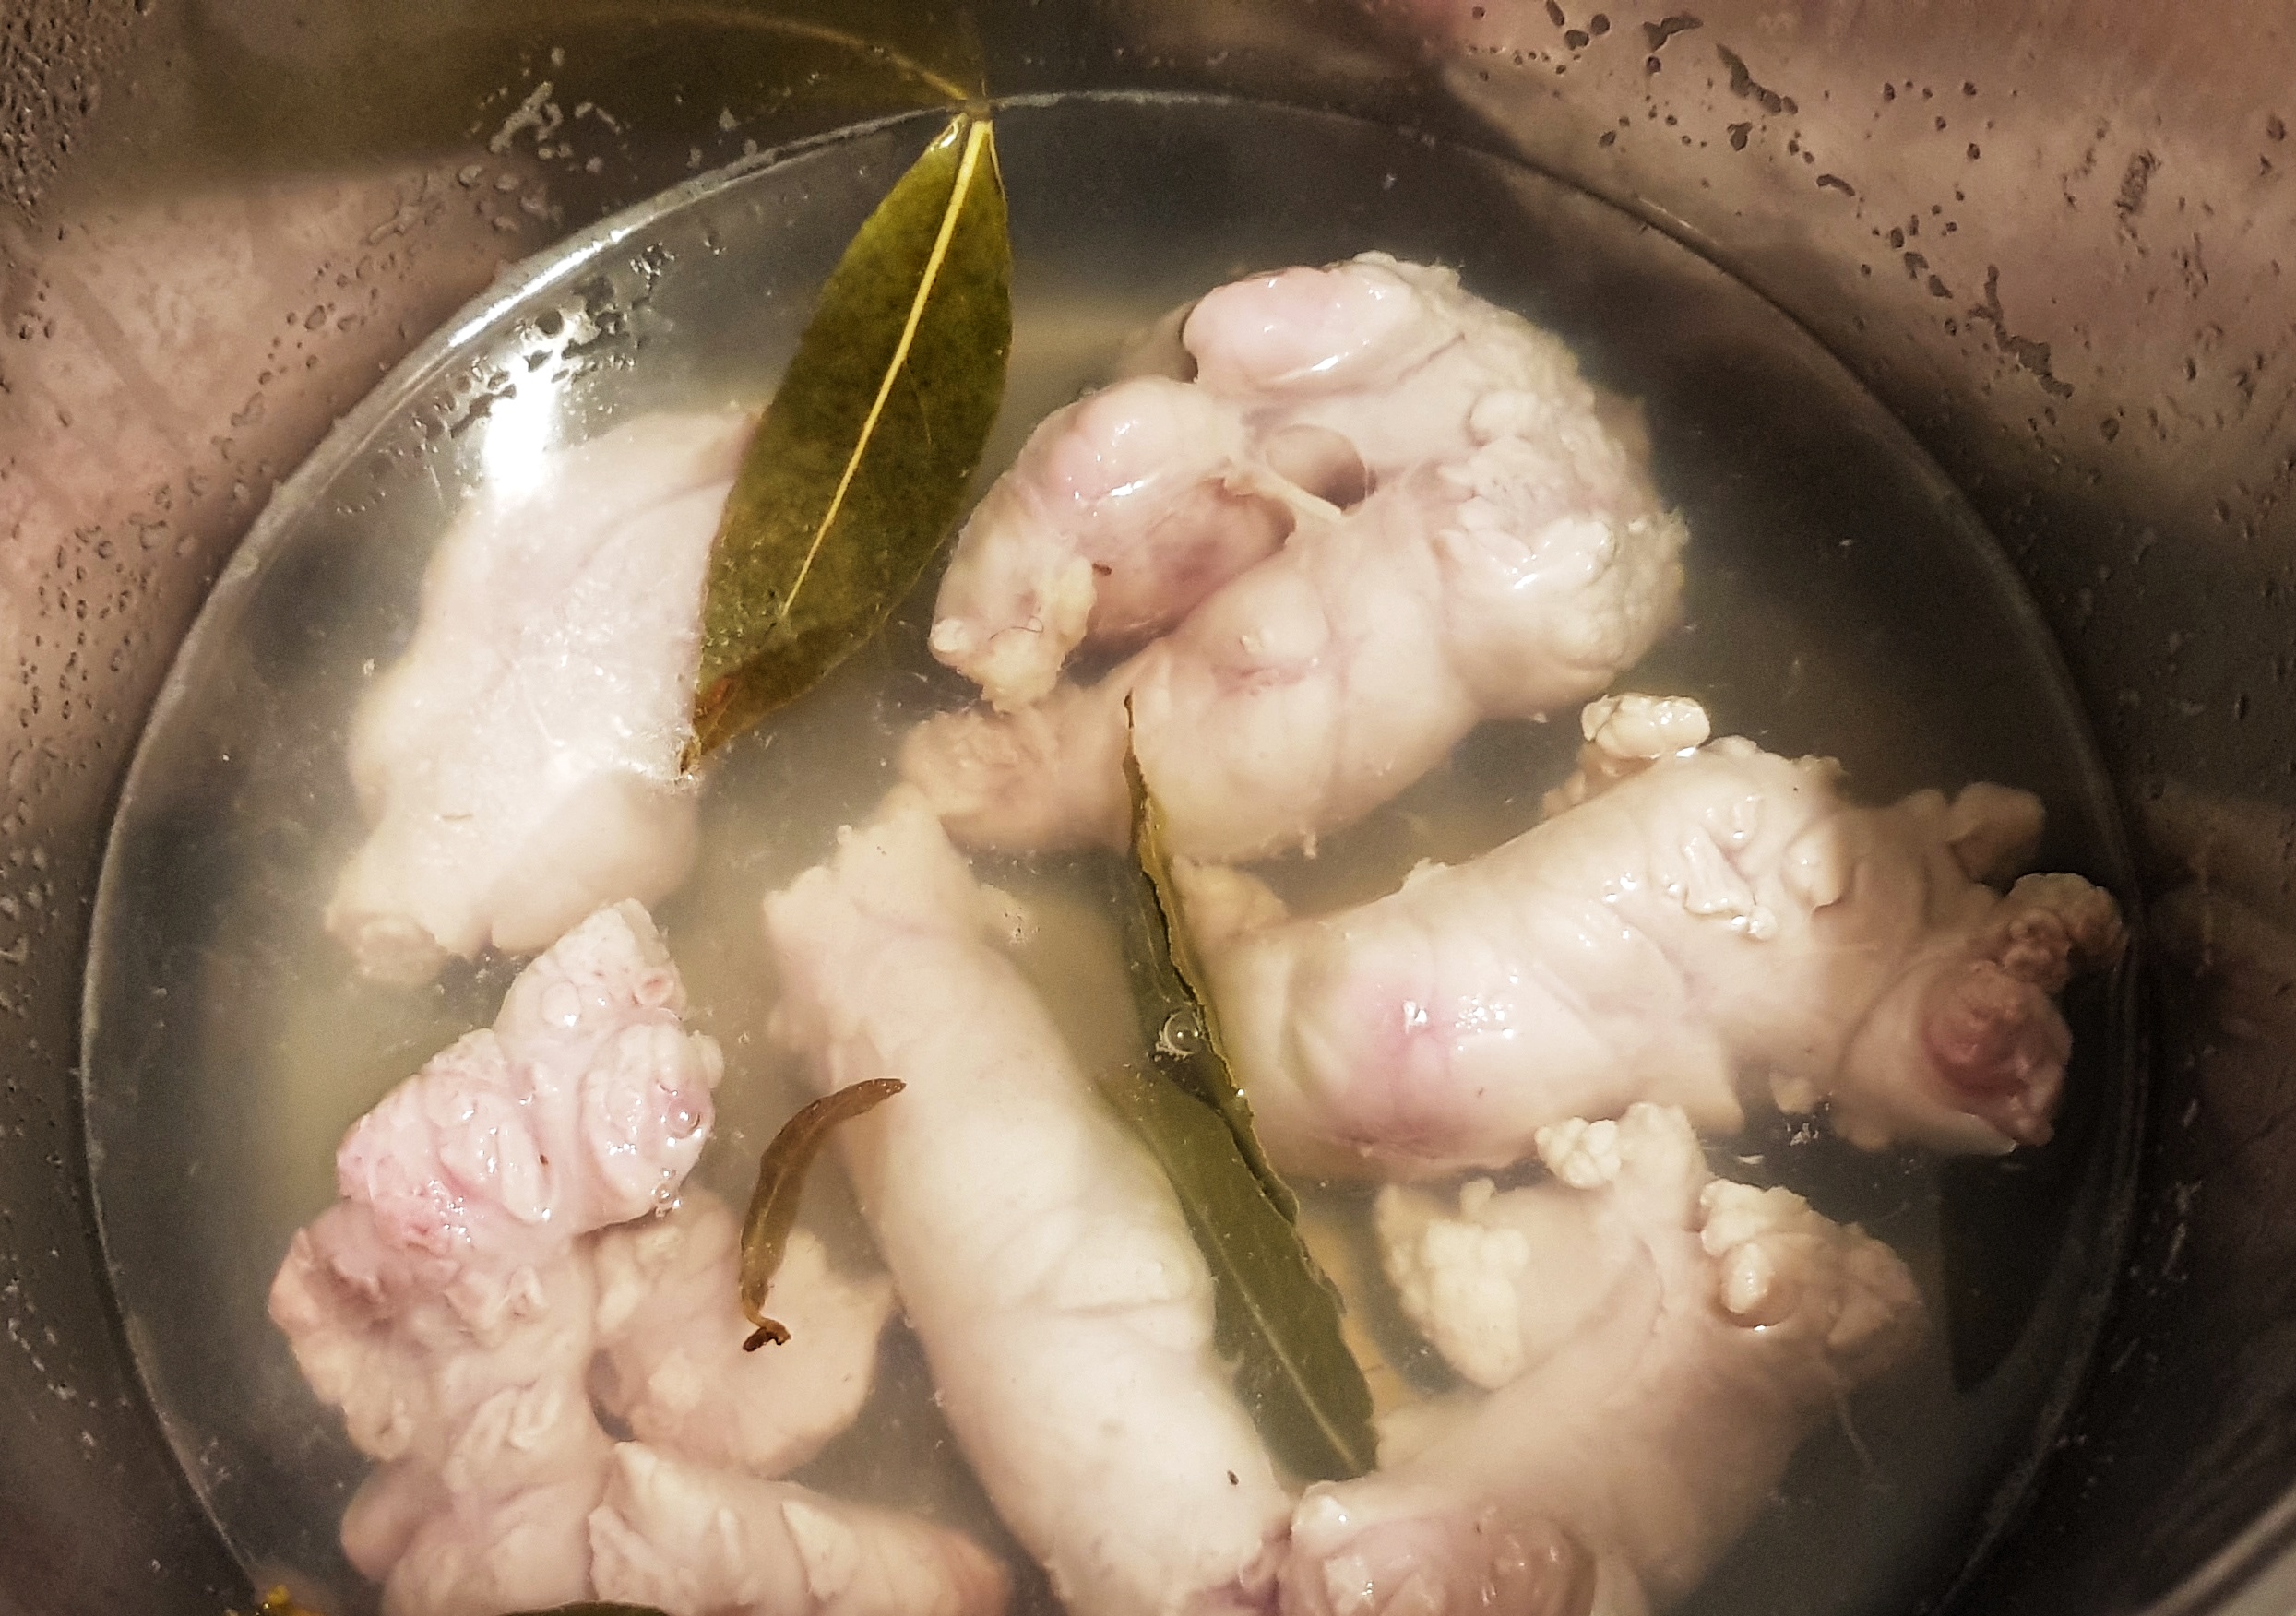
- Start with cold water and bring to a simmer slowly. This is the most important rule of all. As the water gradually heats, the flavours leach out and don’t boil away and connective tissues break down to release their gelatine. The stock should never get hotter than a bare simmer; you want the odd gurgle, nothing more
- Remove the scum before you add the herbs and spices. If you don’t the scum gets all caught up in it, making a nasty grey mess. Skim the scum, then add the aromatics.
- Remove the layer of fat. Nobody wants greasy soup. The best way to do this is to let it cool and then scrape the fat layer away. If time is an issue, lay paper napkins on the stock’s surface.
- The amount of water you use depends on your pot. Don’t follow the recipe when it comes to adding water. Arrange the ingredients in your pan with few gaps and add enough water to just cover.
- Break the bones and cut up the meat. This increases the surface area and therefore increases the flavour of your stock.
- When storing stock, cool it quickly and keep in the fridge up to 2 or 3 days. Any longer than that, freeze it.
- Reducing stocks enhance the flavours and mean you can store more in the freezer. You must strain the stock and skim it of fat before reducing it. Meat stocks you can boil it quite heard, but vegetable and fish stocks need to be treated a little more gently.
Stock recipes
Every post I write a post with a stock recipe or information about stock I tag it appropriately. Click here to see the posts.
I will post a good vegetable stock recipe in the next day or so, as it is the most useful of all the stocks and I already have posted a duck stock recipe.
The best advice is really to use stock recipes as a guide only, use what you have to hand. Keep your vegetable and meat trimmings in a bag in your freezer and you’ll find that you’ll quickly fill them.