Category Archives: cooking

Jane Grigson’s Orange Mincemeat

It’s just occurred to me that I haven’t put on a Christmas recipe and it is only just over two weeks until the special day. This month has flown by at a scarily quick pace.

Luckily two weeks is just enough time to make this delicious orange flavoured mincemeat. Last year I gave you Mrs Beeton’s recipe, but this one comes from the wonderful Jane Grigson. It is very moist and because of the brandy, orange juice and orange liqueur. It is also vegetarian if you want it to be; the suet can be the vegetable-based sort, or you can leave it out altogether. Give it a go.

Jane Grigson

Jane Grigson

It is extremely easy to make: there is no cooking required so all you need to be able to do is chop, grate, mix and weigh. When you pot the mincemeat, it is very important you sterilise your jars. To do this first wash them in soapy water, then rinse and allow them to dry. Place the jars on a tray, with their lids sat beside them, facing upwards and pop them in the oven for 30 minutes at around 130⁰C. Let them cool a little before potting. If this seems a lot to make in one go, you can easily reduce the amounts as you see fit.


If you like the blogs and podcast I produce, please consider treating me to a virtual coffee or pint, or even a £3 monthly subscription: follow this link for more information.


Click here for the recipe I use for making mince pies.

Ingredients

250 g (8 oz) chopped candied peel

1 kg (2 lb) peeled, cored and grated apples

500 g (1 lb) suet (fresh or packed is fine, but fresh is best)

500 g (1 lb) currants

500 g (1 lb) raisins

500 g (1 lb) sultanas

500 g (1 lb) soft dark brown sugar

1 freshly grated nutmeg

125 g (4 oz) slivered almonds

Juice and zest of 2 oranges

4 tbs brandy

6-8 tbs orange liqueur

Mix all the ingredients together in a huge mixing bowl, then pot into sterilised jars. Store somewhere dark and cool, but not the fridge! Leave the mincemeat to mature for at least together before using it.

IMG_2519

9 Comments

Filed under baking, Britain, Christmas, cooking, Desserts, Festivals, food, Fruit, General, Preserving, Recipes, Teatime

Beetroot

Hello there everyone. Here’s just a quick post to prove that I am not dead, but still alive and kicking! I have had such a crazy couple of months getting this business of the ground whilst working at the University of Manchester and Manchester Metropolitan University. Phewee! There’s no rest for the wicked as they say (and if it is true then I must be extremely wicked indeed).

Anne Swan Beetroot

Ann Swan’s beautiful vegetable art

One vegetable that ranks very highly in my favourite foods is the humble beetroot; it would certainly be in my Top 10. Jane Grigson wrote a fantastic book called Good Things in which each chapter focusses on her favourite ingredients. If I were to write my own version, beetroot would be included. It’s that mixture of sweetness and earthiness that you can’t really get from anything else. Some people shudder at the thought of it as a vegetable in its own right – too much overcooked purple mush at school has not done it any favours – and only really eat it as a pickle.

It is actually a very versatile vegetable; you can boil it, roast it, pickle it, and by virtue of its sweetness, use it as a cake ingredient that surpasses the carrot.

Beetroot has been cultivated for centuries and its ancestor is the sea beet Beta marinama a rather common plant found around the coasts of Eurasia, especially along the Mediterranean Sea. It is from this plant we get today’s red beet (plus several other varieties like the golden beetroot) as well as sugar beet and the less well-known mangel-wurzel or mangold. The latter is used mostly as animal fodder, though it has been a food crop for people too in the past (for those of you that remember it, the scarecrow Wurzel Gummidge had a head made from mangel-wurzel). The history of sugar beet is very interesting and deserves a post all to its own. Oddly enough, the beet plant wasn’t cultivated for its sweet tap roots at first, but its leafy greens. Indeed, our Swiss chard is also of the same species as beetroot and sugar beet. Eating the root didn’t catch on until the 16th century.

There is loads of beetroot hanging around at the moment and it should be reasonably cheap in the greengrocer’s shop this time of year, so you should jump at the chance to having a go at preserving them. I got a huge batch from Manchester Veg People.

IMG_2525

I have already provided a recipe for curried beetroot chutney, but I thought I’d give you the recipe I use to pickle beetroot as well. I first came across it in Good Things (1932) by Florence White, who mentions that the recipe must be very old, though she mentions neither when it was written or by whom. I did find an almost identical recipe as I was flicking through a copy of Mrs Beeton’s Book of Household Management (1861; which can be read online; see this link here).

It is the inclusion of an infusion of black peppercorns and allspice that really makes this pickle special. You’ll never go back to buying jars of it ever again! It’s important to remember to not peel the beetroots before you cook them, otherwise their wonderful colour will be lost to the cooking water.

Pickled Beetroot

2 kg (4 ½ lbs) beetroot

1 ¼ litres (2 pints) cider vinegar

15 g (½ oz) peppercorns

15 g (½ oz) allspice berries

Top and tail but do not peel the beetroot, then simmer them in plain water for around 30 minutes until tender. Very large ones may take over an hour to cook. Meanwhile, boil up the vinegar with the spices and simmer for 10 minutes then strain. Let the beetroots and vinegar cool completely before peeling and slicing the beetroots.

IMG_2532

Put into sterilised jars and cover with the strained, cooled vinegar. In two weeks they’ll be ready to enjoy.

IMG_2533

If you like the blogs and podcast I produce, please consider treating me to a virtual coffee or pint, or even a £3 monthly subscription: follow this link for more information.


7 Comments

Filed under cooking, food, history, Preserving, Recipes, Vegetables

On a Mushroom Hunt

The British crops have been failing left, right and centre because of the all the warm and very, very wet weather we have had over this growing year. The fields and orchards have been chock full of mouldy, diseased-ridden peas, beans, apples, plums and pears. It’s been a great year for mould.

Mould is caused by fungi and luckily, this year has also been great for the fungi we like to eat: the mushrooms, so as long as they are doing well, we shall always have a good meal.

Tricholoma scalpuratum or yellowing knight

I am pretty new to mushroom hunting, but there are a few species that I already know and love, but faced with 120 000 species worldwide, of which 1841 are recognised as edible (though not necessarily by all). Luckily, I have a background in ecology and evolutionary biology and so I’m okay at identifying and classifying. However, the obvious problem here is that being okay is not good enough when it comes to mushrooms, as you may be rushing down to A & E with the family in an ambulance clutching your Collins Fungi Guide in your clammy palms.

Shaggy ink cap

Mushrooms have been held in high regard throughout history because, except for a few European species, they cannot be cultivated in any consistent way. There is no evidence that prehistoric man ate mushrooms, but they were certainly enjoyed in Ancient Egypt and Rome, indeed the Romans were the first to cultivate them. This art seemed to die out with them and it wasn’t resurrected until Victorian times. It’s strange to think that mushrooms were such an expensive ingredient that often had to be exchanged for oysters in many dishes. How times have changed.

Because mushrooms are notorious for their often narcotic and poisonous qualities, there were considered magic during the Middle Ages. Many an alchemist pored over the life cycle of fungi in an attempt to discover the secret of life itself – mushrooms had the amazing ability to create life from decay.

I could go through all the edible species of mushroom in Britain, but that would be rather boring so instead I thought I’d mention the ones I have found so far in this post and then add to it in further posts whenever I come across them.

Identifying Mushrooms

As I said, I am certainly no expert in fungus ID, but it is for this very reason that I take appropriate precautions.

First of all you need at least two good fungus guides: there is such variation within single species that there can be a lot of overlap between them and therefore potential misidentification. More than one book covers more variation. I think it is best to have one book with drawings and one with photographs. The two I use are the Collins Fungi Guide – which is very in-depth – and River Cottage Handbook No. 1: Mushrooms – which is much briefer but is full of hints and tips.

Aside from the mushroom you are interested in, you need to look for other things: are they single or in clumps, or even patterns? Where are they? Fields or woods? If they are in woods, are they on trees, if you what kind? Therefore it is very important that you know some of the trees: the main players are oak, beech and birch, so make sure you know them, or take along a tree guide with you too.

If I am not really sure at all, I take a photo of them where I found them and pick them with their bases intact so I can classify them later when I have time.

Jew’s ear or jelly fungus grows almost exclusively on elder

Do not be tempted to take any advice from old wives’ tales as they are almost always wrong. However, most poisonous species have three features that are worth bearing in mind: scales beneath the cap, a ring and a small sac at the stem’s base. Not all will have all three qualities, so not take this advice as read either. The important thing to remember is that if you are not completely sure, don’t eat it!

Over the last week or so I have come across shaggy inkcap, shaggy parasol, wood mushrooms, the rather anti-Semitically named Jew’s ear fungus and a huge host of , commonly called yellowing knight (though the one’s I found were not particularly yellow).

Two mushroom recipes

I cooked several dishes with our mushroom crop, but I shall just report two here.

Creamed mushrooms on toast

Simple, fast and will show off your mushrooms to their finest. It’s not for dieters.

Ingredients (per person)

1 double-handful of wild mushrooms

2 ounces of salted butter

1 garlic clove, finely chopped

1 tsp of chopped thyme leaves

salt and pepper

5 or 6 tbs double cream

freshly-grated nutmeg

one thick slice of hot buttered toast

Pick over the mushrooms, wiping away any soil with a damp cloth. Melt the butter in a frying pan and when it stops sizzling add the garlic and thyme and fry until the garlic is soft. Tip in the mushrooms and season with salt and pepper. Stir and fry until the mushrooms given up then evaporated their juice. Add the cream and stir, adding a little nutmeg. Serve immediately on toast. Poached egg is optional.
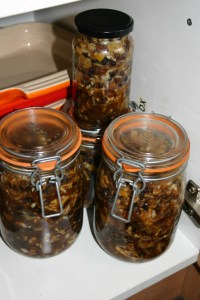
Dried Mushrooms

When you have a glut of mushrooms, it’s a good idea to preserve them in some way. This is a recipe from Elizabeth Raffauld’s 1769 book The Experienced English Housekeeper that turns mushrooms into a delicious, rich and dark seasoning. I’ll leave it to her to tell you how to make it (I have added the odd note in parentheses).

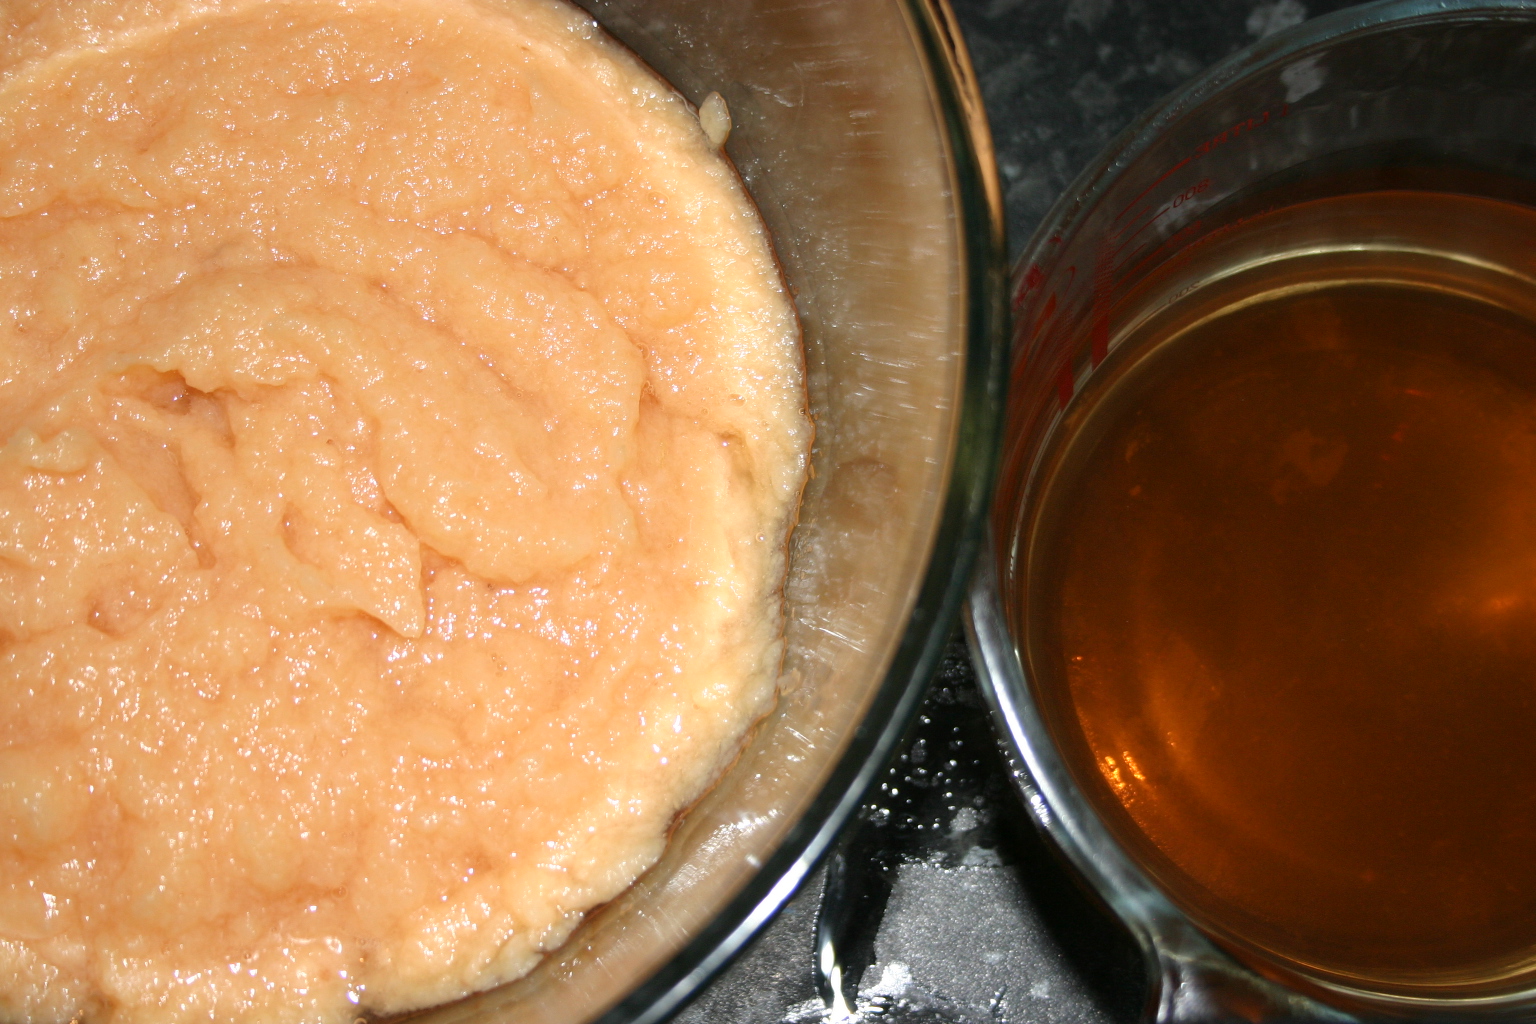
Mushrooms before drying

“Take the thickest large buttons you can get, peel them, cut off the root end but don’t wash them. Spread them separately on pewter dishes [or on baking trays] and set them in a slow oven to dry [around 60-70⁰C]. Let the liquor dry up into the mushrooms, it makes the powder stronger, and then continue in the oven till you find they will powder [they will snap easily].

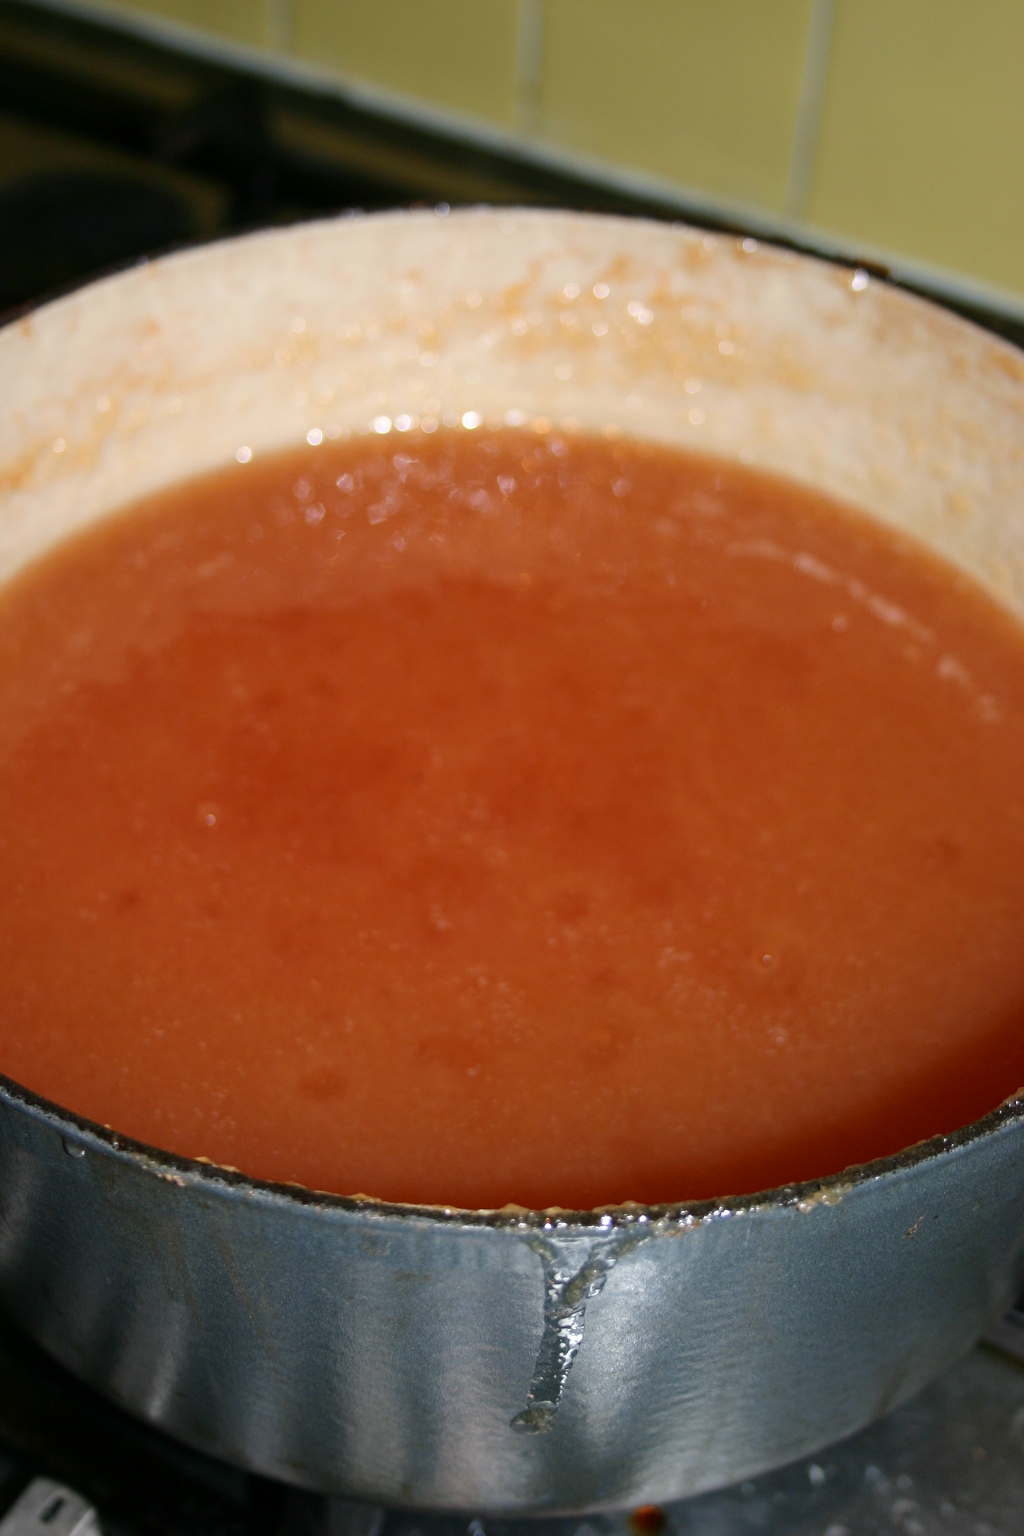
Mushrooms after drying

Then beat them in a marble mortar [or a blender] and sift them through a fine sieve with a little Chyan [Cayenne] pepper and pounded mace. Bottle it and keep it in a dry closet.”
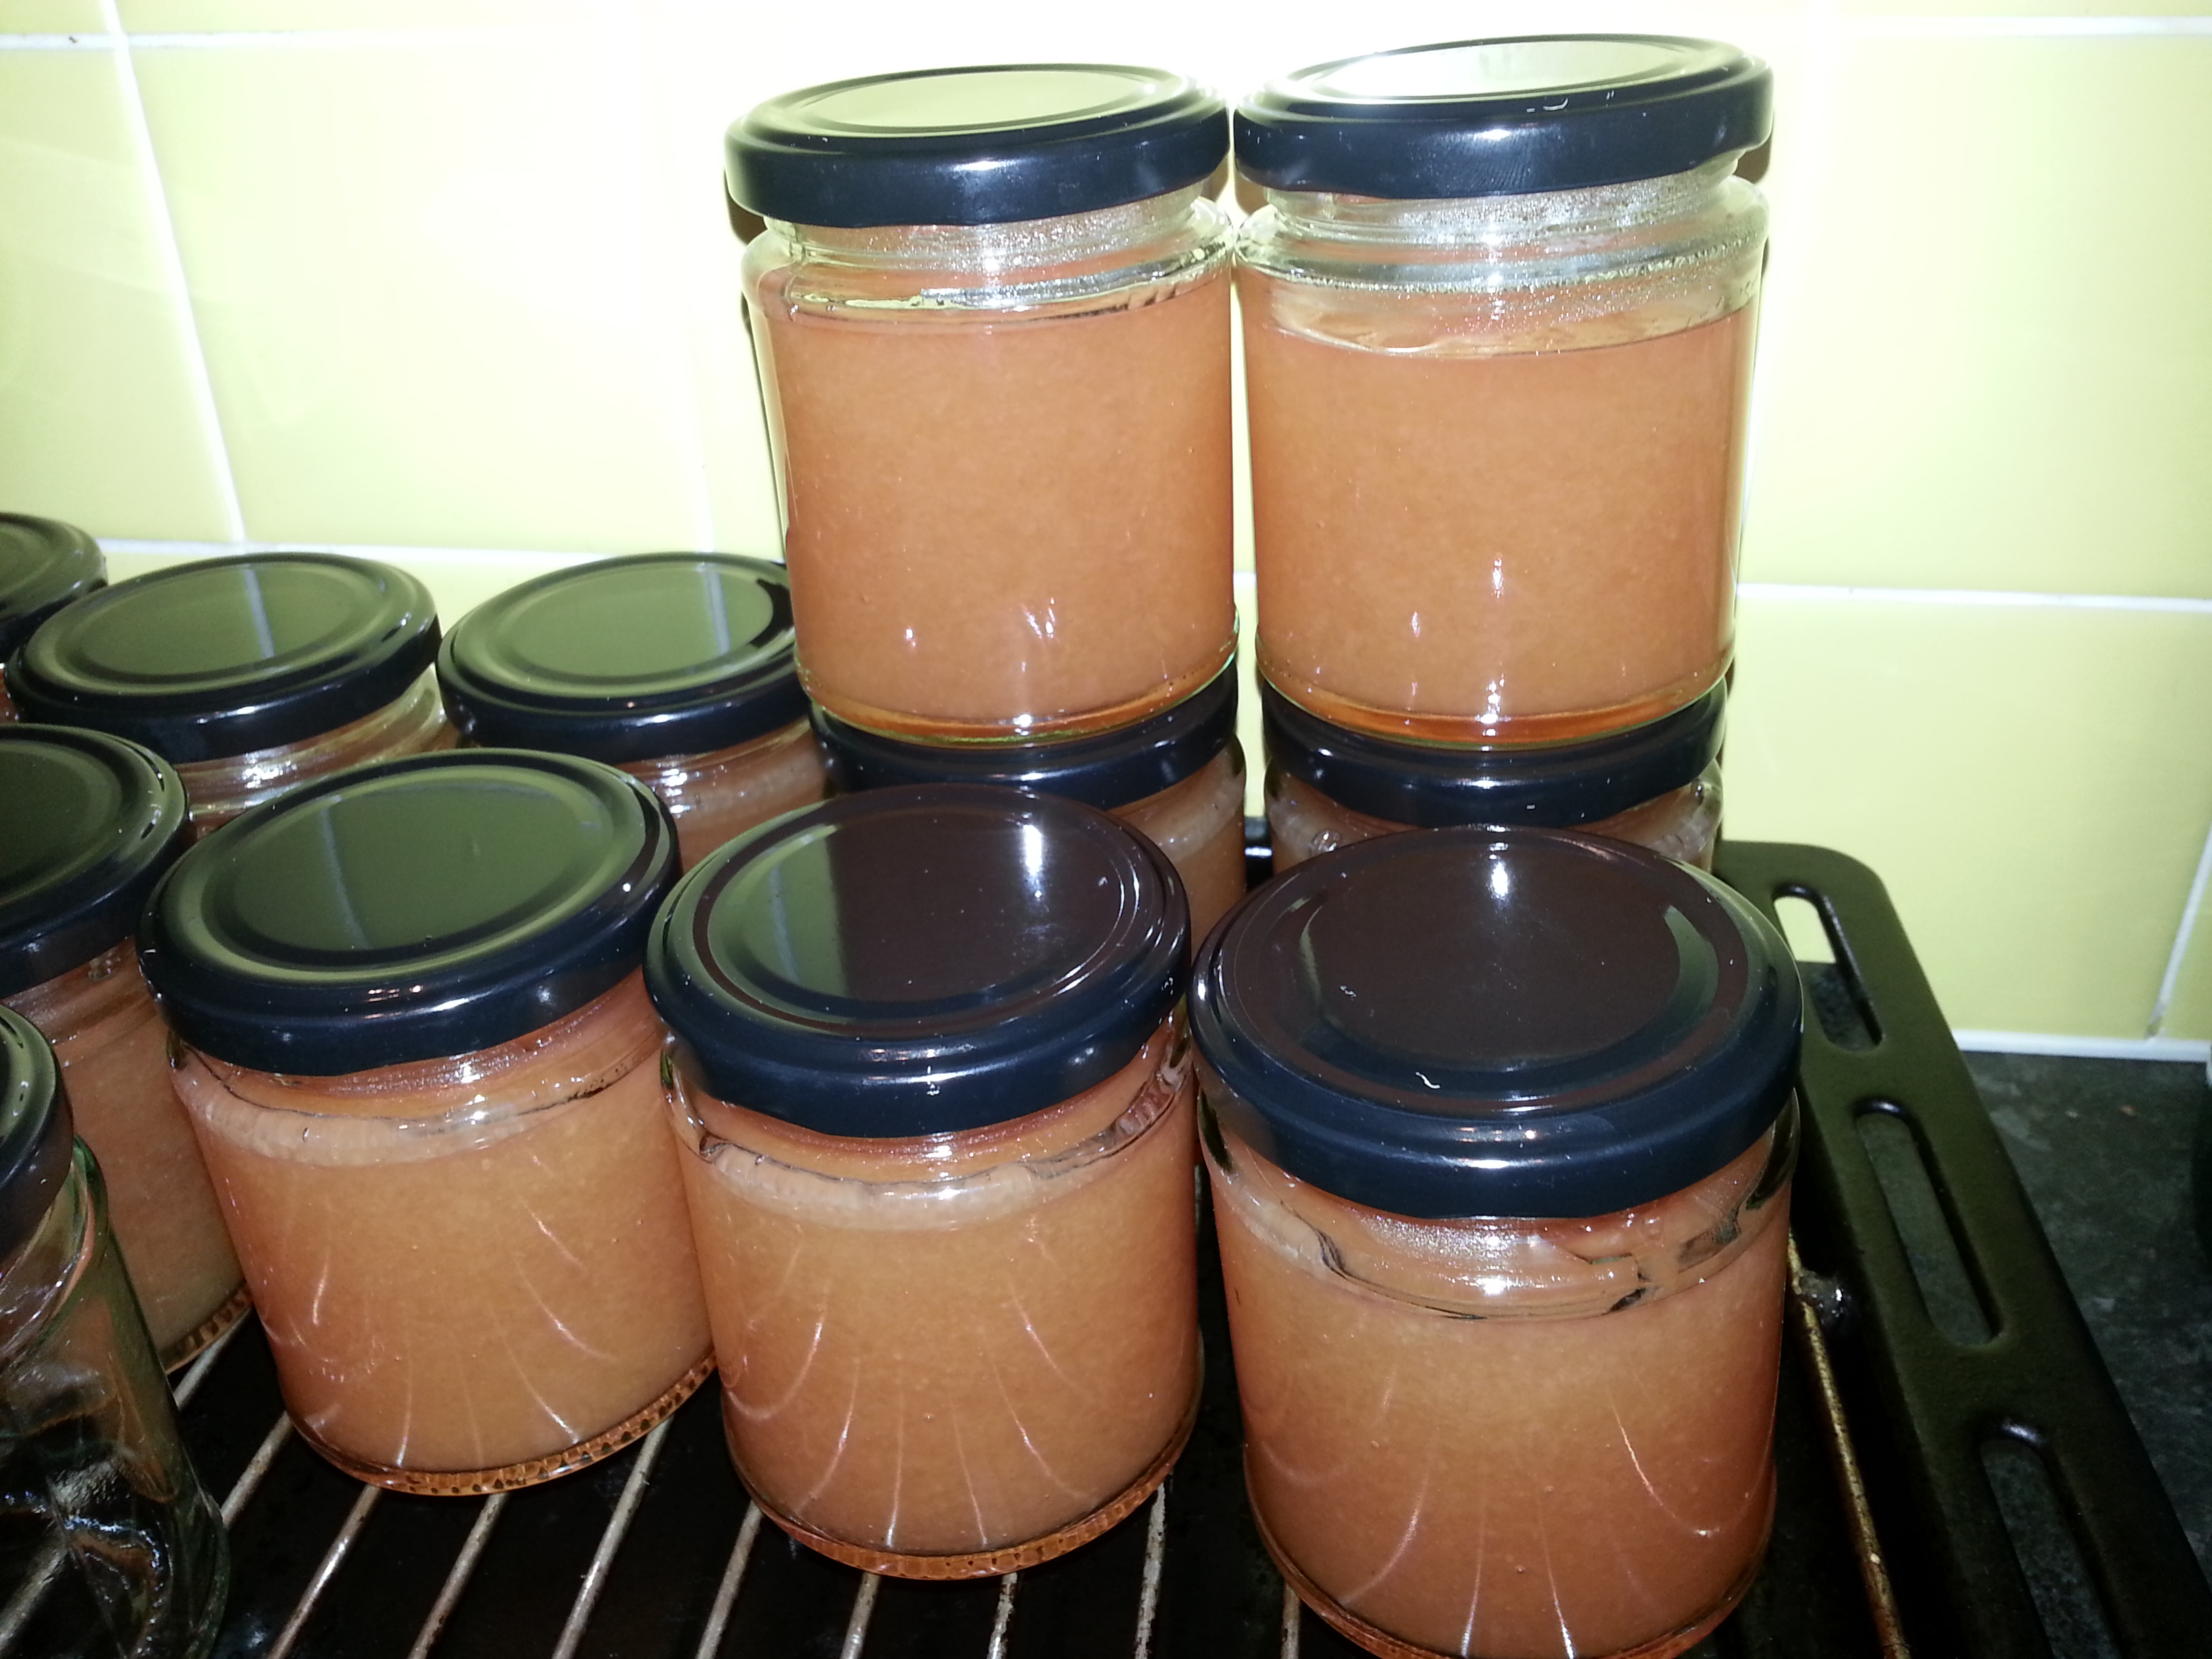
Mushrooms powdered


If you like the blogs and podcast I produce, please consider treating me to a virtual coffee or pint, or even a £3 monthly subscription: follow this link for more information.


1 Comment

Filed under Britain, cooking, food, foraging, history, natural history, nature, Recipes, Uncategorized

Know Your Onions

It is an exciting time for those that grow their own onions because onion season is in mid-flow. It was probably a while ago that the onions themselves were picked, but they generally grow through a short period of drying before they are used in the kitchen or put into storage over the wintertime.

I’ve never grown them myself, but I feel that when it comes to cooking and eating onions, I really know my, er, onions. (Funny saying that; there is one theory that it was invented by etymologists working on the Oxford English Dictionary who coined it in great admiration of one of the best and most knowledgeable grammarians of the day, a certain C T Onions. How I wish it were true, but it seems that is actually American. Oh well.)

I love onions and they are one of the most loved vegetables, they are certainly the most used vegetable in the world – there is not a single cuisine I can think of that doesn’t use them. In Western cookery, onions make up one of the trinity of stock vegetables alongside carrots and celery; and there are countless recipes that begin with slicing or chopping an onion before browning in butter or oil. They are a universal seasoner of foods, a ubiquitous seasoning that is not always detectable, but if it were to be omitted you would miss them.

And I do, for I recently found out that I have an onion ‘intolerance’, or at least my alimentary canal does. Finding a replacement has been tricky, but I have recently adopted using the finely sliced green parts of a leek along with a clove of garlic. It is strange that I essentially turn myself inside out after eating a cheese and onion sandwich and yet I can happily tuck into the remainder of the onion family: garlic, leeks and chives and not suffer even the mildest discomfort. Anyway, you don’t want to know about all that – I sound like an old woman!

Allium, the Onions

There are around 500 species of plant that belong to the Genus Allium, and botanically speaking they are all members of the lily family, though only a score are important as foods worldwide, and even fewer that are important to the British, though the onion, garlic and leek were all eaten in Ancient Egypt and even appear in the Old Testament of The Bible.

Below is a lovely illustration from the wonderful book Food in England by Dorothy Hartley showing the ‘Most Common or Garden Onions’. Chives and leeks have been omitted as they are suitably different to be considered standalone vegetables/herbs. There are familiar and unfamiliar onions here, and some that have been omitted, like mild white onions. Two that I have never sampled are the Welsh Holtzers and the strange Egyptian, or tree, onion.

I am going to stick to the familiar brown onion that we all know and love in this post. At the foot of the above drawing it is mentioned that onions, bread and cheese ‘are spoken together as Field Fare in our earliest manuscripts’. These three food items would have been bagged up or kept in the pocket of a ploughman or other farm worker for much-needed sustenance throughout the long working day. The original ploughman’s lunch that dates to not too long after the first century when onions were first introduced to Britain by the Romans.

Two Onion Recipes

So many recipes use onions, but so few of them show them off as the star of the show and we forget that onions can be served as vegetables in their own right. Here are two recipes that I think do them justice.

Baked Onions, or Orbs of Joy

This is a very old recipe that has recently been given a second wind by Fergus Henderson the great ‘nose to tail’ chef at St John in London. Looking at his recipe and one written in 1954 by Dorothy Hartley, there is only one difference and that is the type of onion used – a stoic brown onion or a prettier red onion. Use whichever you grow or prefer. Serve with roast game, chicken, goose or beef, using the appropriate stock.

Ingredients

butter

one good-sized onion per person

chicken, beef or vegetable stock

salt and pepper

Smear some healthy knobs of butter on the bottom of a deep ovenproof dish. Peel your onions, cut off the rooty part and sit them in the dish. Pour in enough hot stock almost to cover. Season the tops with salt and pepper. Bake uncovered in a moderate oven, around 160⁰C, until the onions are tender within and caramelised without. Test their doneness with a skewer. If you only have a little stock, cover the dish and only remove it toward the end of the cooking time so they can ‘brown becomingly’.


If you like the blogs and podcast I produce, please consider treating me to a virtual coffee or pint, or even a £3 monthly subscription: follow this link for more information.


Onion Marmalade

I imagined that onion marmalade had been around for ages but only seems to date back to the latter half of the last century. Who knew? This is a recipe of my own concoction and is a top-seller on my stall. There are plenty of dark sweet flavours as well as tart vinegar. I use cider or wine vinegar as well as Balsamic vinegar in mine. Feel free to alter the ratio of the two to your own liking. It makes about 1 litre (2 pints) of marmalade. Have it in a cheese sandwich, with bangers and mash, or with some nice potted chicken livers.

Ingredients

2 kg (4.5 lbs) onions, halved and thinly sliced

5 tbs olive oil

100 g (4 oz) granulated sugar

100 g (4oz) soft dark brown sugar

1 tbs chopped thyme leaves

4 bay leaves

1 ½ tsp salt and ½ tsp ground black pepper

250 ml (9 fl oz)  cider or wine vinegar (red or white)

50 ml (2 fl oz) balsamic vinegar

Heat the olive oil in a large pan. Turn up the heat and add the onion. Using a wooden spoon, coat the onions well in the oil. Add the sugars, thyme, salt and pepper, then turn heat down to medium and mix until the sugars have dissolve. Simmer uncovered for at least 50 minutes on a medium-low heat, until the onions have become deliciously brown and mushy. Take your time, be as slow as possible. If you don’t have 50 minutes or more to spare, wait for a time you do!

Pour in the vinegars and simmer for a further 30 minutes until the liquids have reduced to about one-quarter and are good and syrupy. Let the marmalade cool for 10 minutes then jar as normal.

8 Comments

Filed under Britain, cooking, food, history, Preserving

Pickled Eggs

With today’s farming techniques it is hard to believe that eggs were a seasonal food just like fruit and vegetables: the cold winter temperatures were not conducive to incubating developing chicks, nor was there enough food during those lean times to produce eggs in the first place.

When most people think of pickled eggs, I am sure they picture those sat in huge jars full of dark brown malt vinegar like grotesque biological specimens at the back of the fish and chip shop next to the pickled onions. I remember having one as a teenager and it was so, so foul; the malt vinegar was so strong and acrid it took my breath away, and the yolk had disintegrated into a brown pulpy acid mush. God knows how long they had been pickling for. Needless to say, that incident put me off them. However, I have rediscovered them and they don’t have to be like the chip shop ones – they can be piquant, subtly spiced and certainly mellow enough to eat on their own or in salads.

There is no need to pickle eggs these days of course, except for the love of pickles themselves. Below is my recipe that is based on a recipe by Mary Norwack that appears in Jane Grigson’s English Food. The harsh malt vinegar is gone, getting replaced with much milder cider or wine vinegar, and they are further improved by the addition of some spice.

First of all you need your eggs – you can use any kind you want, large, small, bantam or tiny quail’s eggs. I got small hen’s eggs from Abbey Leys Organic Farm via lovely Manchester Veg People, who are sourcing some of my food for the stall. These eggs are truly free range and organic, delicious, and more importantly cheap! People today don’t want small eggs any more, but their loss is my gain as far as I’m concerned.

This recipe should be enough to fill at least 2 litres (4 pints) of pickling jars. You can do one huge one or several small ones.

Ingredients

Hen’s or quail’s eggs (see recipe)

1 litre (2 pints) of white wine or cider vinegar

3 or 4 dried red chillies

15 g (½ oz) fresh ginger, peeled and thinly sliced

15 g (½ oz) brown mustard seeds

15 g (½ oz) peppercorns, black or white

10 g (⅓ oz) coriander seeds

First, select enough eggs that you think will fill snugly inside your jars. Put them in a pan with cold water and bring them to a boil. Simmer the eggs until hard-boiled; this means just 2 minutes for quail’s eggs up to 8 minutes for large hen’s eggs. Tip away the water and let the eggs drain and cool.

Meanwhile make the pickling liquor by pouring the vinegar into a saucepan. Add the spices and bring to a simmer for five minutes. Strain, then cover and let cool.

Shell the eggs and rinse them under the tap and get to work squeezing them into sterilised jars. Then cover with the pickling liquor, making sure that the eggs are completely covered. Place a few of the spices in each of the jars and seal tightly.

Leave the eggs for about 2 weeks in a cool, dark place and then enjoy!


If you like the blogs and podcast I produce, please consider treating me to a virtual coffee or pint, or even a £3 monthly subscription: follow this link for more information.


3 Comments

Filed under cooking, food, history, Recipes

Tail to Nose Eating: Oxtail Soup

‘Nose to tail’ eating is en vogue these days and thank goodness it is. The stigma that offal and cheap cuts of meat are of poor quality has been around since at least the Victorian era. The anglophile French chef Alexis Soyer despaired that so much good food was going to waste; he couldn’t understand why we turned our noses up at it whilst countries like France ate the whole animal without worrying about such things. This was all compounded further during the rationing people faced, where there was no choice but to eat cheaper cuts and offal.

Alexis Soyer

Now that times are tough these cuts are appearing in our butchers’ shops once more; hopefully it is also because of the good work of today’s chefs and food writers promoting and cooking with these ingredients and showing us all that good food does not mean expensive food. When our counry’s finances turn around, I do hope that offal doesn’t get dropped for the expensive cuts again. It is so important that we treat our animals with respect by eating the whole thing, after all it helps the environment by reducing waste, and whilst we are doing this, we are opening ourselves to whole other gastronomic world previously veiled by sirloins and silversides. It can only be a good thing.

I have always been an offal fan and I can honestly say whether liver, kidney, sweetbread or brain, I have never eaten a bit of animal that I have not liked. All those odd bits, wobbly bits and squidgy bits have such an amazing range of textures and flavours and I thought I would add my favourite recipes to the blog. I am going to start this a little backwards with oxtail soup – I suppose I am championing tail to nose eating…


If you like the blogs and podcast I produce, please consider treating me to a virtual coffee or pint, or even a £3 monthly subscription: follow this link for more information.


Oxtail Soup

My favourite soup of all time. A few years ago this was actually quite an expensive dish to make – offal was unpopular, inflating the price. These days you can pick one up for about £4 from your high-street butcher. This soup is full of rich beefy flavour that is heightened by the inclusion of a bottle of stout – the darkest you can find, Guinness works well though I like to use Marston’s Oyster Stout. The most important ingredient here is time – to make a good soup with large tender pieces of meat you need the soup to be barely simmering for at least 2 hours. A full simmer often leads to tough meat that loses too much of its flavour to the surrounding stock.

The recipe itself only seems to appear in the latter half of the eighteenth century and apparently came from France. I can’t believe this recipe is so recent, I imagined that we’d been eating a version of it for a millennium. If anyone can find an earlier reference, please let me know.

beef dripping or lard

2 oxtails, cut into 2-3 inch pieces and trimmed of very large pieces of fat

2 onions, finely chopped

2 leeks, finely sliced

3 carrots, peeled and diced

3 sticks of celery, diced

3 or 4 cloves of garlic, peeled and crushed

4 healthy sprigs of thyme

2 bay leaves

300 ml stout

1.5 litres (2 ½ pints) beef stock

salt and black pepper

1 tbs Worcestershire sauce

1 tbs mushroom ketchup (optional)

4 tbs finely chopped parsley

Heat a small amount of dripping or lard in a heavy-based stockpot or large cast-iron casserole on a high heat – the highest you dare go – add the pieces of oxtail and brown thoroughly on all sides – this should release their fat, quickening the whole process. Don’t overcrowd the pan; cook in batches if need be. Remove the oxtail and set aside before browning the onion, leek, carrot and garlic. Add the thyme and bay leaves then the stout, making sure you get all the burnt bits scraped off that will have built up from all that hard-frying.

Add the stock and browned oxtail and bring to a simmer. The soup needs to quietly tick over for at least two hours, three if you can.

Strain the soup into another pan and remove the pieces of oxtail, picking out the meat which should come away easily from the bone. Cut into small pieces of you do so wish. Return the meat to the rich stock. If you want you can throw away the vegetables, but I prefer to pop them back into the pot too. We need our roughage now, don’t we? It’s best to let the soup cool so that you can skim off any unwanted fat – plus a little waiting time helps the flavours to develop.

Reheat and season well with salt and pepper, add the Worcestershire sauce and mushroom ketchup if using. Taste and add more if you like. Finally stir through the parsley and serve hot with buttered toast and a glass of stout.

8 Comments

Filed under Britain, cooking, food, Meat, Recipes, Soups

The Edible Hedgerow

I went a little foraging escapade last week to see what wild food I could find in Chorlton Meadows, one of my favourite places in Manchester. The hunter-gatherer is not quite dead. Today’s aim was to find some fruit for some nice hedgerow jelly; something you don’t find in the shops, no siree. I wonder how many people do this anymore? It’s shocking that there are tiny punnets of blackberries in the supermarket selling for 3 or 4 pounds when you can get them free from the brambles!

The first thing you need to find if you want to make a good hedgerow jelly is some crab apples. There’s an area of the meadows called Hardy’s Farm and I knew that there was plenty of apple trees around there so I headed straight for it. The poor summer we’ve had – very wet and warm – has been the perfect environment for moulds and other fungi, they had managed to infect every tree I came across except for one! Some trees didn’t even have fruit or flowers on them. A sad, sad state of affairs. It is a little early for apples though, so perhaps they’ll get their act together.

Some of the few crab apples that weren’t diseased

Crab apples, or any windfall apples really, make up 50 percent of the jelly because apples provide the pectin that sets jelly once it is cooked.

The great thing about these jellies is that you can use berries that are normally far too sour and astringent in their unsweetened form. I found several species though many of them were not quite ripe.

The rowans were laden with berries

Two of the best examples of this were the two most bountiful species: hawthorn and rowan. These are very common trees found in hedgerows, forests, scrubland and gardens.

The brilliant red berries seemed to glow against the rather miserable grey backdrop of the rain and clouds – especially the rowanberries. If you look closely at them, you can see that they are just tiny apples themselves.

Rowanberries are simply tiny apples!

(to be botanically correct: apples are just large berries)

There was also a few ripe rosehips, so I grabbed some of those too. The other species I found were no way near ripe enough or in high enough numbers: sloes (the wild ancestor to damsons), blackberries, elderberries and some wild plums.

Some rather unripe blackberries and hips


If you like the blogs and podcast I produce, please consider treating me to a virtual coffee or pint, or even a £3 monthly subscription: follow this link for more information.


Hedgerow Jelly

Once you have collected your fruit you can now get making your jelly – and don’t worry if crab apples are the only thing you found because they make a delicious pink-tinged tart jelly themselves. (Notice that I have suddenly gone metric, there’s a reason for this, but that’ll have to wait for another post. I shall endeavour to add Imperial measures though.)

1 kg (2 lbs) crab apples

1 kg (2 lbs) wild berries

1.2 litres (2 pints) water

granulated sugar

Wash your fruit – you don’t want hedgerow and earwig jelly. Roughly chop your apples; don’t core or peel them, it is the core and peel that contain the most of the precious pectin.

As for the berries, I give them a quick blitz in the food processor. Place the fruit in a large heavy-based stock pot. Bring to a boil, cover and simmer until the fruit is mushy.

In order to achieve a nice clear jelly, you need to strain the juice through cloth – I use muslin and a proper jelly stand for this, but it’s perfectly fine to use a large sheet of muslin, cheesecloth or even an old pillowcase. Scald your material in boiling water to sterilise it. Put the jelly bag on its frame with a bowl beneath it to catch the drips. Pour in the mushy fruit and juice and allow it to drip through in its own time overnight. If you don’t have a jelly bag, you can tie a bundle of cloth to the handle of a cupboard above a bowl.

The next day, measure how much juice you have – it should be between 1 and 1.2 litres – and pour it into your stockpot or preserving pan (I am saving up for one of those). For every 600 ml (1 UK pint) of juice you have, you’ll need 450 g (1 pound) of sugar. Add this to the pan and turn on the heat to medium, stir with a wooden spoon until the sugar is completely dissolved, then turn the heat to maximum. Boil the fruity syrup until setting point is reached: this is easy to judge if you have a thermometer, because pectin sets at 104.5⁰C.This should take about 10 or 15 minutes. If you don’t have one then, turn the heat off and place a drop of the jelly on a freezing-cold plate. Let it set, then push it with your nail. If it wrinkles, then it is ready. If it doesn’t, put the heat on again for 10 minutes and try again.

Once setting point is reached, skim away the skum and pour into sterilised jars. The way I do this is I put the jars and lids on a clean baking tray in the oven for 30 minutes at 120⁰C.

Variation: Mulled cider jelly. Use 2 kg of crab apples, and add a 500 ml bottle of dry or sweet cider along with 700 ml of water, along with a cinnamon stick, some cloves, a star anise and a piece of nutmeg. When it comes to the point where you add the sugar, use 100 g less as the cider lends a lot of sweetness itself.

Mulled cider jelly

9 Comments

Filed under Britain, cooking, food, Recipes