This post complements the 2023 Christmas special of The British Food History Podcast called ‘Mince Pies’:
I have written several times about mince pies and mincemeat over the years on the blog. There are my two go-to mincemeat recipes: Jane Grigson’s Orange mincemeat, and Mrs Beeton’s traditional mincemeat, along with instructions on how to make small, individual mince pies. This year, however, I wanted to make an old-fashioned sweet lamb pie, once eaten in Westmorland in the Northwest of England, a defunct county now making up parts of Cumbria and North Yorkshire. It was one of the last areas of the country to carry on putting meat in its mincemeat mixtures.[1] Like all mince pies of the past, they were not eaten only at Christmas, but much of the year, though because of the dried fruit content, they were associated with wintertime.
I was first introduced to this pie by Jane Grigson, and I made it many moons ago, for the Neil Cooks Grigson blog, I really liked it and have been meaning to revisit it.[2] These pies were not of the small individual type, but large plate pies, baked in a pie plate made of earthenware, tin or enamel.[3]
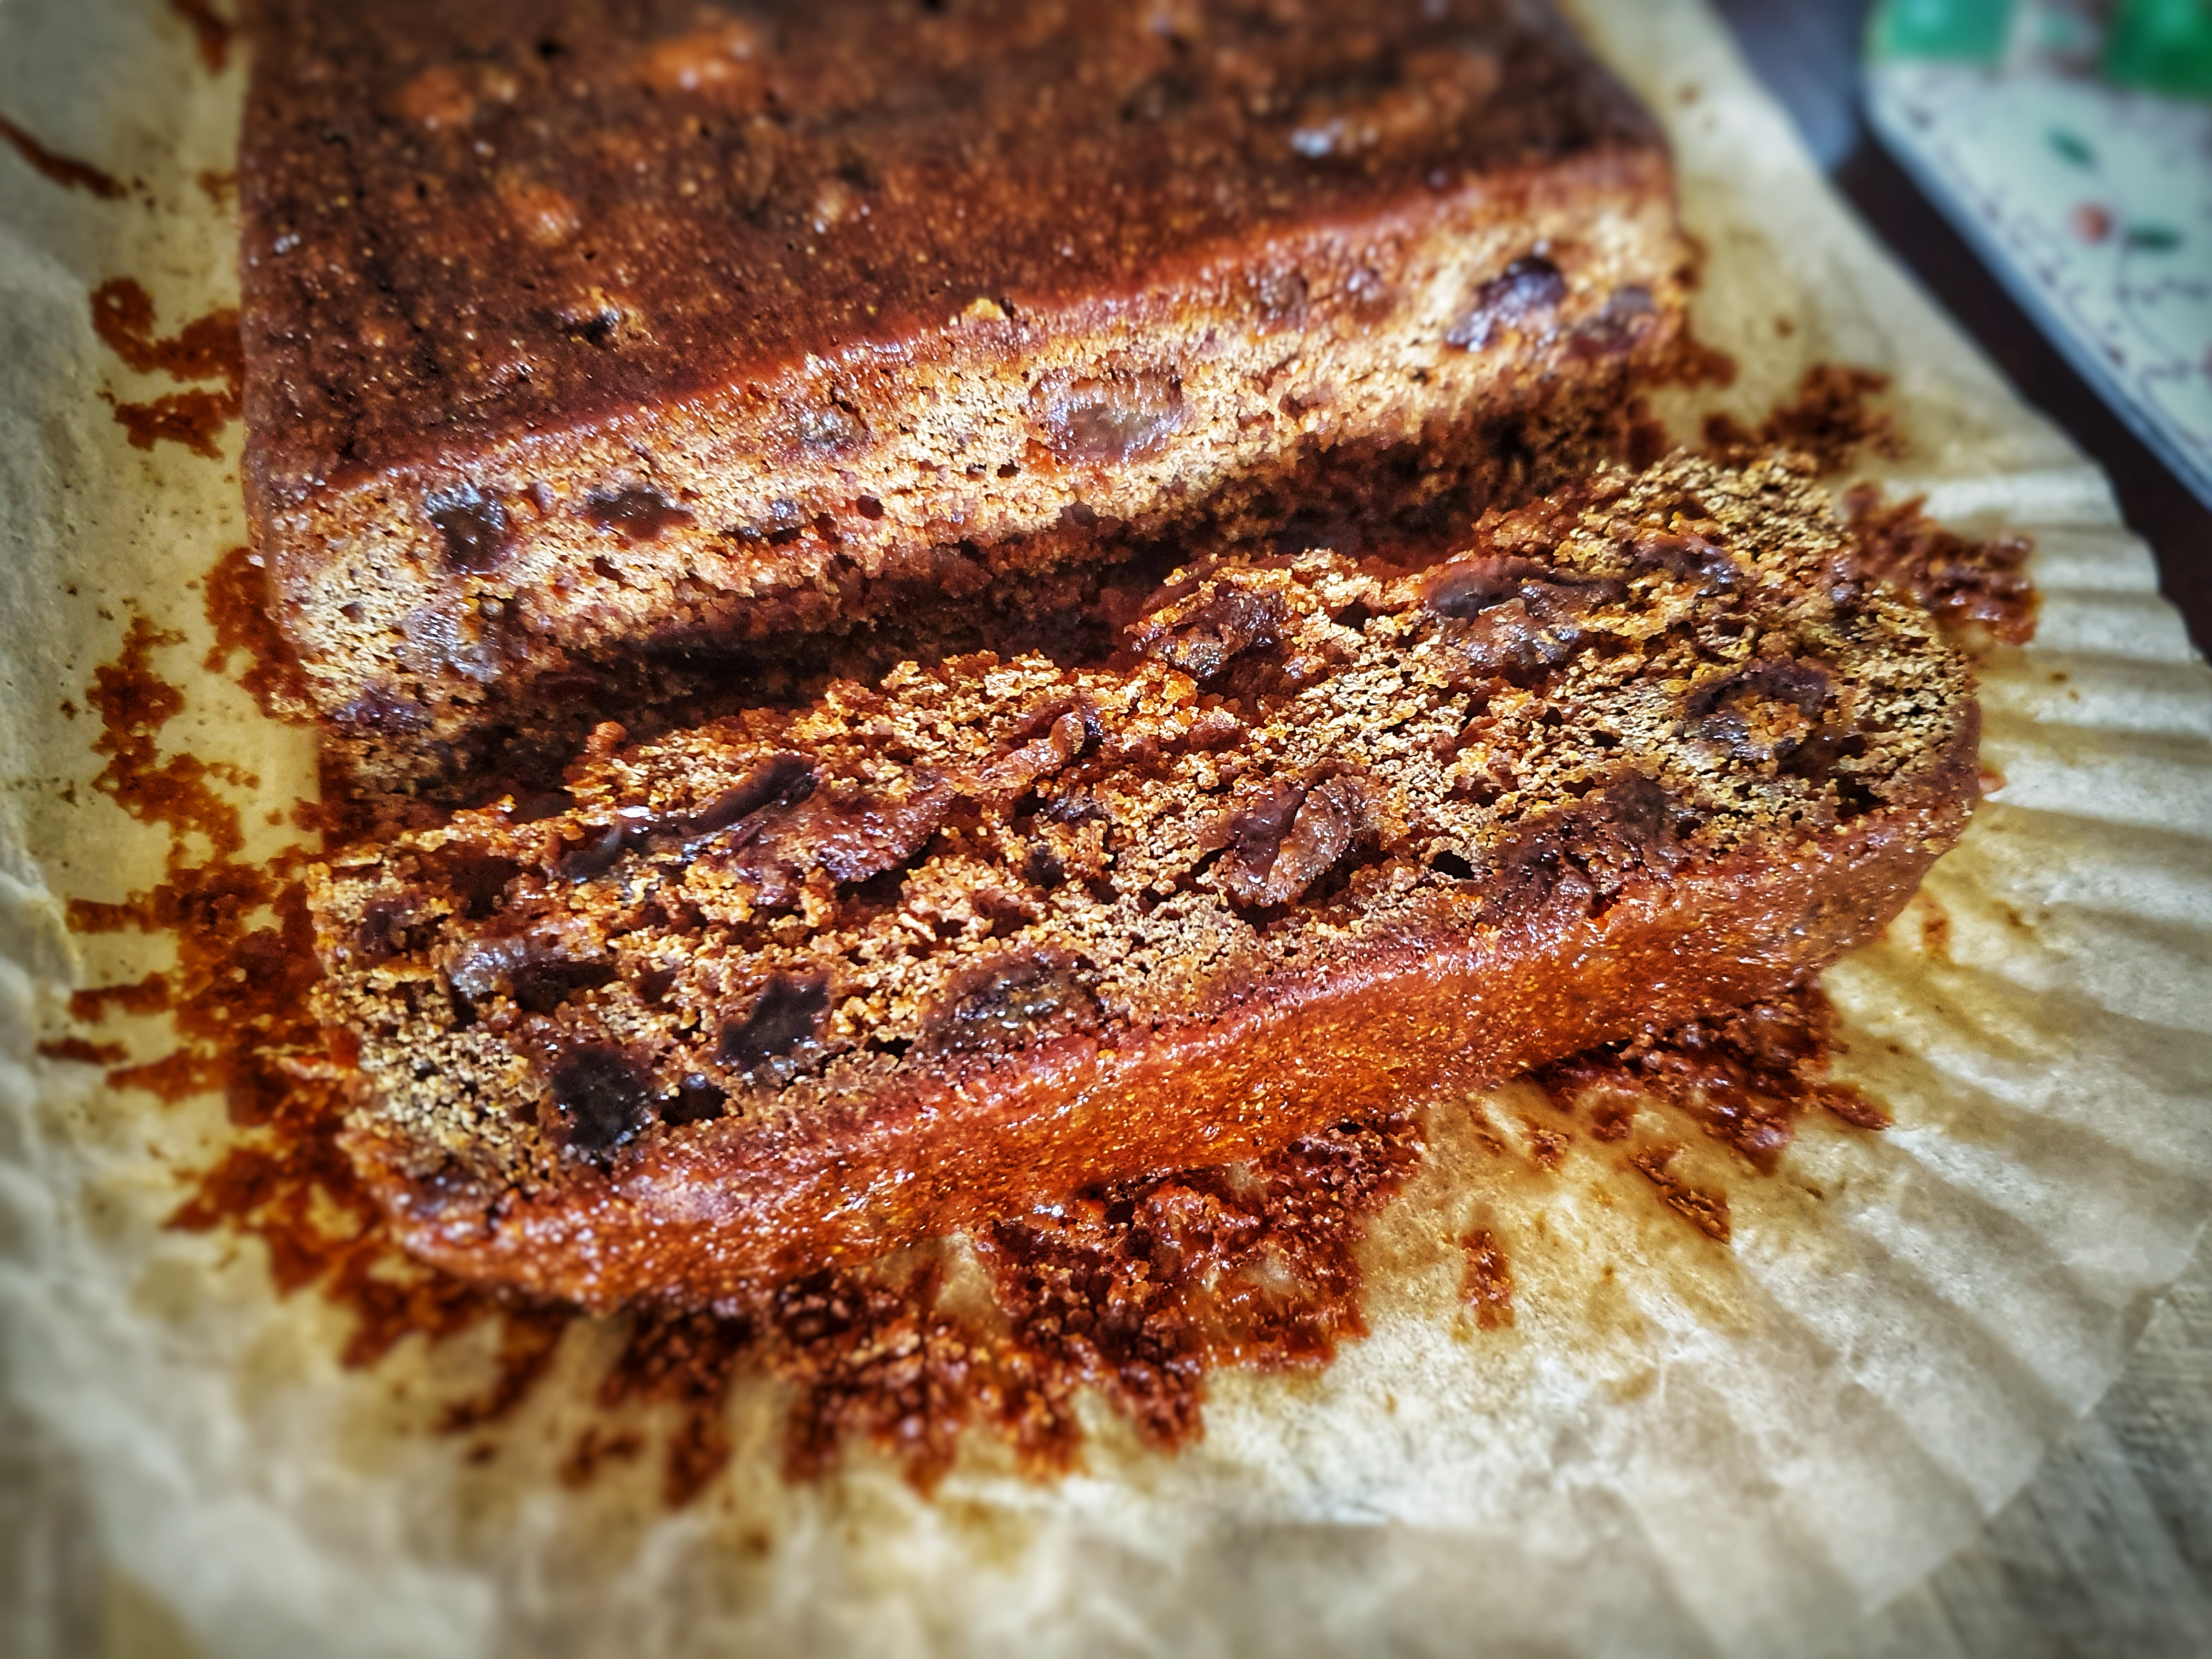
I’ve based the recipe on hers, but I did make some changes inspired by other recipes found on the Foods of England Project website.[4] The mincemeat isn’t cooked, but because of the booze and sugar content, it keeps very well. Don’t be put off by the meat content, it makes the filling succulent – and you can taste it, but this blurring of sweet and savoury is most delicious, something I have come to embrace after so many years of making historical British food.
If you like the blogs and podcast I produce and would to start a £3 monthly subscription, or would like to treat me to virtual coffee or pint: follow this link for more information. Thank you.
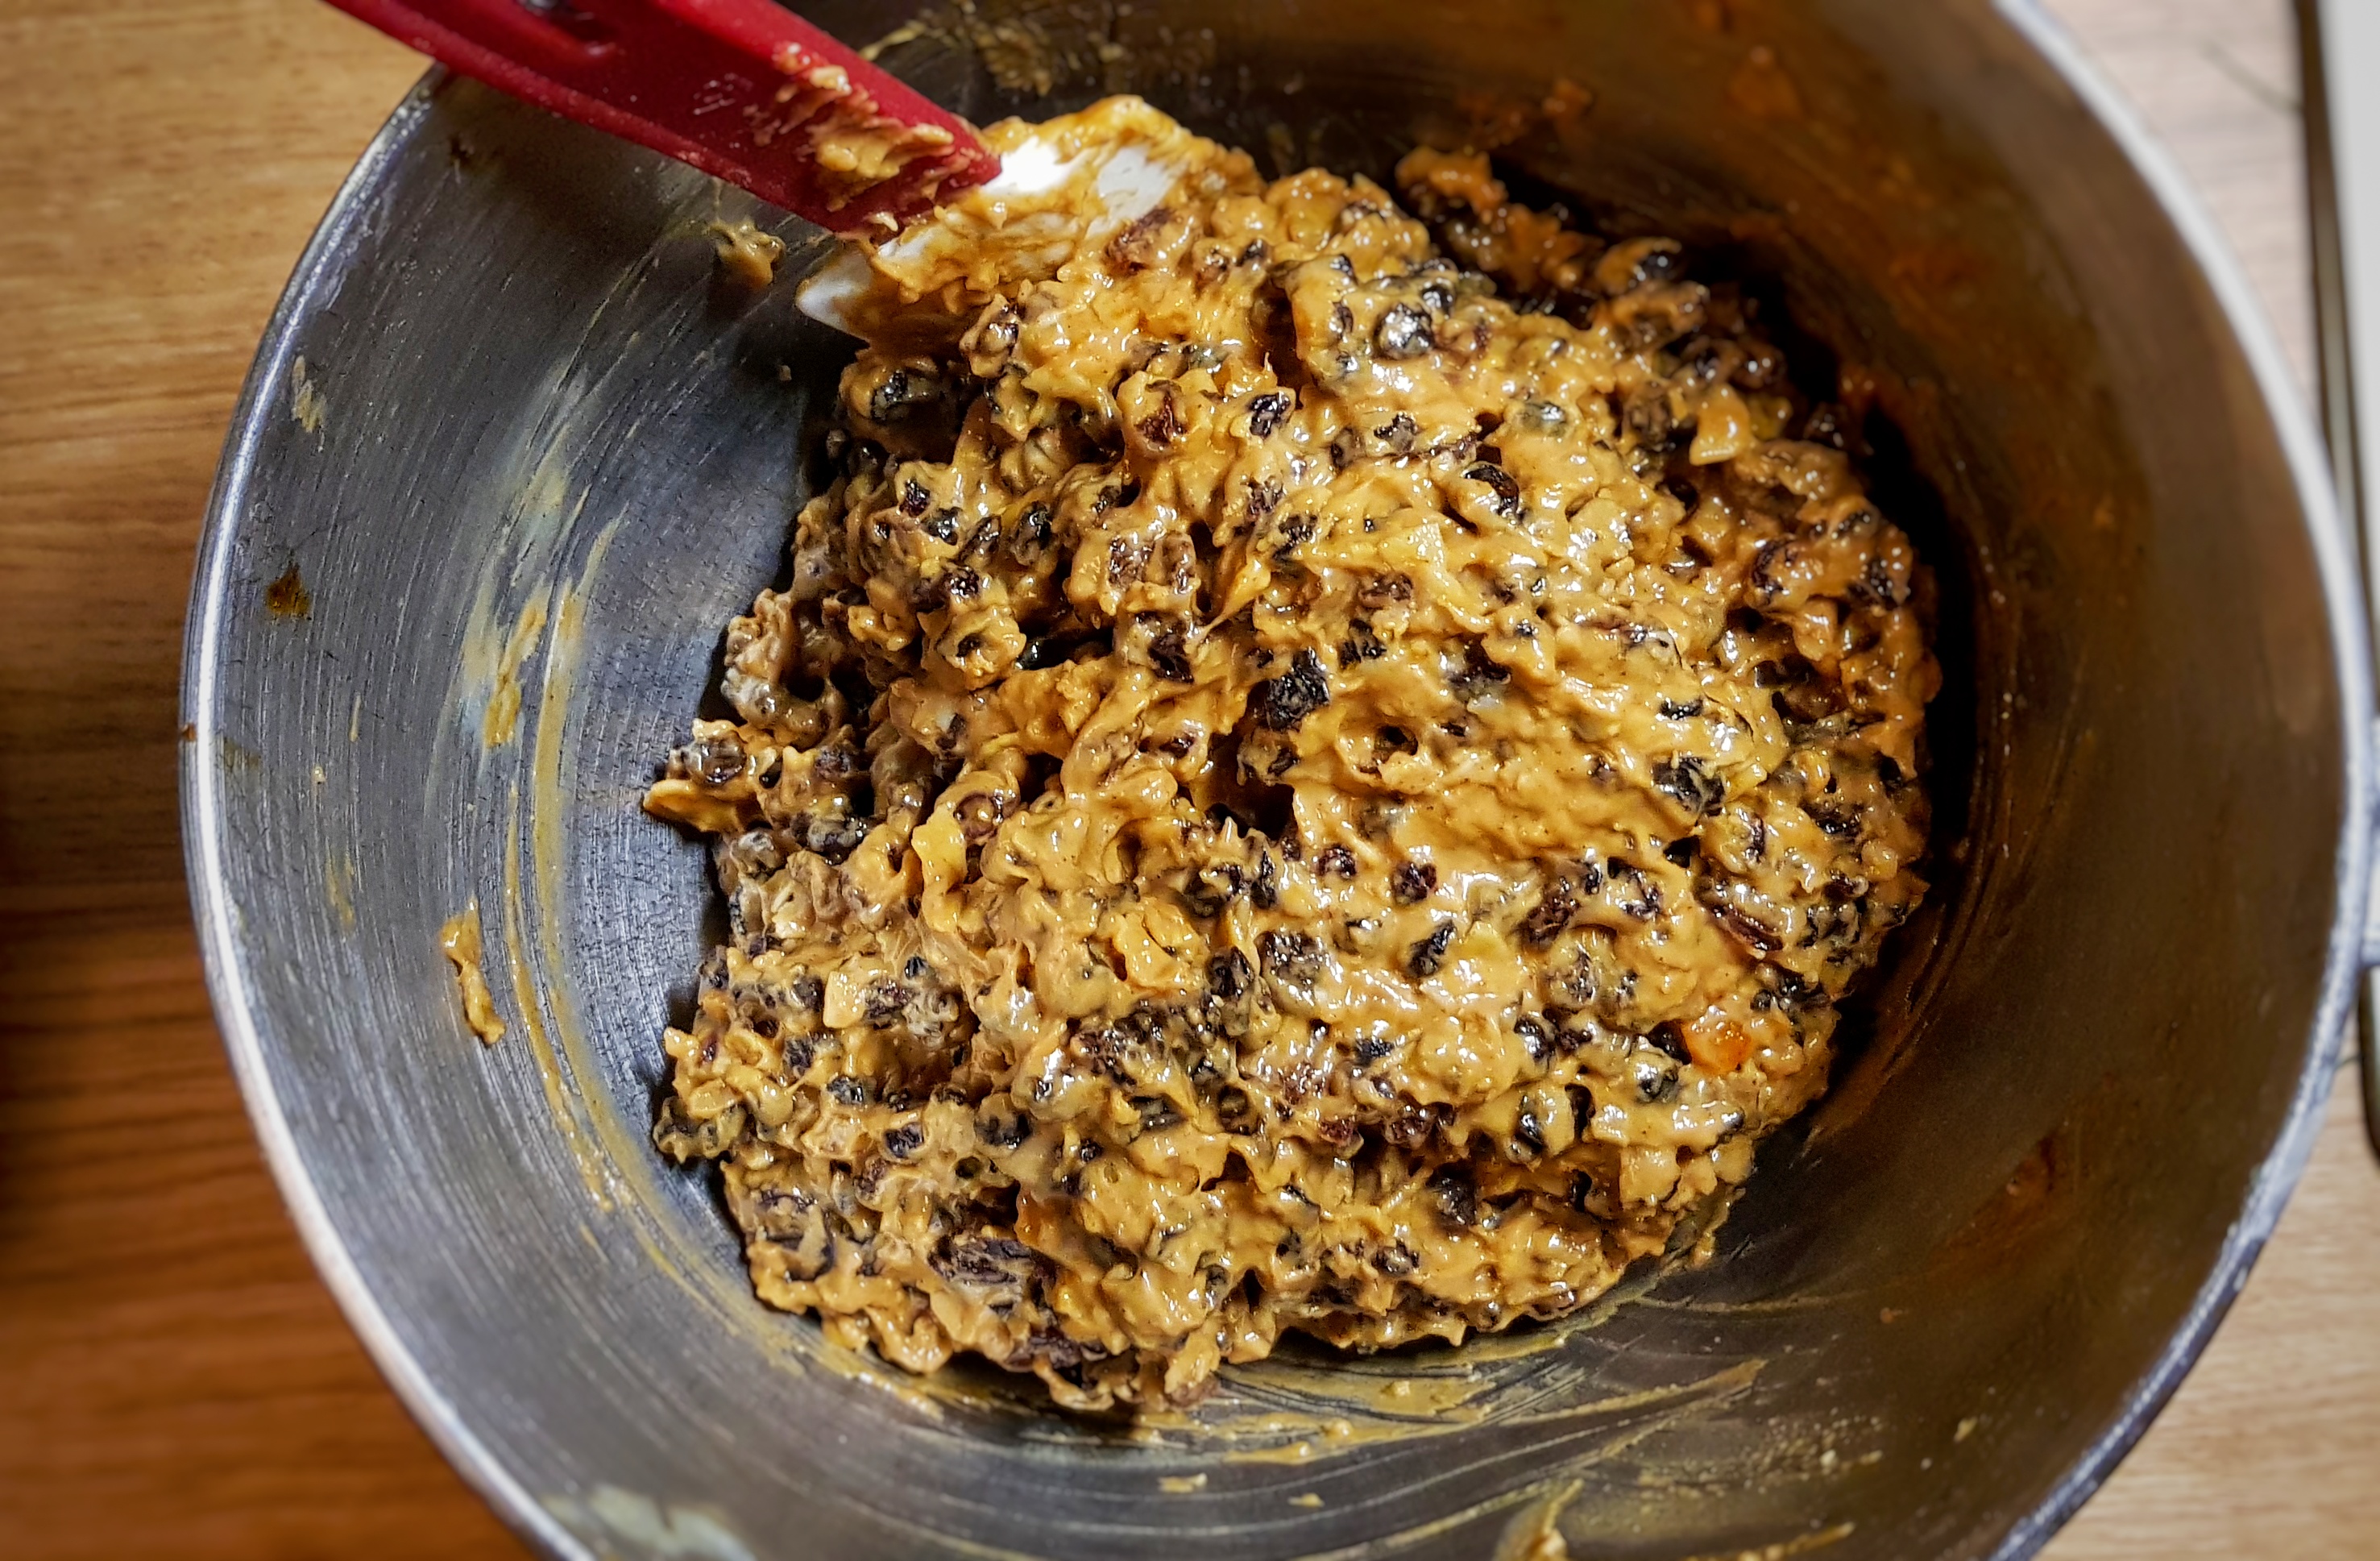
The filling:
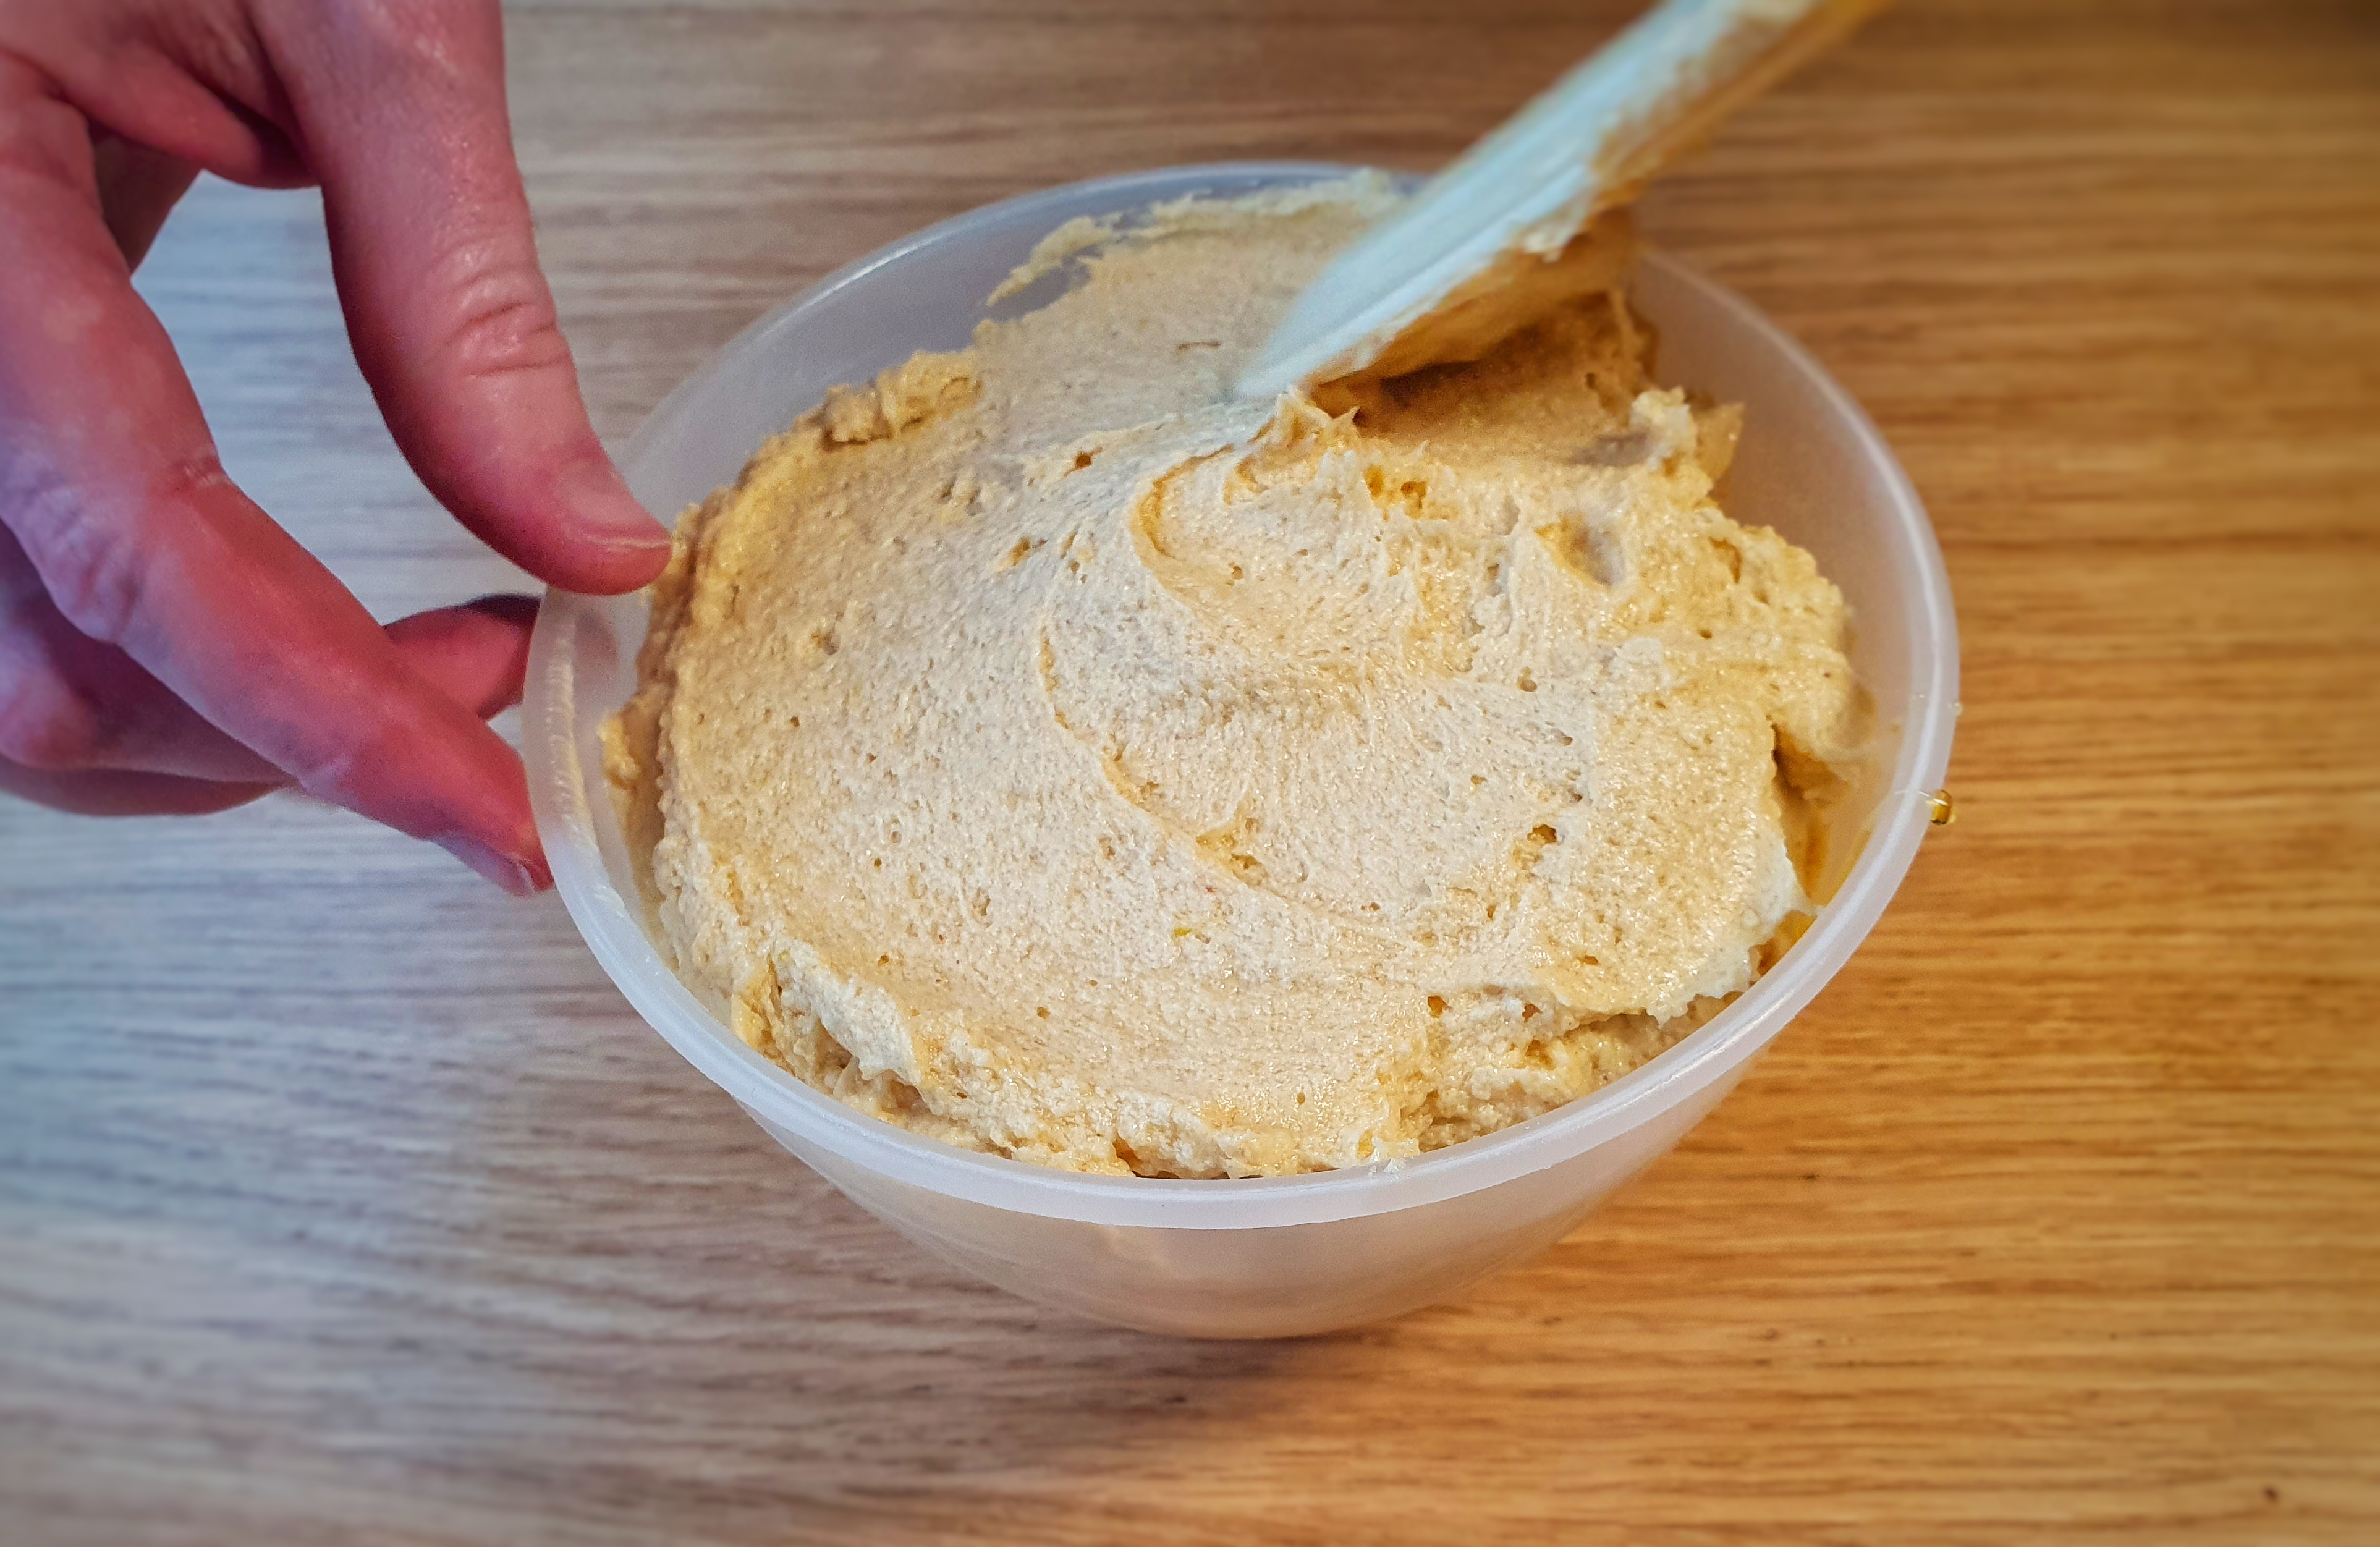
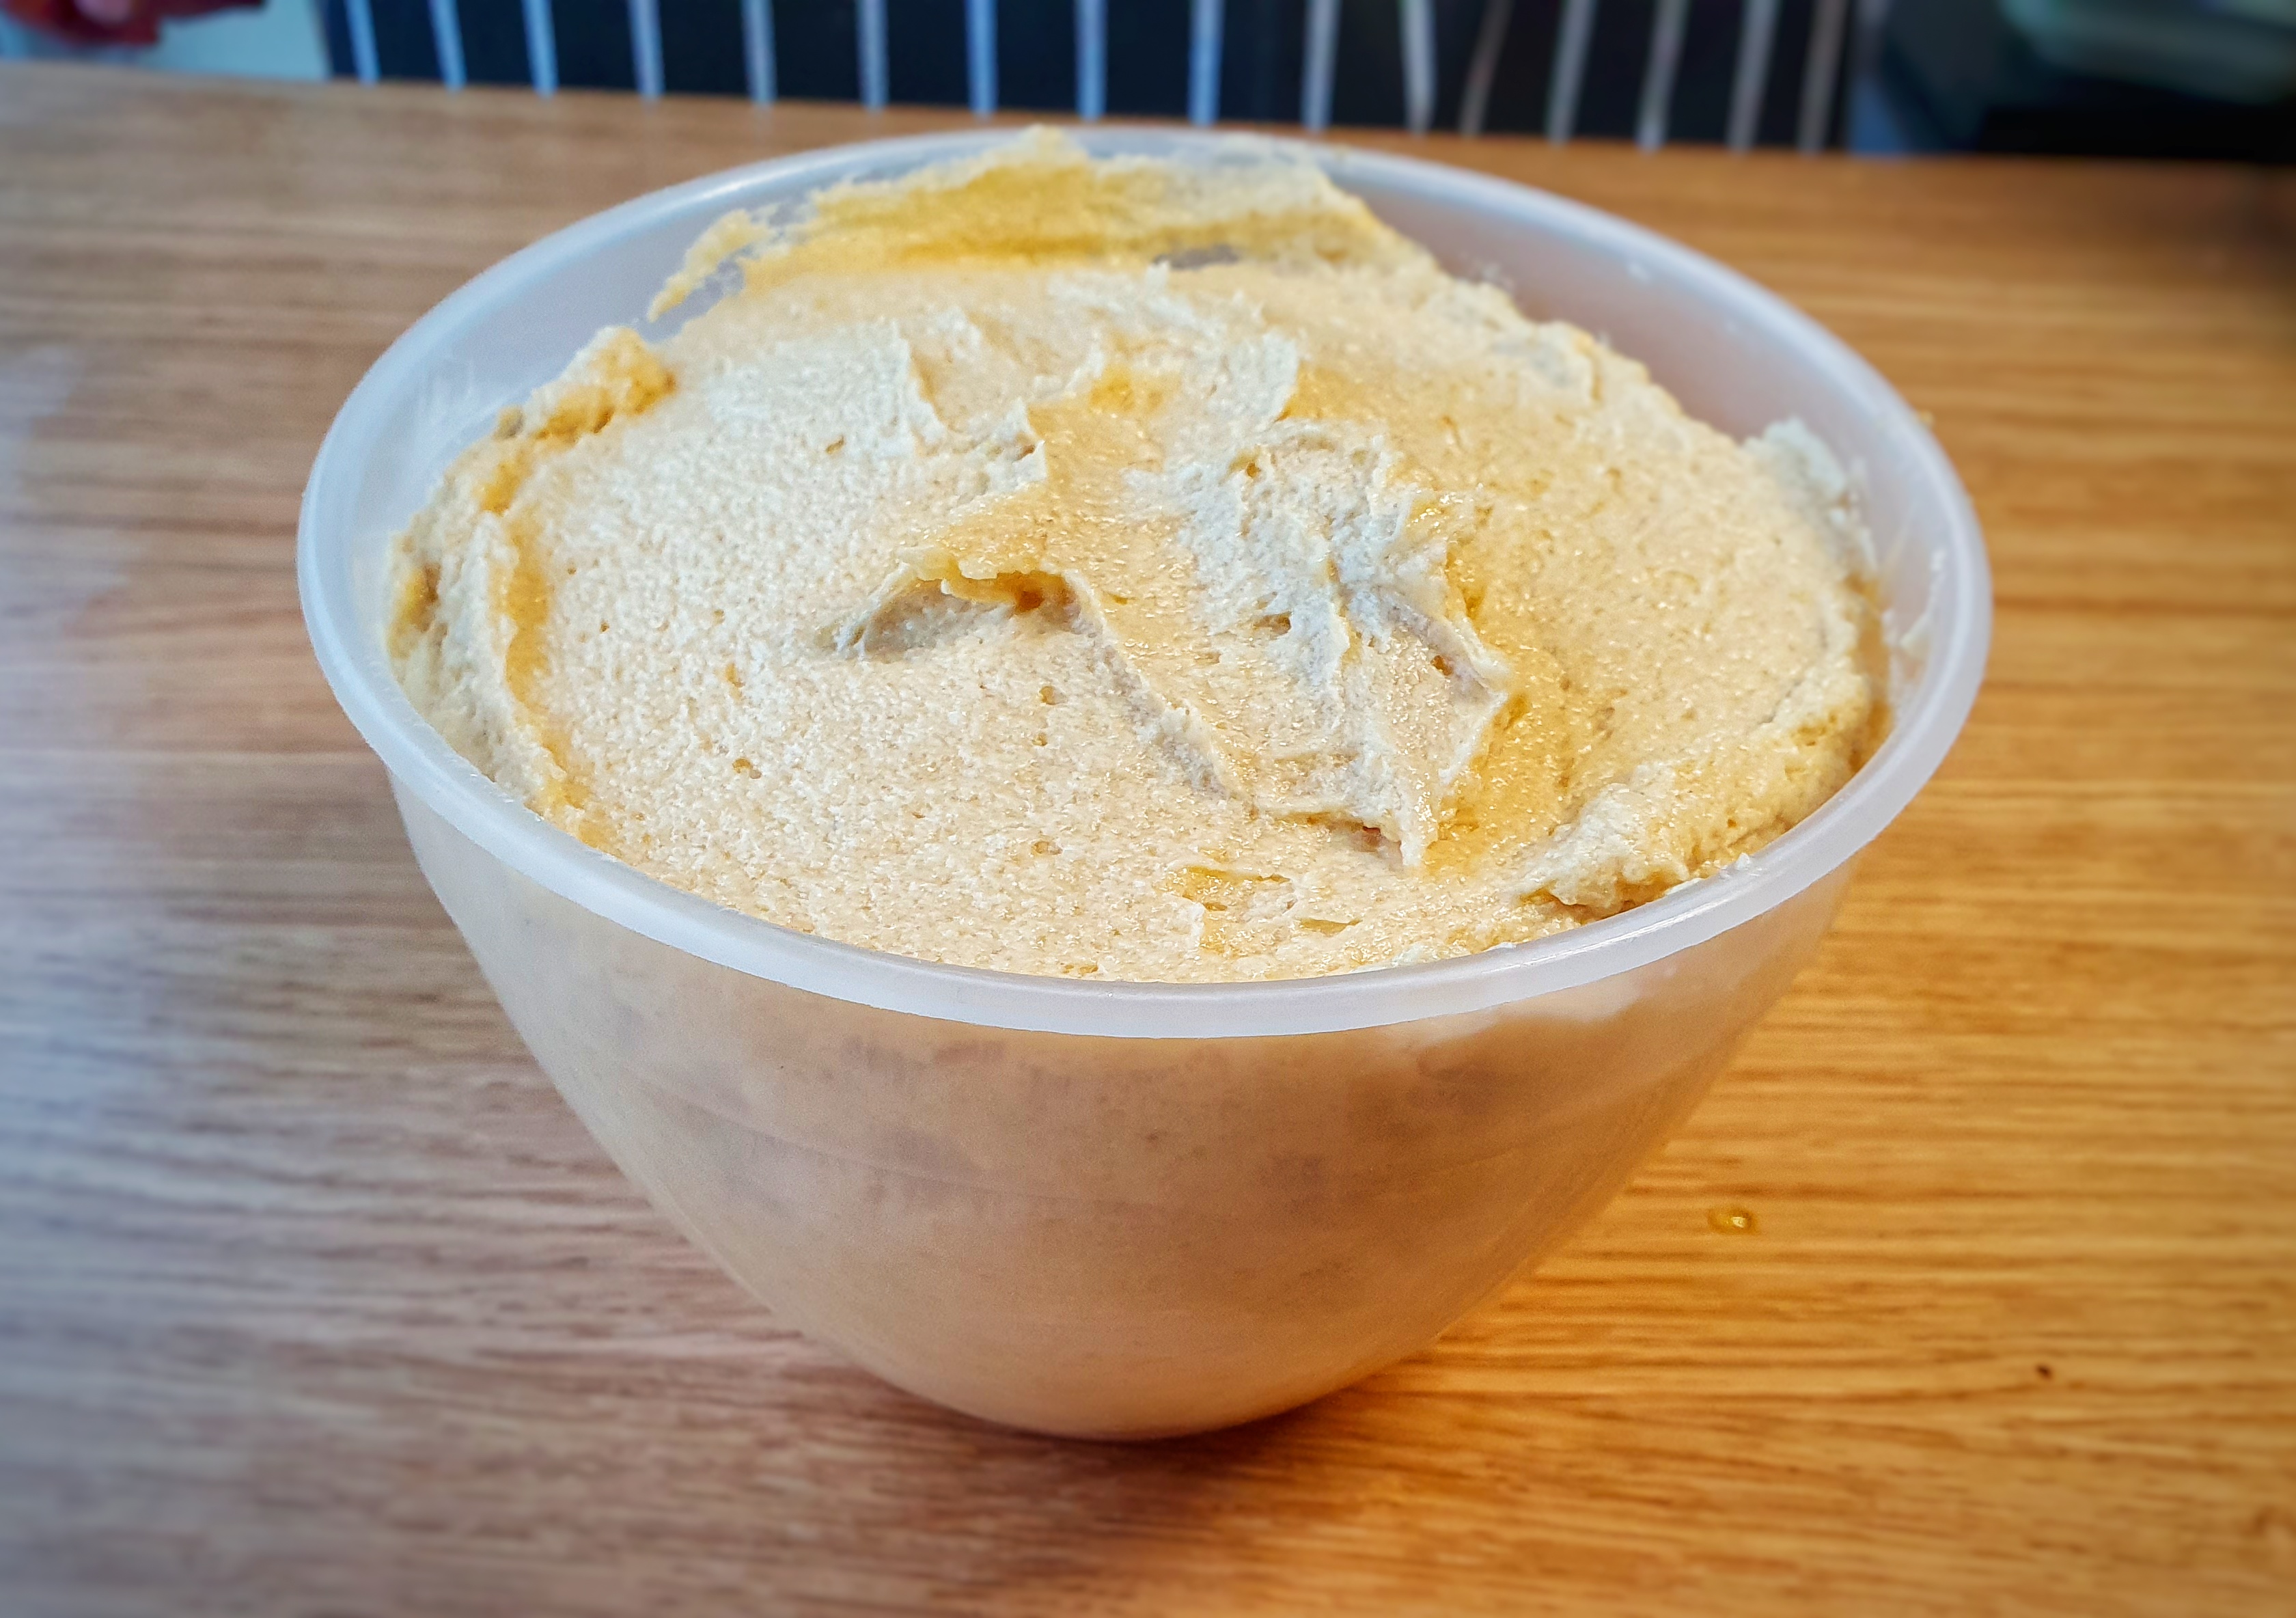
This makes around 2 ¼ litres of well-packed filling, but I do intend to make two large pies at least and lots of smaller ones, so scale down if need be. It keeps for months if left somewhere dark, dry and cool; and remember mince pies are for life, not just for Christmas.
500 g lean lamb
200 g lamb or beef suet, membrane and sinew removed (packet stuff is acceptable if fresh is unavailable)
350 g apples, peeled and cored
120 g almonds
250 g each currants, raisins and sultanas
300 g soft, dark brown sugar
100 g chopped candied peel
Juice and zest of 2 oranges
120 ml dark rum
1 tsp salt
½ tsp ground black pepper
1 tsp each ground mace and cinnamon
½ freshly grated nutmeg
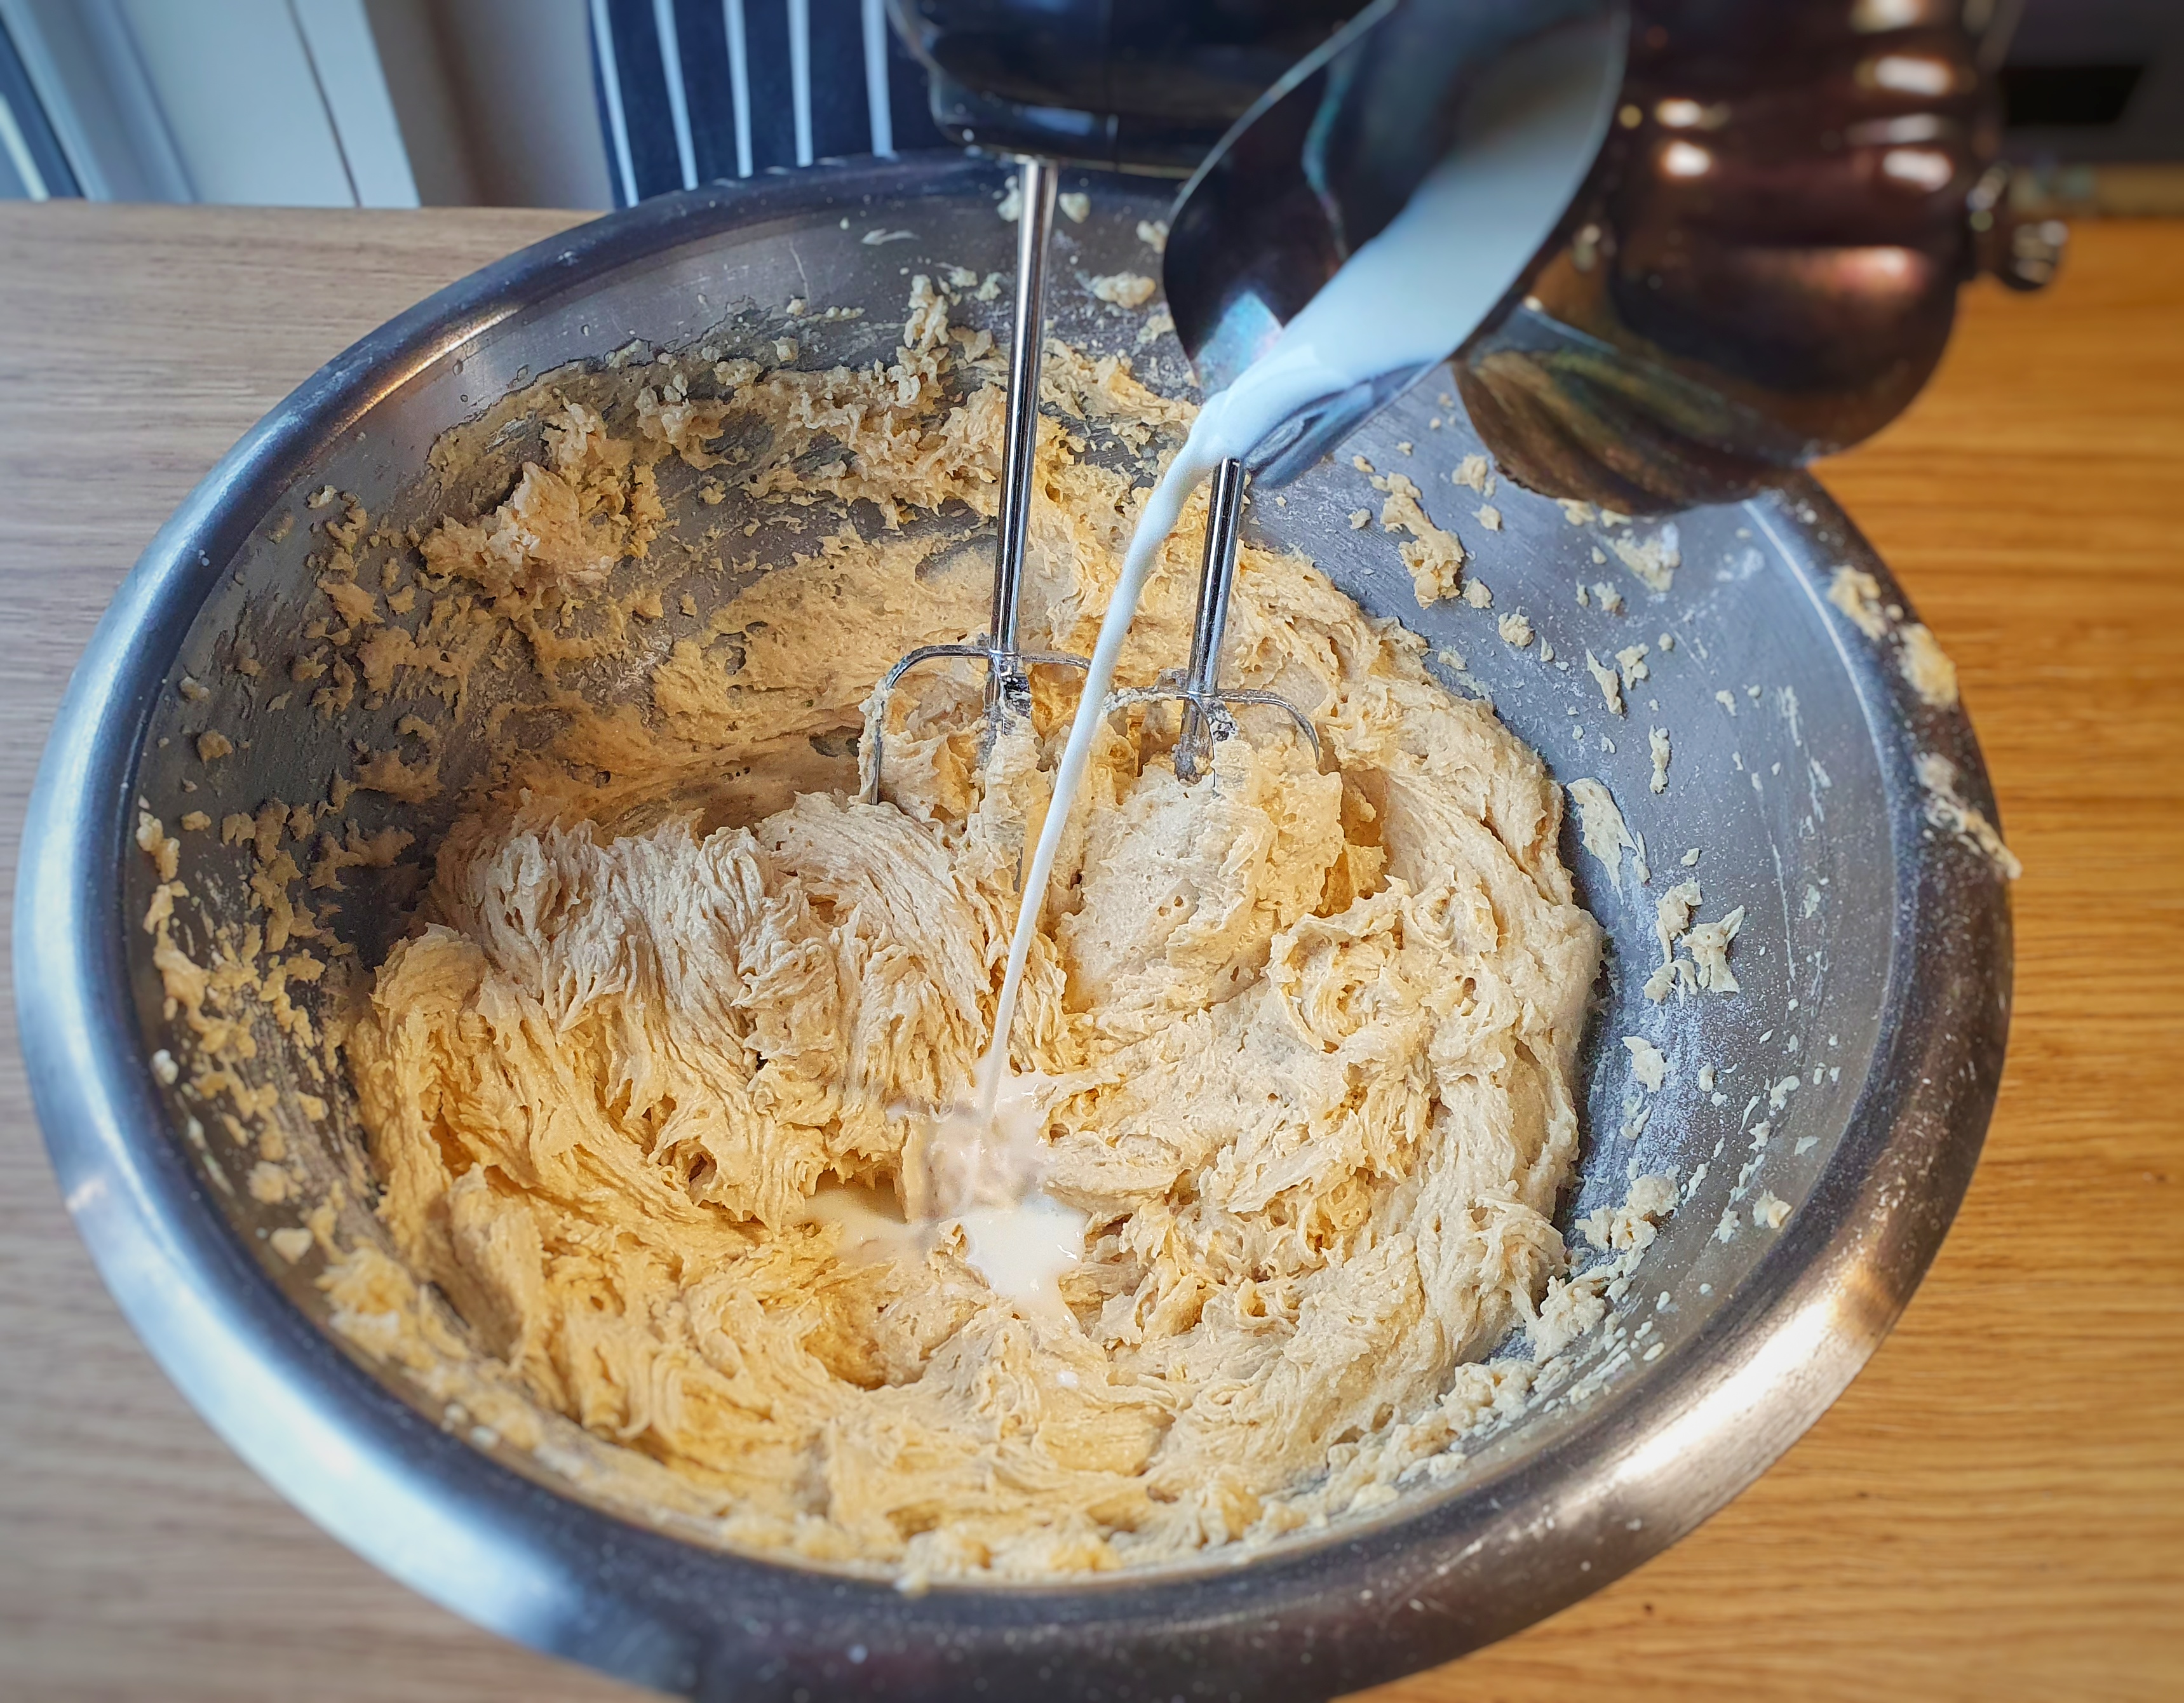
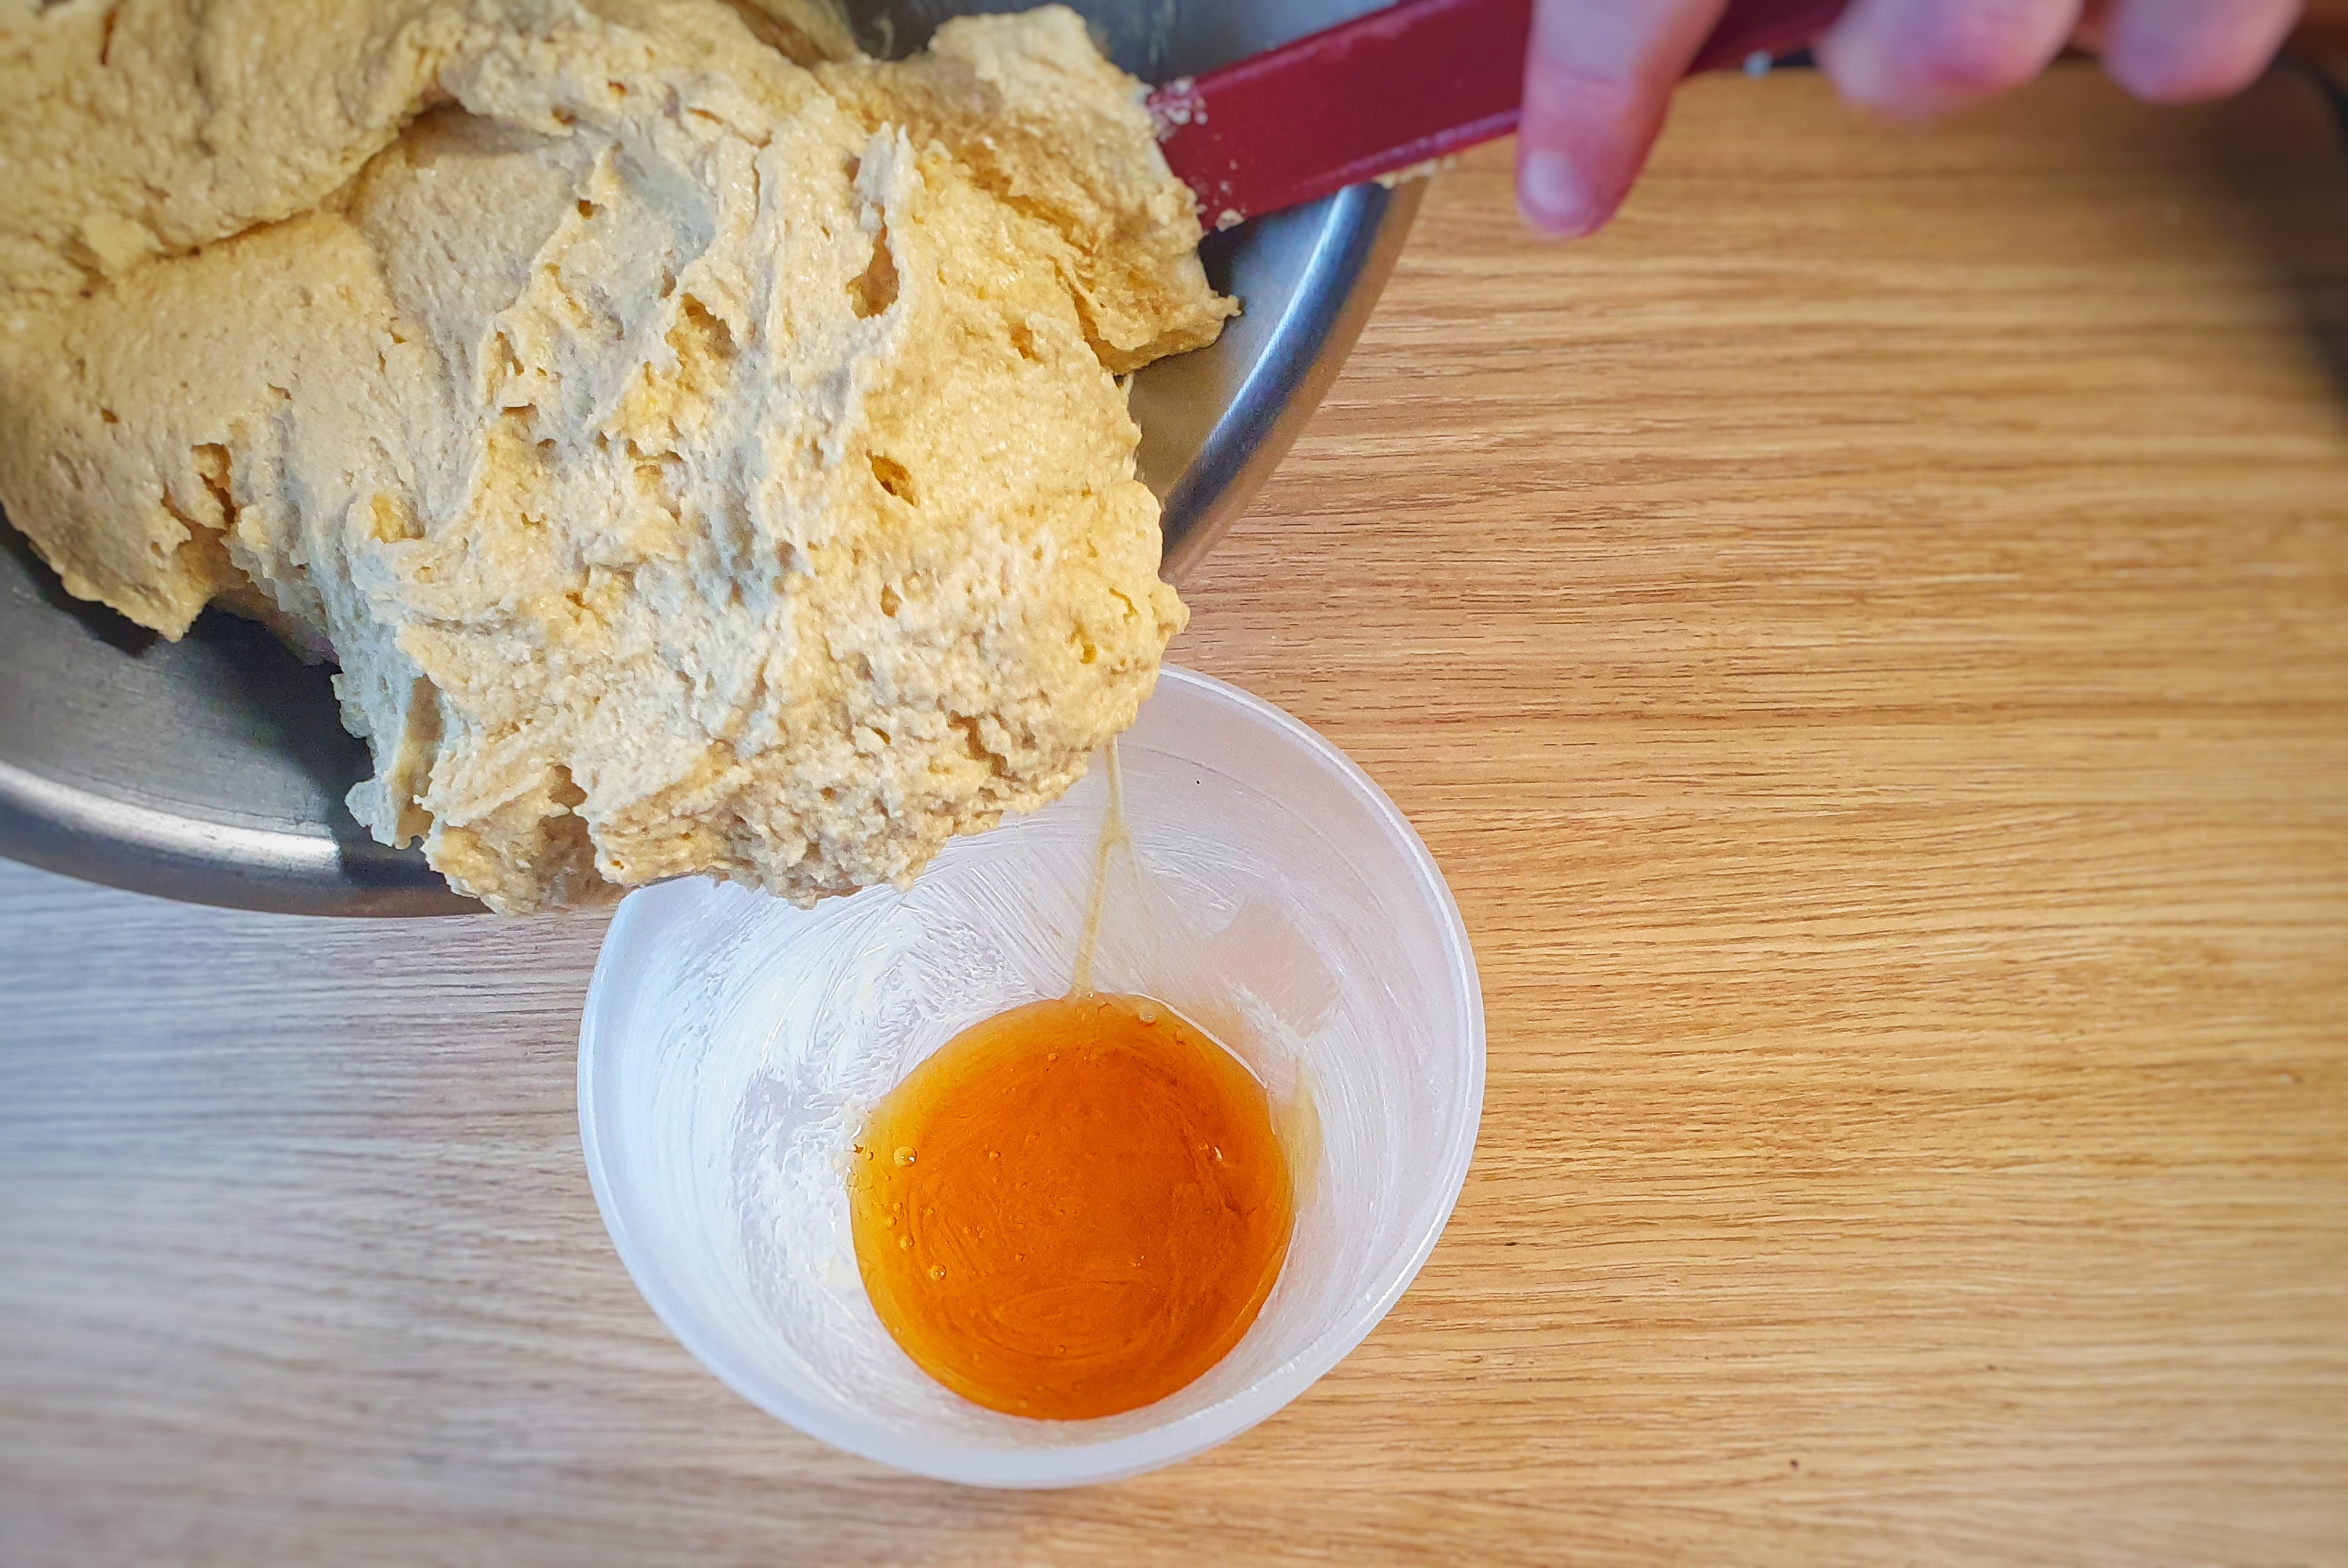
To make a truly ‘minced’ meat, you need to chop the meat, suet, apples and almonds quite finely. (You can, of course, use minced lamb, slivered almonds and grated apple and suet).
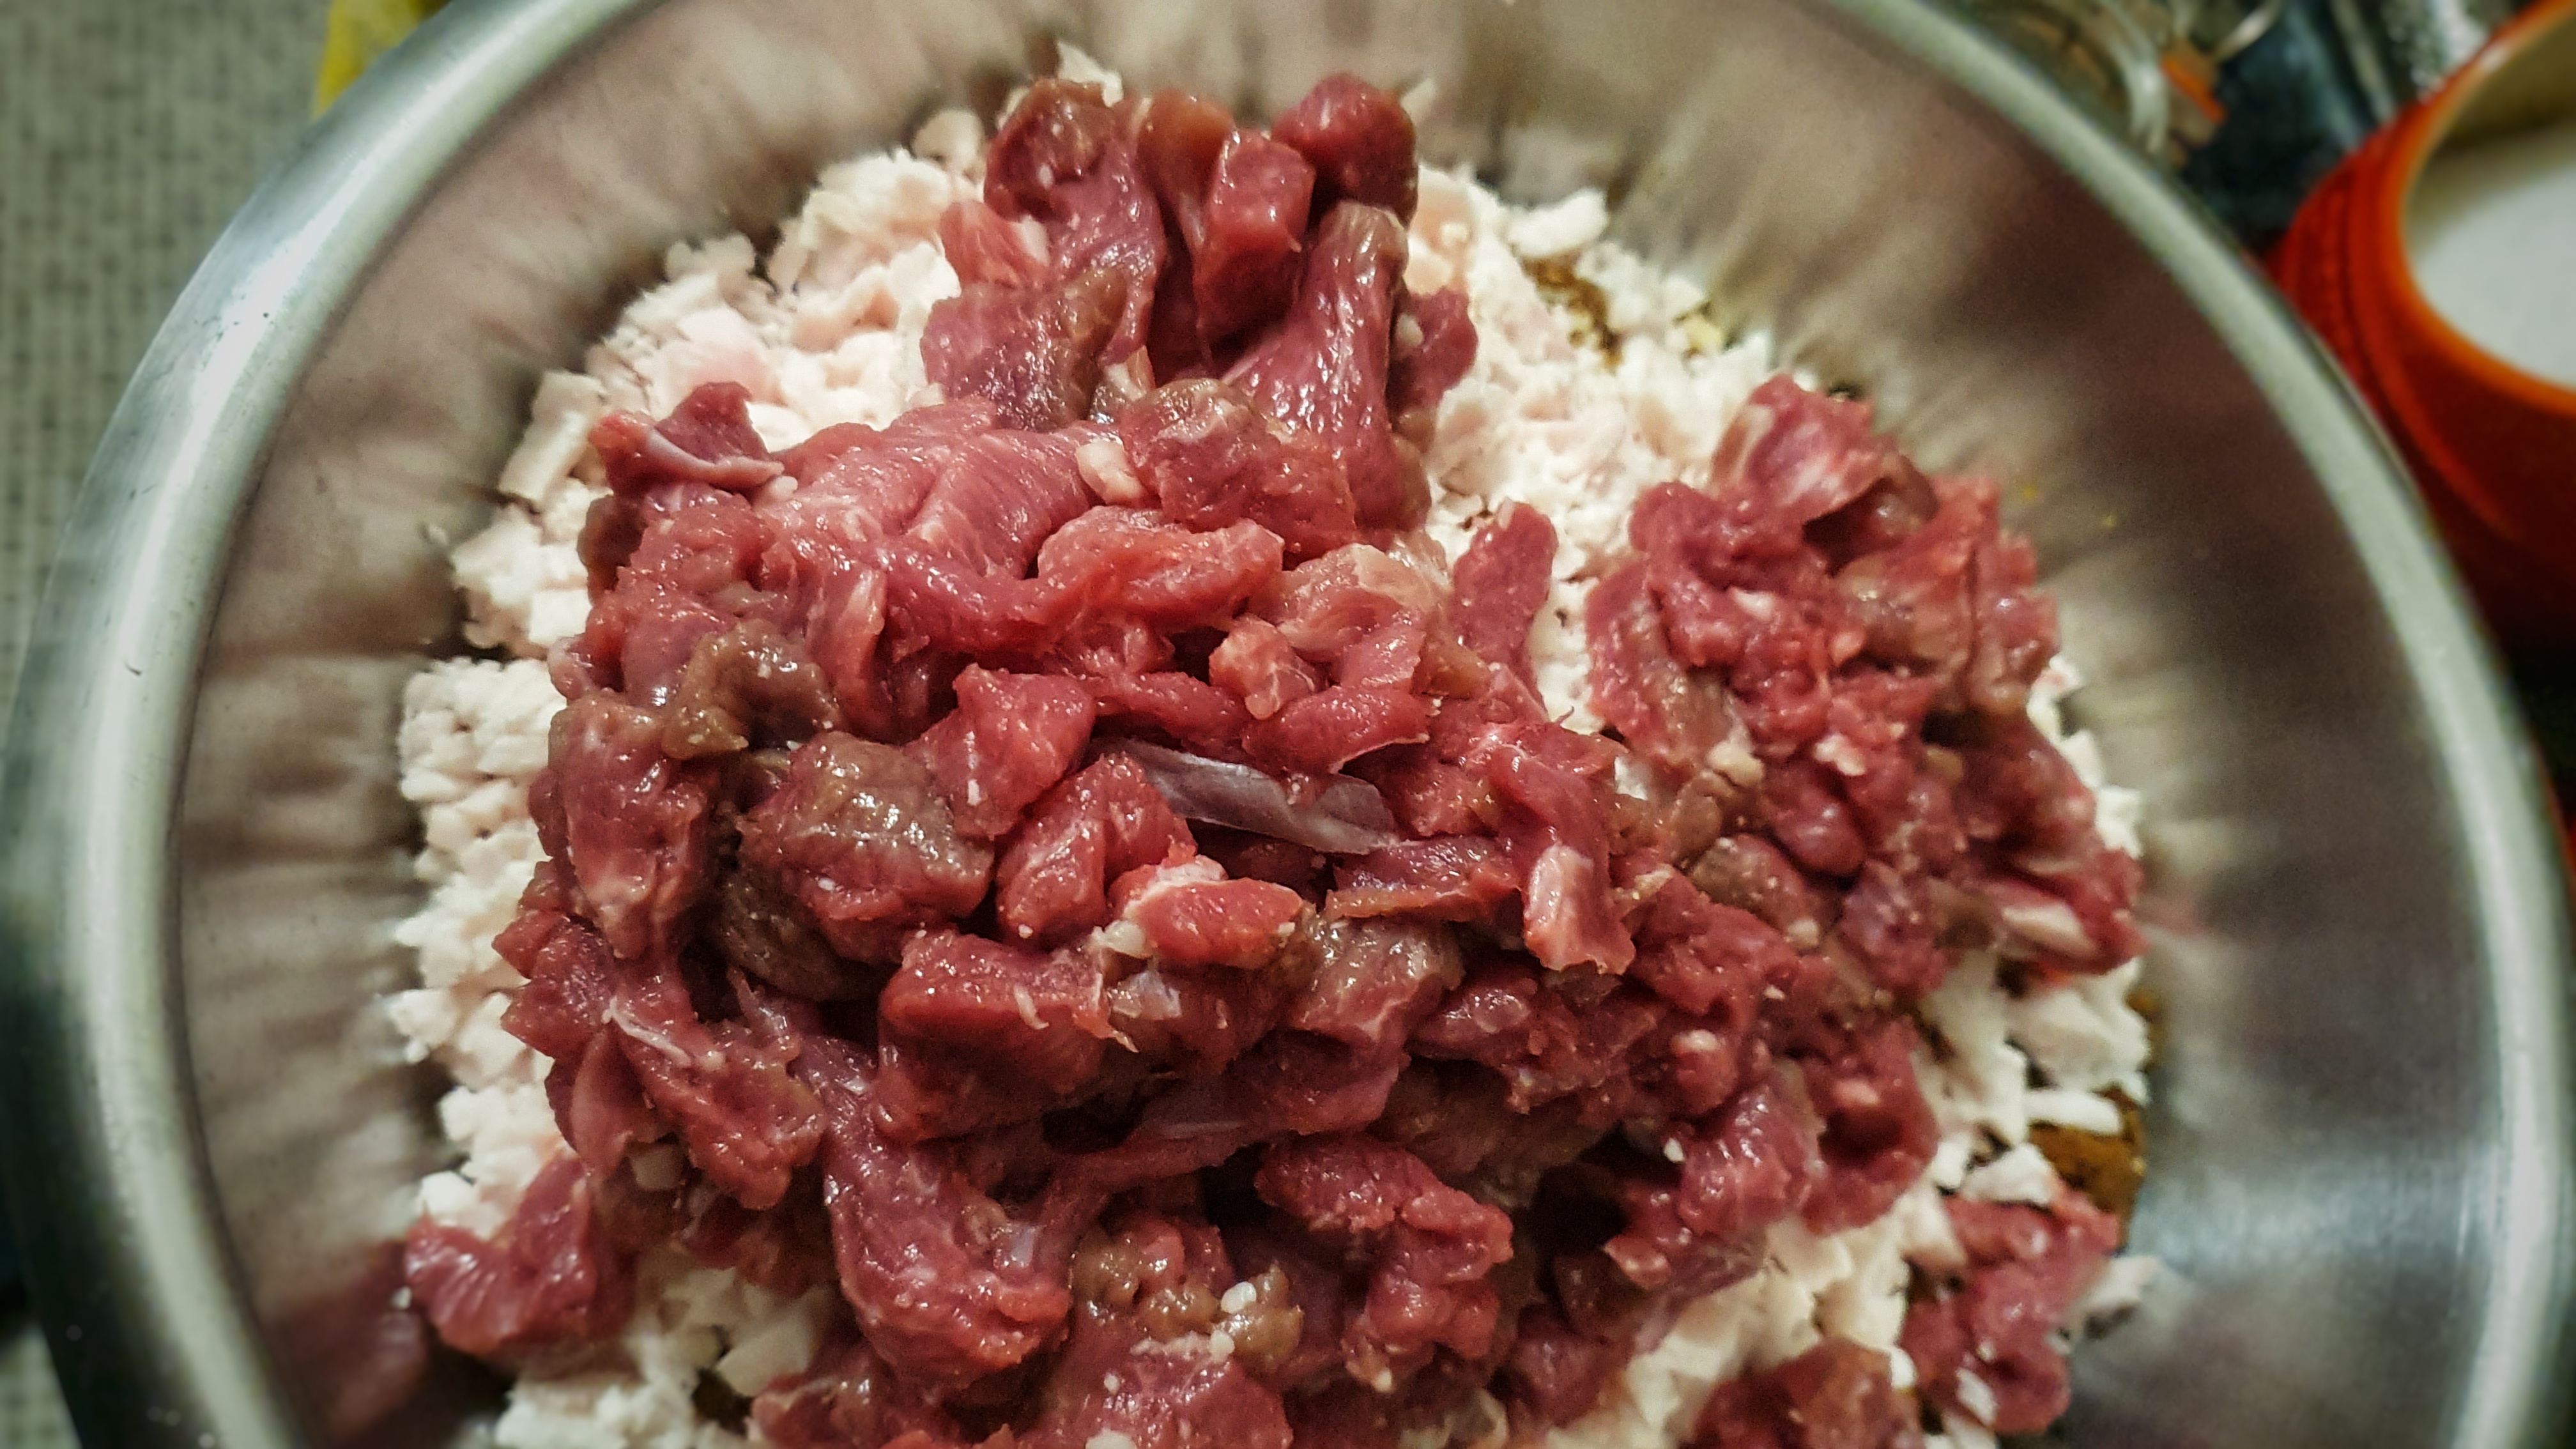
Mix everything together in a large bowl and pack tightly into sterilised jars.[5] Leave to mature for at least a week before using.
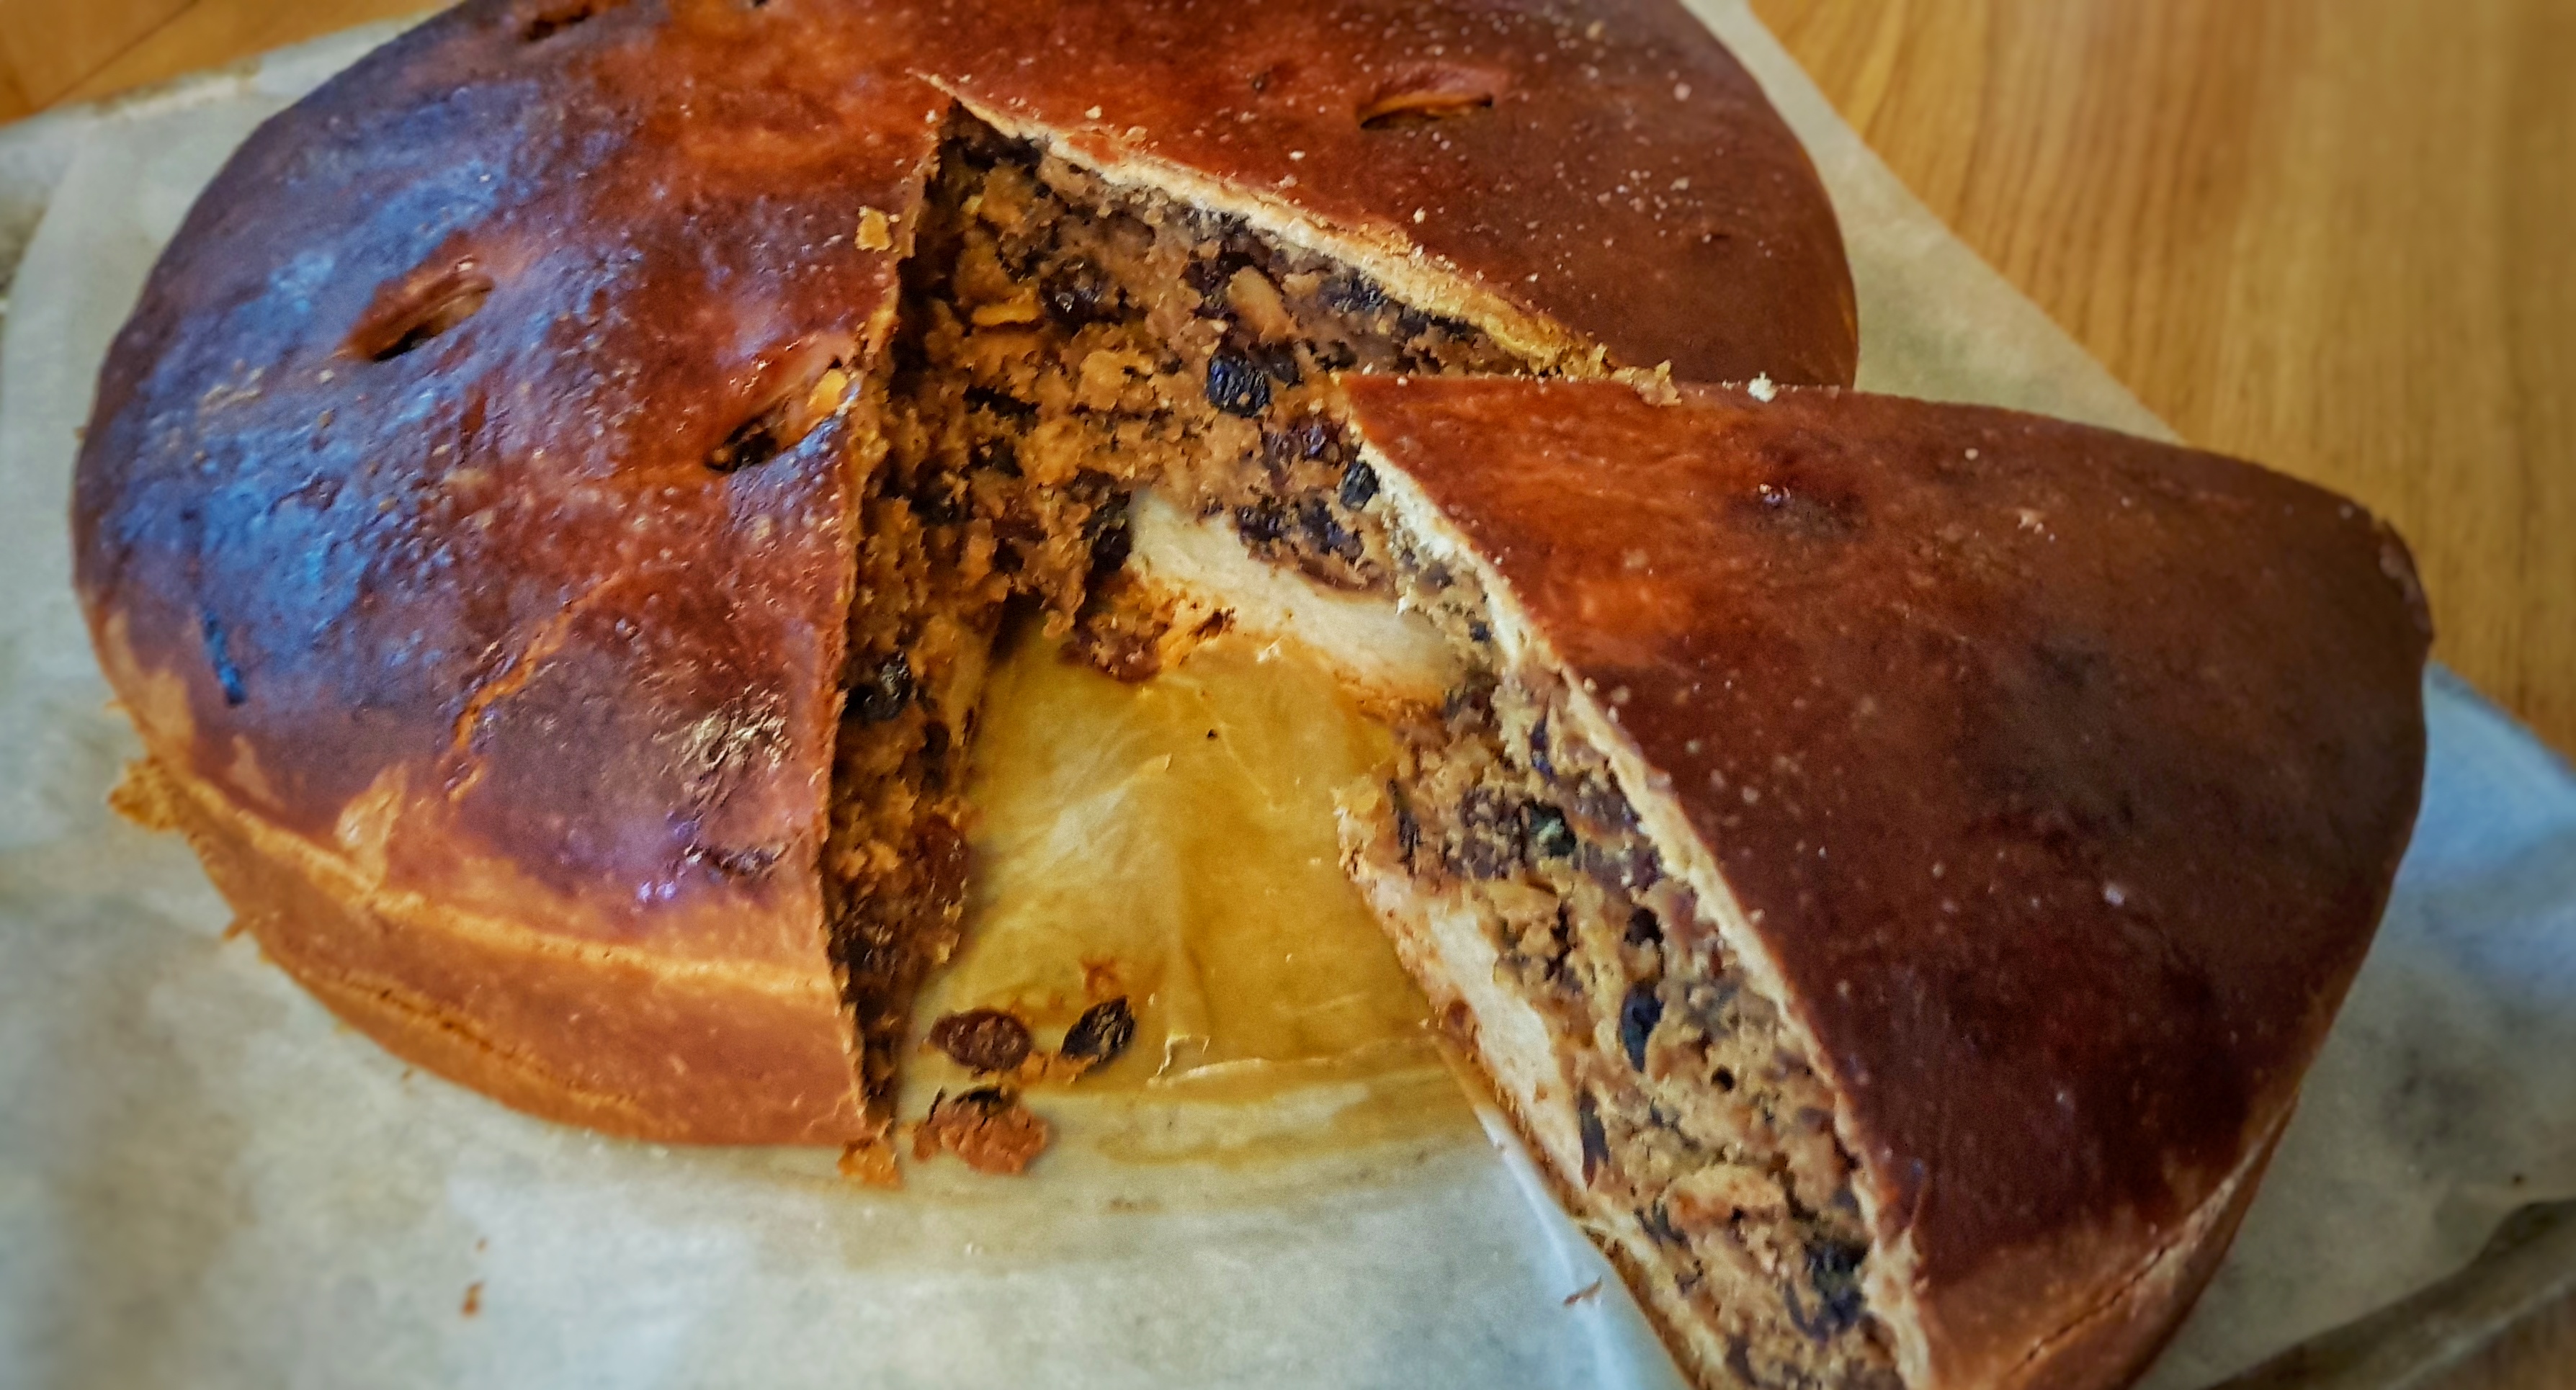
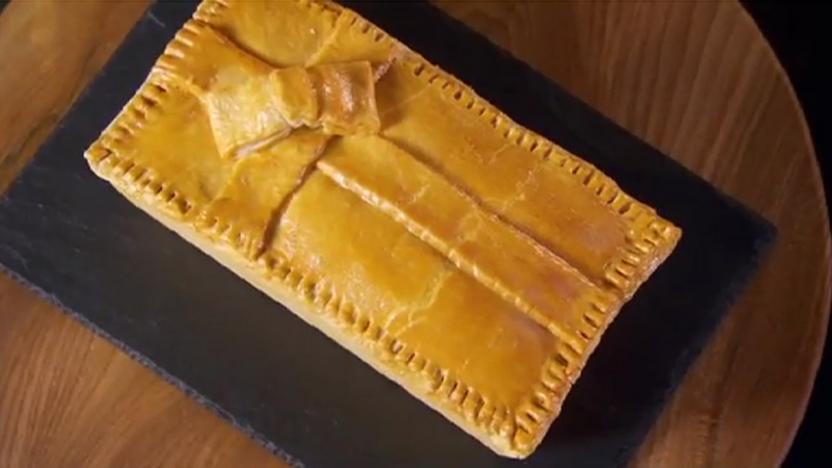
The pie:
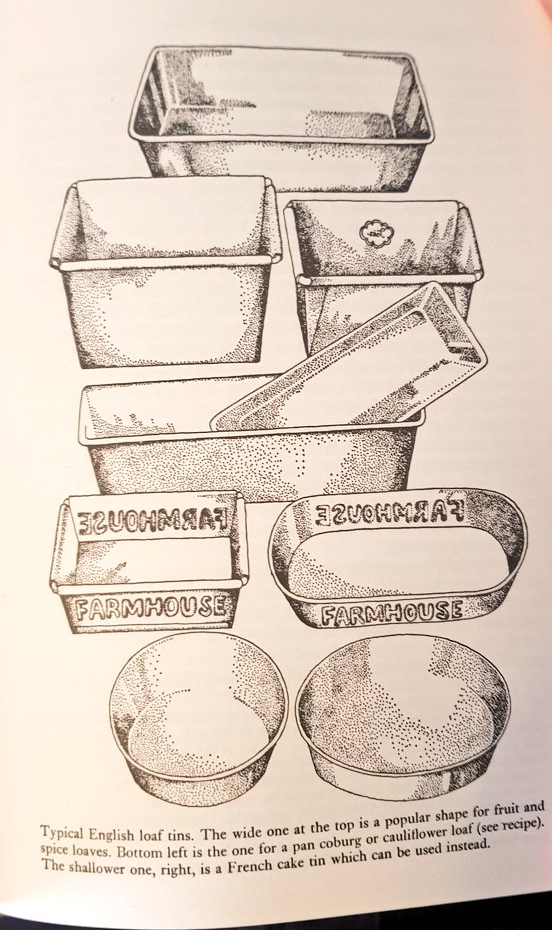
These pies were made on pie plates, but you can make them in any flan or pie tin you like. For my 26 cm diameter pie plate I used the following amounts, though the pastry was quite thin, so you may want to proportion things up in line with perhaps 360 g flour. I will leave it to you to judge size and thinness. There are instructions on how to make small, individual mince pies here.
300 g plain flour
150 g butter, or 75 g each butter and lard
75 g caster or icing sugar
80-100 ml cold water
Egg wash: 1 egg beaten with ½ tsp salt
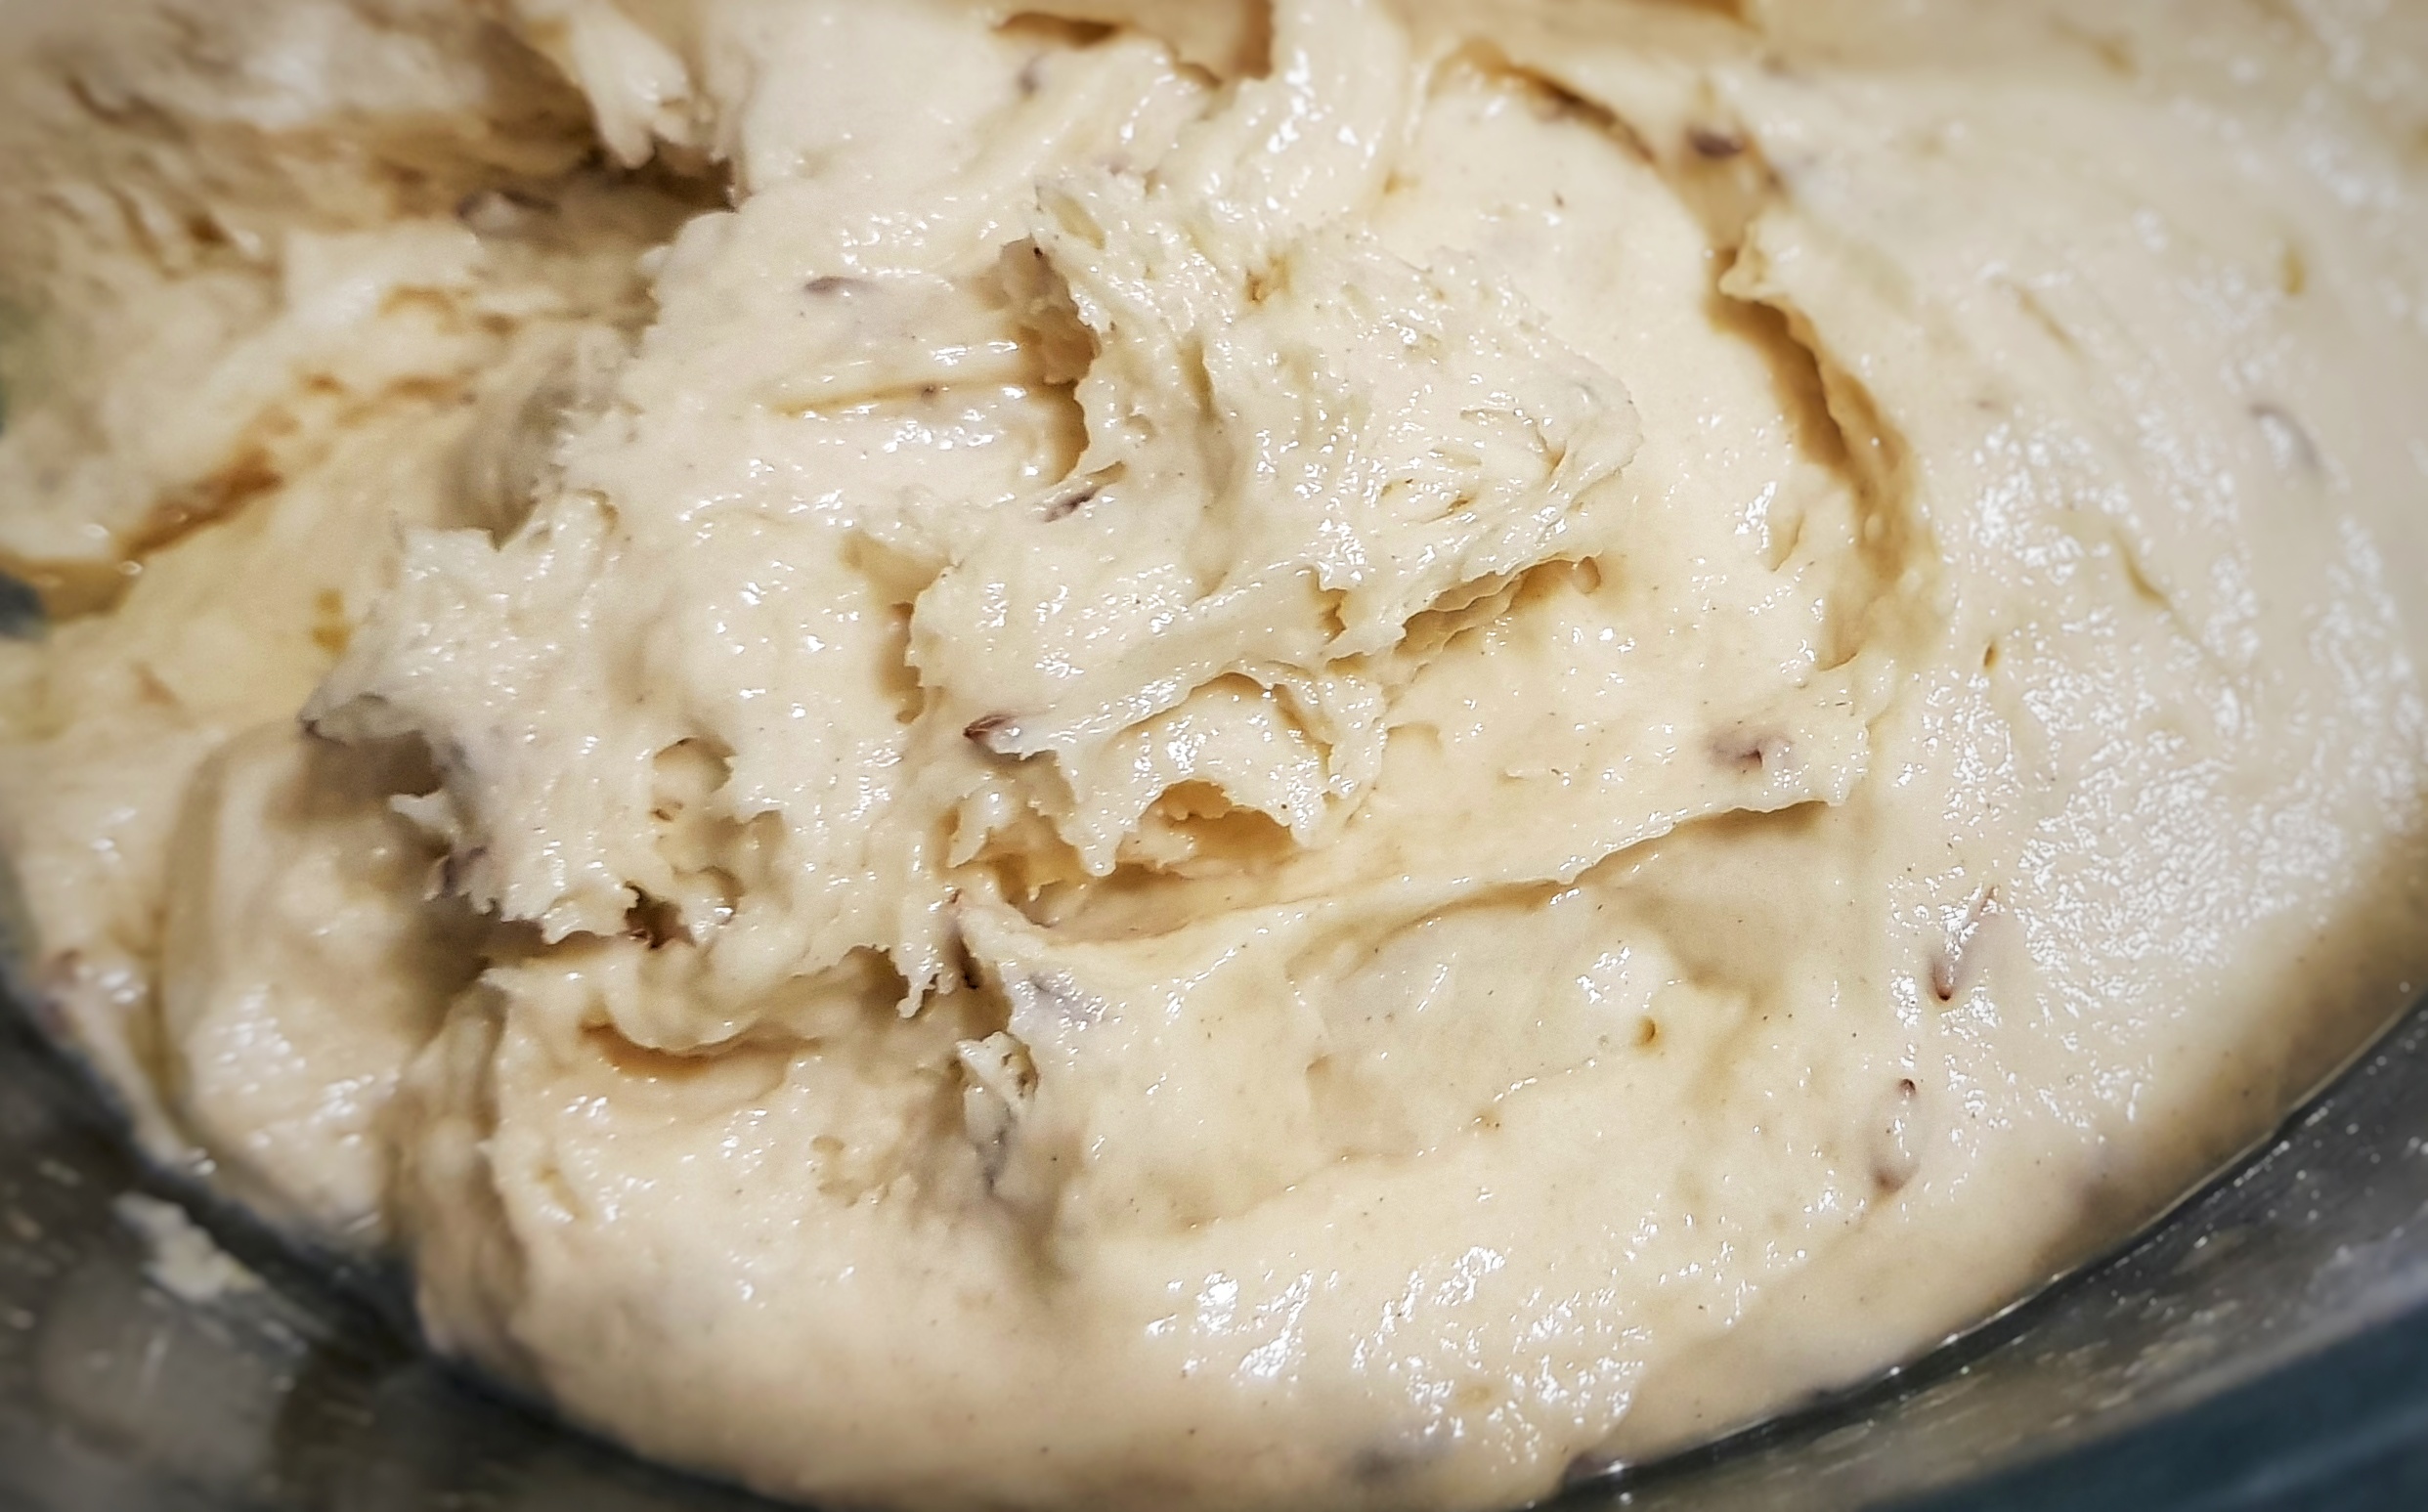
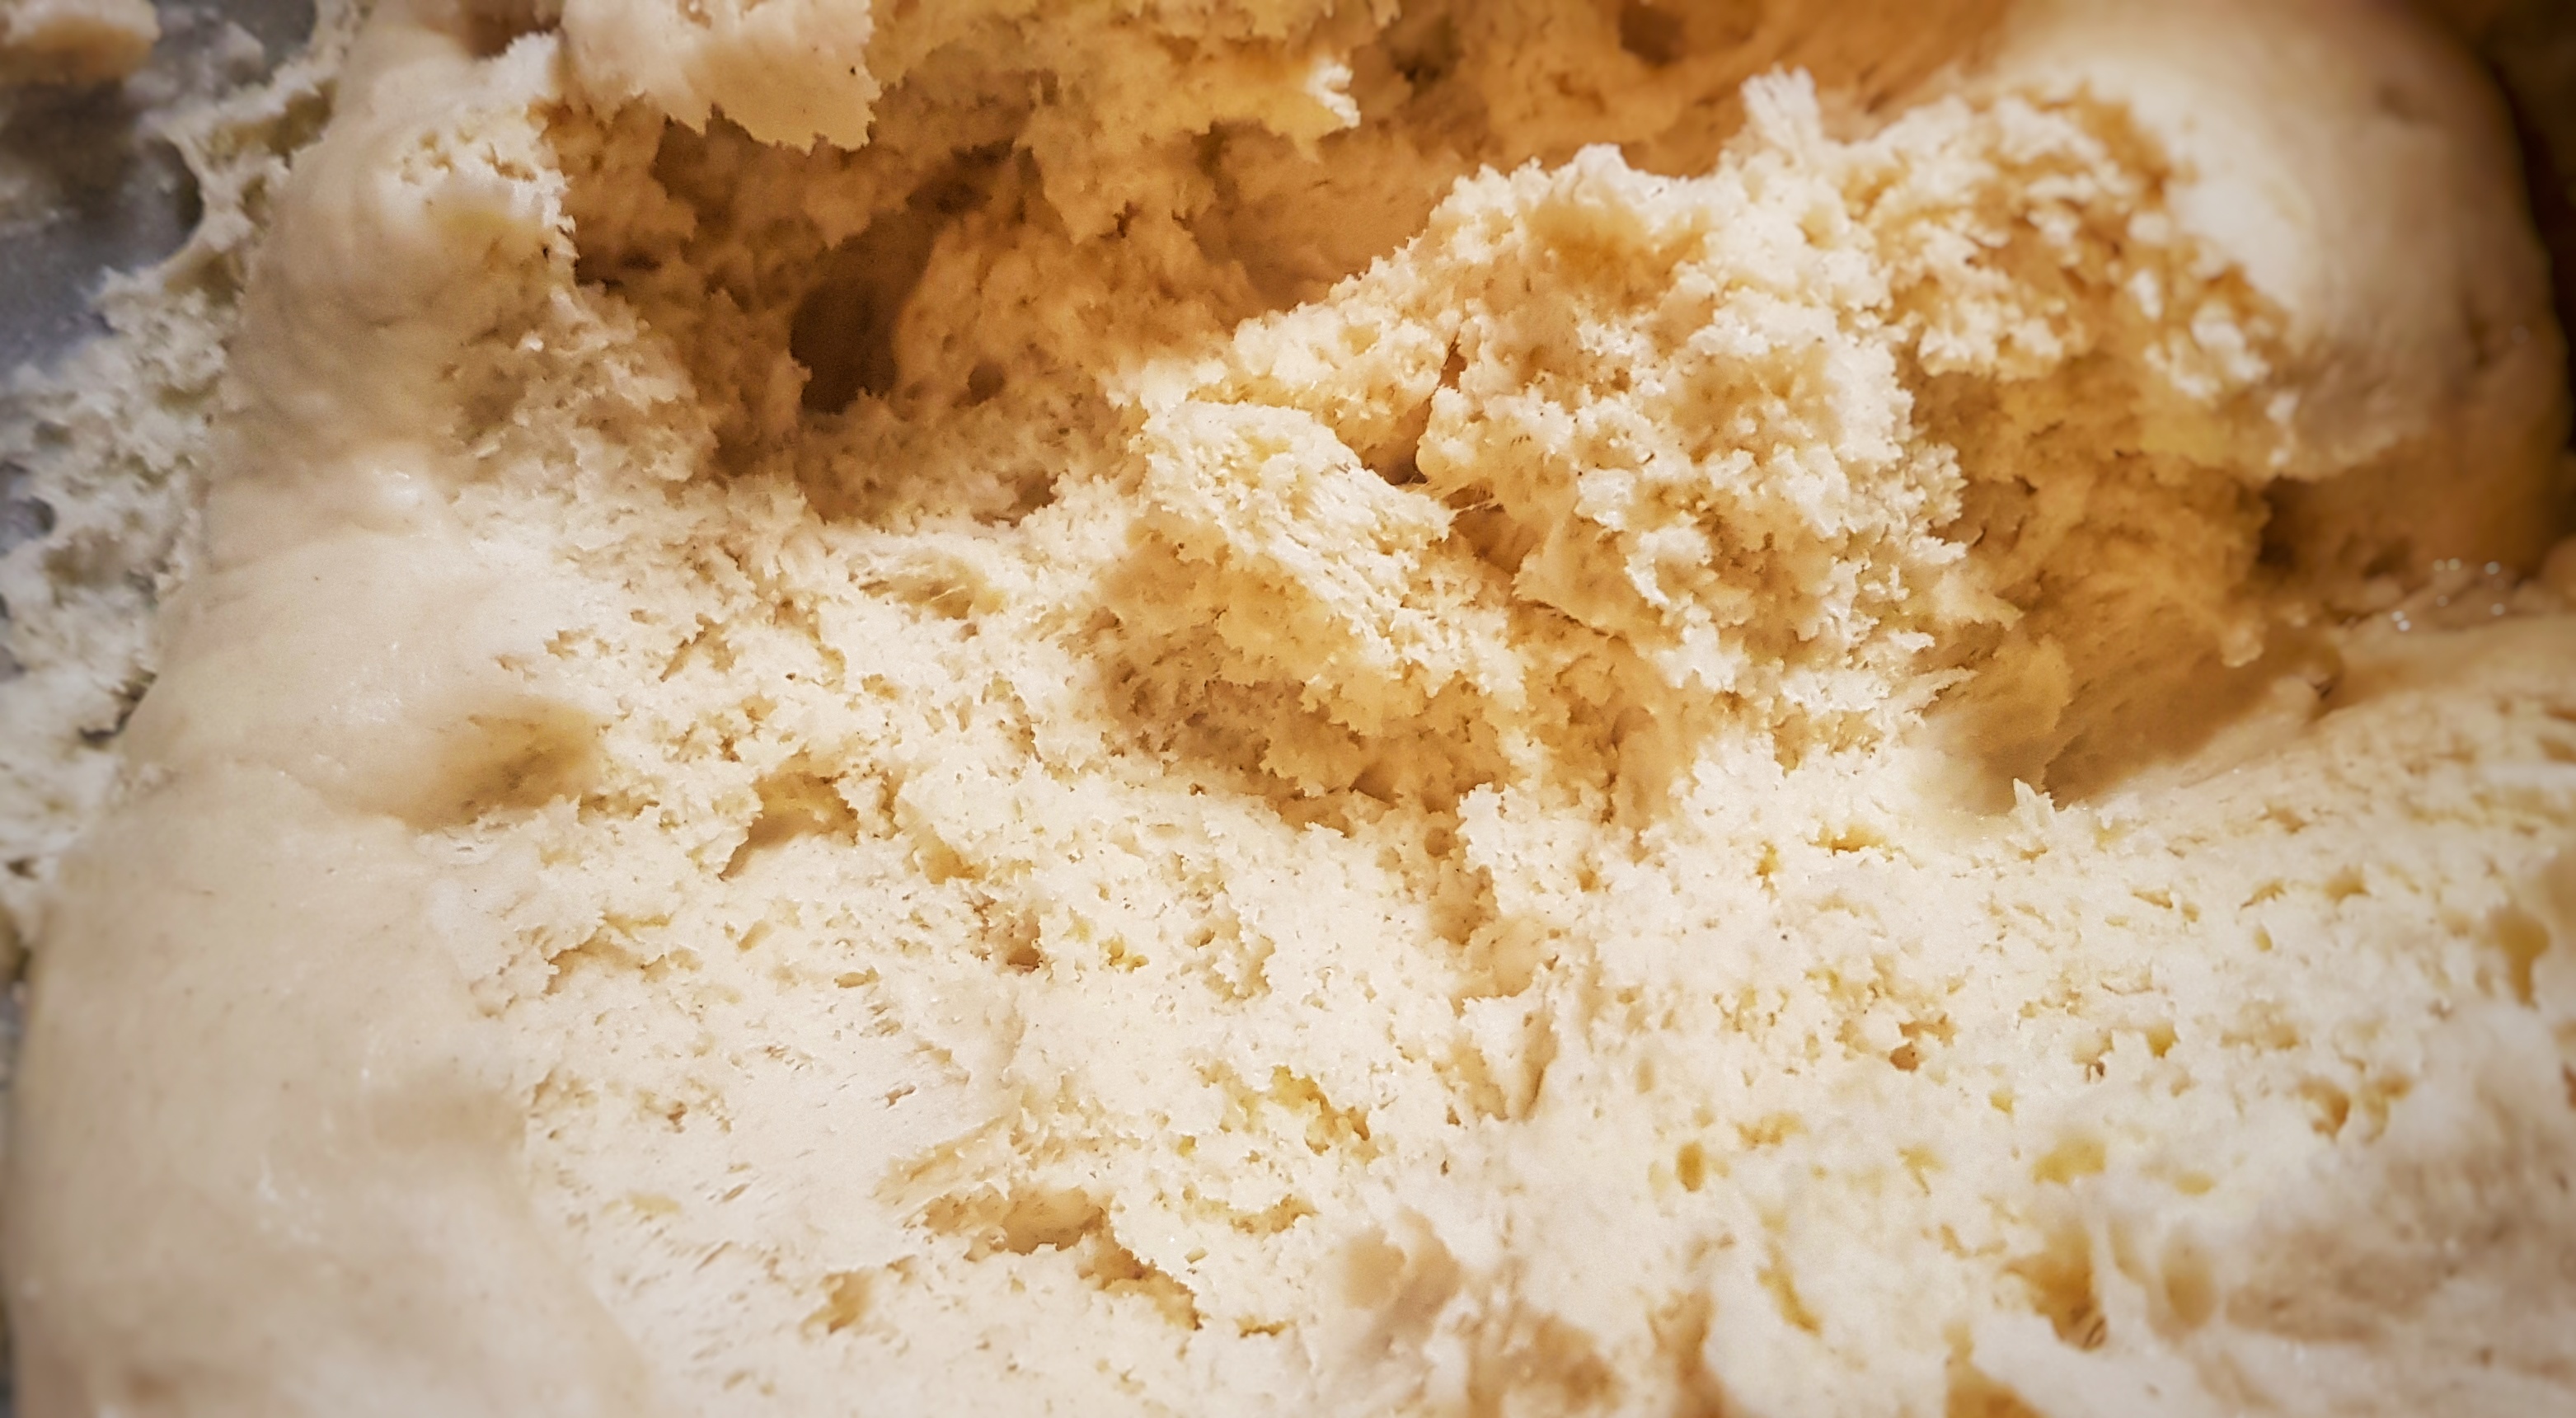
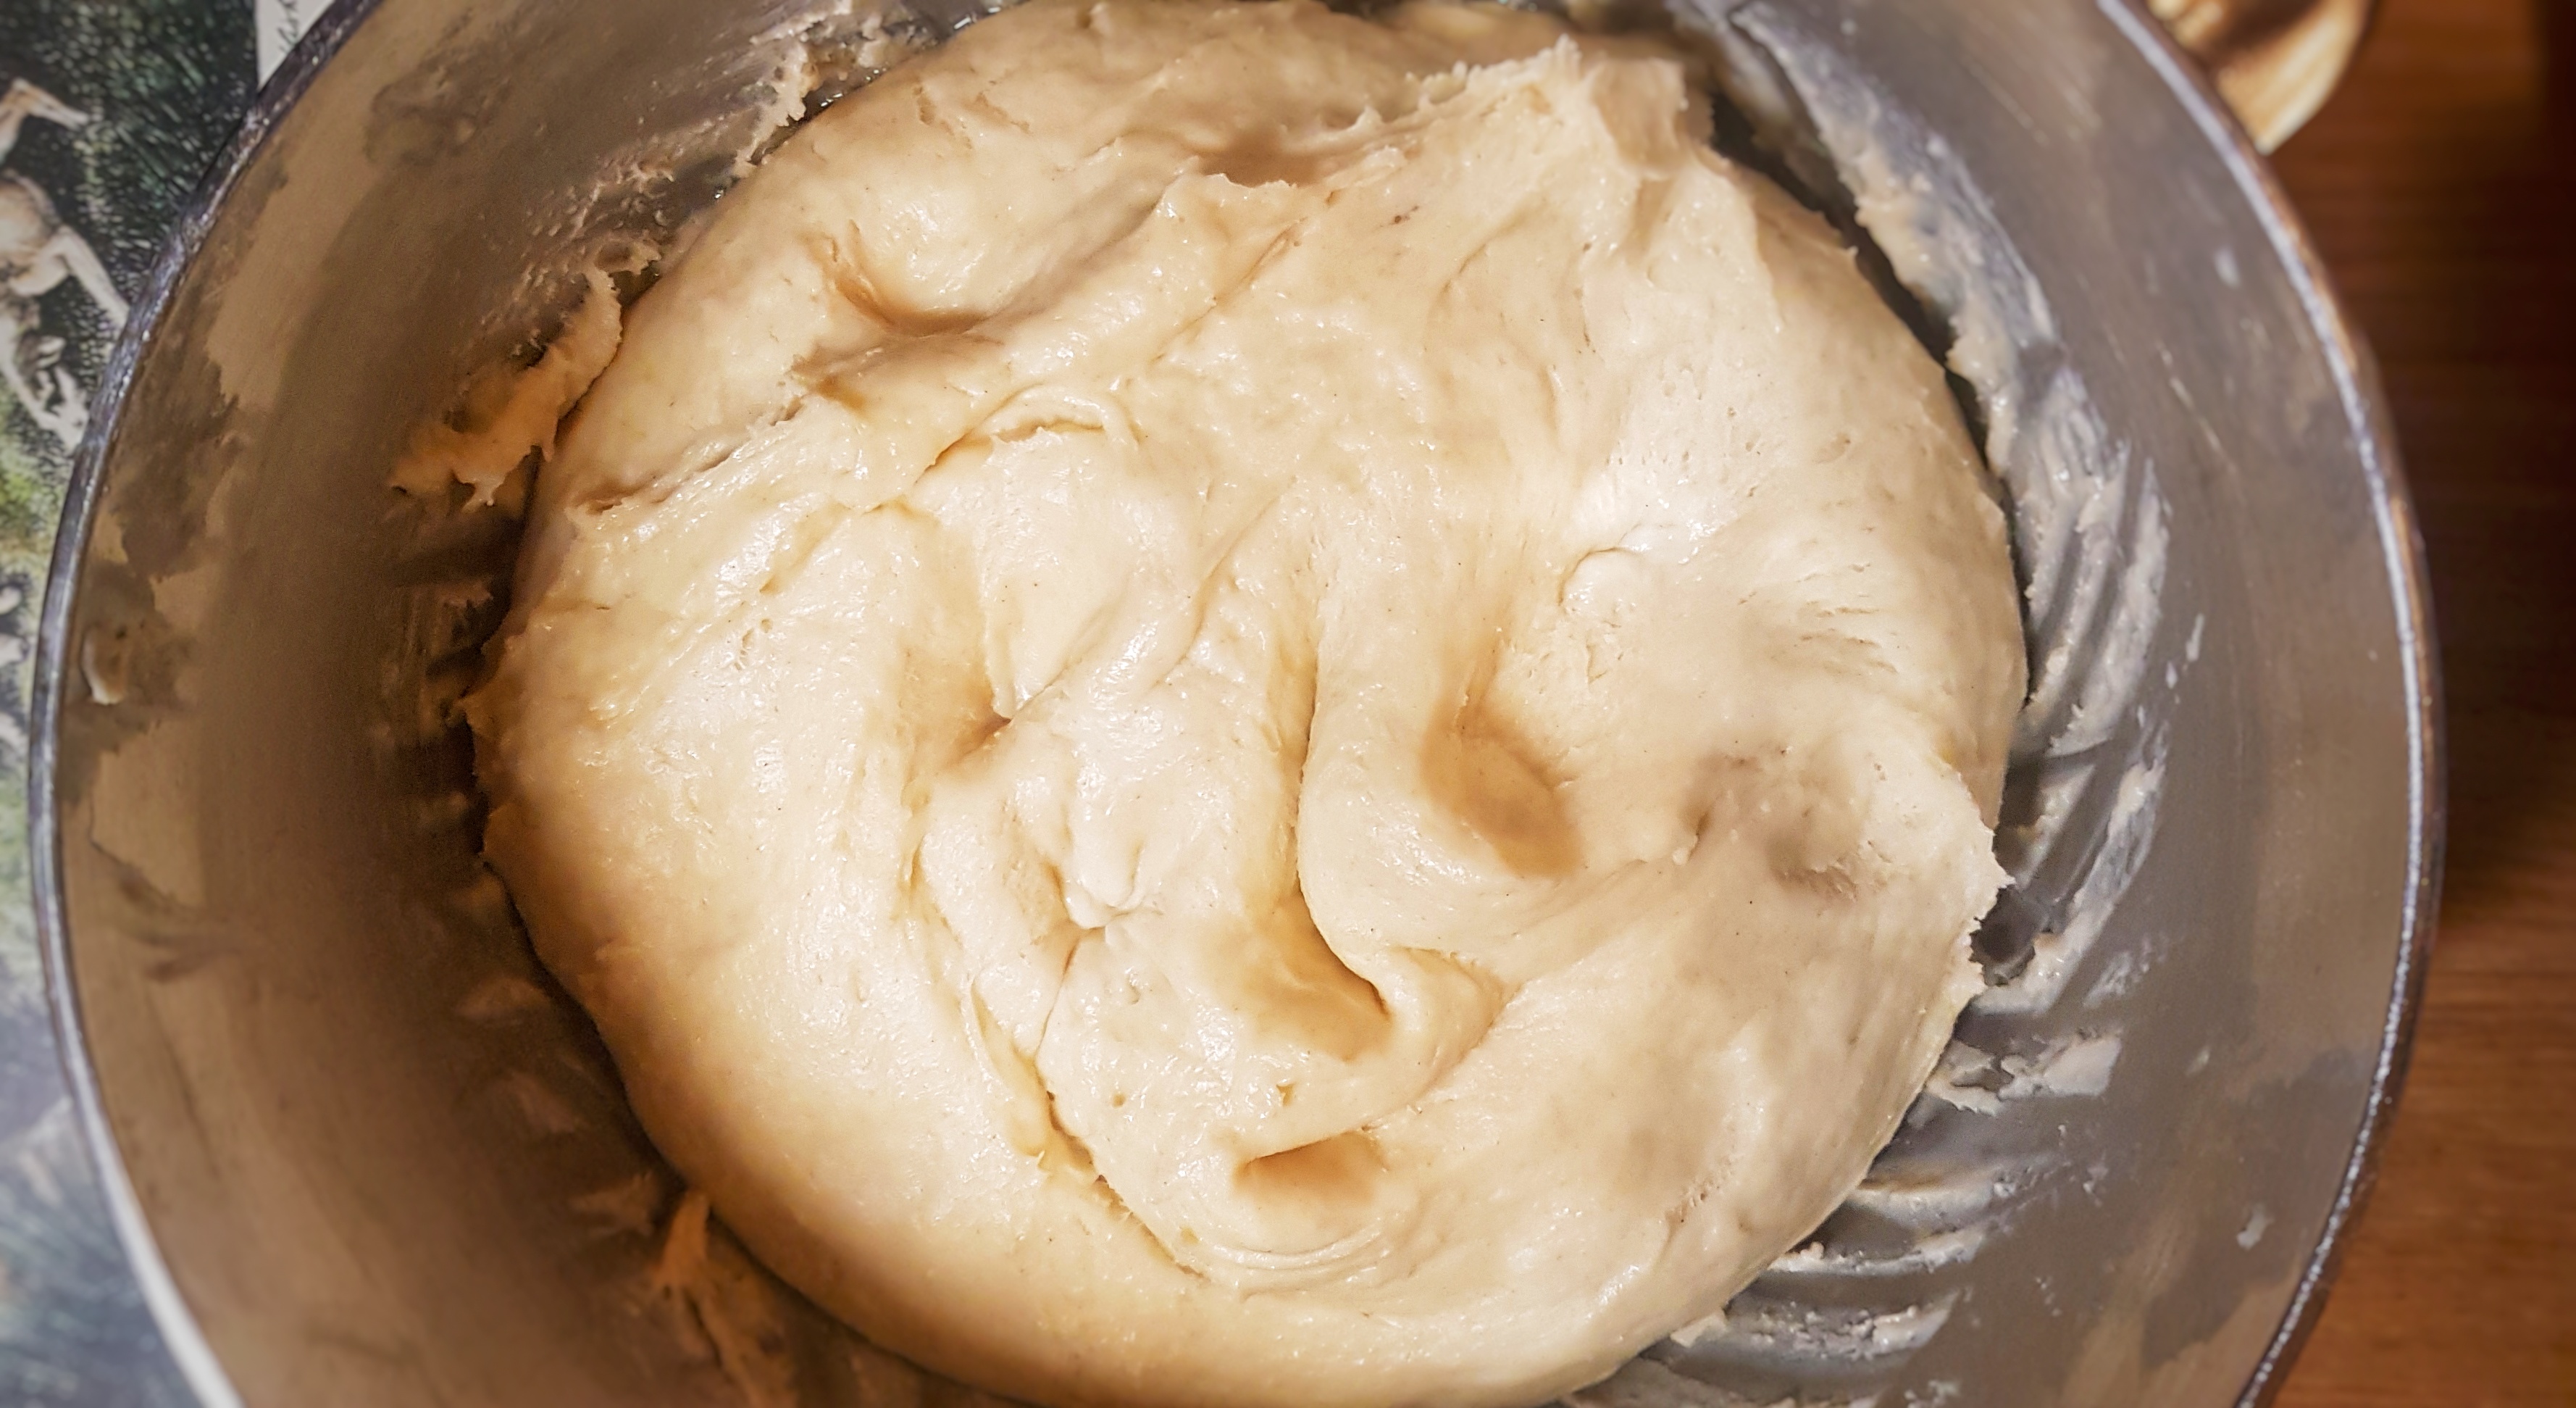
Dice the fat and rub into the flour until breadcrumbs are formed (or use the flat beater on a machine, set to slow), then add the sugar, mix, and add the water slowly mixing and stirring. Bring everything together to form a firm dough. You might not need all of the water. Knead briefly to smooth the dough, cover and then leave to rest in the fridge for around 30 minutes.
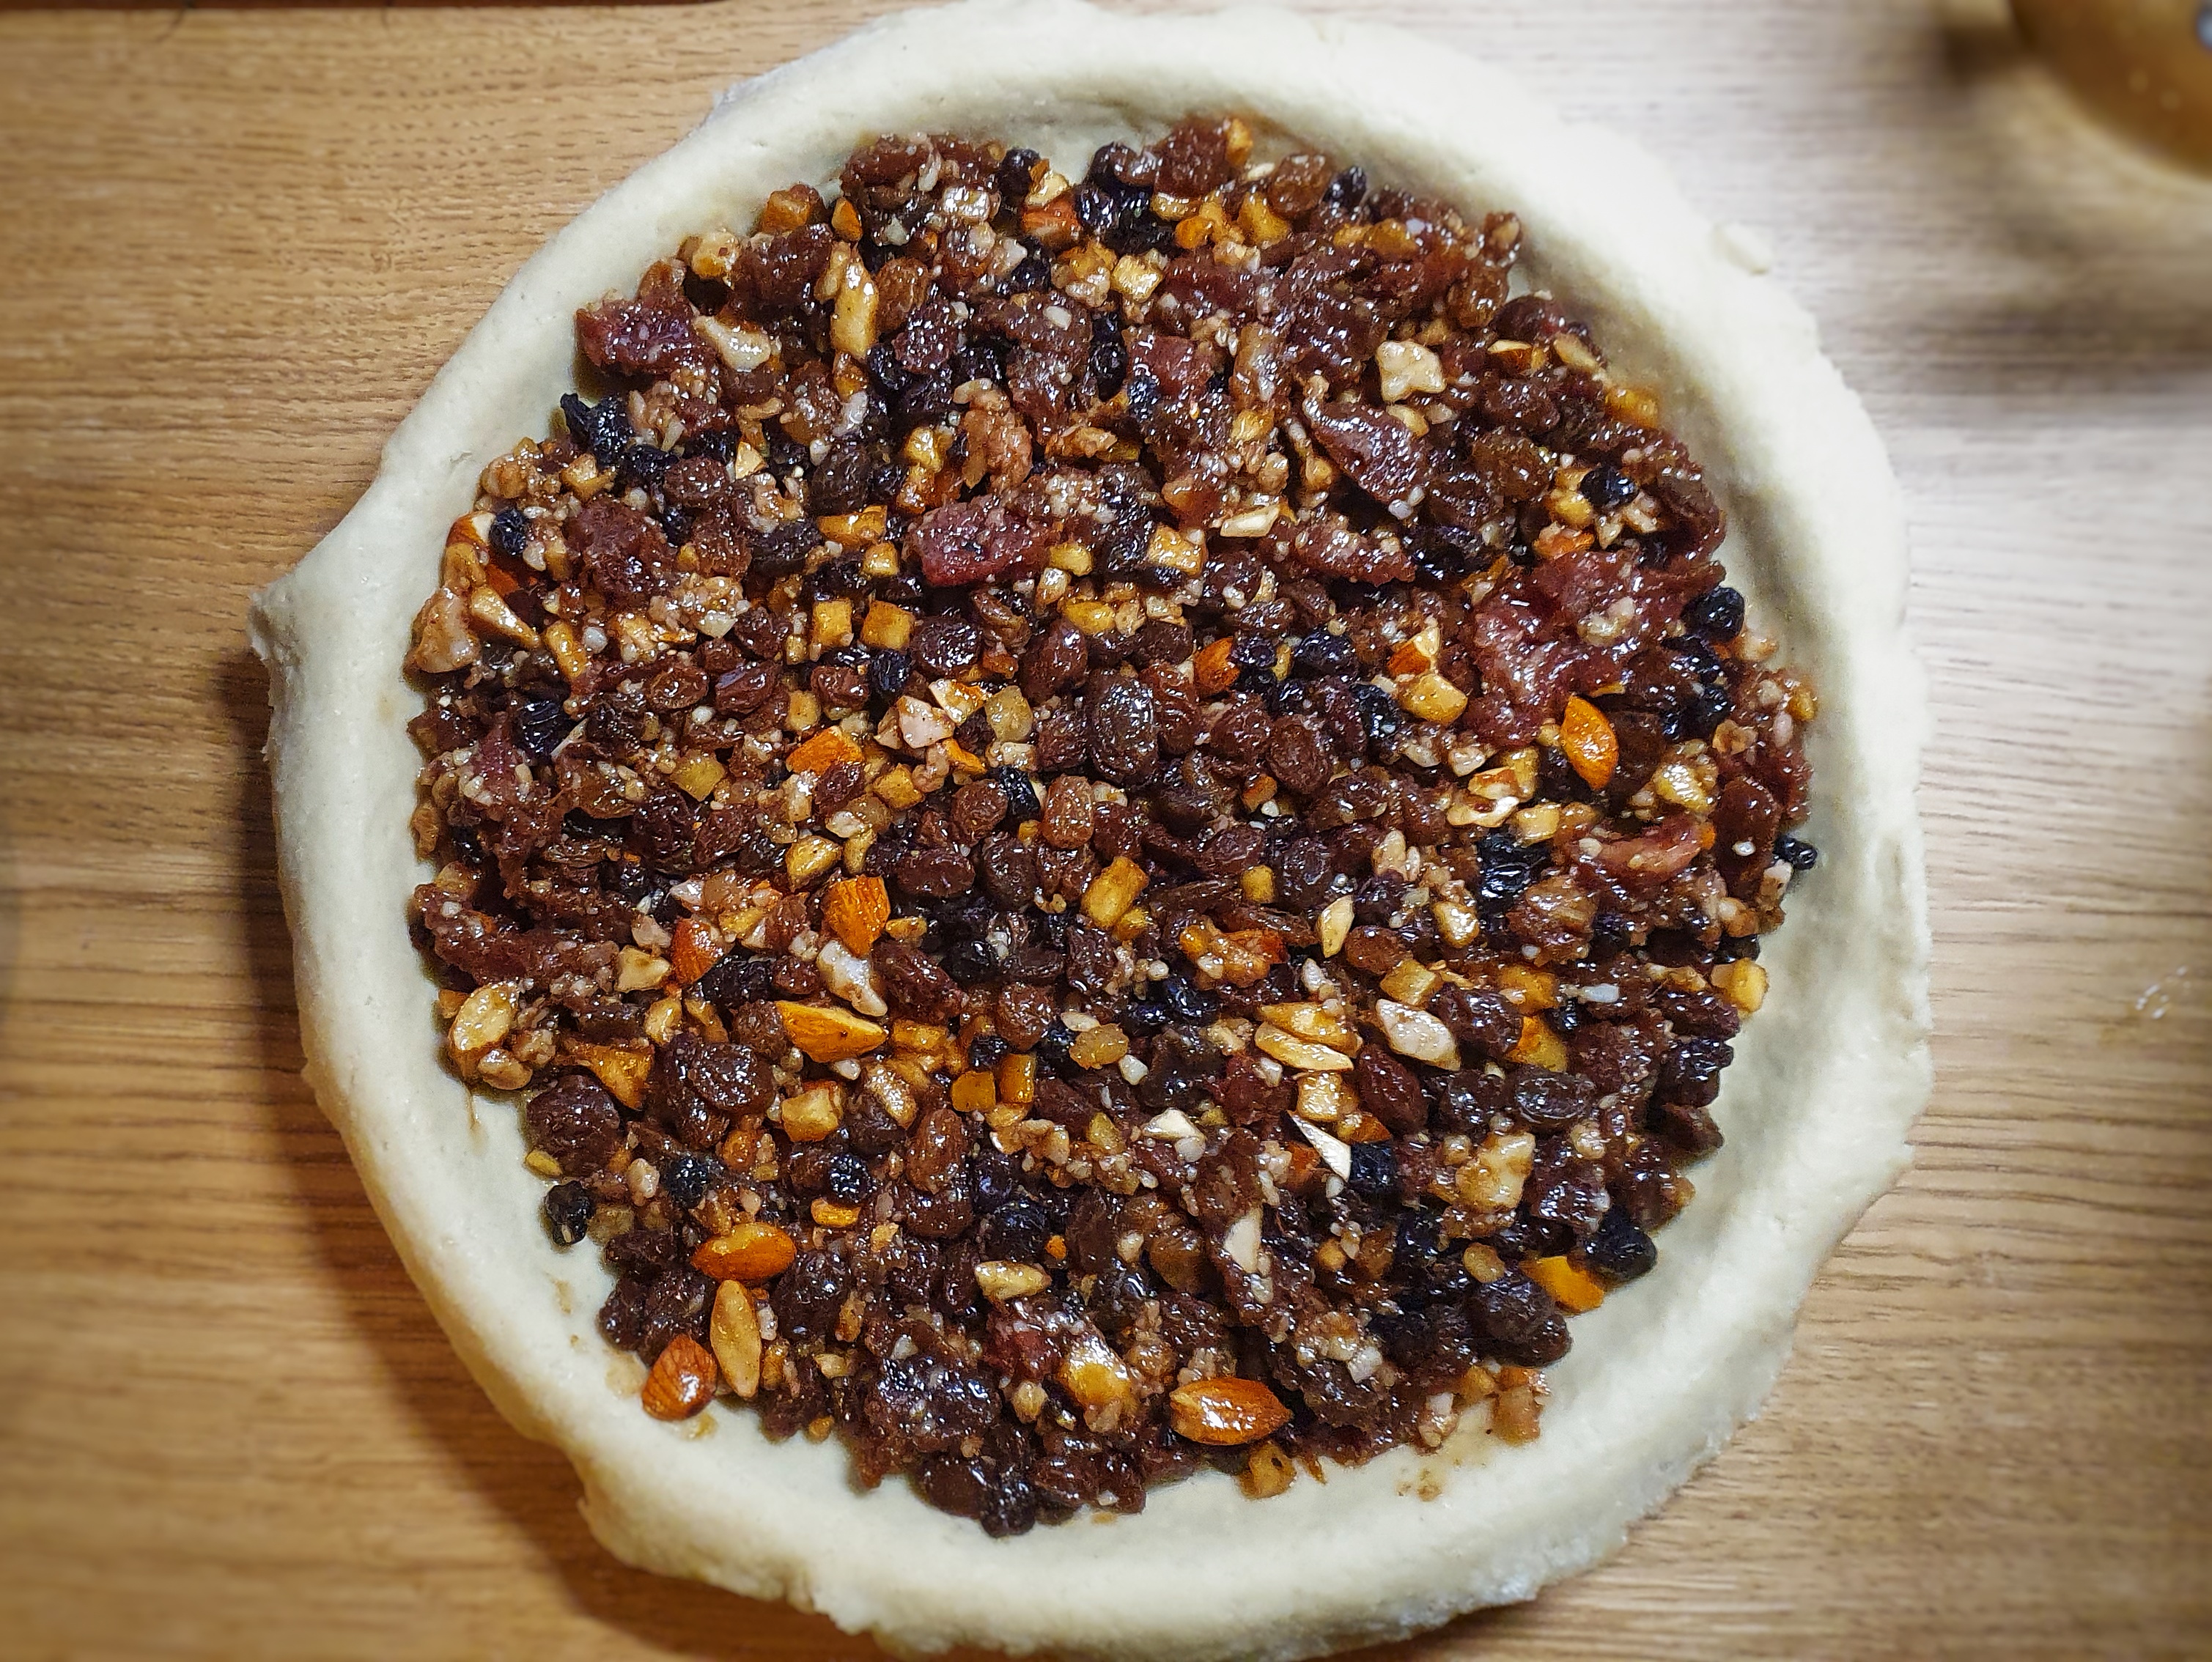
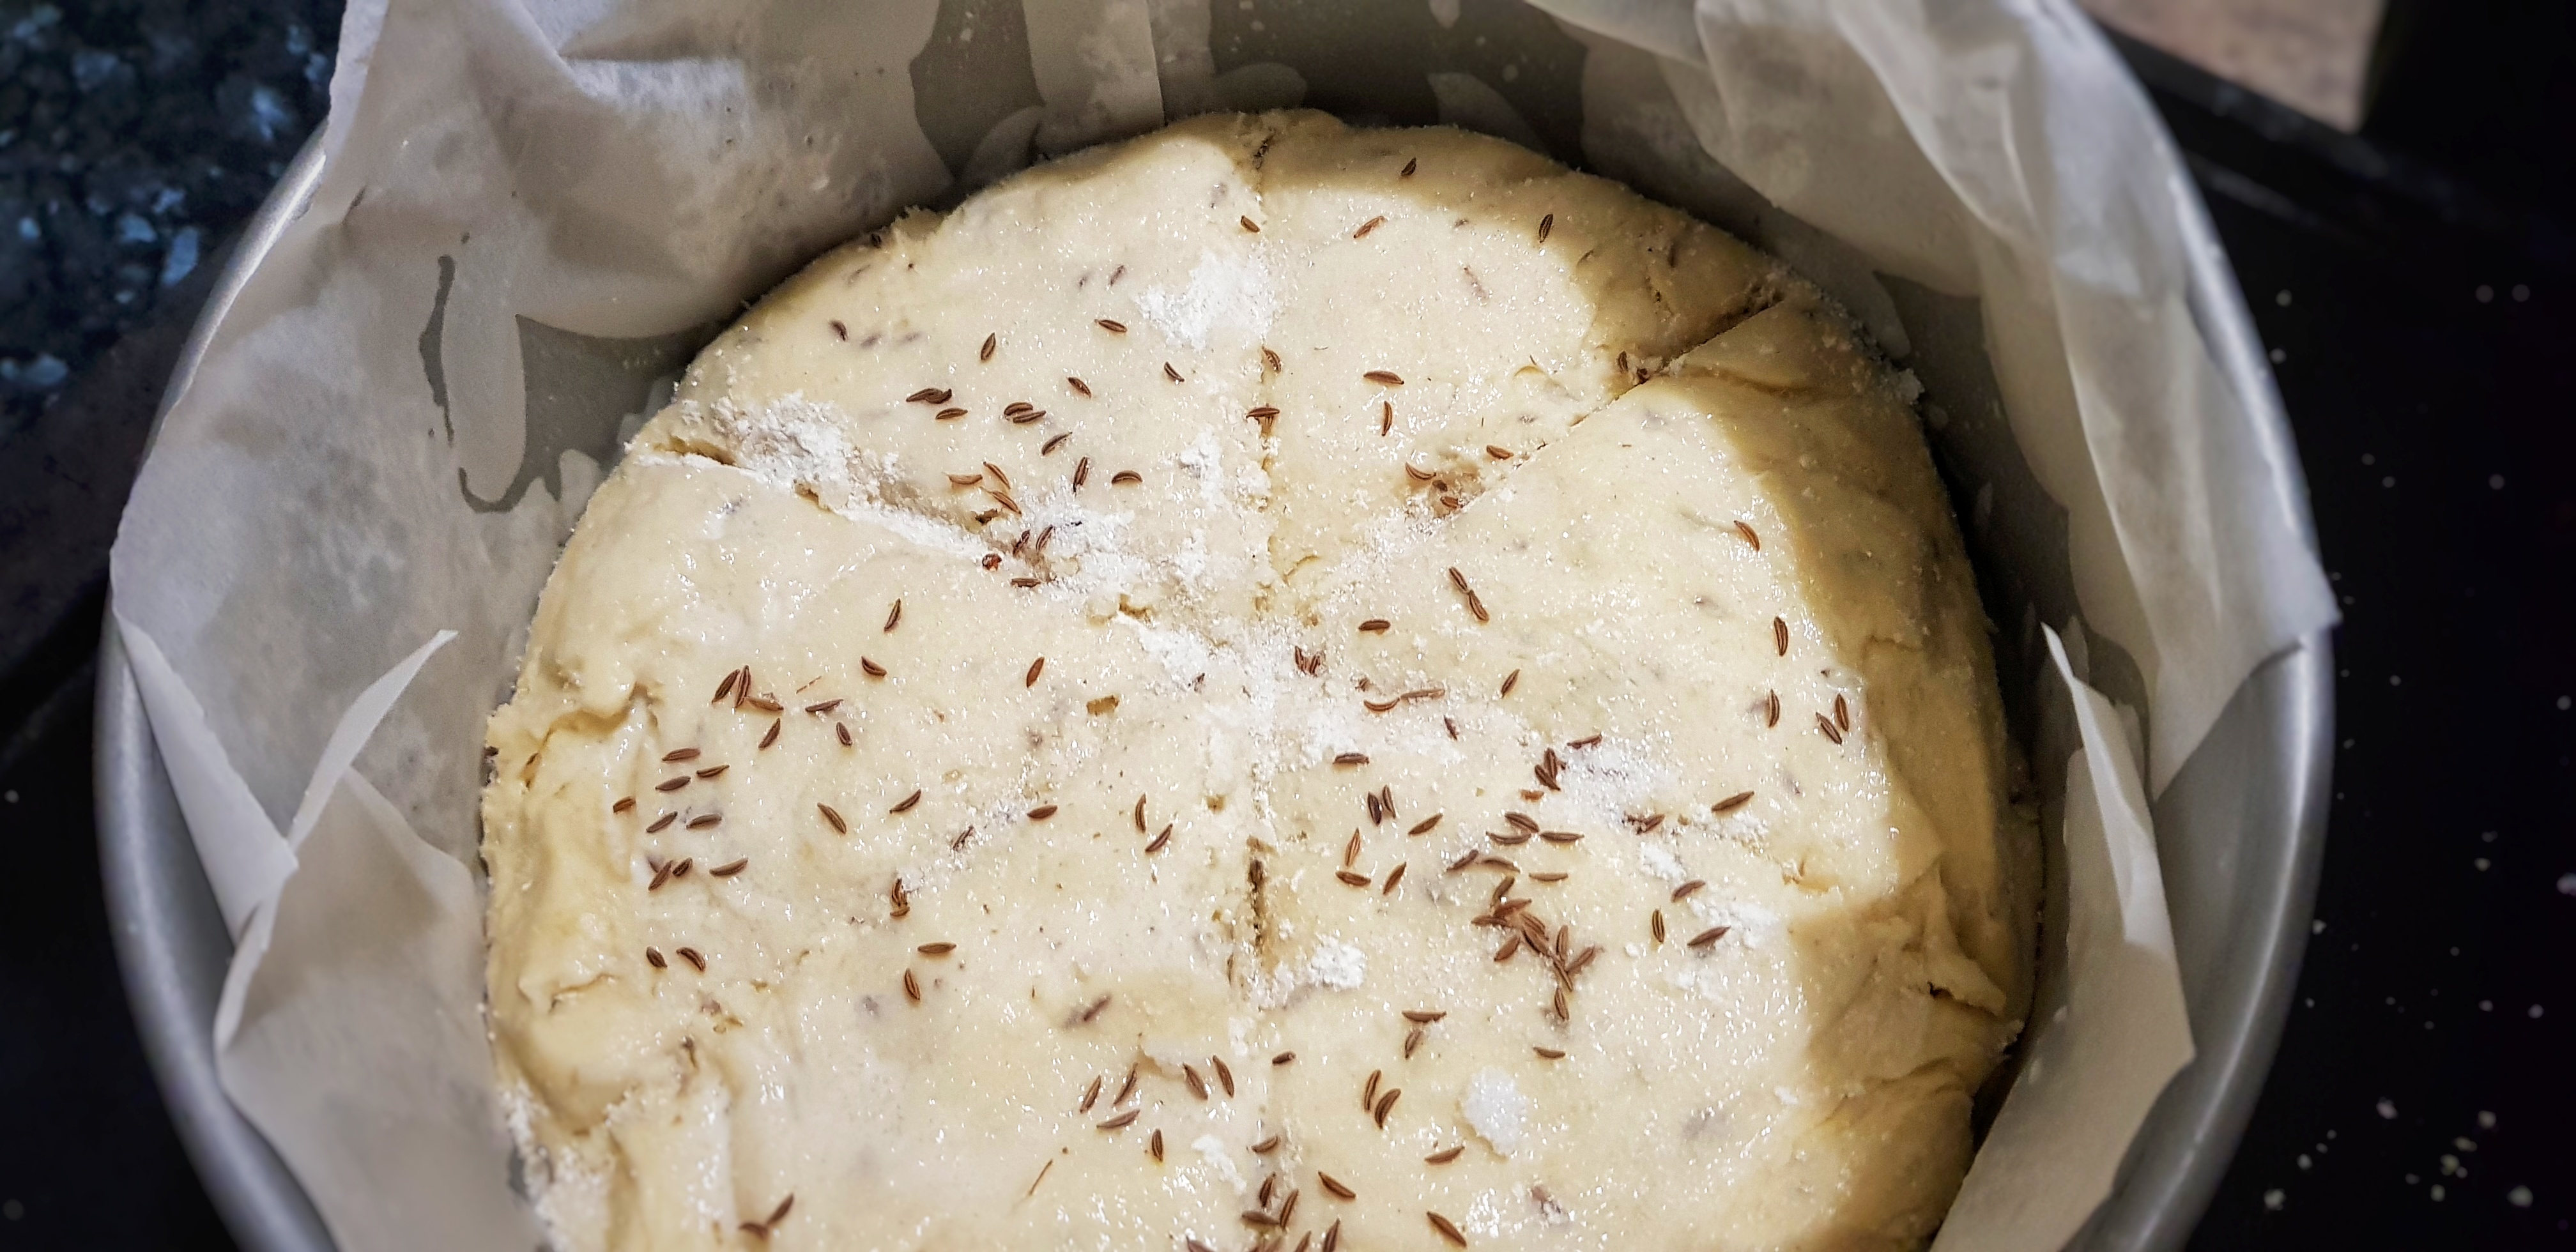
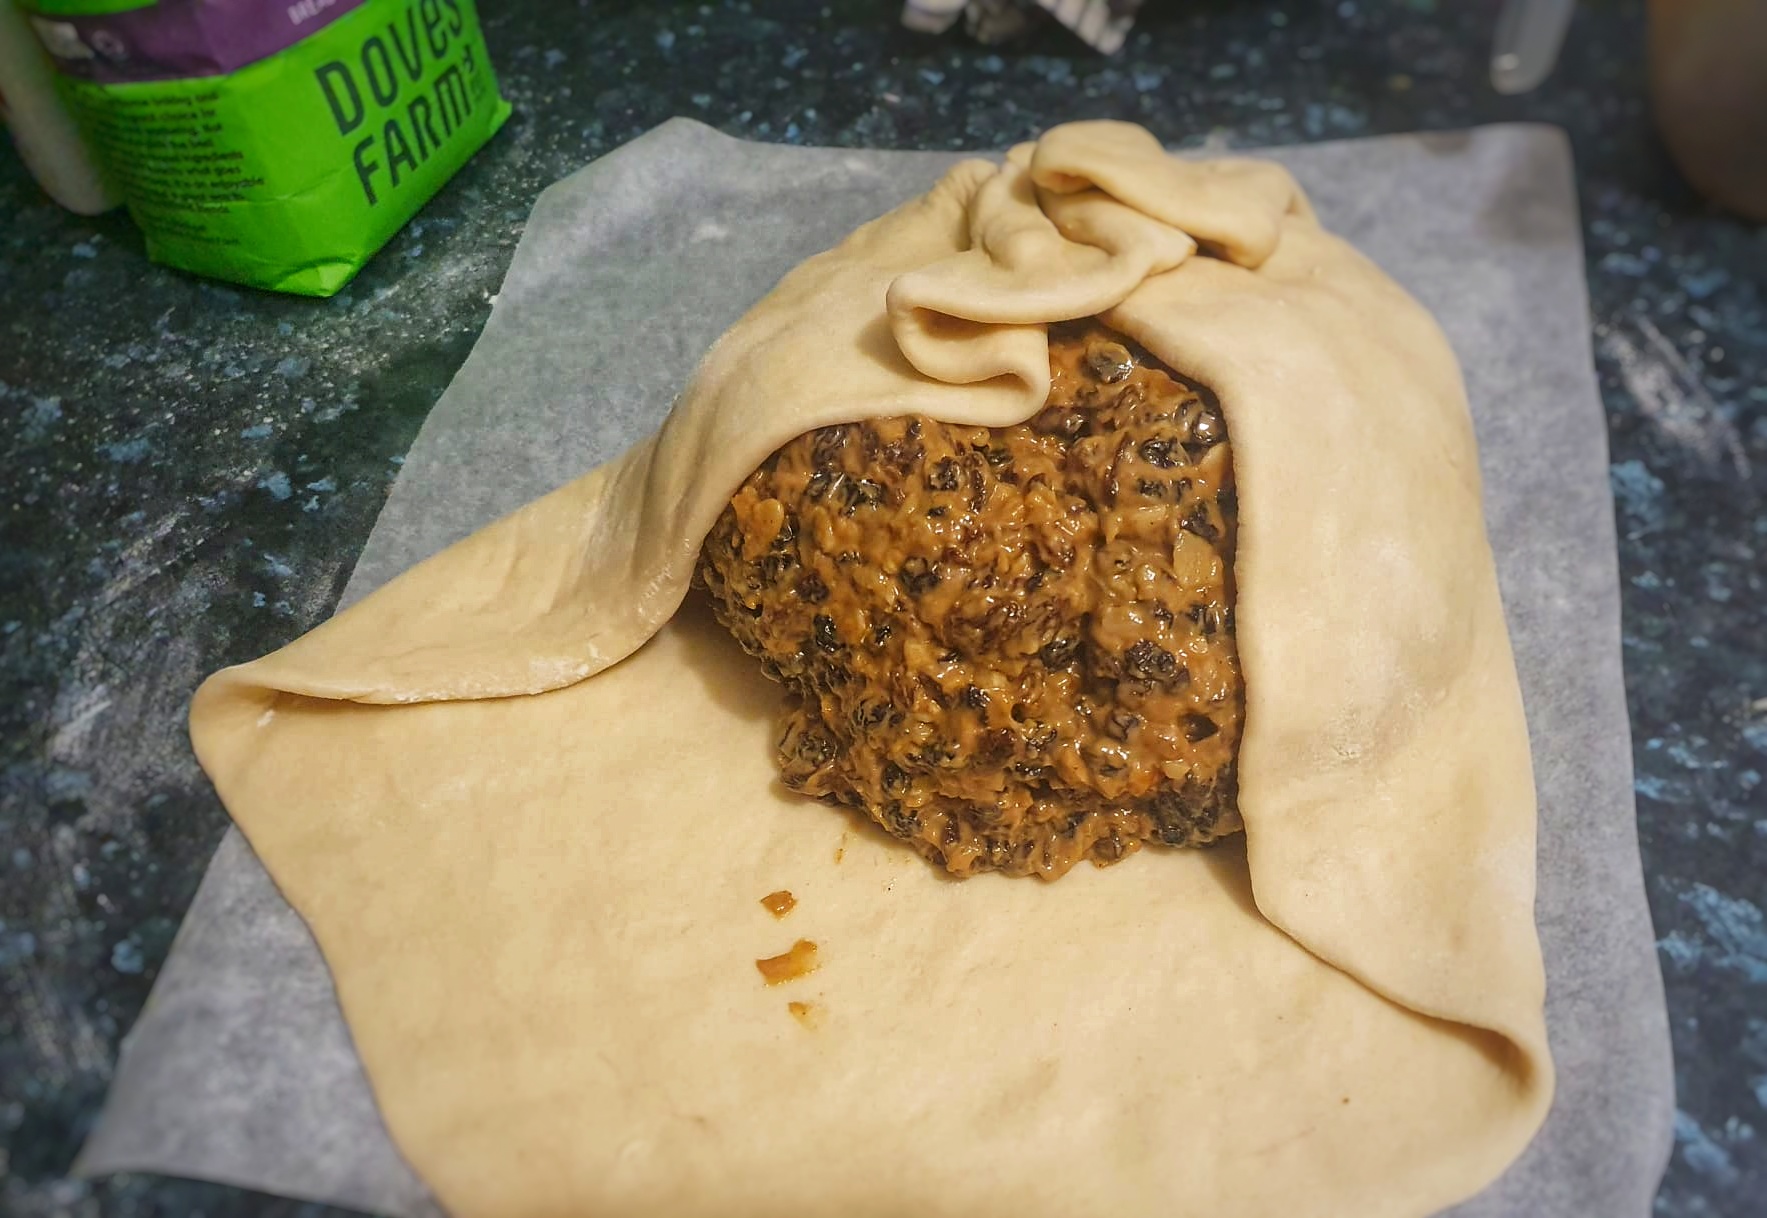
Roll out two-thirds of the dough into a round, lift and lay it over the plate neatly. Prick the base with a fork. Spoon the filling in. Again, go with your gut – do you want a thin amount or loads? I added enough to come up to the lip of my plate.
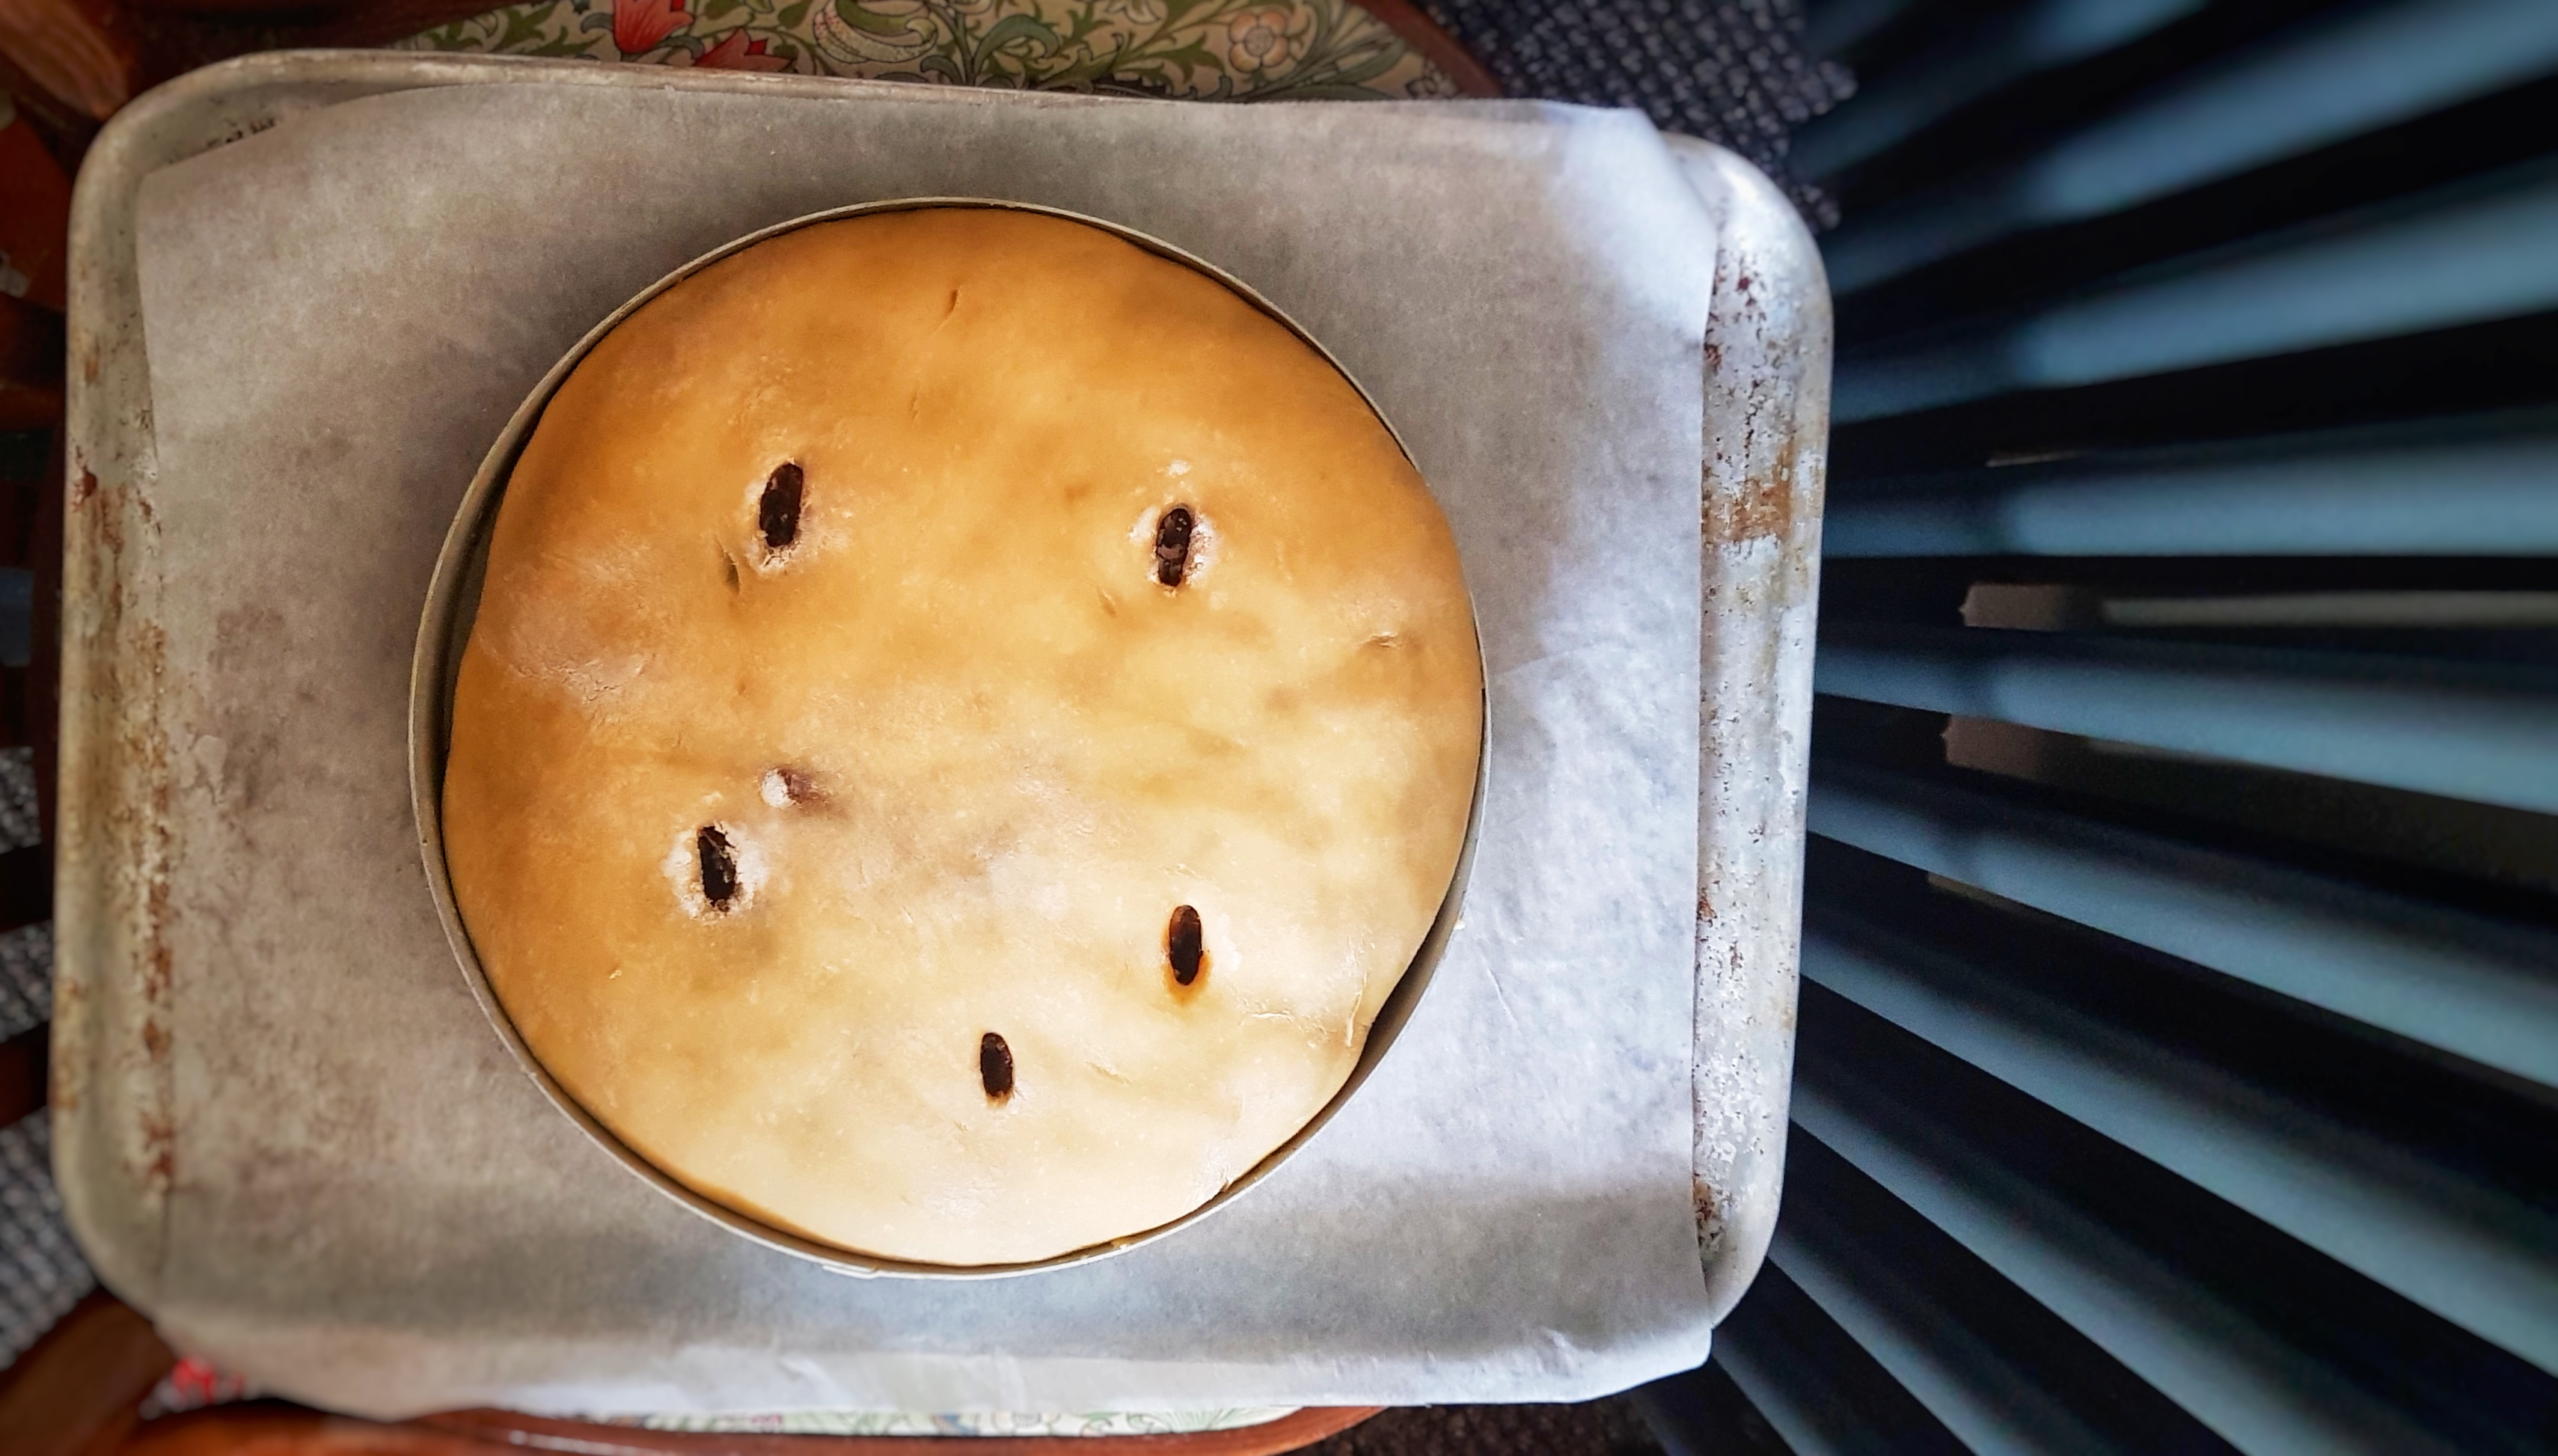
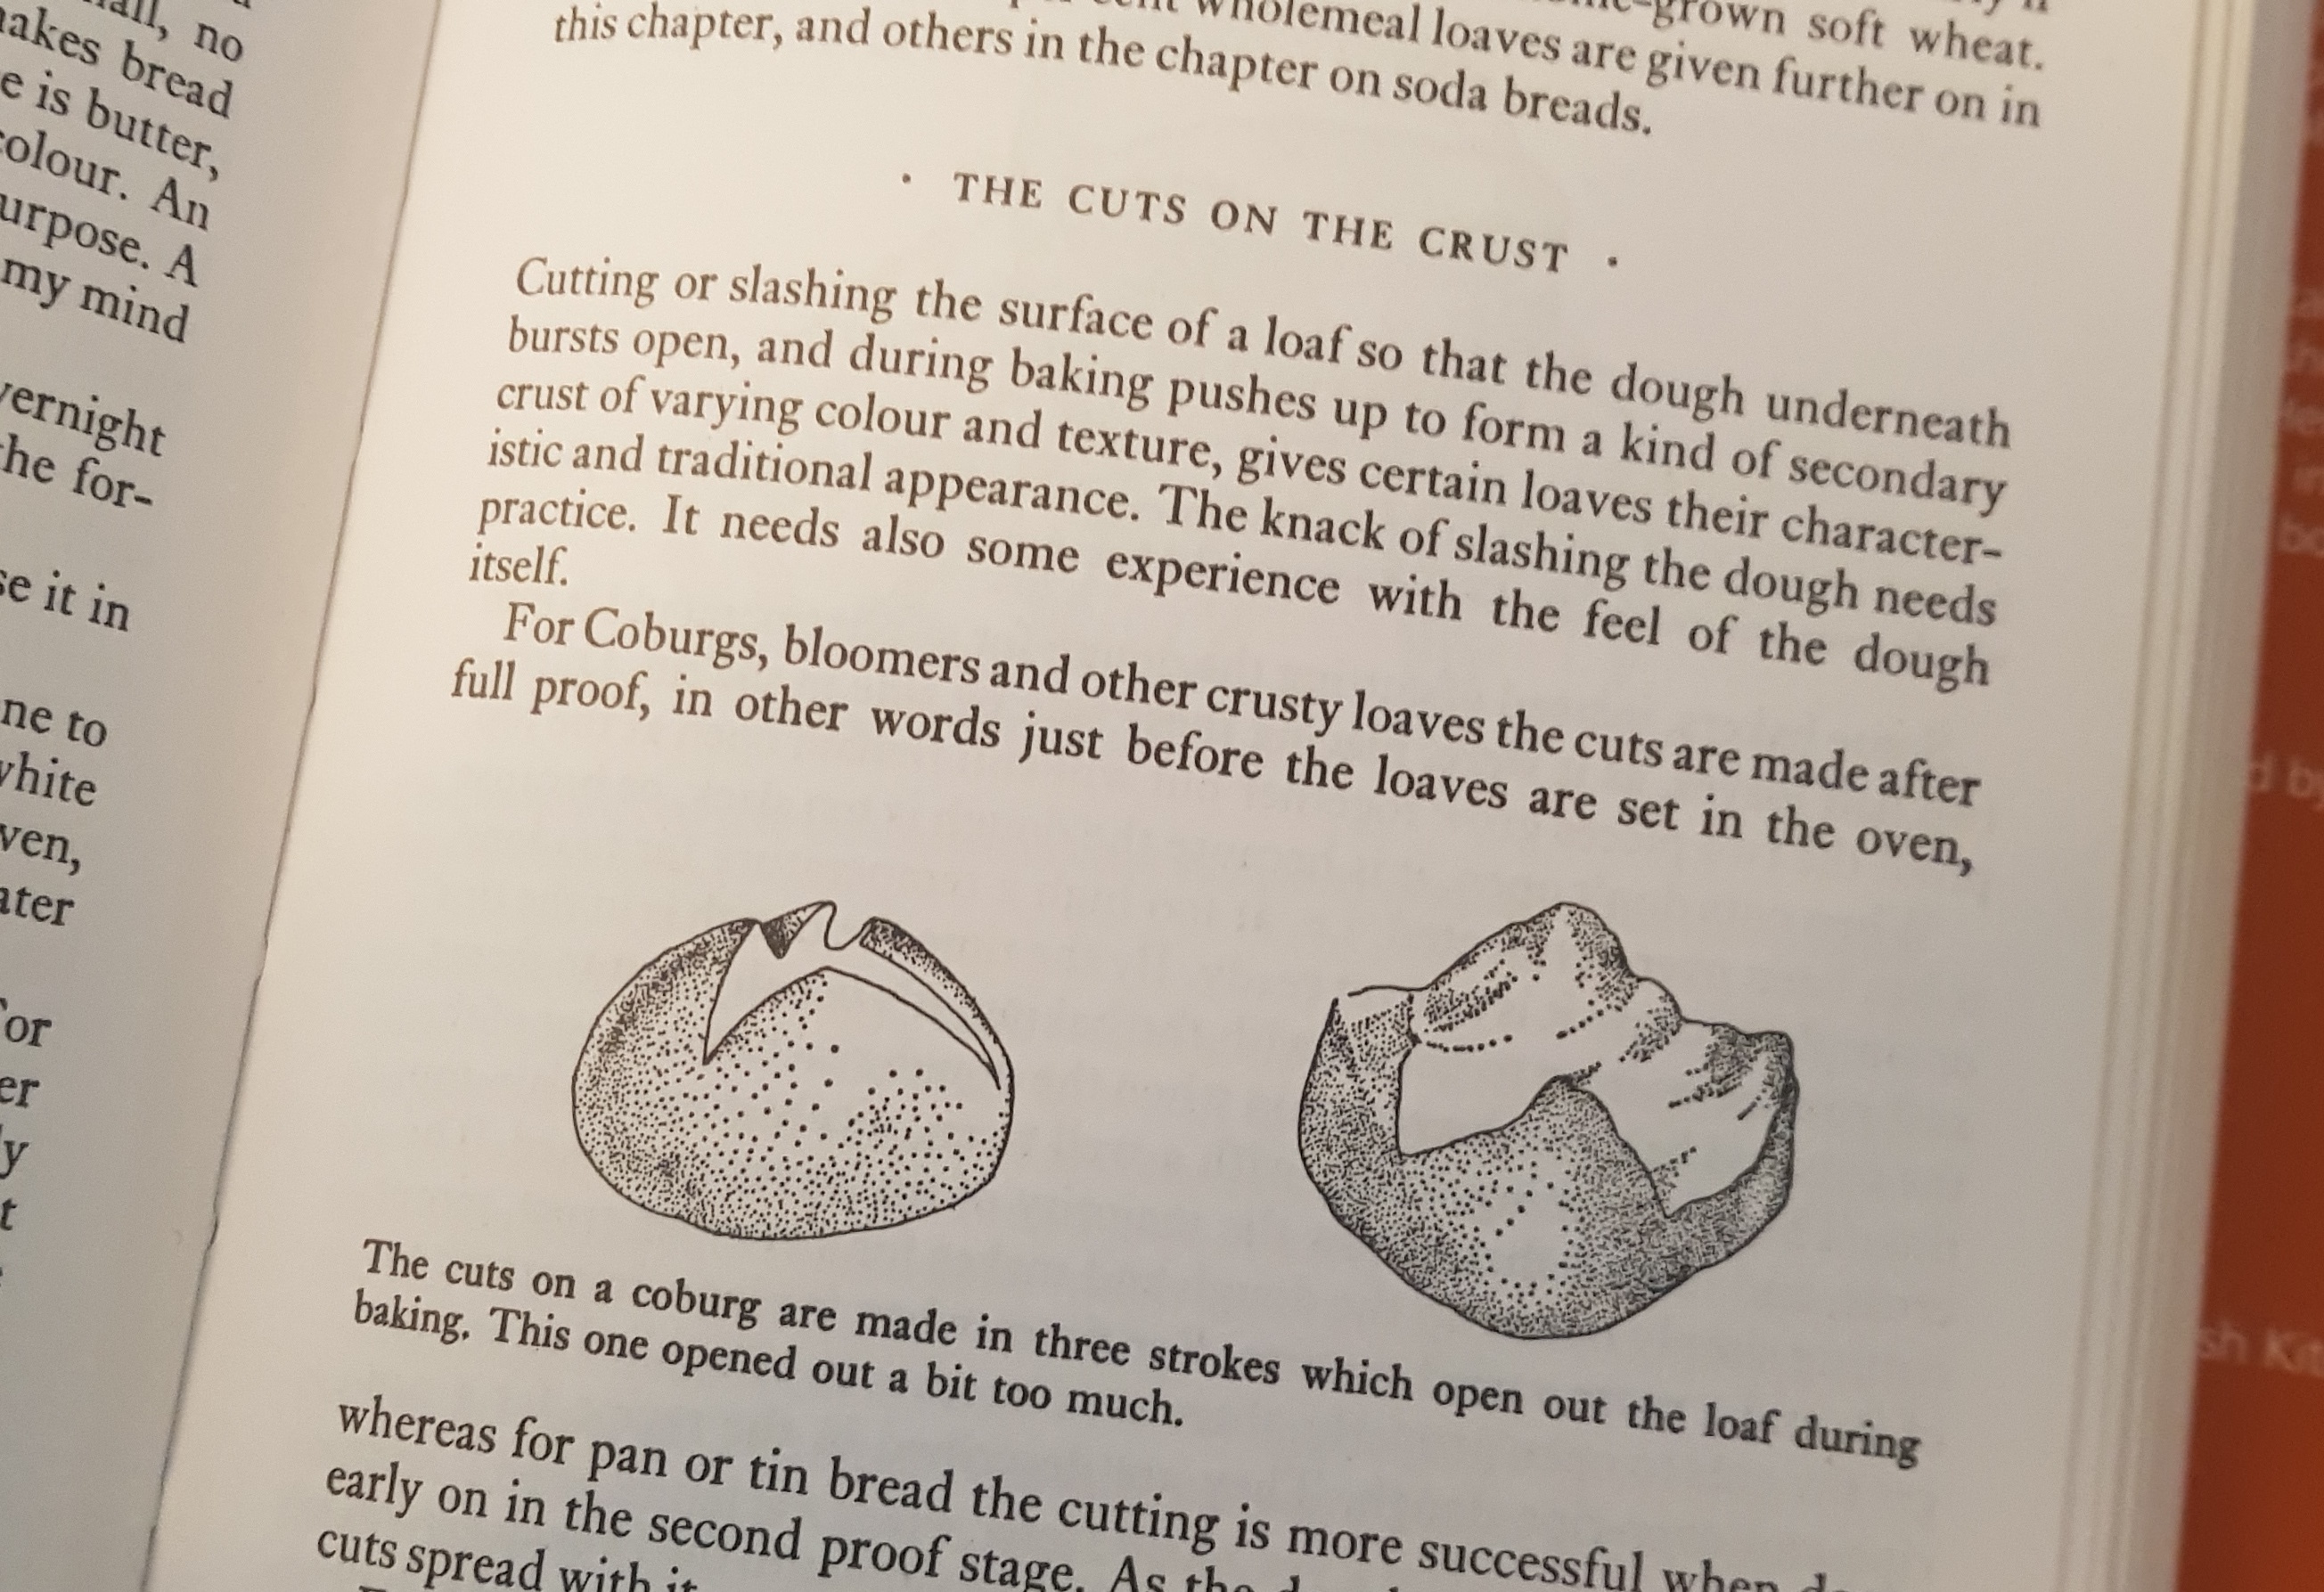
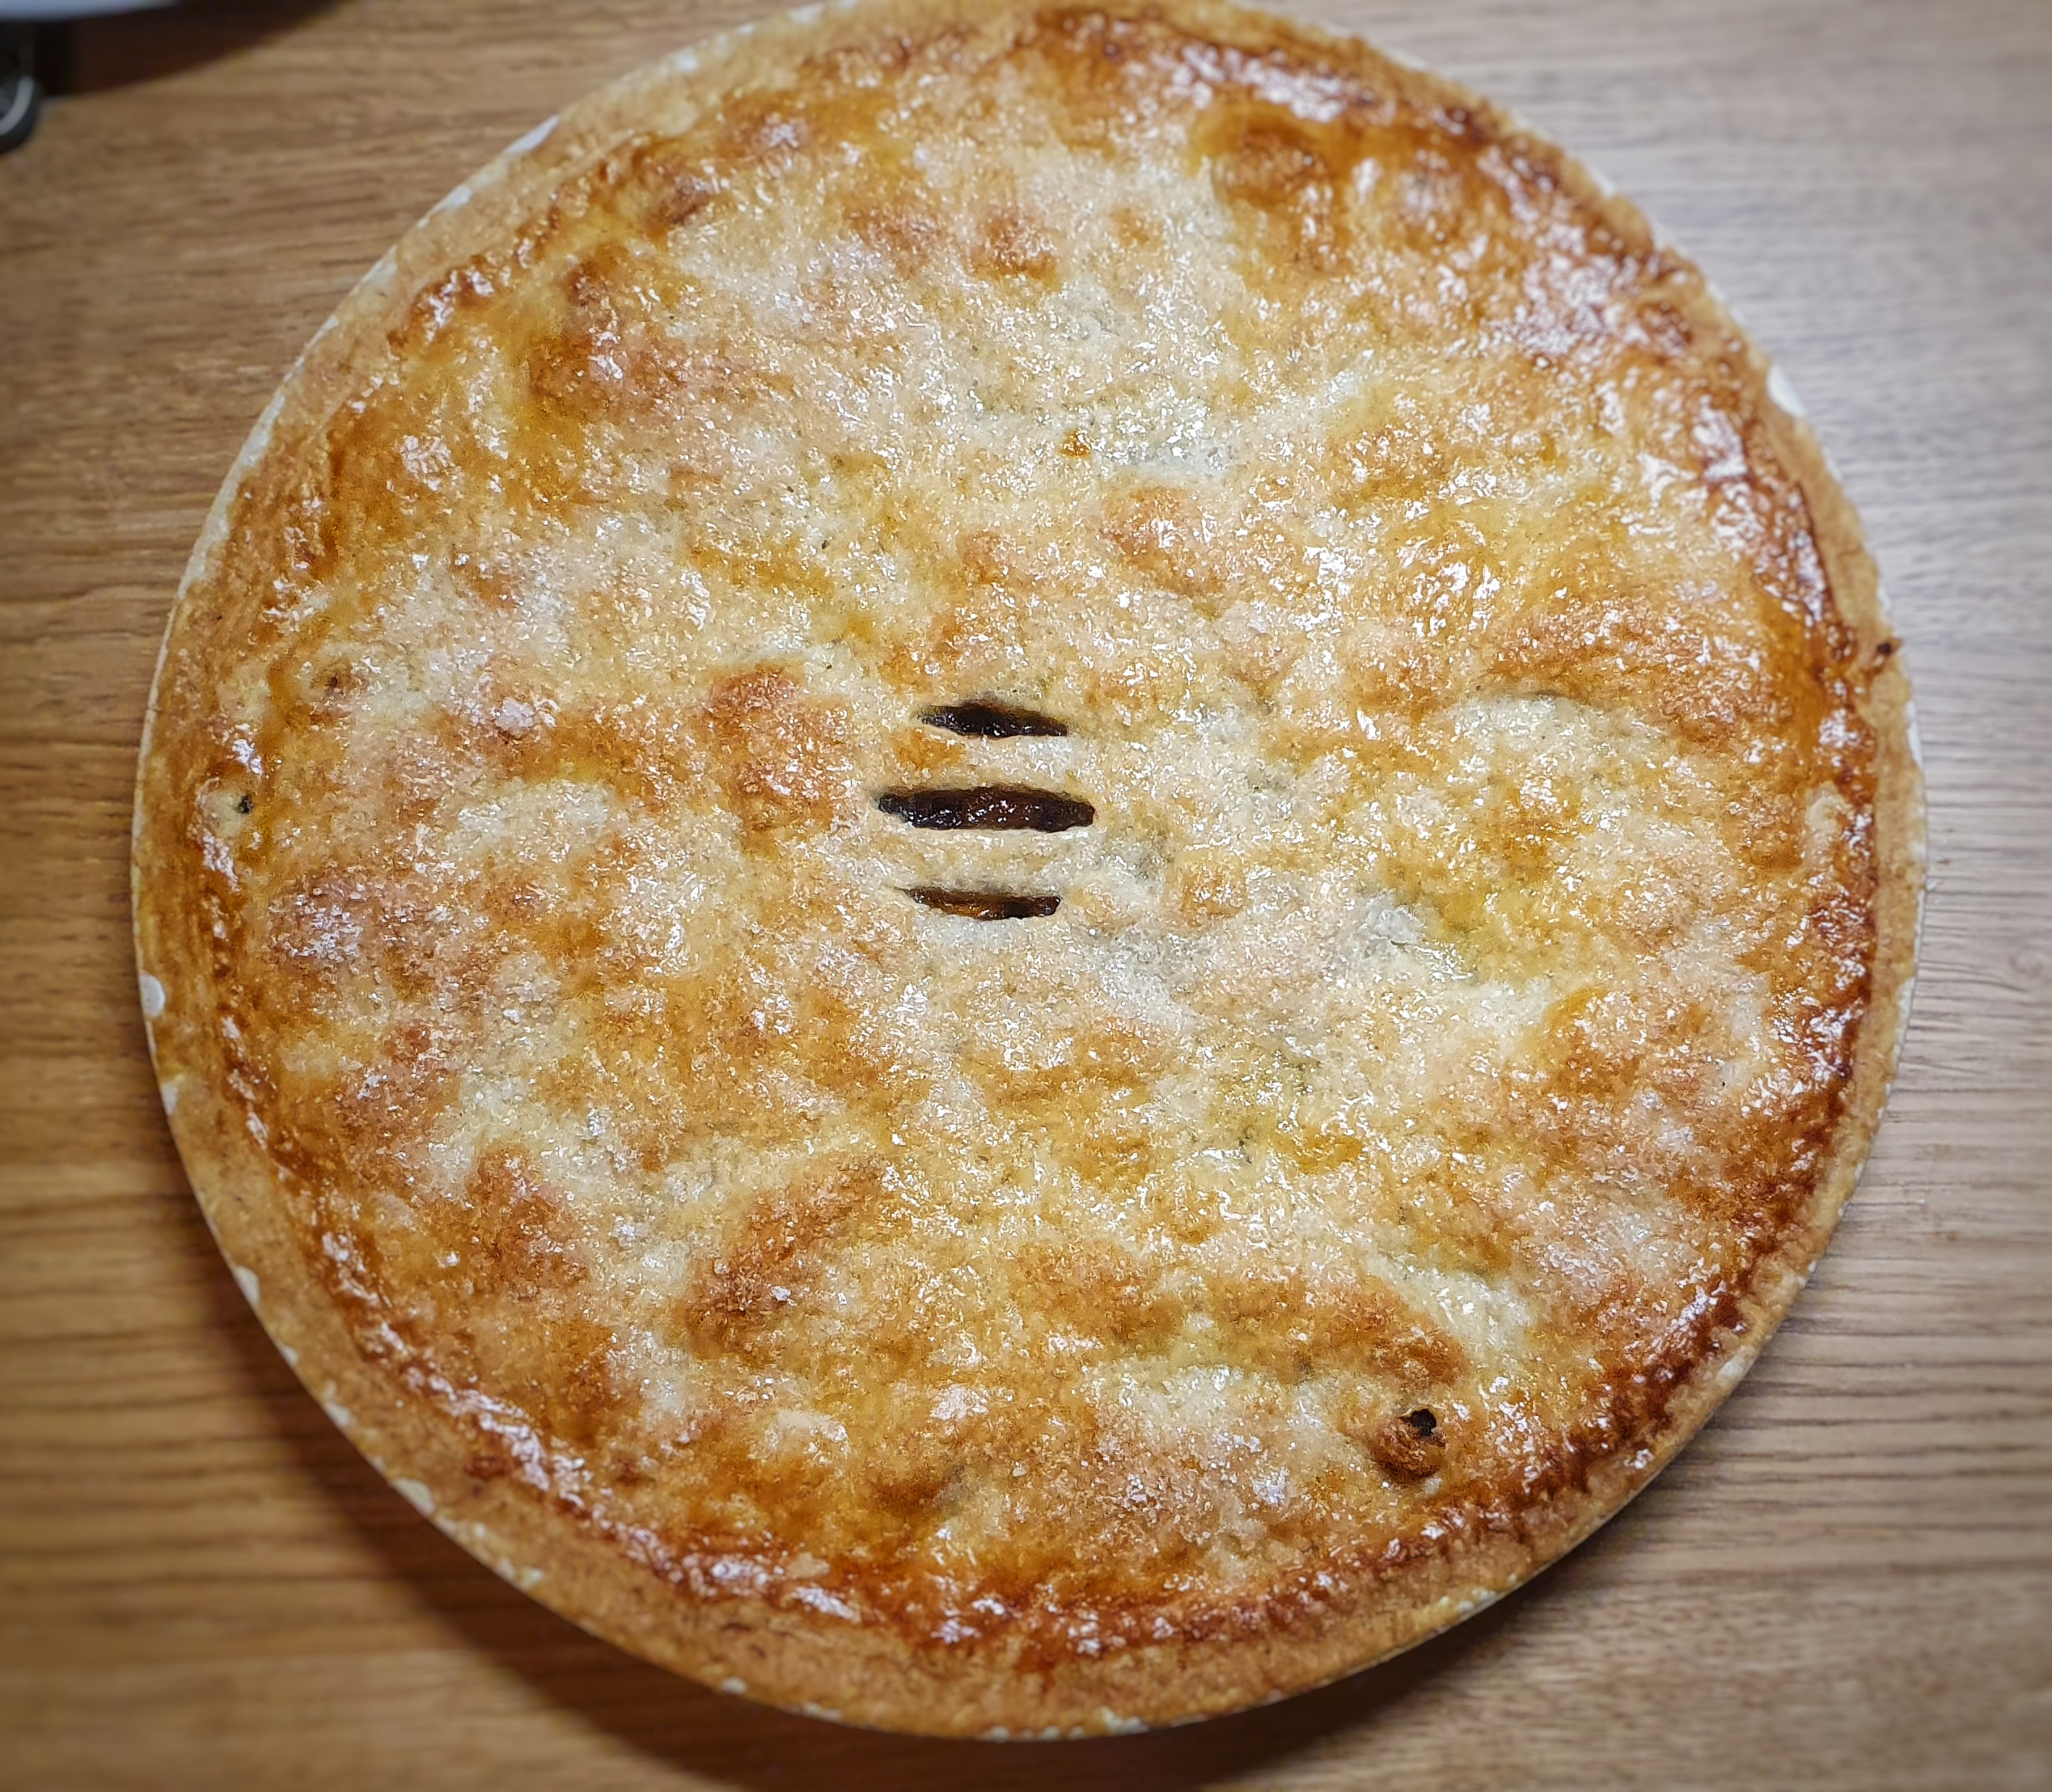
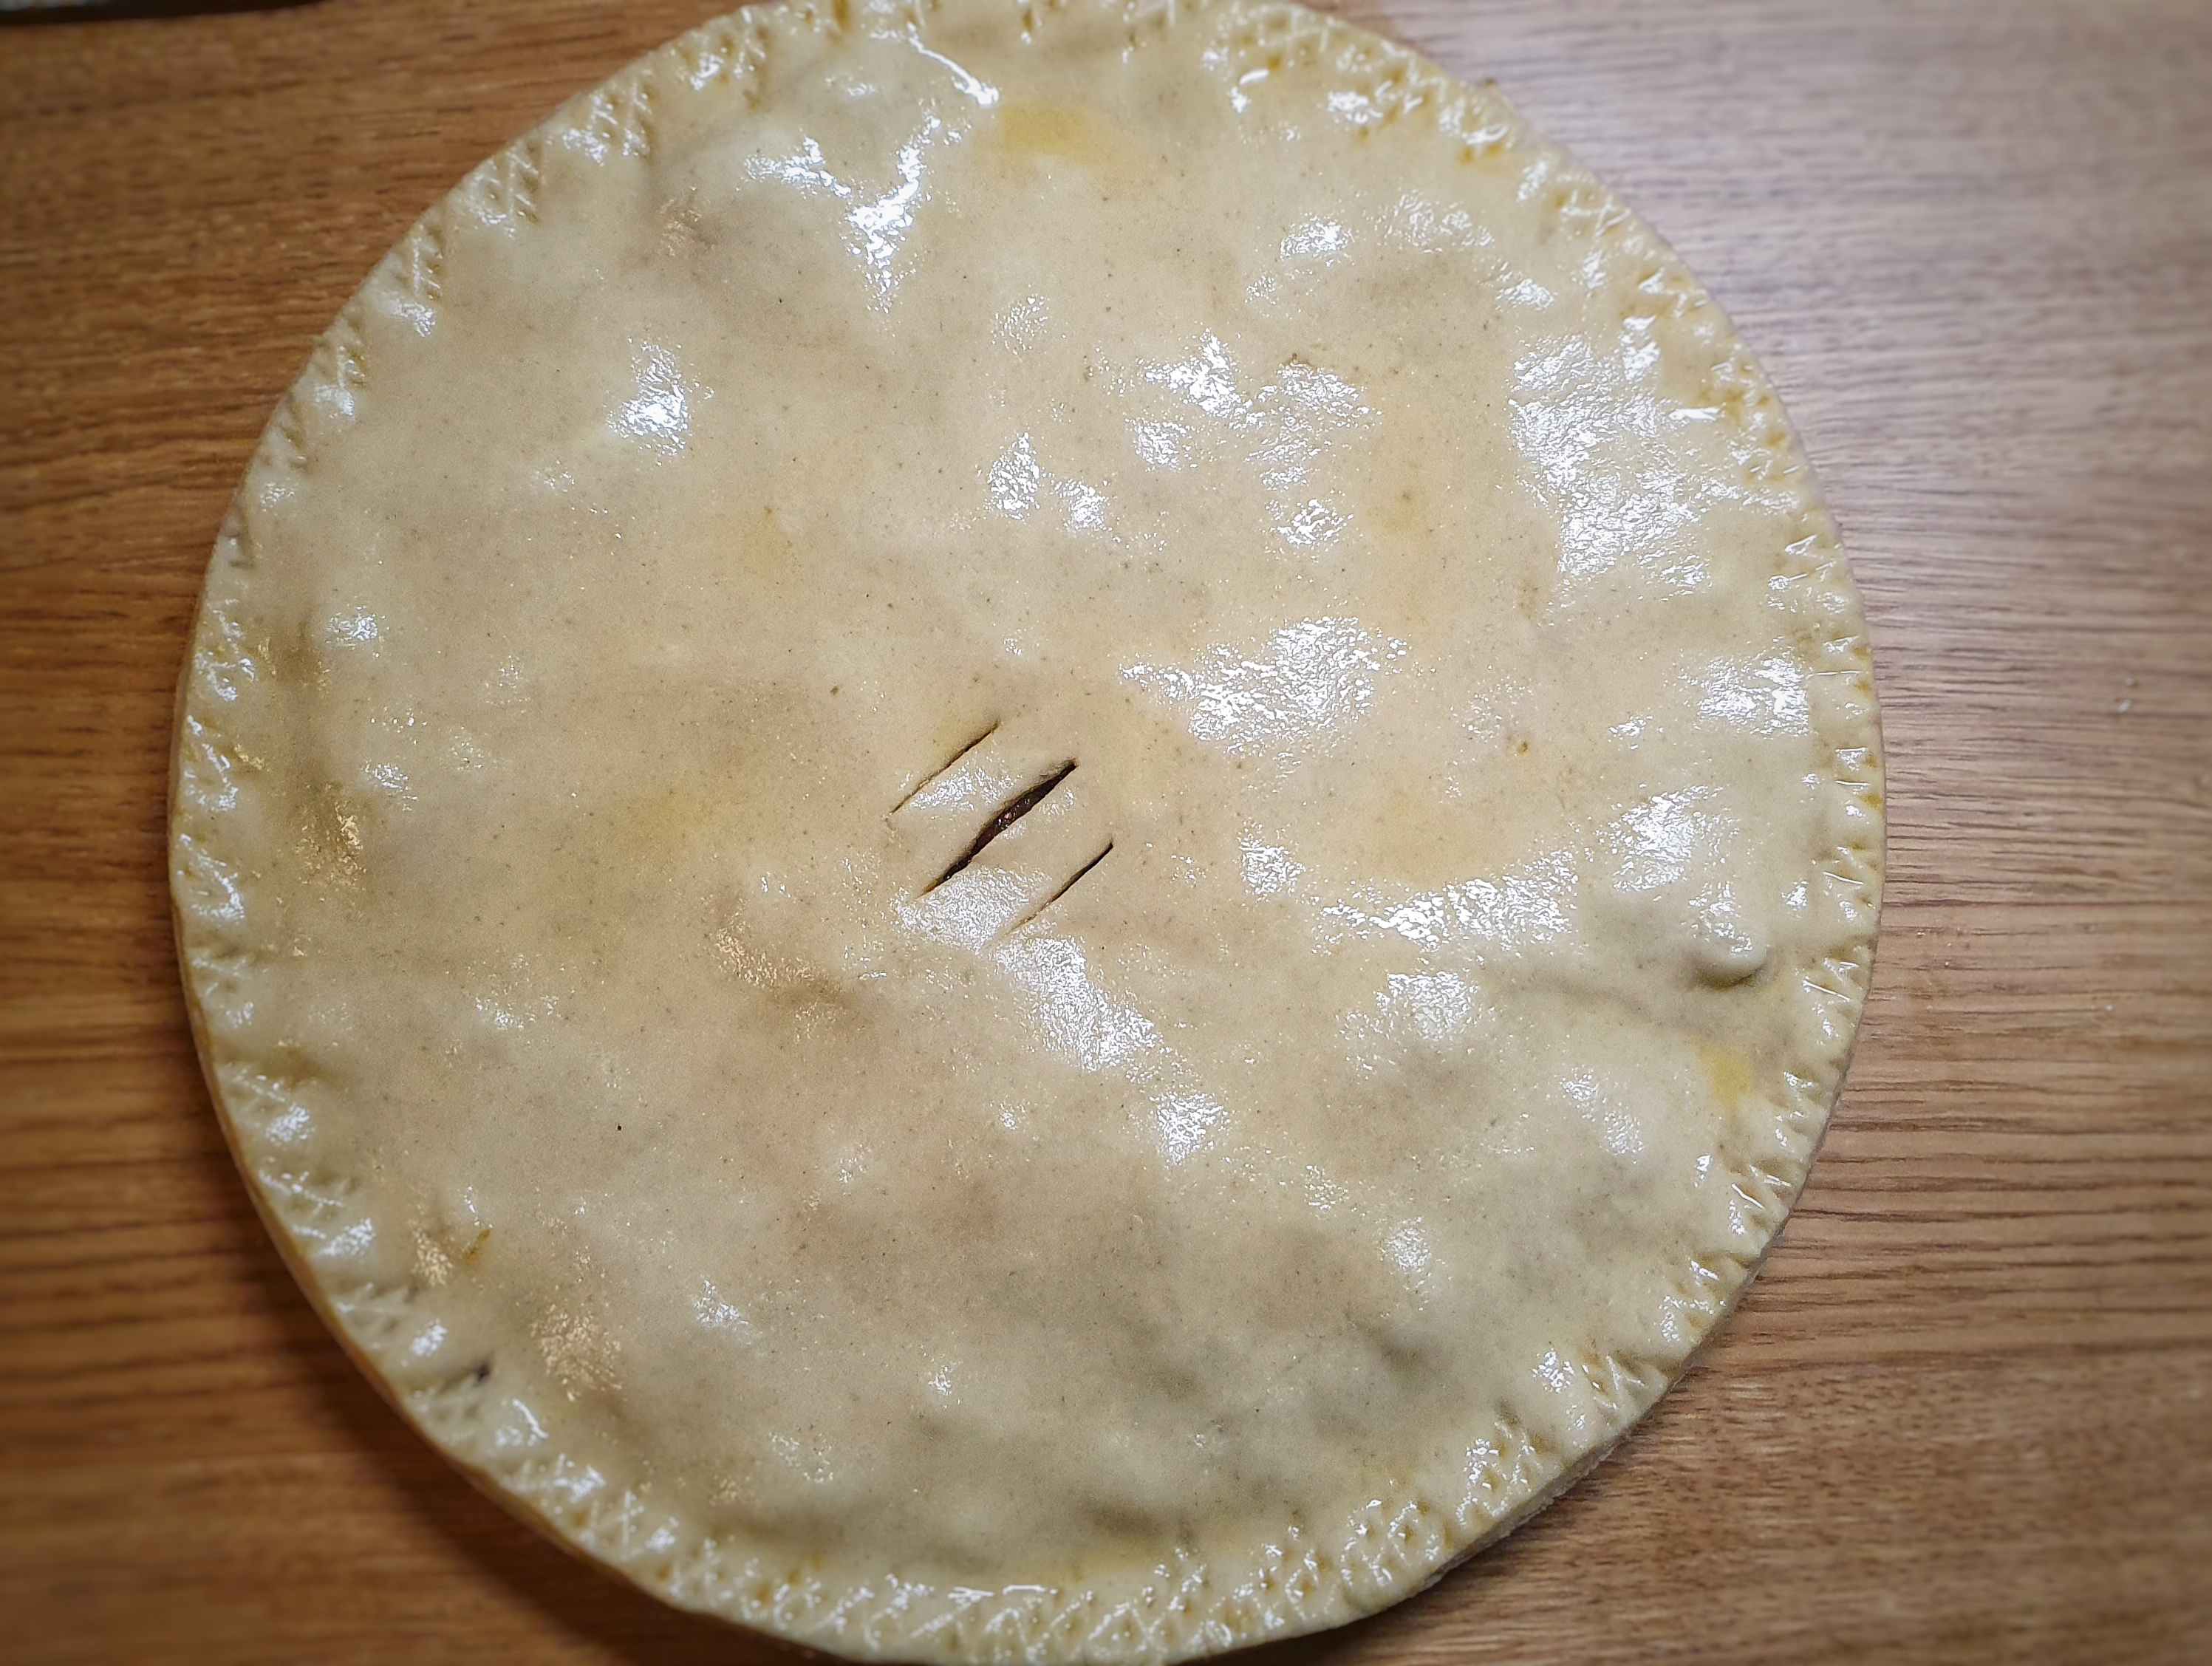
Roll the remaining third of the pastry out into a round. As it rests, wash the rim of the pie plate and place the lid on top, securing it with a crimping tool or fork prongs or with your thumb or forefinger. Cut a steam hole and brush with egg. You can sprinkle a little sugar over the top if you fancy.
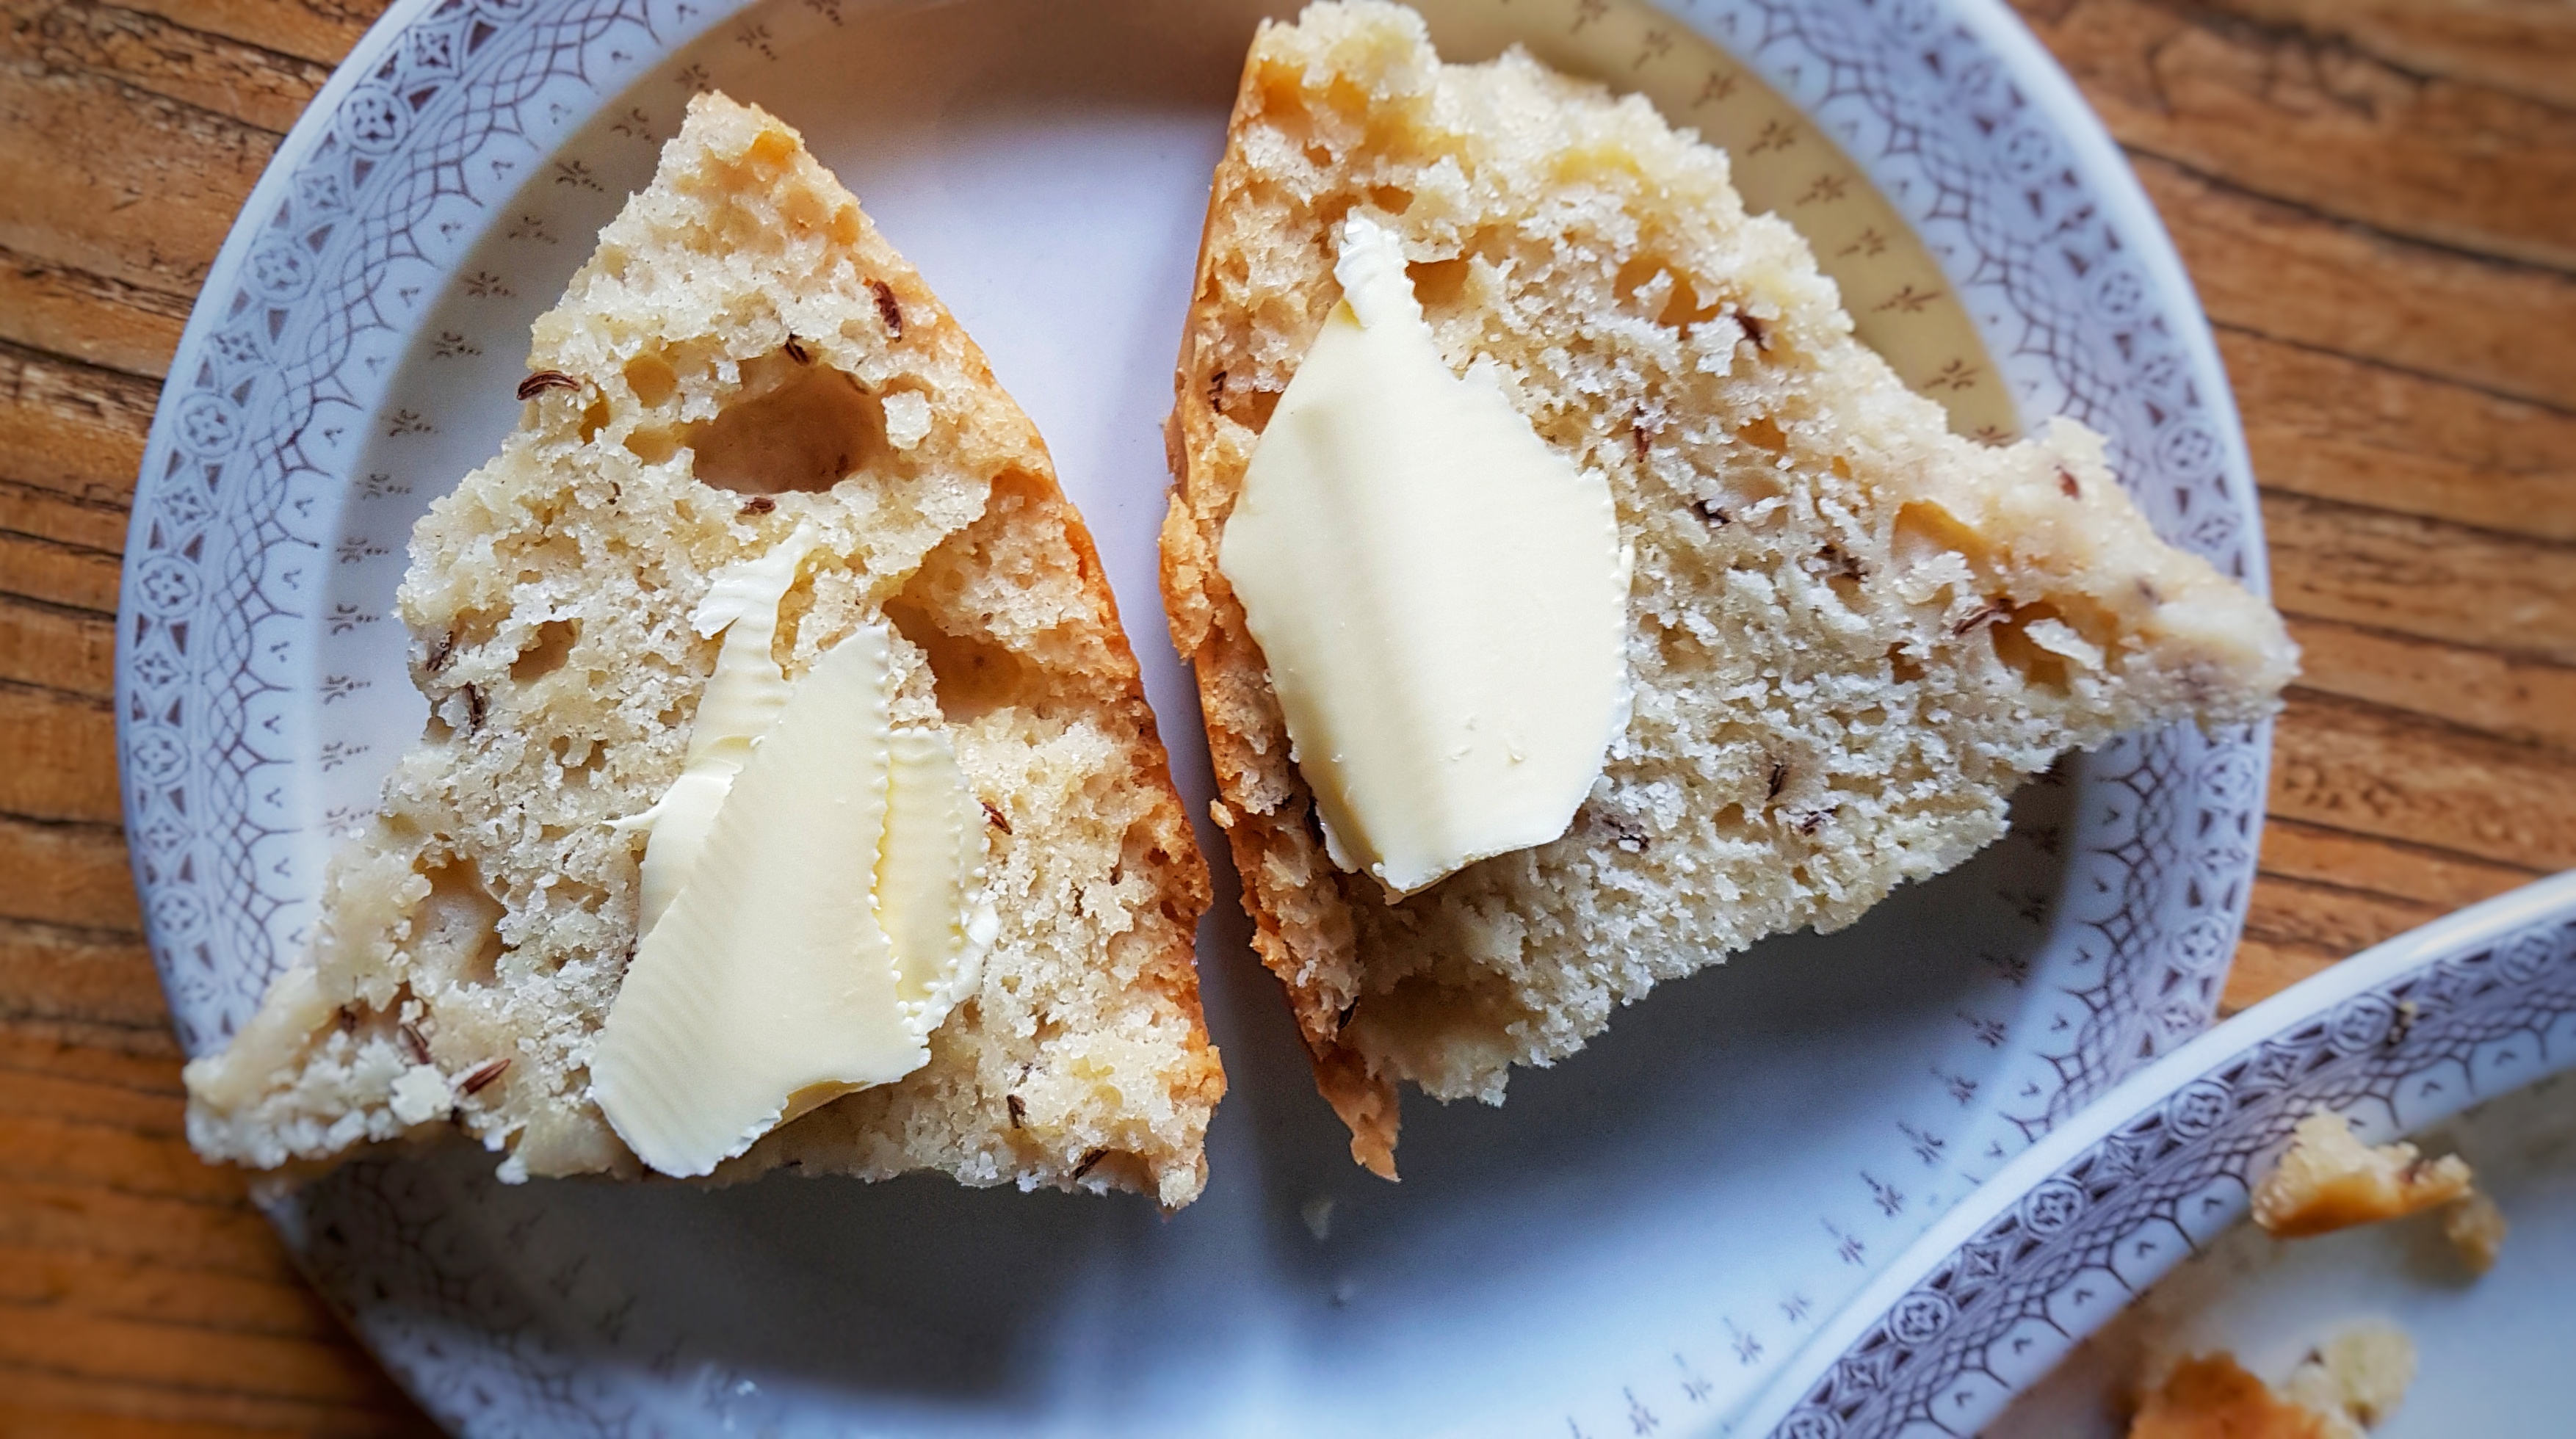
Place in the fridge to firm up and preheat the oven to 200°C. When the oven has come up to heat, slide the pie onto the centre shelf and cook for around 35 minutes, or until a good golden-brown colour and you can see the filling bubble through the steam hole.
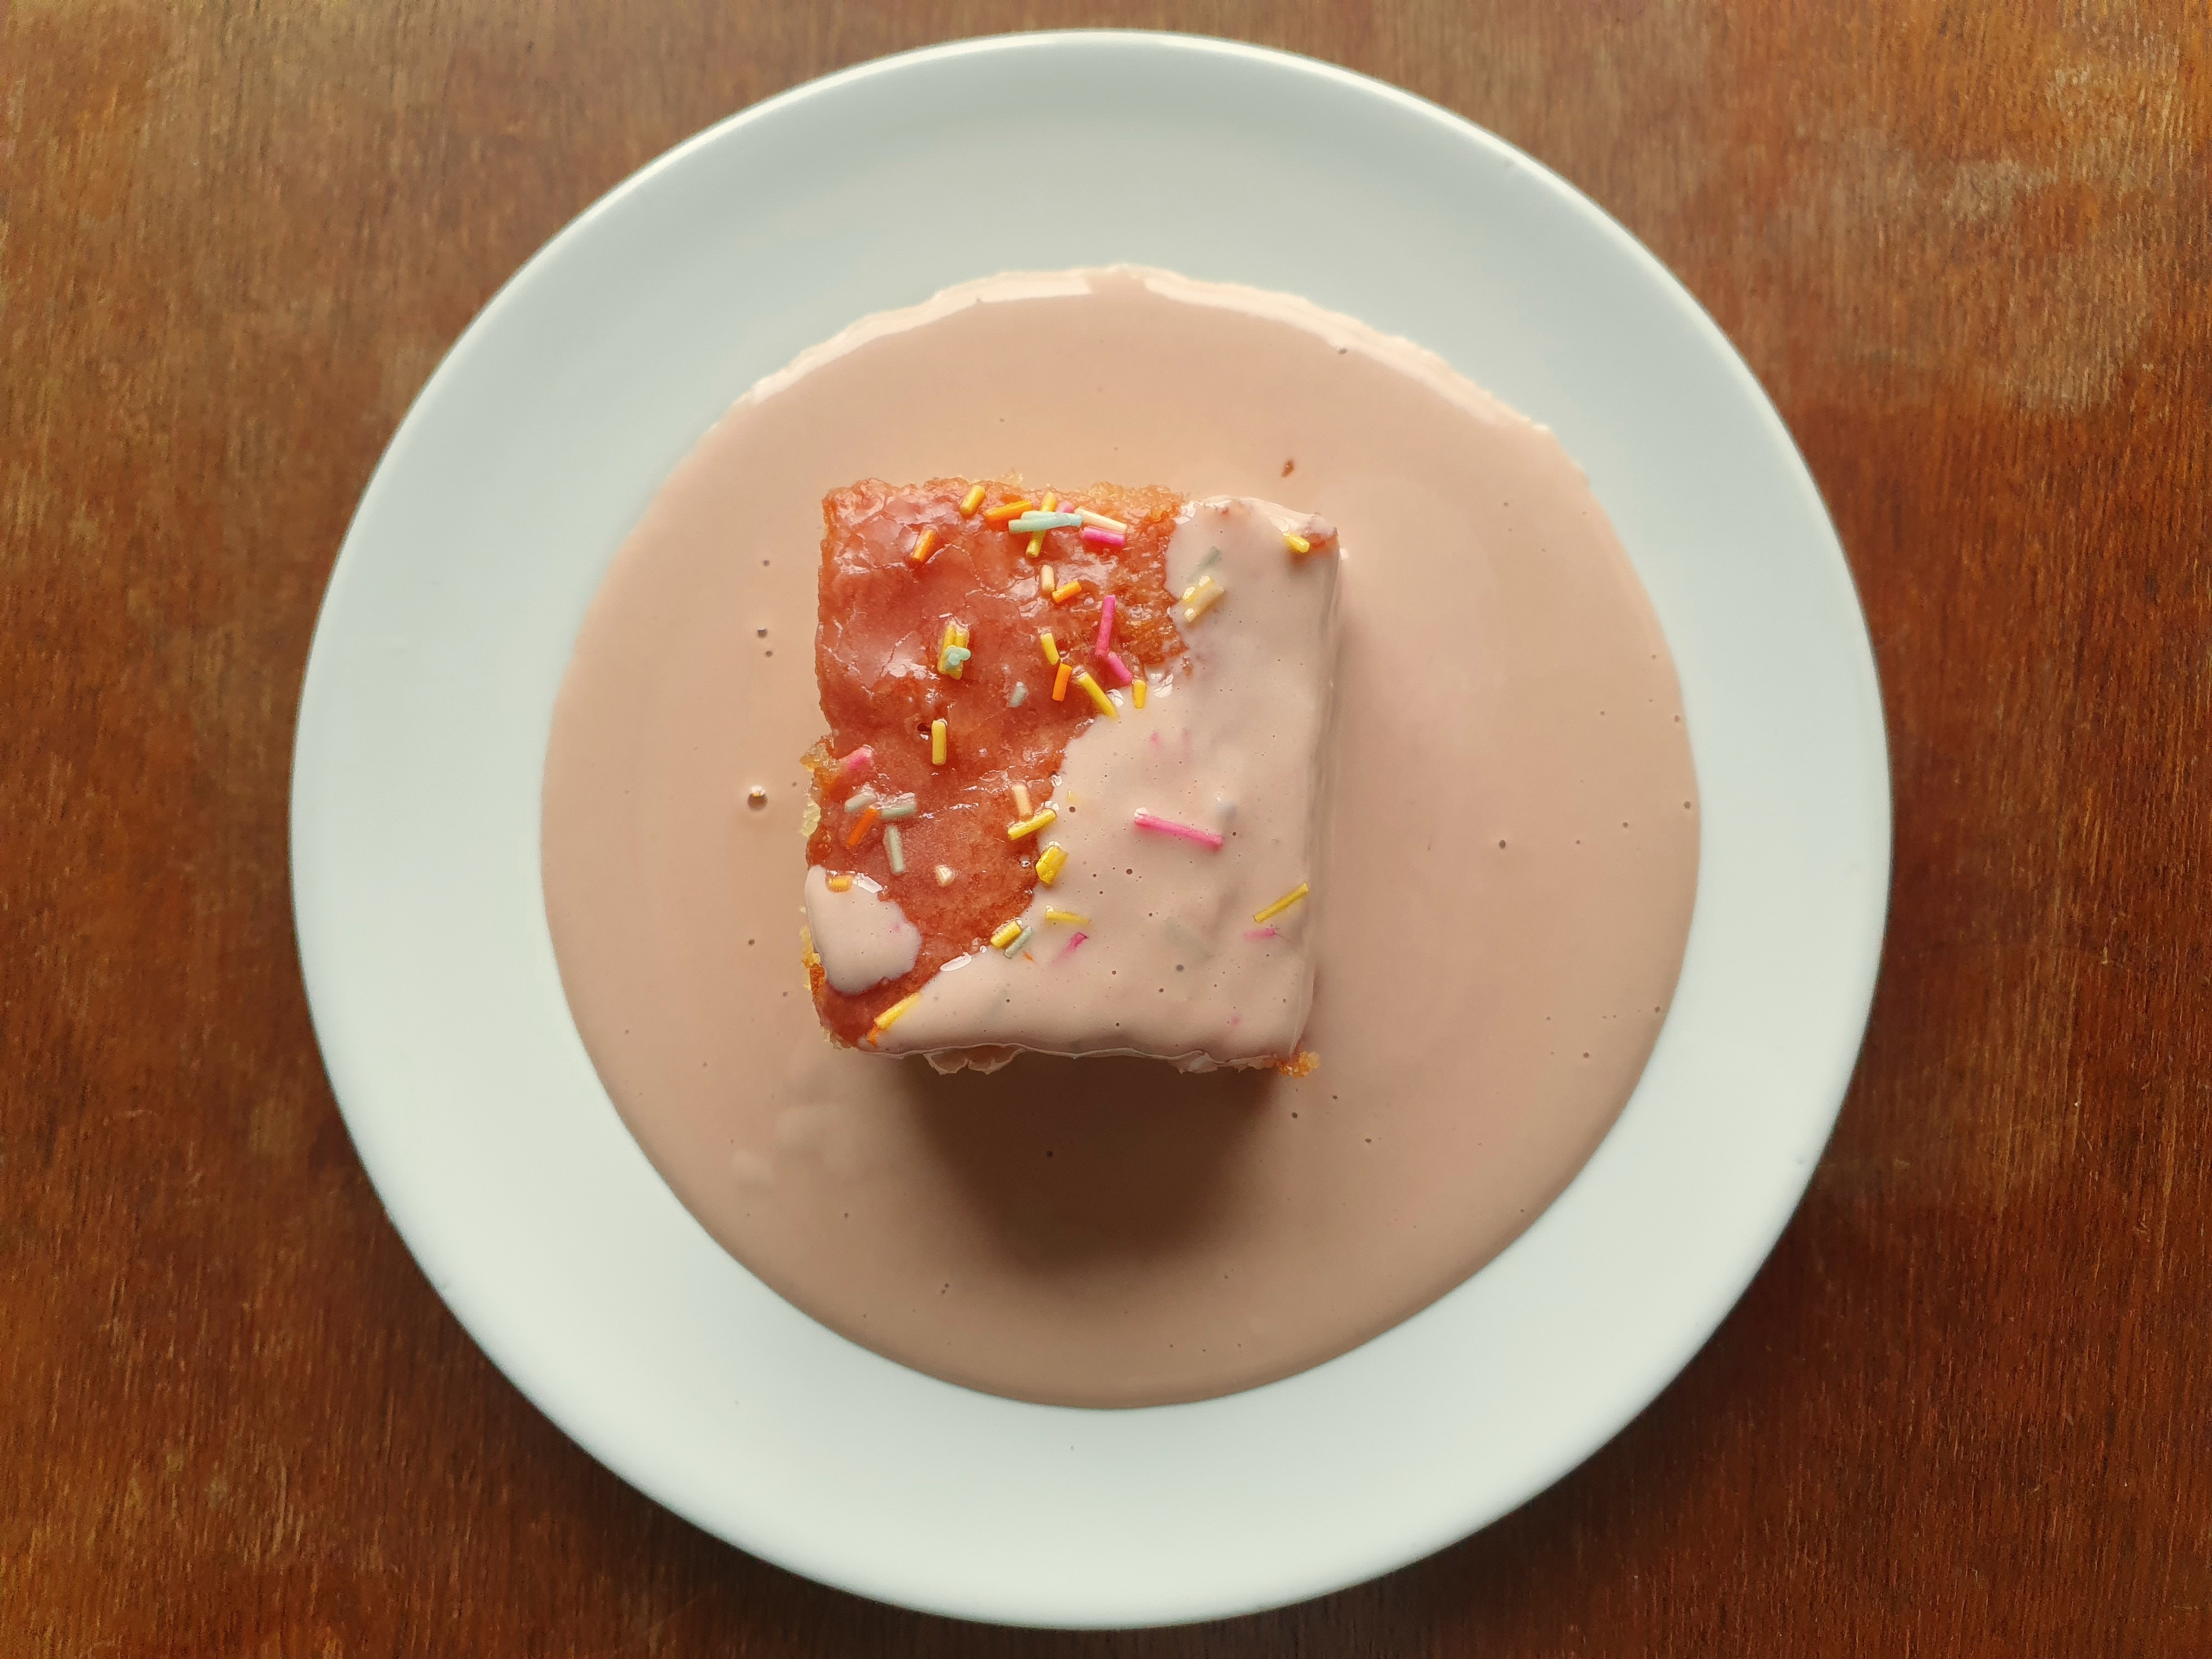
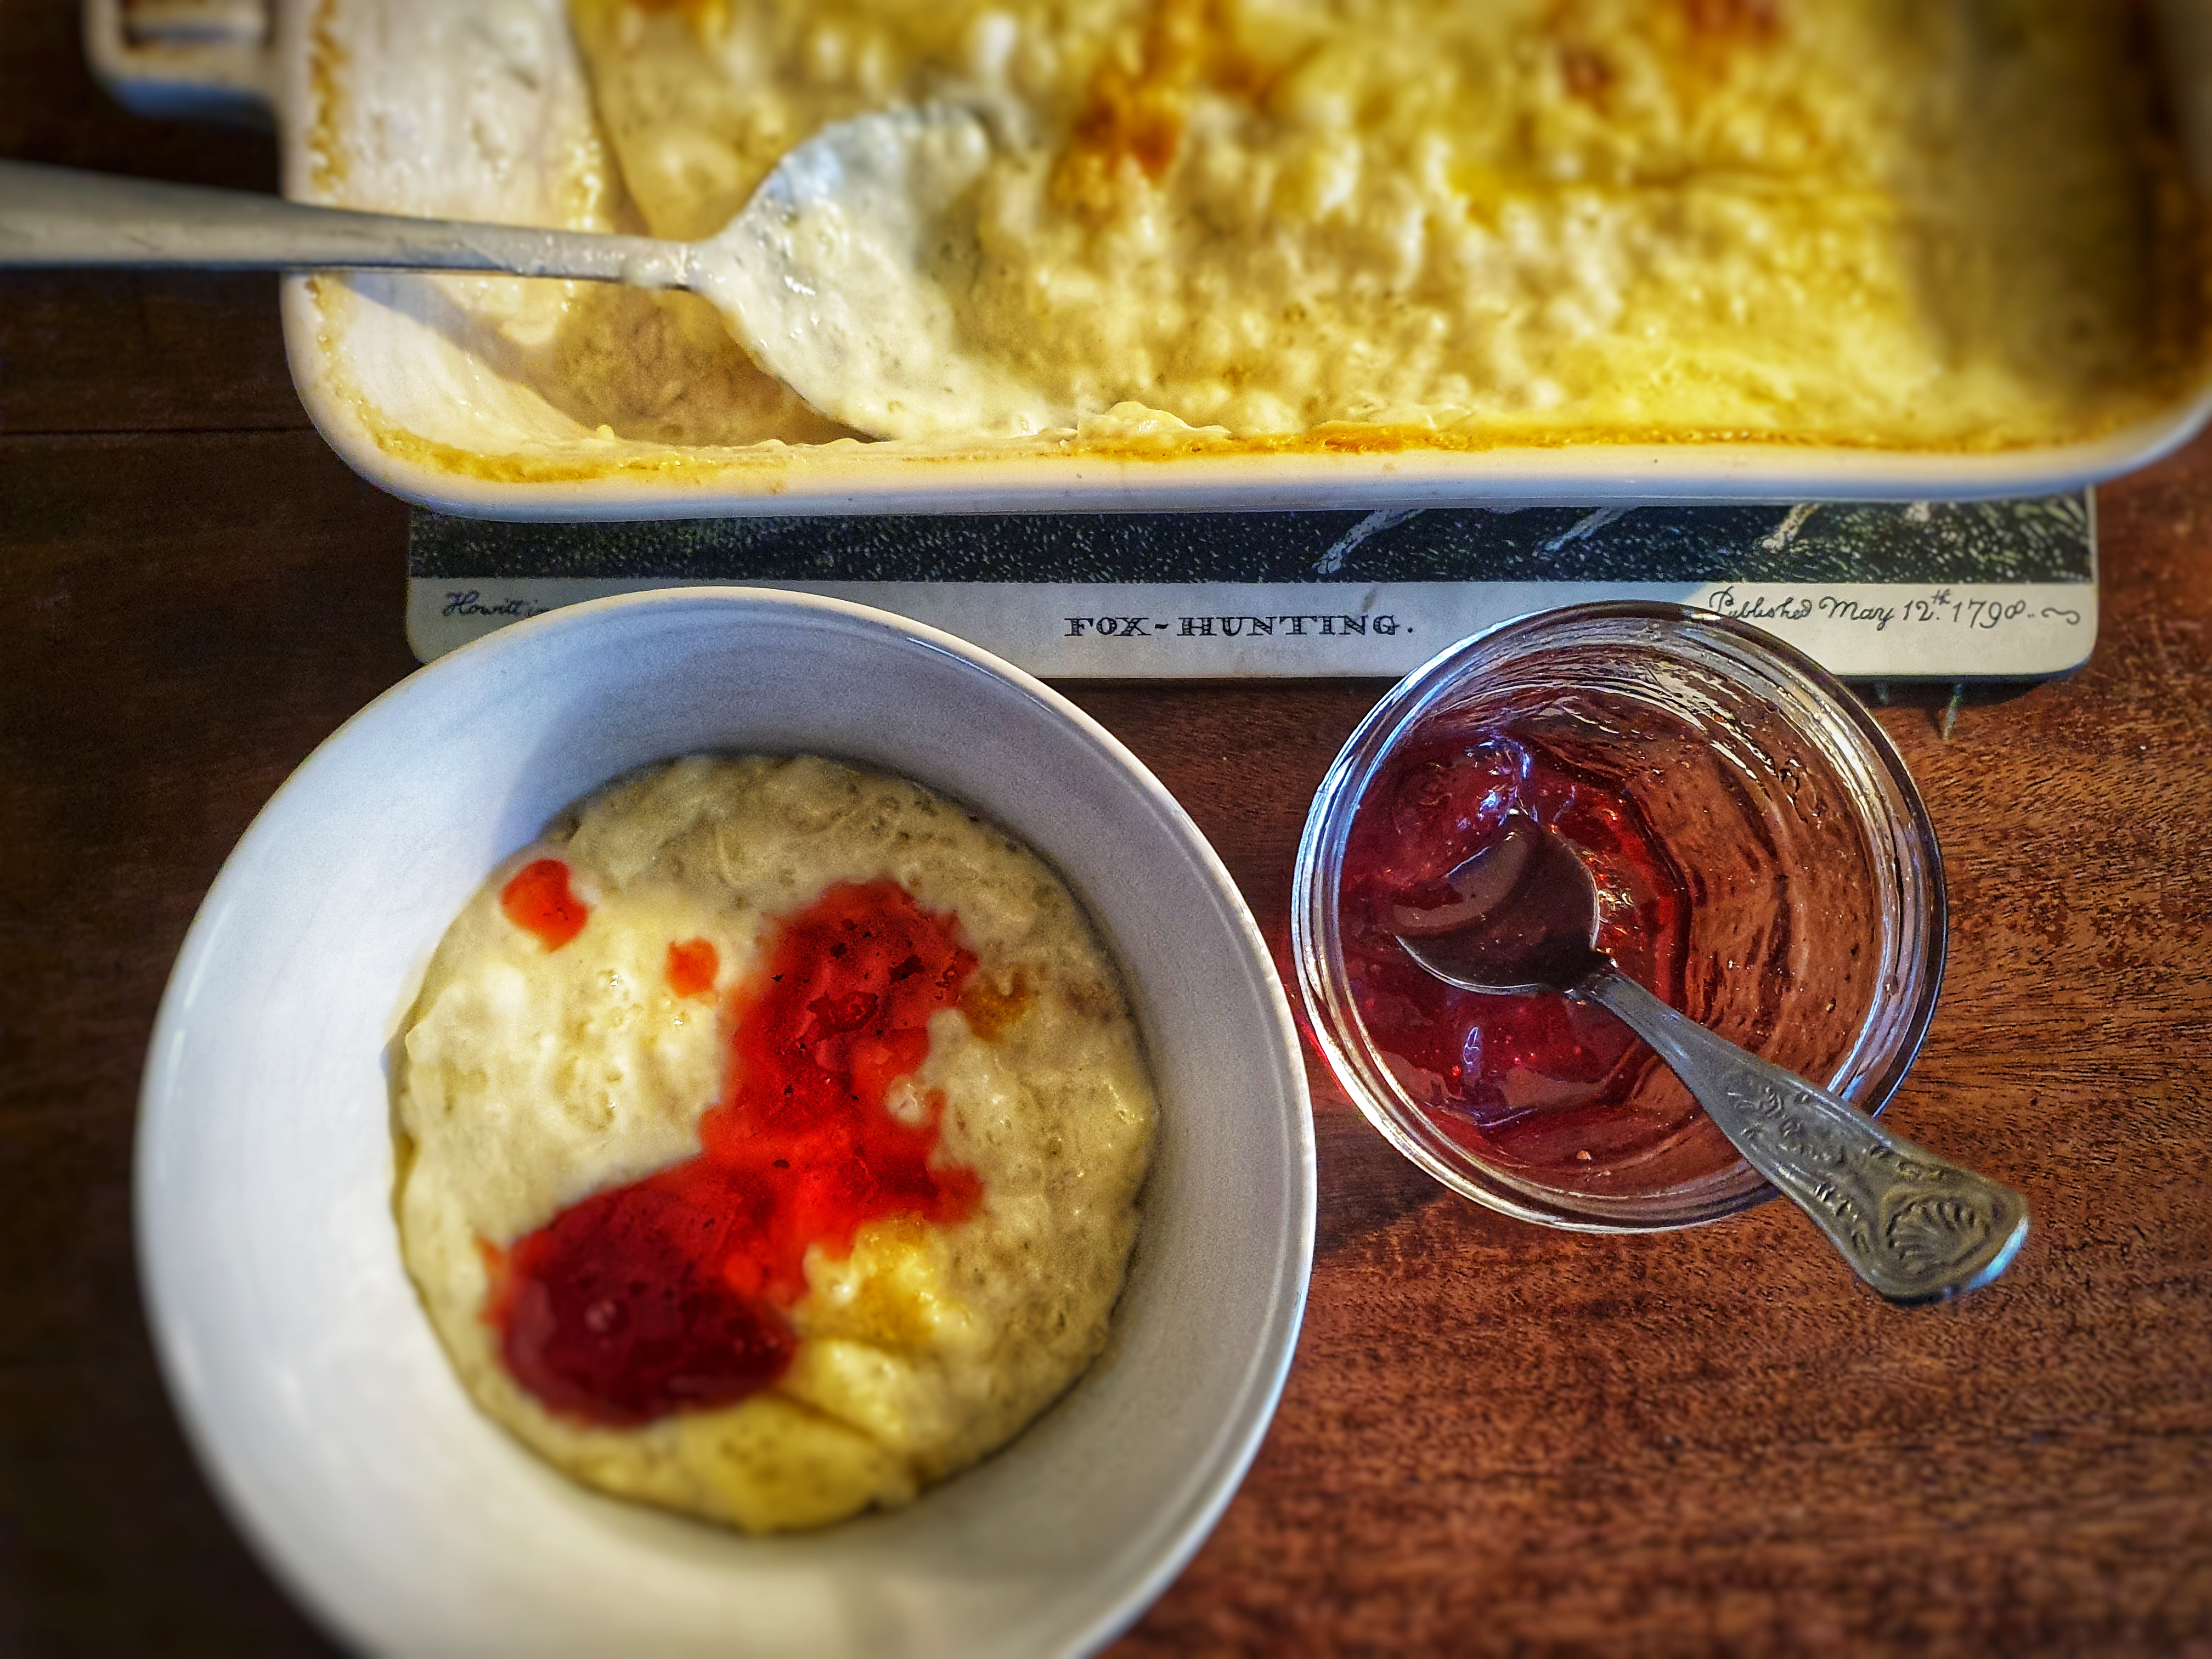
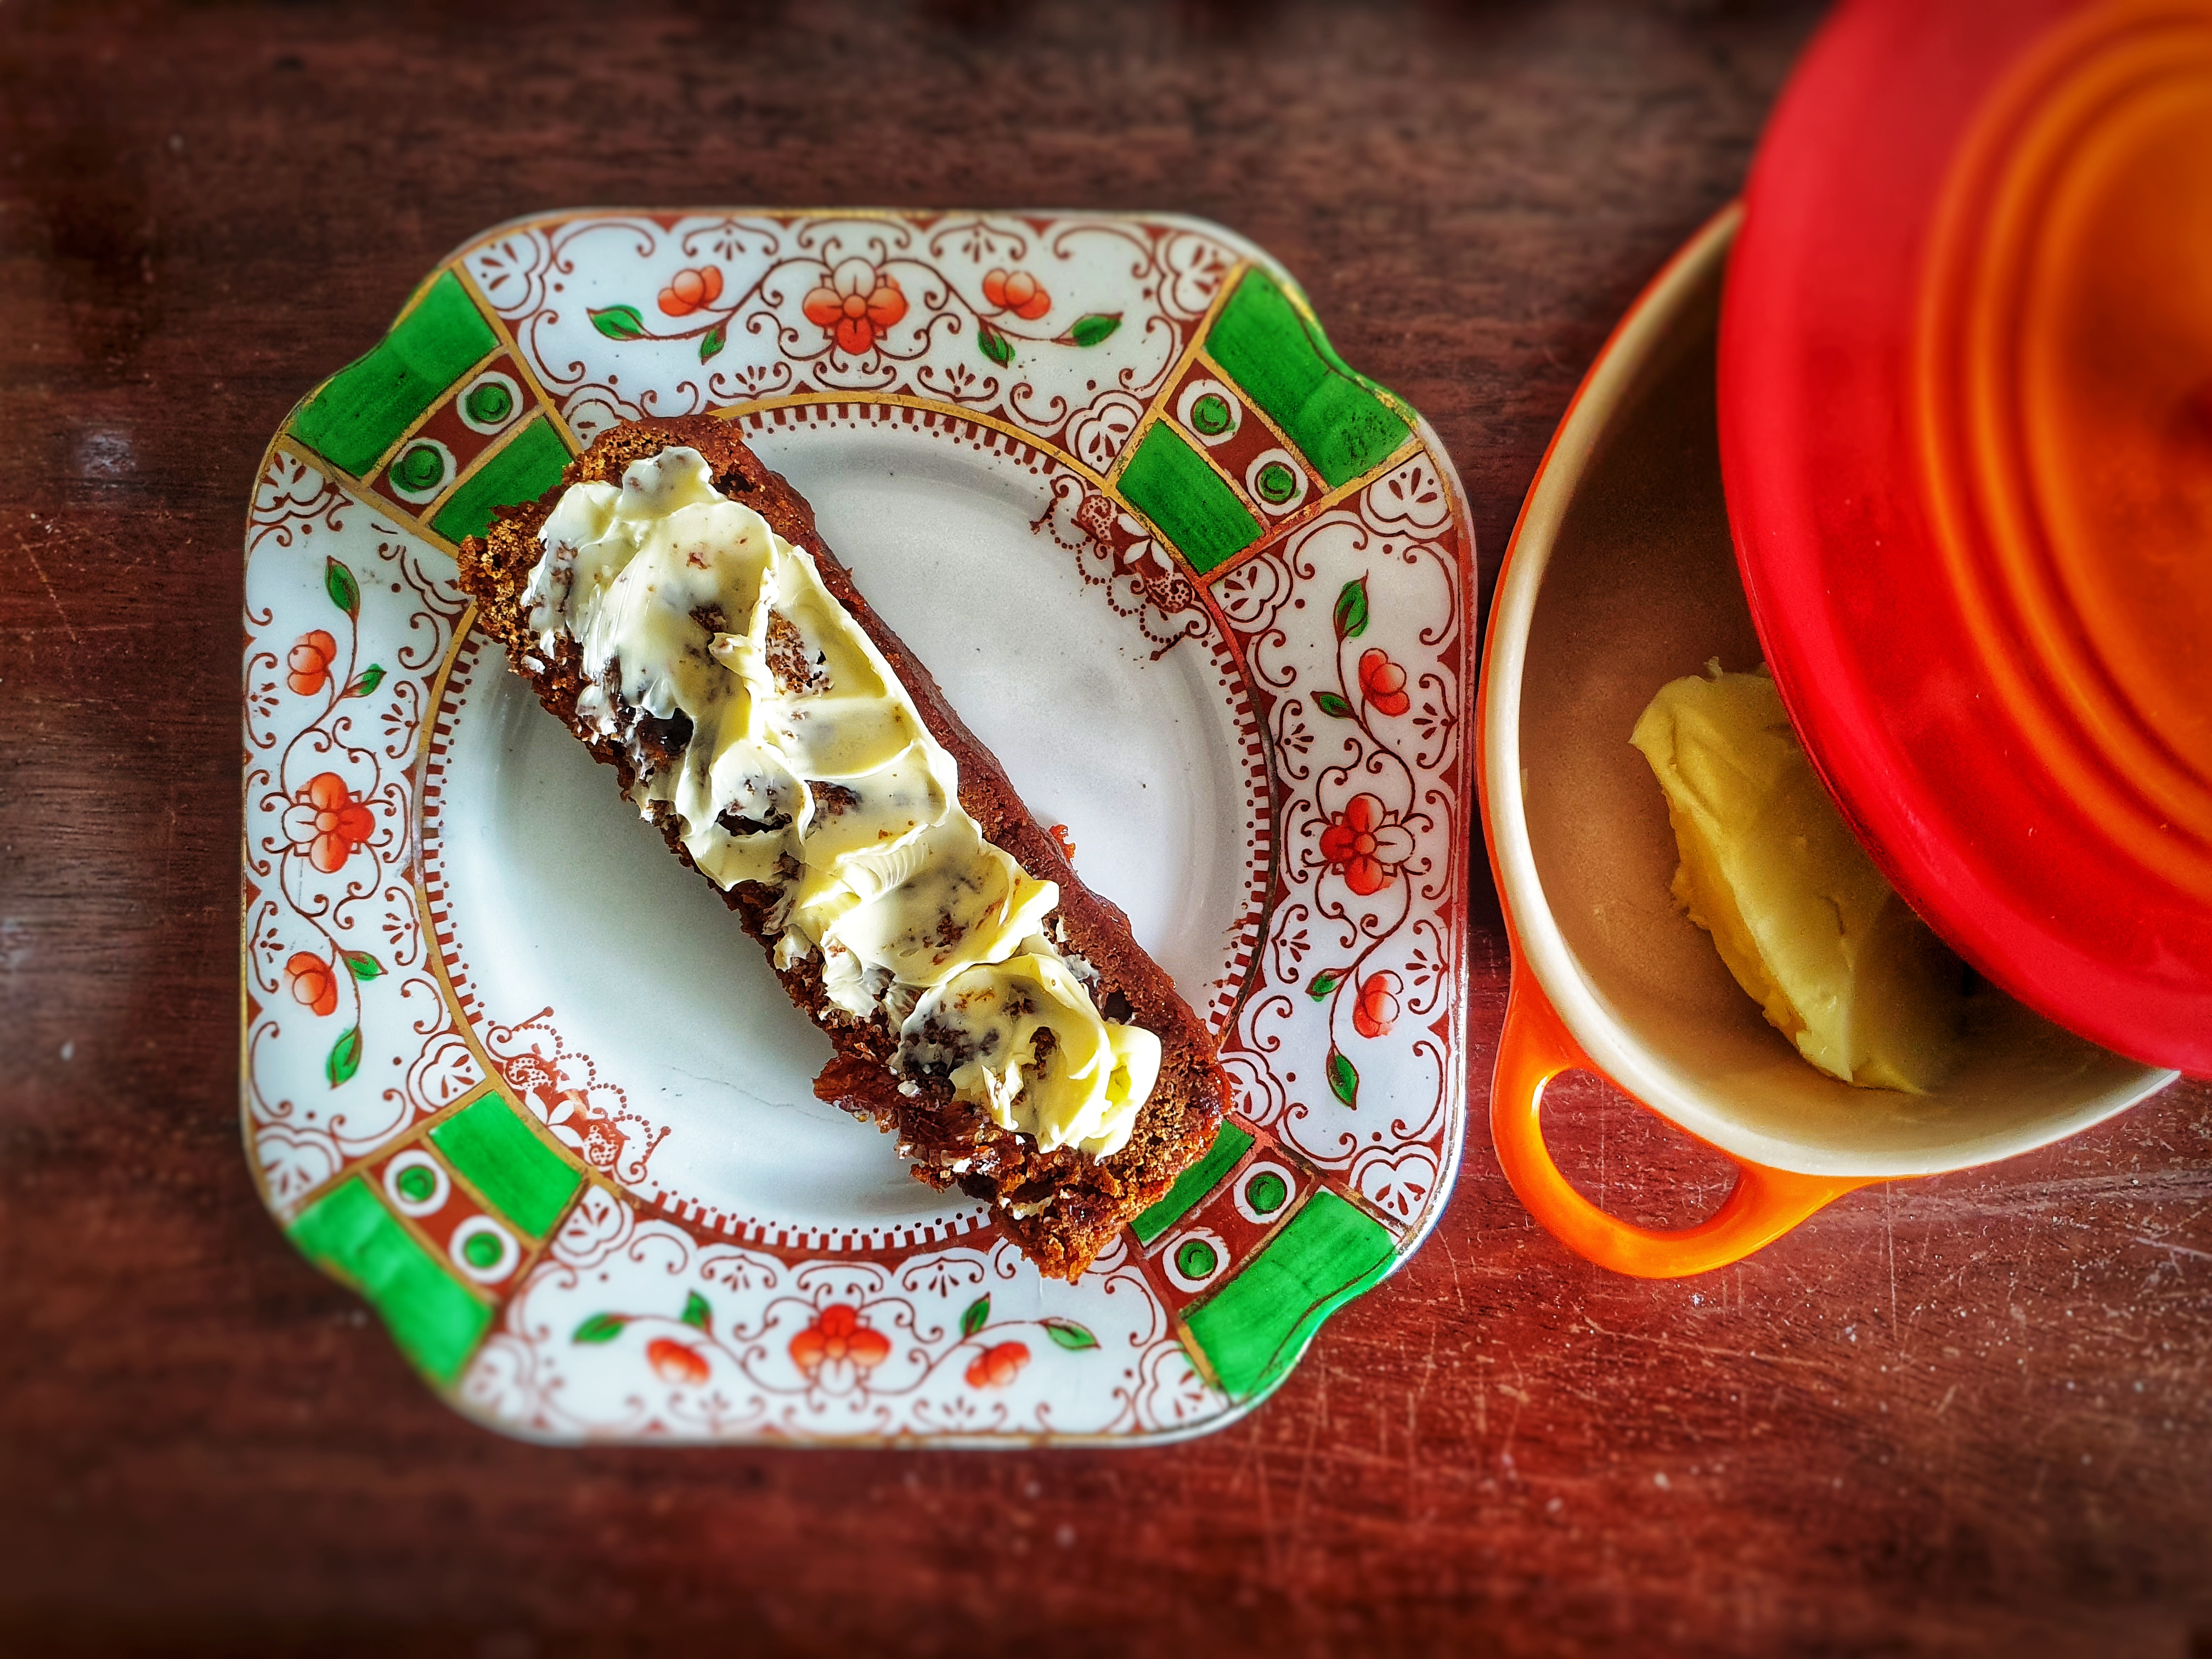
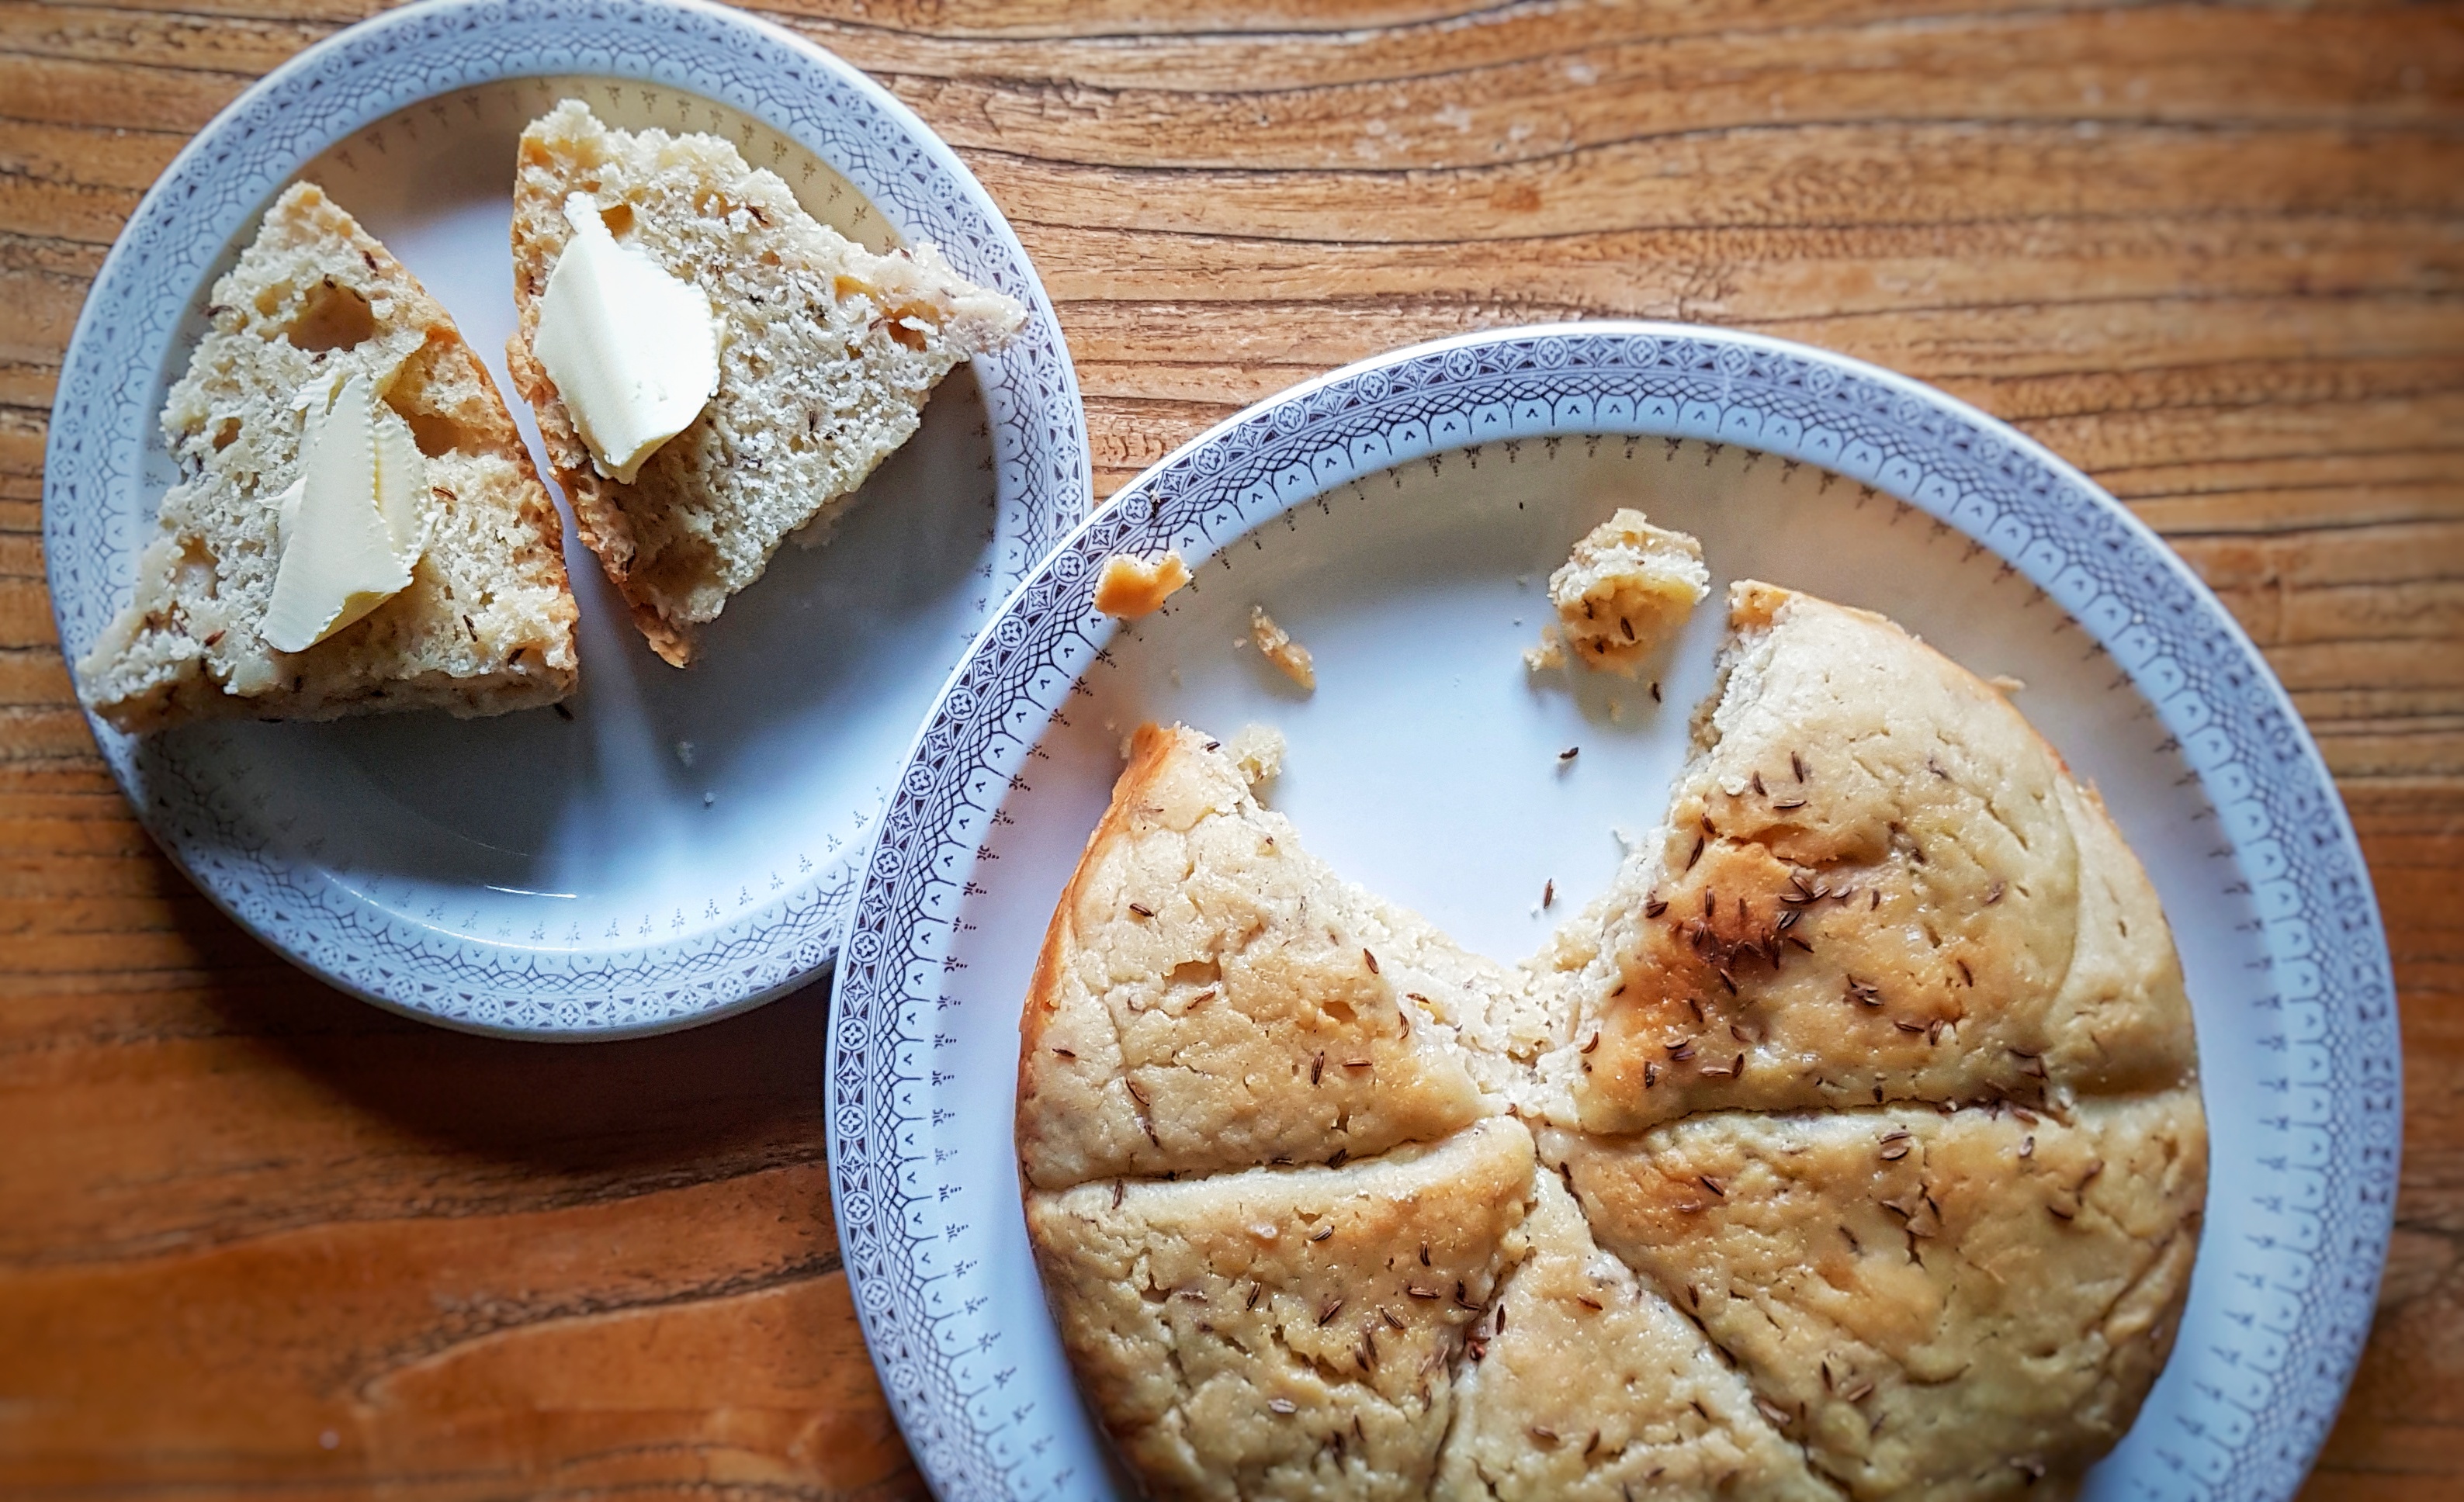
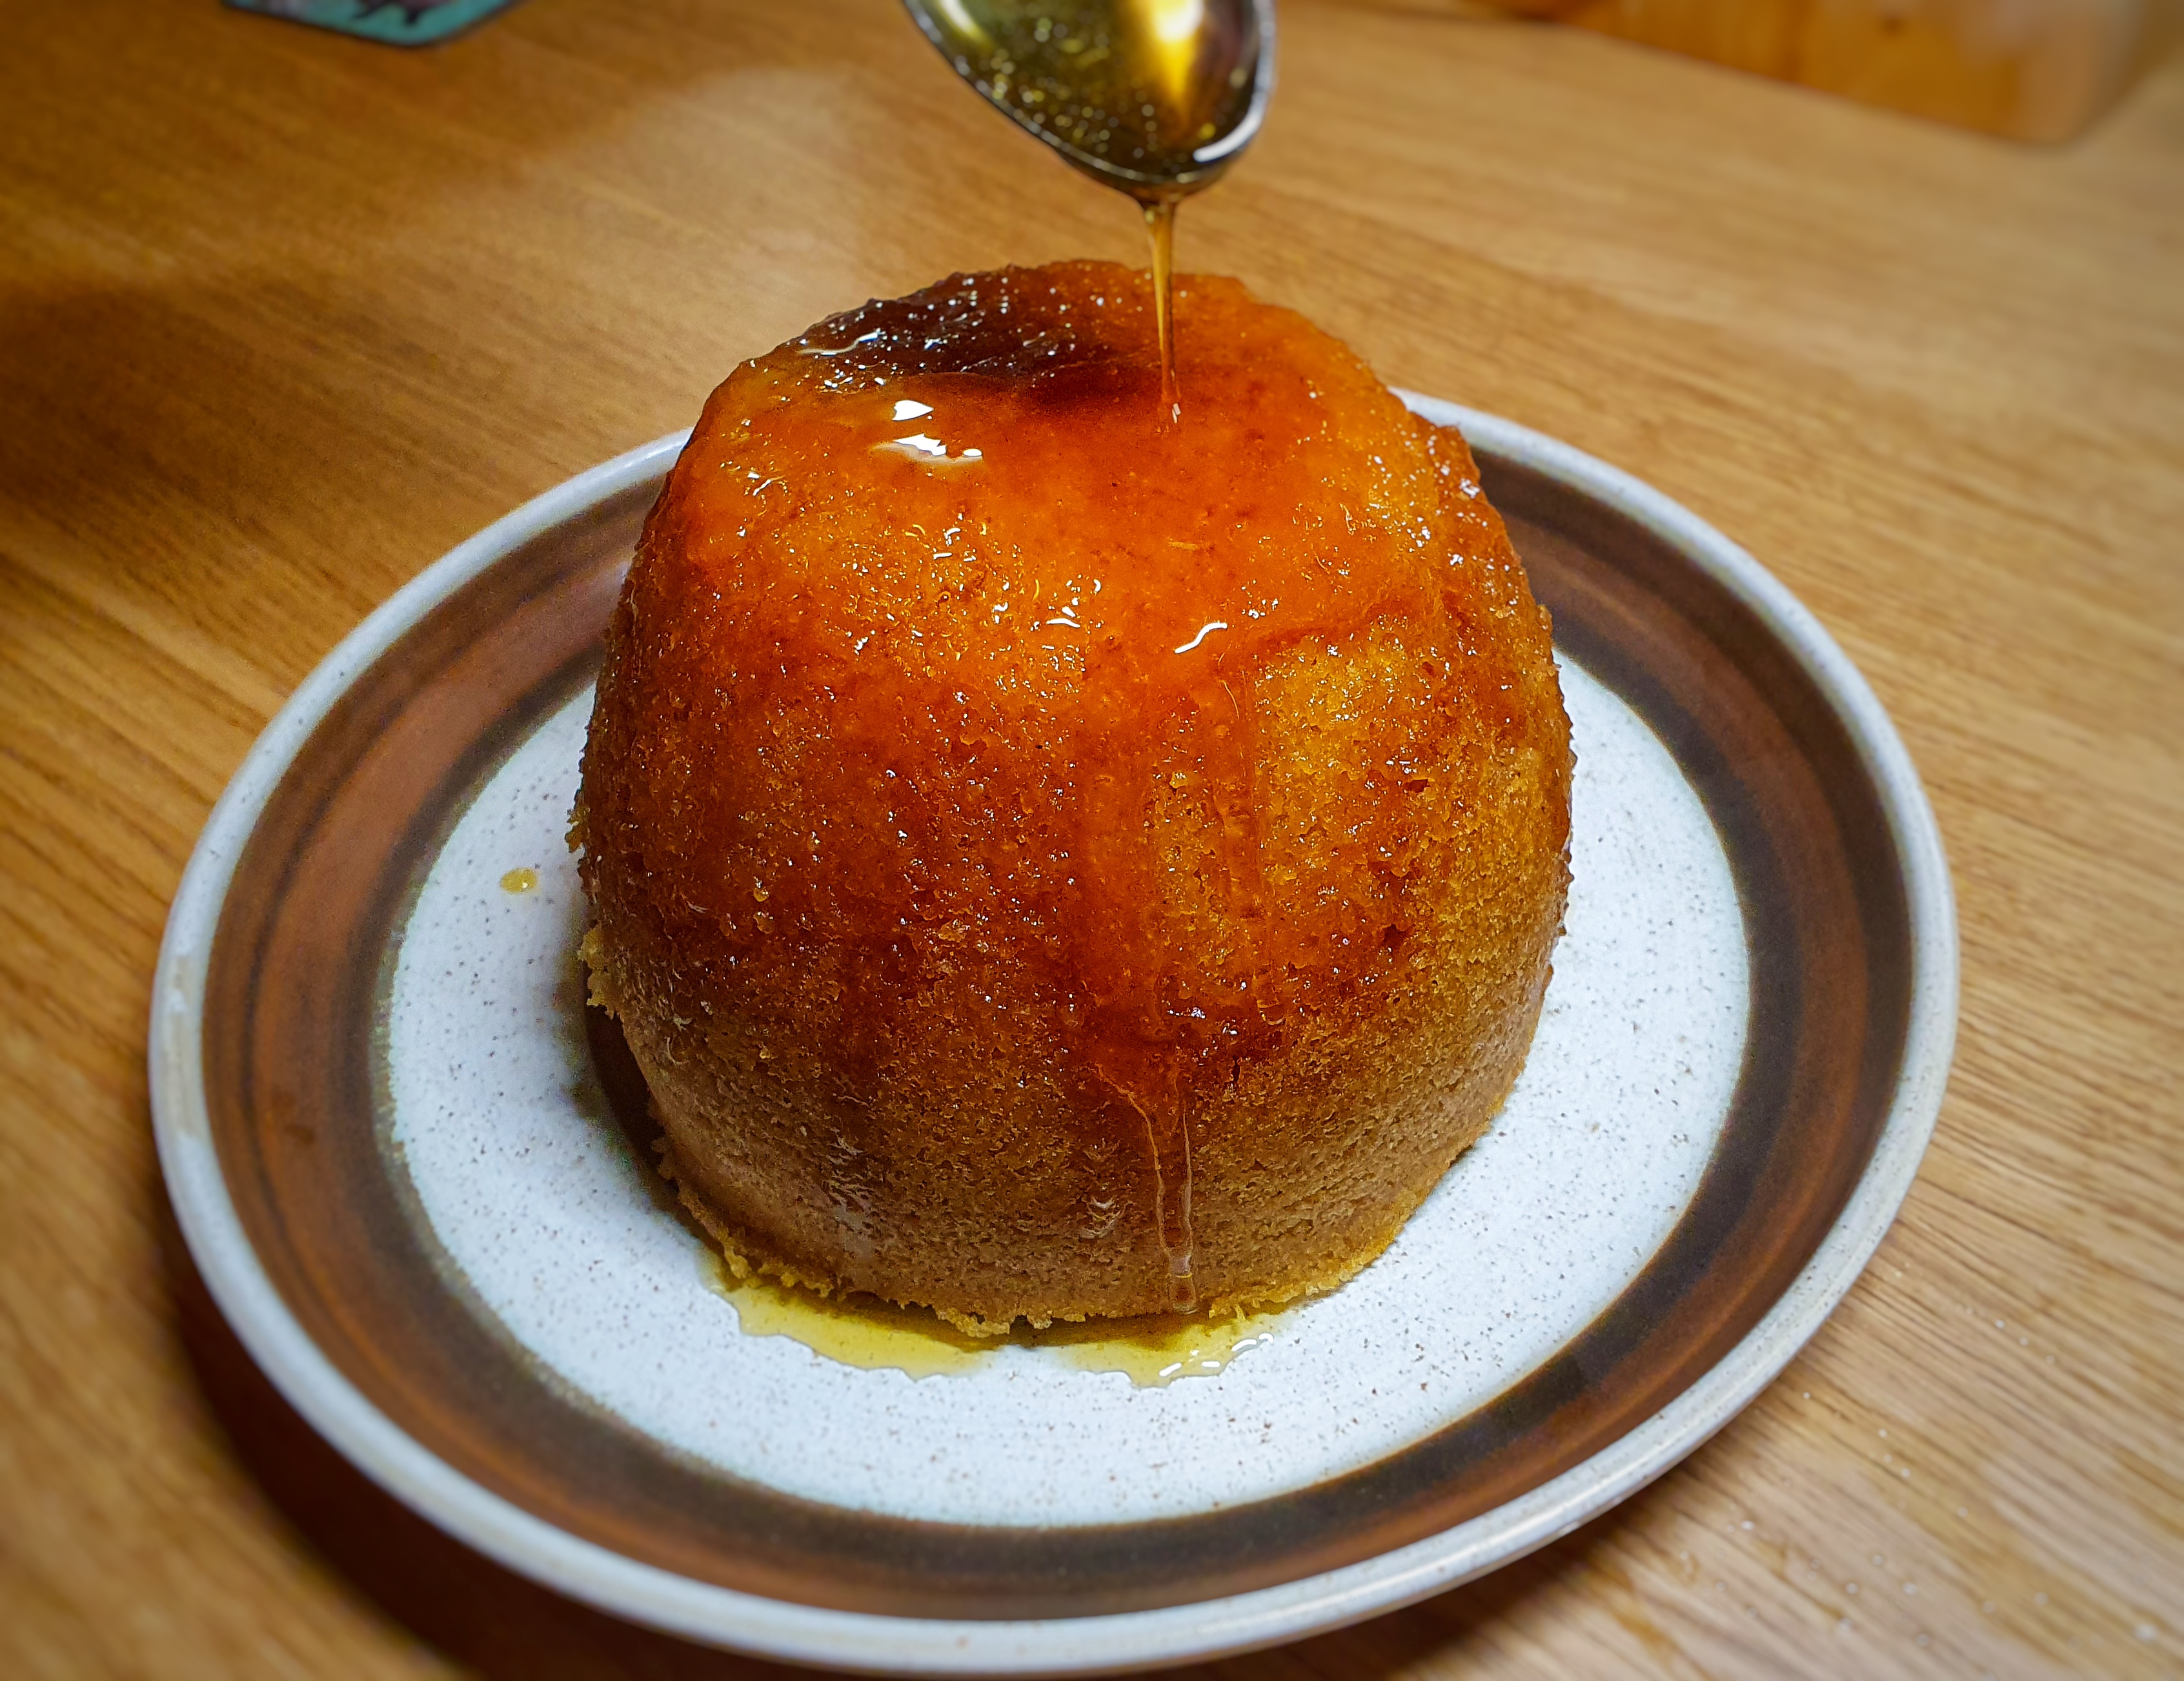
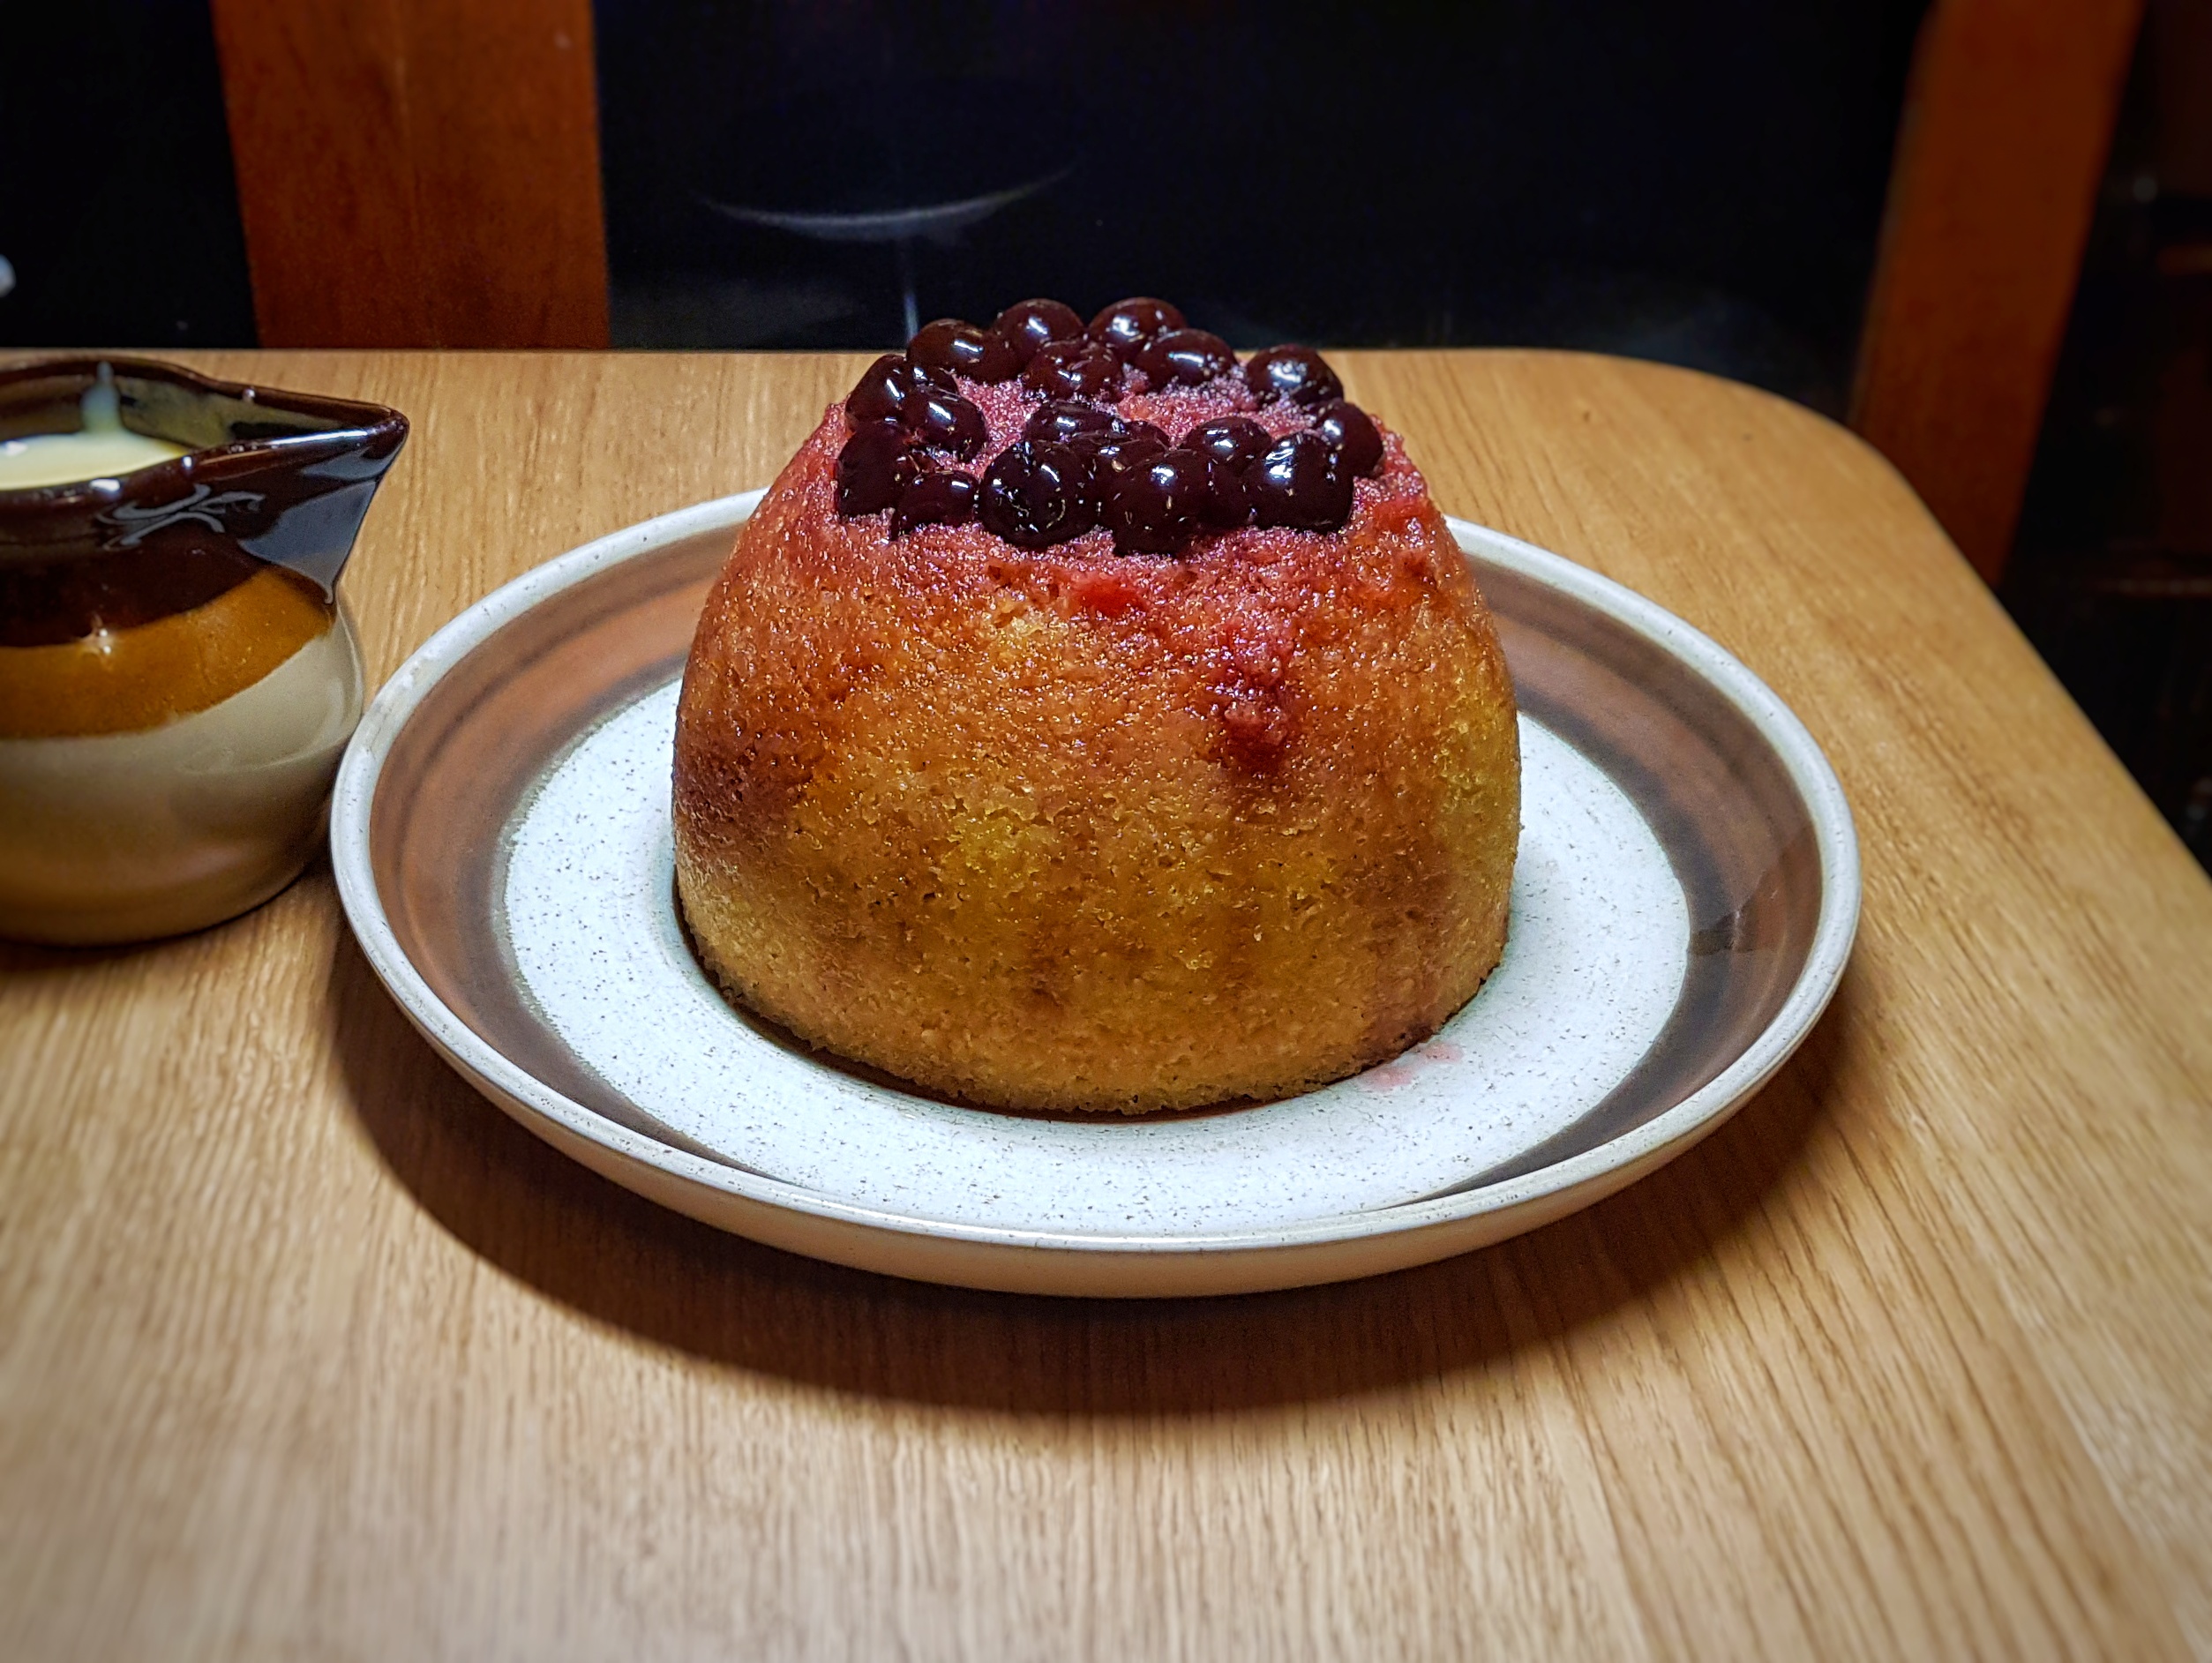
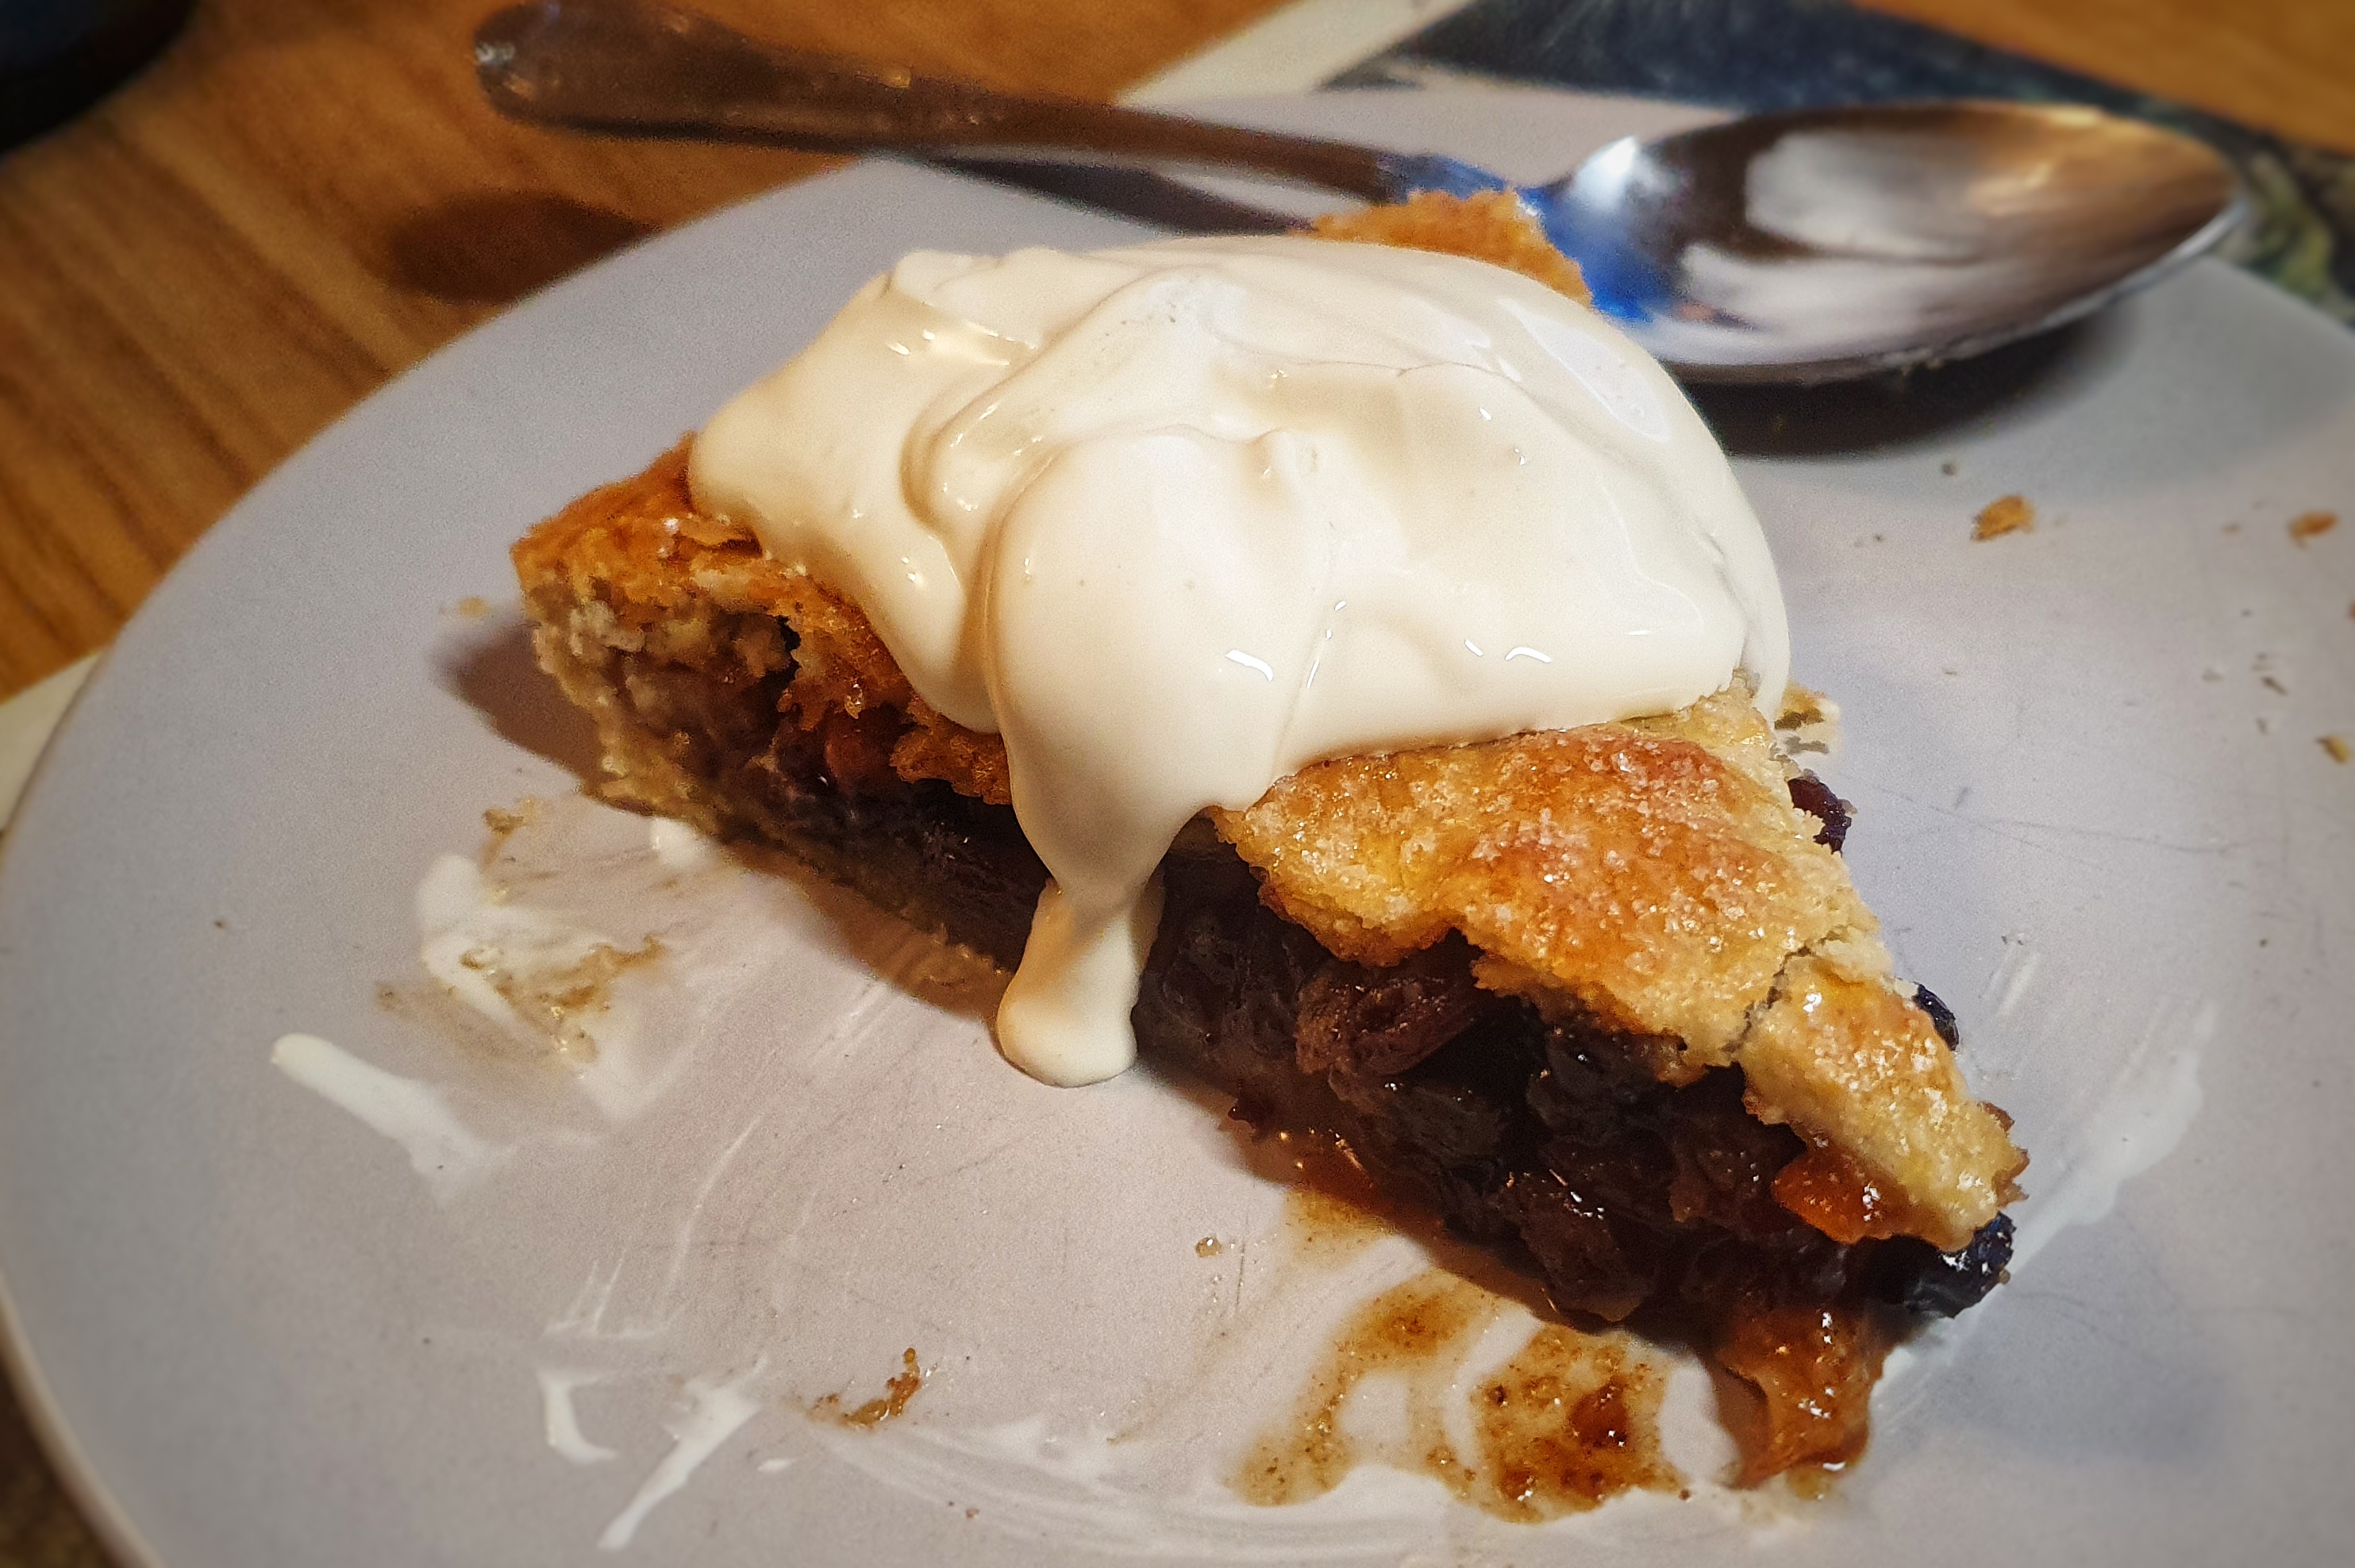
Best eaten warm with thick cream, or rum butter.
[1] Mason, L. and Brown, C. (1999) The Taste of Britain. Devon: Harper Press.
[2] Read the original post here: http://neilcooksgrigson.com/2014/01/02/388-sweet-lamb-pie-from-westmorland/
[3] Grigson, J. (1992) English Food. Third Edit. Penguin.
[4] Hughes, G., ‘North Country Sweet Pie’, The Foods of England Project. http://www.foodsofengland.co.uk/northcountrysweetpie.htm
[5] To sterilise jars, heat them in the oven for 25 minutes at 120°C. Any rubber seals – or lids with rubber seals, can be sterilised in very hot water.