My guest today is third generation baker, writer and teacher David Wright author of the excellent book Breaking Bread: How Baking Shaped our World published by Aurum.
We talk about the social benefits of bread making, milling grain into flour, the anatomy of a grain, roller mills, the Chorleywood process and why gluten can be compared to Arnold Schwarzenegger and Danny DeVito.
Those listening to the secret podcast: you get a little over 15 minutes of bonus material that includes additives that don’t have be named on ingredients lists, flatbreads, the National Loaf, the value of bread and more!
Available on all podcast platforms. If you’re not a podcast person, you can stream the episode via the Spotify embed, below:
Remember: Fruit Pig are sponsoring the 9th season of the podcast and Grant and Matthew are very kindly giving listeners to the podcast a unique special offer 10% off your order until the end of October 2025 – use the offer code Foodhis in the checkout at their online shop, www.fruitpig.co.uk.
If you can, support the podcast and blogs by becoming a £3 monthly subscriber, and unlock lots of premium content, including bonus blog posts and recipes, access to the easter eggs and the secret podcast, or treat me to a one-off virtual pint or coffee: click here.
Don’t forget, there will be postbag episodes in the future, so if you have any questions or queries about today’s episode, or indeed any episode, or have a question about the history of British food please email me at neil@britishfoodhistory.com, or leave a comment below.
Saffron-scented buns, breads and cakes used to be enjoyed right across England from at least the 17th century. Today, however, they are typically found in bun form and are associated with Cornwall because, from around the 1780s, saffron was only grown in this area and Essex.[1]
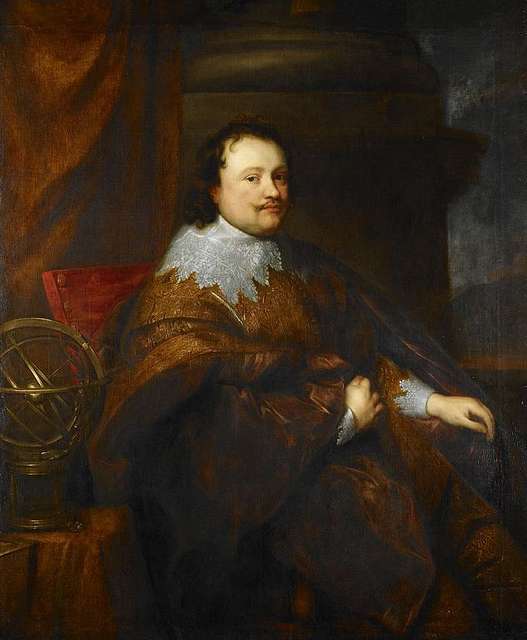
A modern-day saffron bun is a lovely egg yolk yellow and has that lovely, unique earthy flavour associated with the spice. Other ingredients usually include mixed spice, dried fruit and a little sugar, and e enriched with a good amount of egg and clotted cream, though as Sam Bilton points out in Fool’s Gold: A History of British Saffron, Sarah Harrison’s 18th-century recipe contains no fruit, and the only spice used aside from saffron is coriander seed.[2] Early recipes are usually for single, large cakes such as Sir Kenelm Digby’s ‘excellent cake’, which is baked in a hoop and requires ‘a Peck of fine flower’. It’s enriched with (amongst other things) ‘one pint of Sack…half a pint of Rose-water [and] half a quarter of an ounce of Saffron.’ It is then iced with sugar and egg whites flavoured again with rose water.[3] Rosewater seems to have been a key ingredient because it’s still used a century later in John Farley’s London Art of Cookery (1783) and again in Cassell’s Dictionary of Food a century after that.[4] Perhaps it should be brought back?
Sir Kenhelm Digby’s ‘excellent’ saffron cake also contained rose water
Because of their expensive and rich ingredients, saffron buns are associated with celebrations and feast days. On Good Friday (a day associated with spiced buns), they were cut with a cross and brushed with a saffron wash and eaten with clotted cream.[5] At Christmastime, they were made into miniature cottage loaf shapes. They were also a special taste of home: folk of Newquay, when putting together Christmas food parcels to be sent to fighters during the Great War, were sure to include saffron cakes and buns.[6]
If you want to know more about the history of baking, check out my book Knead to Know, published by Icon Books.
According to Cassell, aside from providing colour and flavour, saffron makes buns or cakes ‘wholesome and palatable’, aids digestion and will ‘drive out intestinal worms’ to boot, and suggests swapping the liquid used in your favourite bun or cake recipe for saffron-steeped hot water that has been allowed to cool to blood heat.[7]
Saffron is the most expensive spice in the world by weight, and there was (and still is) therefore pressure for food manufacturers to use an adulterant such as yellow food colouring or turmeric to offset costs. Real saffron buns are appropriately (but proportionally) more expensive than your regular fruit bun, and according to Elizabeth David, the strands are not strained from their soaking water as one might expect, ‘probably as a visible sign that true saffron has been used.’[8]
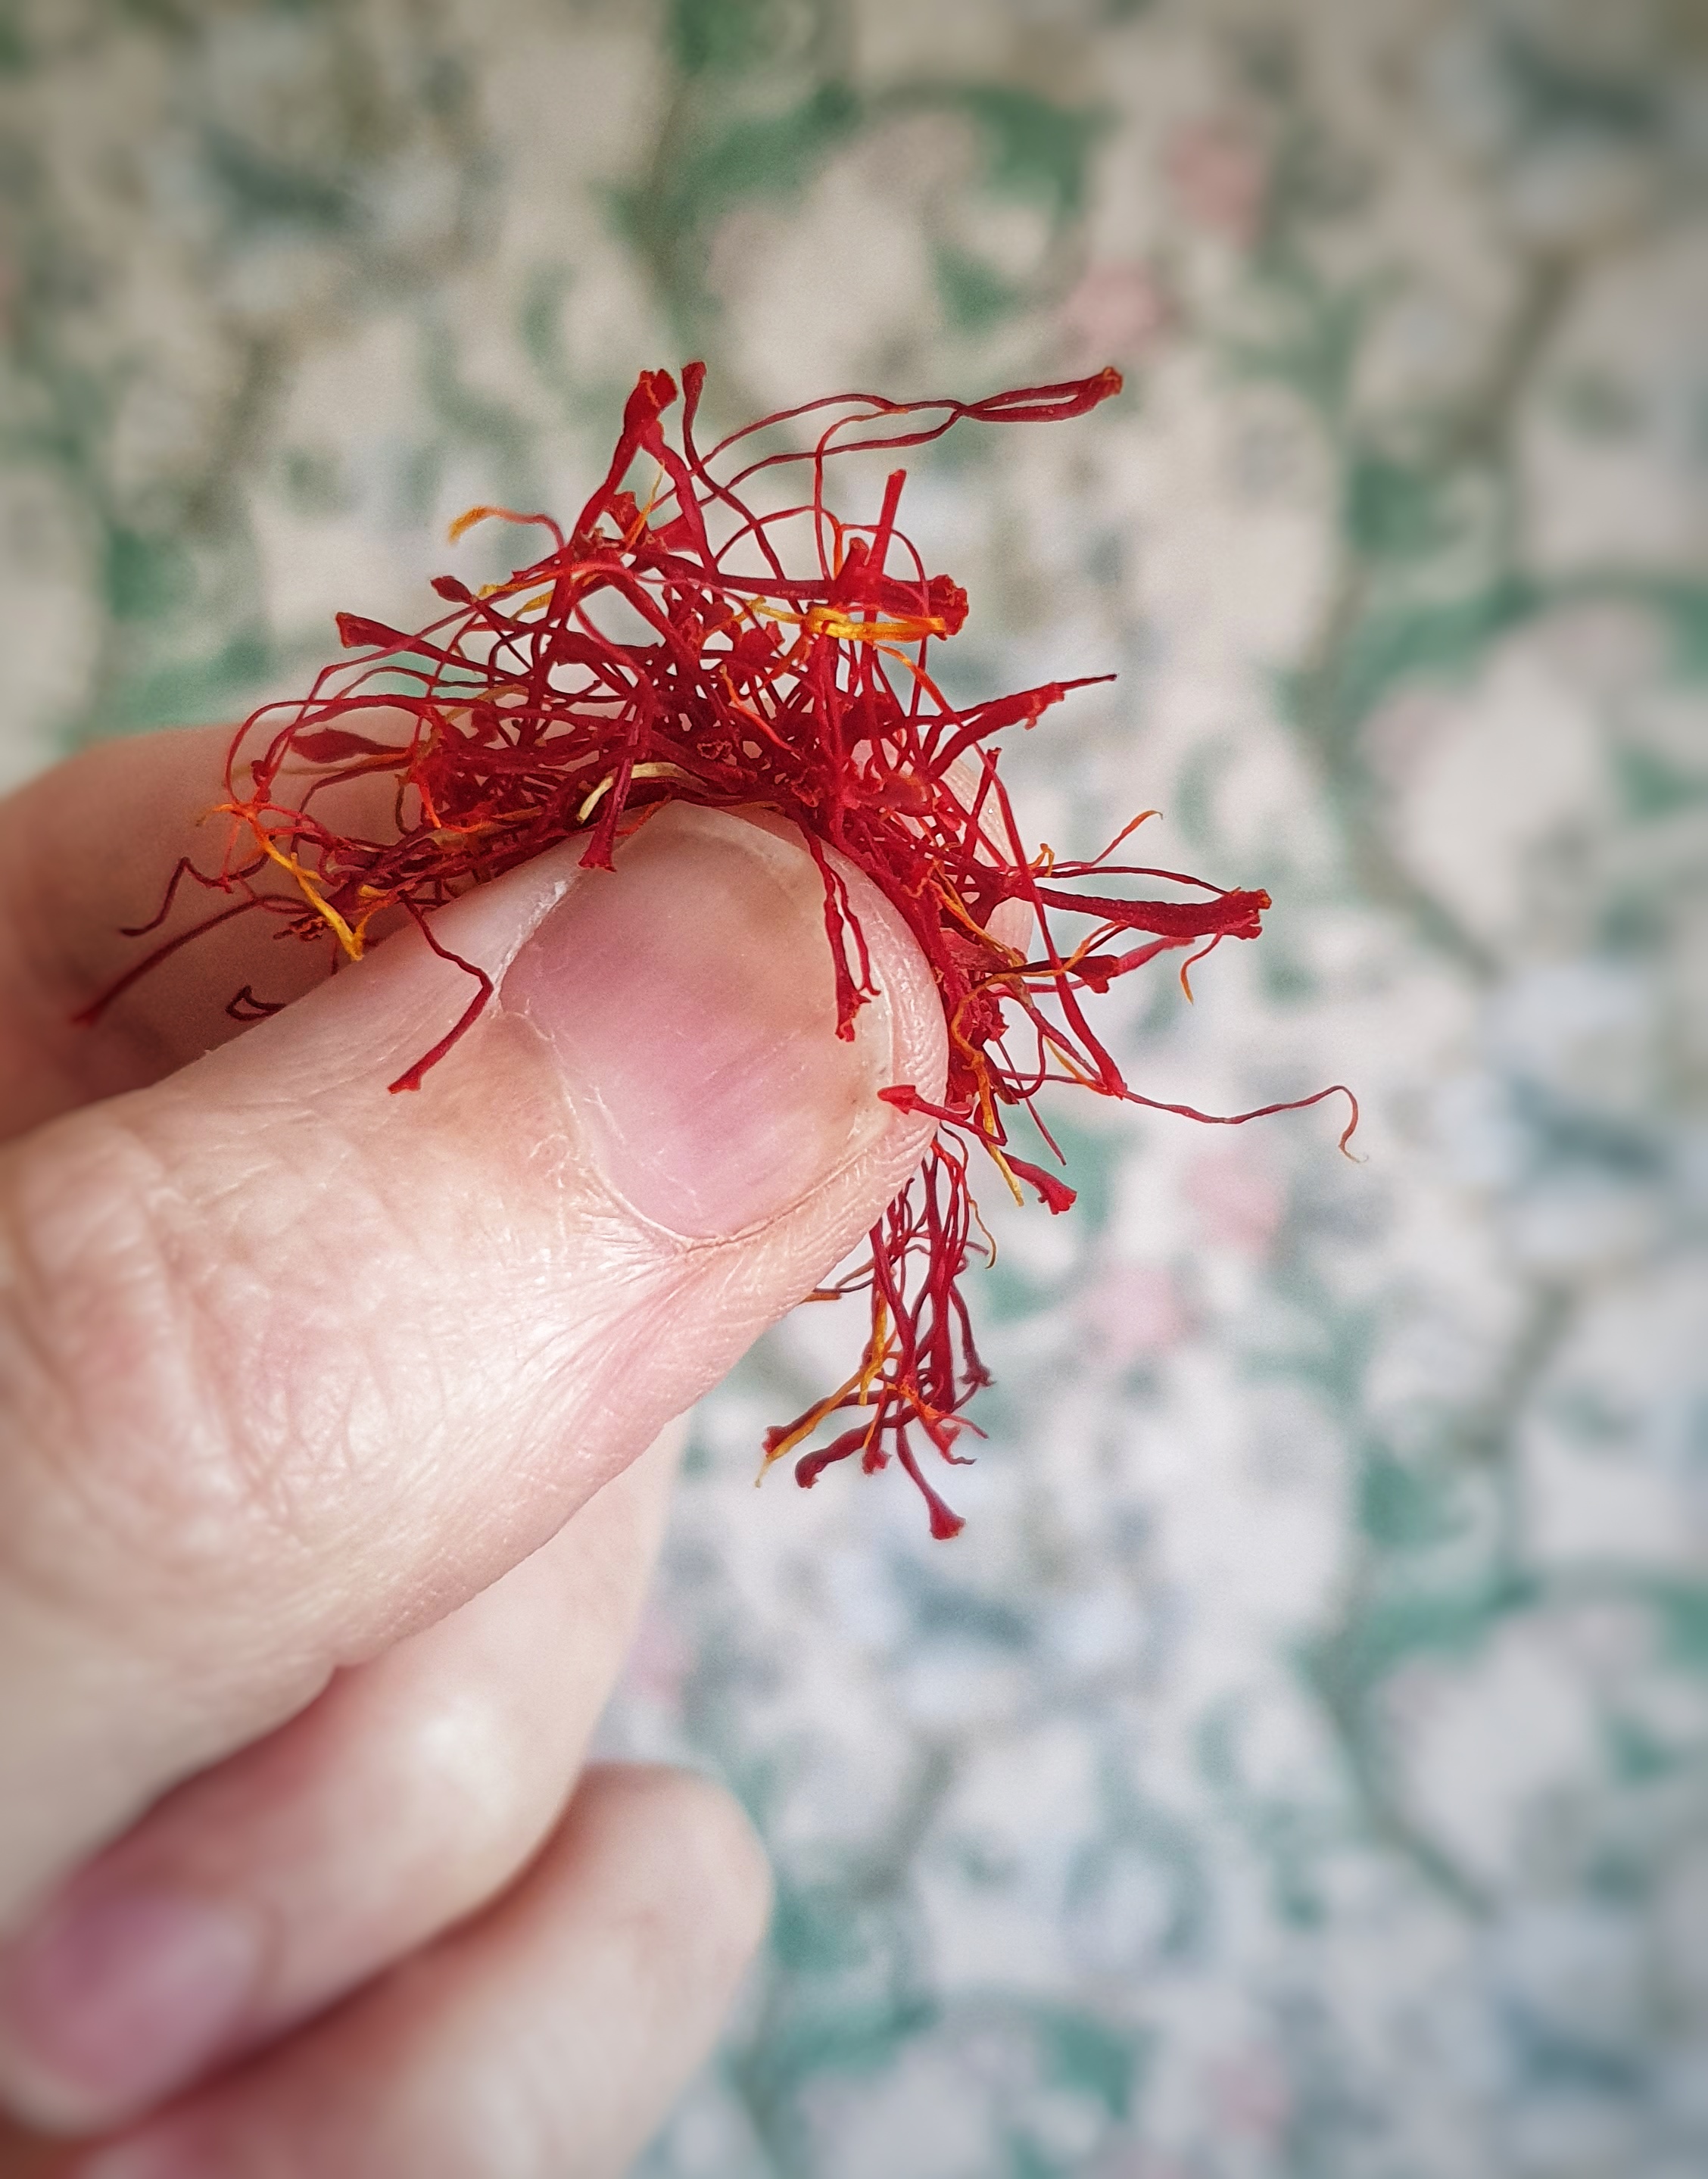
But how much saffron to use? Amounts can vary greatly, and Sam Bilton wrestles with this question: she spotted that Elizabeth David complained about people using too much saffron in their cooking – true, it can taste soapy when over-applied – but then asks for four pinches in her recipe for buns![9] Of course, the answer depends upon a few factors: the quality of your saffron, how long it has been sitting in the spice rack, and how much you enjoy the flavour of saffron. My recipe uses ‘a good 2-finger pinch’.
This is what ‘a good 2-finger pinch’ looks like
If you want to know more about the history of saffron in Britain, have a listen to this episode of The British Food History Podcast with guest Sam Bilton:
If you like the blogs and podcast I produce and would to start a £3 monthly subscription, or would like to treat me to virtual coffee or pint: follow this link for more information.Thank you.
Recipe
Makes 12 buns.
230 ml full-fat milk, plus extra for brushing.
A good 2-finger pinch of saffron
500 g strong white bread flour, plus extra for rolling
120 g mixed dried fruit (currants, raisins and sultanas)
Pour the milk into a small saucepan and bring to scalding point. Check to see if a skin has formed on the milk’s surface, if so, remove it before adding the saffron.[10] Whisk in the saffron strands and let the milk cool to ‘blood heat’ (about 40°C).
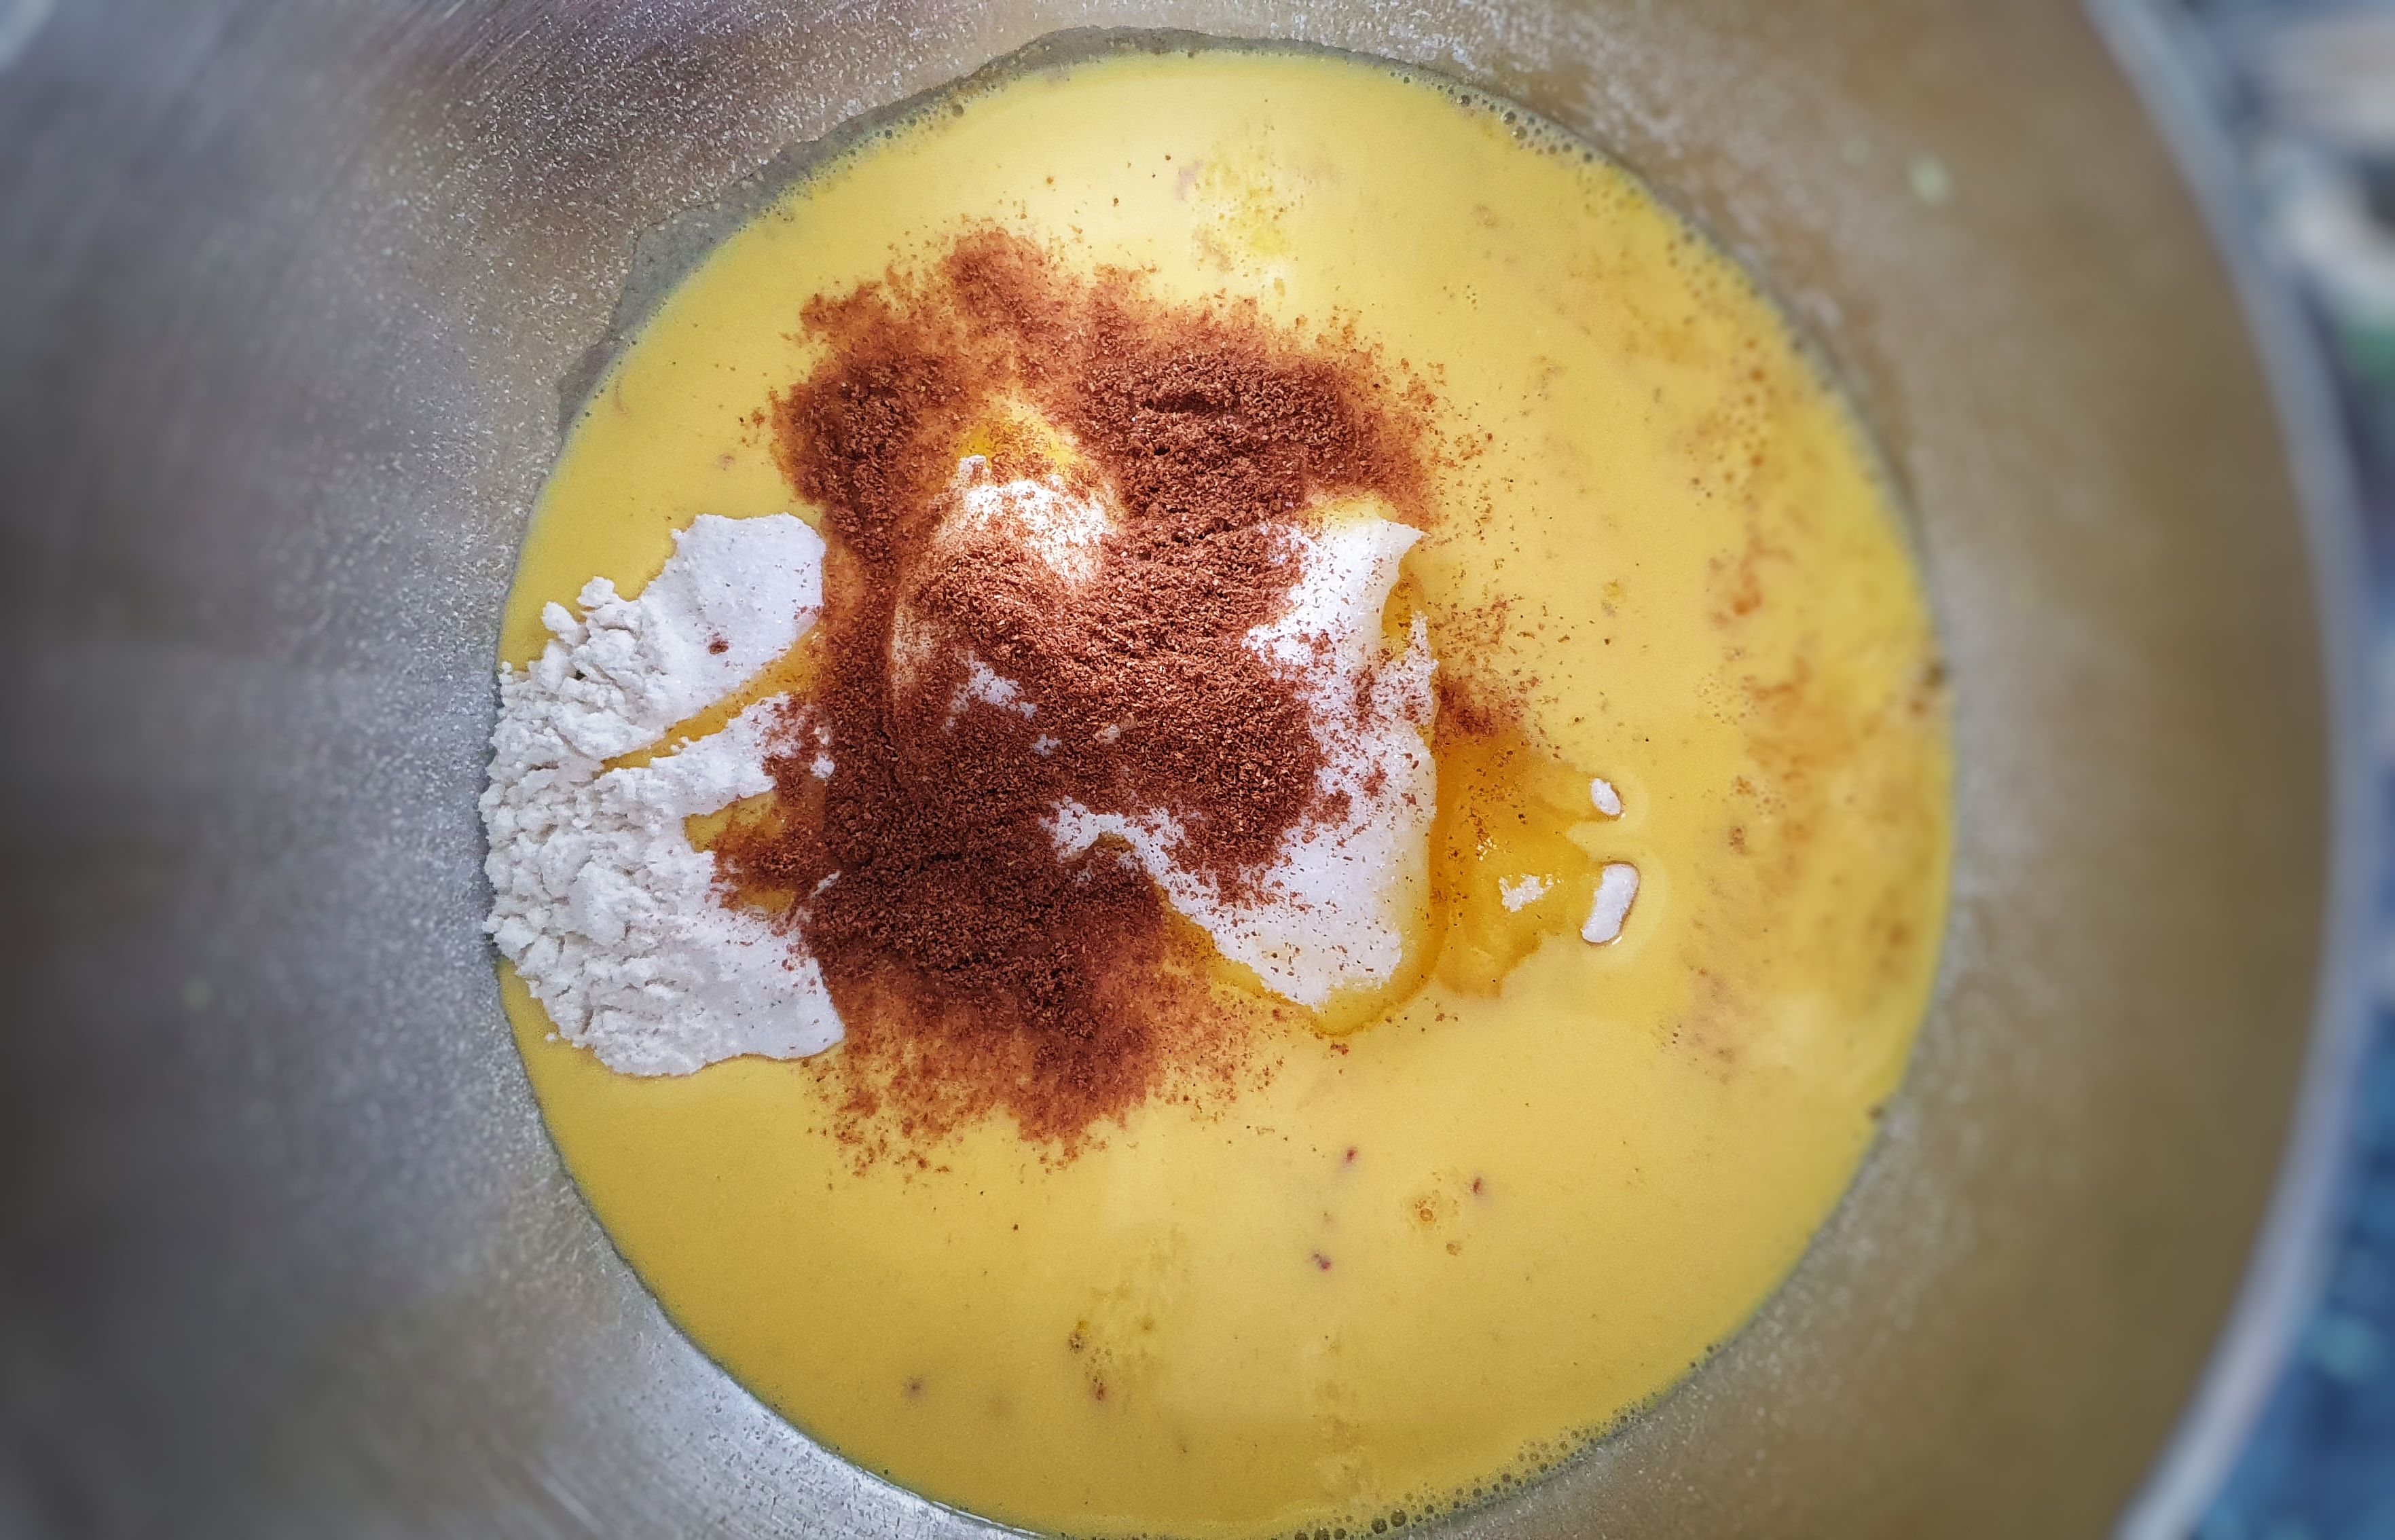
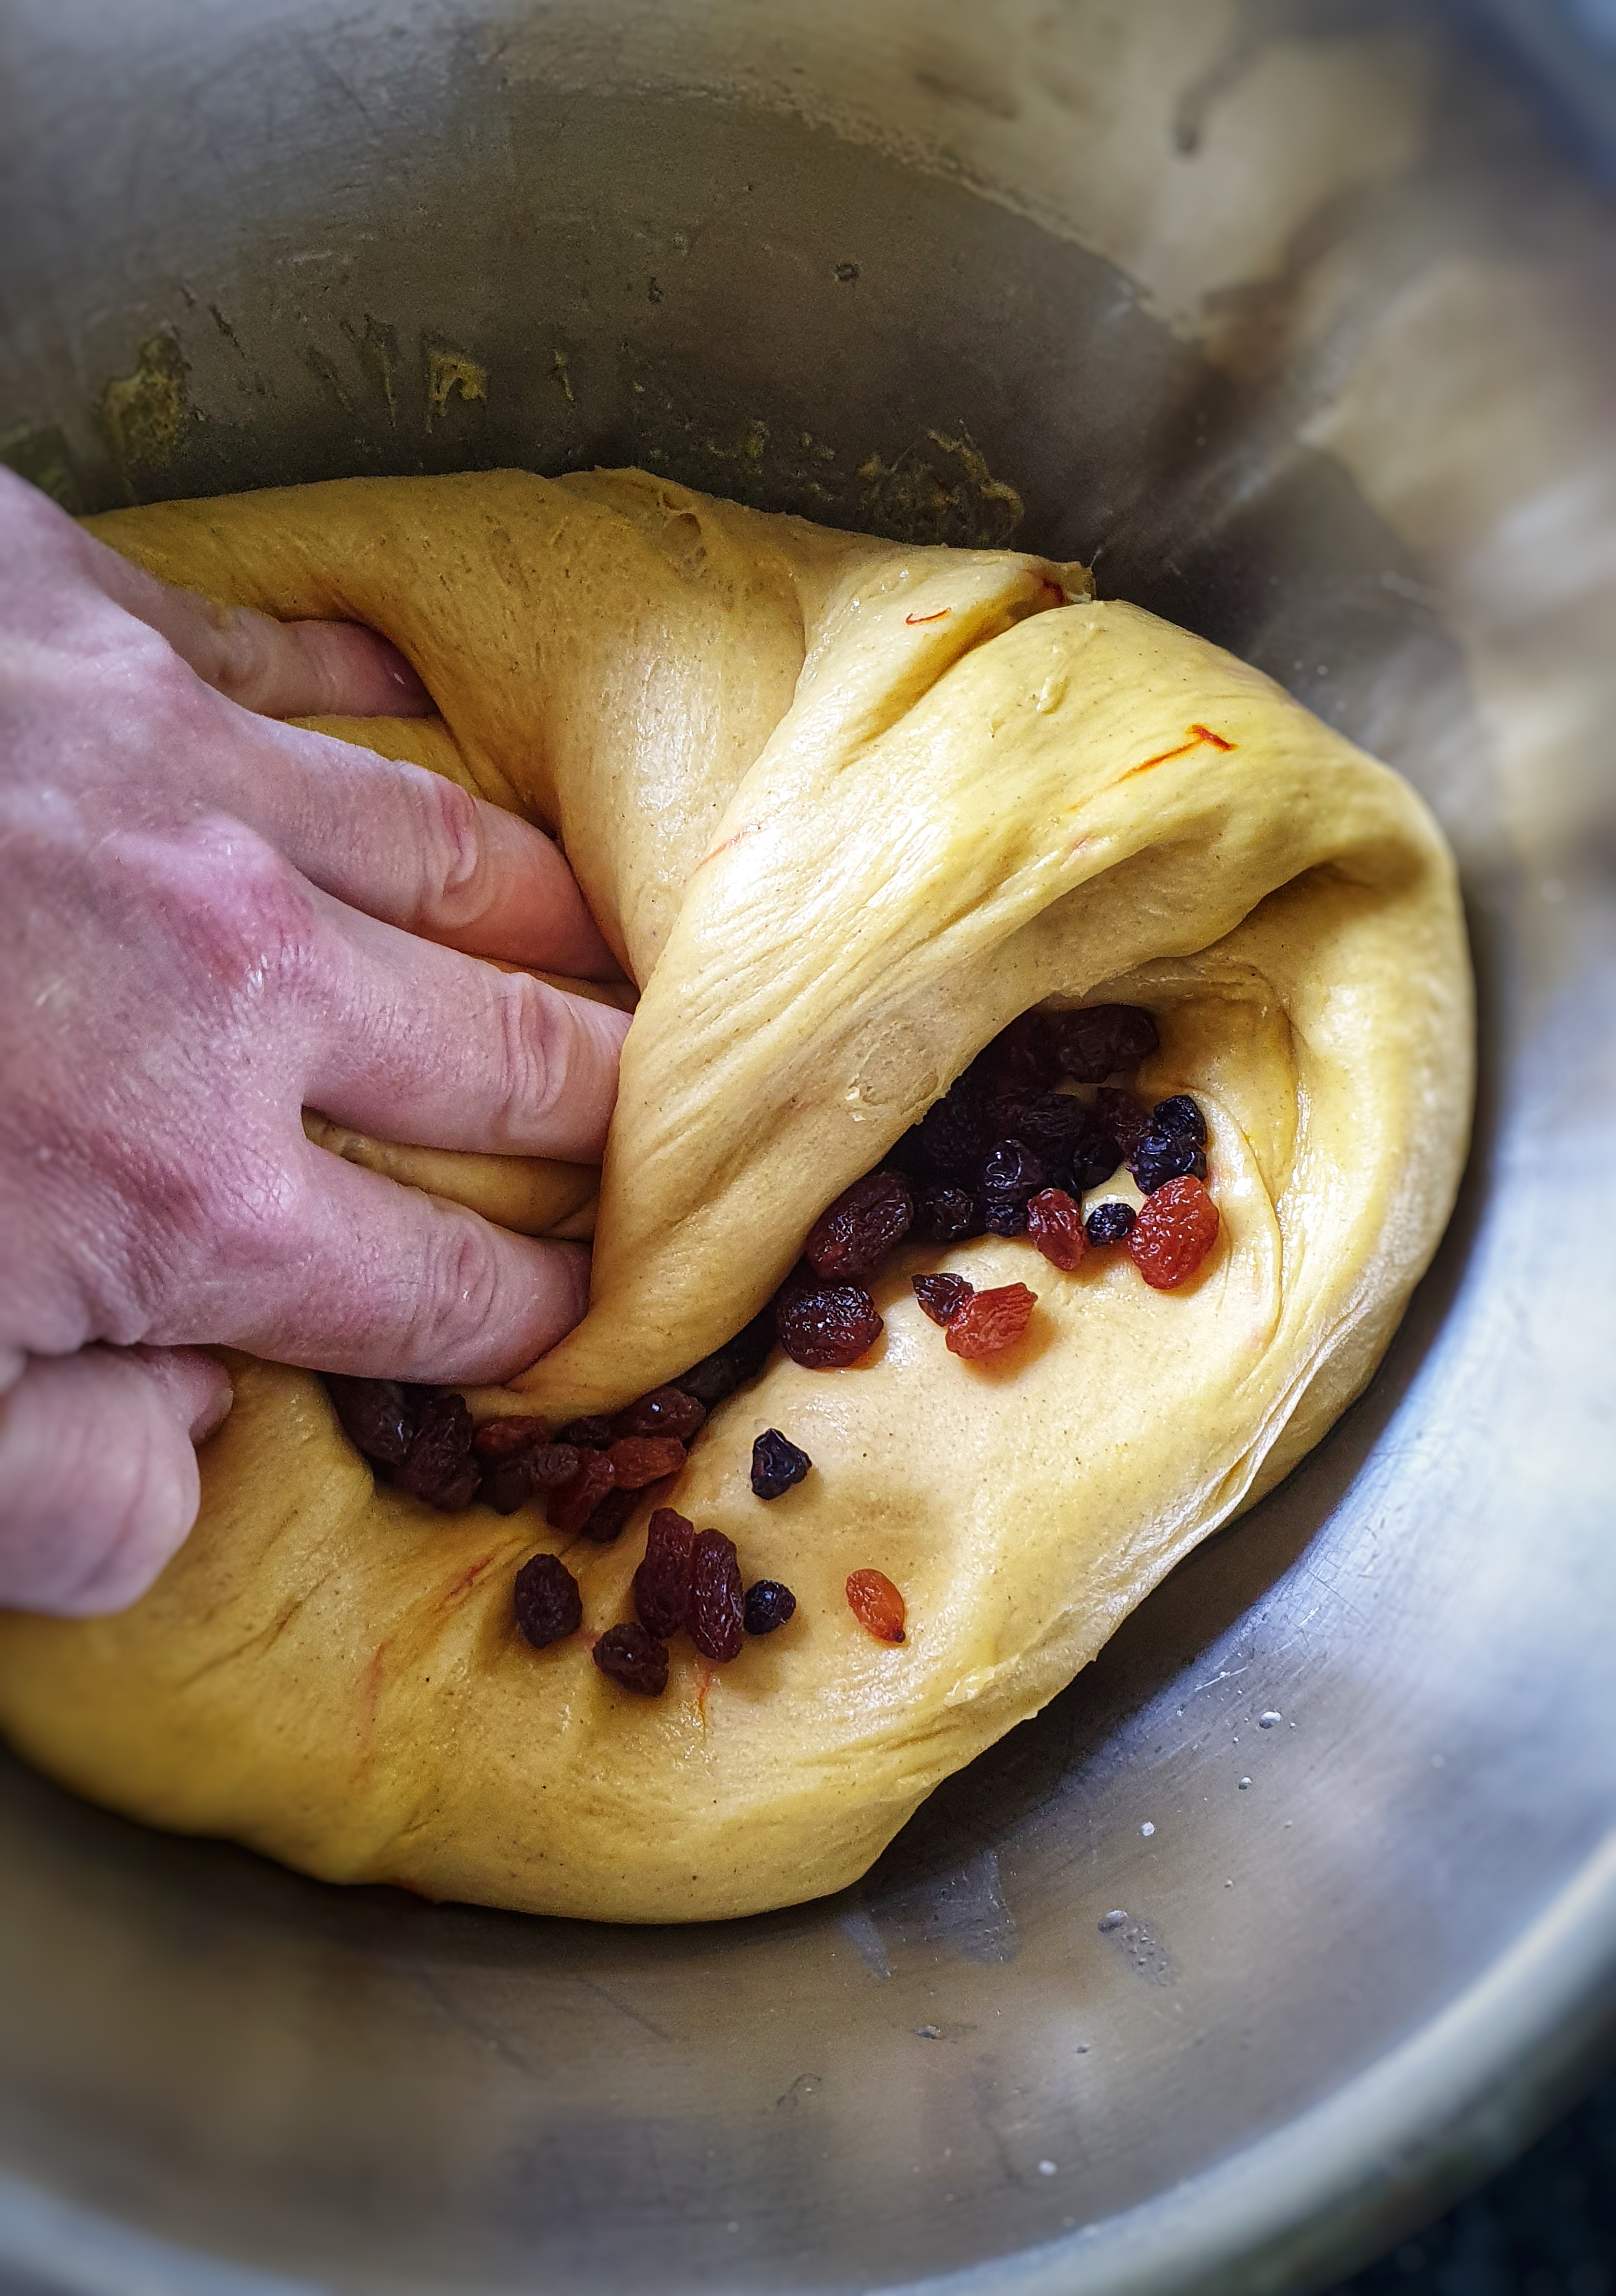
Mix the flour, yeast, salt, spice/s and sugar in the bowl of a tabletop mixer, make a well in the centre and add the eggs, clotted cream and saffron-infused milk. Attach a kneading hook, mix to combine on a slow speed and then turn up the speed a couple of notches and knead for around 6 minutes, until the mixture is smooth and elastic – it will still be a little sticky.
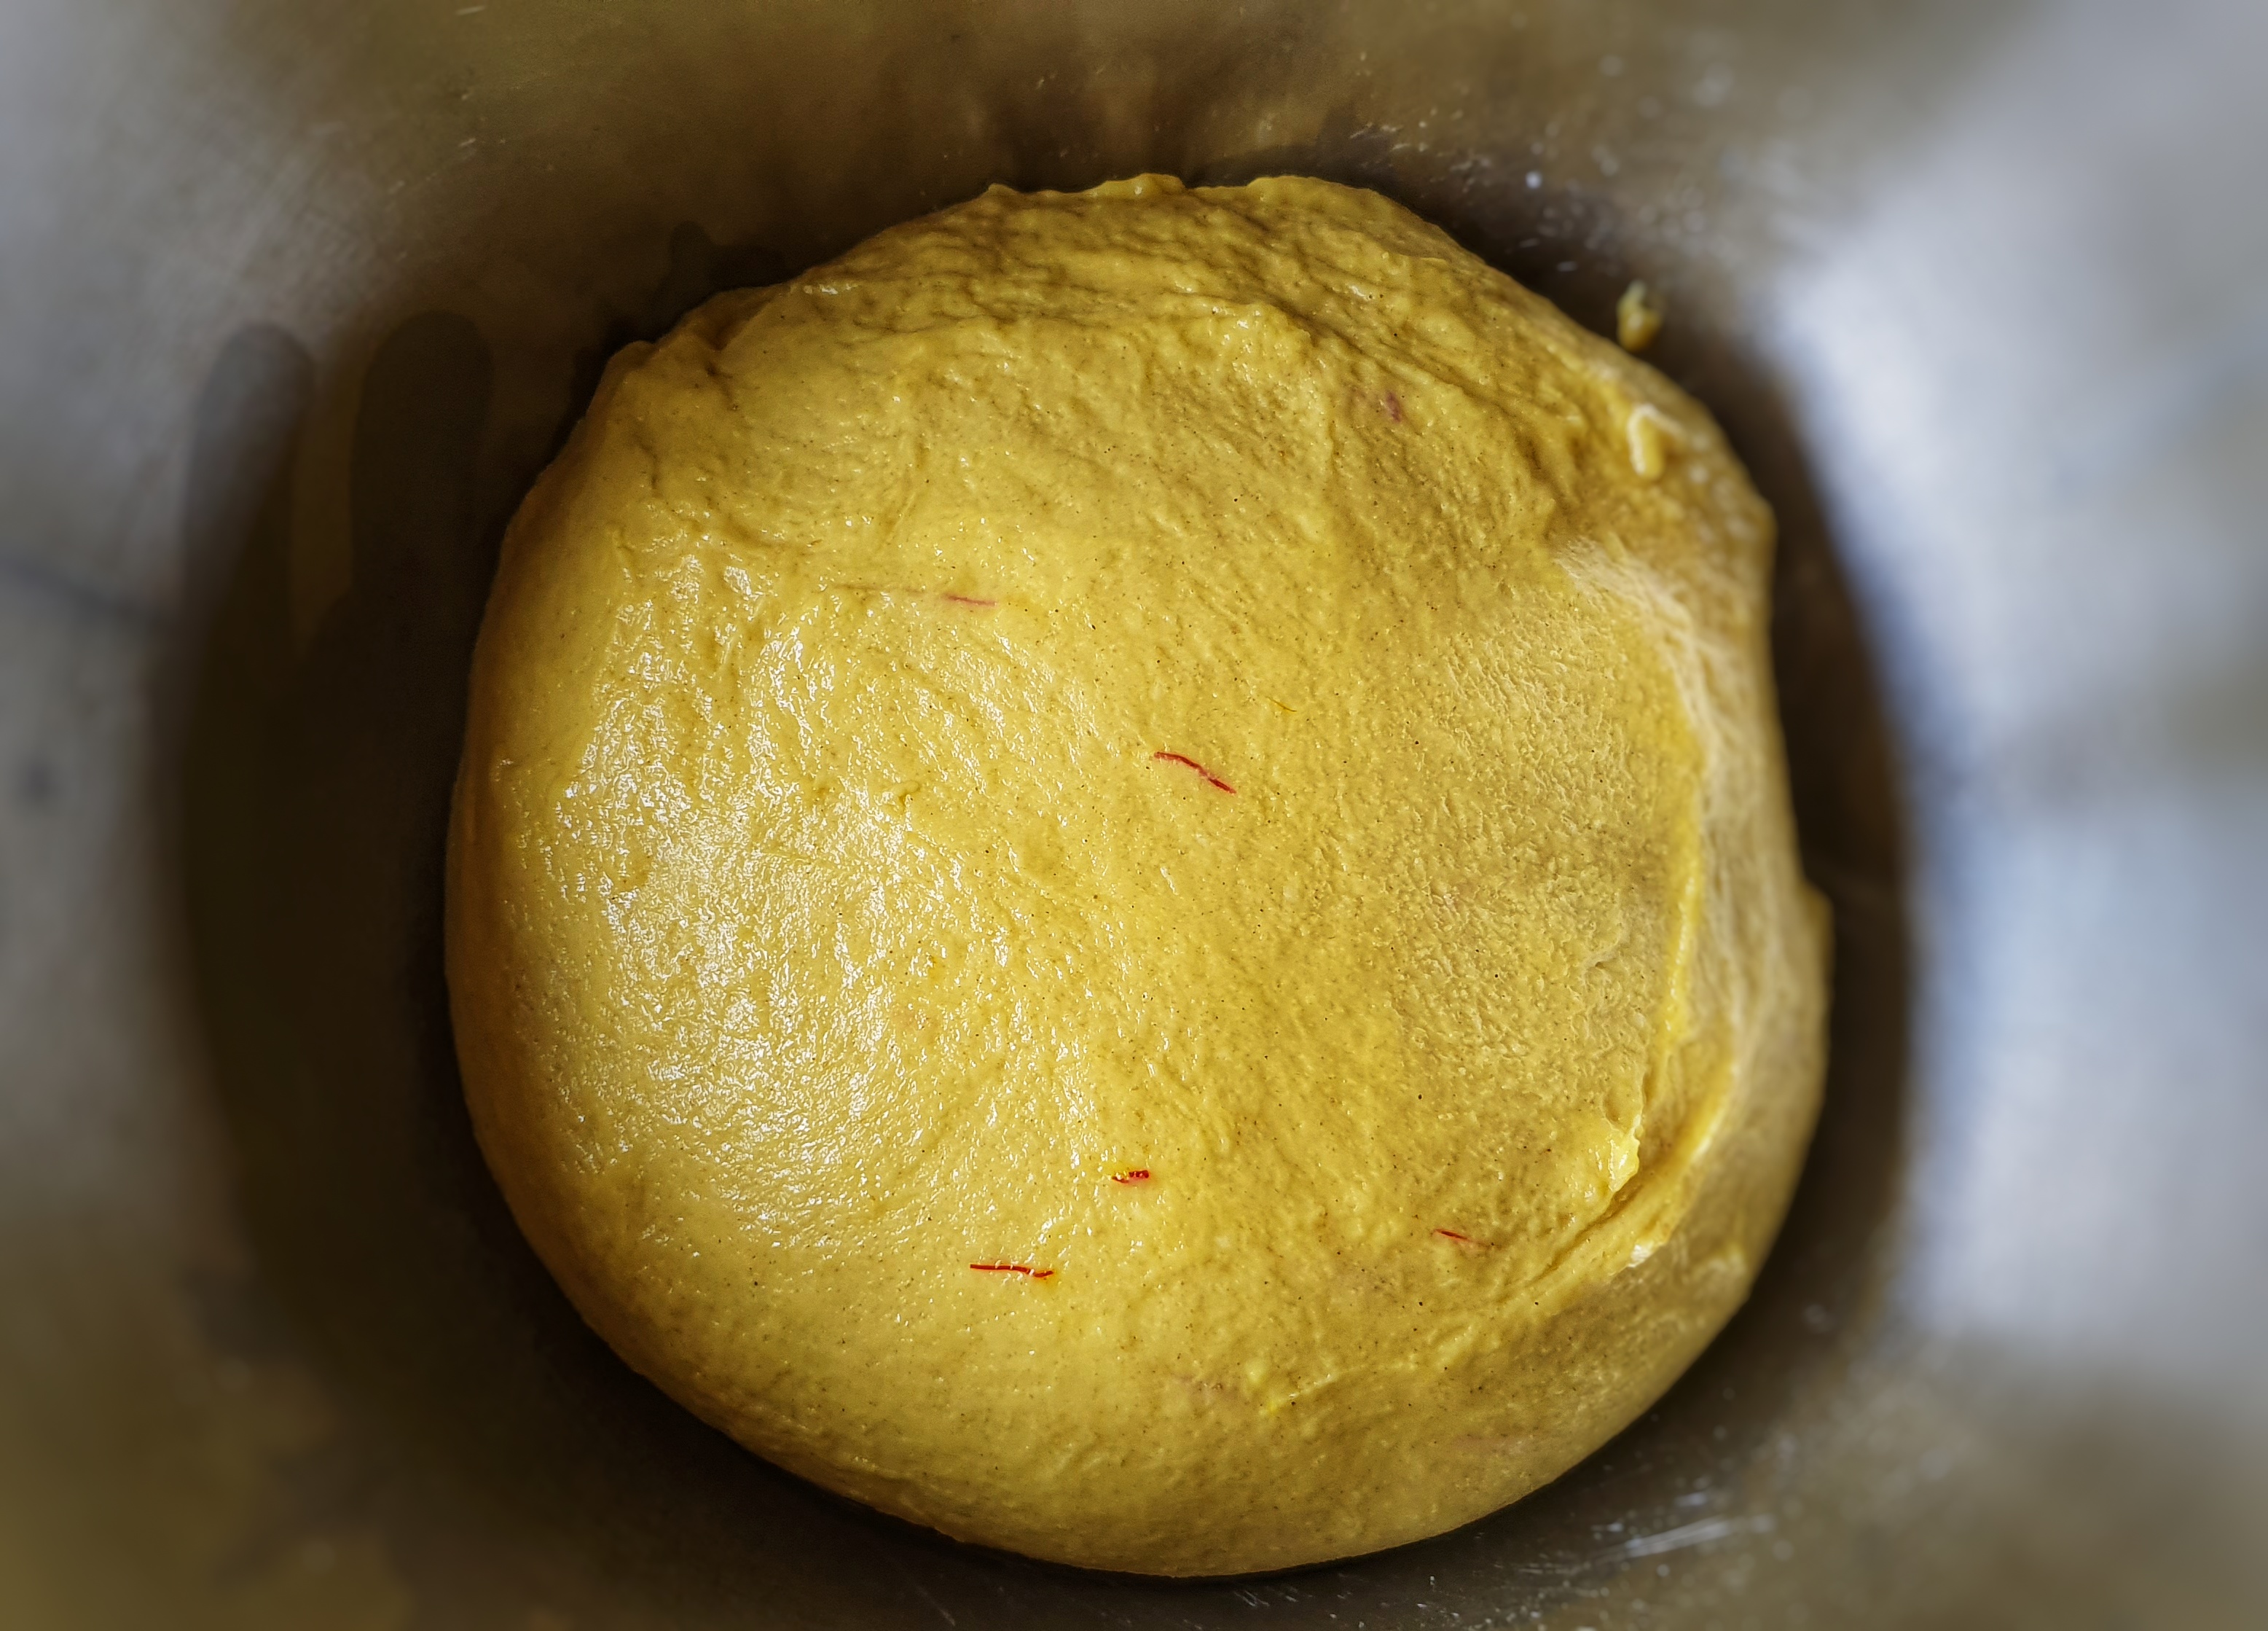
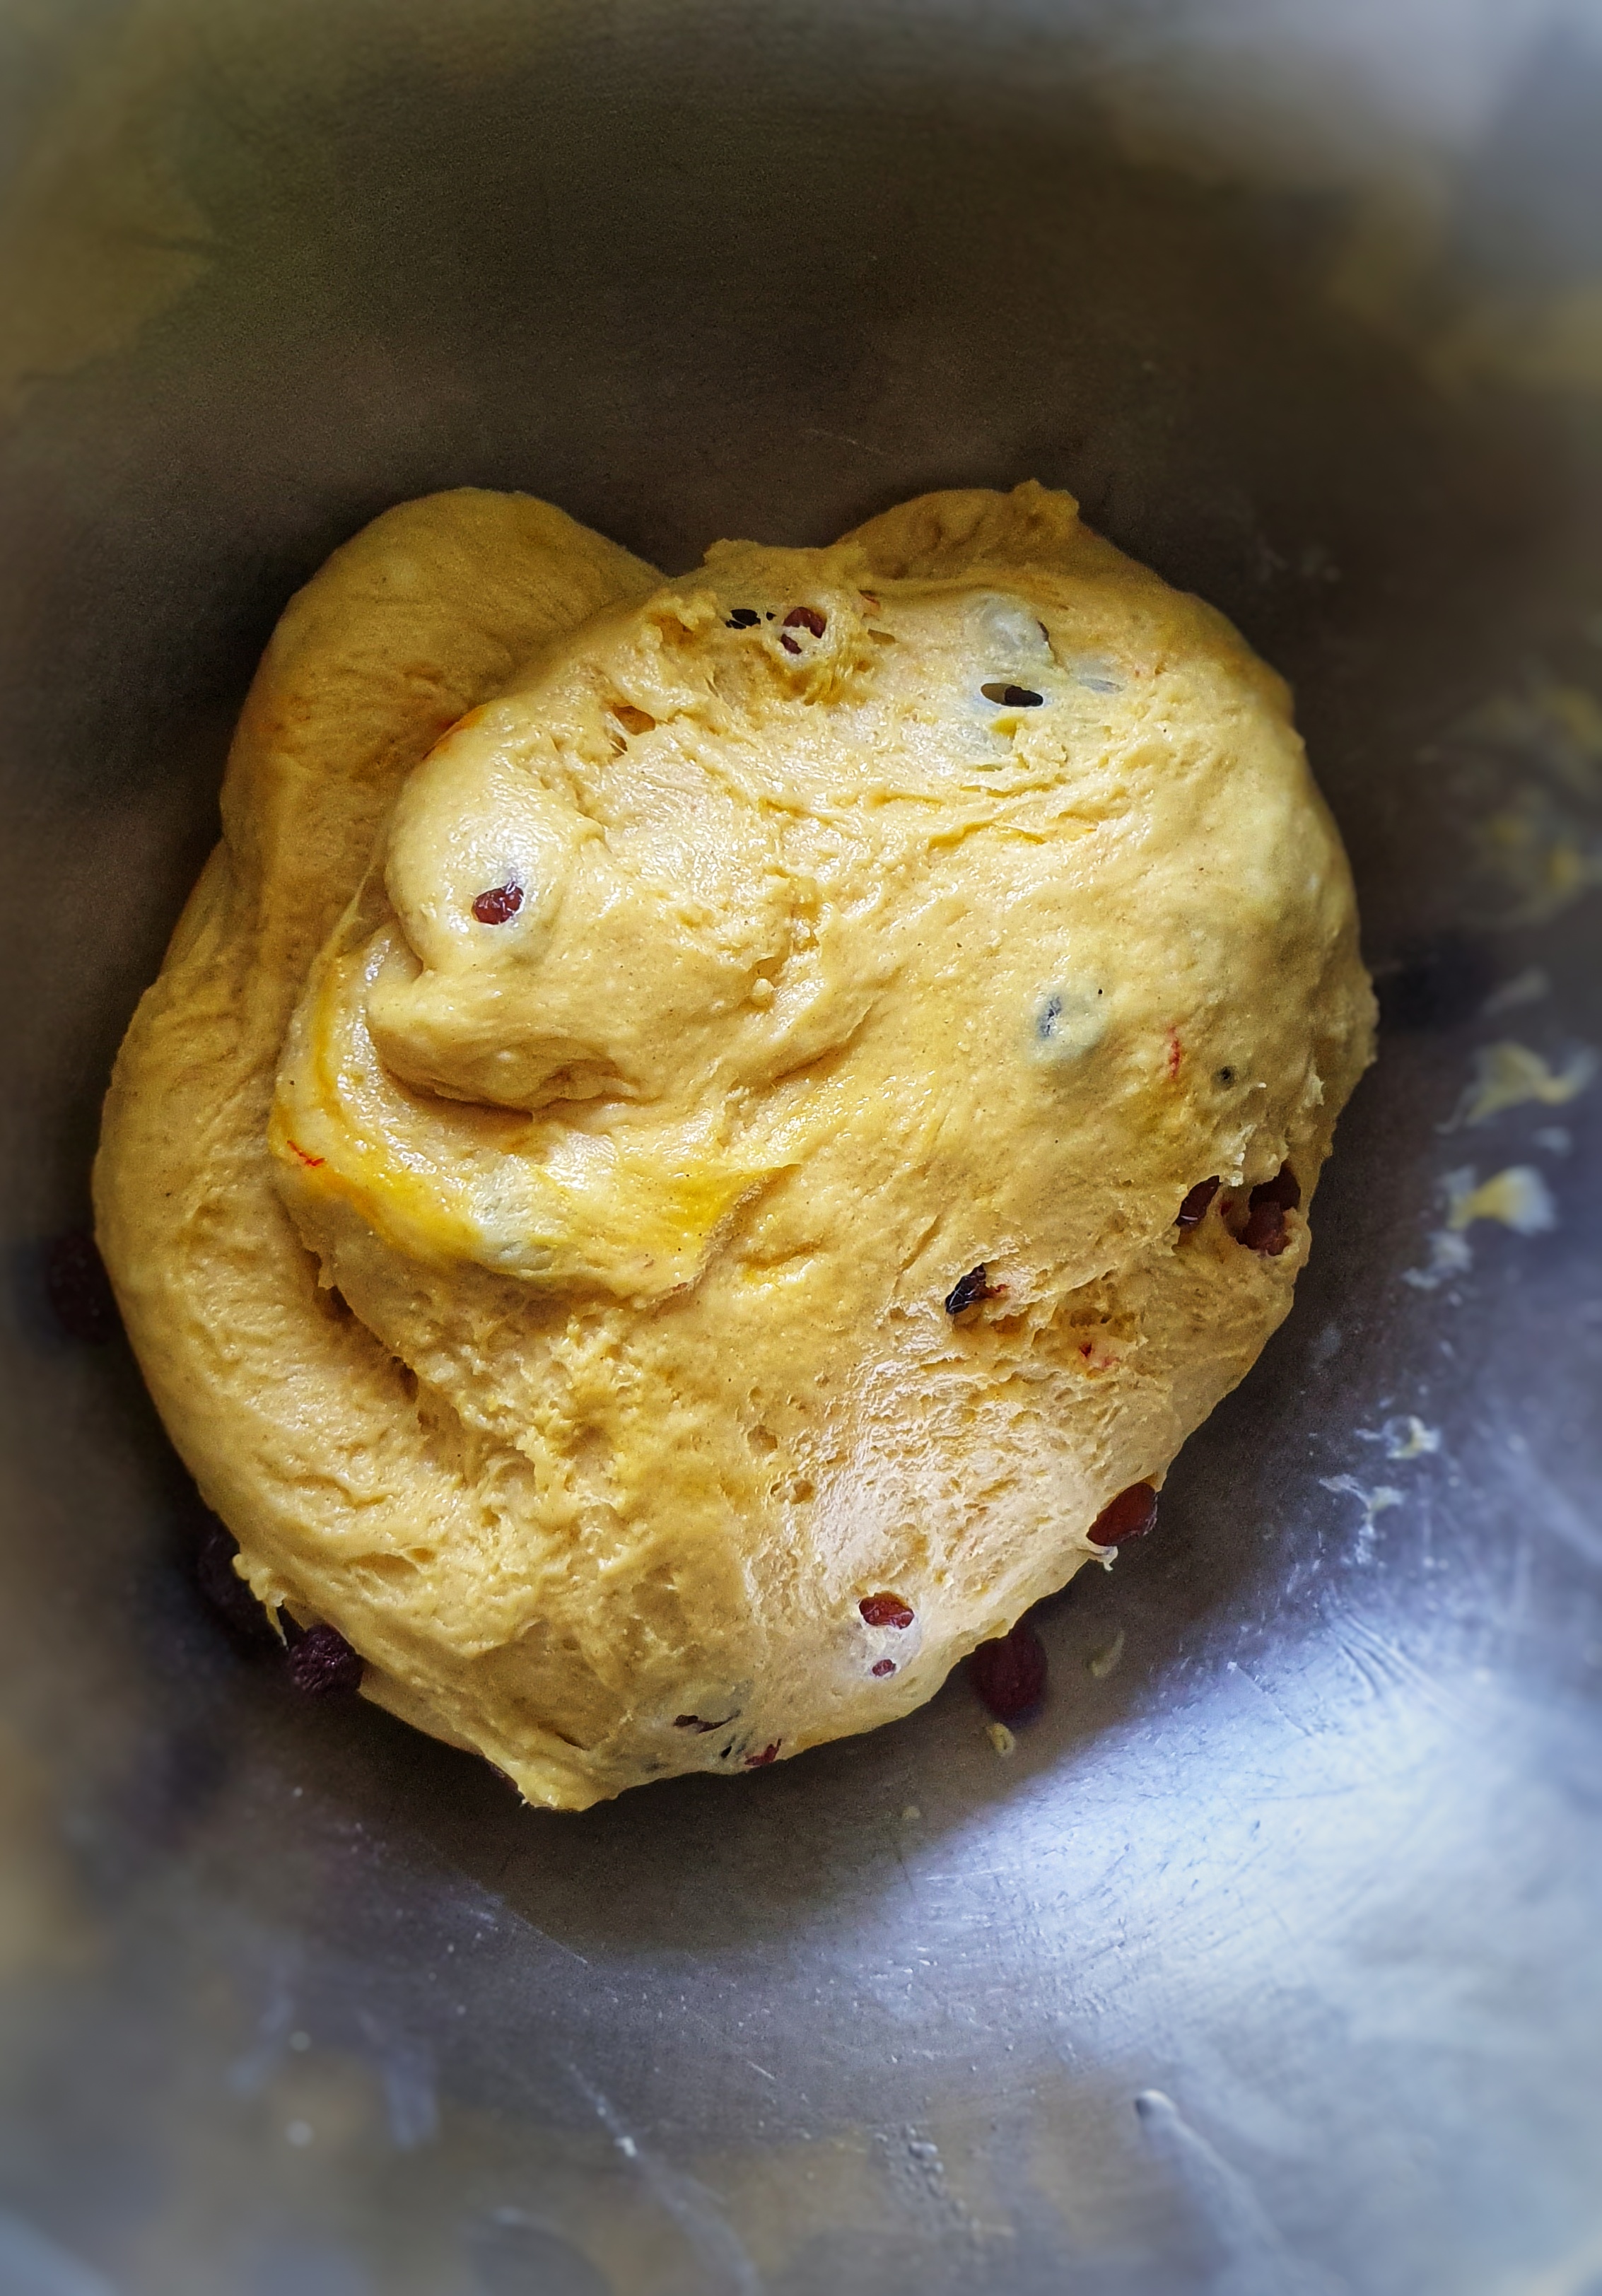
Add a little oil to a bowl and with oiled hands, gather up your dough into a ball and sit it in the bowl. Cover with cling film or a damp, clean tea towel until it doubles in size. Mine took 2 hours.
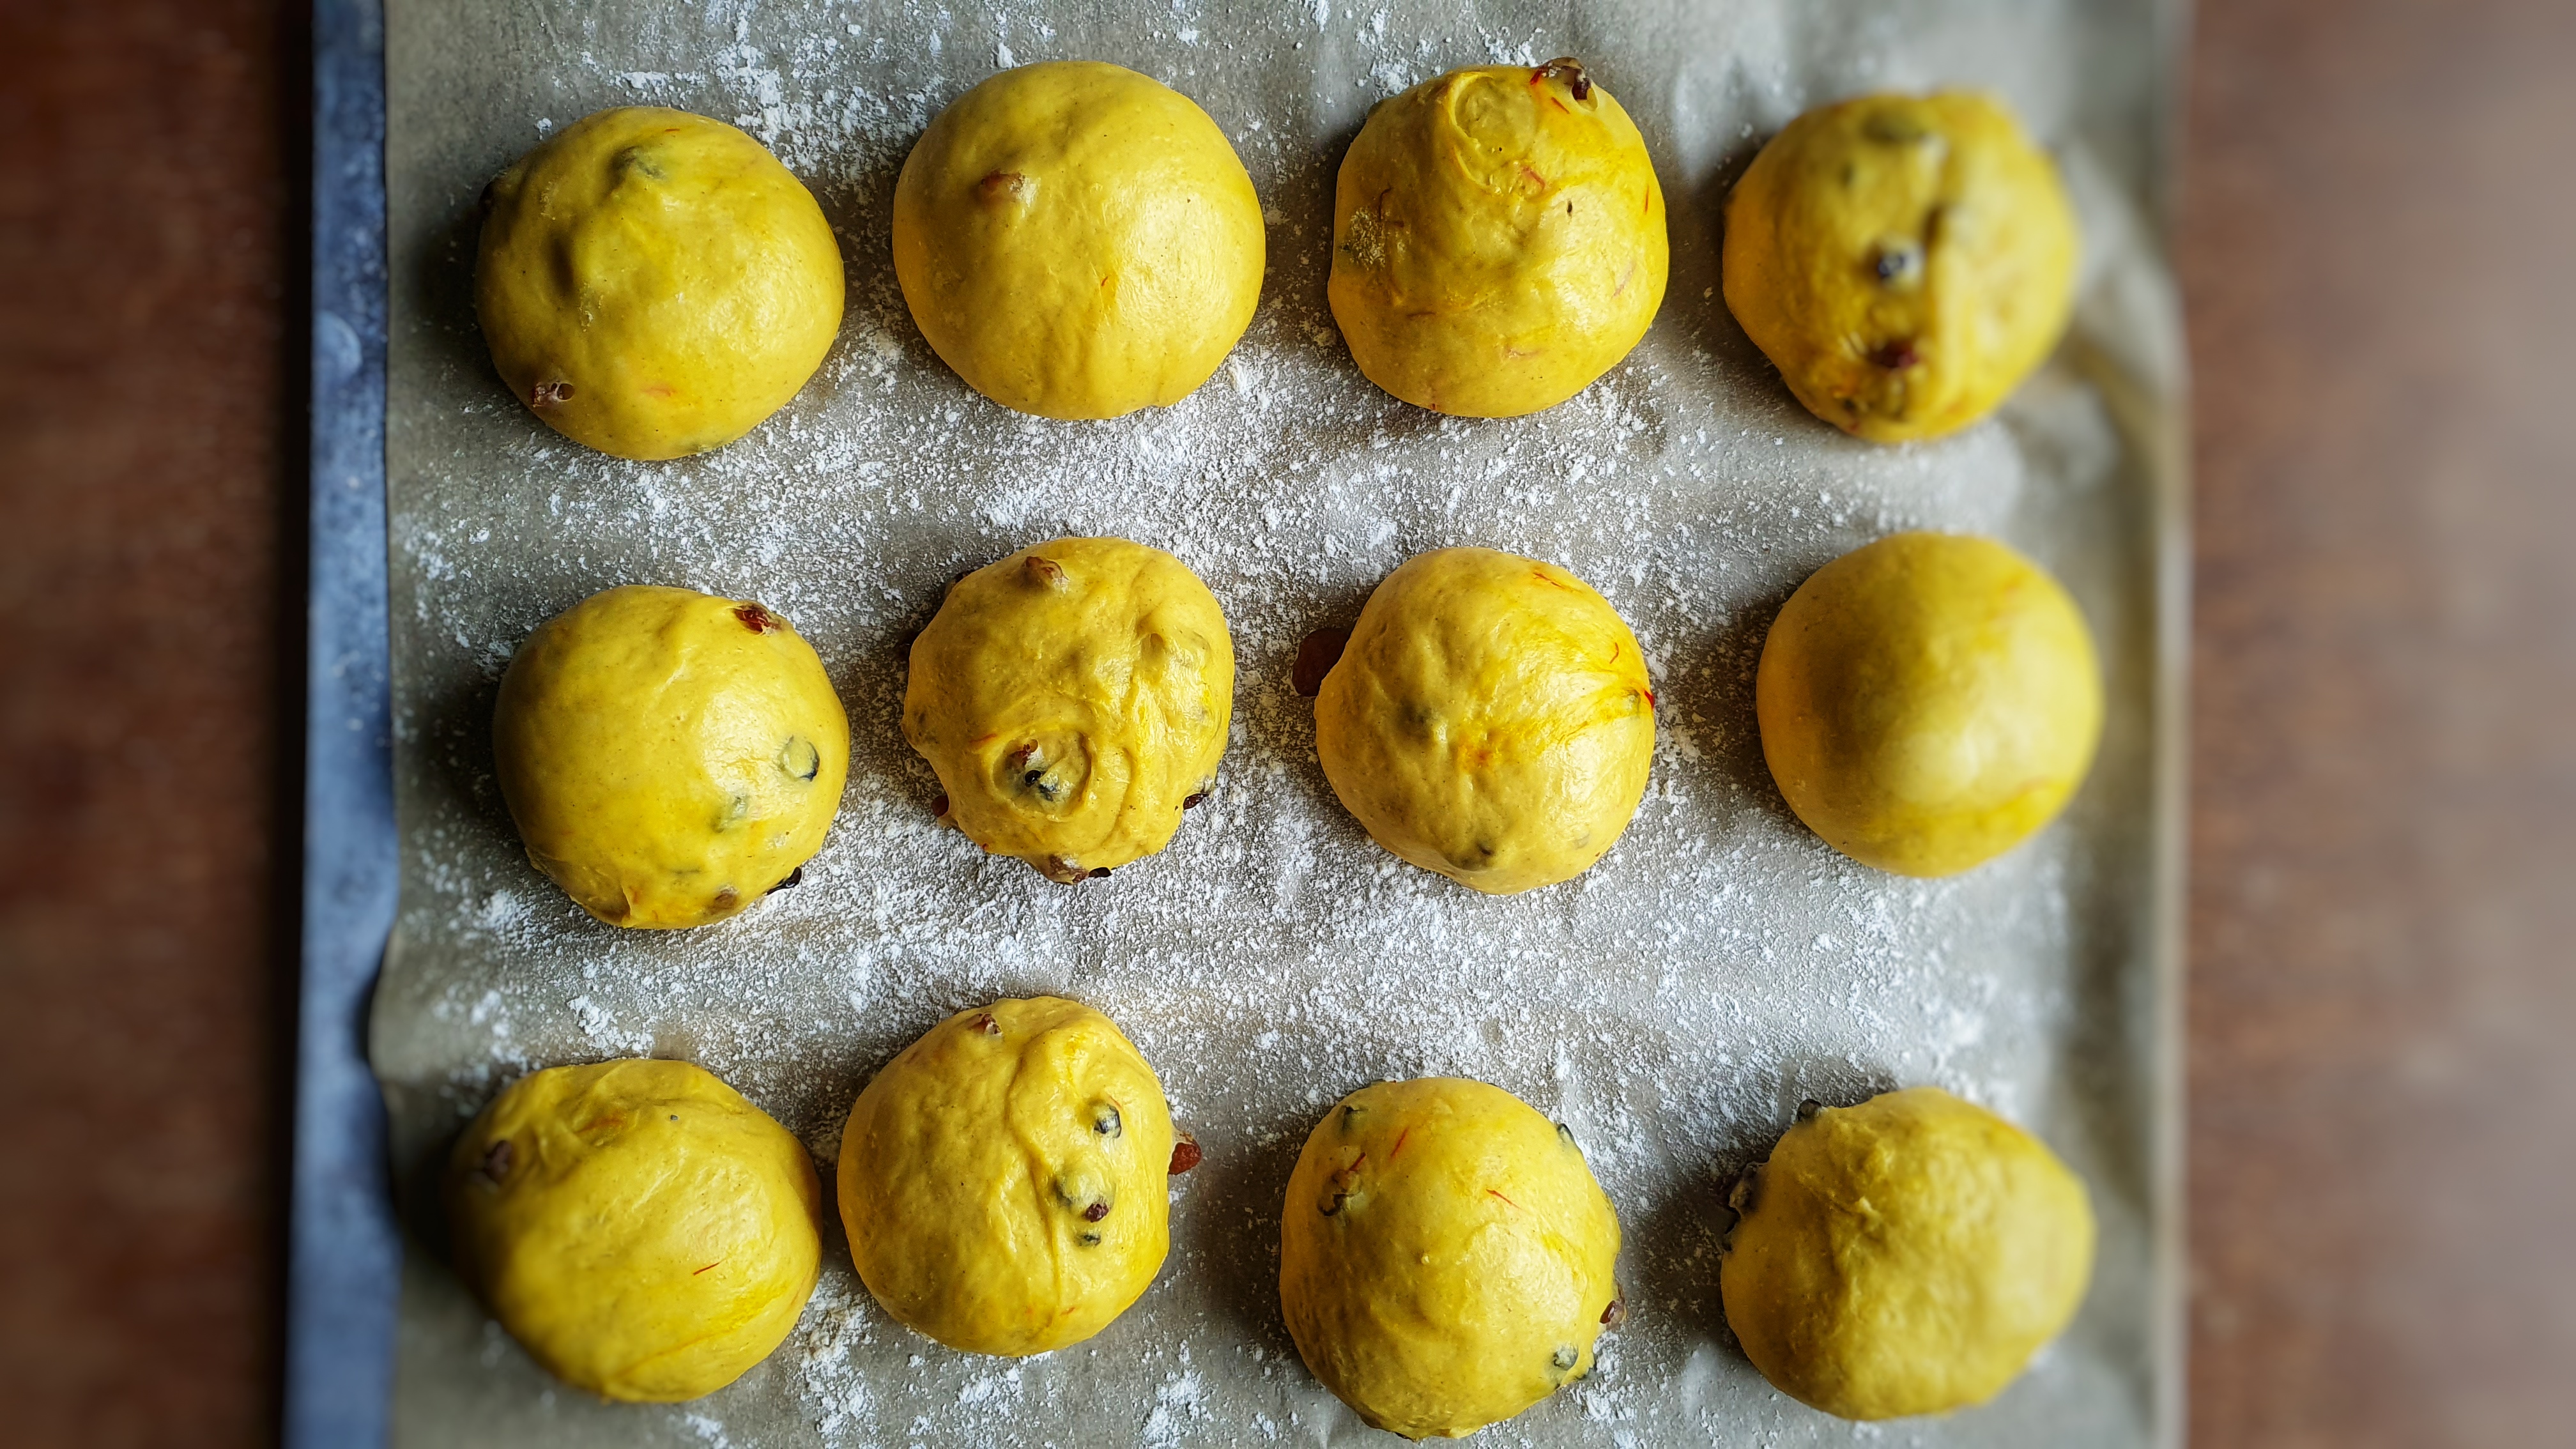
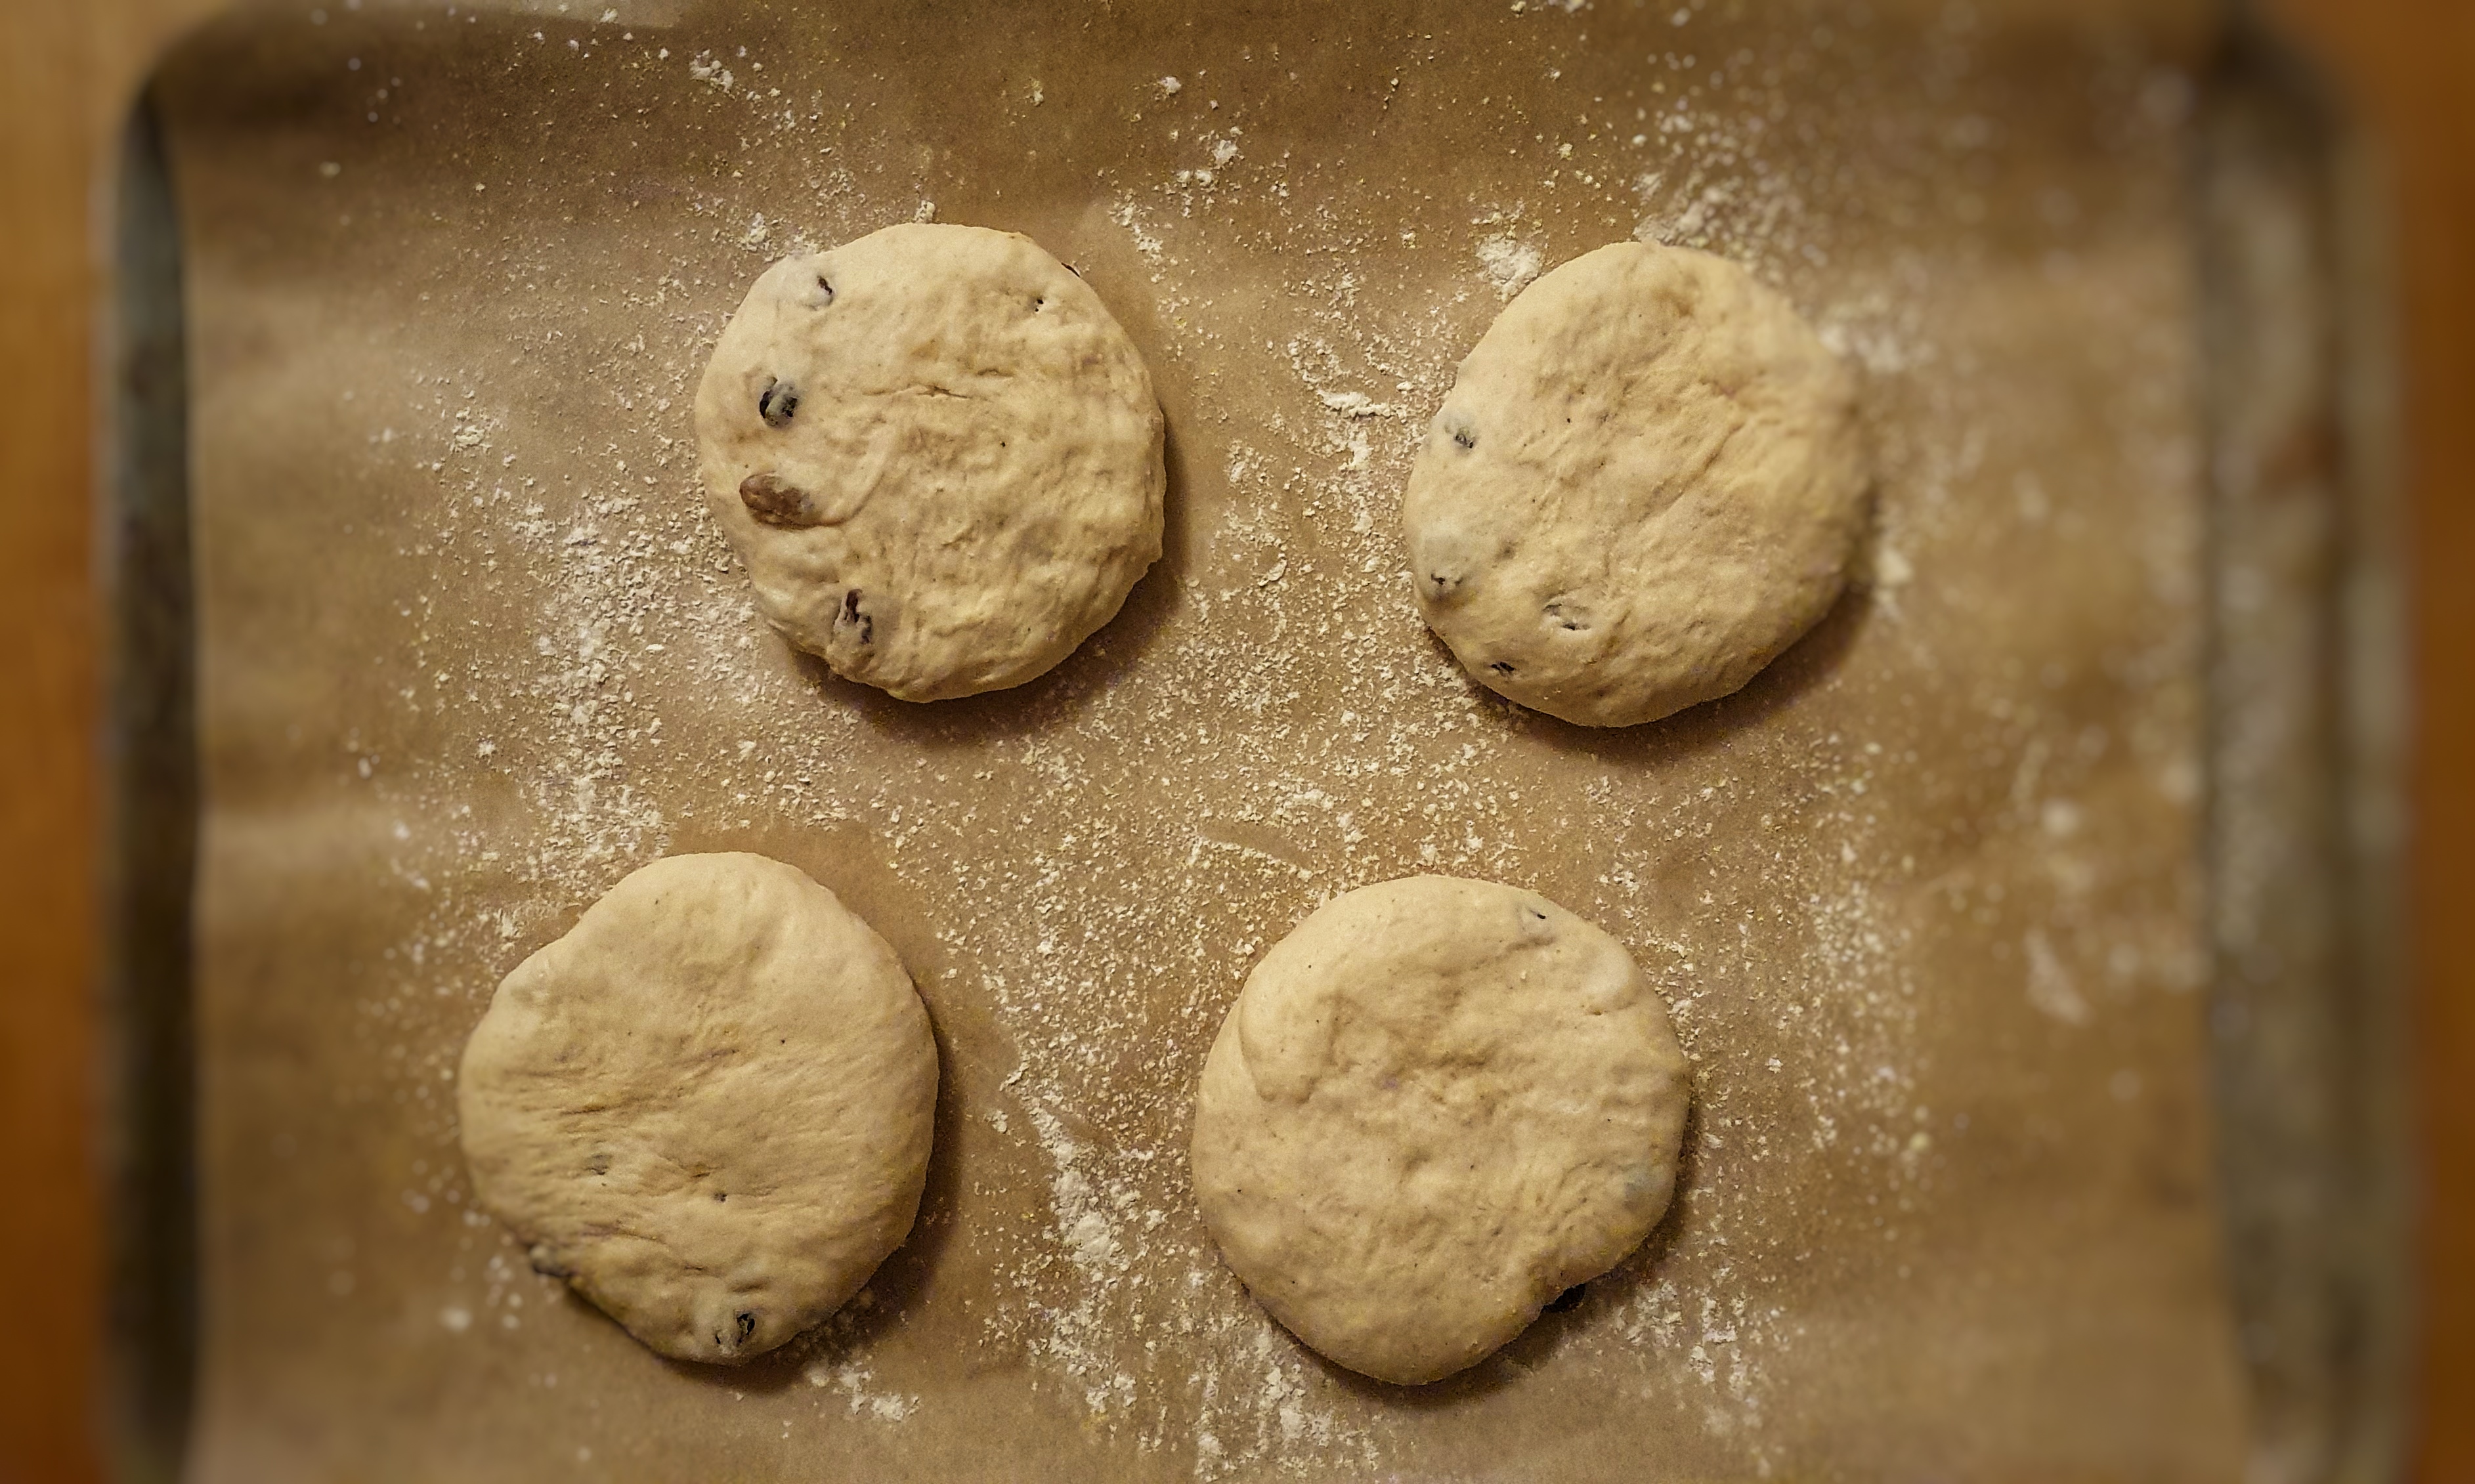
Knead the dried fruit into the dough, then divide into 12 (for precision weigh the dough), then line a baking tray with greaseproof paper.
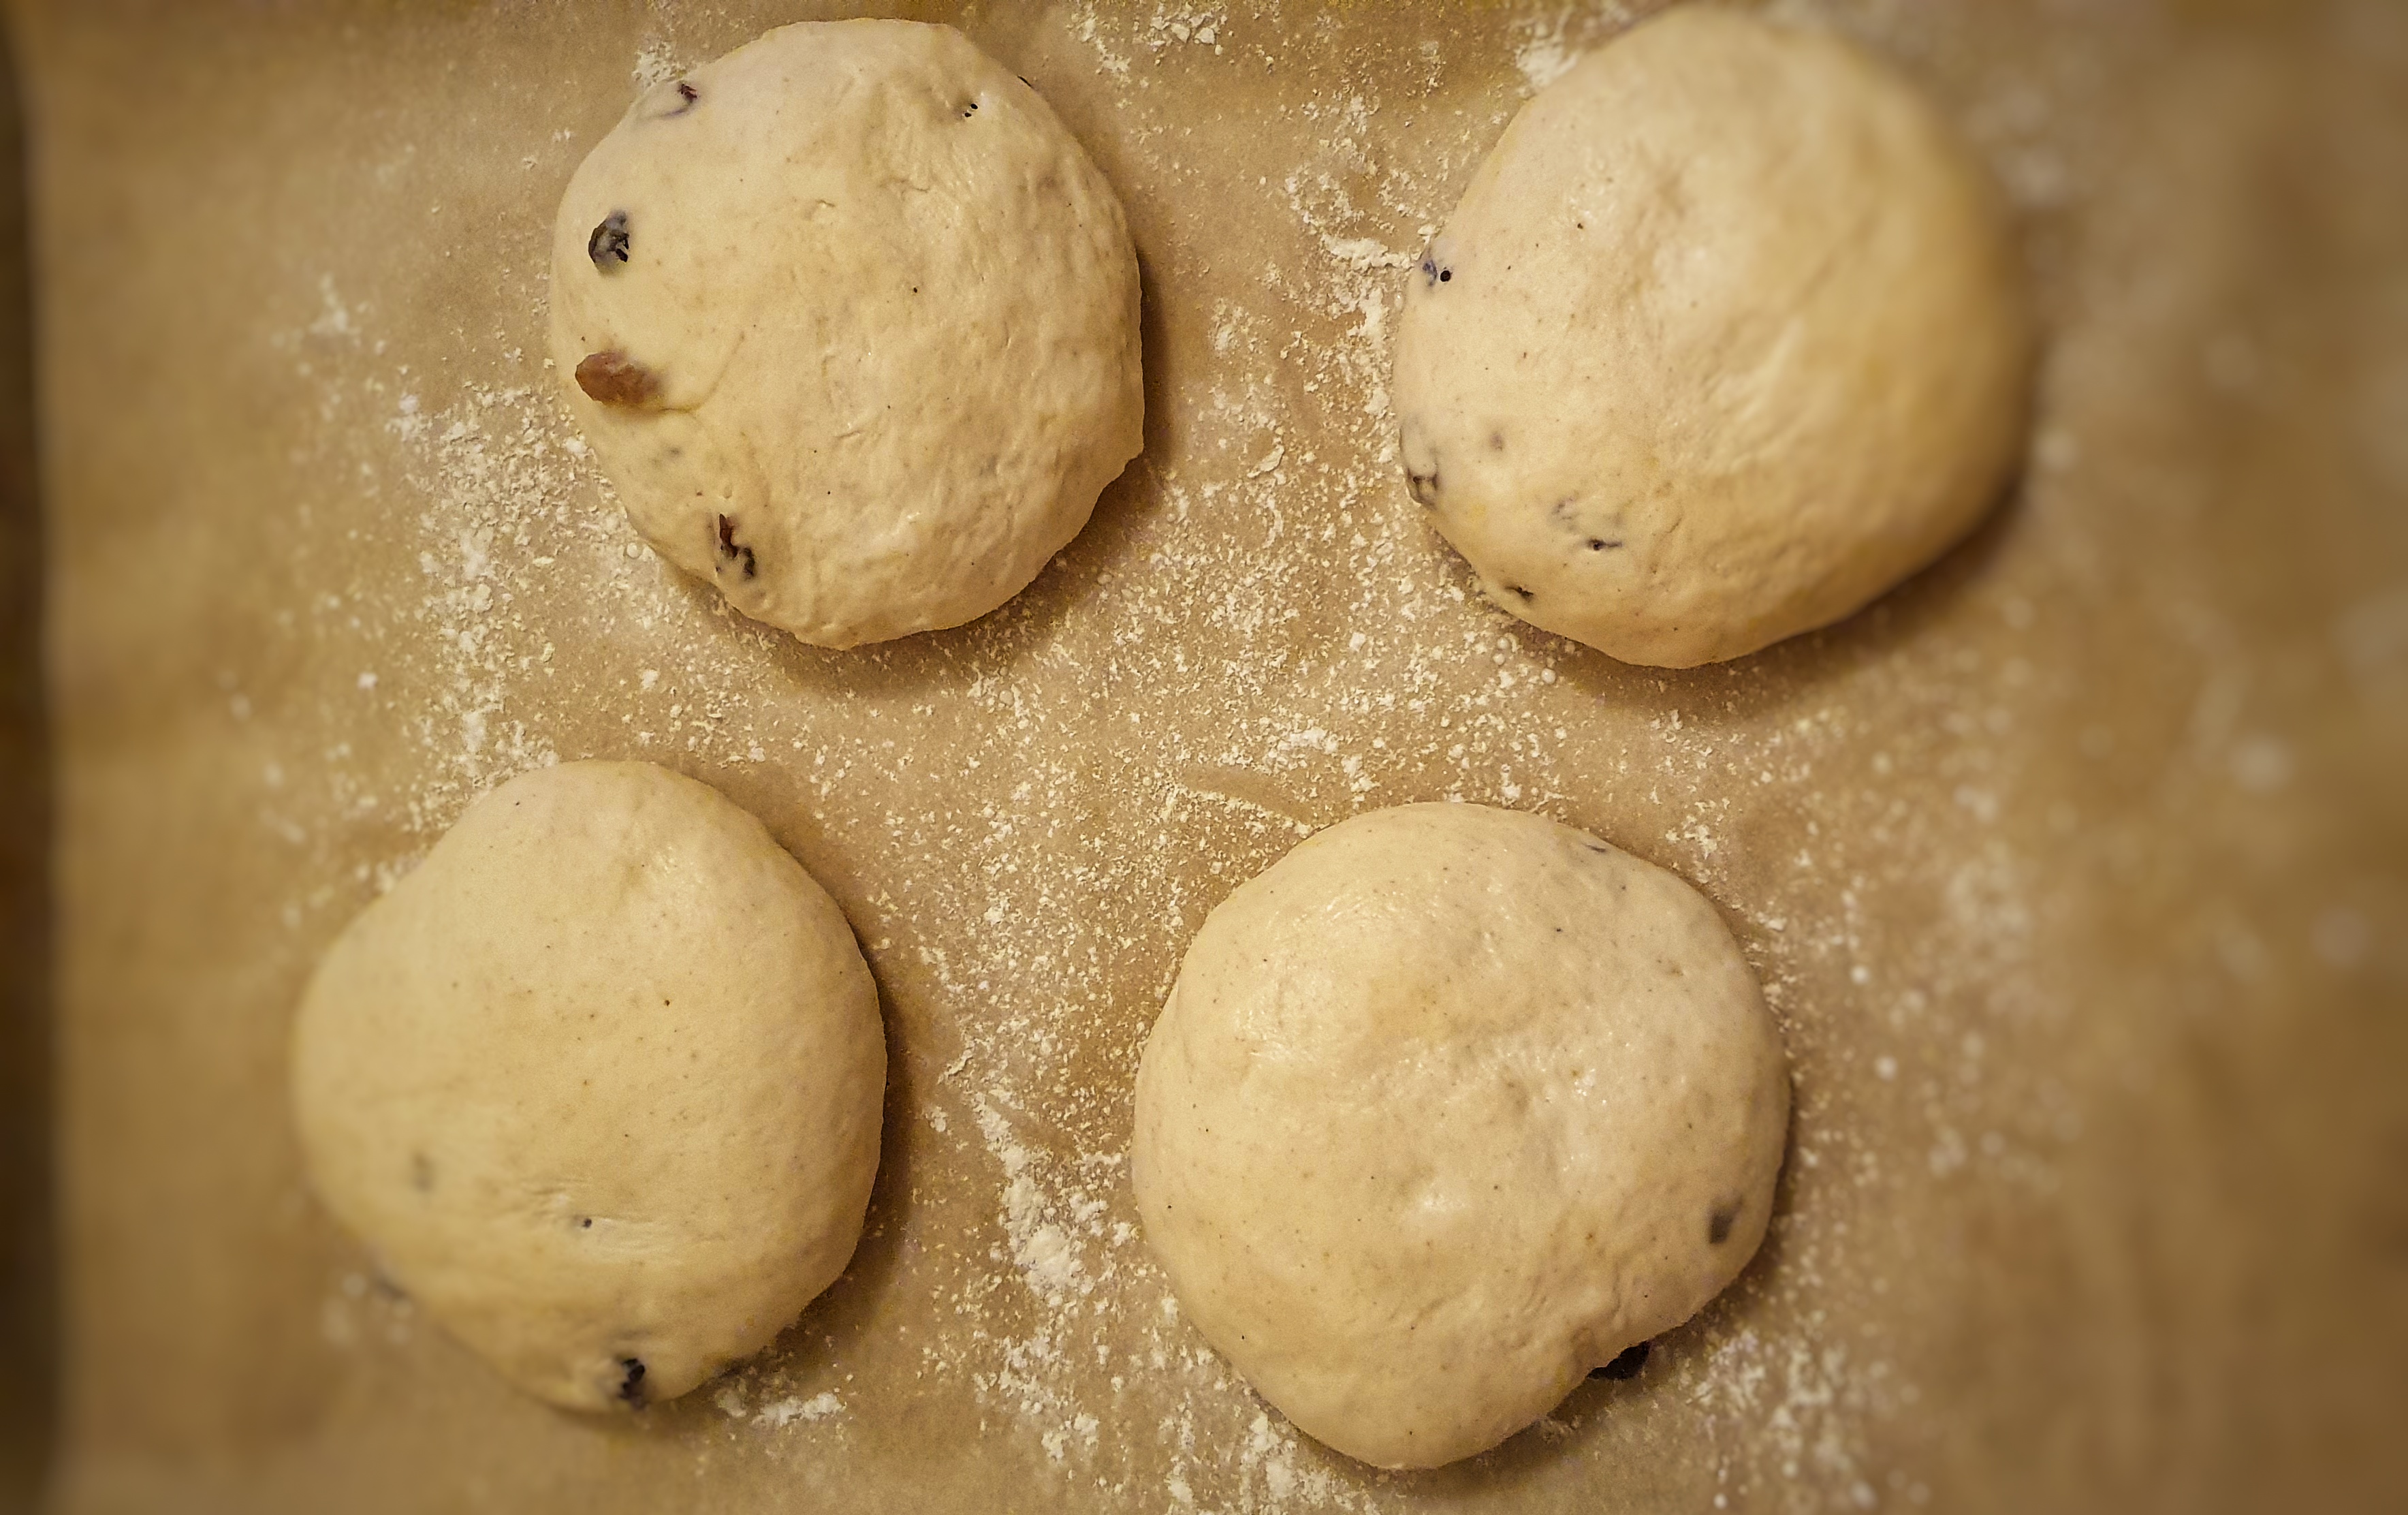
Roll each piece of dough into tight balls using a very small amount of flour to prevent it sticking and then arrange on the baking tray. Cover and allow to prove – this usually takes a third of the time as the first rising.[11]
Preheat the oven to 200°C and use the steam setting, or place a metal tray on the base of the oven and pour water into it.
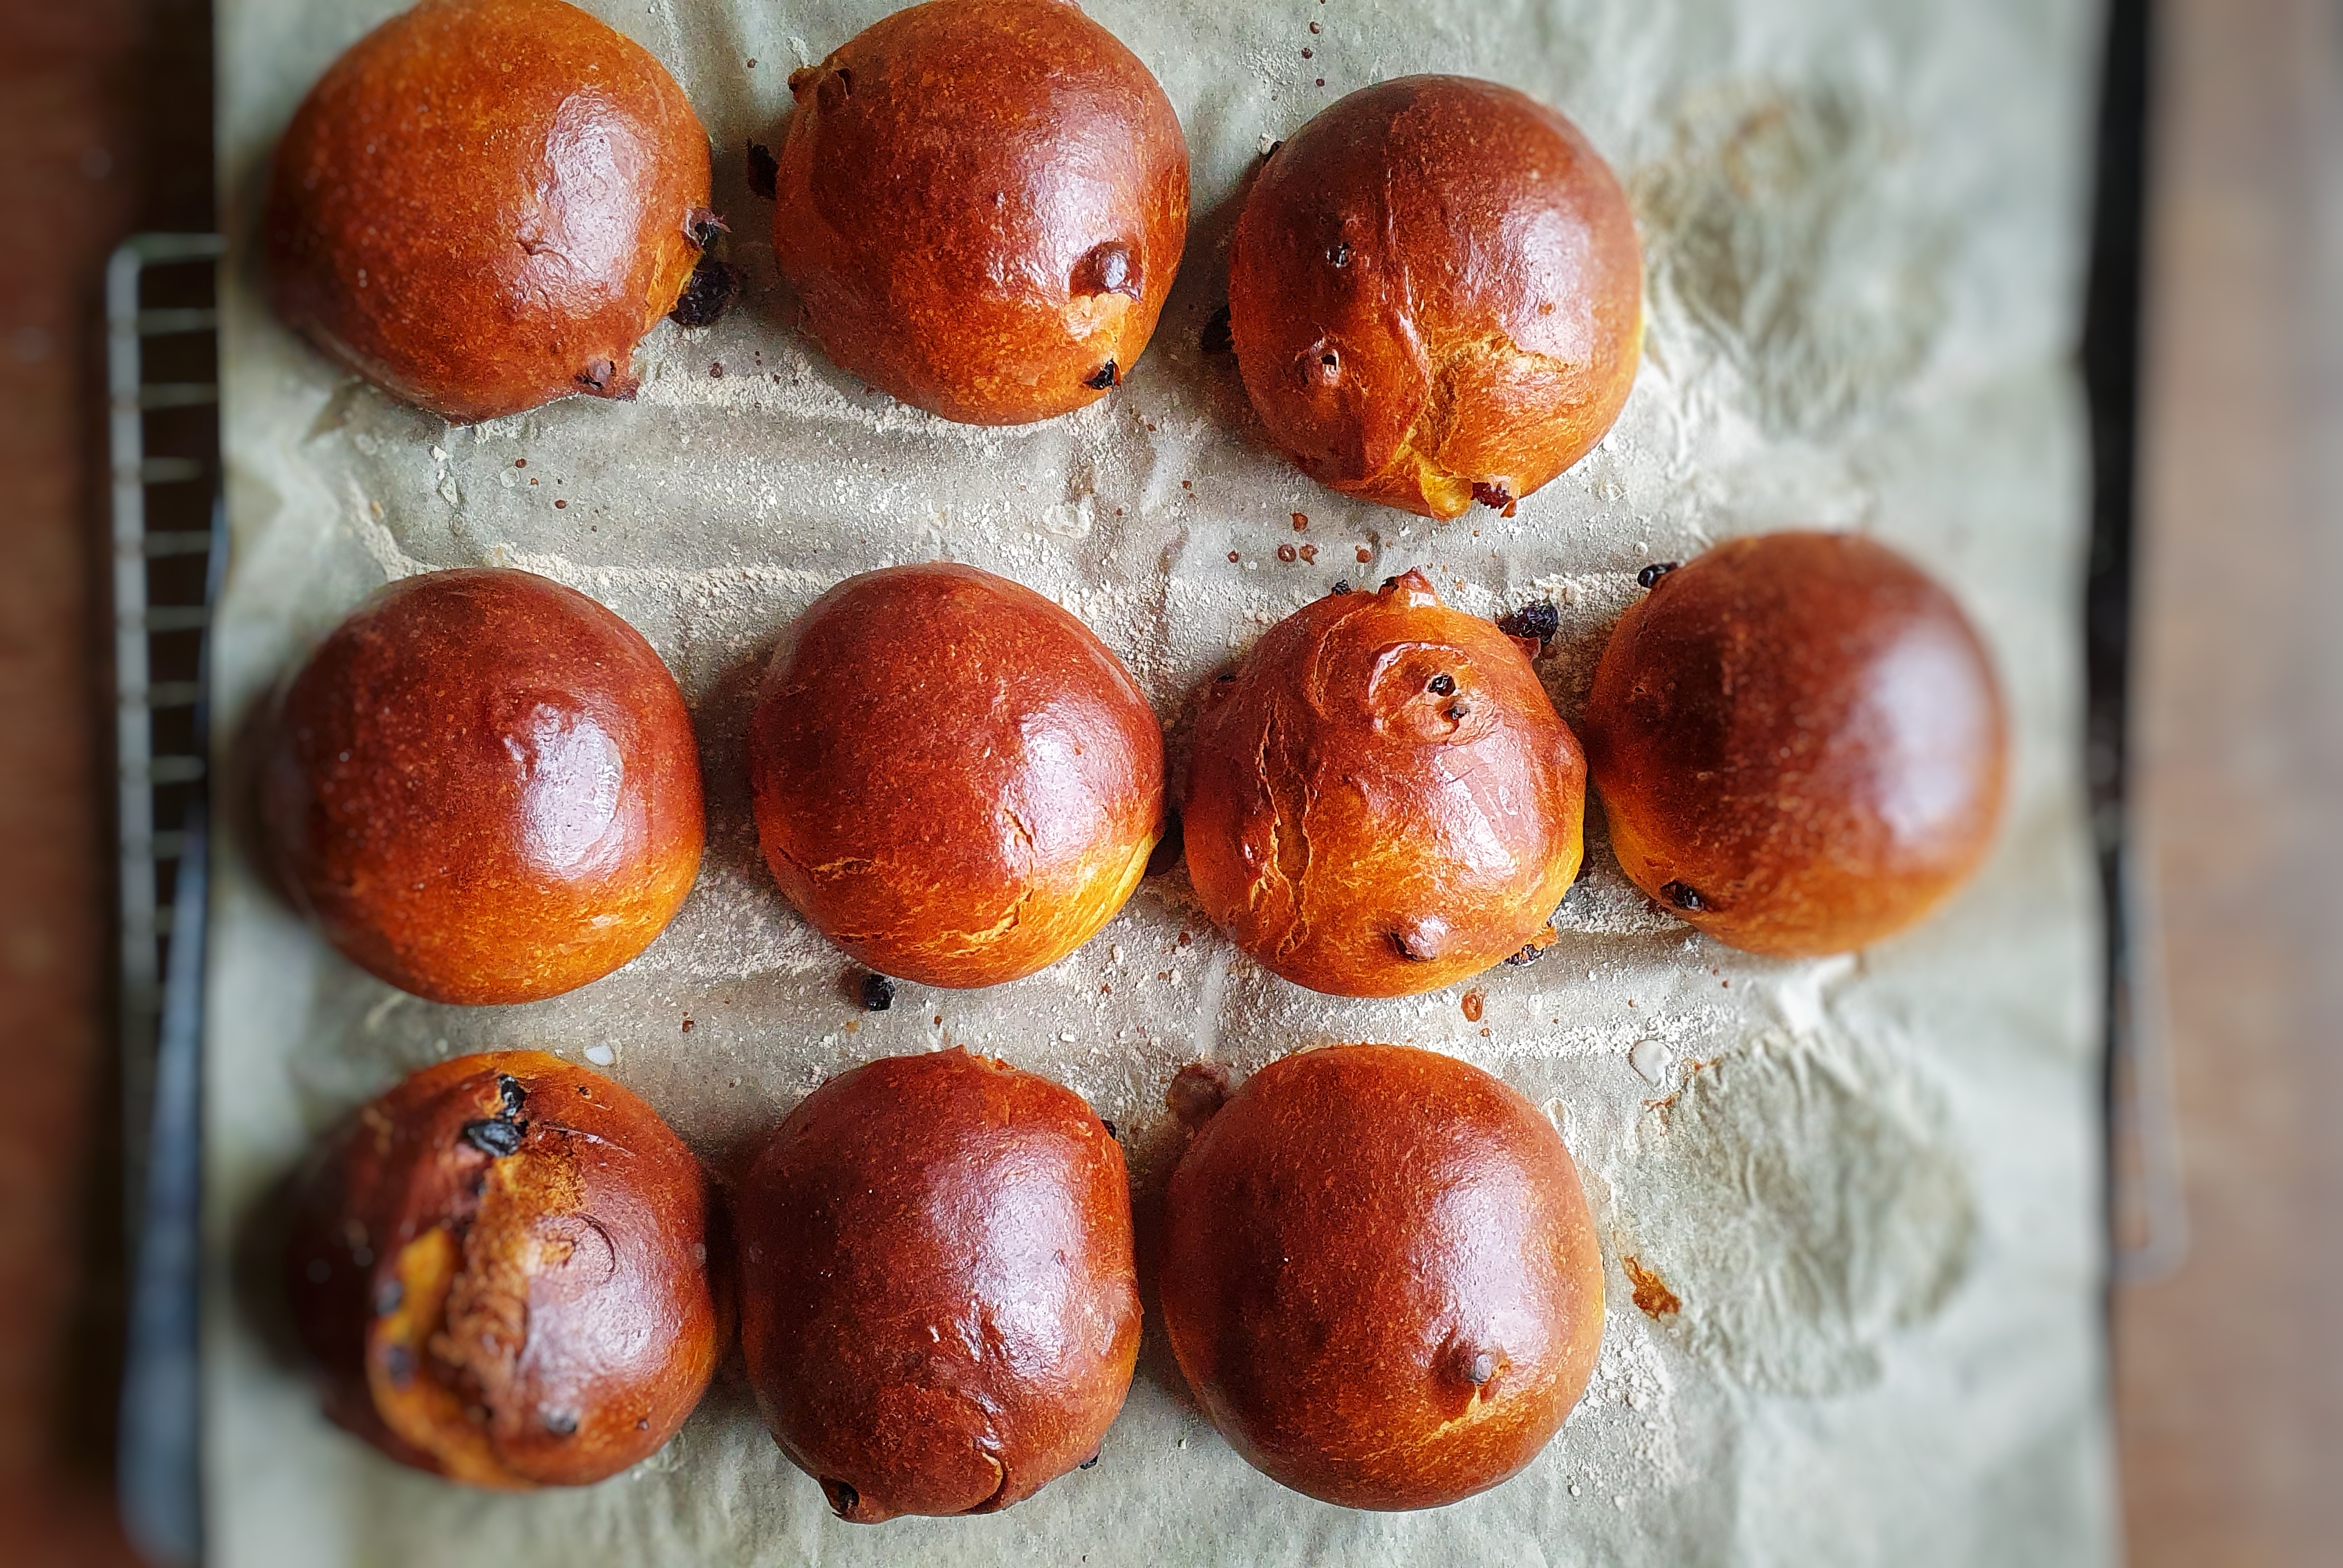
Brush the buns with milk and place in the oven for 18 to 20 minutes. If they turn too golden brown, turn down the heat to 175°C.
When ready, remove from the oven and immediately brush with more milk and then throw a double layer of clean tea towels over them and allow to cool.
These are best eaten on the day they were made; any older than that, they should be toasted.
Notes:
[1] Davidson, A. (1999) The Oxford Companion to Food. Oxford University Press; Mason, L. and Brown, C. (1999) The Taste of Britain. Devon: Harper Press. It also prompts the question – why are there no famous Essex saffron bakes or dishes? Maybe there is.
[2] Bilton, S. (2022) Fool’s Gold: A History of British Saffron. Prospect Books.
[3] Digby, K. (1669) The Closet of Sir Kenelm Digby Opened (1997 reprint). Edited by J. Stevenson and P. Davidson. Prospect Books.
[4] Cassell (1883) Cassell’s dictionary of cookery. Cassell, Petter, Galpin & Co.; Farley, J. (1783) The London Art of Cookery, and Housekeeper’s Complete Assistant. Price.
[10] I speak from personal experience here: if you don’t remove the skin, the strands just get caught encapsulated in it.
[11] The best things to use to cover a whole tray of buns are a large shopping “bag for life”, an upturned plastic storage box or a damp, clean tea towel: take your pick.
Hello everyone. I do hope your Bank Holiday Weekend is going swimmingly and that you are enjoying the sunshine (& showers!).
I have uploaded my ‘Knead to Know’ Zoom talk from September last year to my YouTube channel. I know there were several people who couldn’t make it on the night. It’s completely unedited except for the Q&A section at the end.
I talked about how I approached writing Knead to Know: A History of Baking by asking myself, “What is baking?”, a trickier and more philosophical question than you might think; the origins and history of the very first bakers; Early Medieval bread and bakers; Yorkshire Christmas Pyes; and the Denby Dale Pie.
If you like the blogs and podcast I produce and would to start a £3 monthly subscription, or would like to treat me to virtual coffee or pint: follow this link for more information.Thank you.
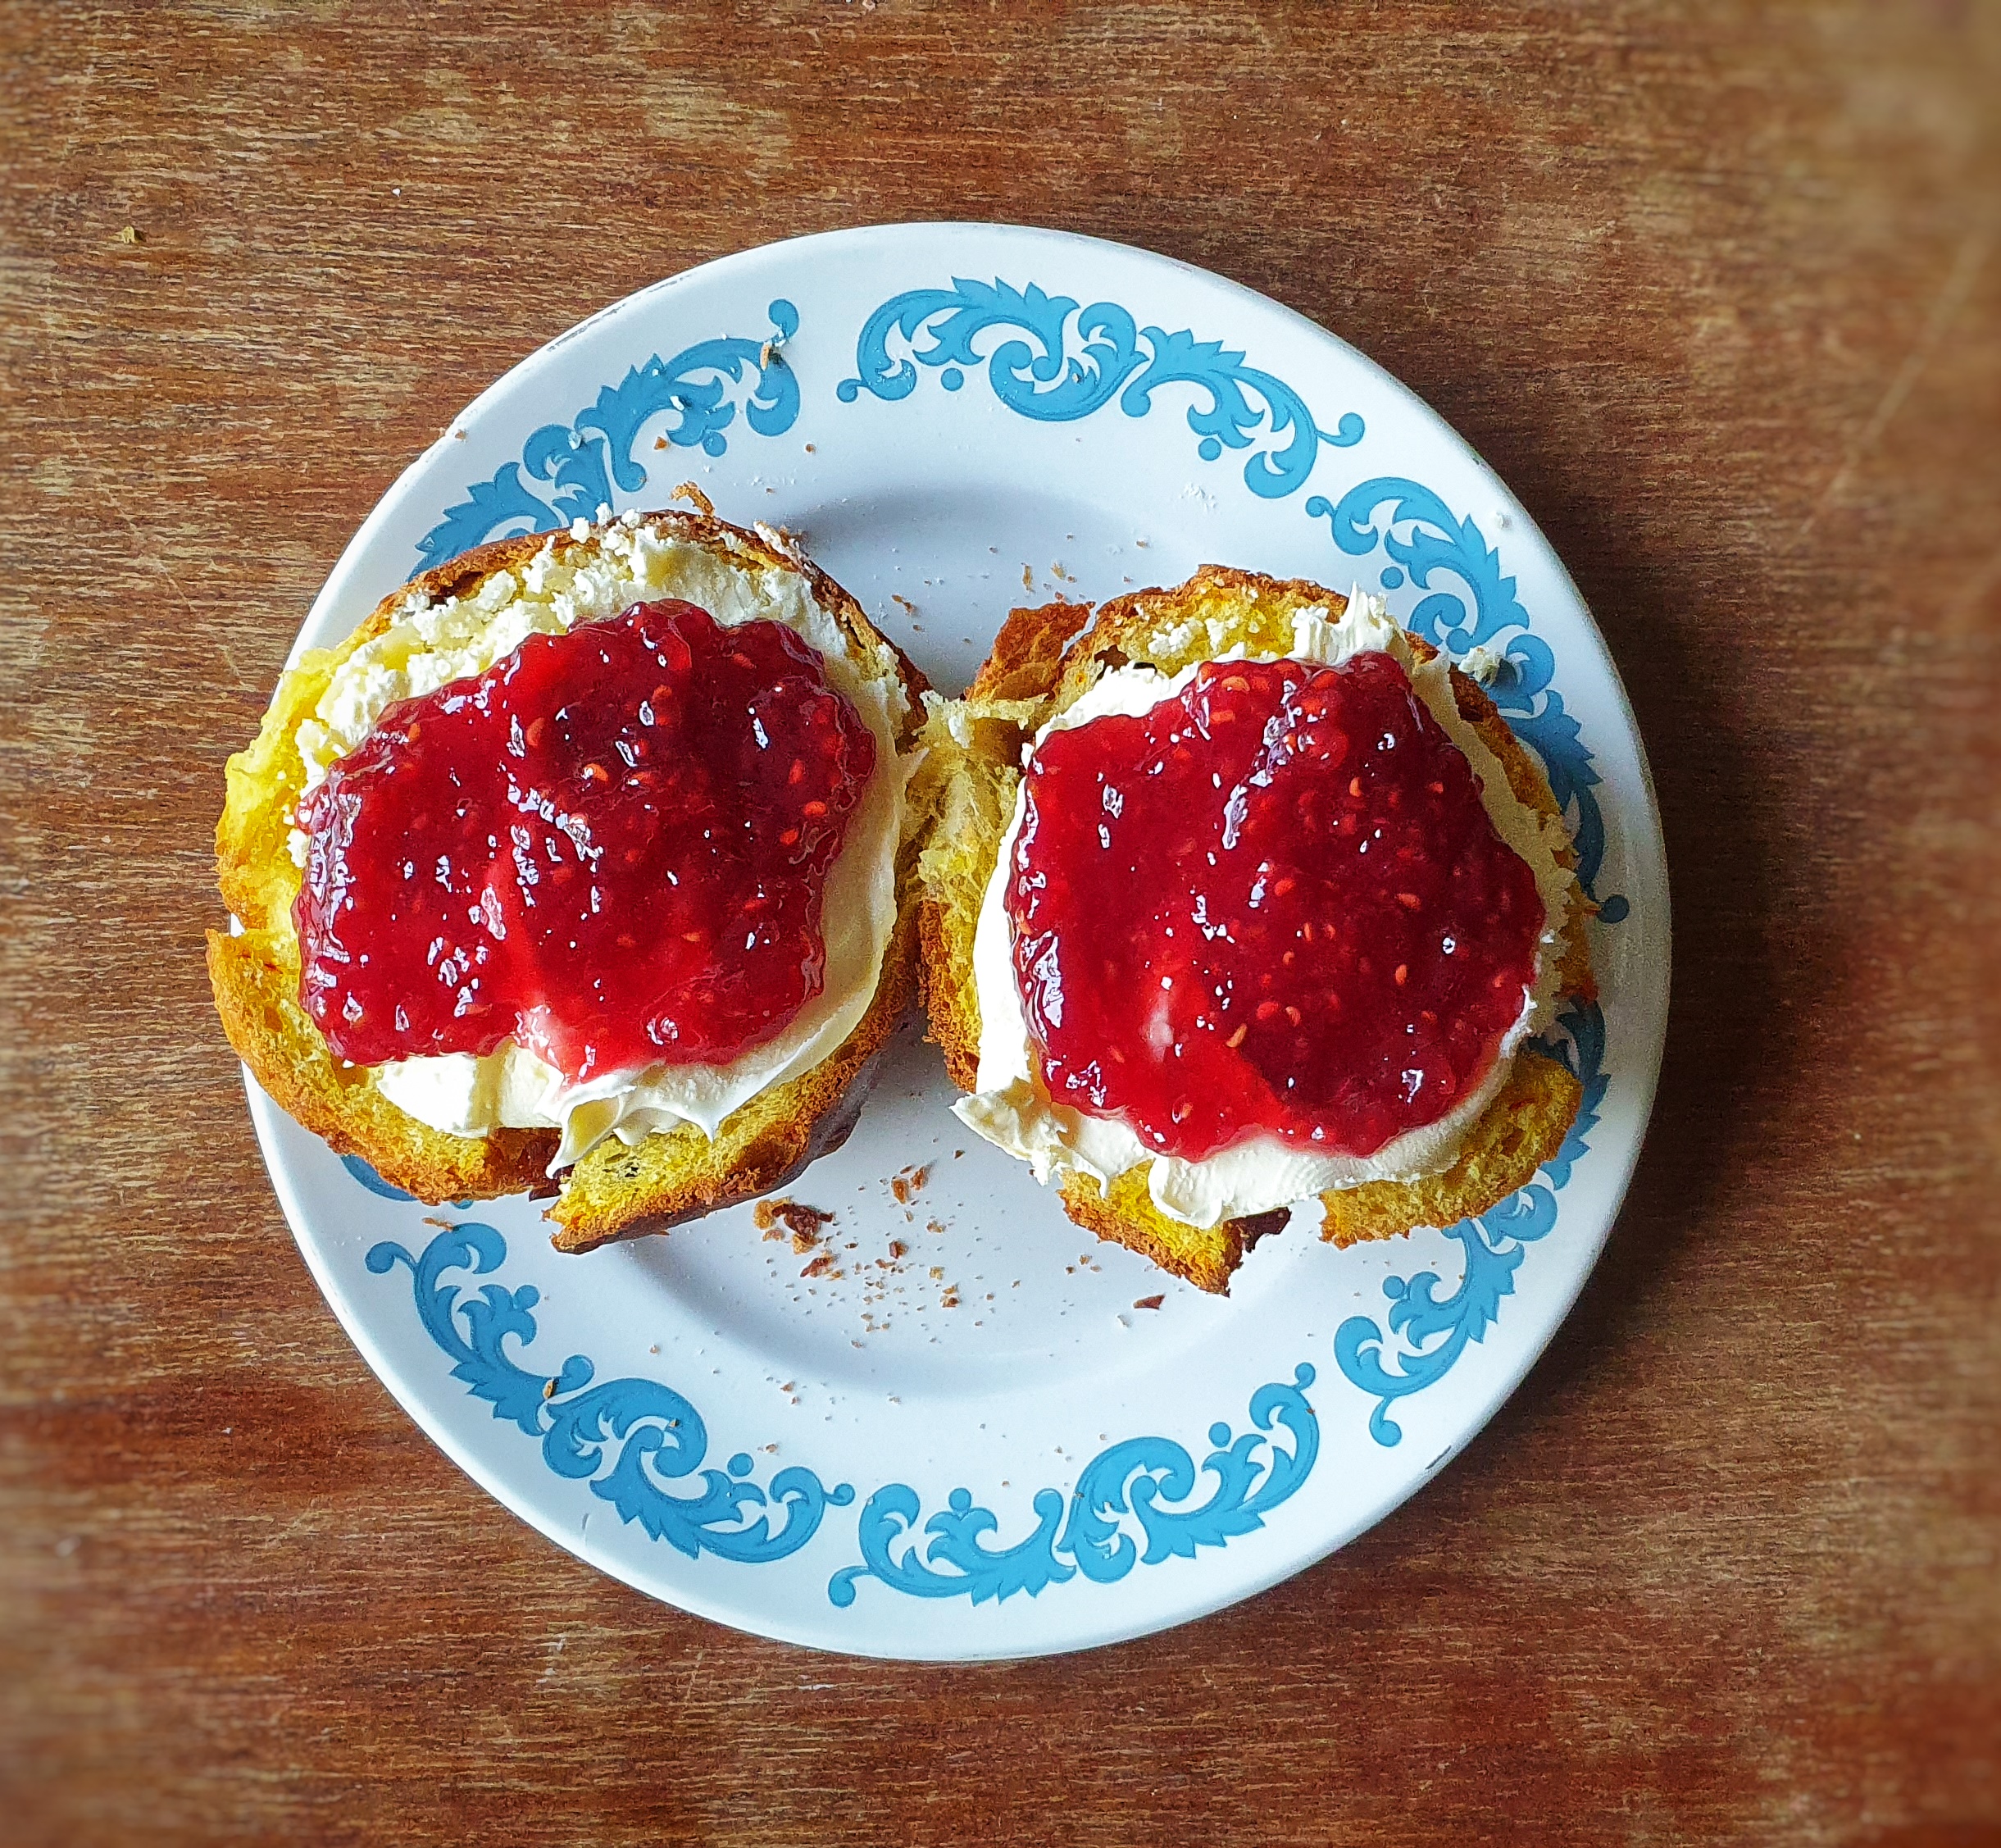
A hospitable Yorkshire housewife would consider her tea table was barely spread if it were not liberally supplied with these delicious cakes, constant relays of which should be served steaming hot.
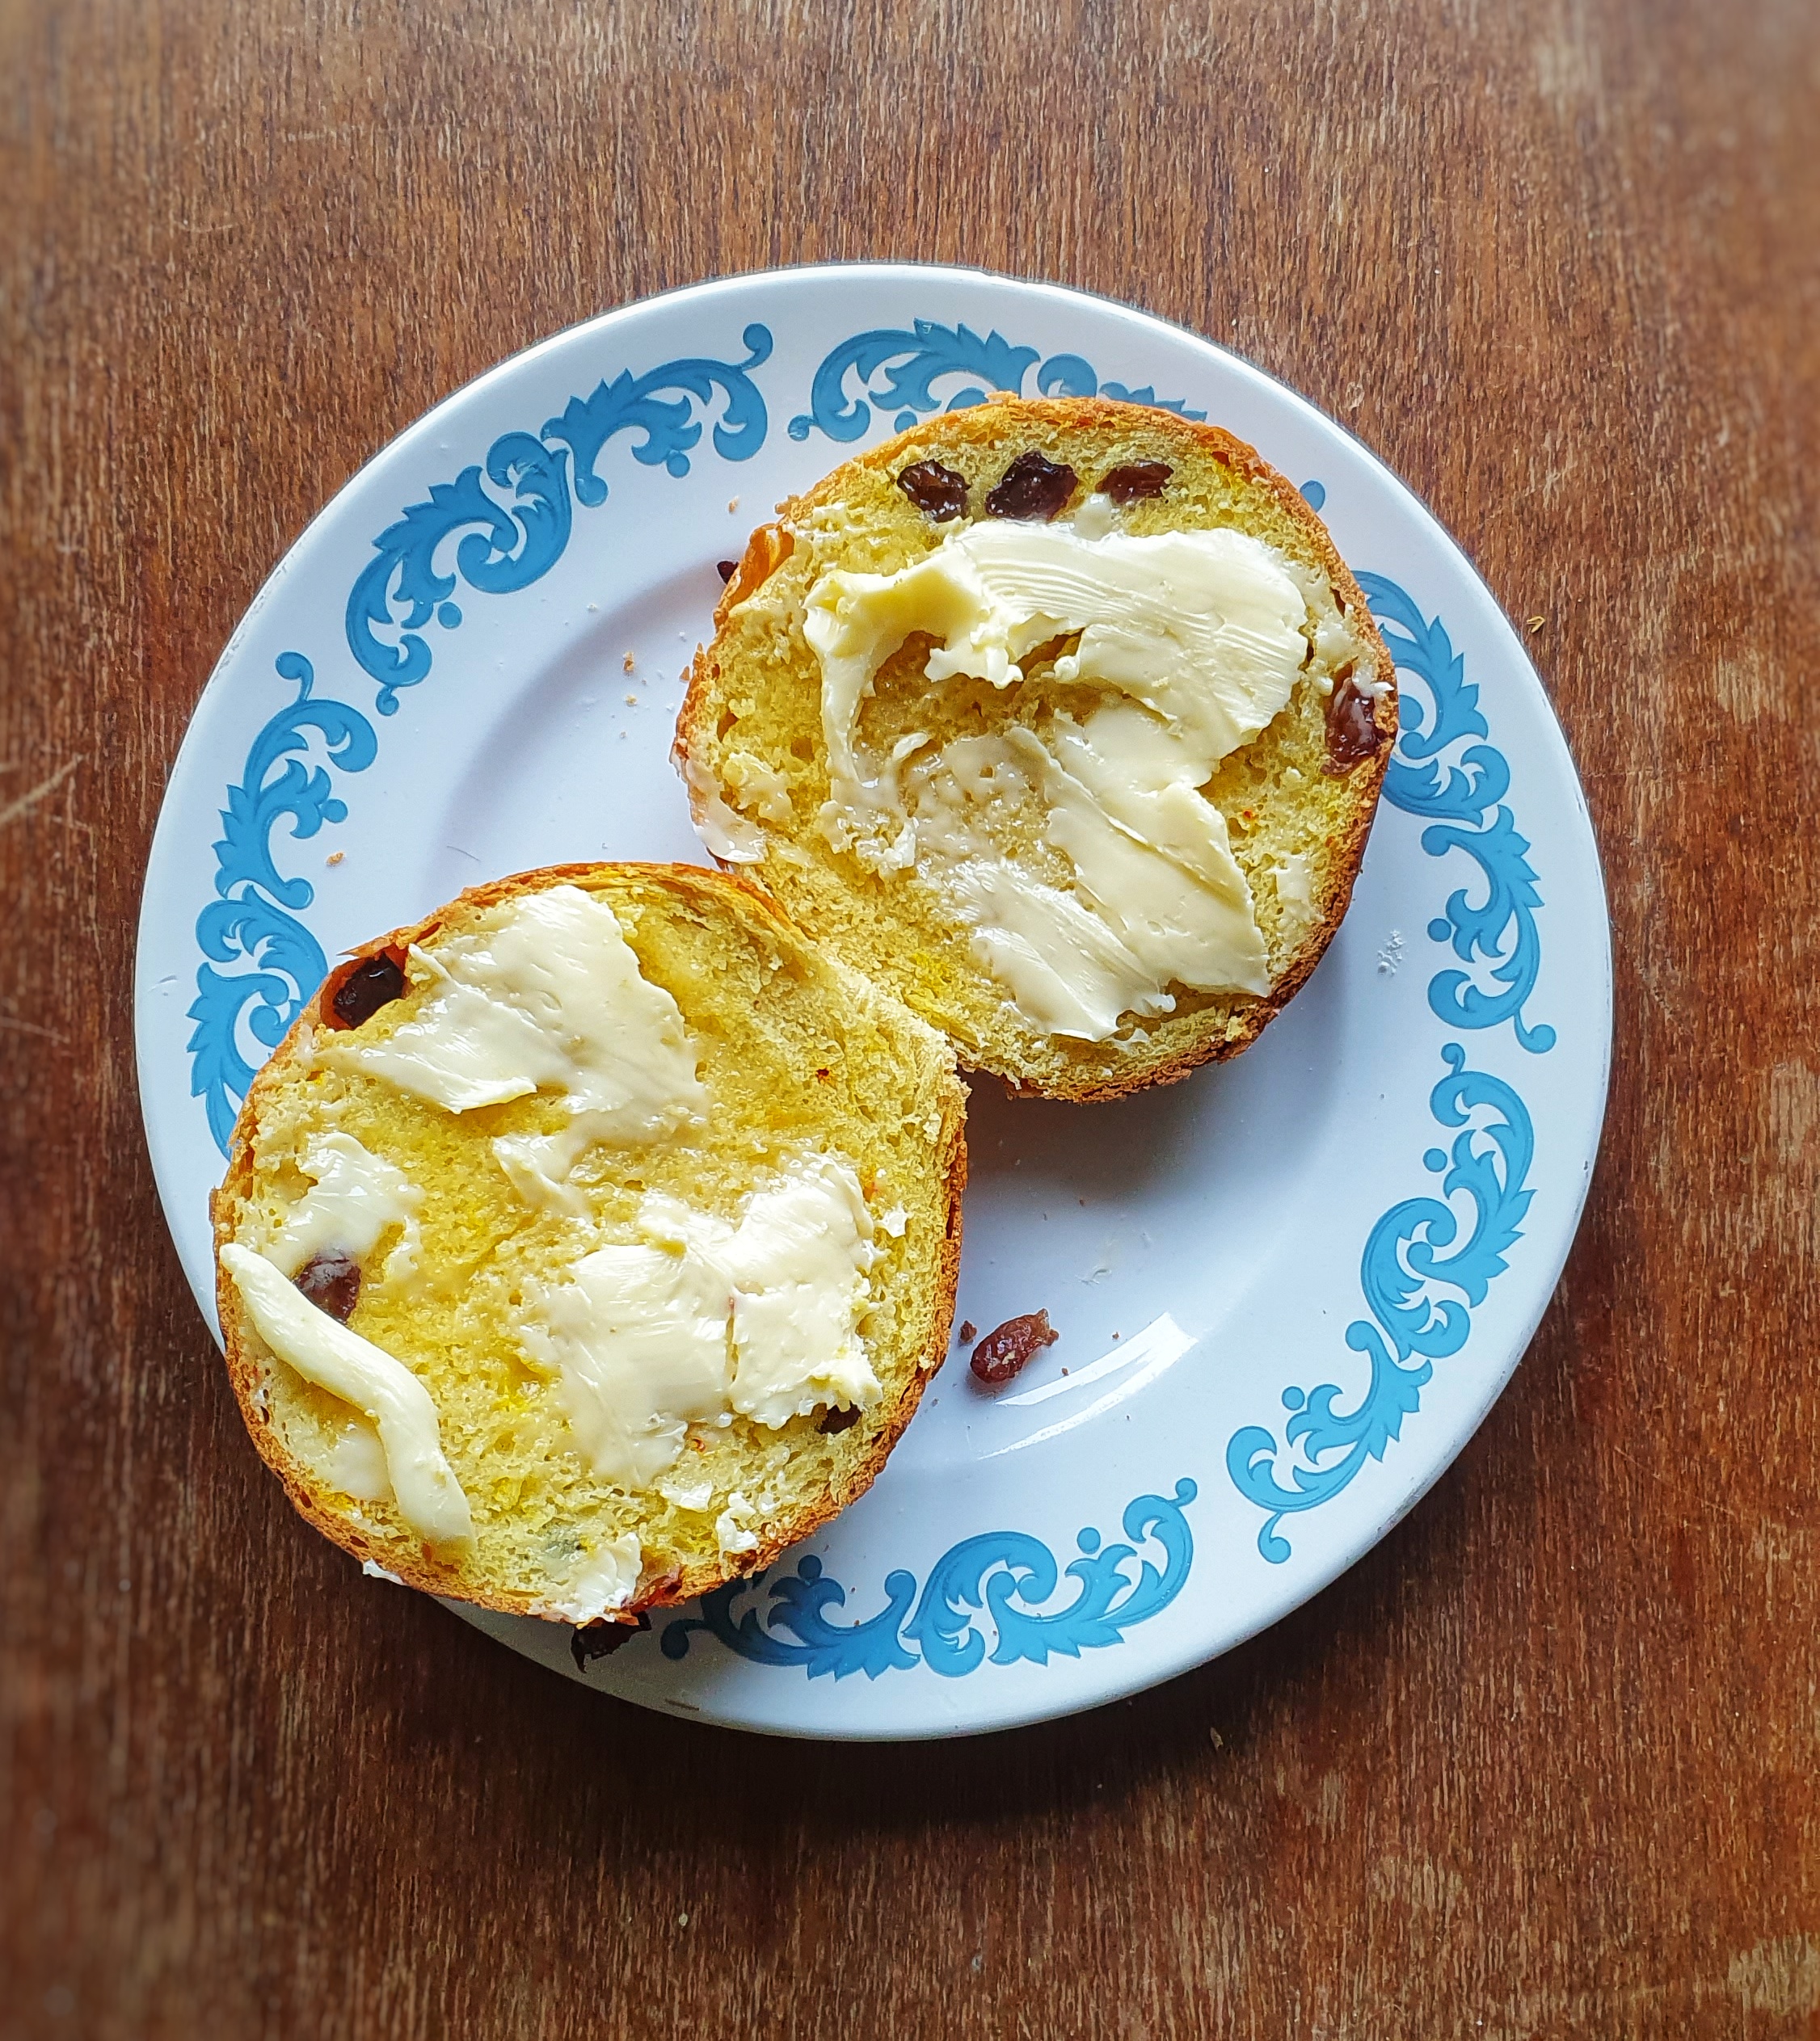
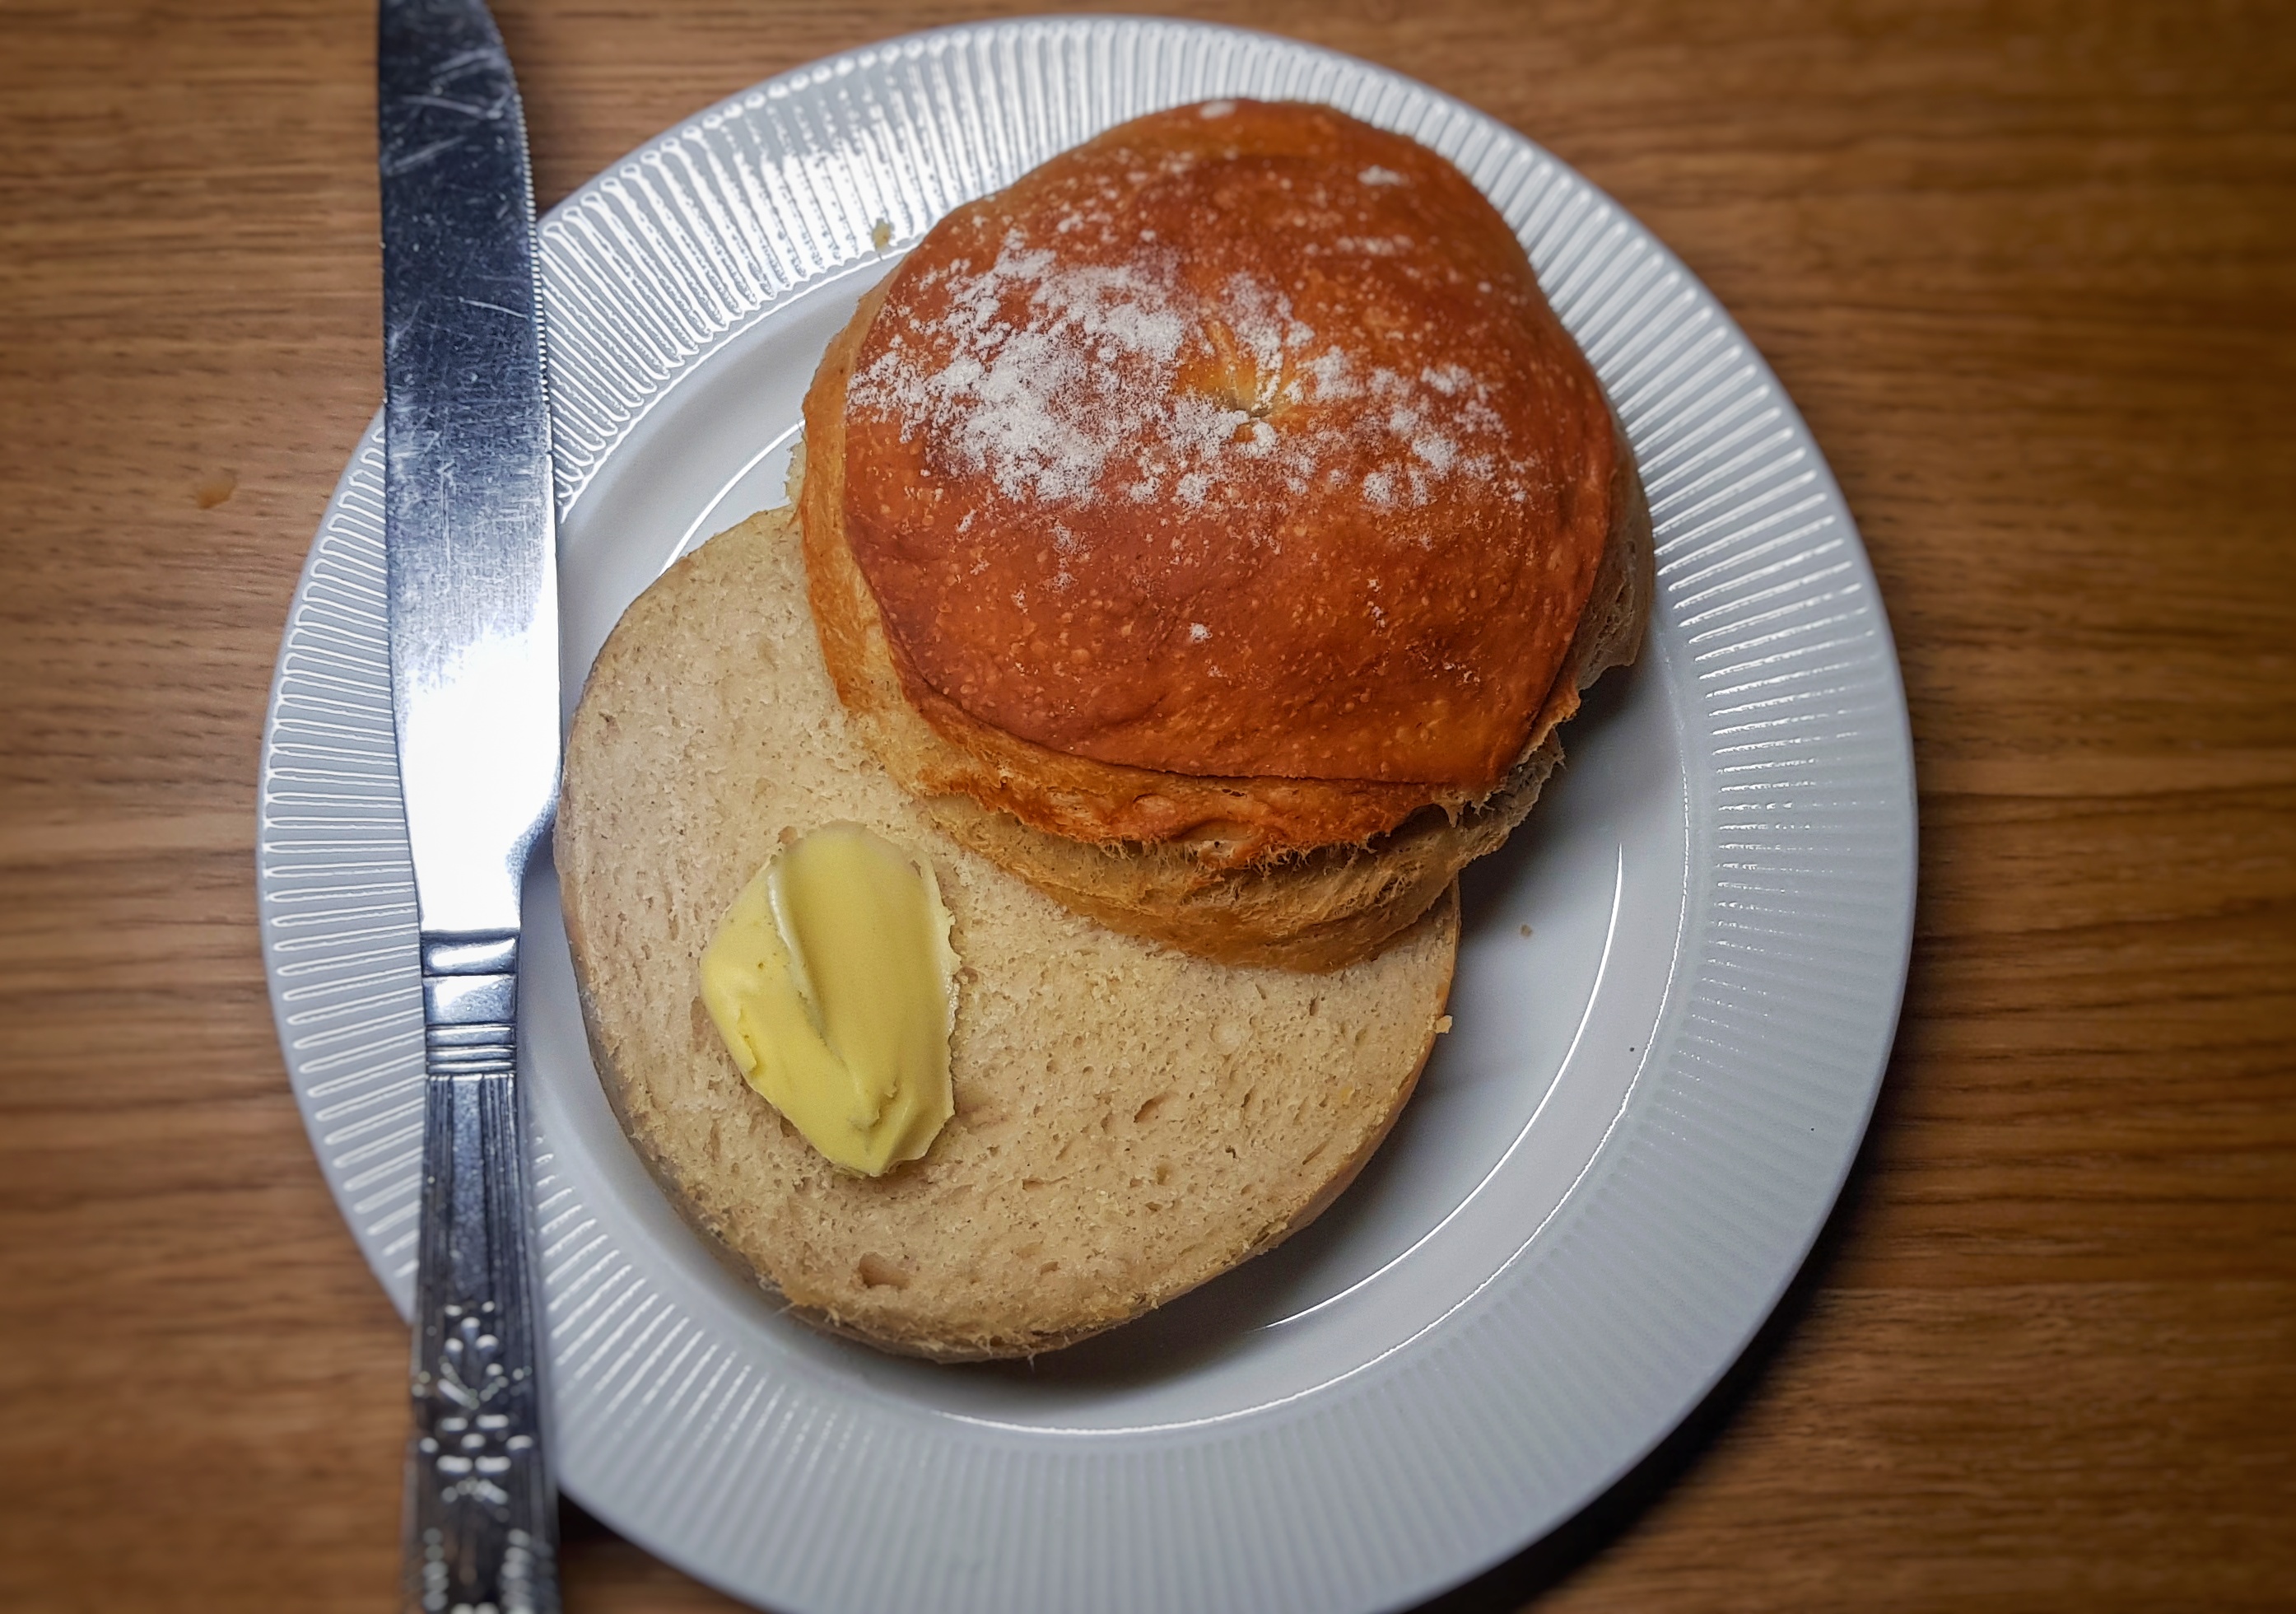
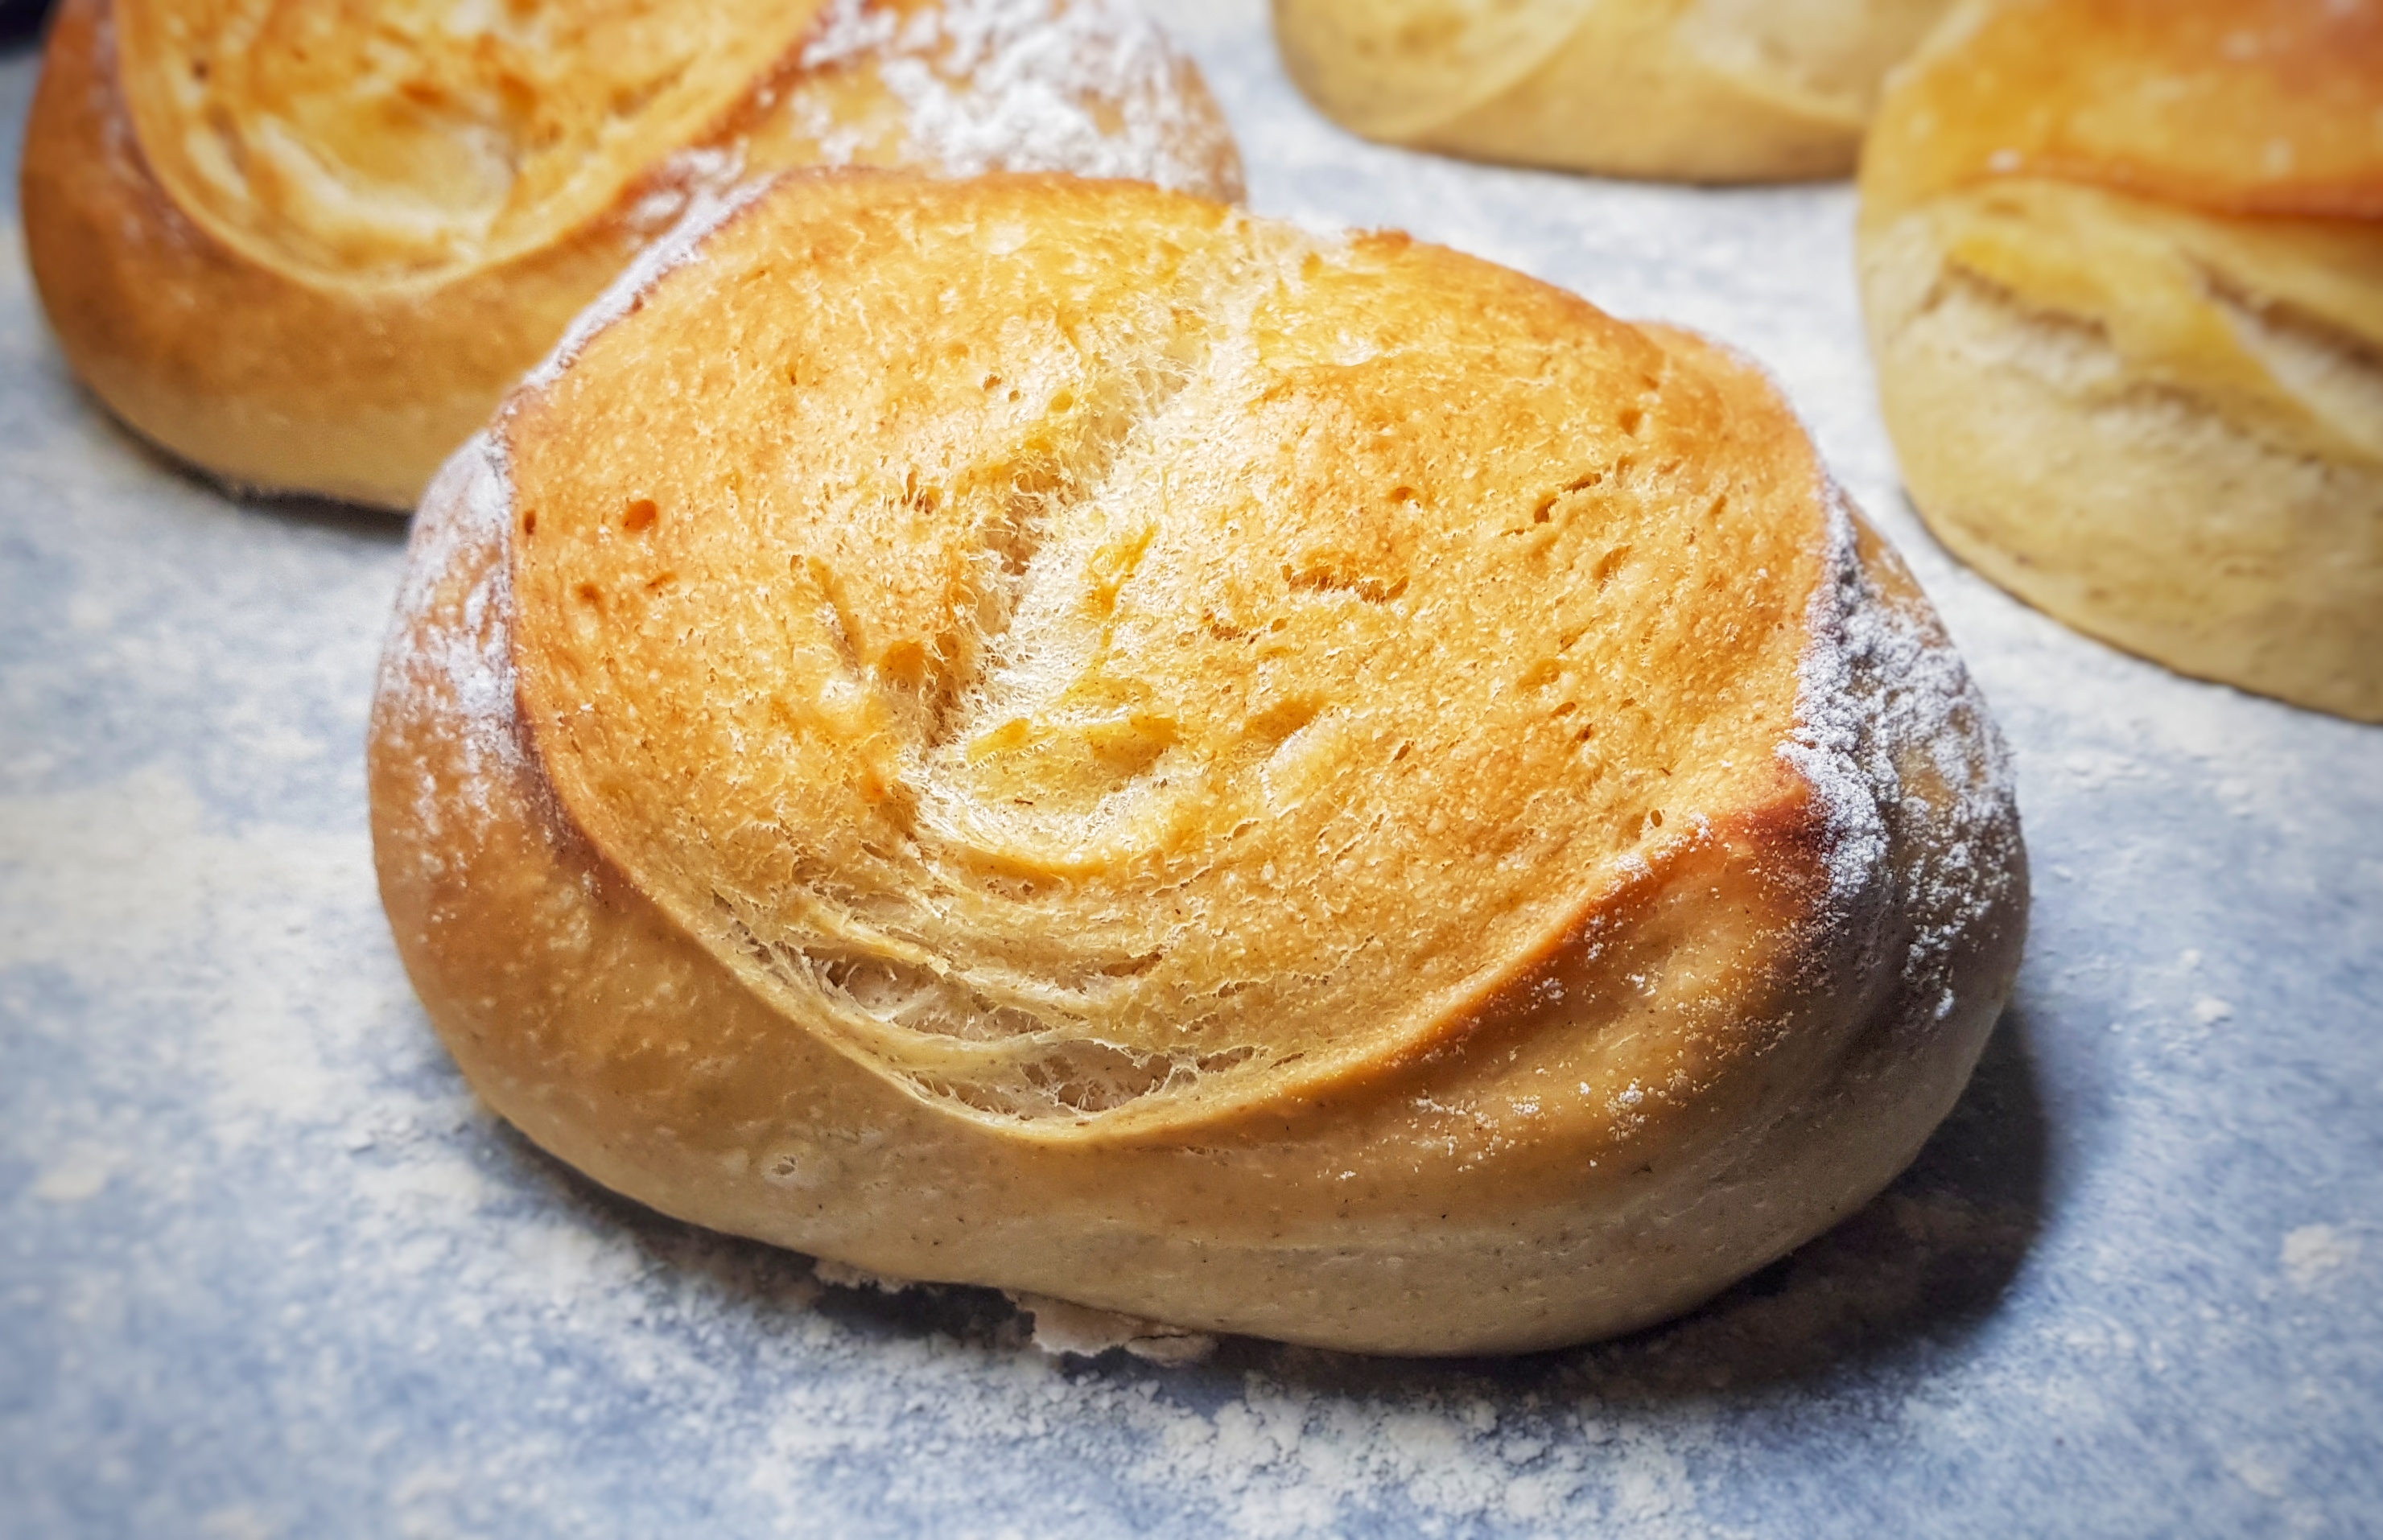
A split and toasted fruit teacake, liberally spread with melting salted butter is one of life’s simple pleasures. For those of you who are not already in the know, a Yorkshire teacake is a round, slightly flattened, enriched, soft breadcake usually containing a little sugar, spice, dried fruit, and candied peel. There was a time when England had scores of regional fruited or enriched bread cakes and loaves, but they have largely gone by the wayside. Others that spring to mind are Bath buns, Wiltshire lardy cakes and Lincolnshire plum bread.[2] These types of cakes and breads are much more appreciated in Wales, Scotland and Ireland, or so it seems. The Yorkshire teacake has escaped its regional roots, so much so that it has lost its Yorkshire identifier and is simply called a teacake by most people.
Just-baked teacakes with plenty of salted butter
Yorkshire teacakes can be traced back to the opening decades of the 18th century when they were called ‘Yorkshire Cakes’. They will have been very expensive because they are enriched with eggs, butter, milk, and plenty of sugar and dried fruits.[3] By the 1880s, they are called Yorkshire teacakes.[4]
Working-class families enjoyed them too, but there was invariably less fruit, just a touch of sugar, half-and-half milk and water, no eggs and lard instead of butter. I like this more austere version, though I do go will all milk (full fat, of course) and much prefer lard to often over rich butter. Looking through recipes, the amount of lard varies greatly from a knob to over five ounces per pound of flour.
It’s very important that the teacakes are nice and soft. To achieve this, heed this excellent advice from Florence White:
Immediately after taking from the oven, rub over with buttered paper, and cover with a light, clean blanket; this gives a soft skin.[5]
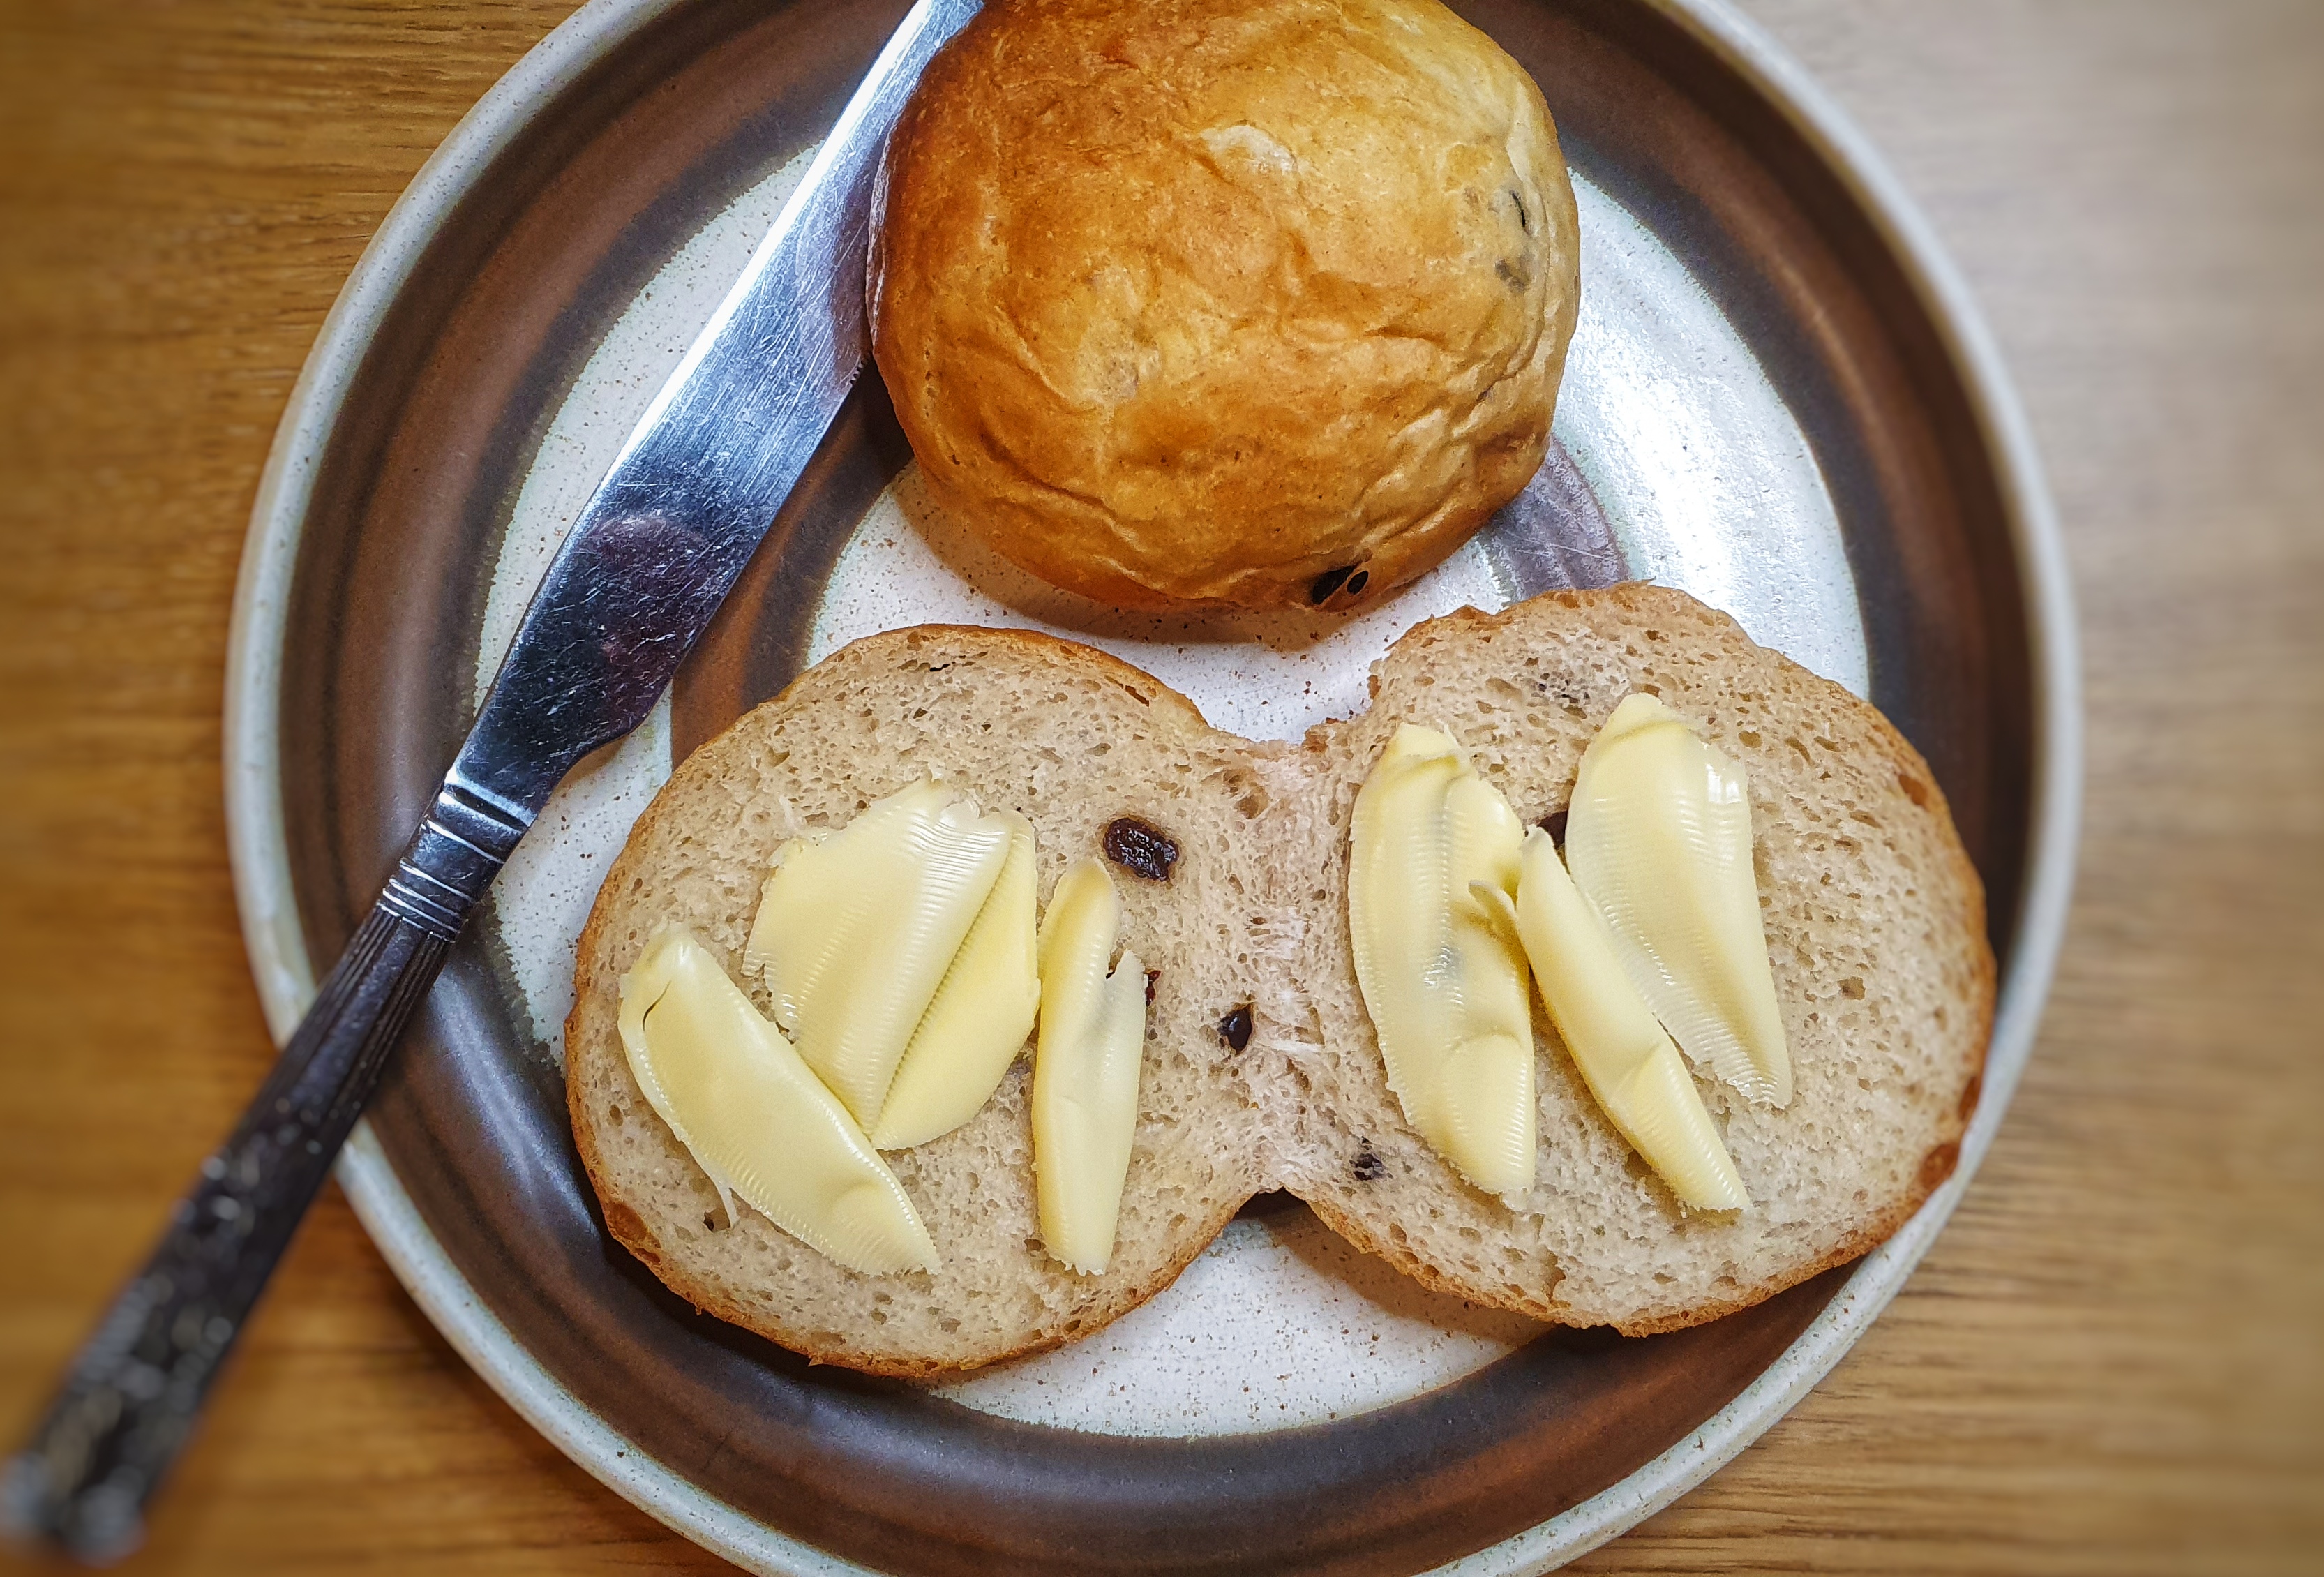
When they are freshly baked they are lovely eaten untoasted, but any older than that and they must be split and toasted (or if you want to go hardcore Yorkshire, strong Cheddar cheese[6]).
It occurred to me that I hadn’t baked a batch of teacakes for a good few years, and I was thereafter craving them, so I baked a batch. They are so worth making at home and I give you my recipe, should you fancy having a go yourself.
If you like the blogs and podcast I produce and would to start a £3 monthly subscription, or would like to treat me to virtual coffee or pint: follow this link for more information.Thank you.
Recipe
This is quite a sticky dough and I would recommend making this in a stand mixer with a dough hook, but they can be made without one; just be prepared to be very sticky in the first 10 minutes of kneading. If you prefer plain teacakes, omit the fruit and spice and add half the sugar.
Makes 8 teacakes:
500 g strong plain flour, plus extra for kneading and shaping
30 g caster sugar
1 tsp salt
1 tsp instant yeast
½ tsp mixed spice or ½ a grated nutmeg
80 g softened lard or butter, or a mixture
300 ml warm milk or half-and-half milk and water
Around 2 tbs vegetable or sunflower oil
80 g mixed dried fruit
30 g candied peel (optional)
Extra milk for brushing
Add the flour, sugar, salt, yeast and spices to a mixing bowl, make a well in the centre and add the softened fat, then tip in the warm liquid. Using a kneading hook, mix the ingredients on a slow speed until everything has combined, then turn up the speed a notch or two and knead for about 10 minutes until smooth – it won’t be very elastic because of the lashings of lard.
If you want to do this by hand, mix the ingredients with a wooden spoon. When thoroughly mixed, leave it to stand for 15 minutes or so; this gives the flour to absorb some of the liquid making for easier hand kneading. Knead on a lightly floured surface for around 15 minutes.
Brush a clean mixing bowl with the vegetable oil, gather up the floppy dough as best as you can (oil your hands, it makes this bit much easier), tuck it into a ball and pop it in the oiled bowl. Cover with a tea towel or cling film until it has doubled in size. This will take a while; even sat close to the radiator, my dough took over two hours.
Now take two baking sheets and line them with greaseproof paper and set aside.
Tip the dough onto a floured worktop and press out into a square, add the fruit and knead it into the dough. You do this step in the oiled bowl if you like. When everything is reasonably equally distributed, cut the dough into 8 equal-sized pieces. Using just a very little flour roll the pieces of dough into tight balls, then roll them out into circles with a floured rolling pin so they are 4 to 5 cm thick. Sit them on your baking sheets as you make them.
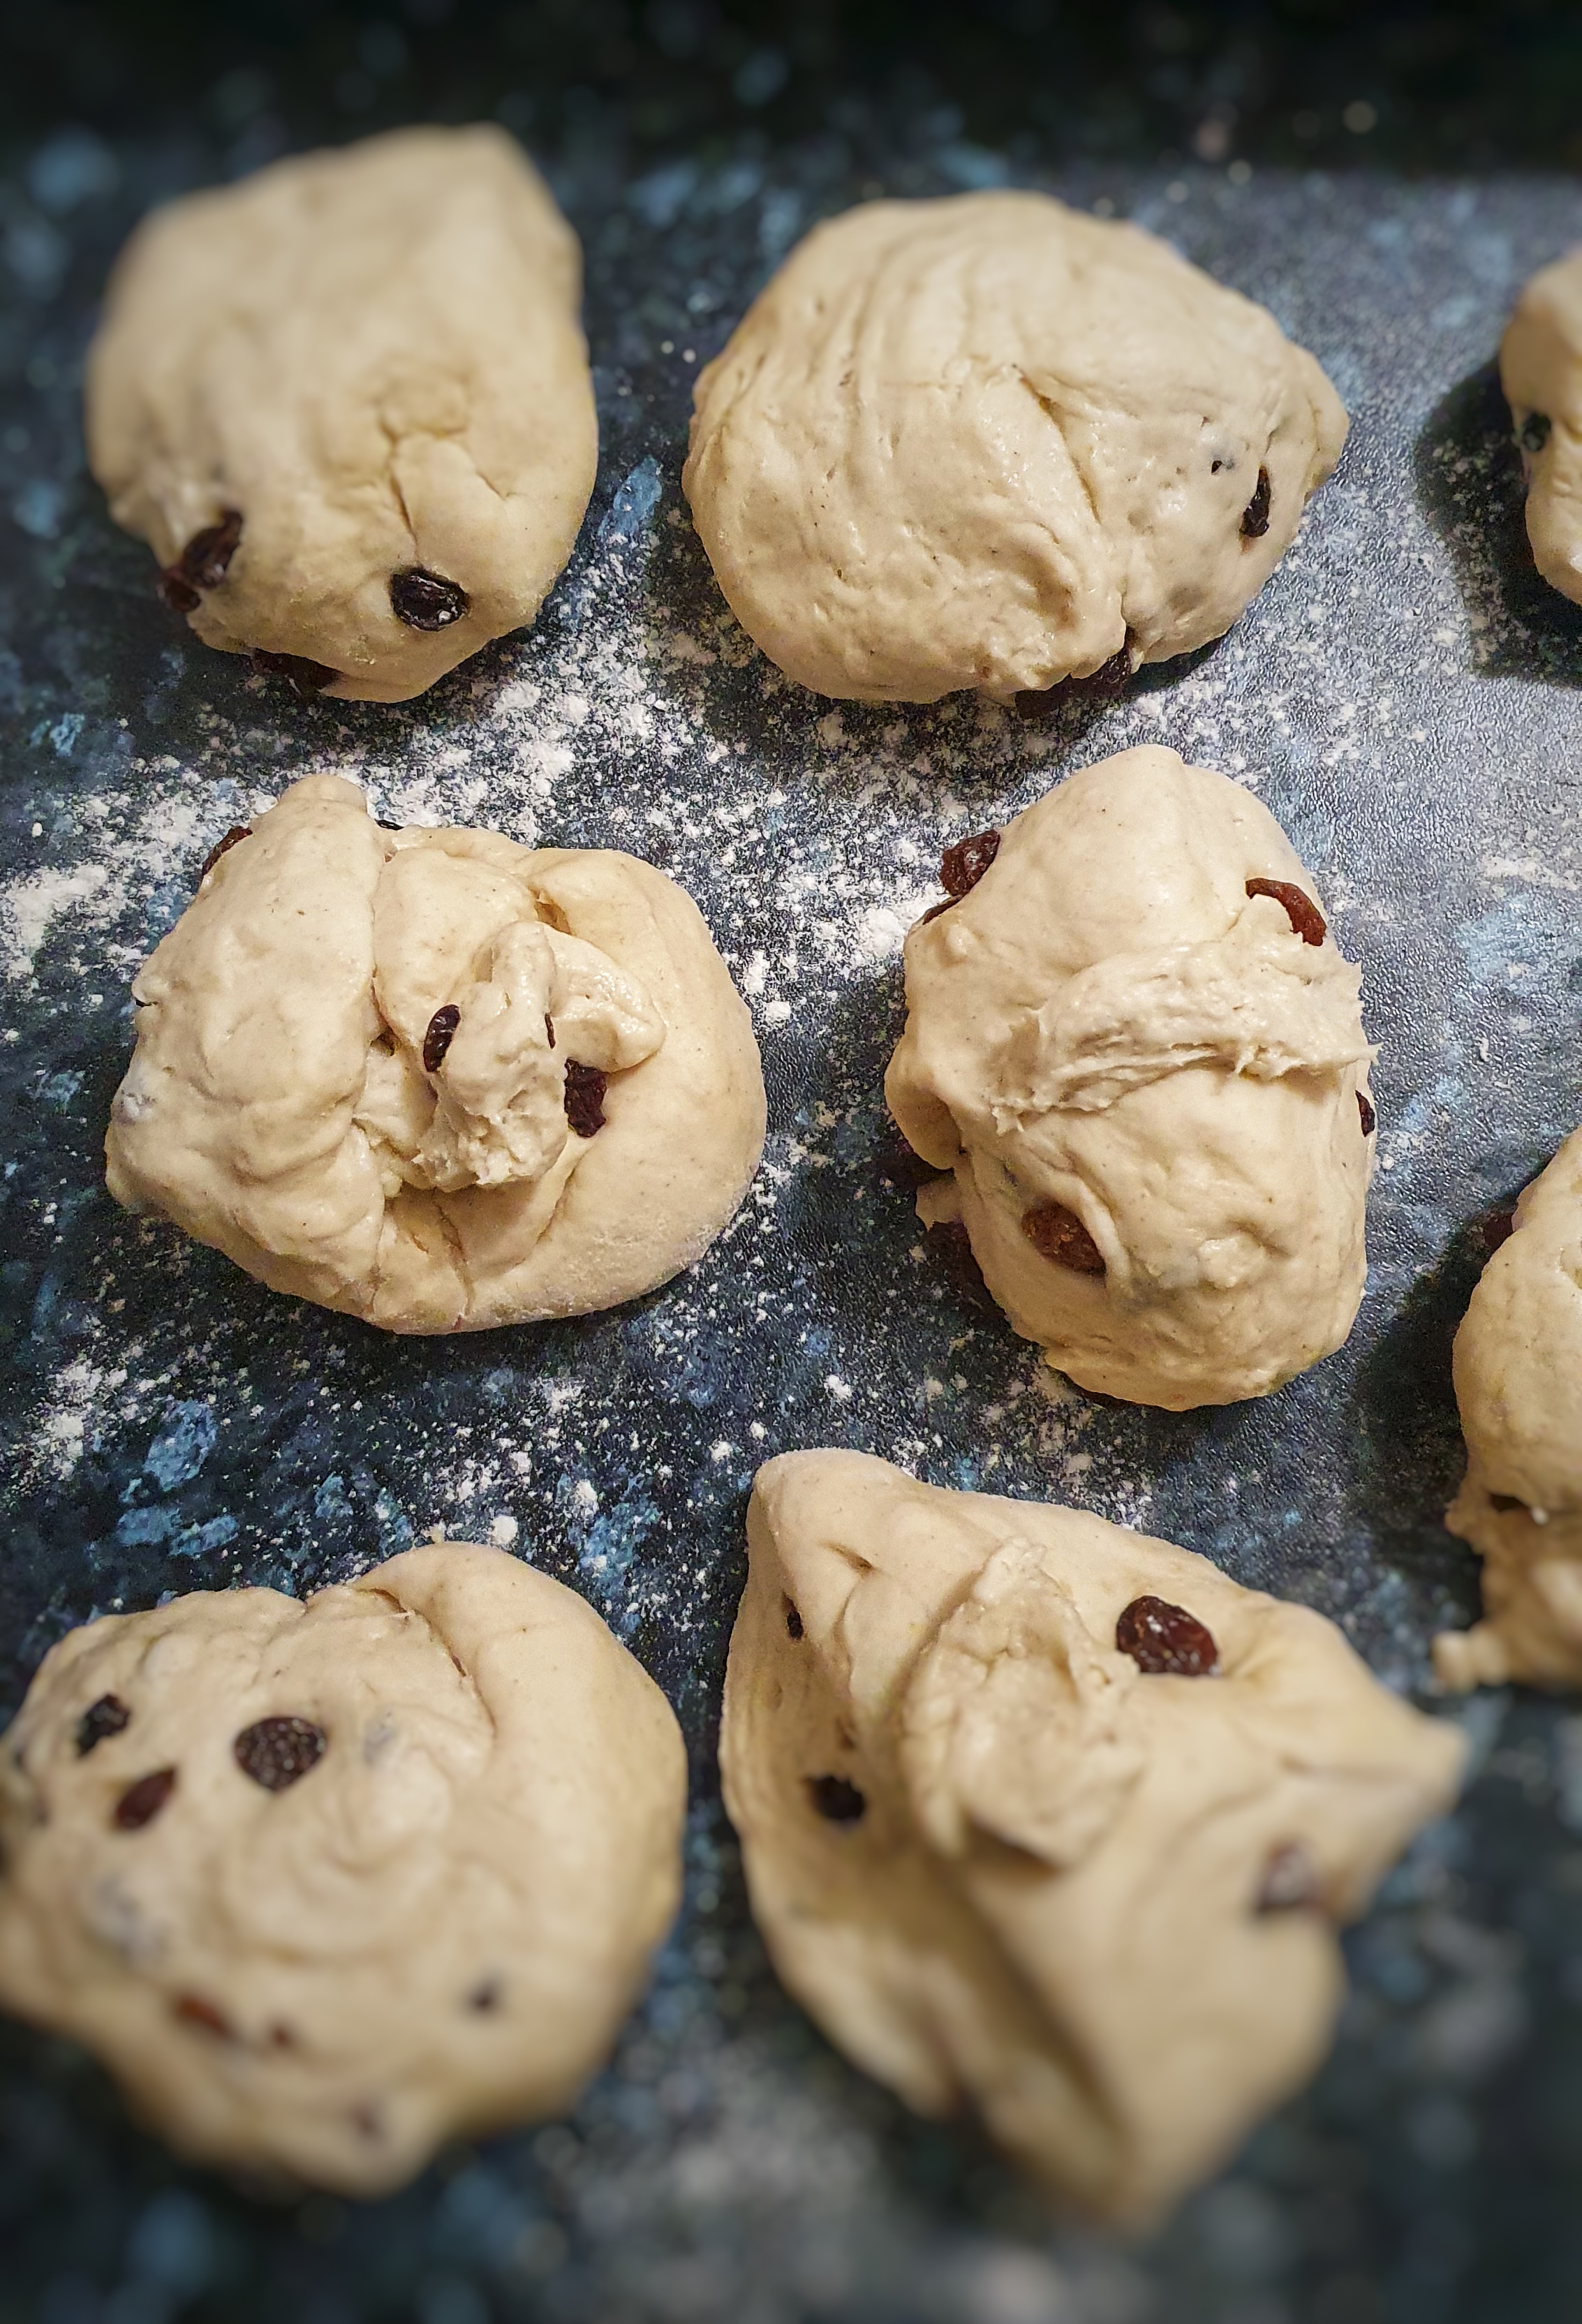
When you’ve done all 8, cover them with tea towels or place a container over them so they can prove again. In my experience the second proving takes about half the time of the first. As they prove turn your oven to 200°C fan (or equivalent). If you have a steam setting on your oven, use it. If you don’t, place a roasting tin in the bottom of the oven to heat up, and when you put your teacakes in the oven, tip some water into the now very hot tin and close the door.
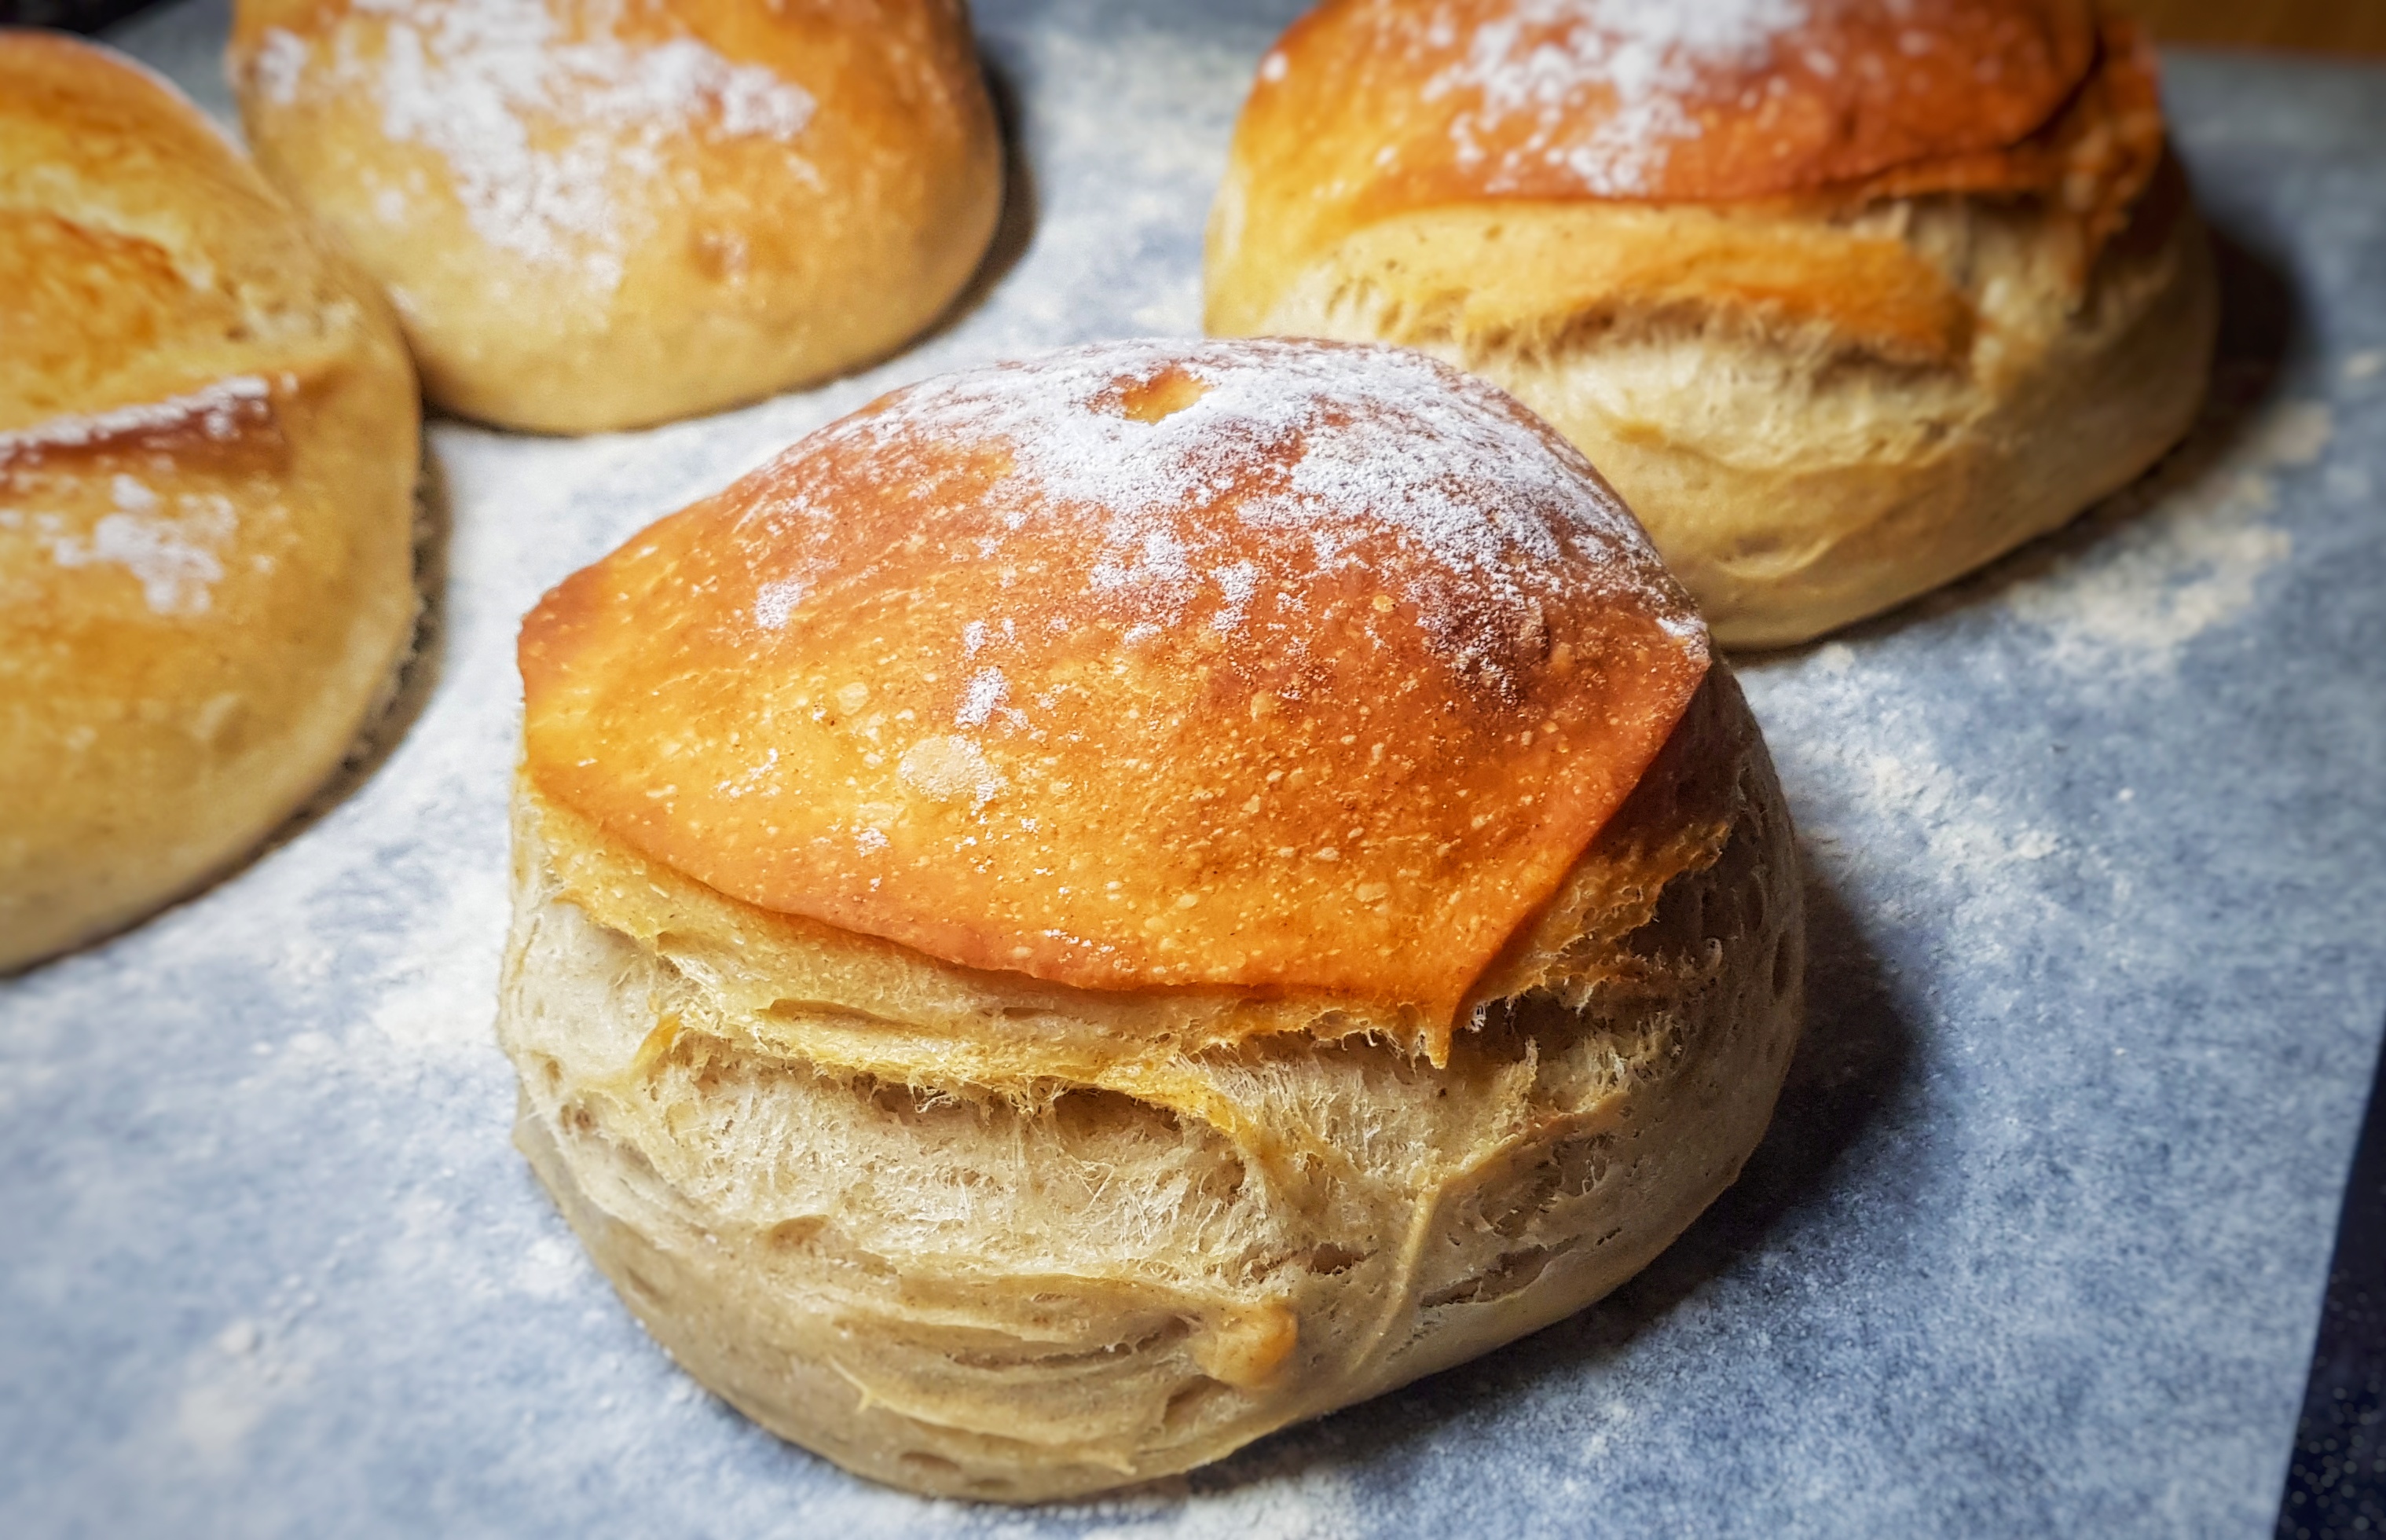
Before and after the second proving
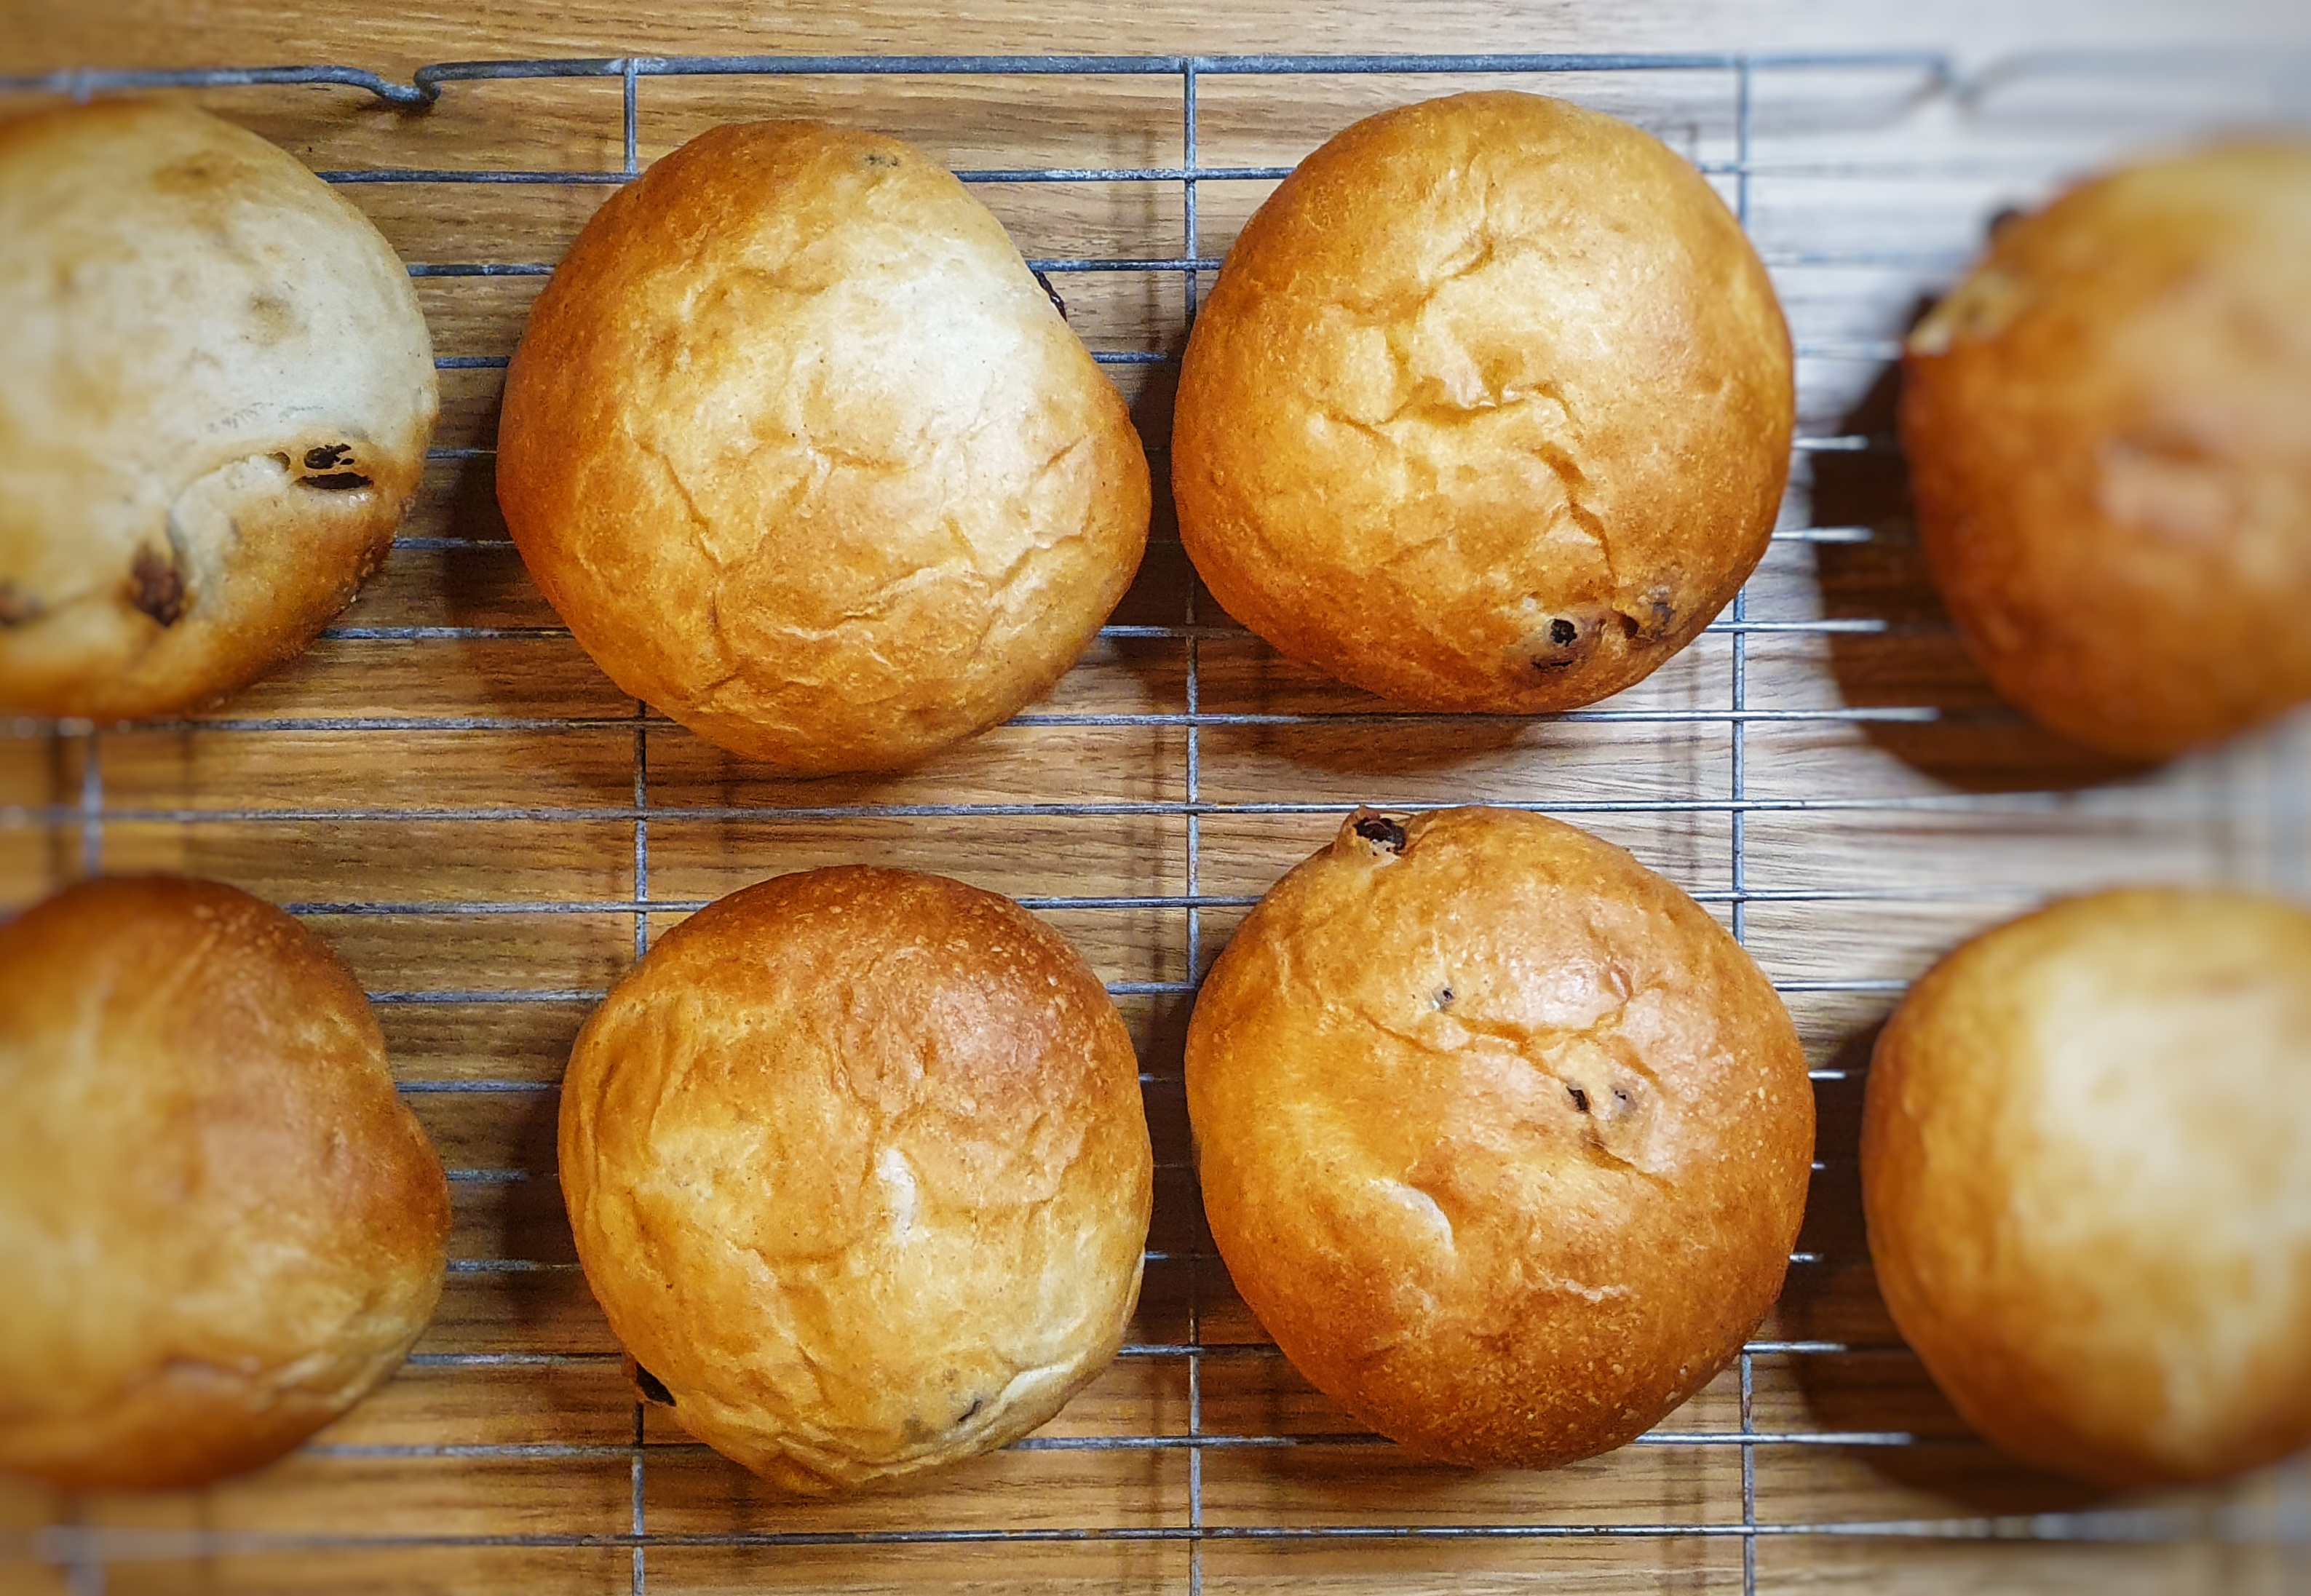
When they have doubled in size, brush them with milk and pop them in the oven. Bake for 15 to 20 minutes until golden brown. Test whether they are ready by tapping the base of one: it should sound hollow.
Remove the teacakes from the oven and immediately throw a double layer of tea towels over them to keep them soft as they cool.
Well hello! Sorry for the long quiet spell, I have been hard at work writing not one, but two books. The manuscripts have been handed in and the usual service can resume. I did keep the podcast going though, so if you’ve not heard the new episodes, listen below:
The books are about baking and puddings, and I’ll tell you more about them later in the year. As I was researching and writing them, I realised that there are recipes I have been meaning to write for you, but, for one reason or another, I have never got around to. Well, I aim to rectify this over the next few months. Top of my pile is the very delicious Chelsea bun, my favourite of the sticky bun tribe.
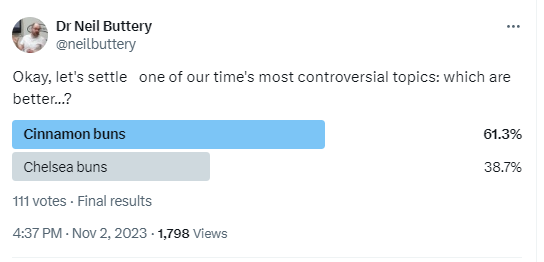
I recently asked Twitter[1] which was better, cinnamon or Chelsea buns. In my hubris, I expected the Chelsea bun to win easily. It did not, and the main reason it wasn’t picked was that folk didn’t know what one was. Well, today I give you my recipe which I have been working on and I think perfected (I hope you agree).
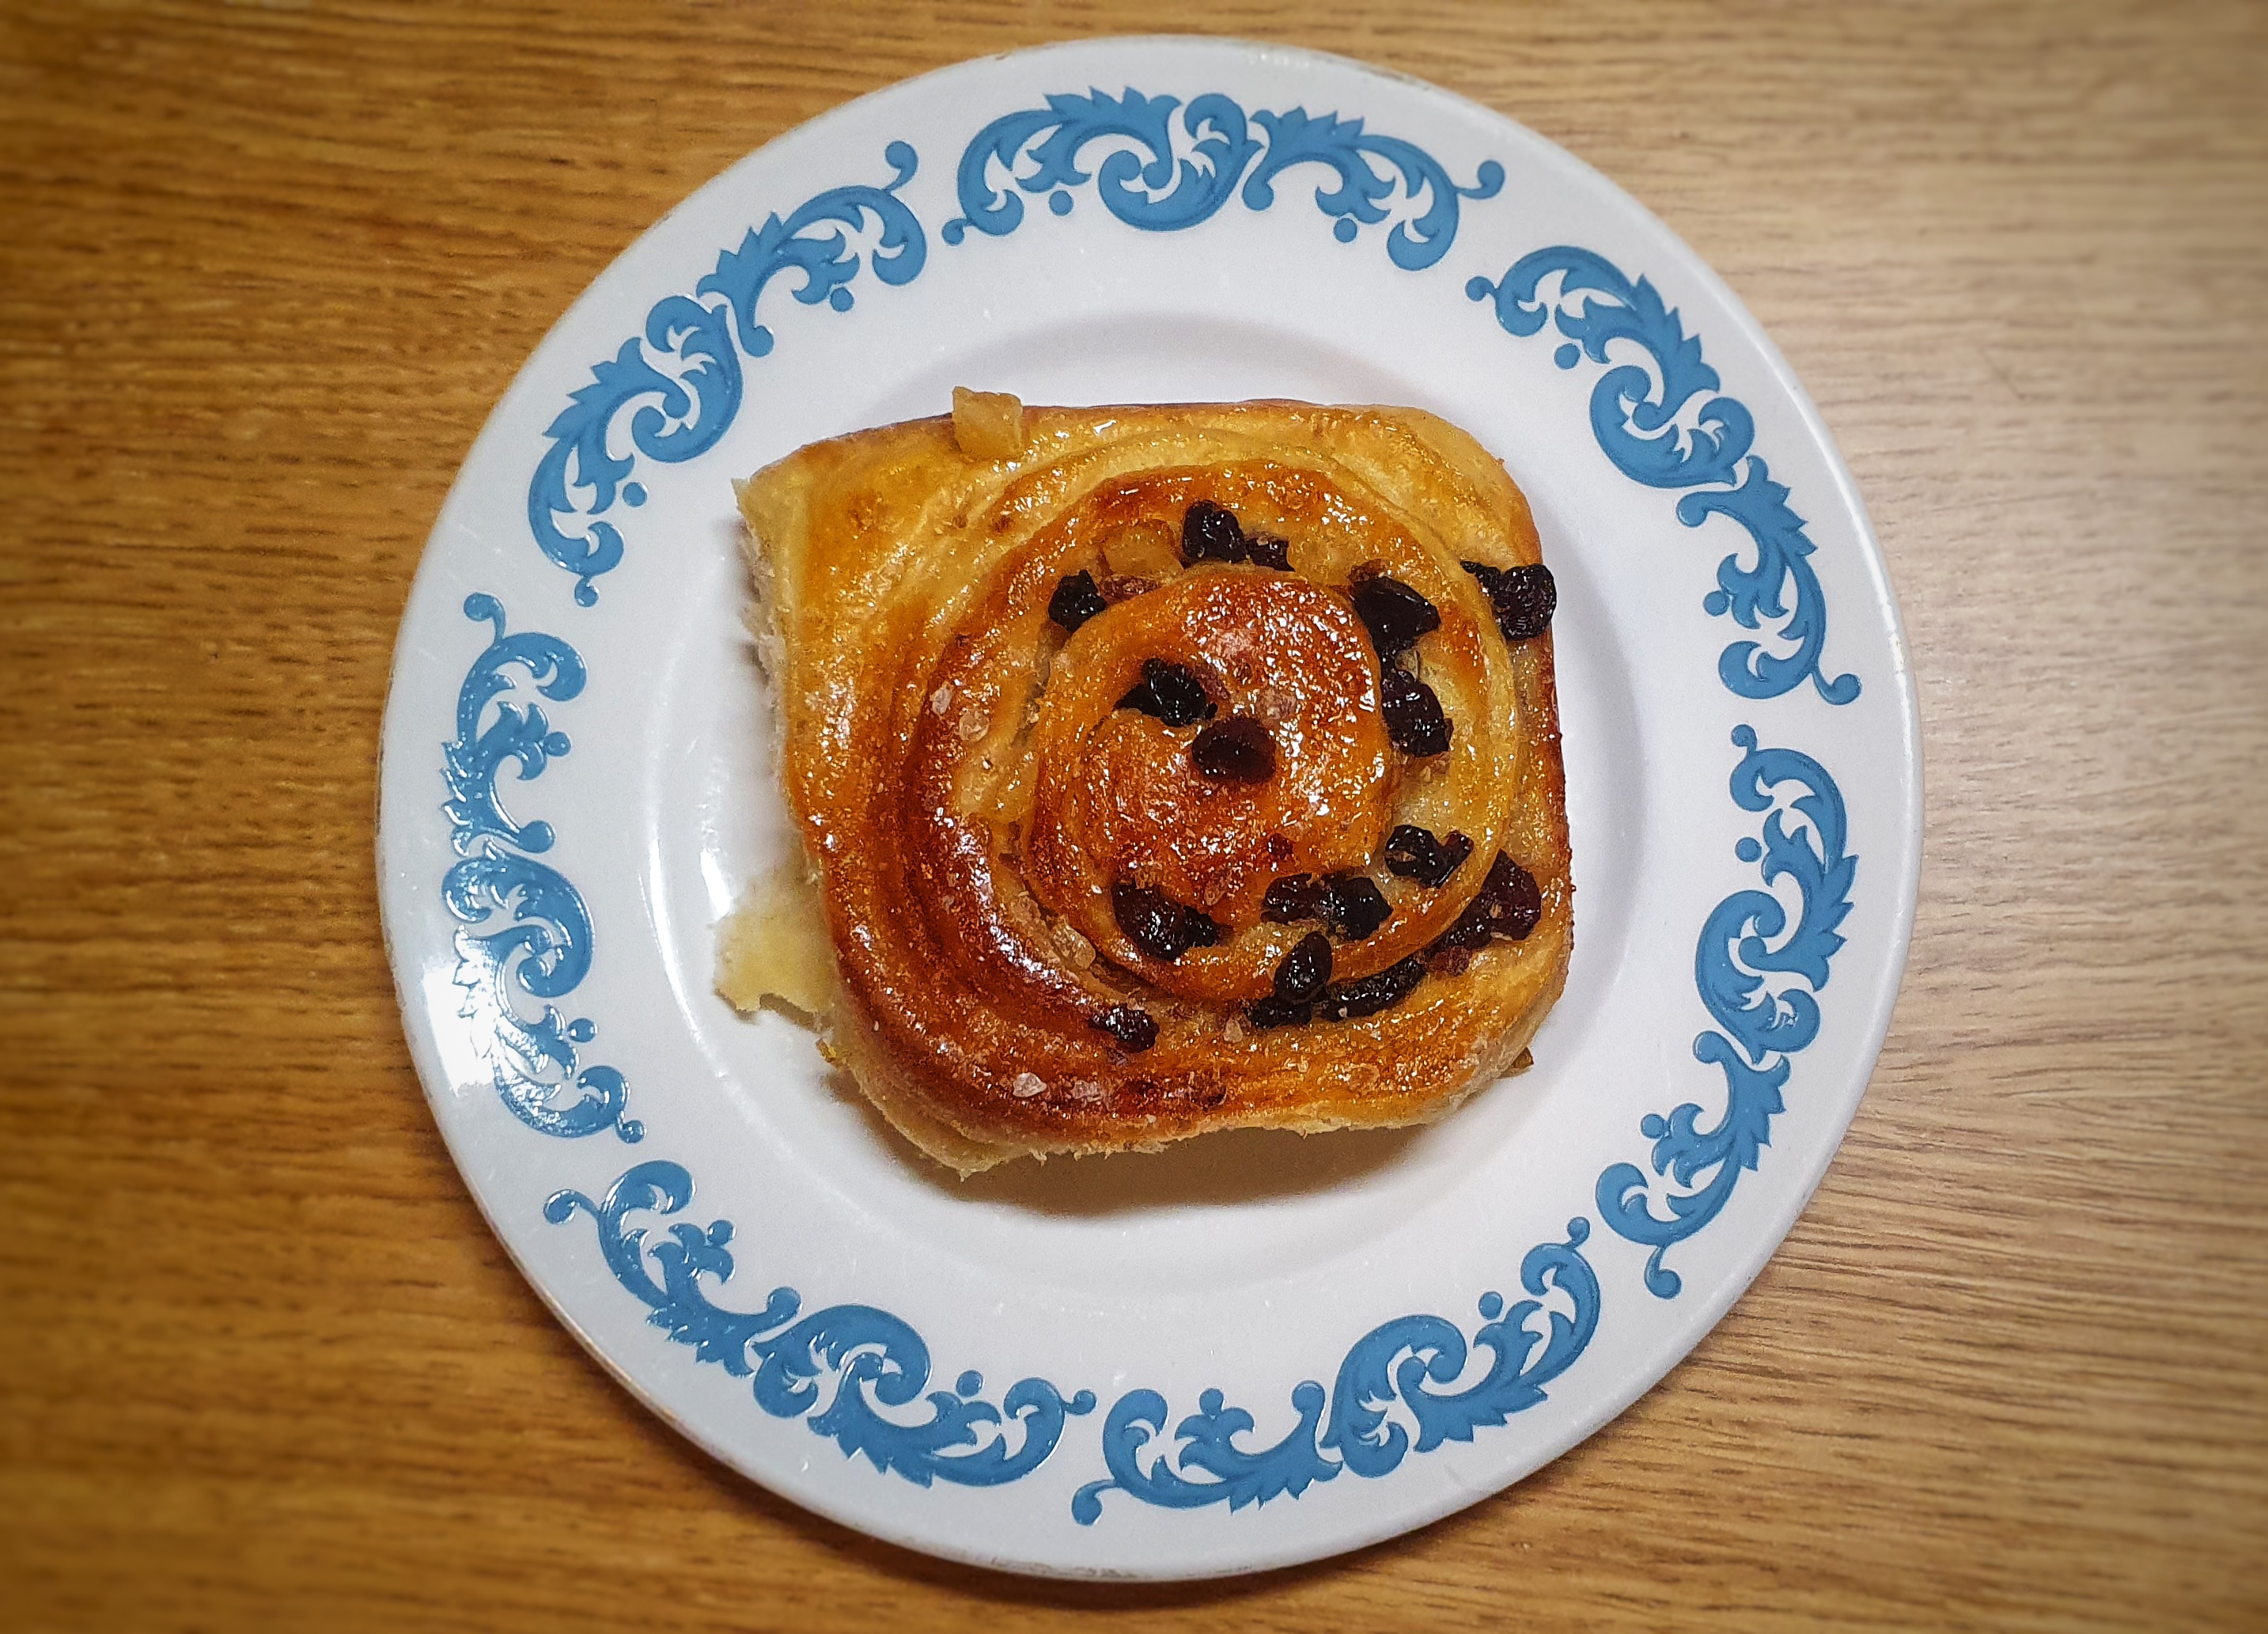
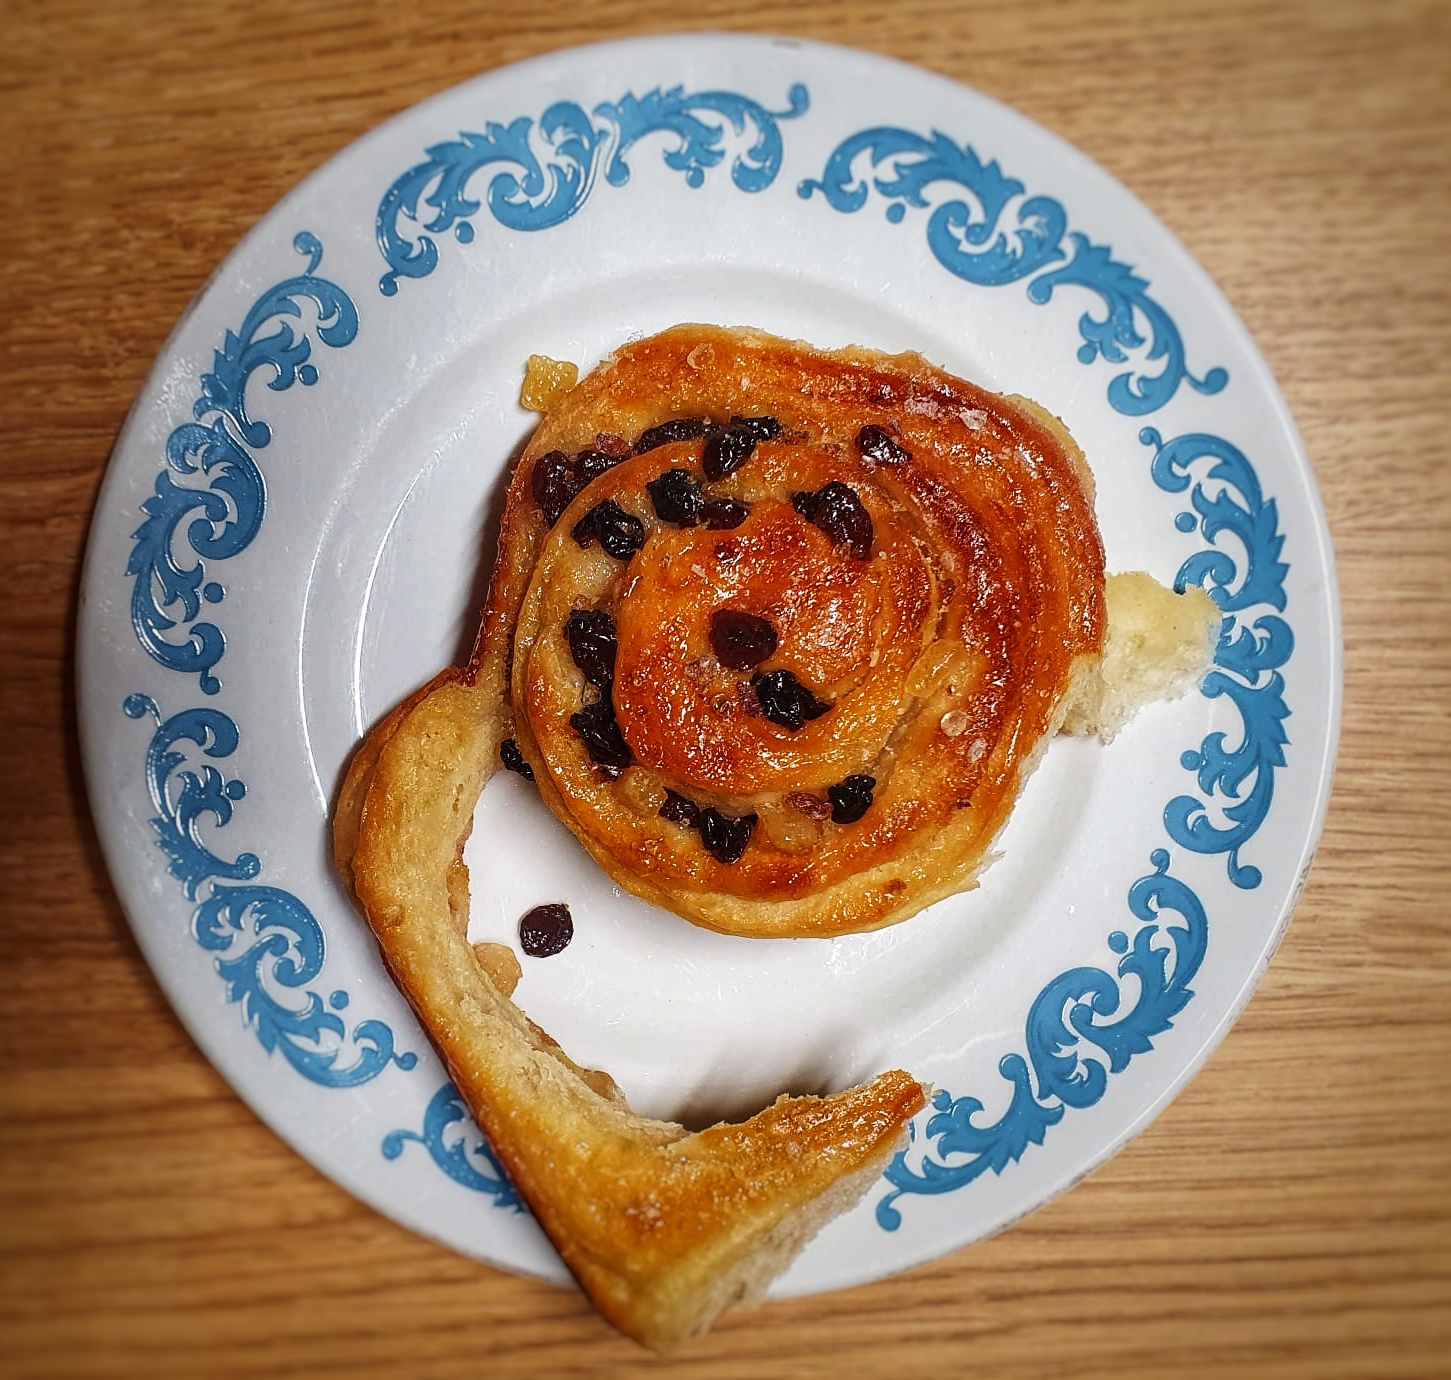
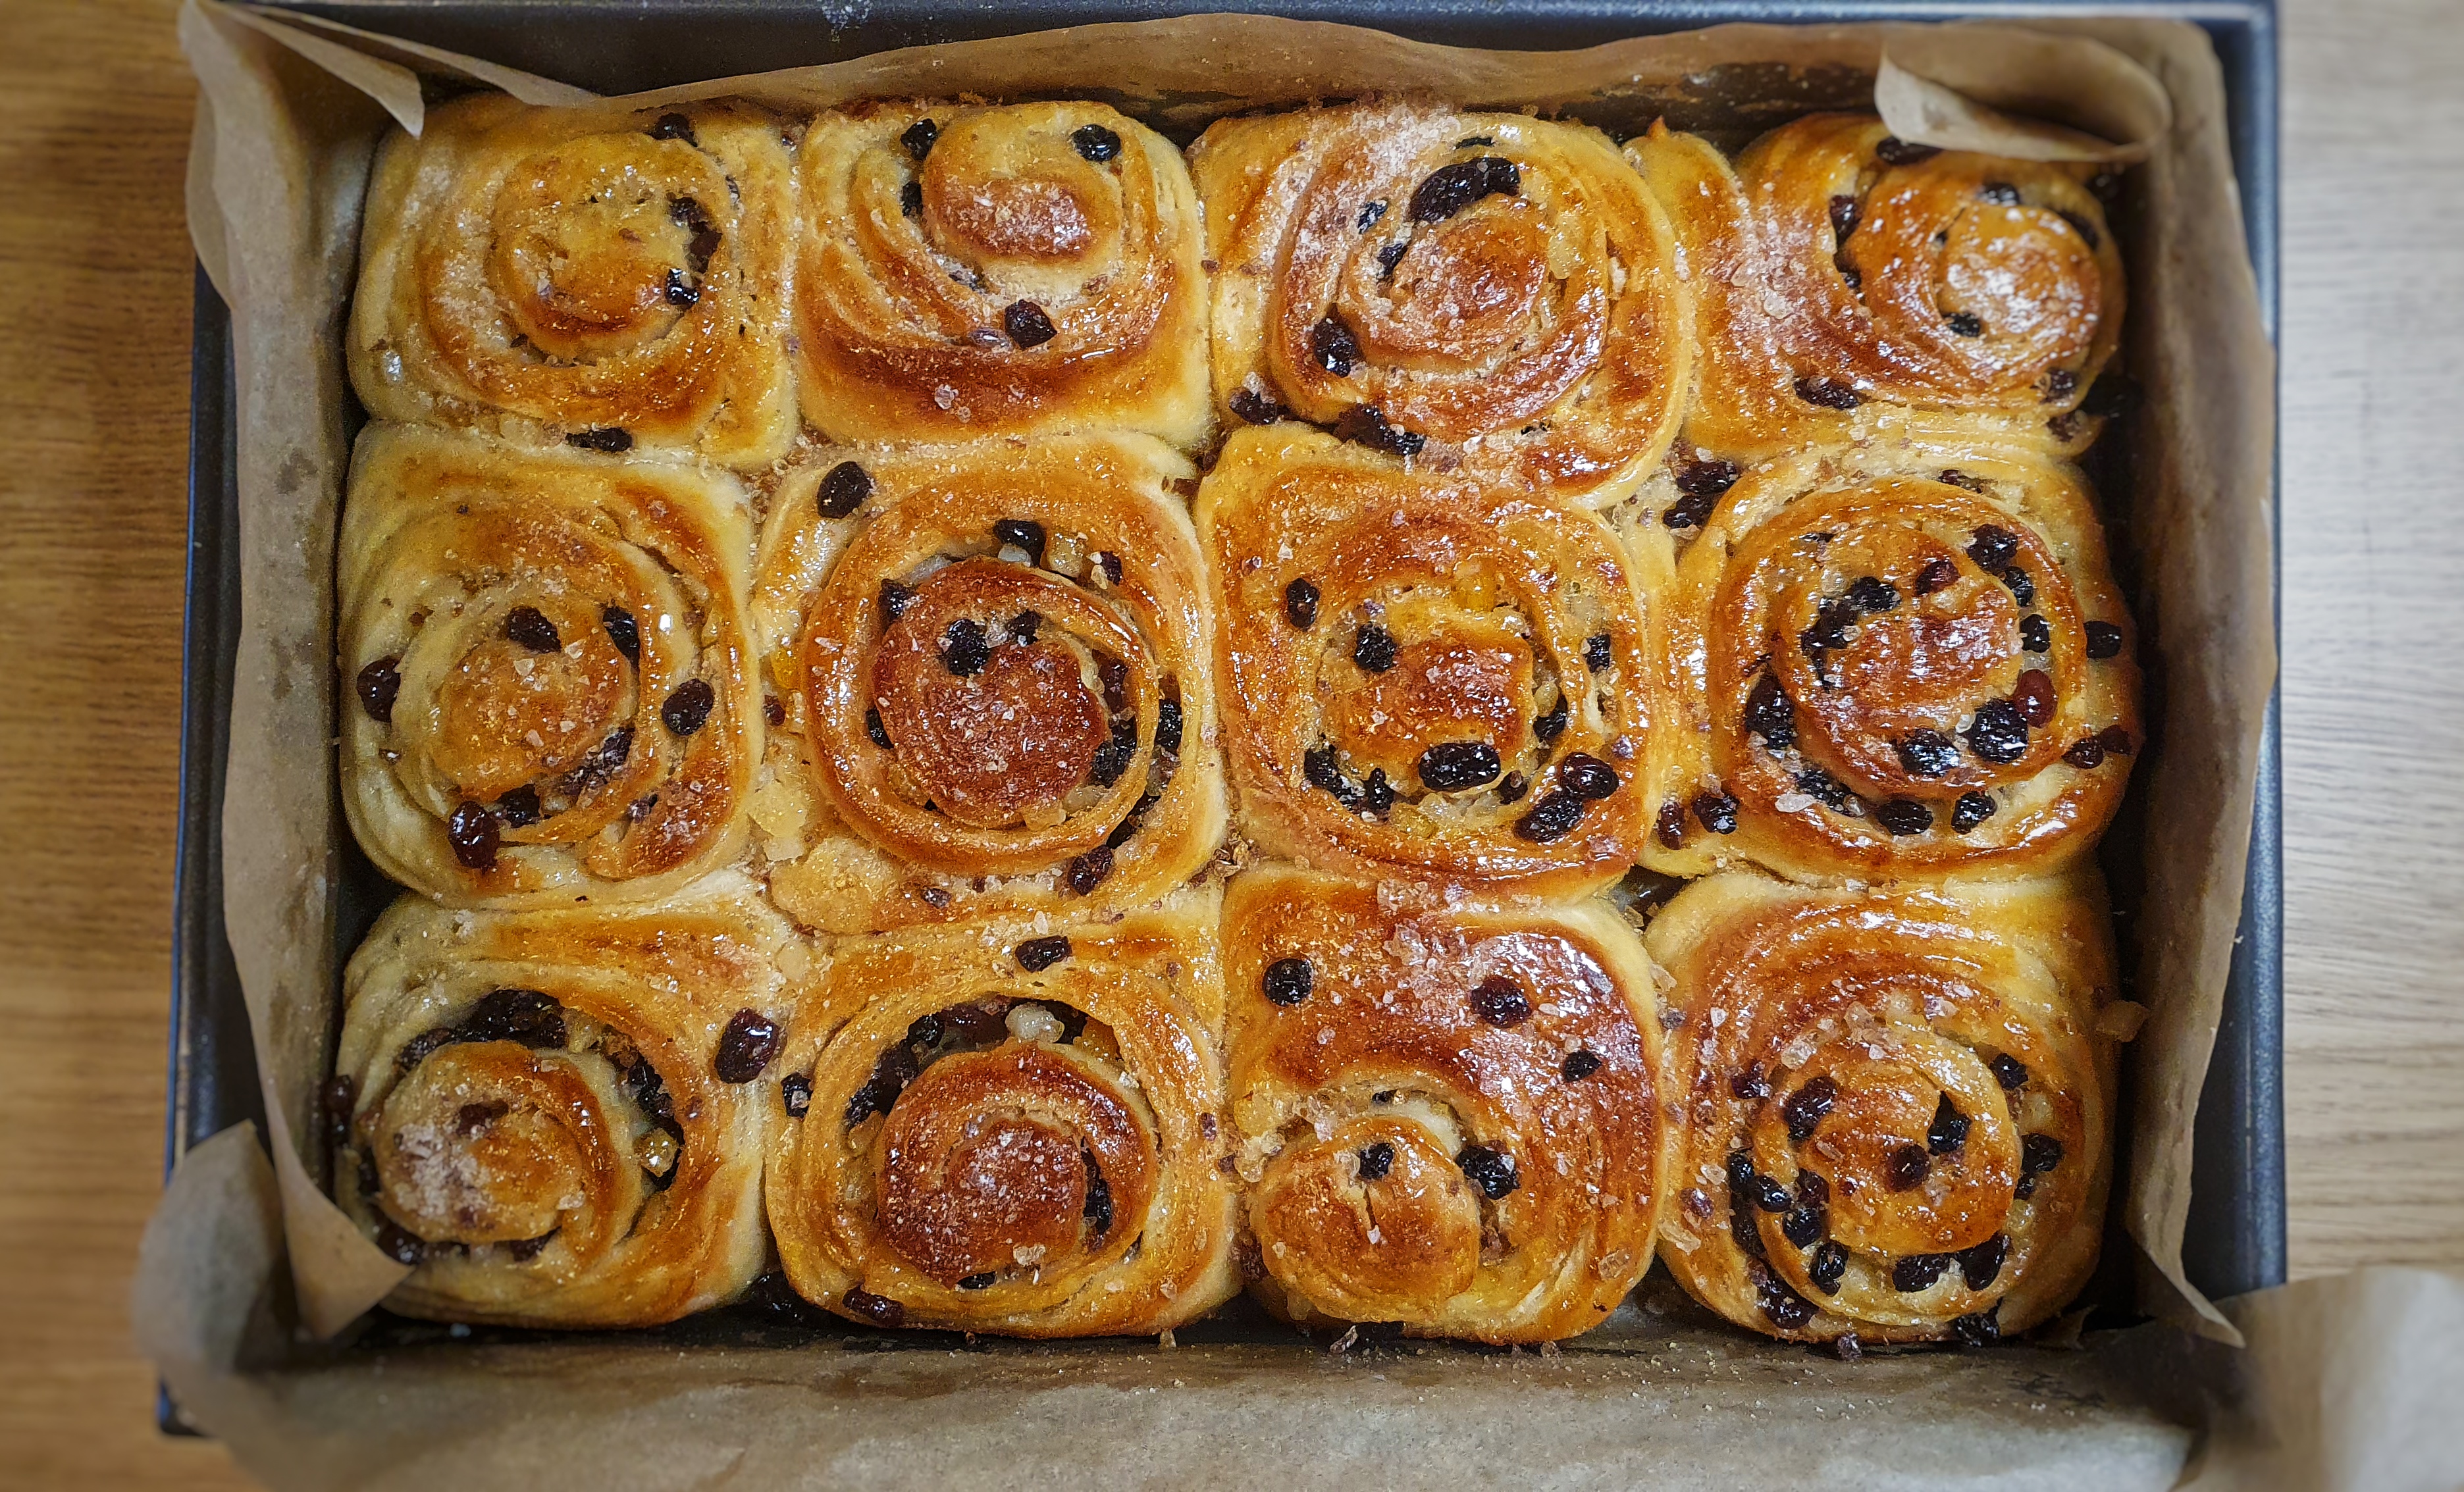
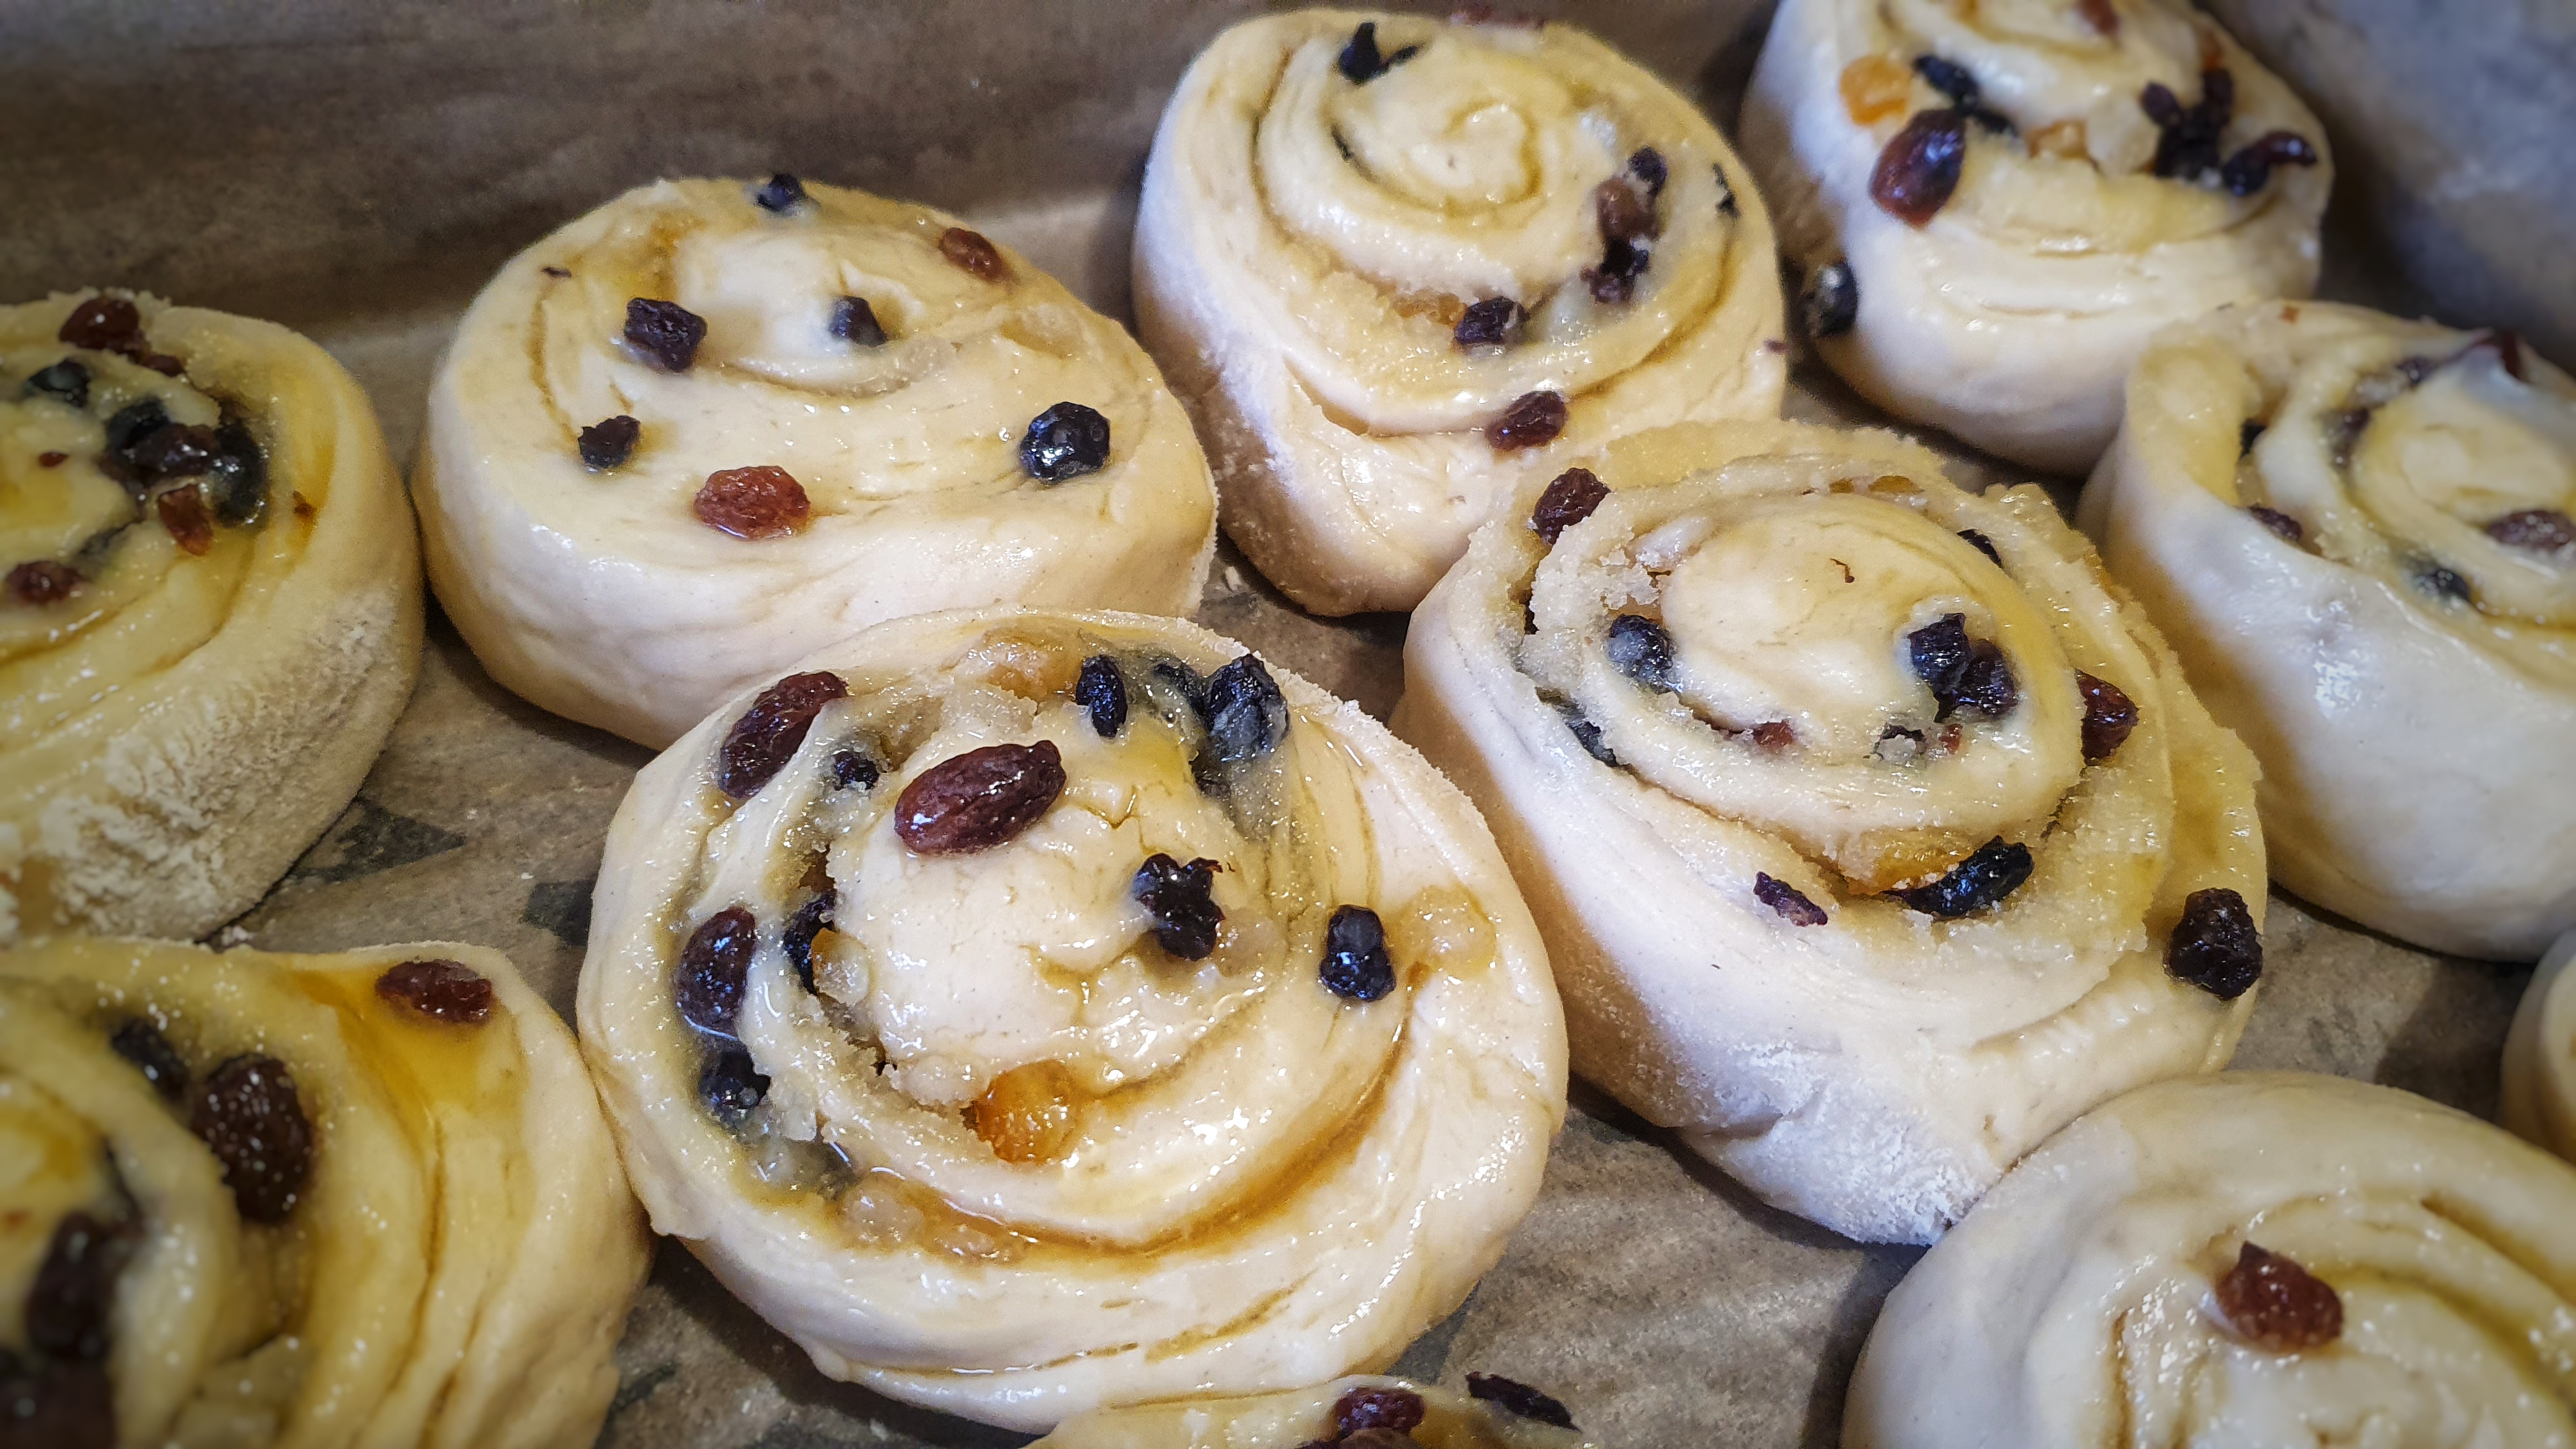
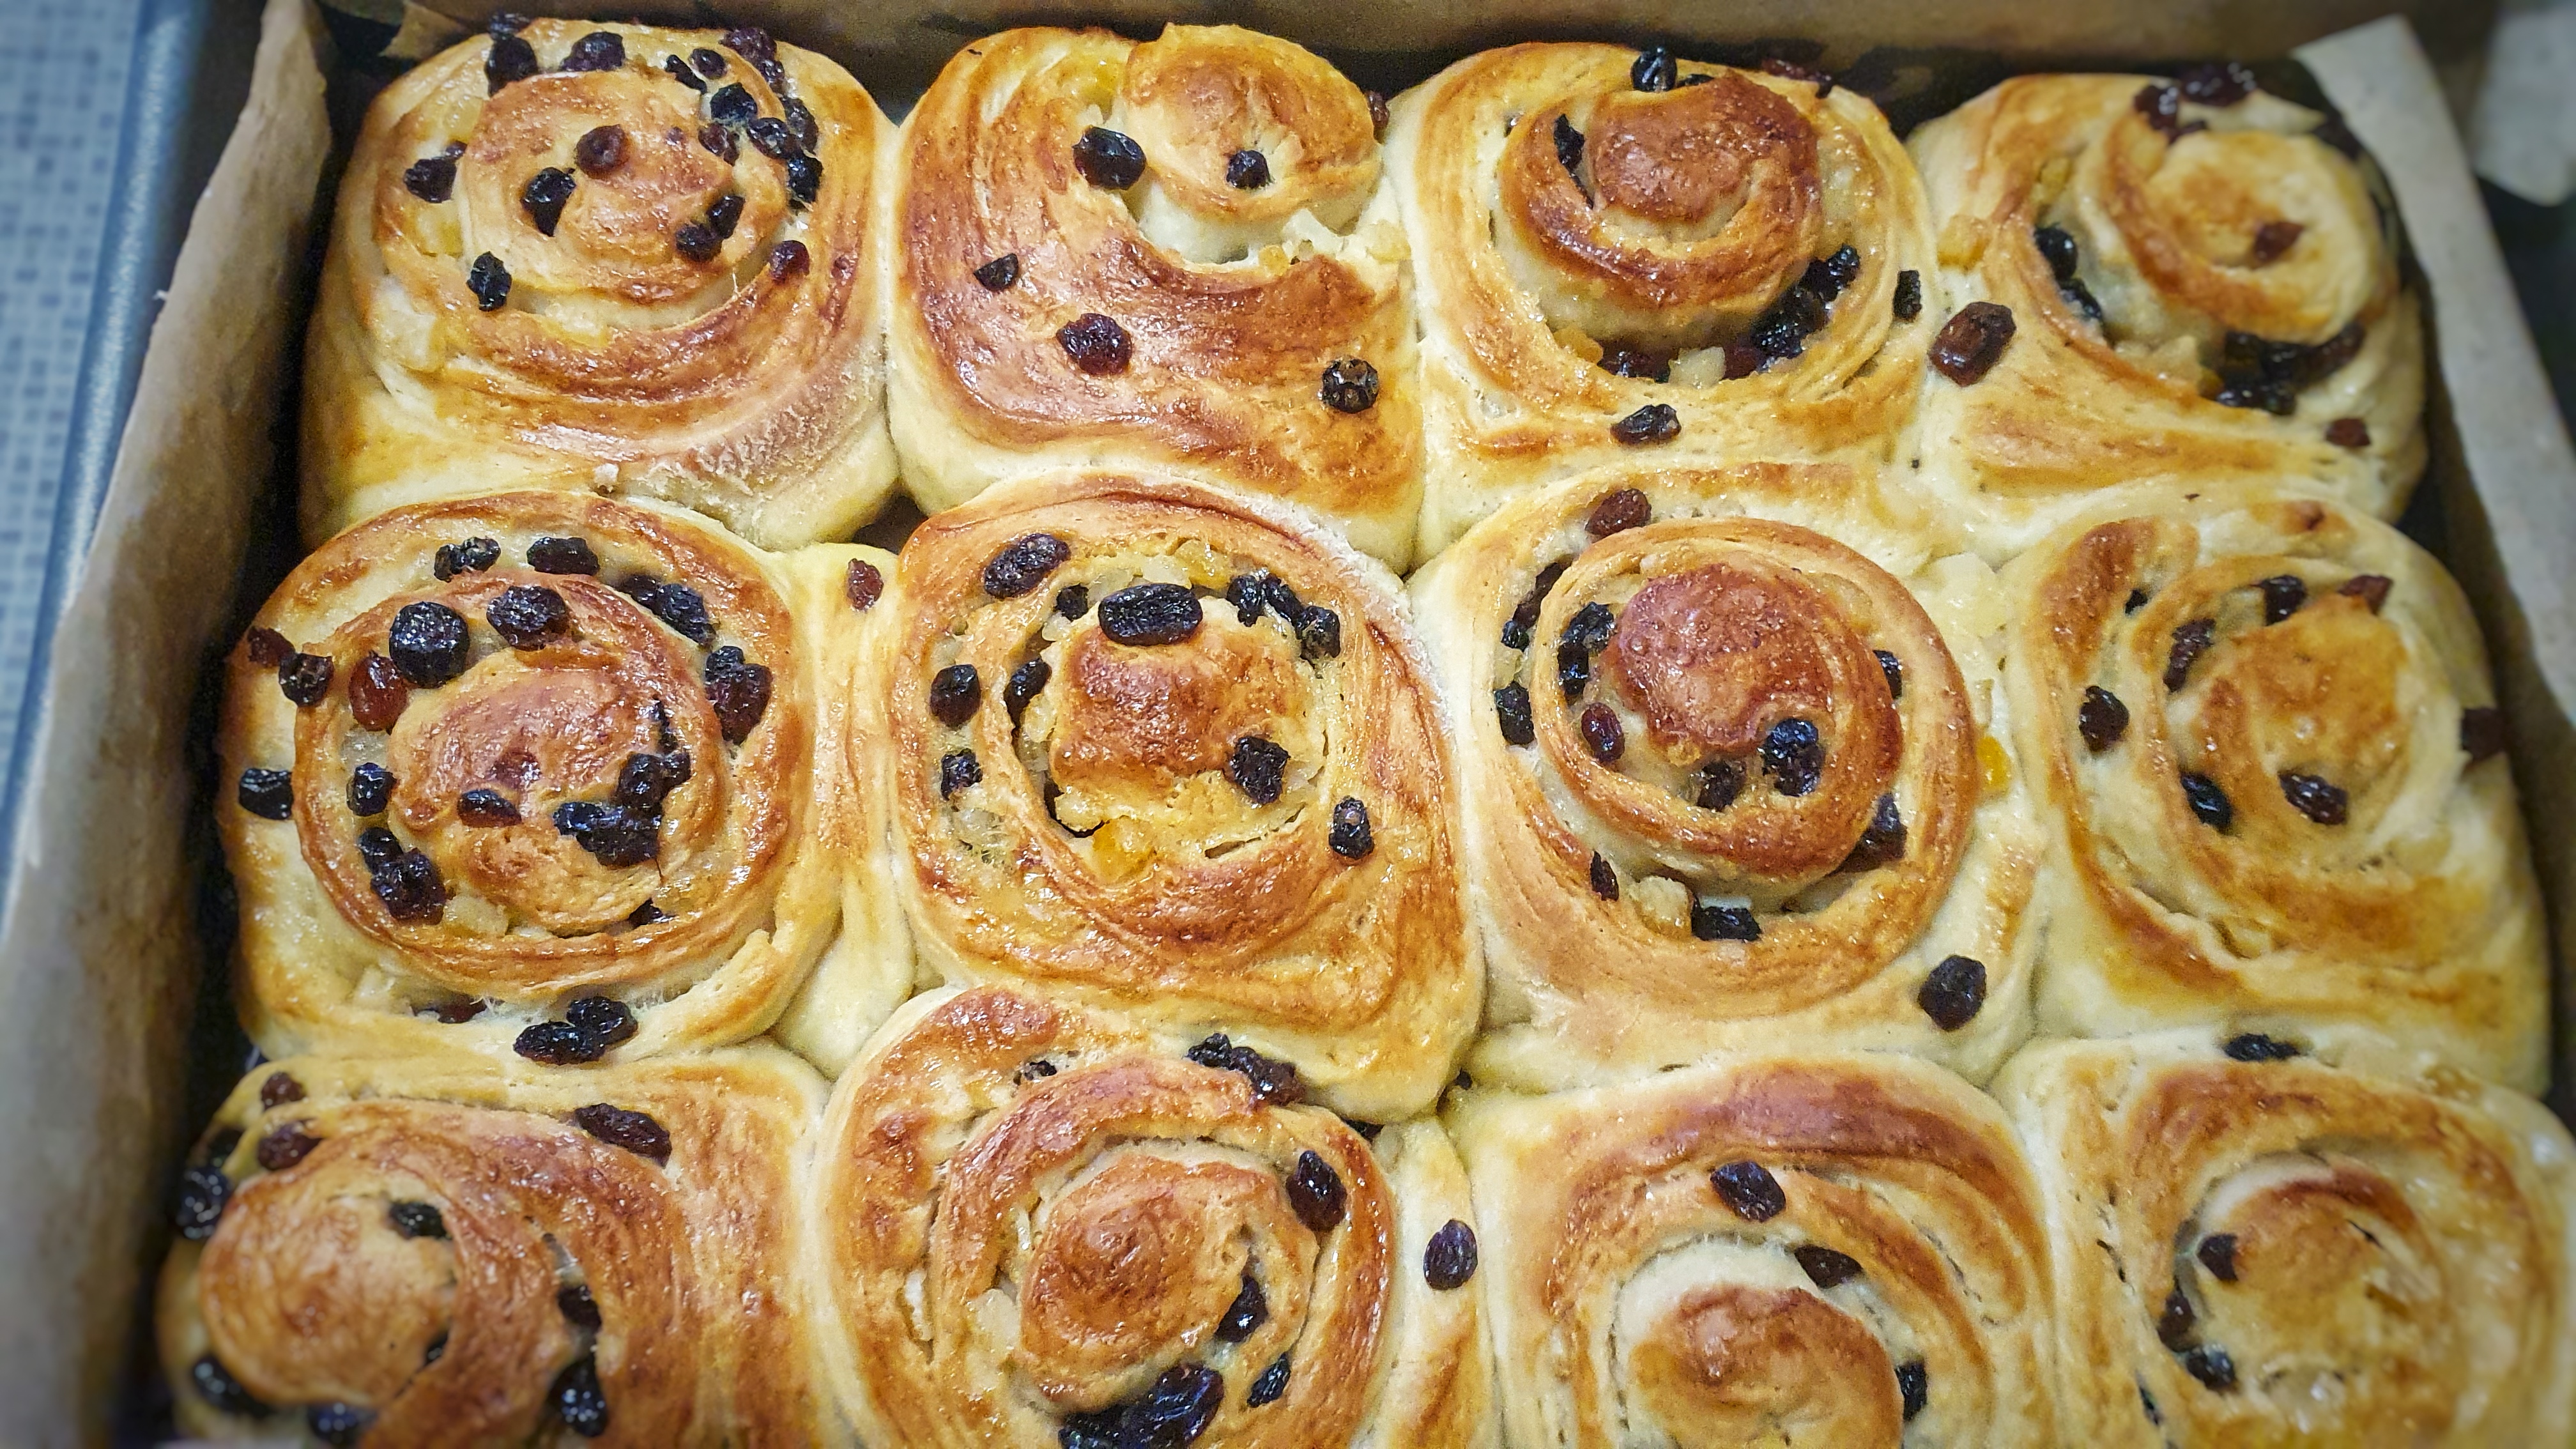
For those not in the know, a Chelsea bun is a coil of enriched dough filled with butter, sugar and dried fruit. They are batch-cooked together so as they grow, they touch, filling the tin, producing buns that are soft on the sides, gooey at the bottom and brown on the top. They are finished with a sticky glaze and adorned with crunchy sugar. Decadent deliciousness. Jane Grigson wrote that they are ‘[t]he best of all the buns, on account of their buttery melting sweetness, and the fun of uncoiling them as you eat them.’[2]
They were first made at the Bun House in Chelsea at the start of the 18th century, the earliest mention of them cropping up in the 1710s.[3] The buns fell out of favour sometime in the early 20th century and are hard to track down, so if you want to try one, you’ll have to make it.[4]
If you like the blogs and podcast I produce and would to start a £3 monthly subscription, or would like to treat me to virtual coffee or pint: follow this link for more information.Thank you.
Recipe
The dough for these buns is sticky and difficult to knead, and I would advise using the dough hook attachment on a stand mixer. Hand-kneading is perfectly possible, it’s just a messy business.
Enriched doughs take longer to prove, so if there is somewhere warm to prove your dough, so much the better.
Makes 12 buns
For the bun dough:
500g strong white flour
5g/1tsp instant yeast
10g/2 level tsp salt
60g sugar (caster or brown)
90g softened butter
250ml warm milk, or half-milk-half-water
1 beaten egg
For the filling:
60g melted butter
90g sugar (caster or brown)
90g raisins and/or currants
40g candied peel
Egg wash
For the glaze:
50ml water
50g caster sugar
Crushed lump sugar (optional)
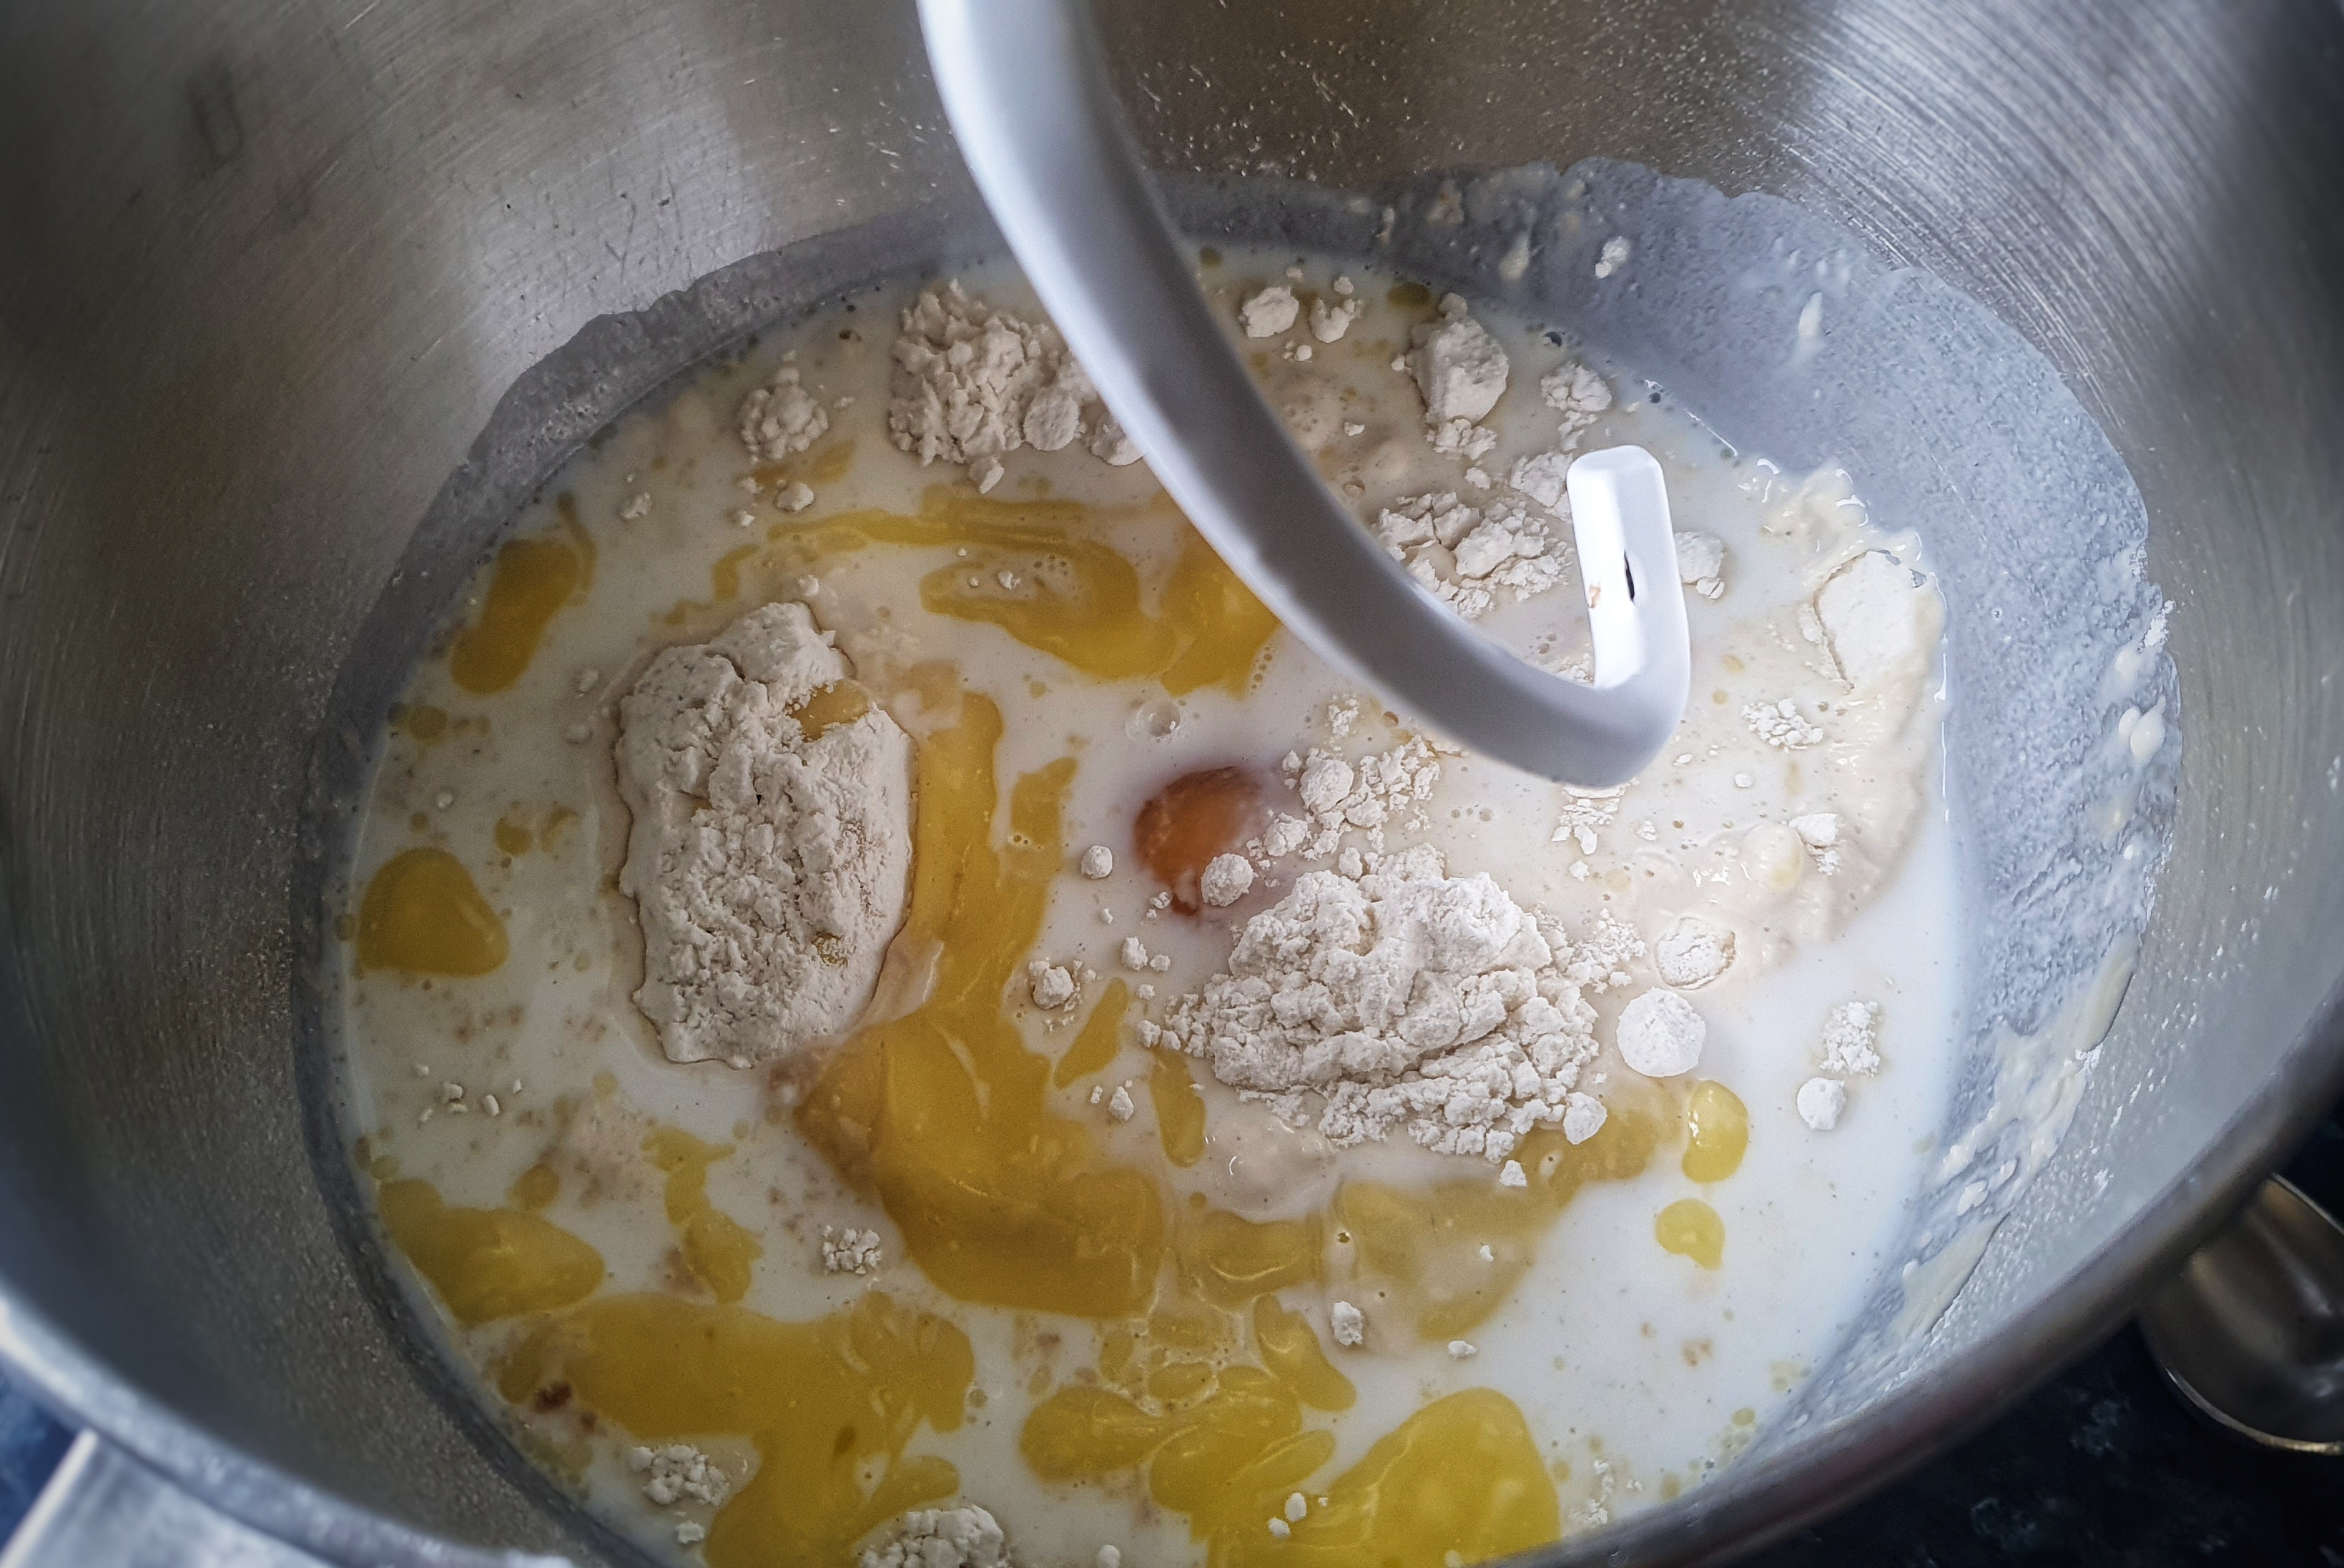
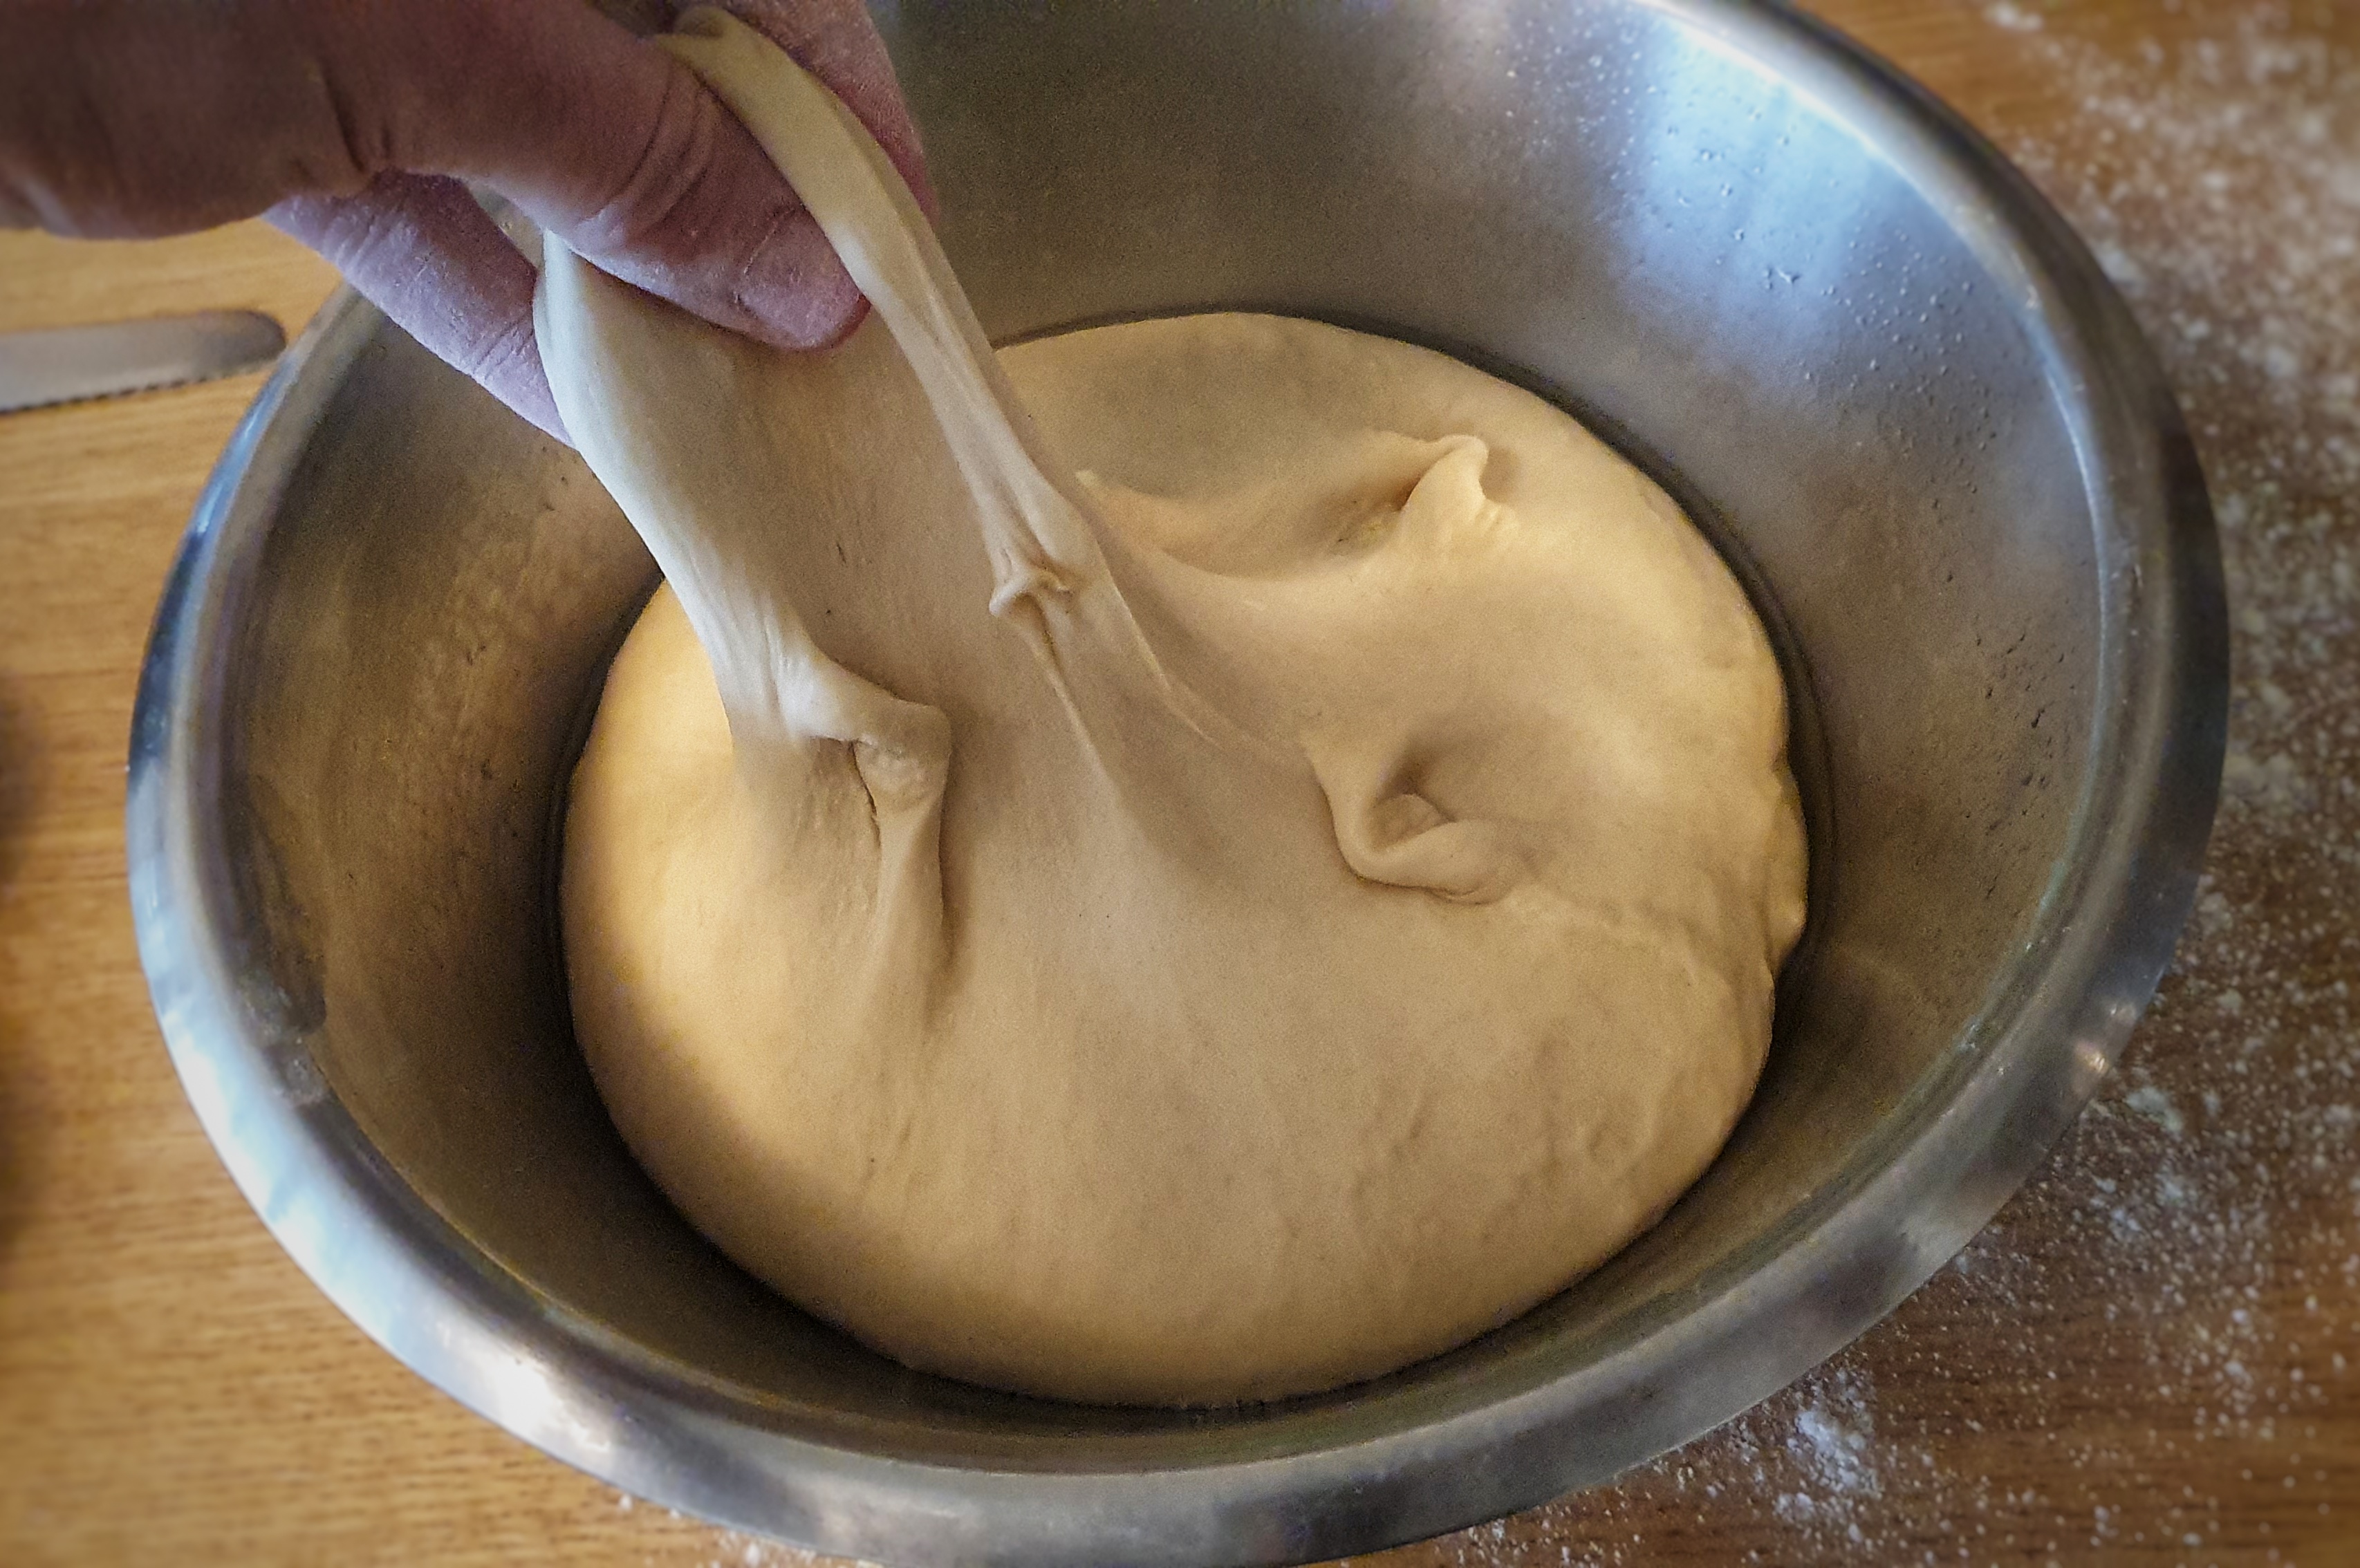
Make the dough using a stand mixer, if possible: first, mix all of the dry ingredients in a mixing bowl. Next, make a well in the centre and add the butter, liquid and egg. Mix to combine the ingredients and then knead with a dough hook on a slow-medium speed for around 10 minutes until smooth and the stickiness of the mixture has much reduced. Lightly oil another bowl (and your hands) and turn out the dough, tightening it up into a ball. Cover and prove until at least double in size. I proved mine at room temperature and it took 90 minutes.
As you wait, line a 24 x 34 cm deep-side tray with greaseproof paper, fixing it in place with dots of oil or butter.
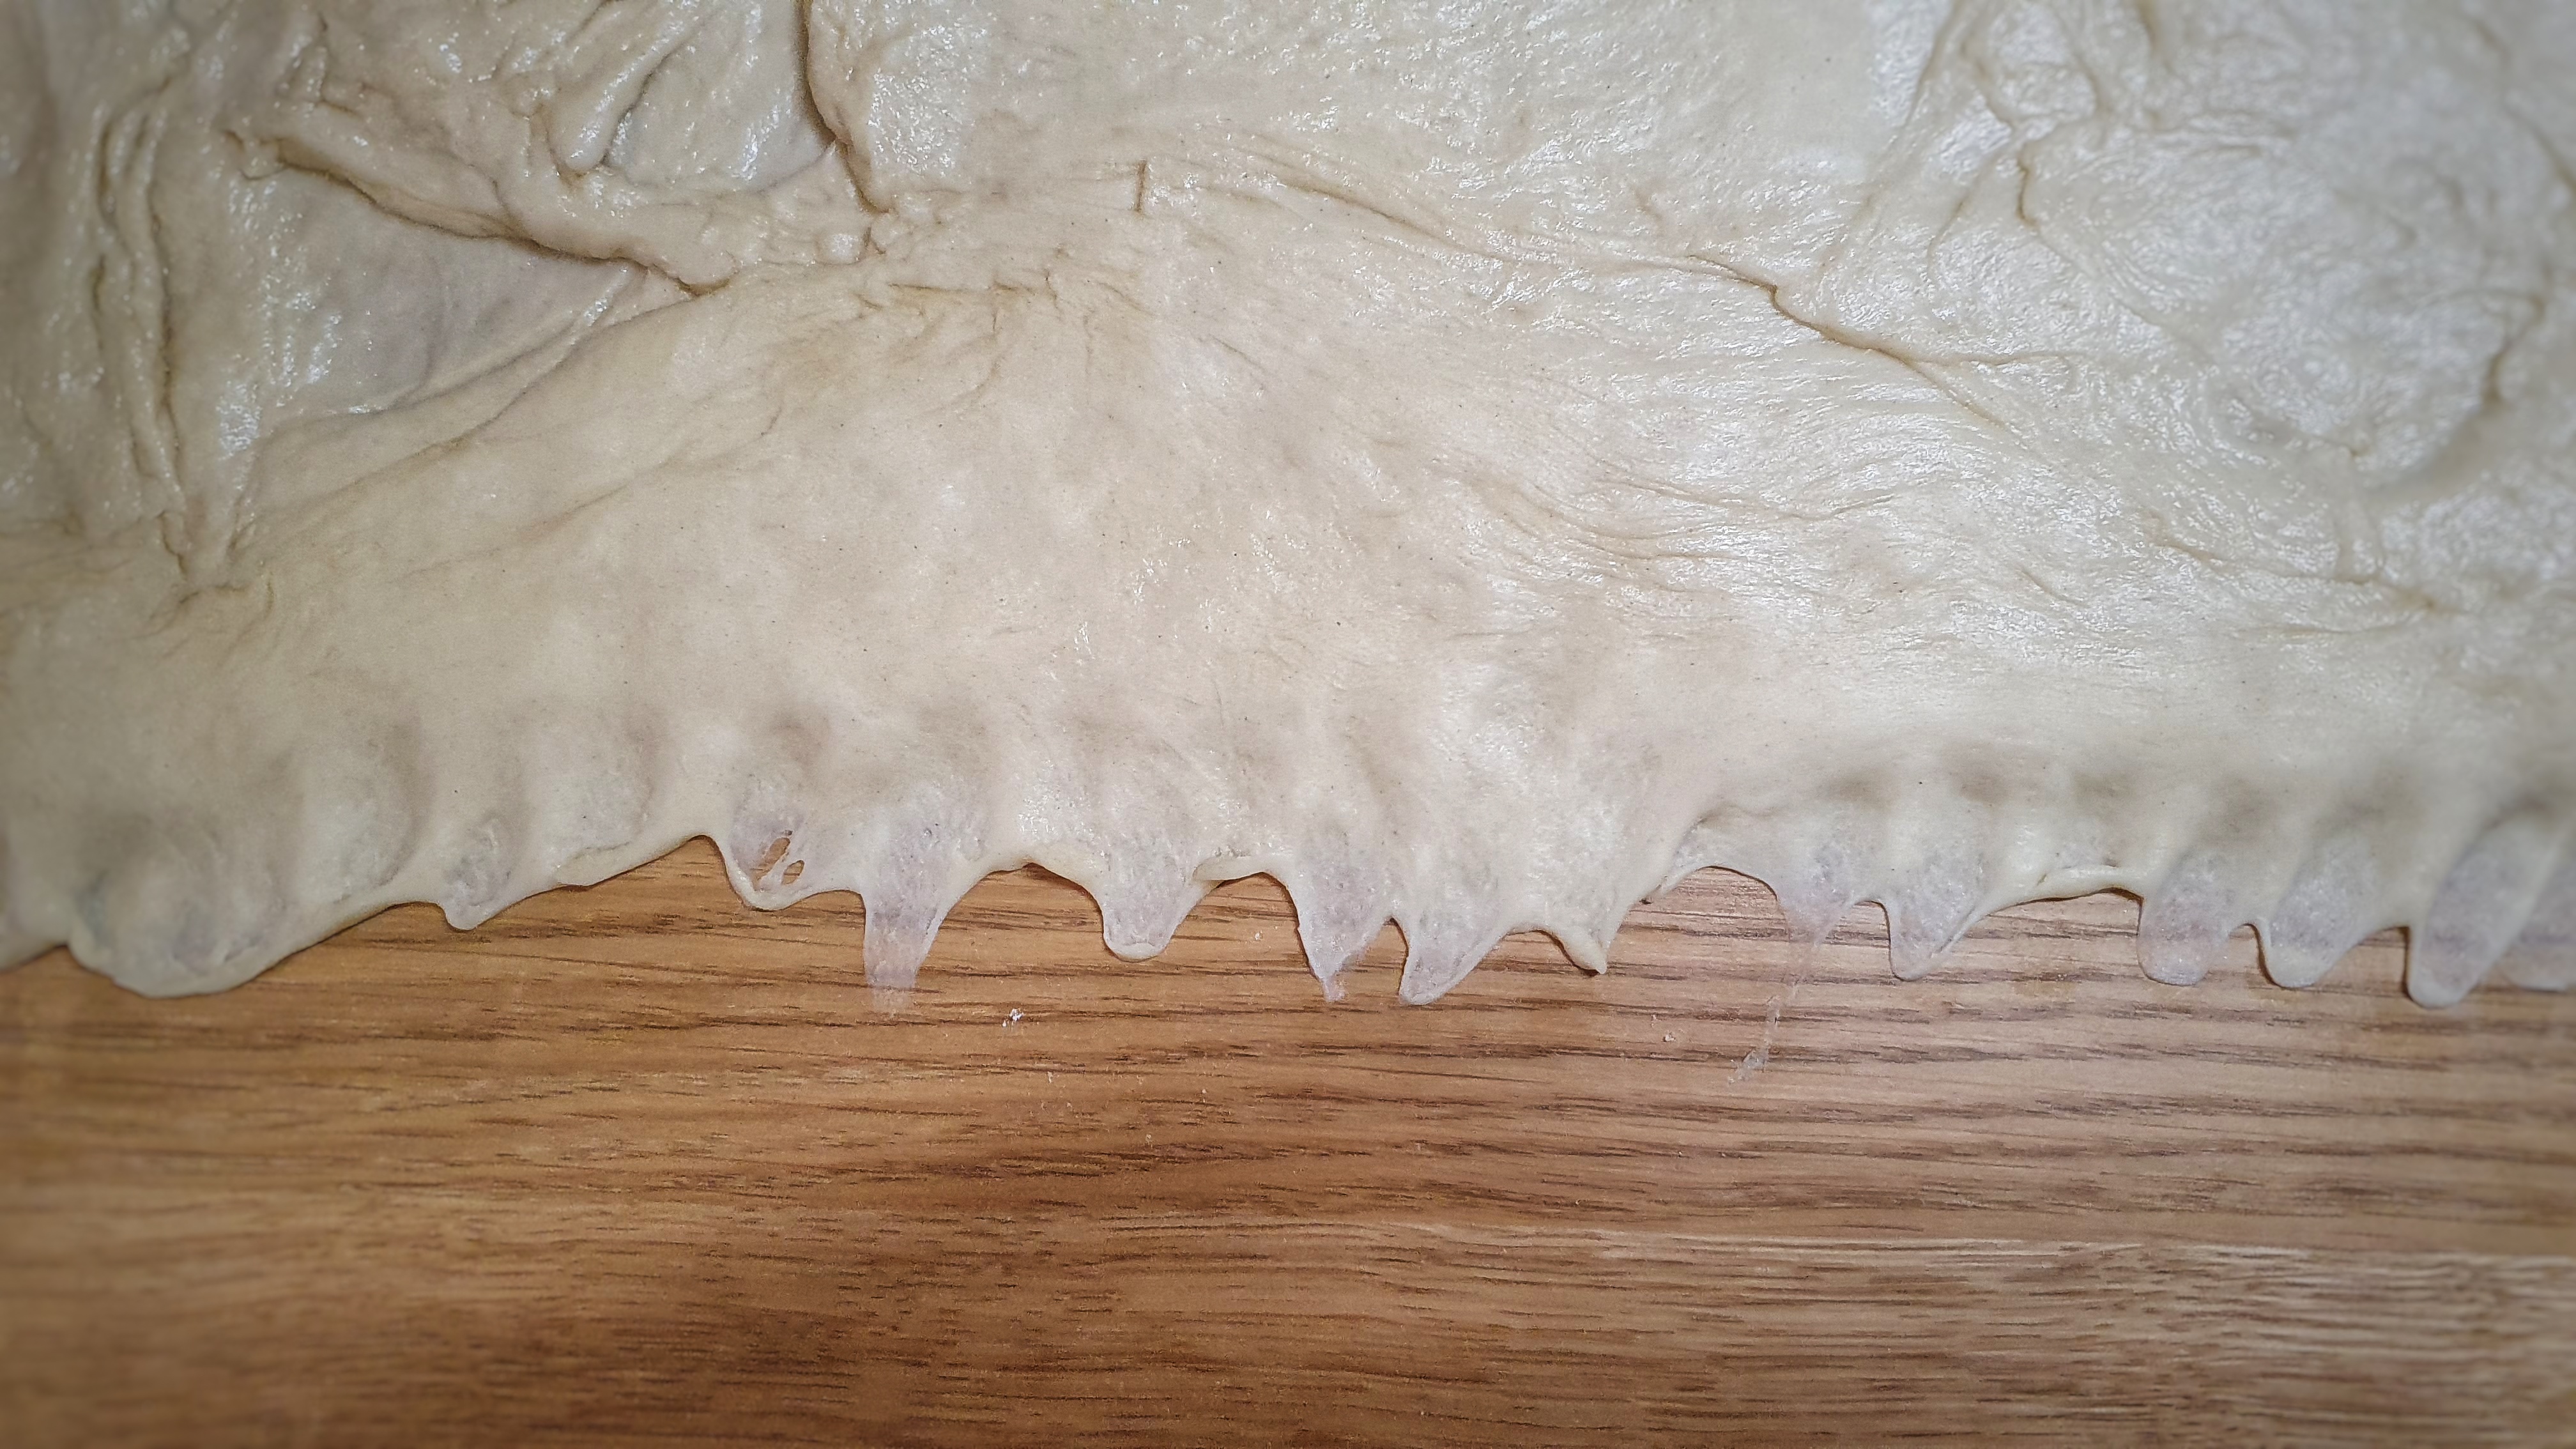
Fix the side closest to you by pressing and spreading the doughy edge to the worktop.
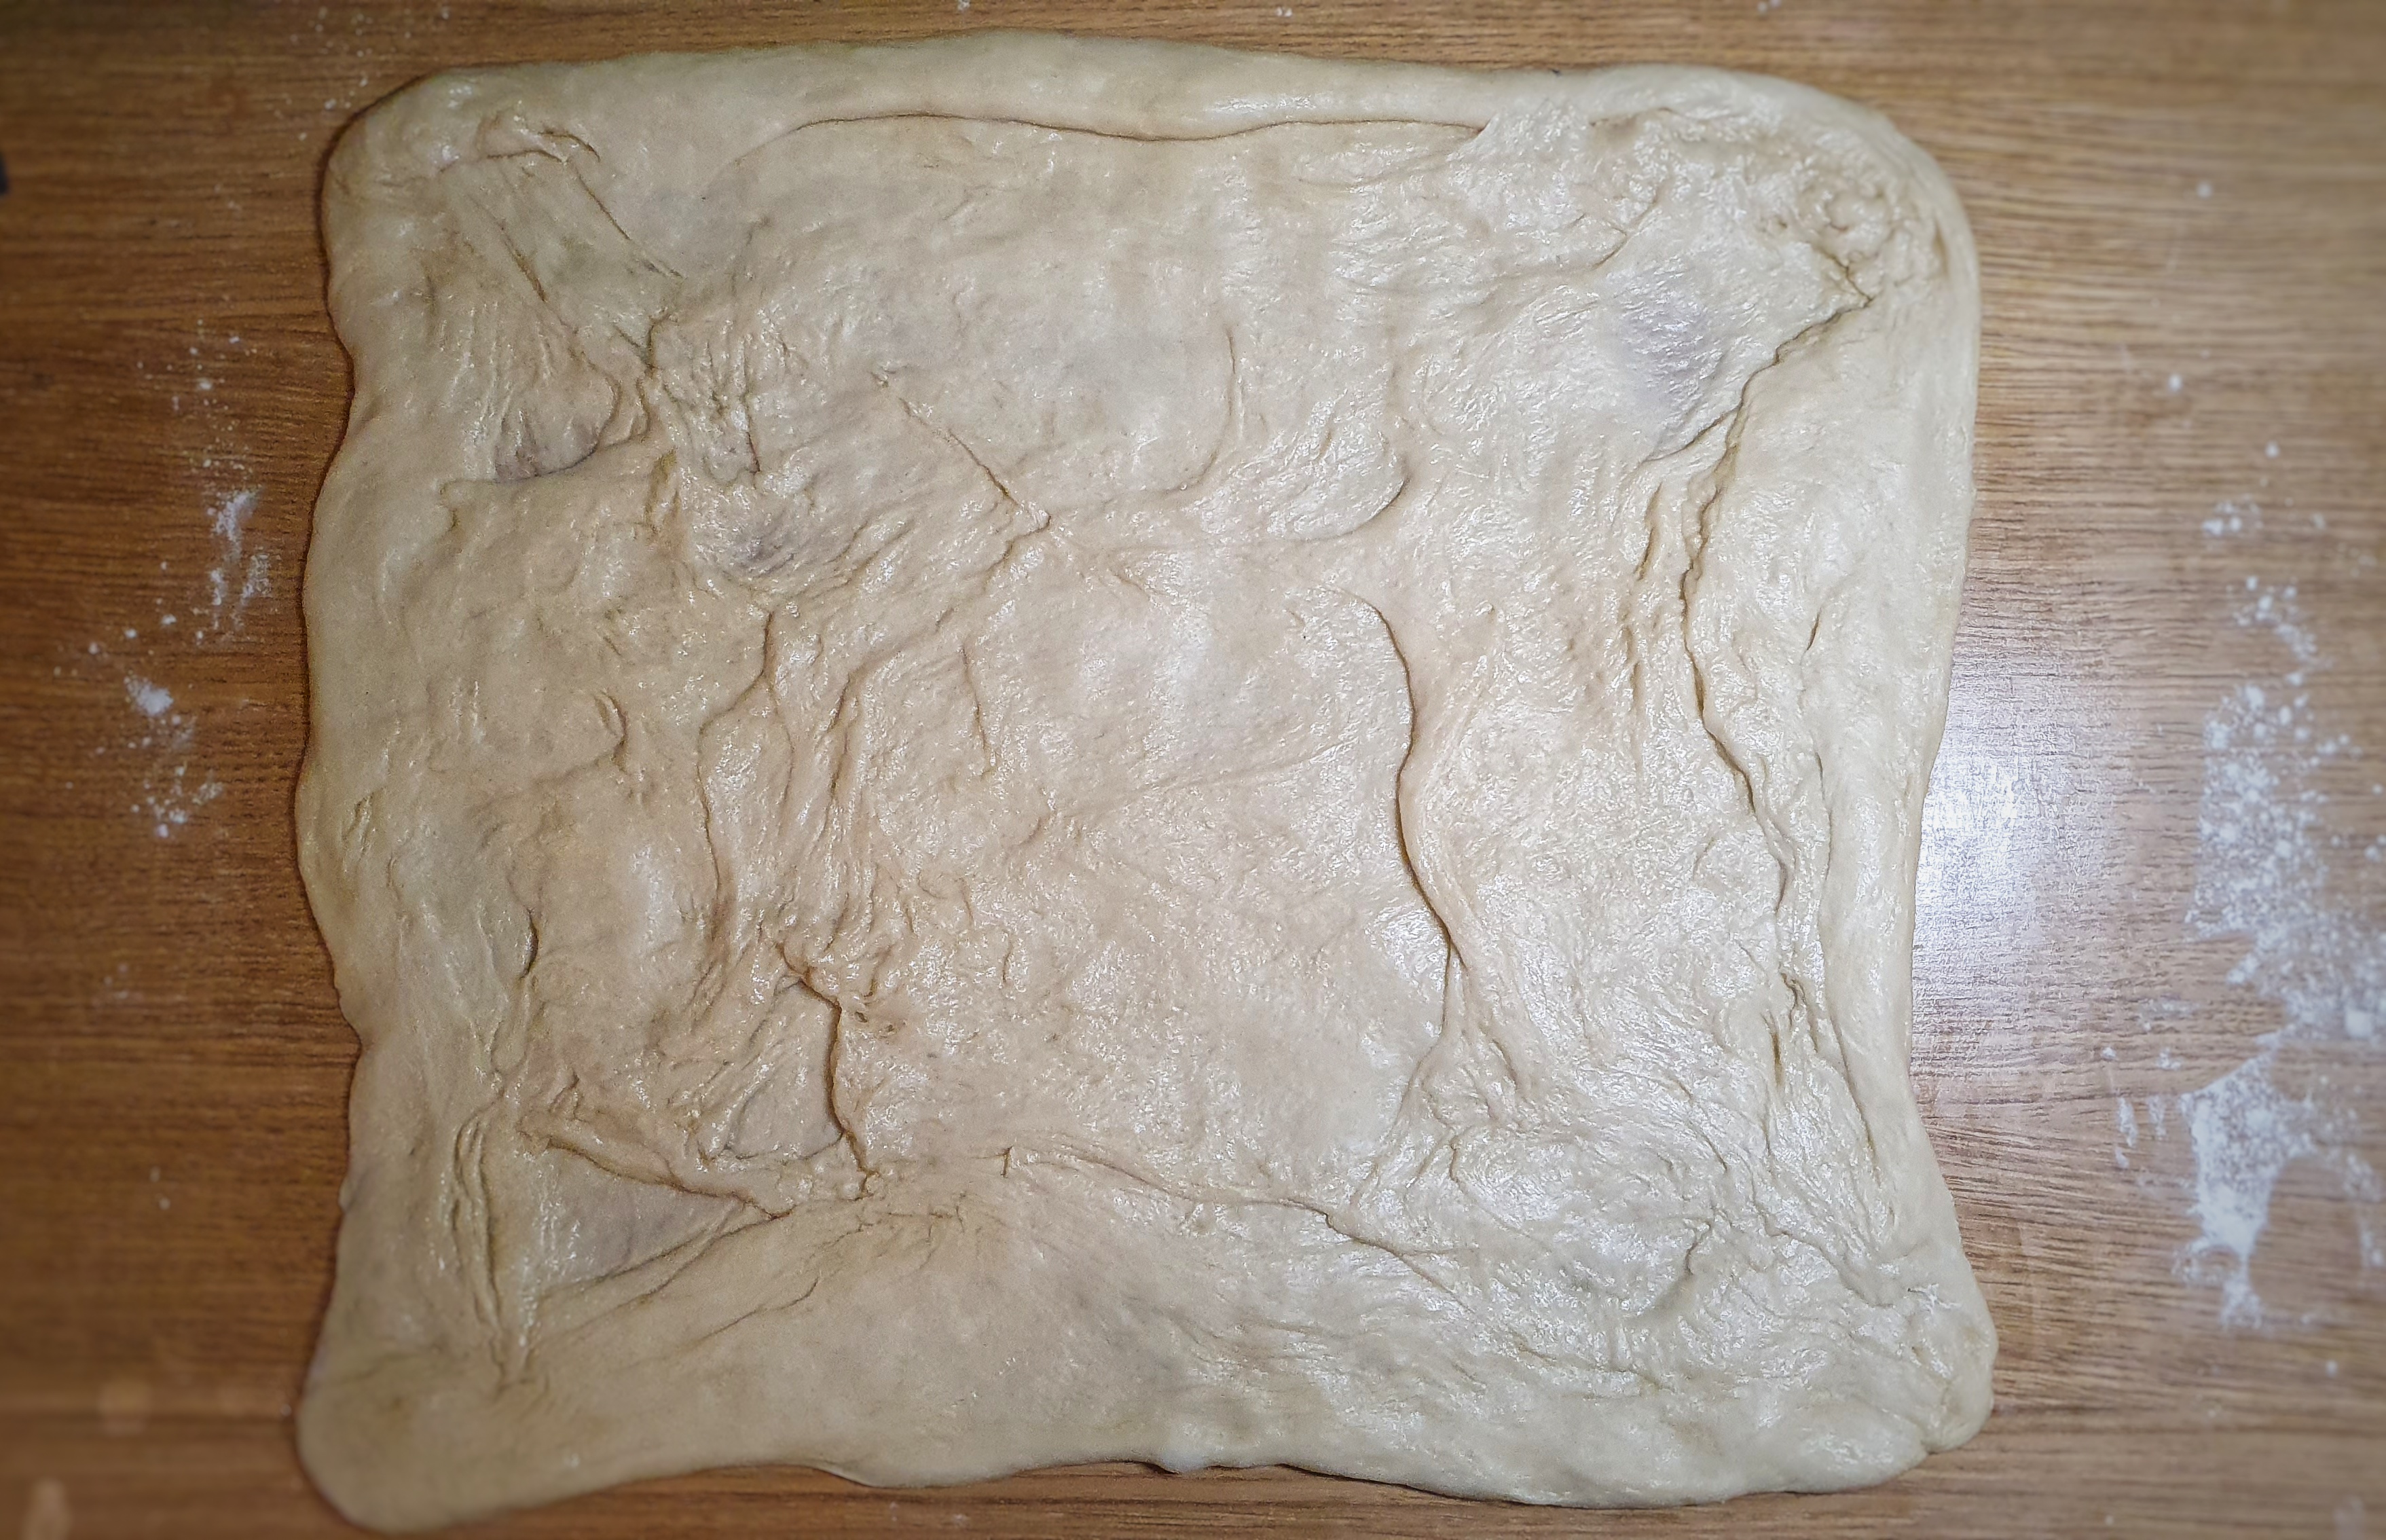
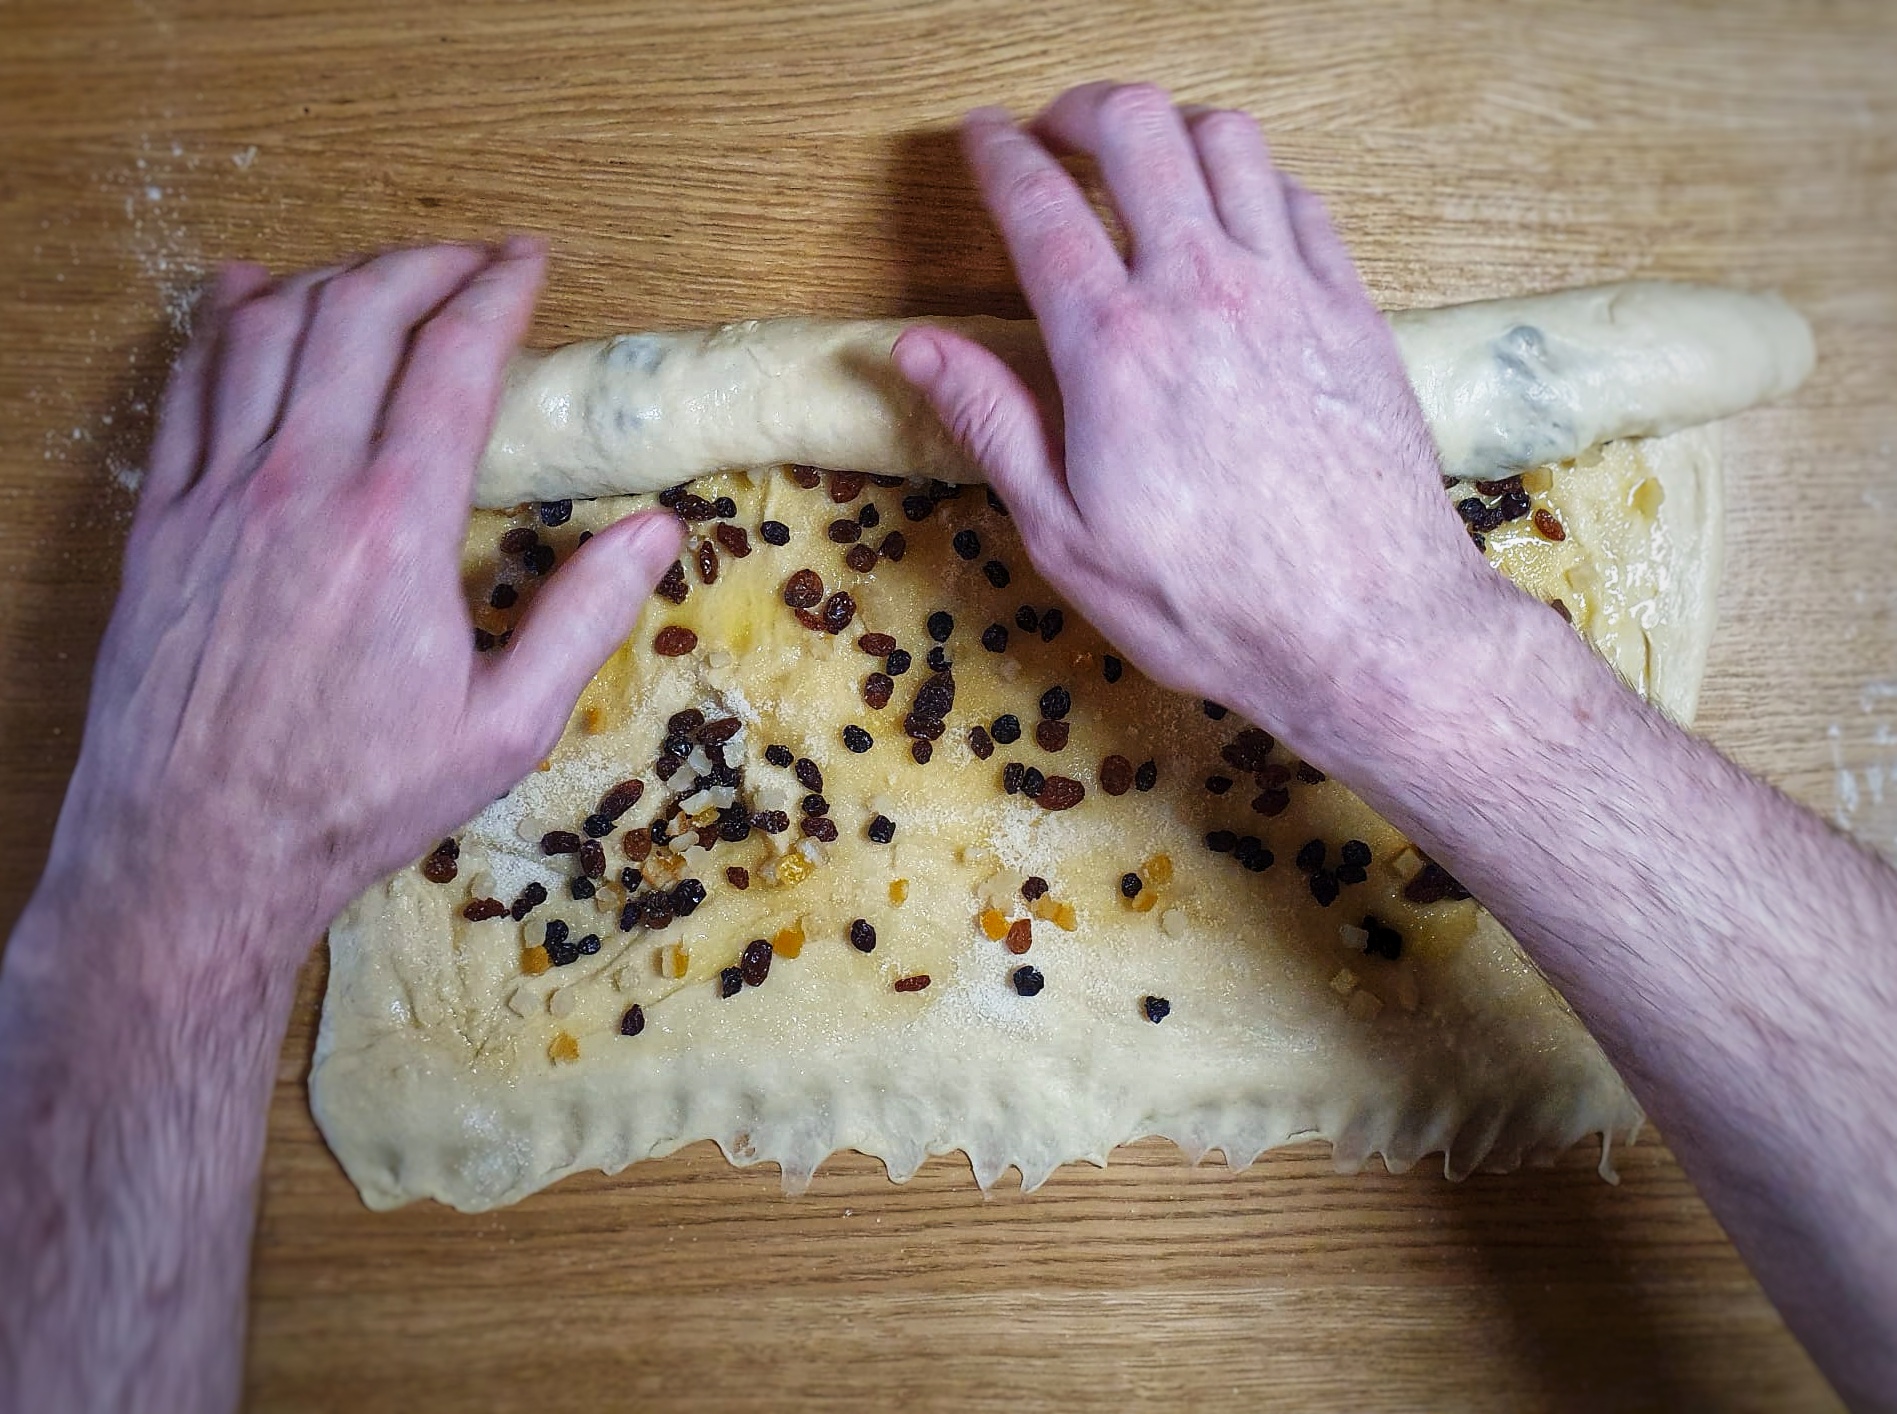
When doubled in size, roll or press out the dough out on a lightly-floured surface – it’s still sticky so make sure you reapply flour to your worktop regularly – until you make a rectangle measuring approximately 40 x 60 cm, the dough with its long side facing you. Have patience and try to make the dough of even thickness.
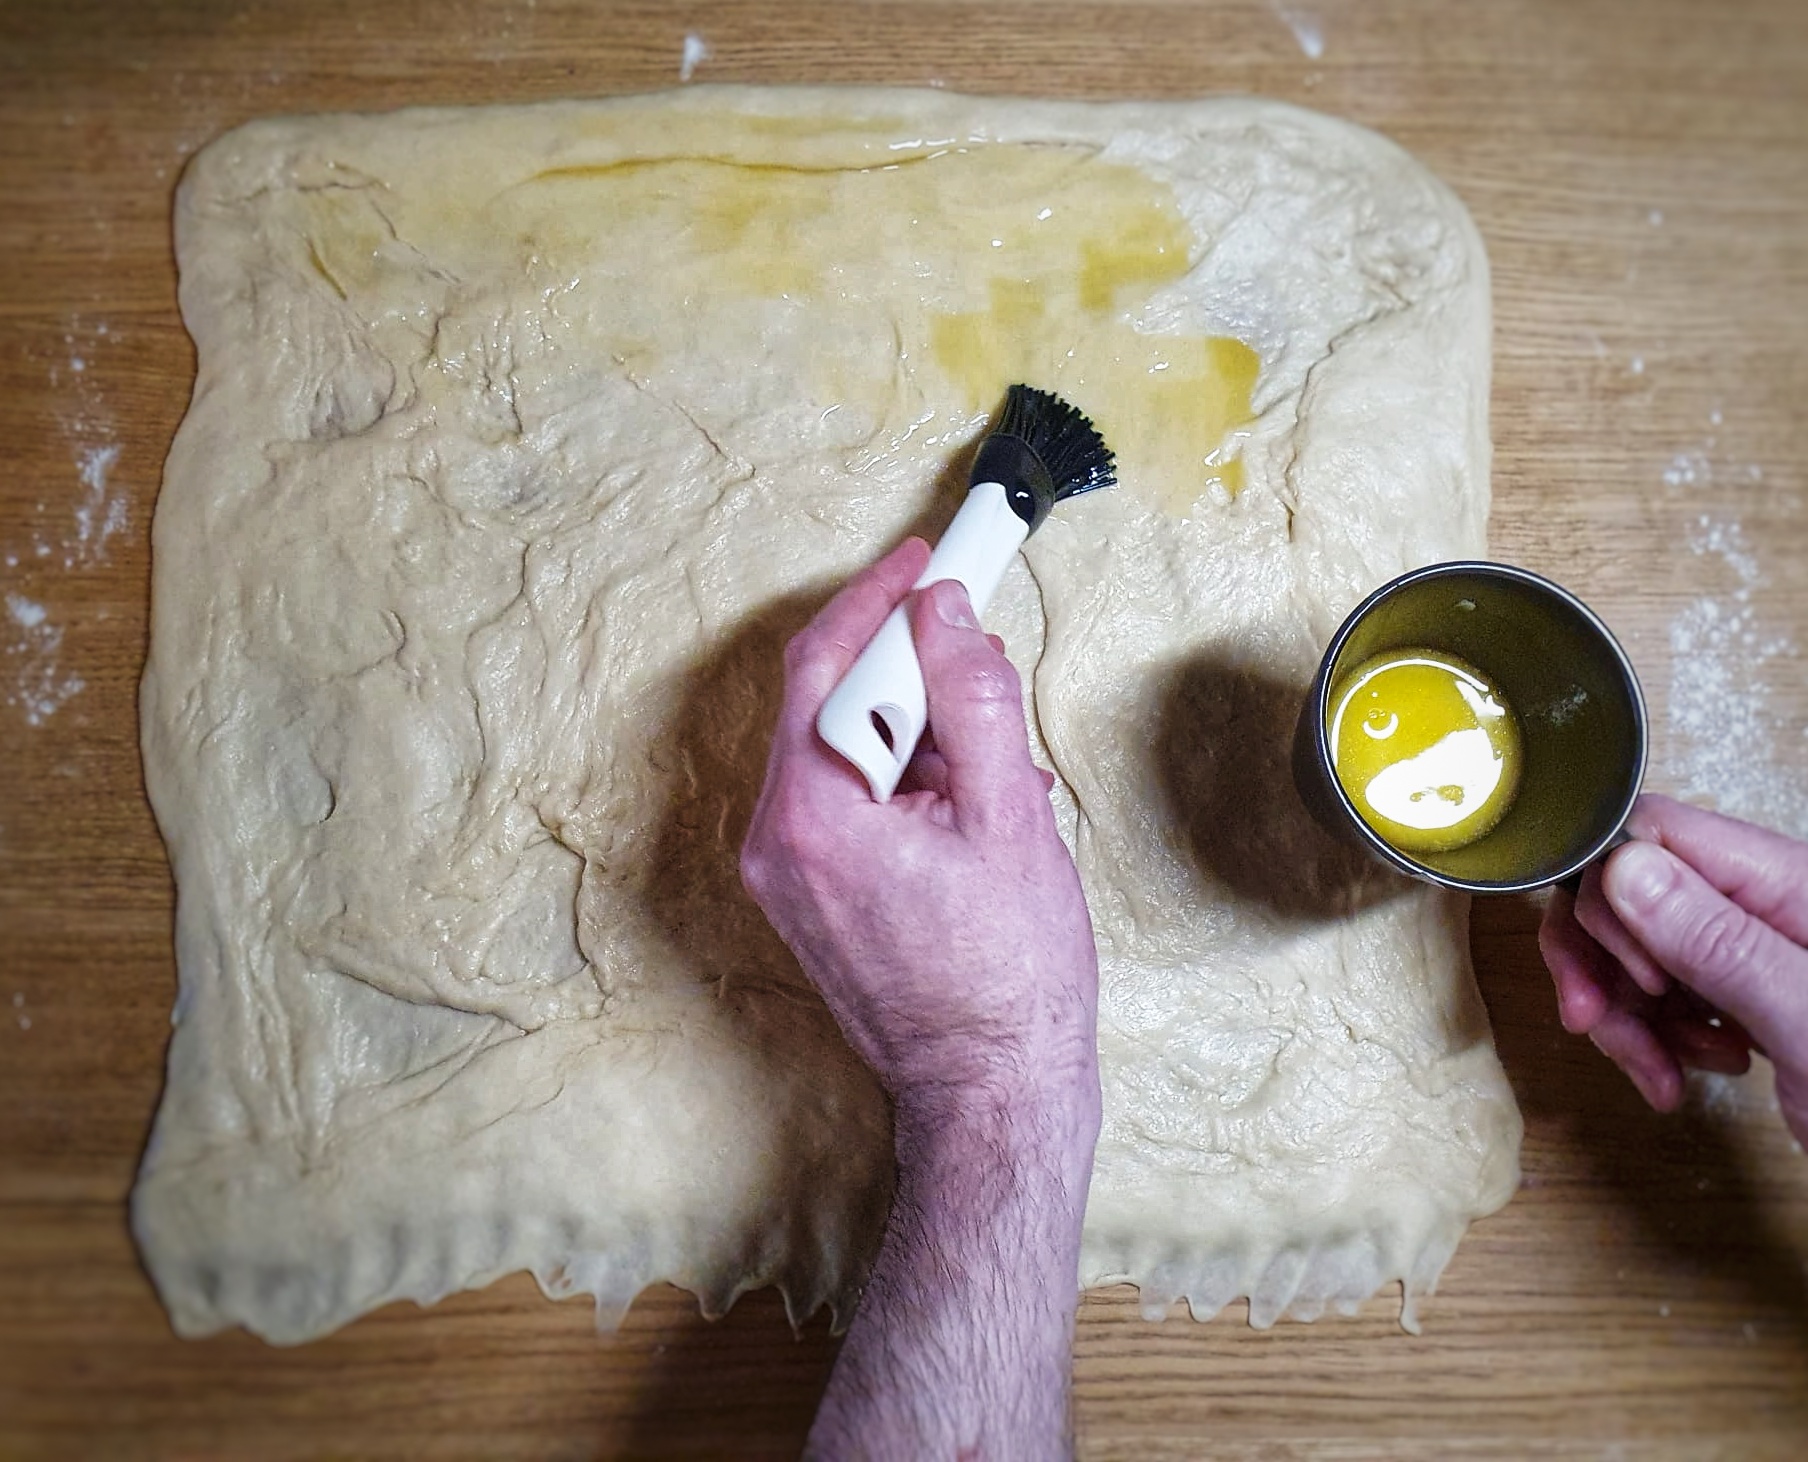
Now apply the filling: lavishly brush the dough with the melted butter, go right up to the back edge, but leave a 1-cm gap on the side edges and 2-cm on the edge facing you.
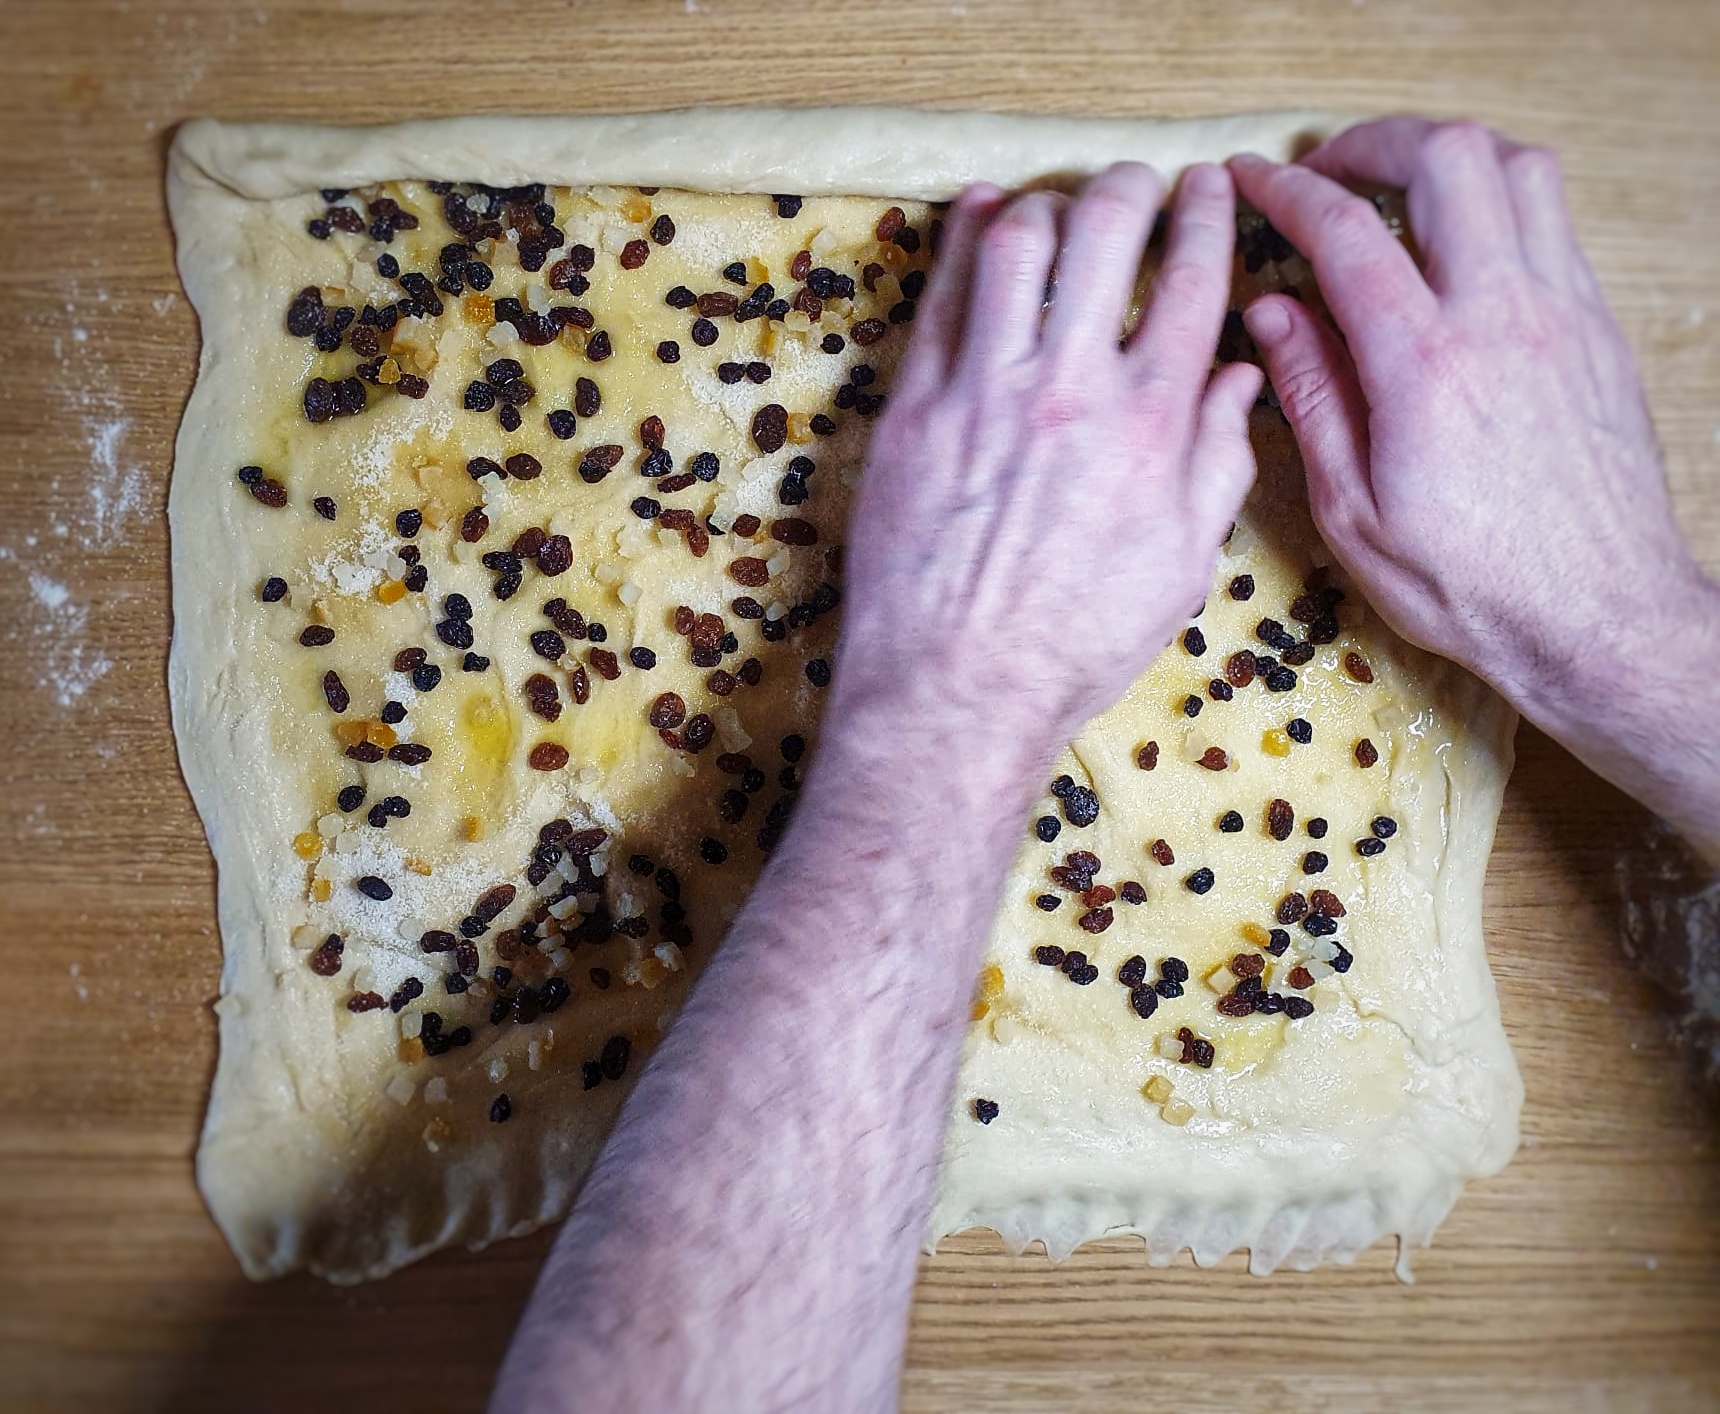
Next, sprinkle the sugar evenly, then the dried fruit and candied peel.
Now the fun bit: fold the further edge over and start to roll up the dough by lifting and stretching gently before rolling, keeping the coil tight. It is easiest to do this in sections. Keep going until the dough is almost rolled up, then lightly brush the facing edge with a little water.
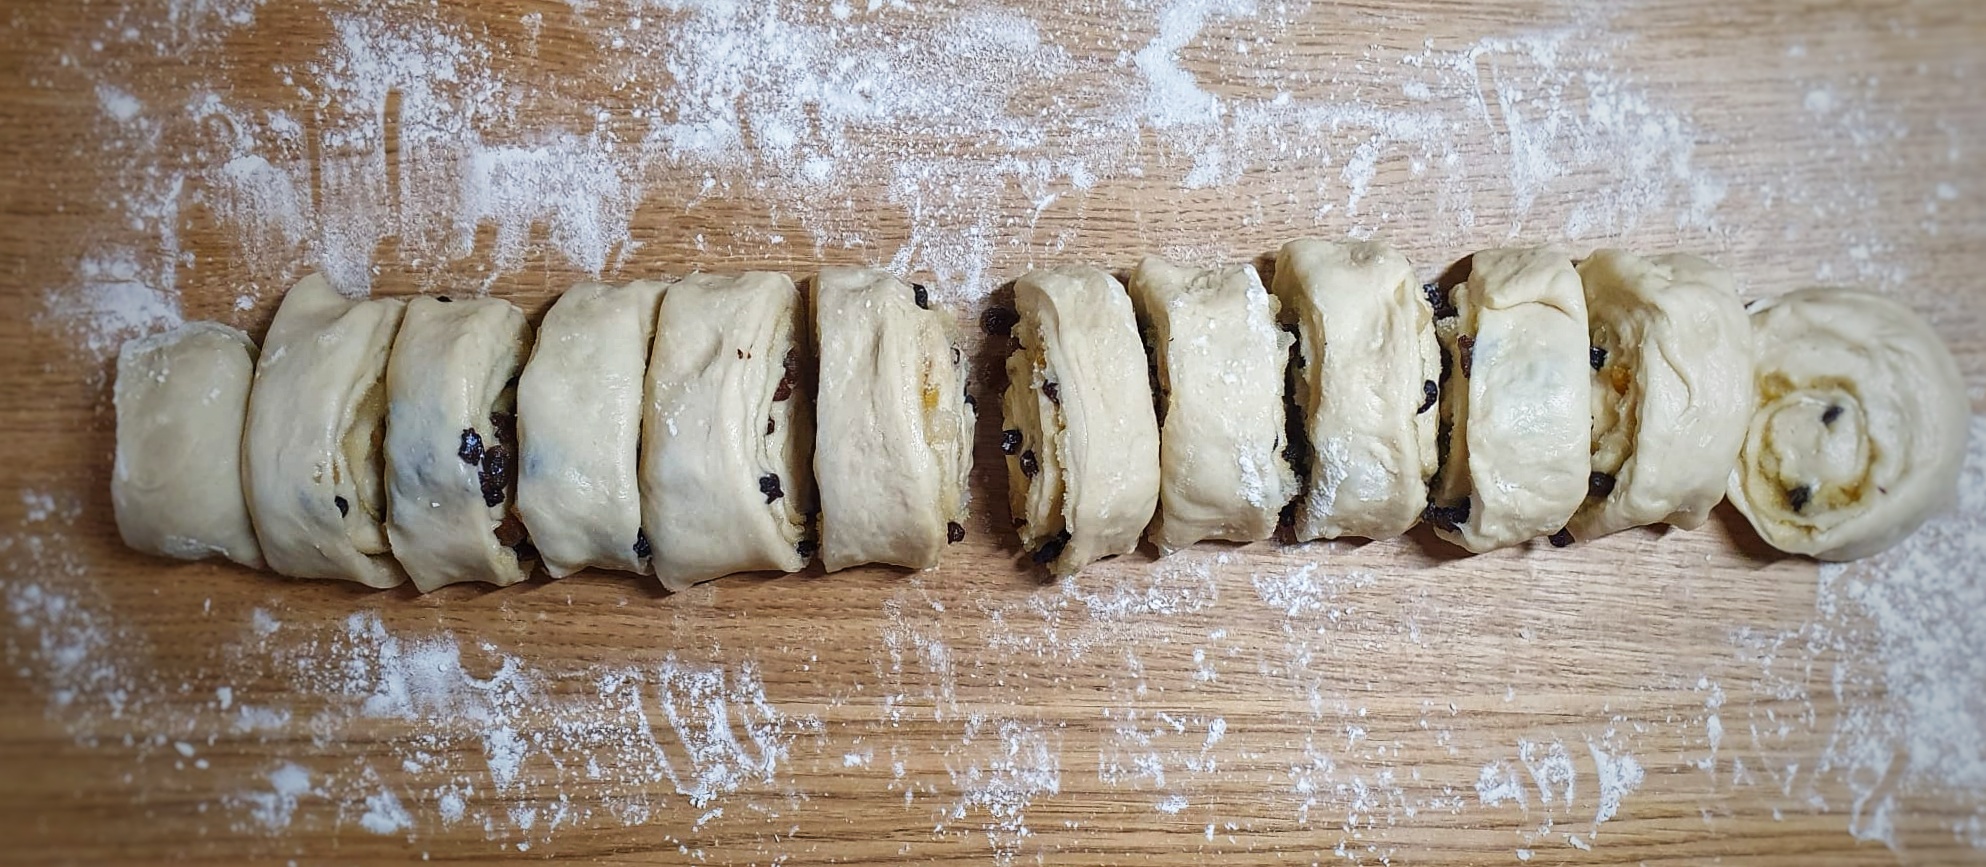
Using a sharp knife, cut off the two ends[5] – I like a serrated knife for this job – then cut the dough into 9 or 12 pieces. If the knife presses the edges a bit and flattens the coils, don’t worry, they can be easily reshaped by hand.
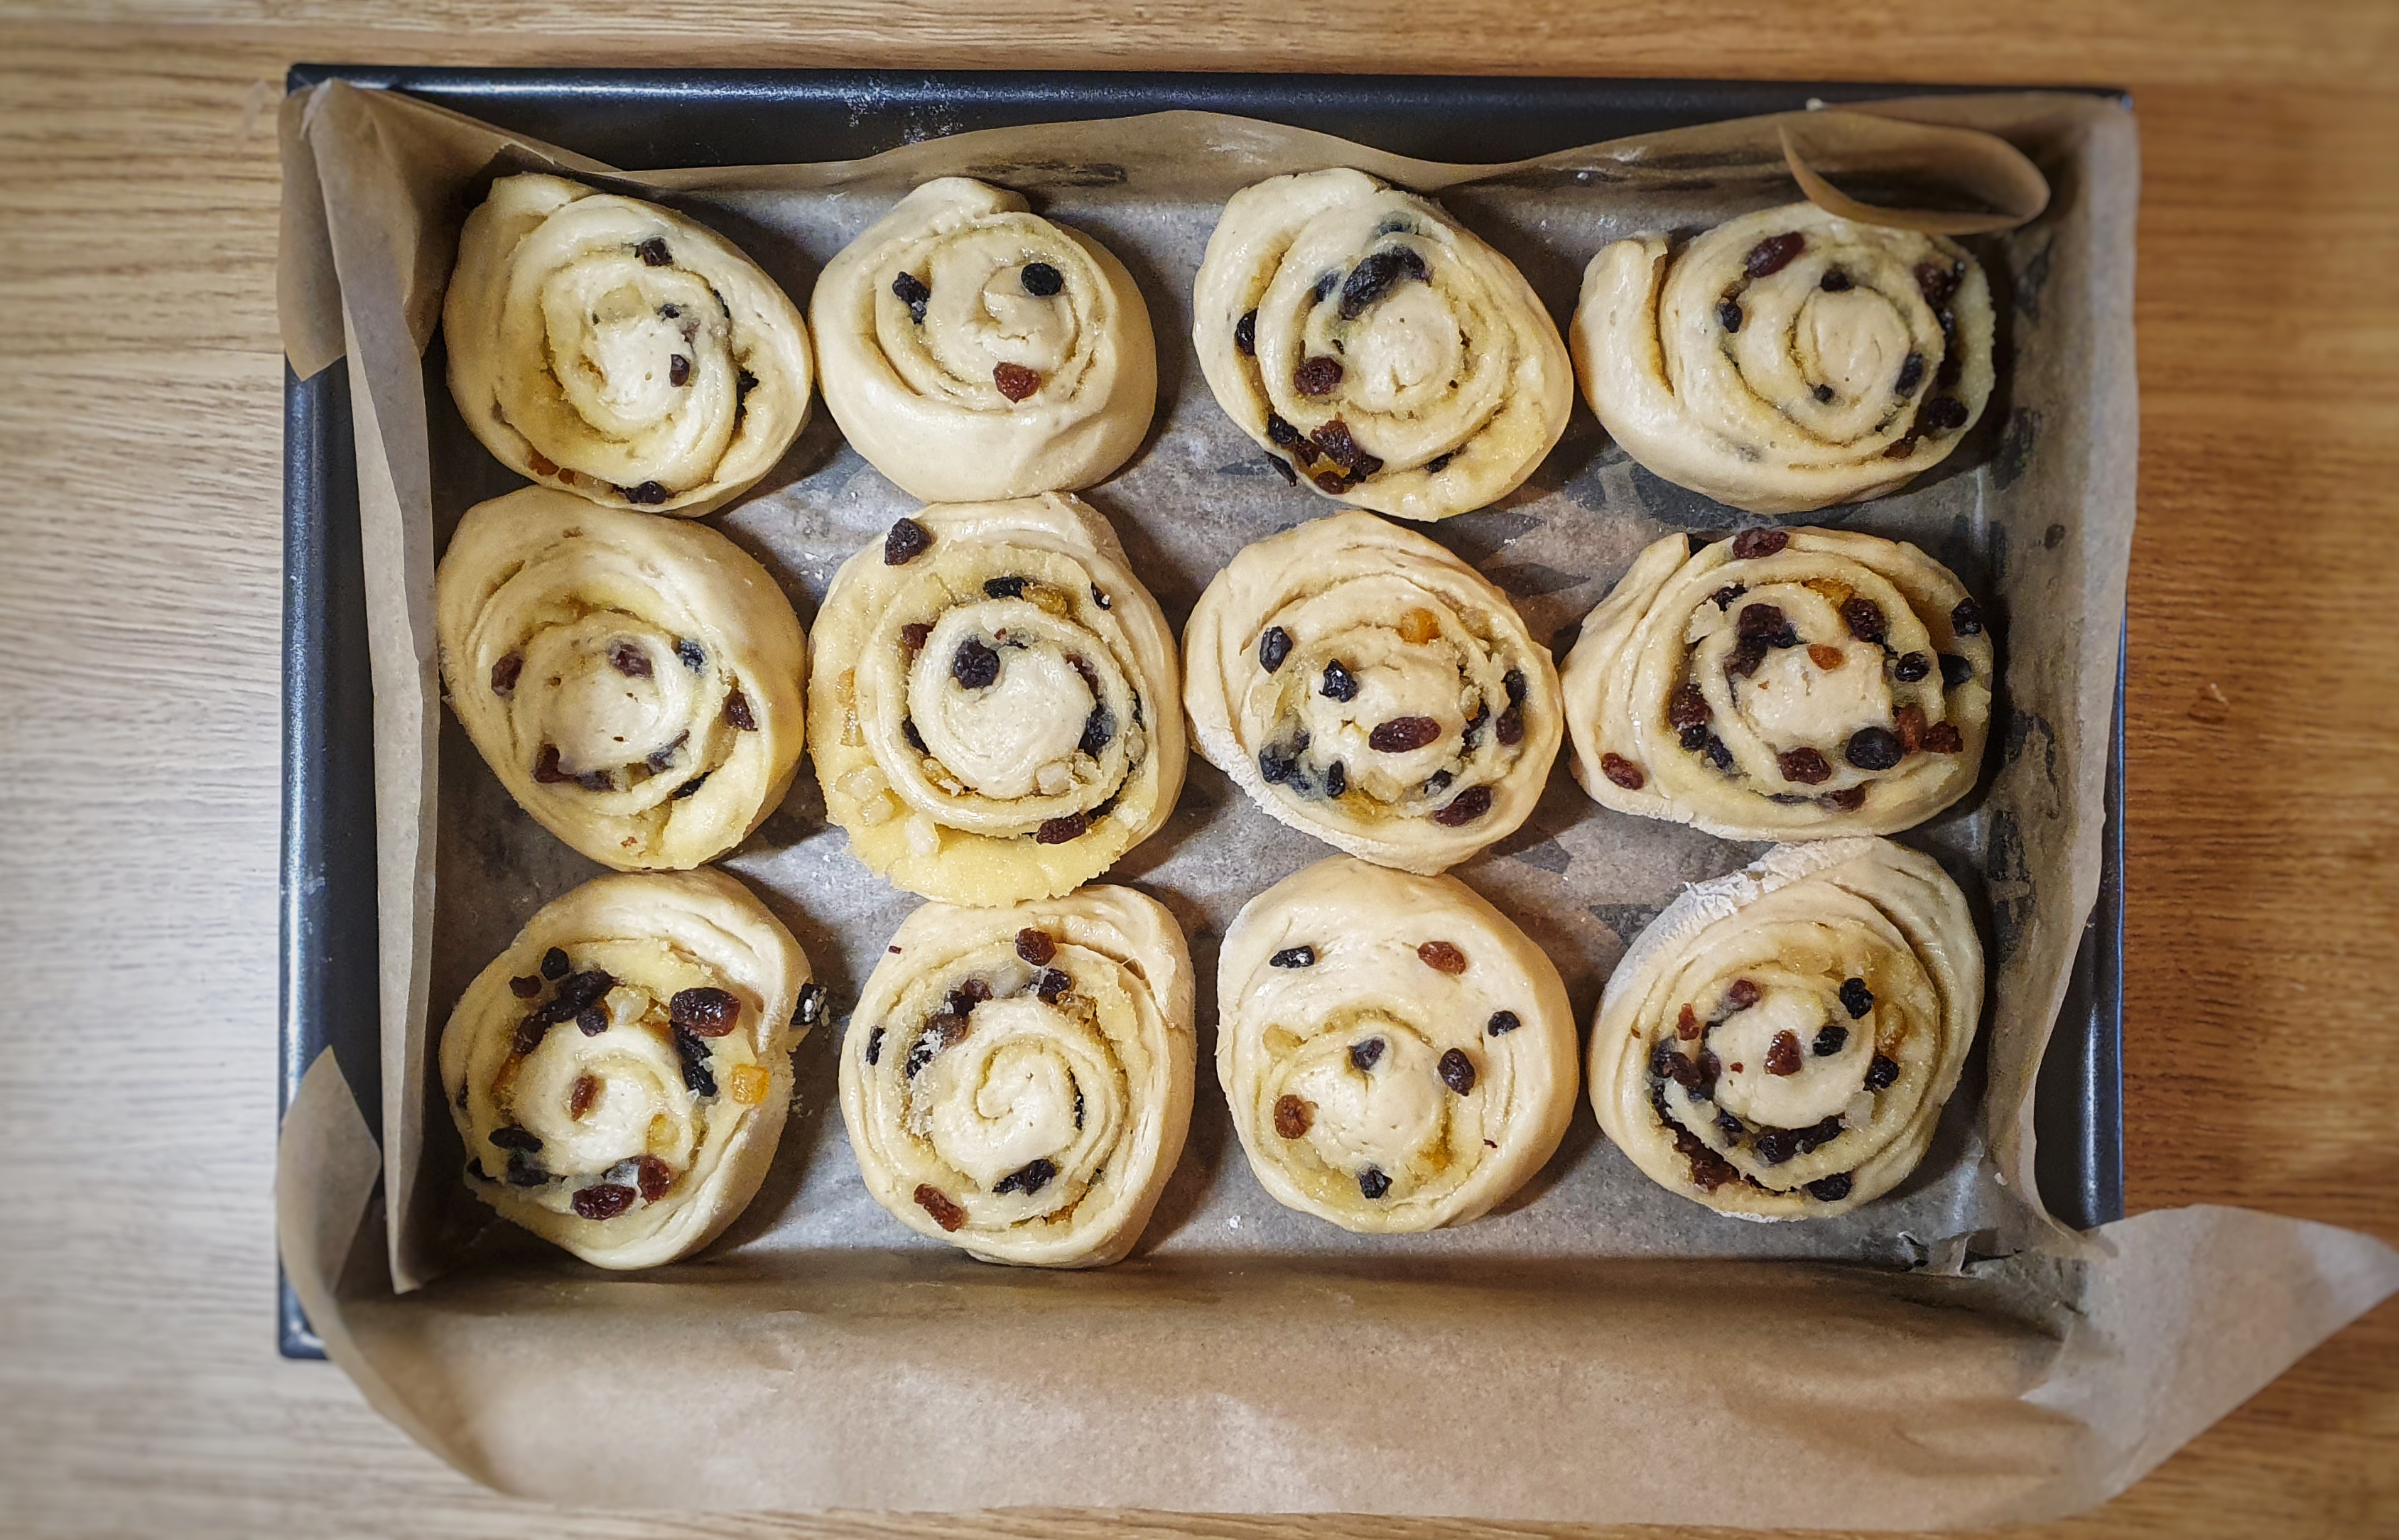
Arrange your buns in your prepared tin, leaving a good and even gap between them. Cover and allow to prove again: for me, this took 60 minutes.
When they are almost proved, preheat your oven to 200°C. When ready, brush each bun with beaten egg. Slide into the oven and bake for 25 to 3- minutes if baking 12 buns. It’s worth investigating them to check they have baked all the way through.
When they come out of the oven, sit them on a cooling rack in their tin.
Make the glaze by mixing the sugar and water in a pan over a medium heat. Stir to dissolve, increase the heat and bring to a boil, and let it bubble away for 30 seconds. Take off the heat and brush the buns: be lavish. It might take a couple of coats to use up all the glaze. If you like, sprinkle with crushed lump sugar.
Wigs – whichever way you spell them – were a type of enriched, leavened teacake. They reached a peak in popularity in the eighteenth century but may have been cooked up as early as the fifteenth.[1] It seems that they were eaten up until 1900,[2] though as with many foods, they changed their form somewhat.
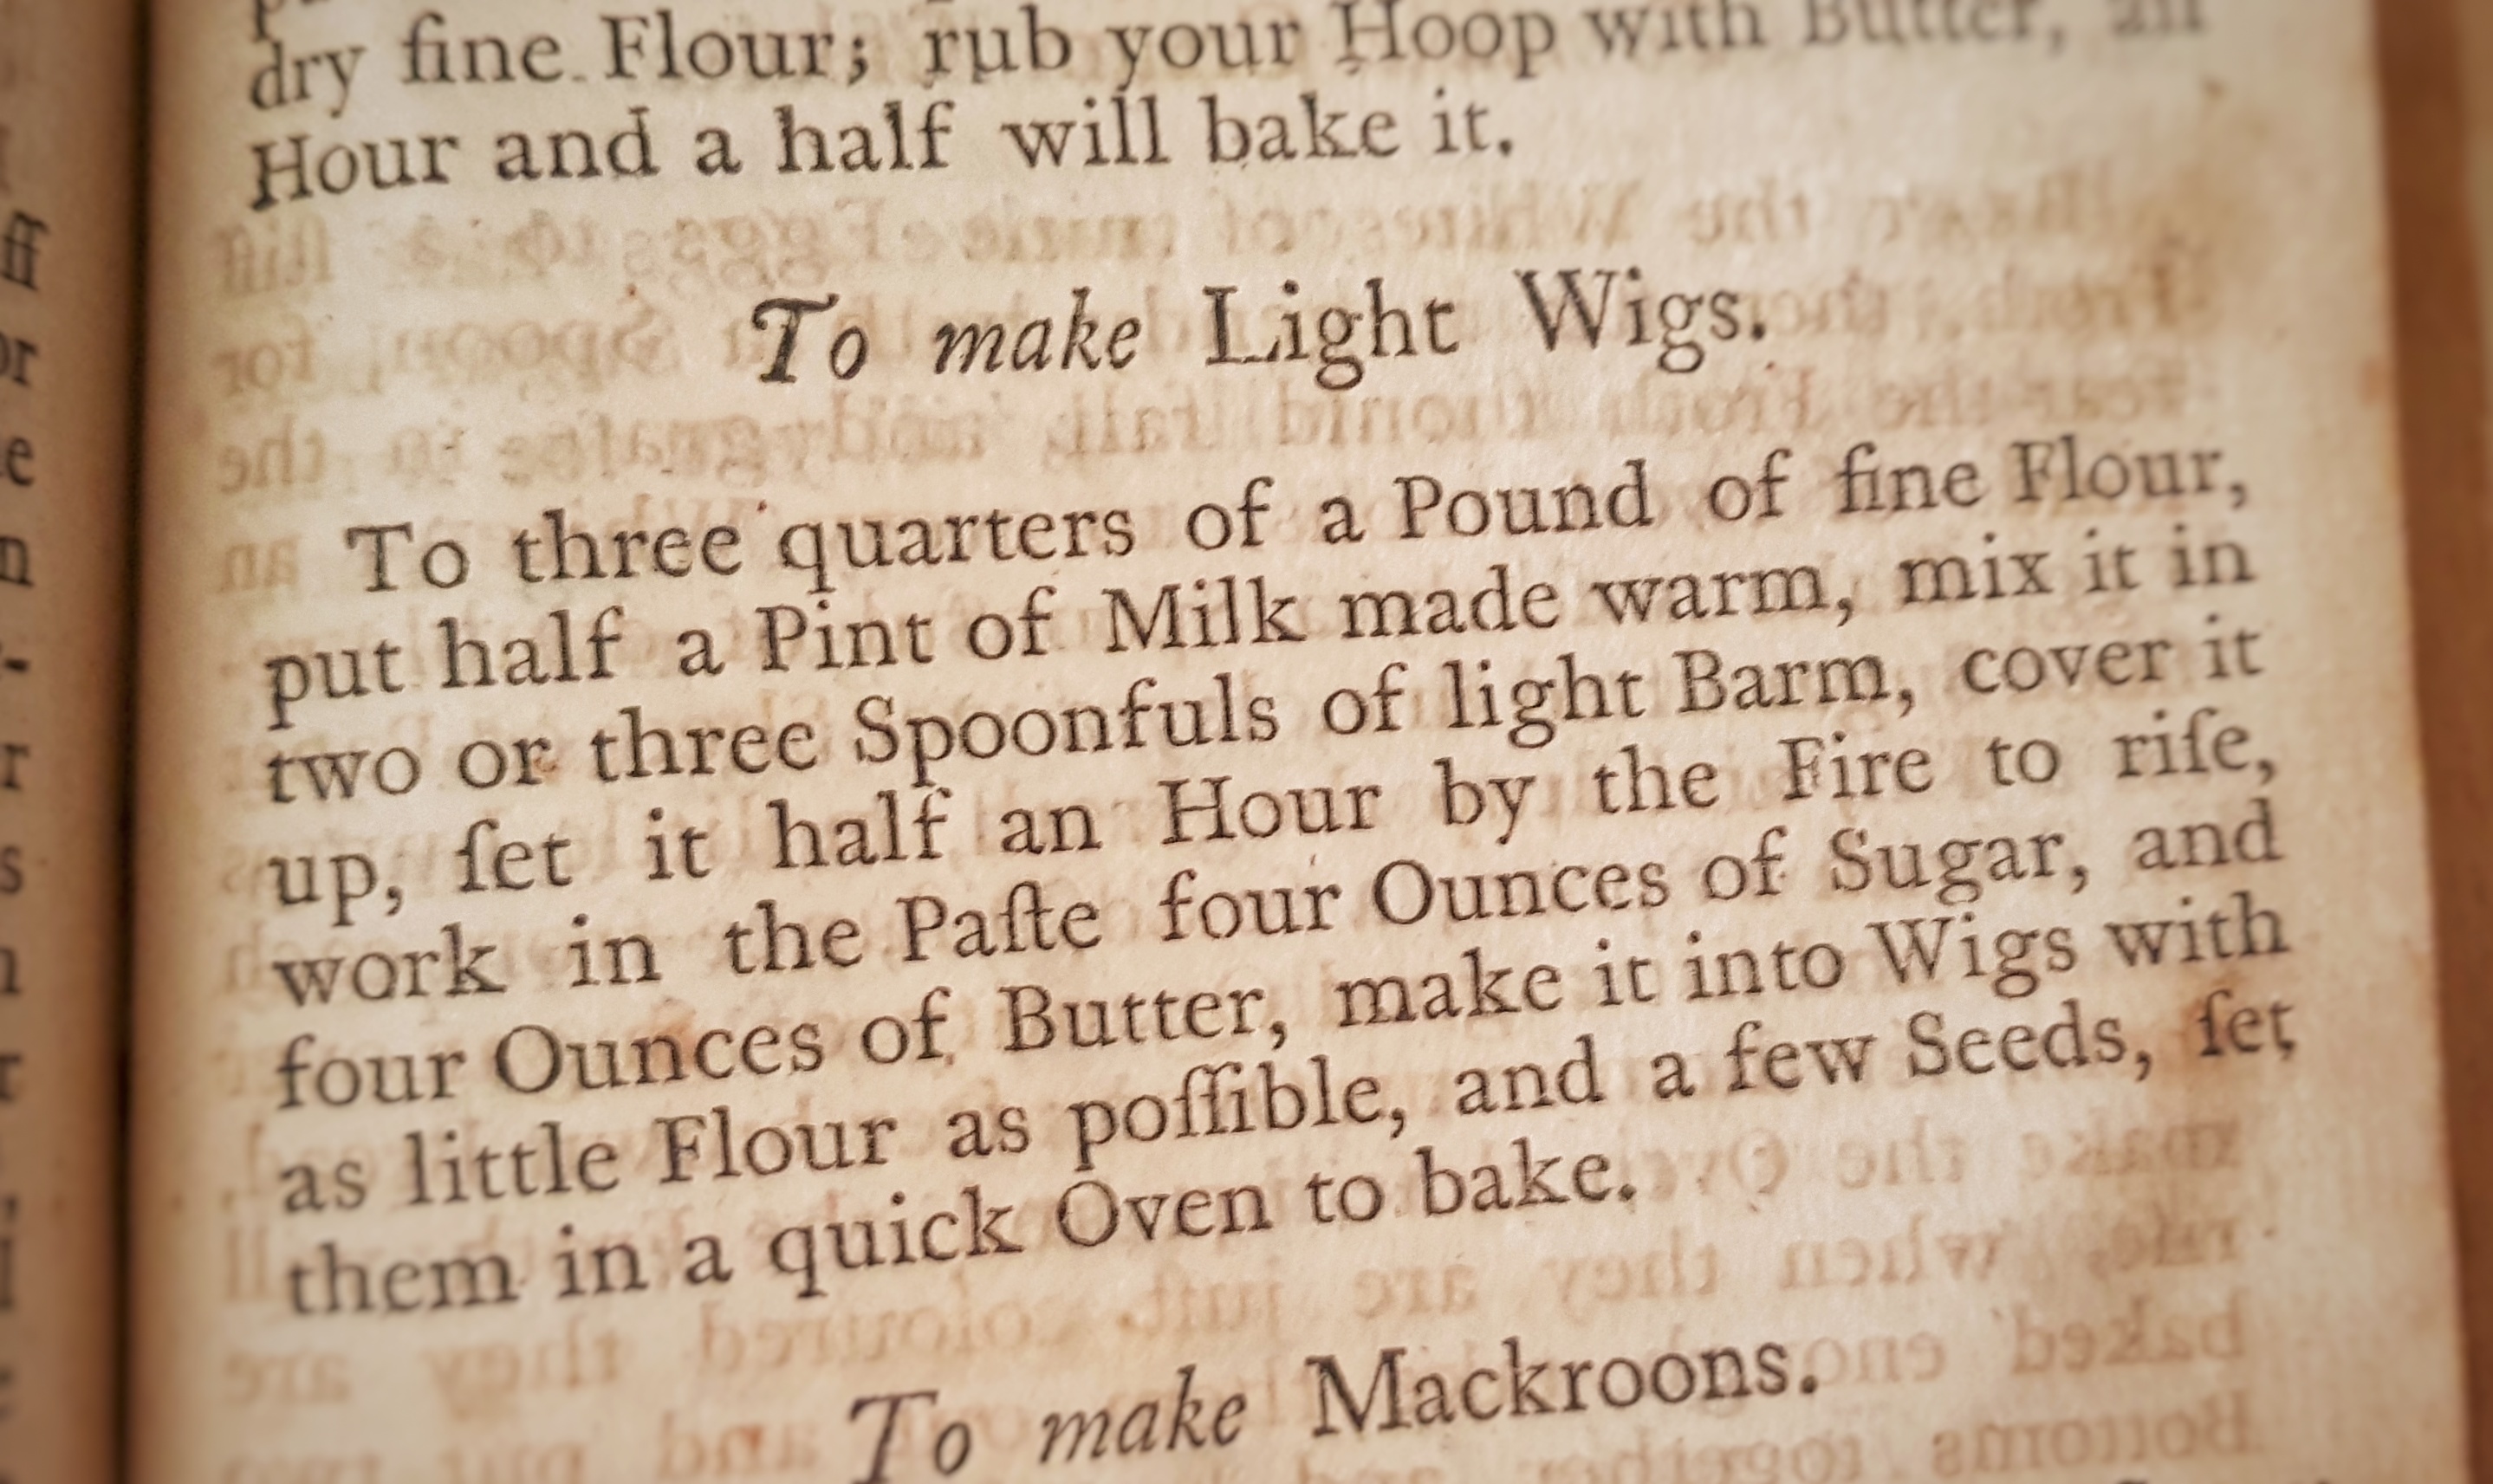
Elizabeth Raffald included a recipe ‘To make Light Wigs’ in her 1769 book The Experienced English Housekeeper,[3] so I thought I would devise an updated recipe for them using modern kitchen equipment, weights and measures.
This is her recipe taken from the first edition:
As is often the case, her recipes are a mixed bag of precision and vagueness, and this one is no different: we have proportions – the most important thing, I suppose – but little else concerning mixing, shaping and baking. And what are the seeds she mentions? Luckily, by cross-referencing other recipes and others’ research, we can build up a good idea of what they were like.
Let’s dissect the recipe sentence by sentence:
First of all, we have to make a simple dough of flour, milk and barm and prove it somewhere warm. Barm is the frothy yeast skimmed from fermenting vats of beer; it is from here we get our leaven. The bubbles of gas in low-gluten flour doughs with little elasticity (as would have been the case here) tend to pop quickly, so we have to assume that the dough was kneaded to develop what gluten was present.
Once proved, add the butter and sugar. It’s very common, even in modern recipes, to add the enriching ingredients after the first prove. Ingredients such as these get in the way of entangling gluten strands, and their heaviness slow proving even further. These days however with our robust fast-action yeasts, I find dough rises well with all of the ingredients mixed right from the start – though I hedge my bets a little by using a mix of plain and strong white flours.
Elizabeth tells us to ‘make it into Wigs’ which isn’t useful for those of us in the twenty-first century. It does inform us that they were common enough in 1769 for Elizabeth to assume we would all know the correct shape. Another recipe given in Florence white’s Good Things in England says to make wigs ‘into any shape you please’.[4] Elizabeth David helps us out here by spotting that the word wig comes from the Dutch weig, meaning wedge-shaped.[5] She thinks the round of dough would be split into sixteenths, but I think sixths or eighths would be better.
As for the seeds; all other recipes state caraway seeds for wigs. I like them so much I put them in and on the dough before baking.
There are richer versions of this basic recipe. Hannah Glasse’s ‘light Wigs’ are very similar to Elizabeth’s, but she also includes a richer version (‘very good Wigs’) containing egg, cream, spices and sack.[6] Some recipes ask you to egg wash the wigs and sprinkle coarsely crushed lumps of sugar over them.[7] I opt for a milk wash and granulated sugar.
If you like the blogs and podcast I produce and would to start a £3 monthly subscription, or would like to treat me to virtual coffee or pint: follow this link for more information.Thank you.
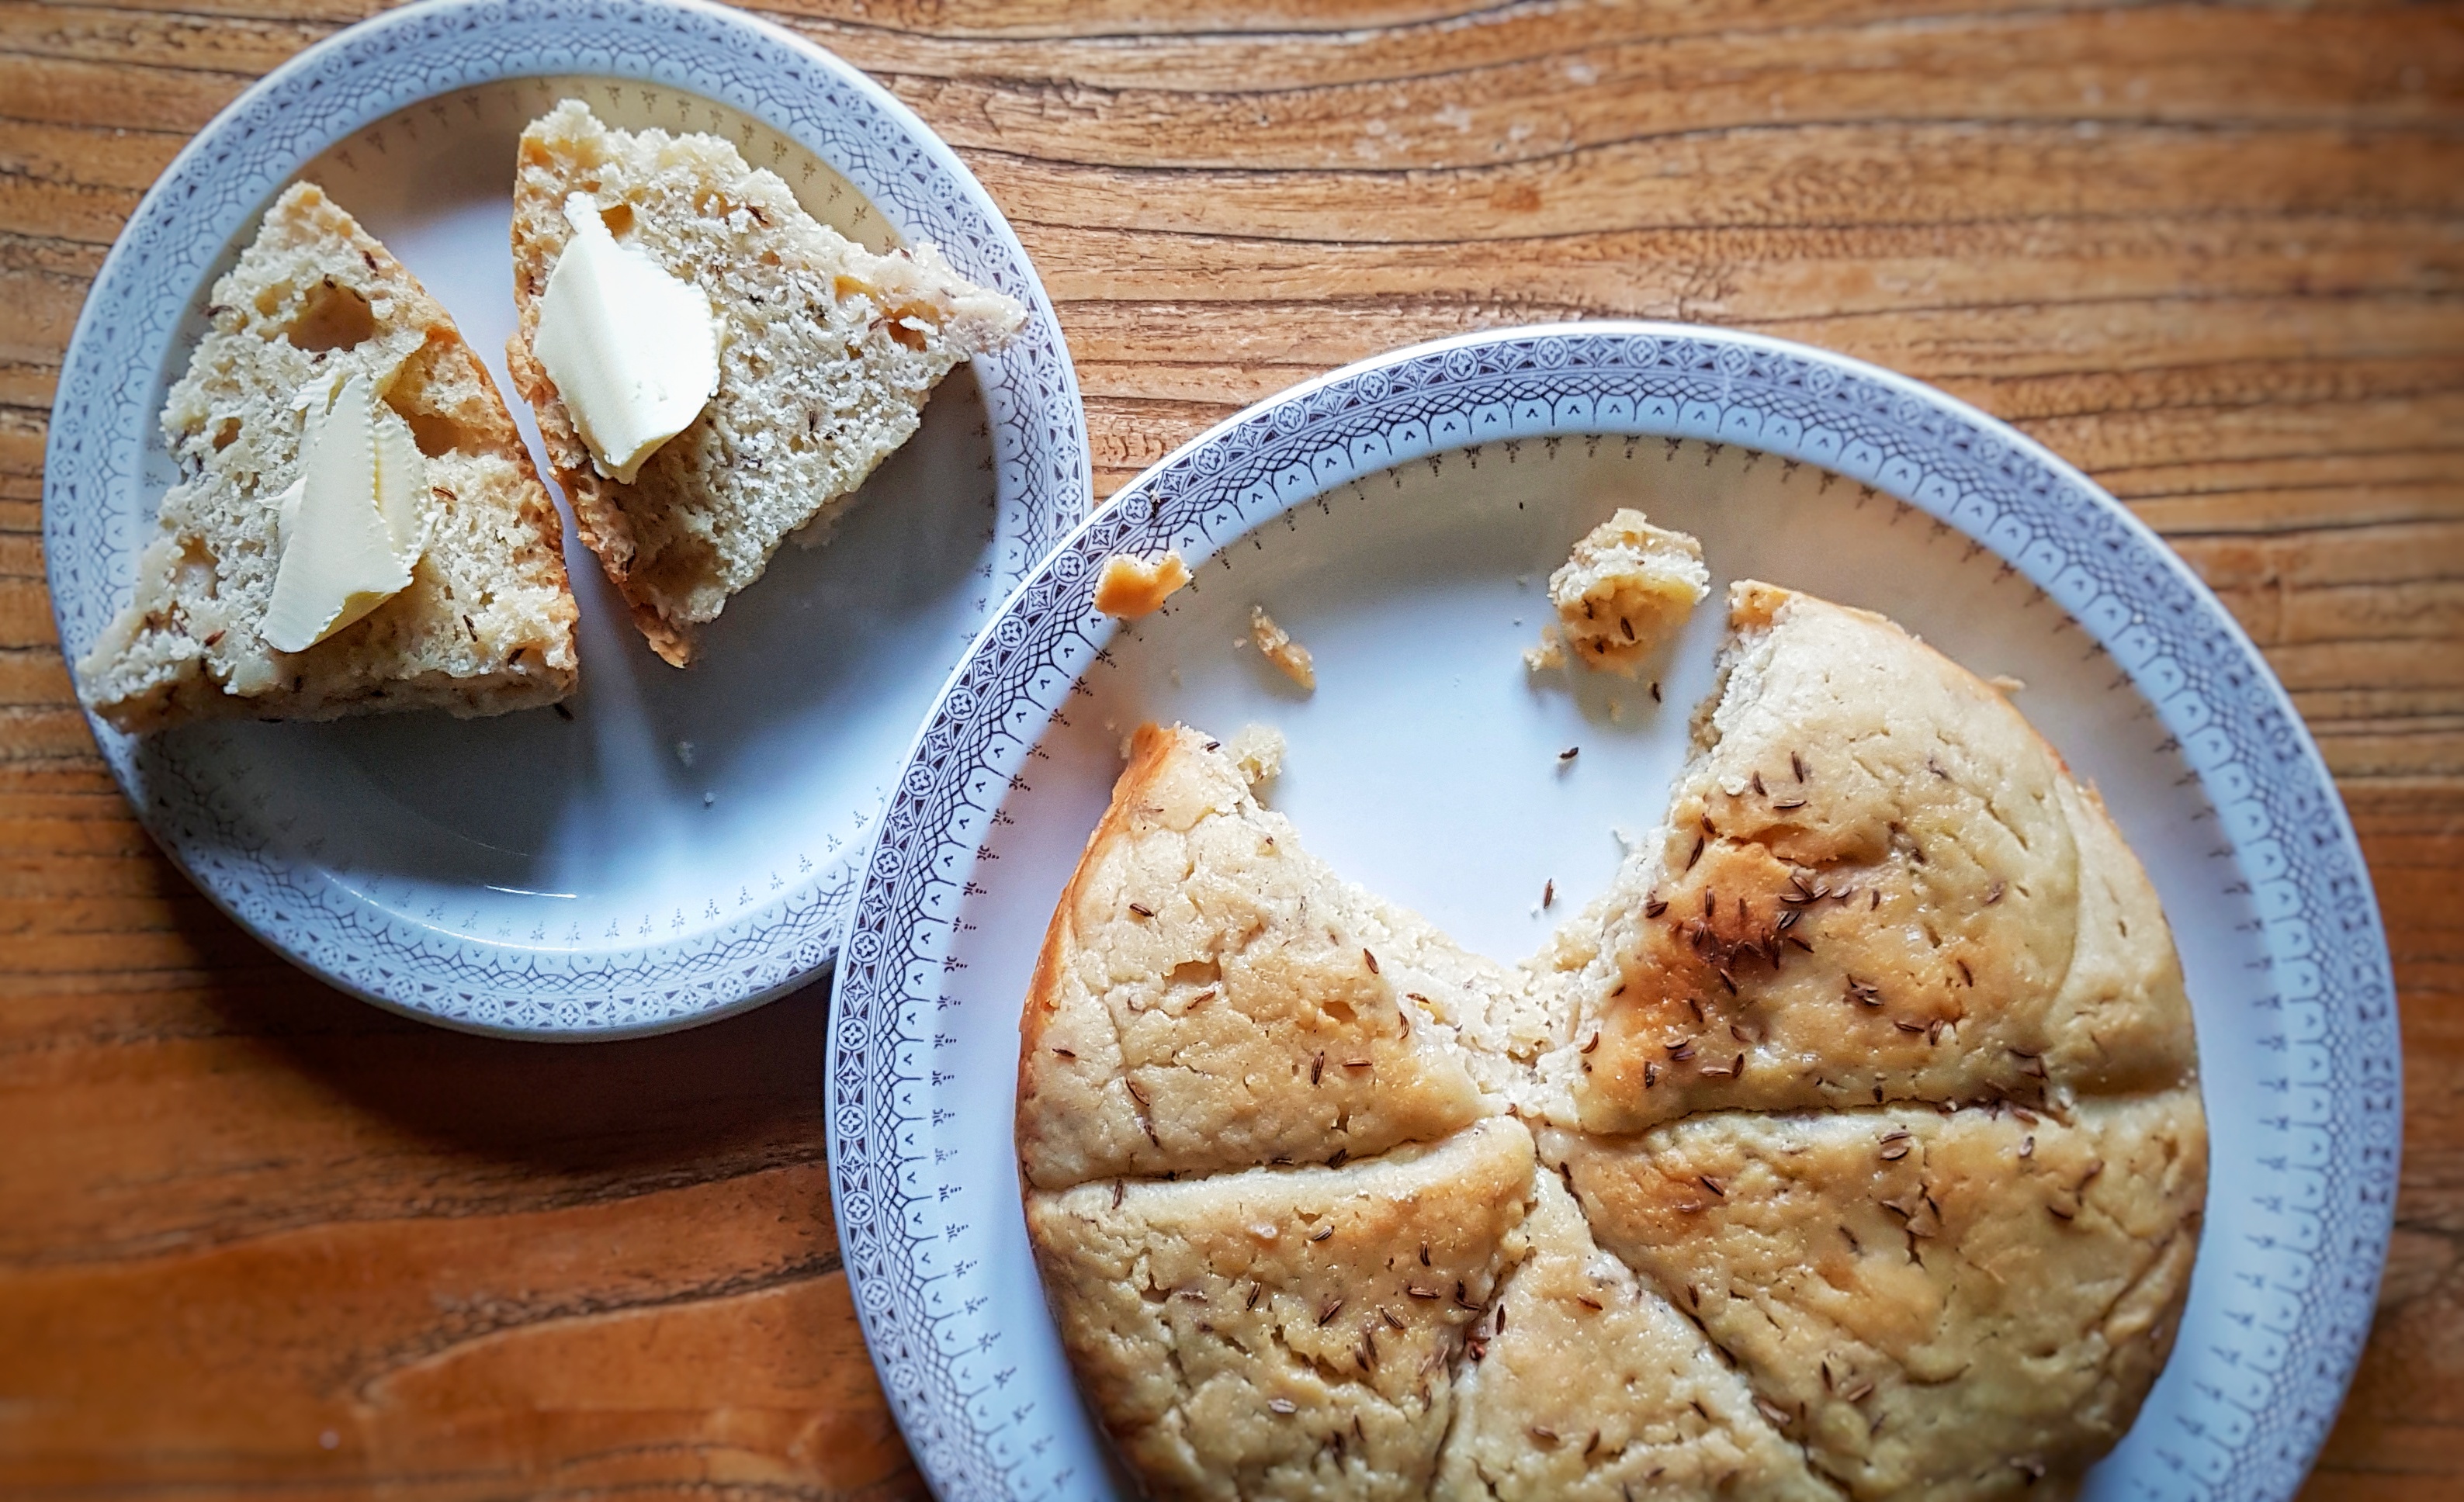
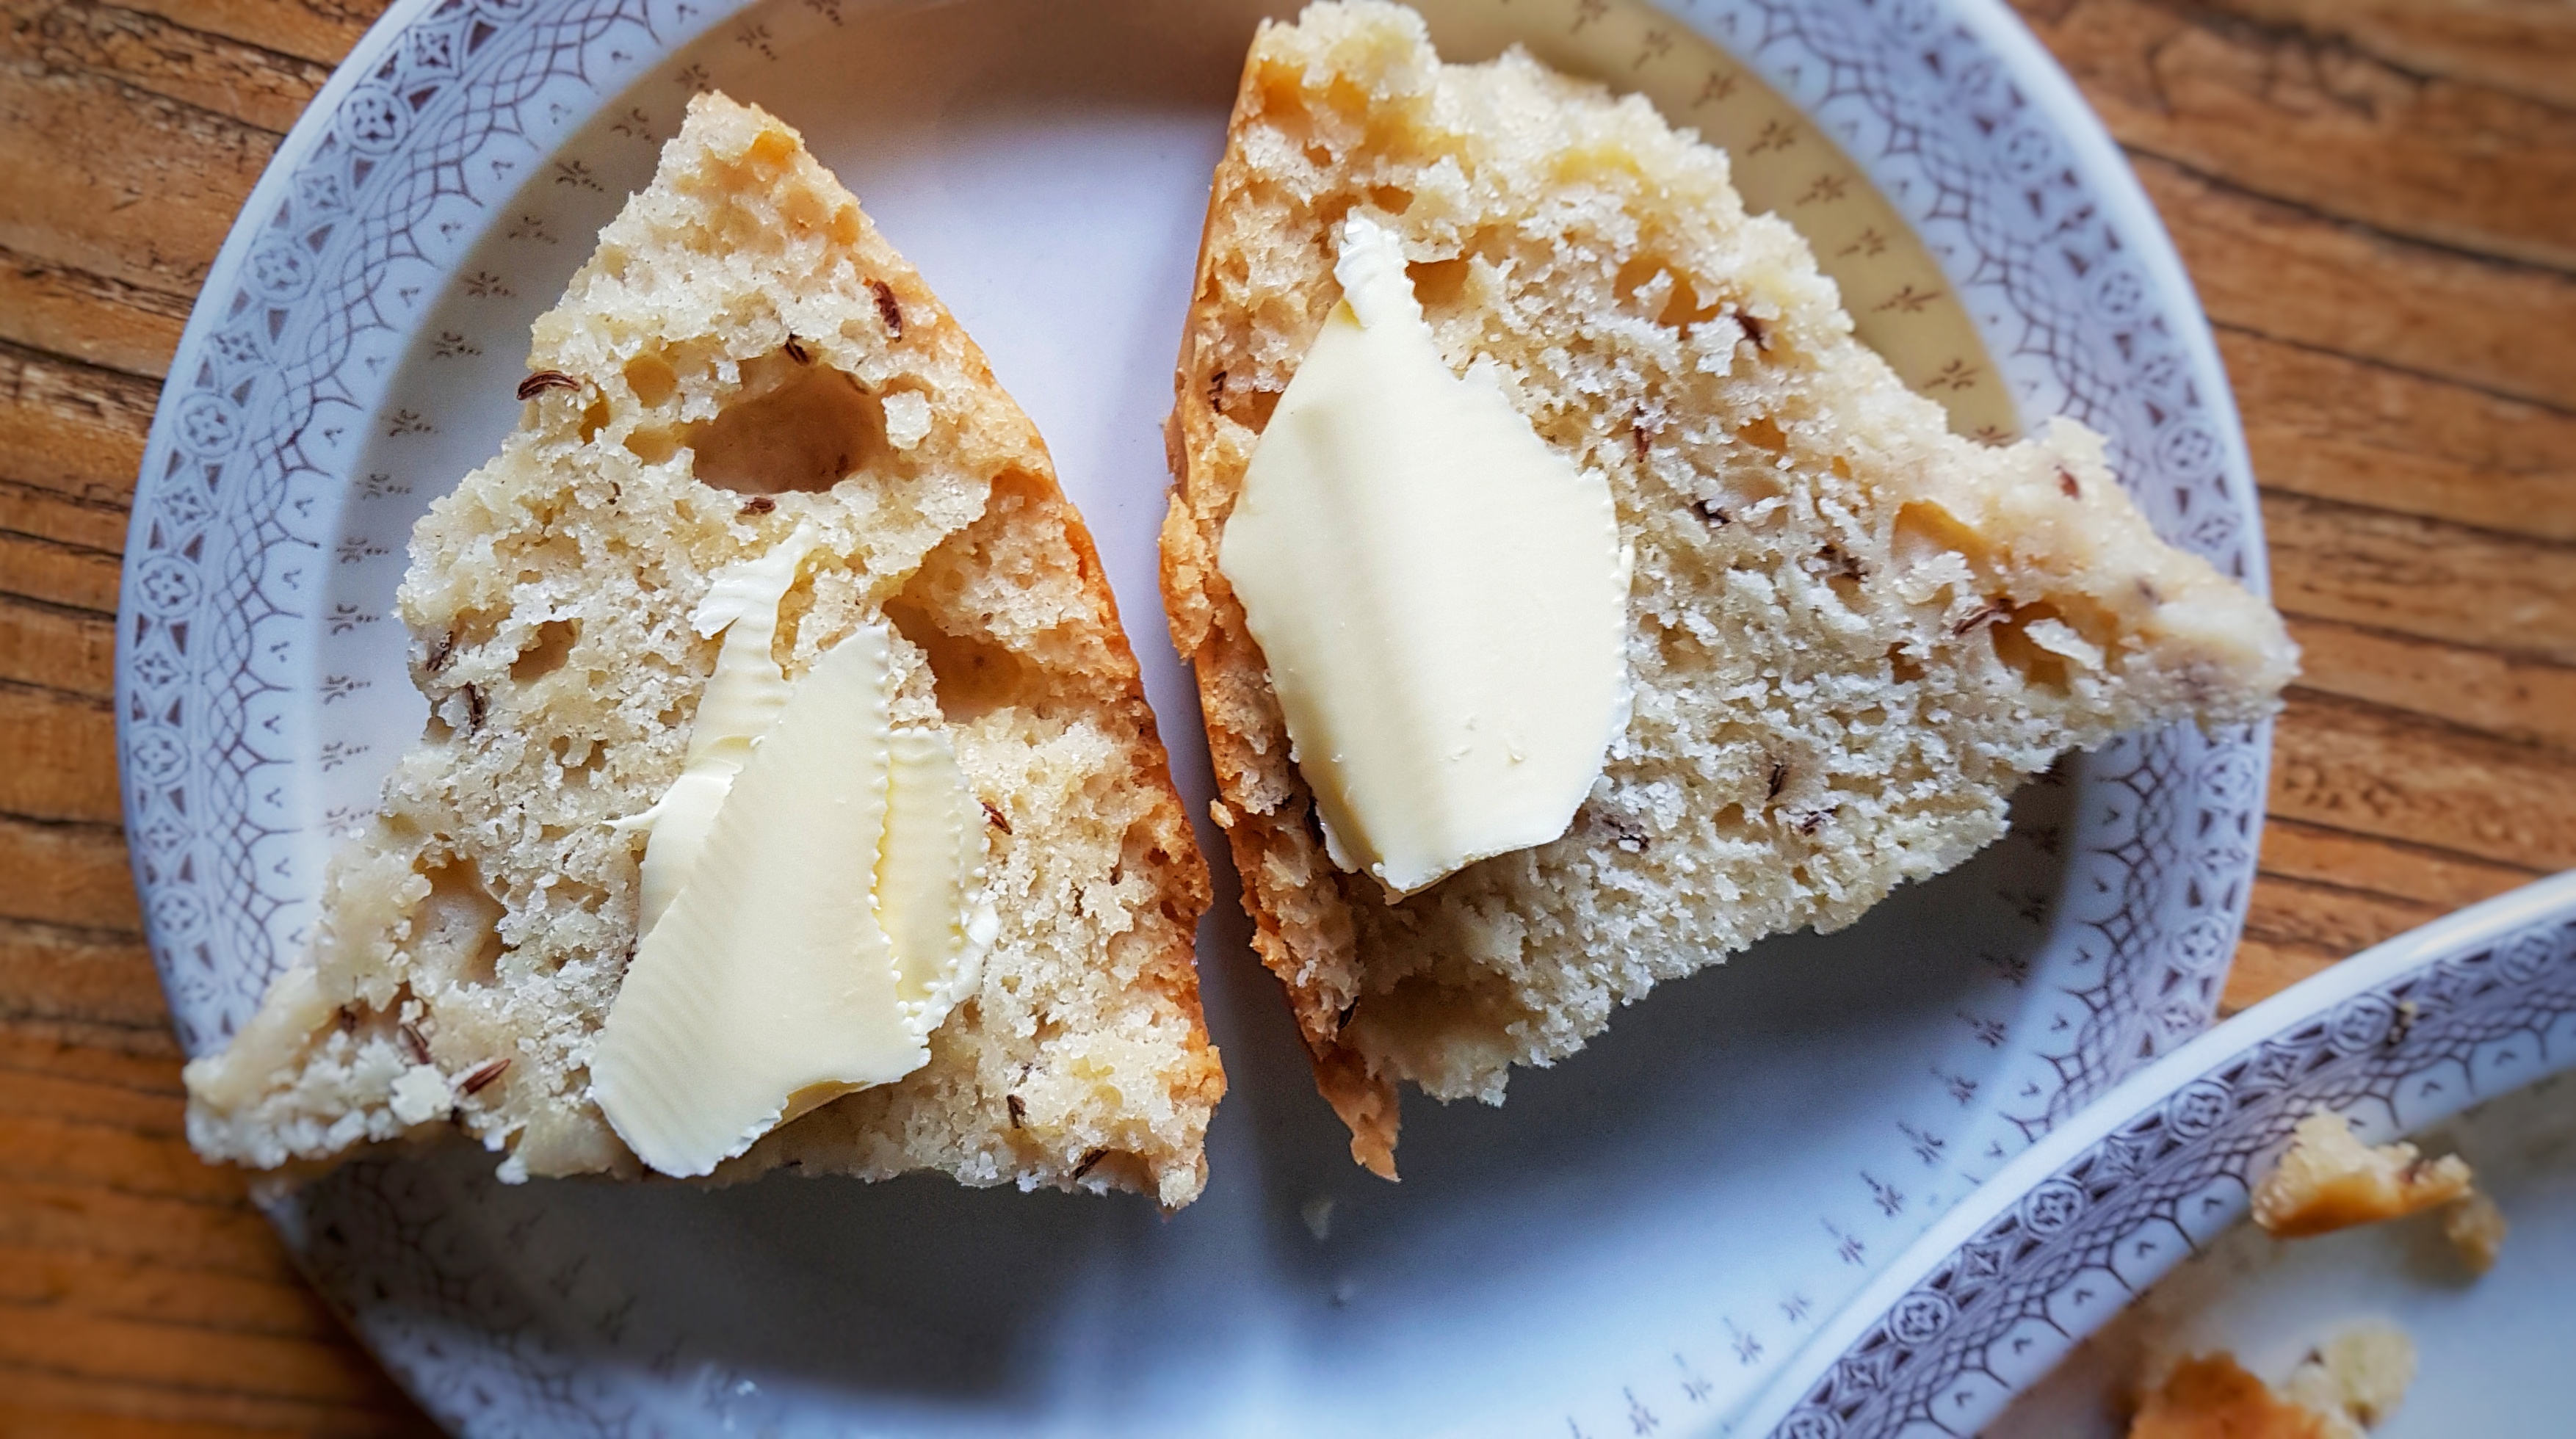
Wigs can be eaten buttered, and when cold eat like very sweet scones, when warm they are softer and stodgier, though not in a bad way. Elizabeth suggests toasting them and pouring stewed cheese over them – a recipe for which can be found in my book Before Mrs Beeton.
My recipe makes 1 round that can be divided into 6 or 8 wigs:
5g/1 tsp yeast
5g/1 level tsp salt
180g strong white flour
180g plain white flour
120g caster sugar
1 tbs caraway seeds
120g softened salted butter
200ml warm milk, plus extra for brushing
A smear of sunflower oil
Granulated sugar for sprinkling
In a bowl, mix the yeast, salt, flours, caster sugar, and most of the caraway seeds (keep a few behind to sprinkle on the top). Make a well in the centre and add the butter and milk. Mix preferably with the dough hook of a food mixer, if not a wooden spoon – the mixture is very sticky indeed, a good 7 or 8 minutes, or until the dough is smooth.
Oil a clean bowl and place the dough inside. Cover and allow to prove in a warm place for between 60 and 90 minutes. The dough is so enriched that it doesn’t double in volume like regular bread or bun dough, but it does need to have increased in volume noticeably.
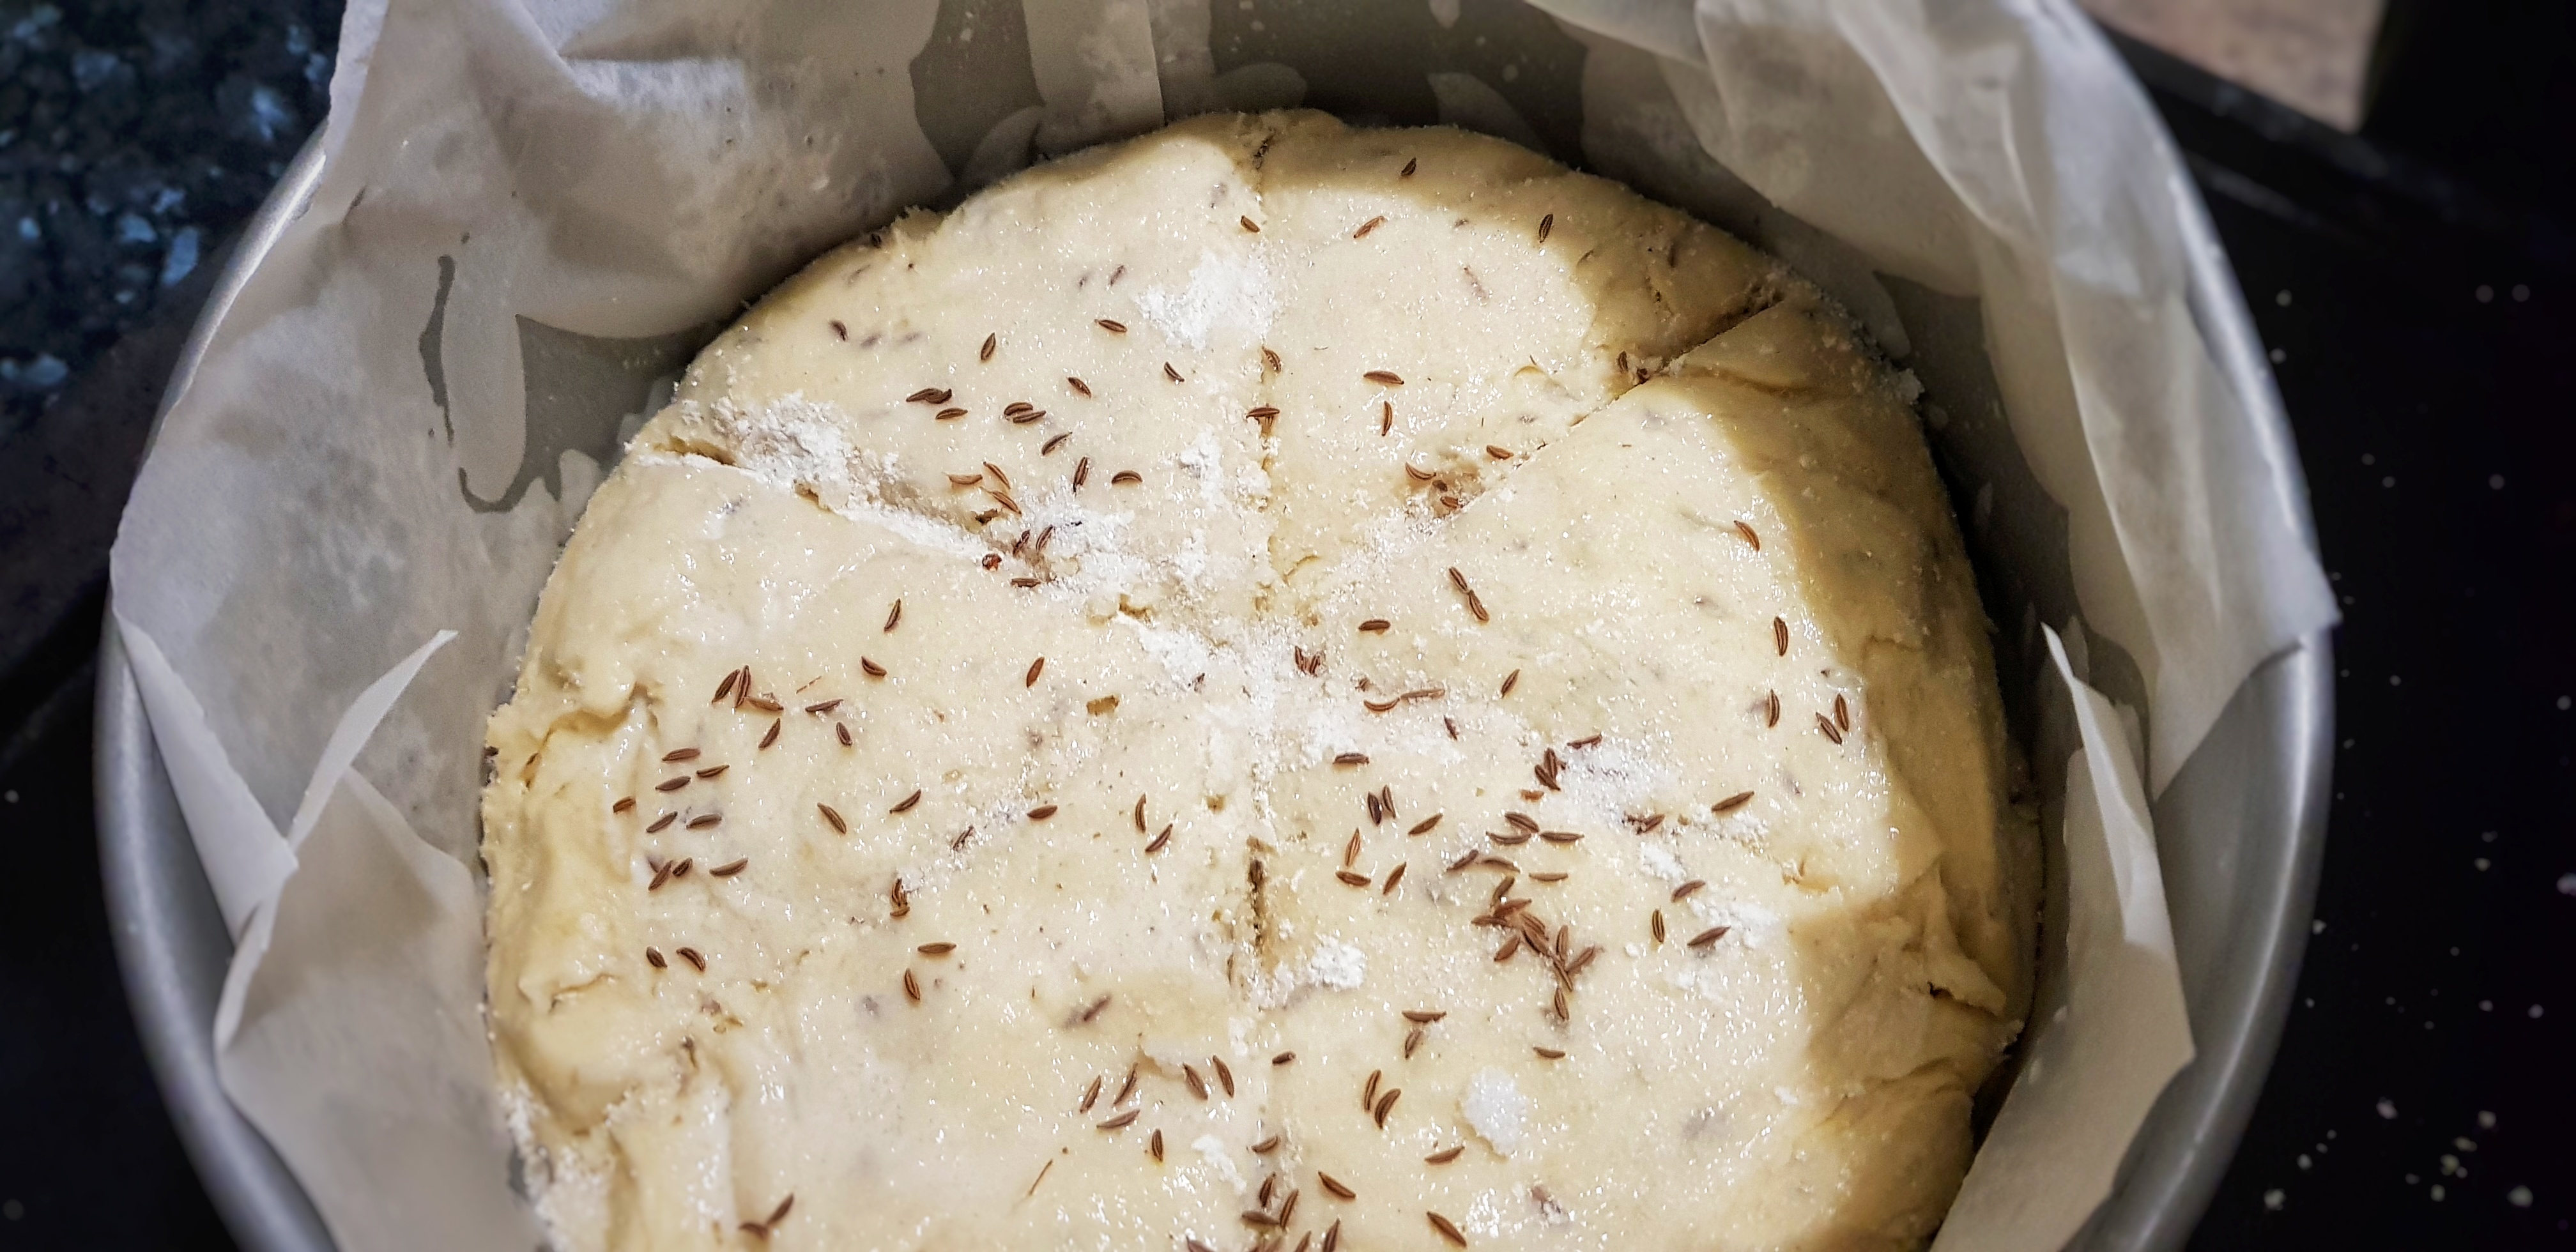
As you wait, line a 21 cm/8 inch cake tin with greaseproof paper. Elizabeth asks us to shape the wigs ‘with as little Flour as possible’, but I find that a good strewing of flour is best. The dough needs to be brought into a tight dough ball; again not as tight as is usually possible, due to all of that sugar and butter. I find a couple of dough scrapers helped a great deal at this point.
Once gathered, plop the dough into the lined tin, cover and allow to prove for 30 to 45 minutes. Using a well-floured dough scraper split the dough into 6 or 8 wedges.
It was tricky to make the cuts: flour your dough scraper very well
When the proving time is almost up, preheat your oven to 175°C and place an ovenproof dish at the bottom of the oven. When the wigs are ready to go in, put the kettle on. When boiled, finish preparing the wigs by brushing the top with milk and scattering the reserved caraway seeds and a little granulated sugar over the top, then place on a baking tray.
Open the oven door, slide the wigs onto the centre shelf, then gingerly pull out the hot ovenproof dish and pour in a good amount of hot water, then quickly but carefully slide it back in and close the oven door.
Bake for around 45 minutes until well-risen and golden brown on top. Cool on a wire rack in its tin. Serve cold or warm with butter and sliced or toasted cheese.
Notes
[1] David, E. English Bread and Yeast Cookery. (Grub Street, 1977).
[2] By this point, wigs had become a fruit cake or scone, leavened with baking powder and sweetened with candied angelica, citron peel and glacé cherries. Hartley, D. (1954) Food in England. Little, Brown & Company.
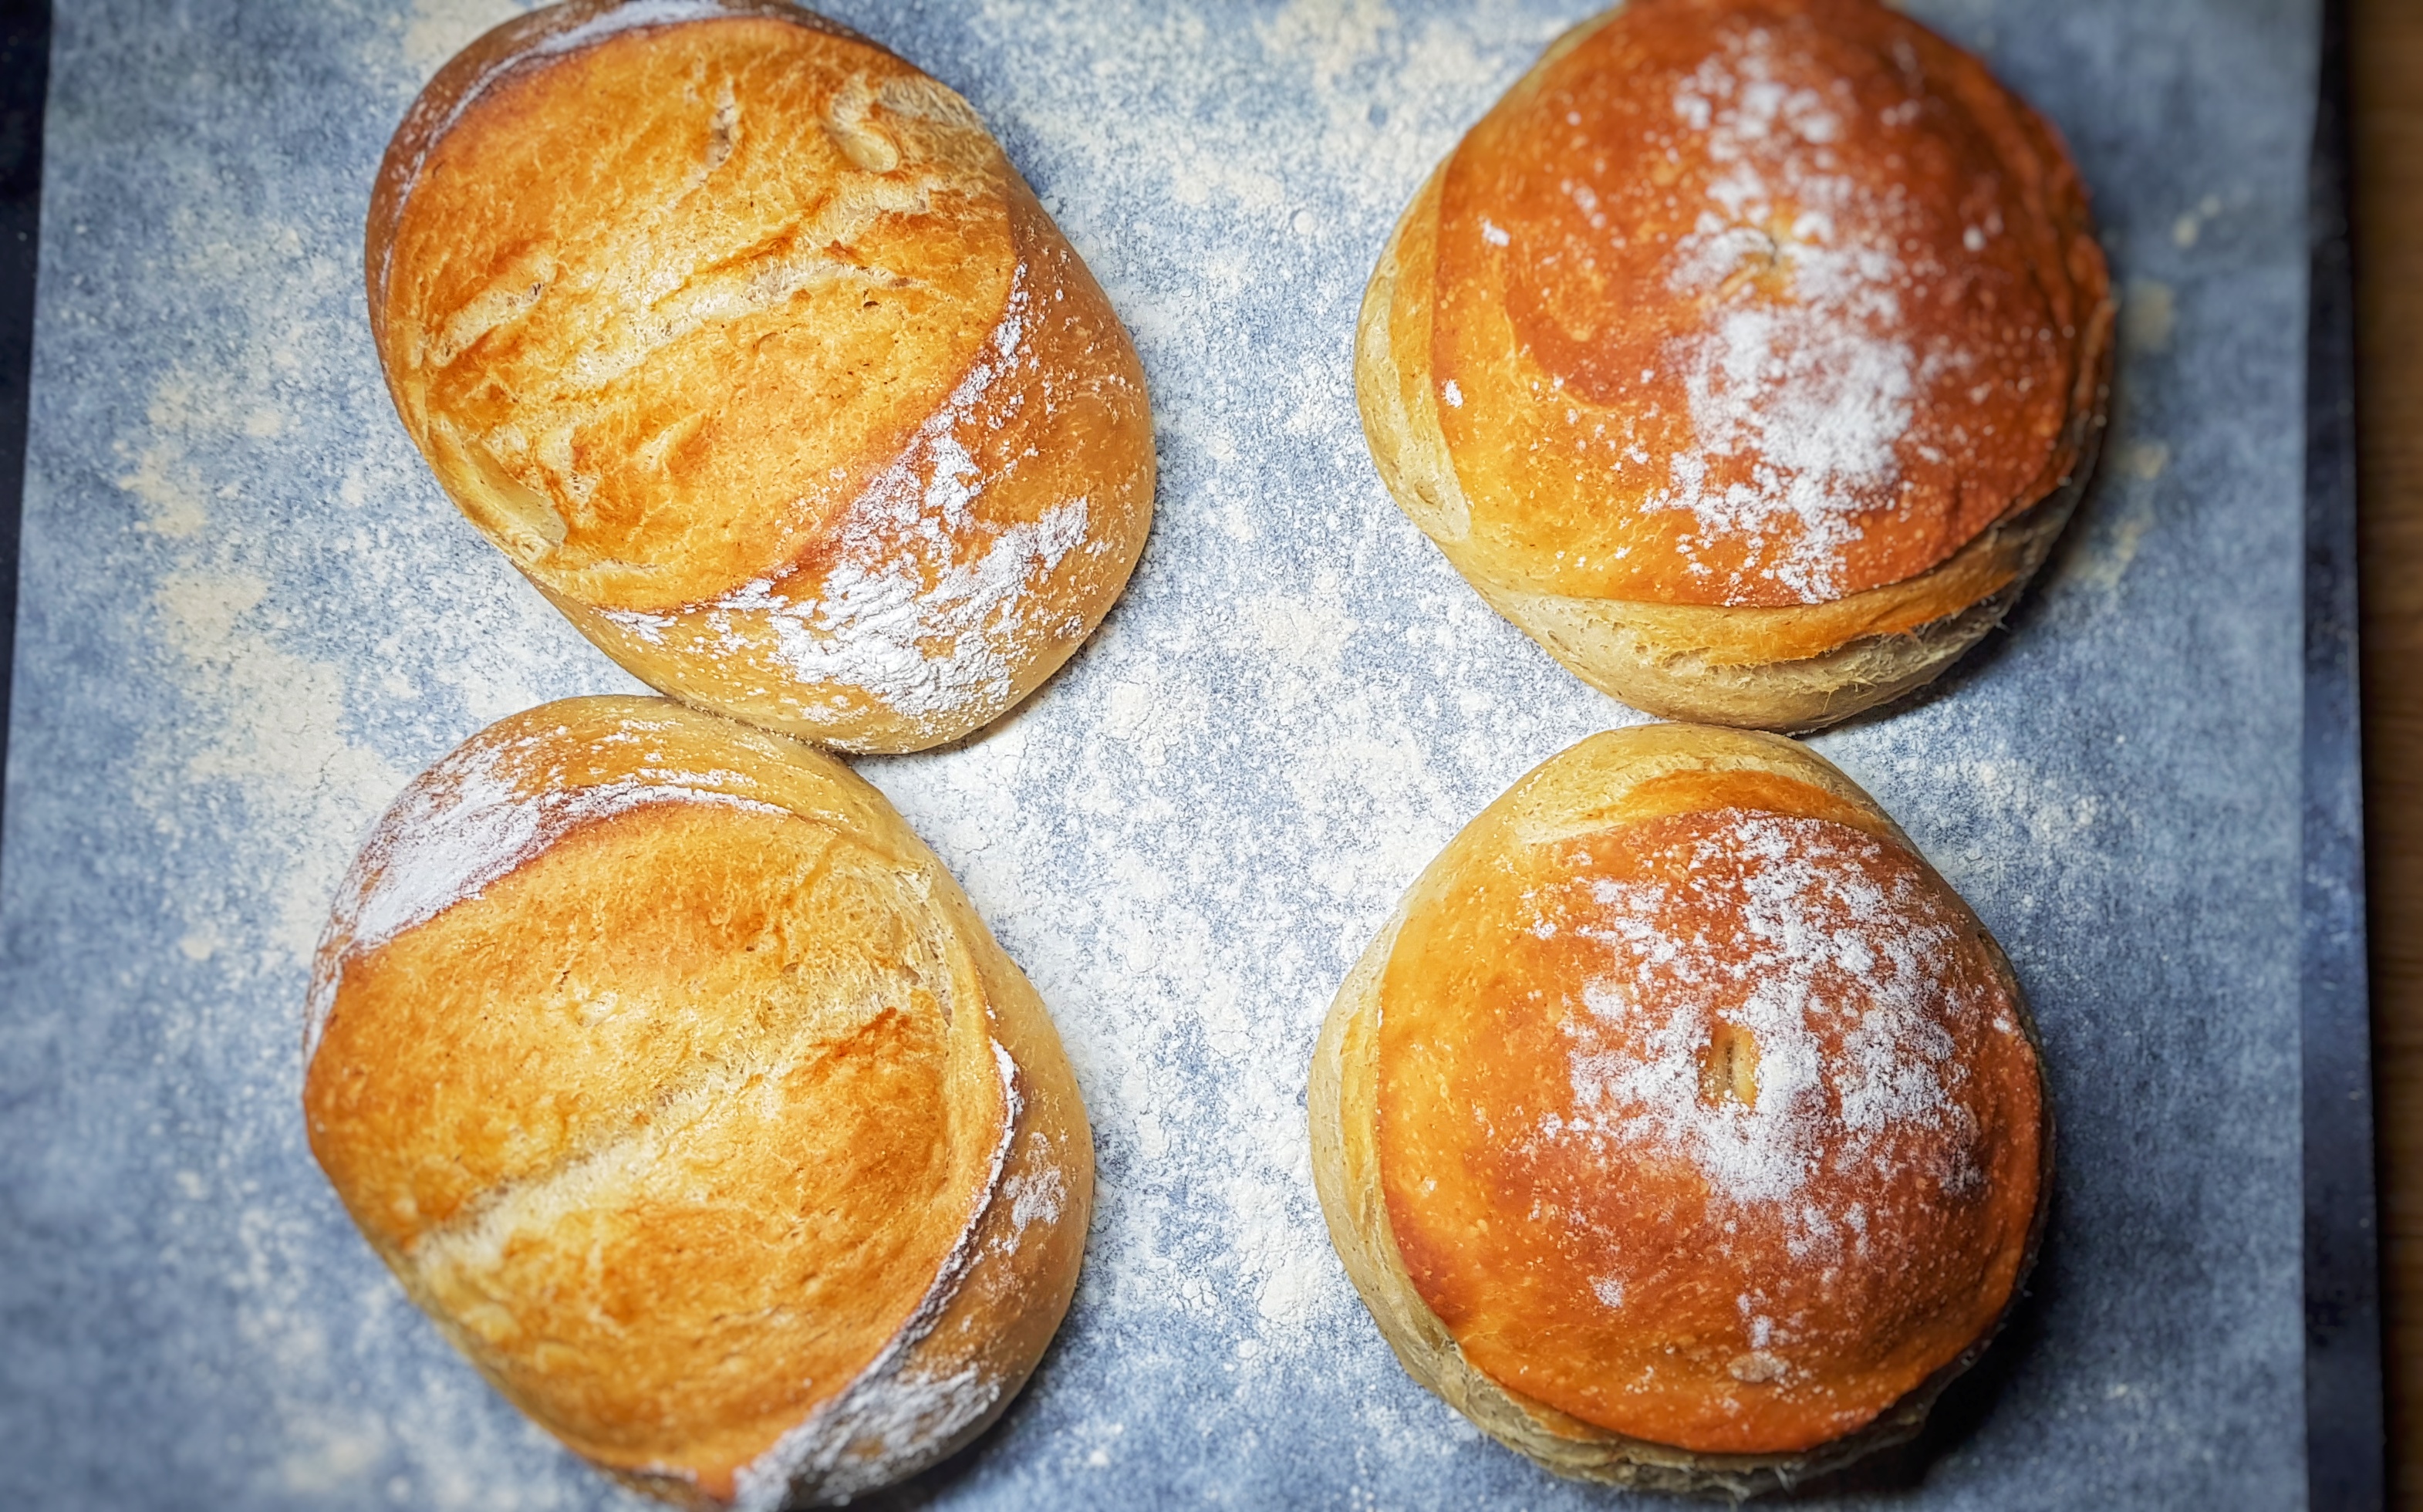
As promised, and carrying on from my last post, here is my recipe for the traditional yeast leavened black bun (Scotch bun). I must say I was really surprised with how well it turned out: it was enriched with so much stuff and was so huge, I thought the poor little yeast cells wouldn’t be able to do their job. I was wrong, but it did take two days to do two provings required before baking.
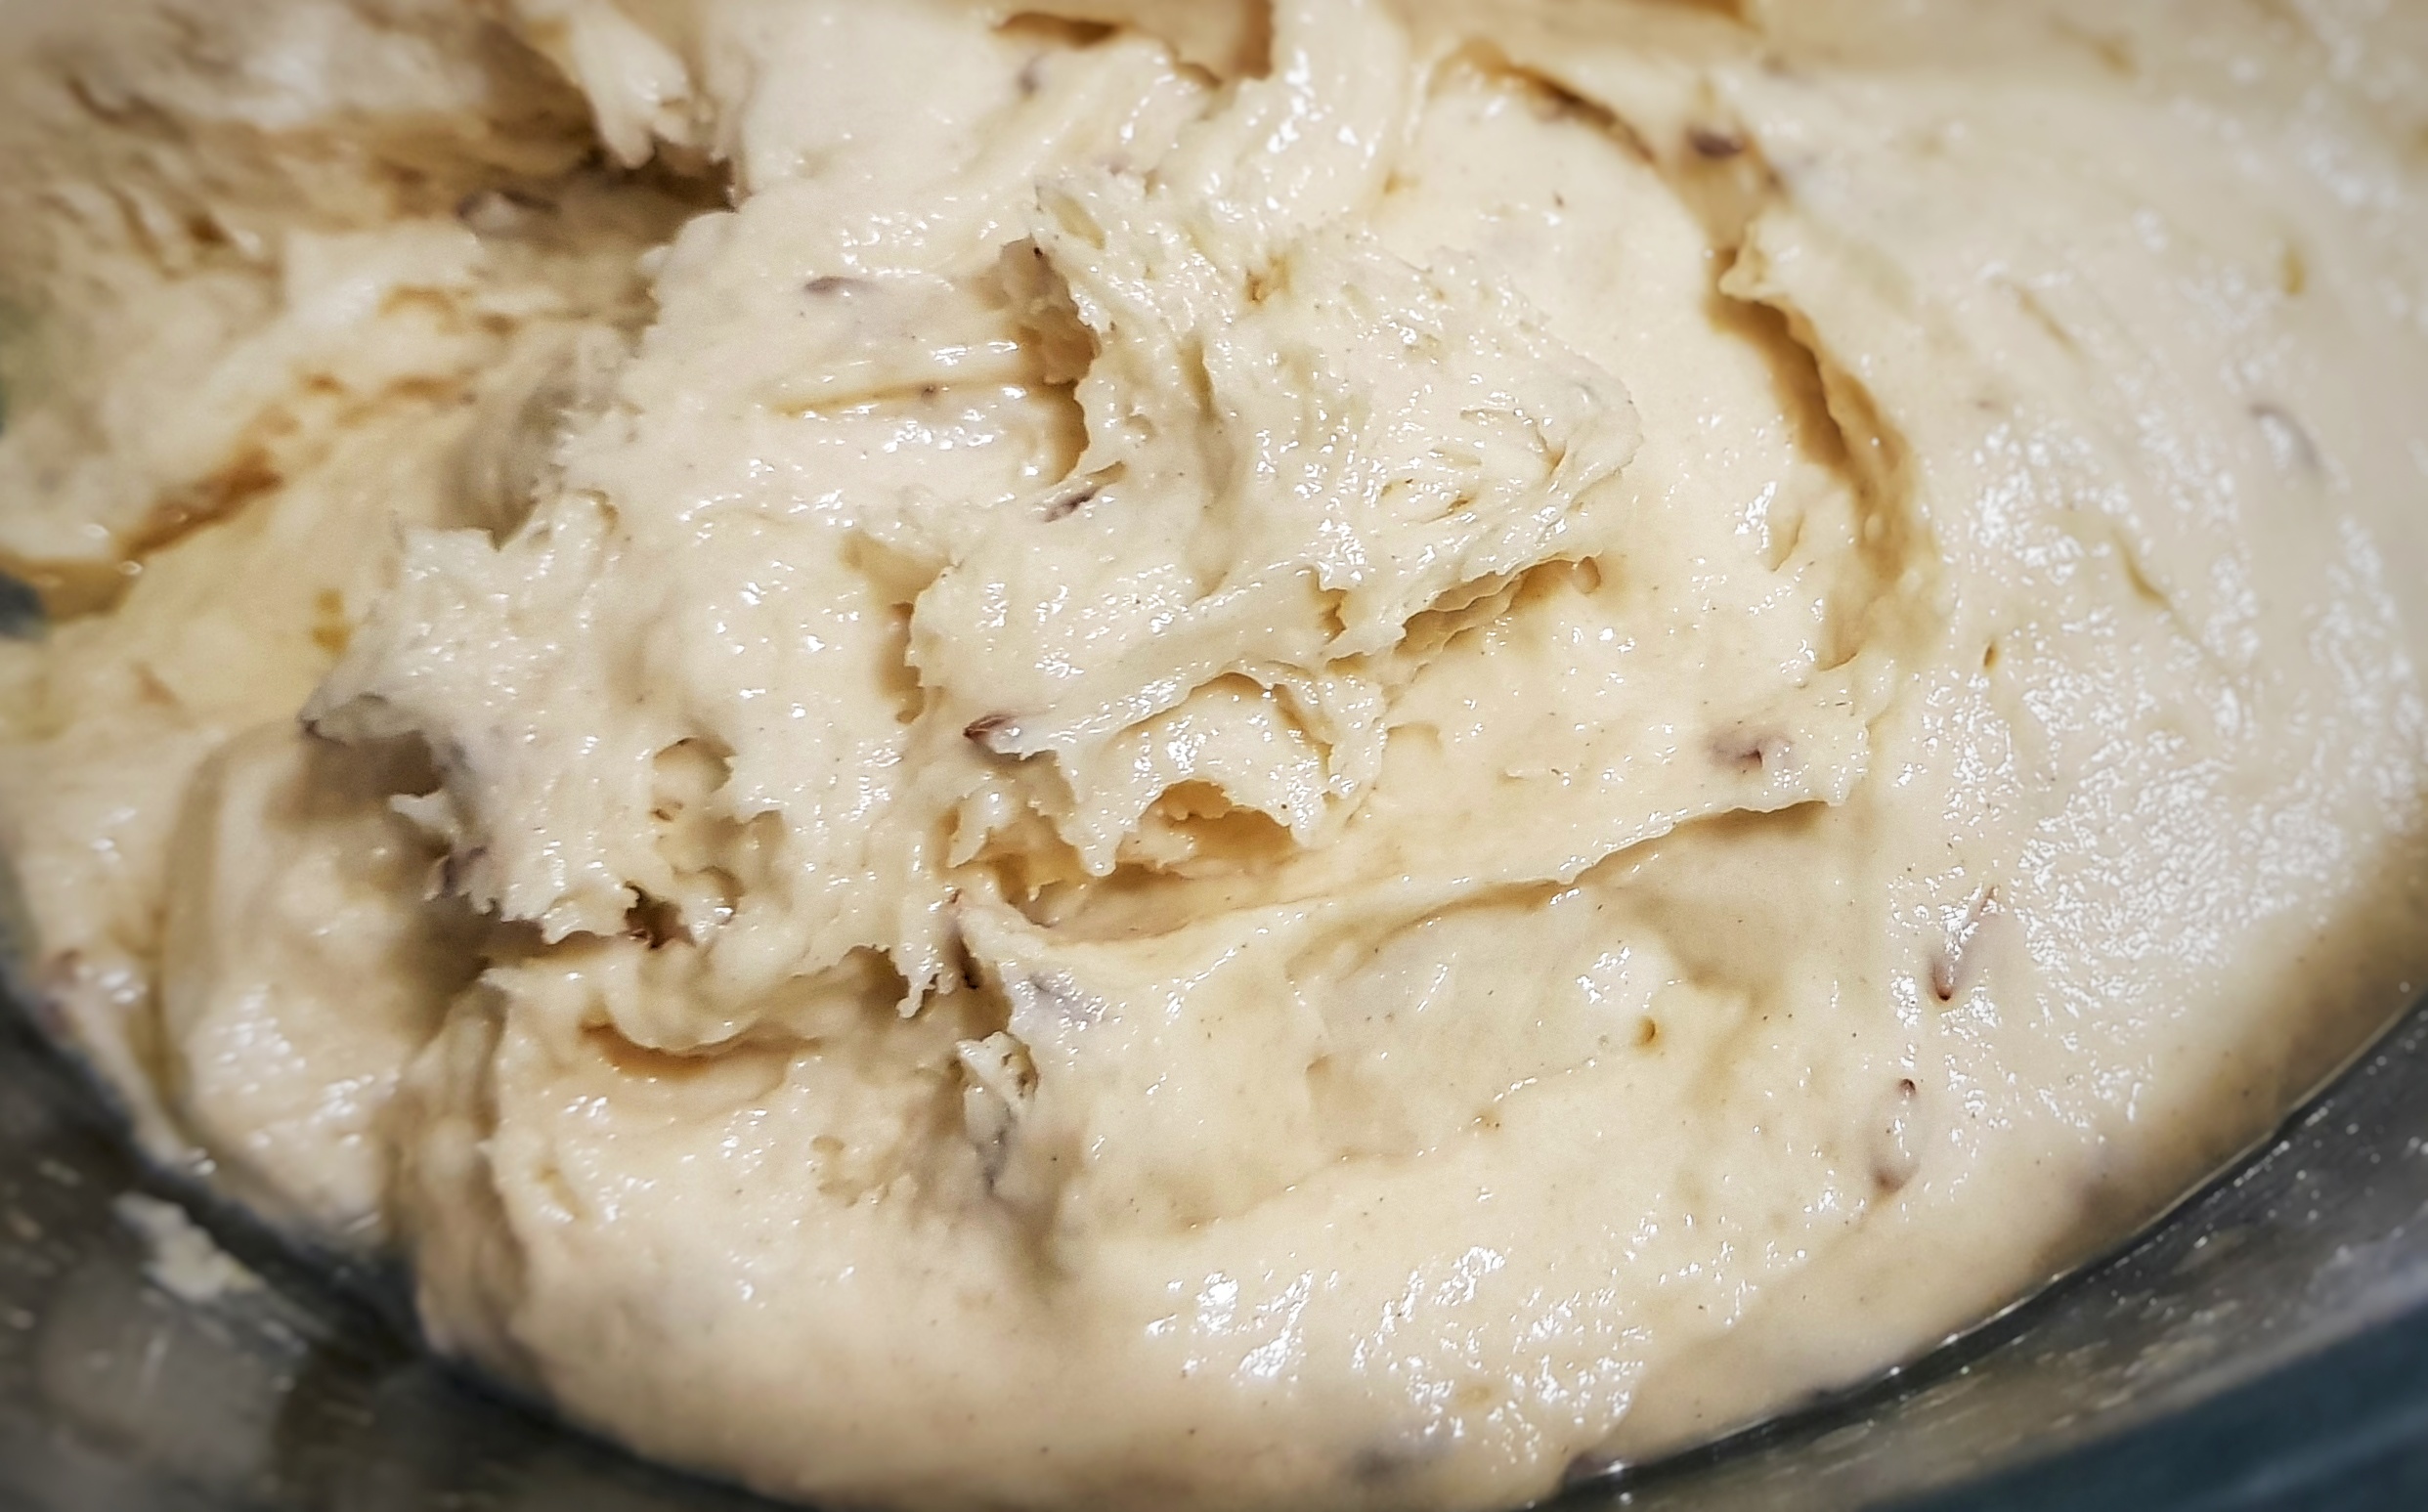
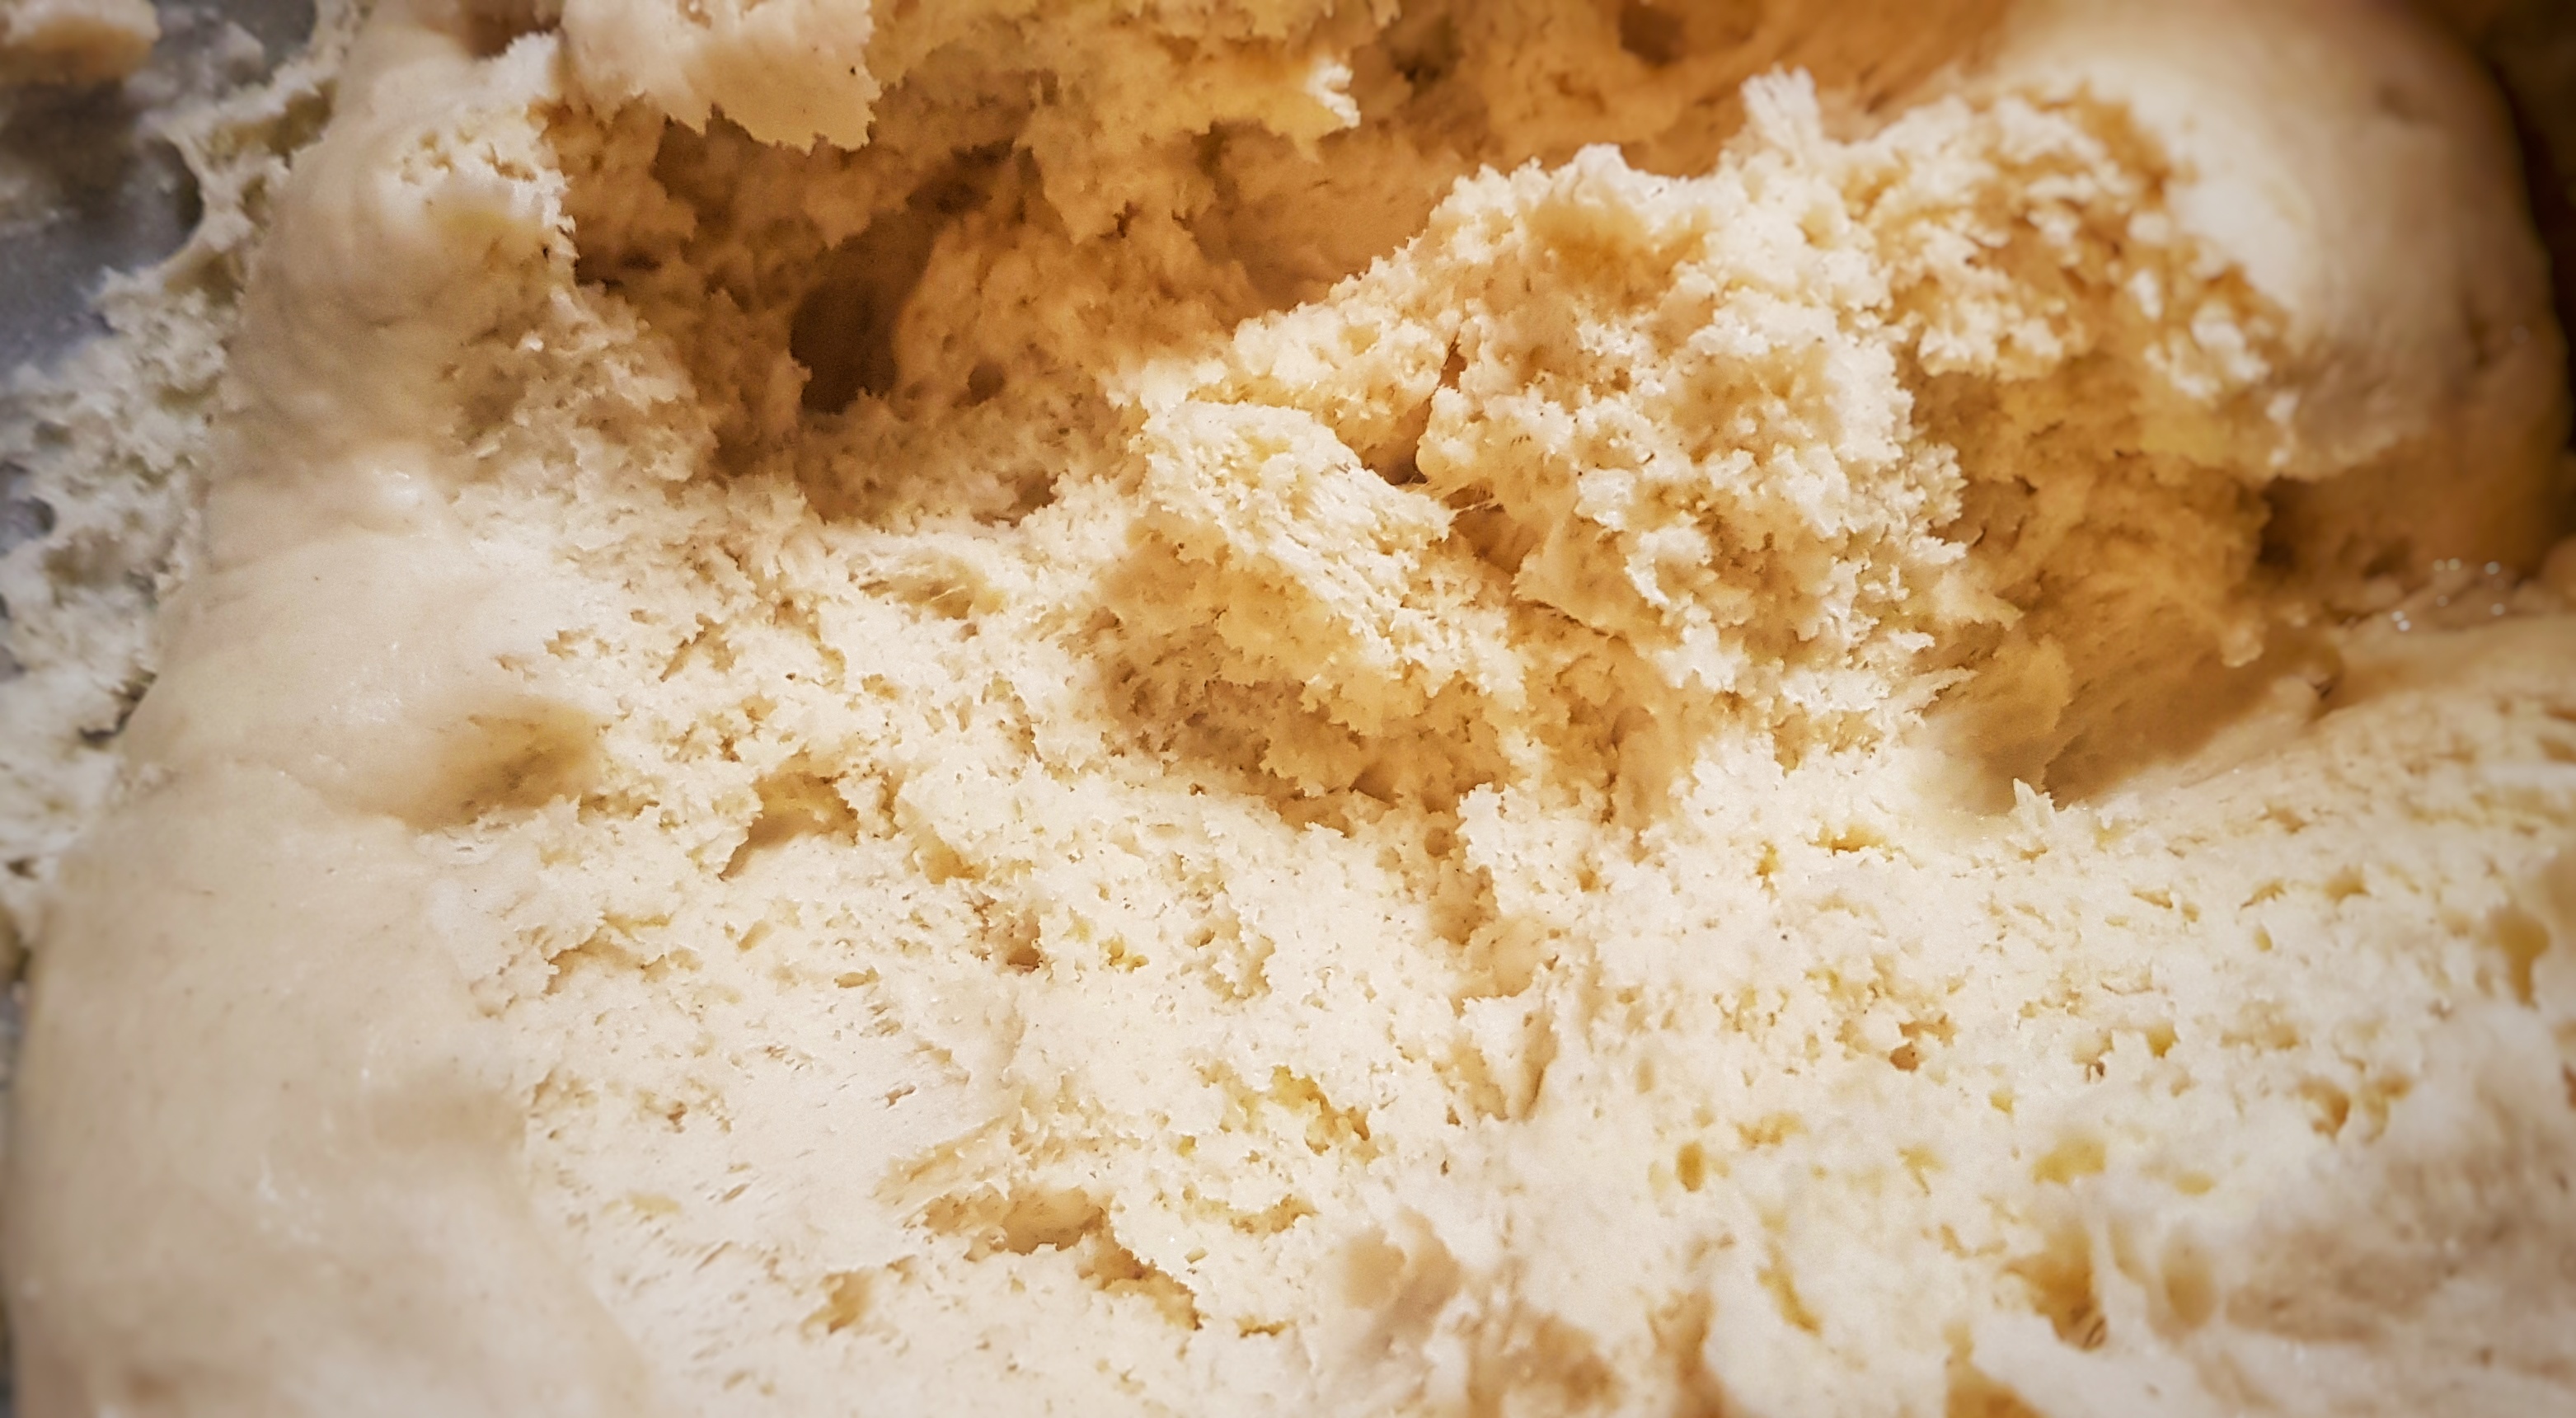
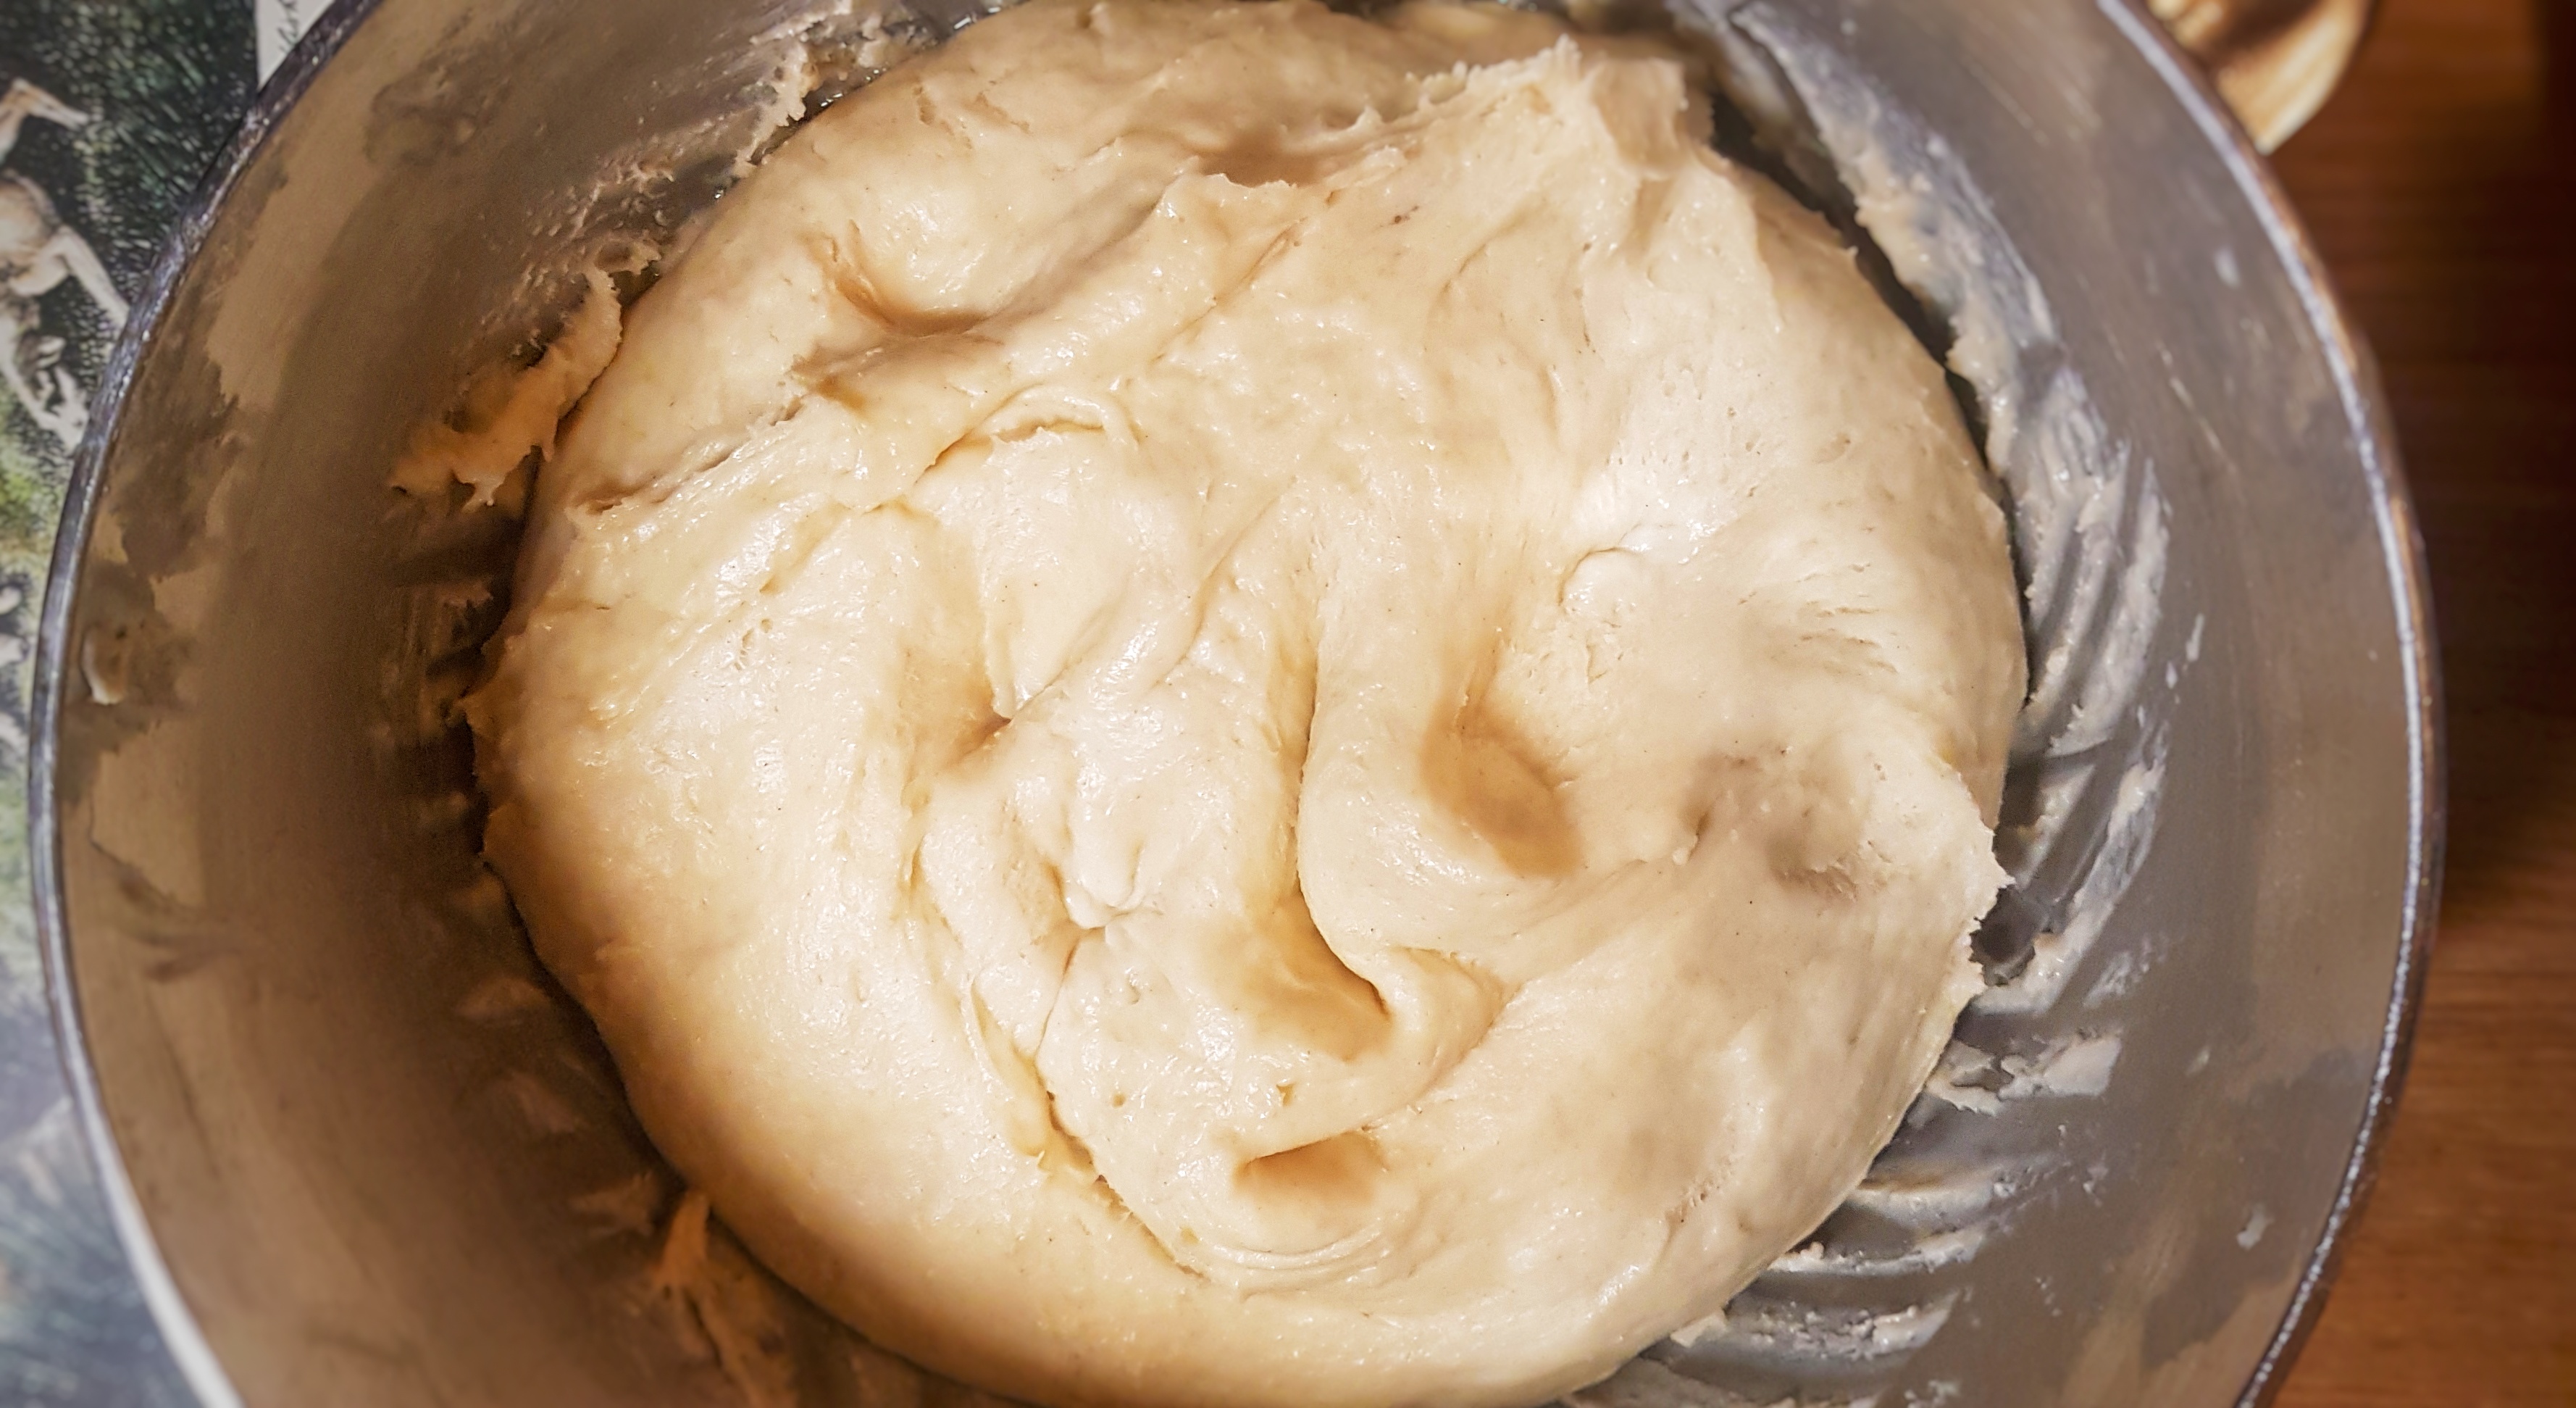
The white dough is essentially a sweet brioche made without eggs. When it was time to knock it back after its first rising, I was encouraged by the network of small yeasty bubbles that had formed inside the dough.
The tiny bubbles in my enriched basic dough
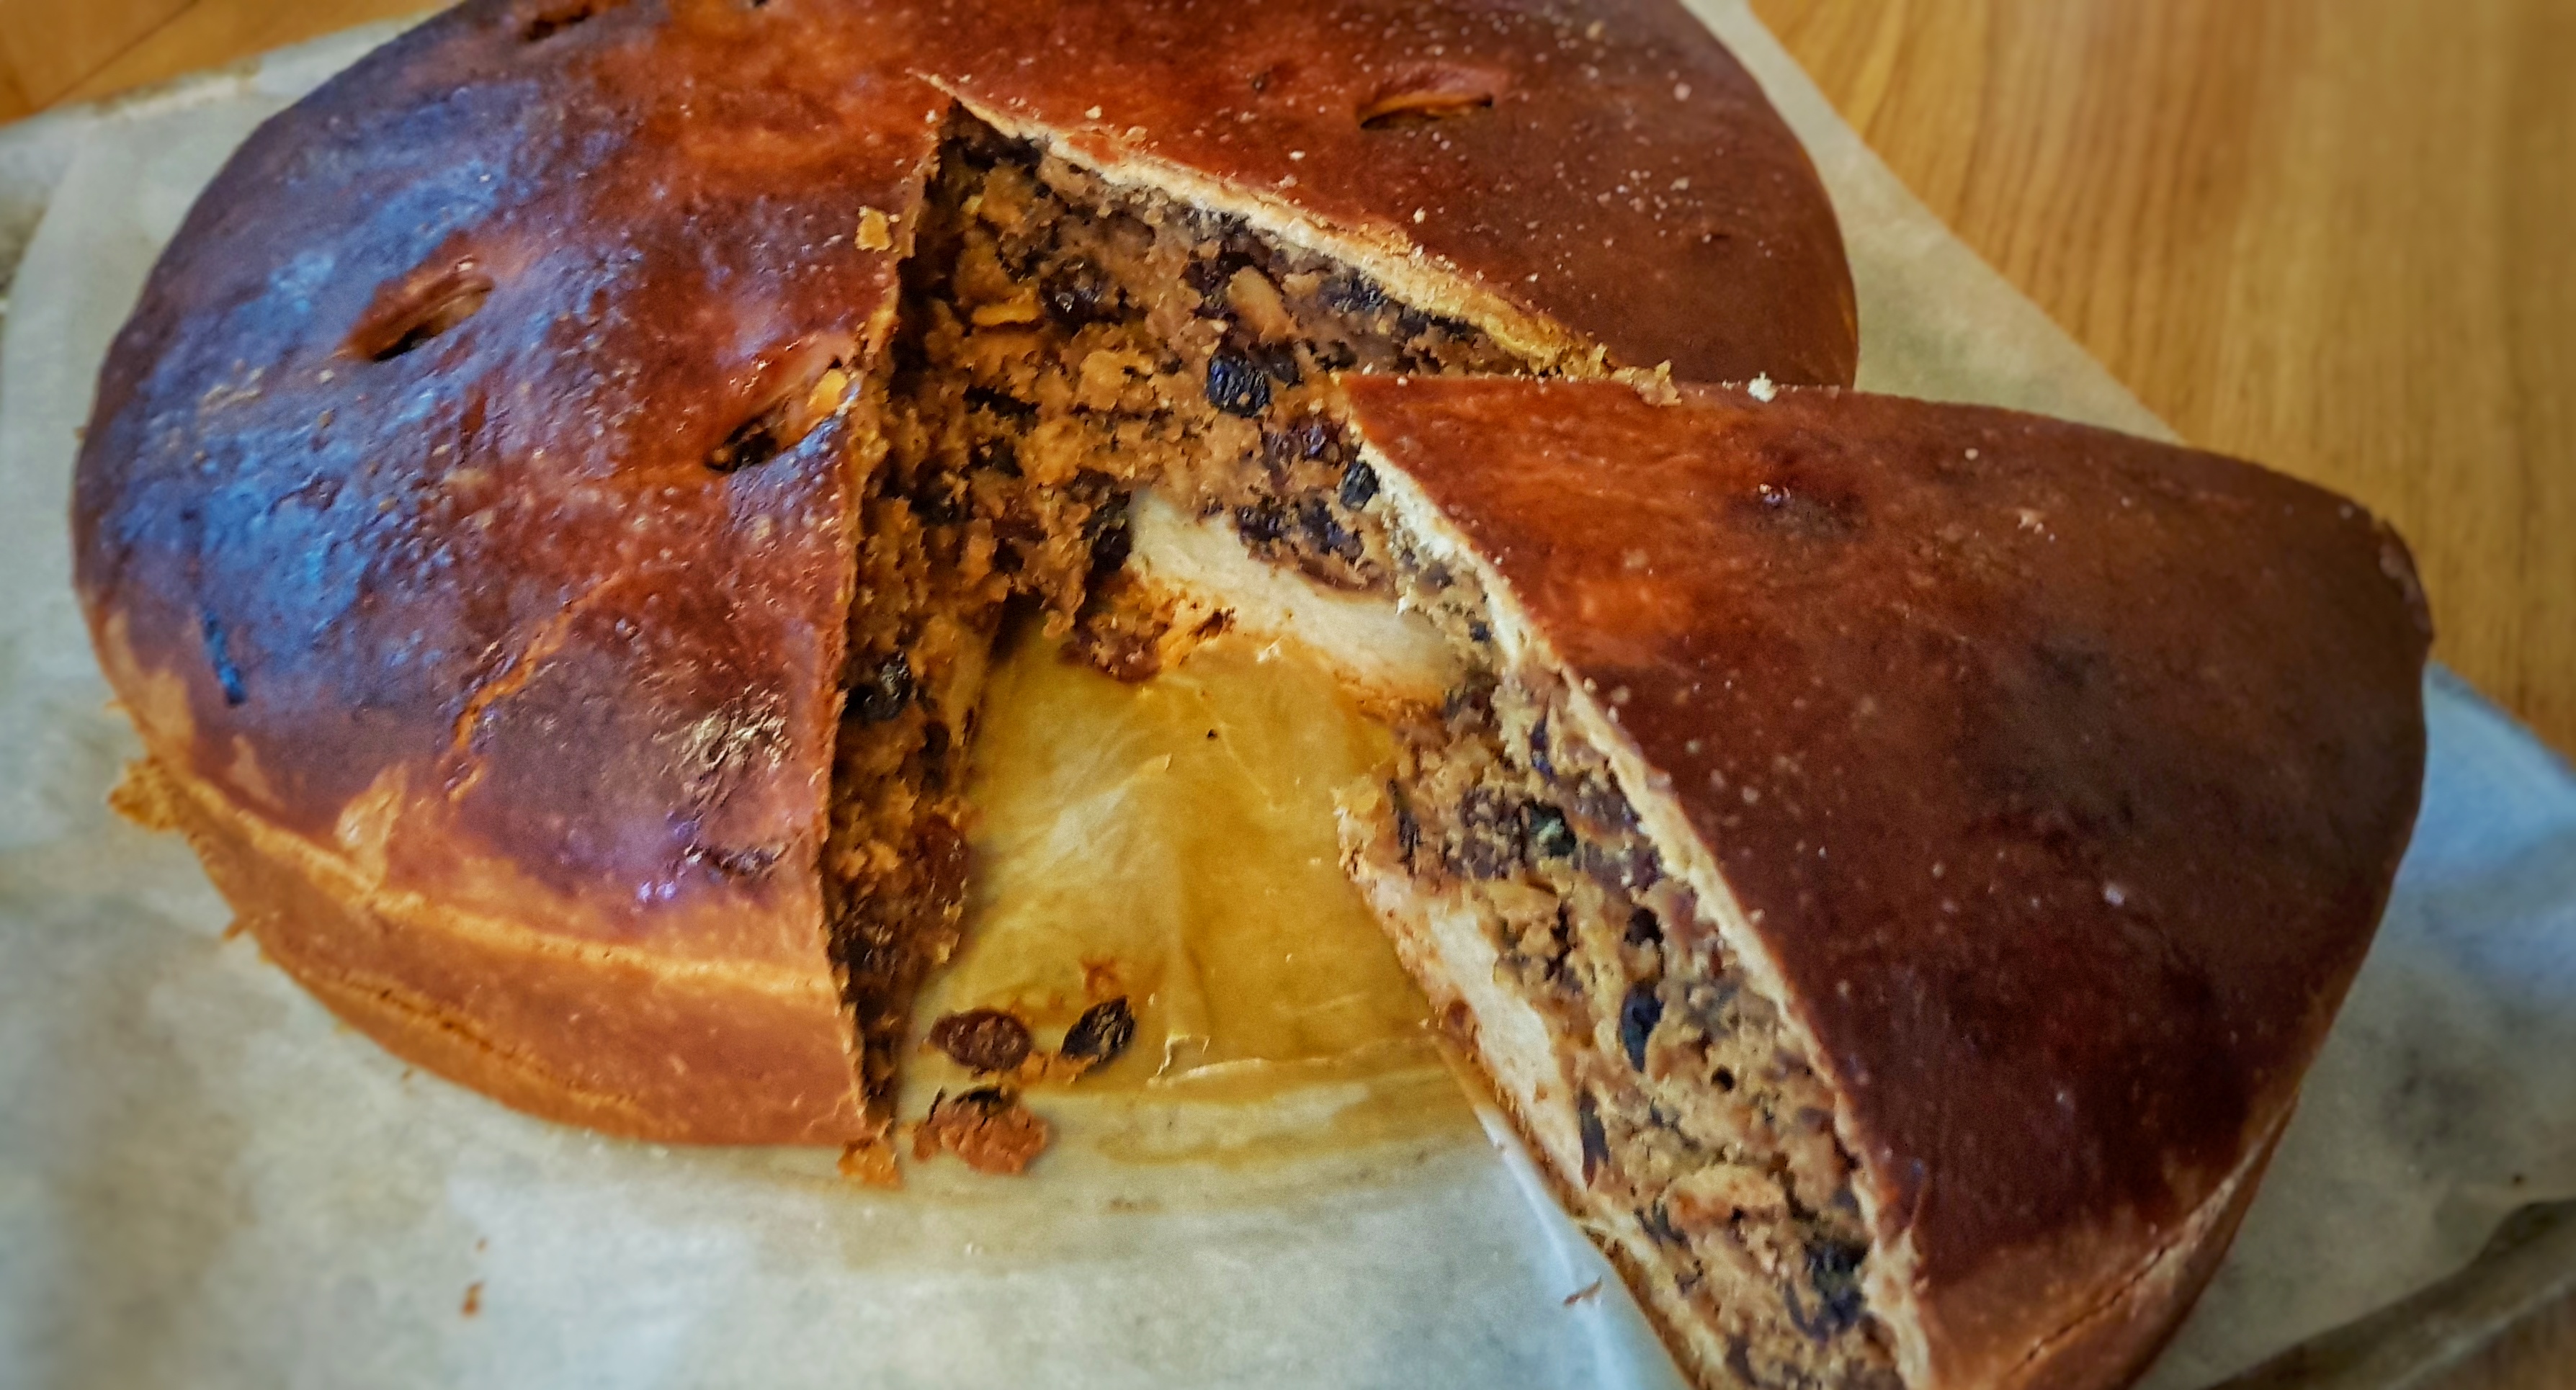
The bun was huge and made quite the centrepiece (though if you wanted to reduce the quantities and make a smaller one, go ahead). The cake inside was deliciously moist, and the brioche dough wonderfully buttery and thin and in such contrast with the treacle-black centre.
If you like the blogs and podcast I produce and would to start a £3 monthly subscription, or would like to treat me to virtual coffee or pint: follow this link for more information.Thank you.
It may have been big, but it kept well and was perfectly delicious well over a week after baking.
For the basic dough:
450 g plain white flour
450 g strong white bread flour
160 g caster sugar
10 g dried fast-action yeast
20 g salt
160 g softened butter
400 ml hand-hot full-fat milk
A smidge of flavourless oil
For the centre:
750 g basic dough
100 ml black treacle
400 g currants
400 g raisins
100 g candied peel
100 g slivered almonds
1 tsp mixed spice
½ tsp each ground cinnamon and allspice
2 eggs, plus 1 more for glazing
Butter for greasing
Granulated sugar
Two days before you want to bake your black bun, in the evening, make the basic dough. This is best done with an electric mixer, however don’t let me stop you attempting this by hand. Mix the dry ingredients – flours, yeast, sugar and salt – in your mixing bowl, make a well and add the butter and milk. Mix slowly with a dough hook until everything is mixed together, then turn the speed up a little and knead until smooth. Because it’s a low-gluten mixture and there’s all of that butter and sugar, it won’t be very elastic, but when it’s really smooth, you are done. It should take 8 to 10 minutes.
Paint the inside of a bowl with oil, then bundle up the sticky dough as best you can and cover with cling film. Leave to prove until around double in size. This took 18 hours: I use a low amount of yeast on purpose that the yeast ferments slowly. It may take less time for you if you used more yeast, and if your home is warmer than mine.
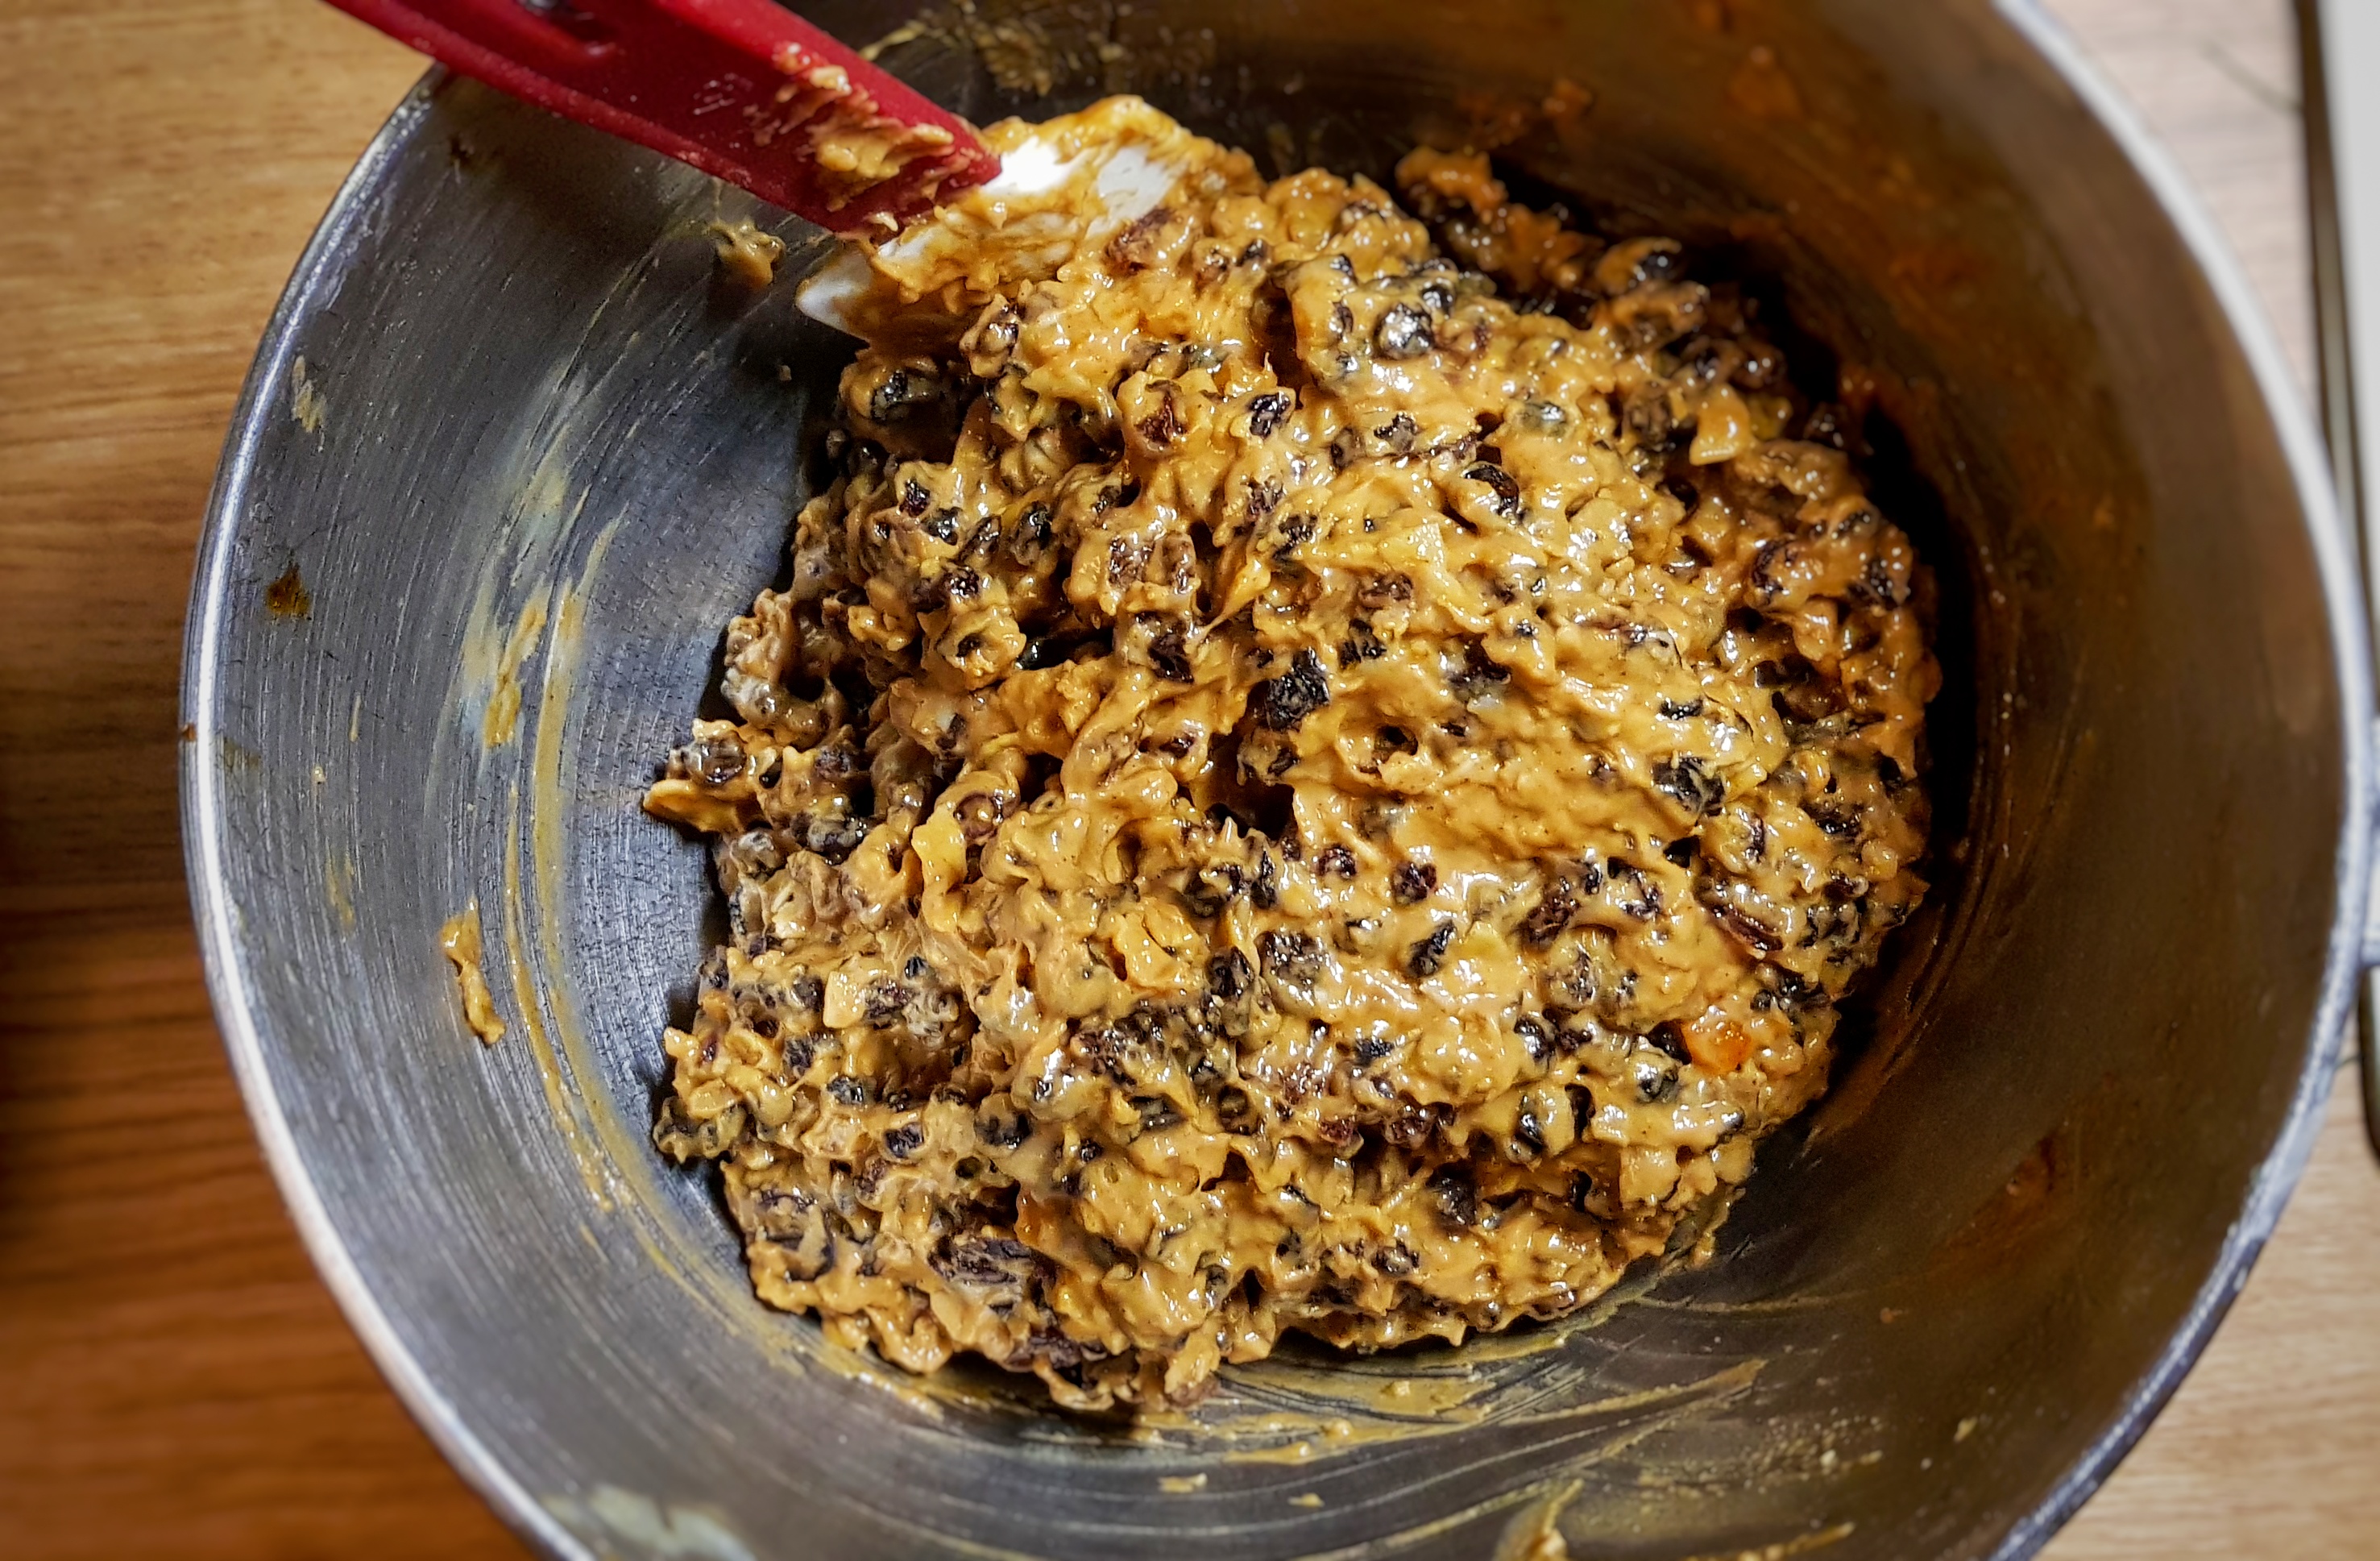
Knock back the dough and place 750 g of the dough in your food mixer, then add the treacle, dried fruits, candied peel, almonds, spices and eggs. Mix with a flat beater for a couple of minutes until everything looks smooth and like a Christmas cake batter. Set aside.
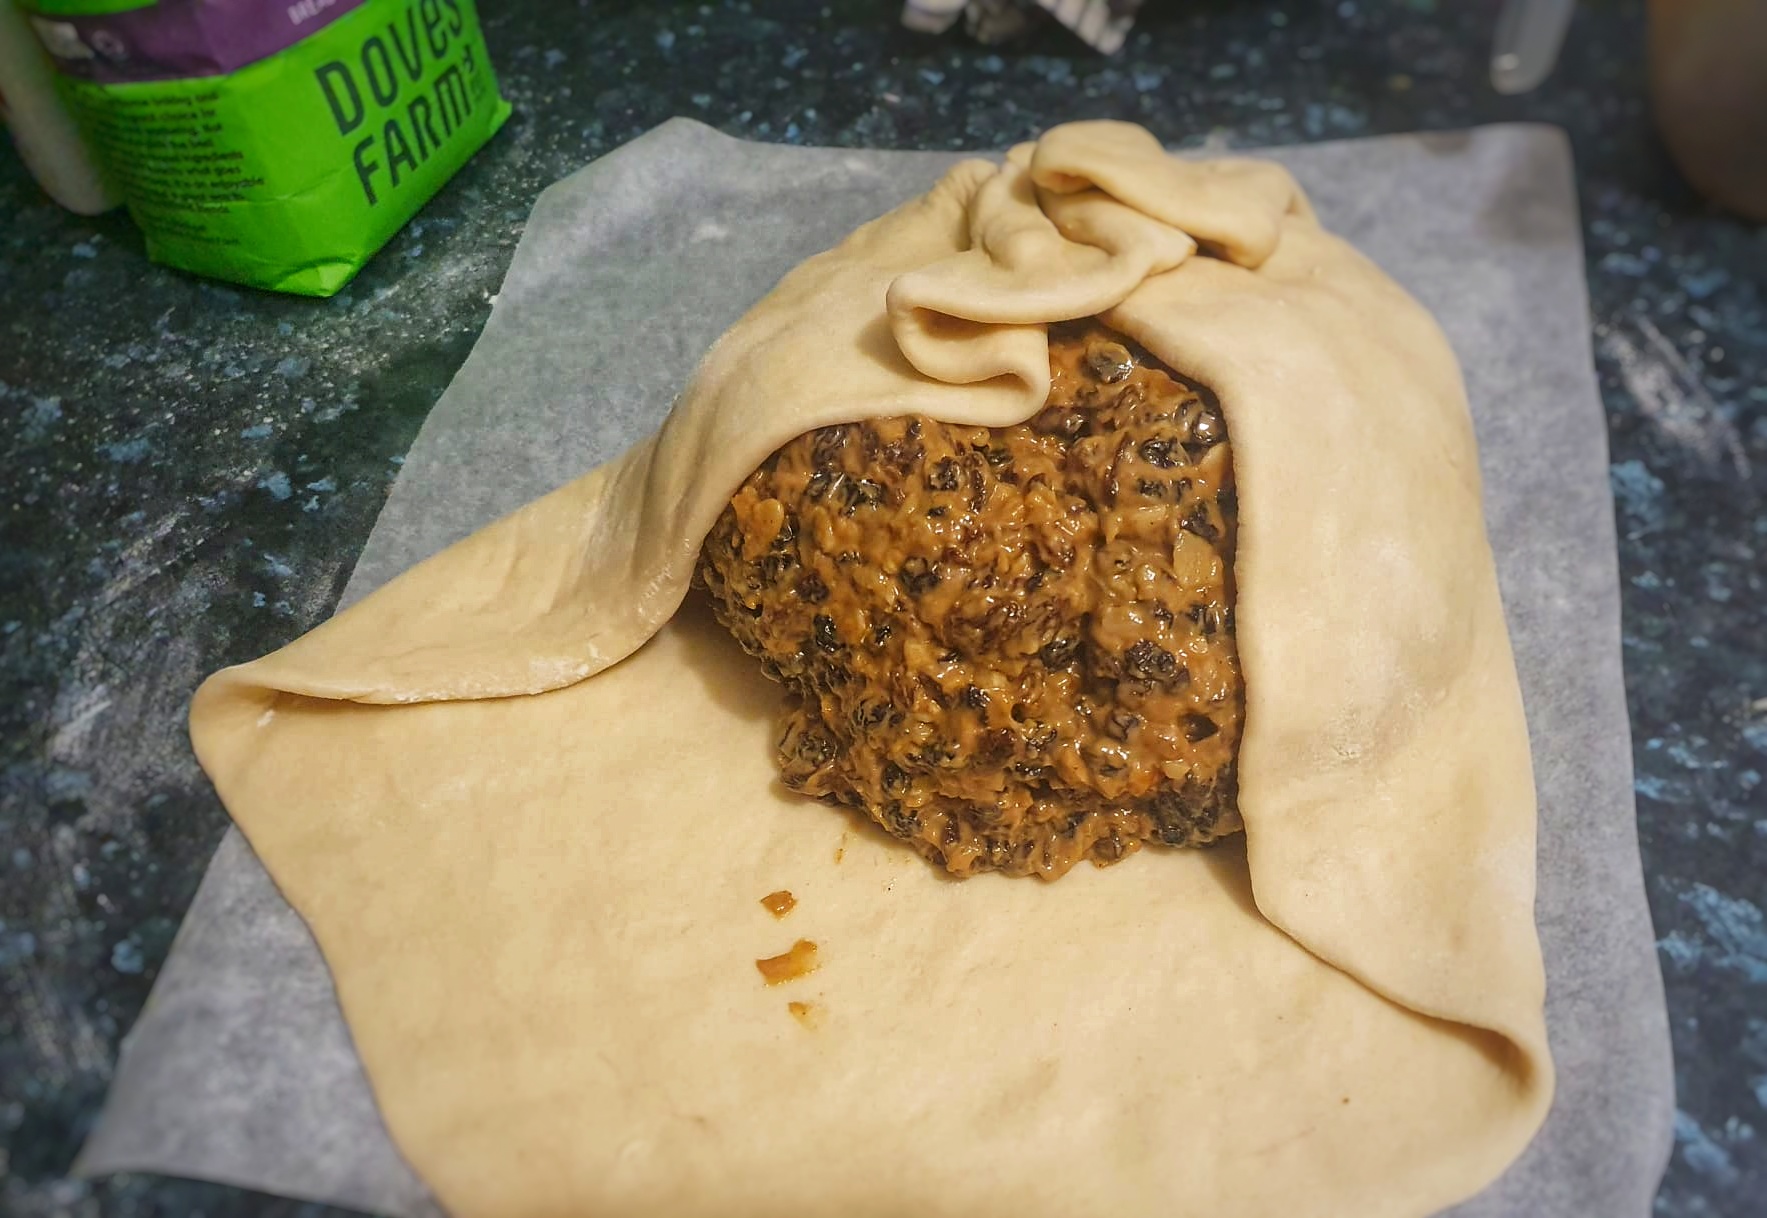
Take the remaining dough, form into a ball, place on a floured work surface and roll out into a large circle 32-35 cm in diameter. Make sure your pin is floured too; this will prevent sticking. With slightly wet hands, scoop the dark sticky dough and pop it in the centre of your circle. Now gather the dough so that the centre is completely covered – rather like a giant Eccles cake.
Cut away bits of the dough that have bunched up too much and glue any edges with a thin coat of beaten egg. Don’t worry if it looks a bit messy. Turn the bun over and flatten it with your hands, smoothing away any bulging bits to make a nice round shape.
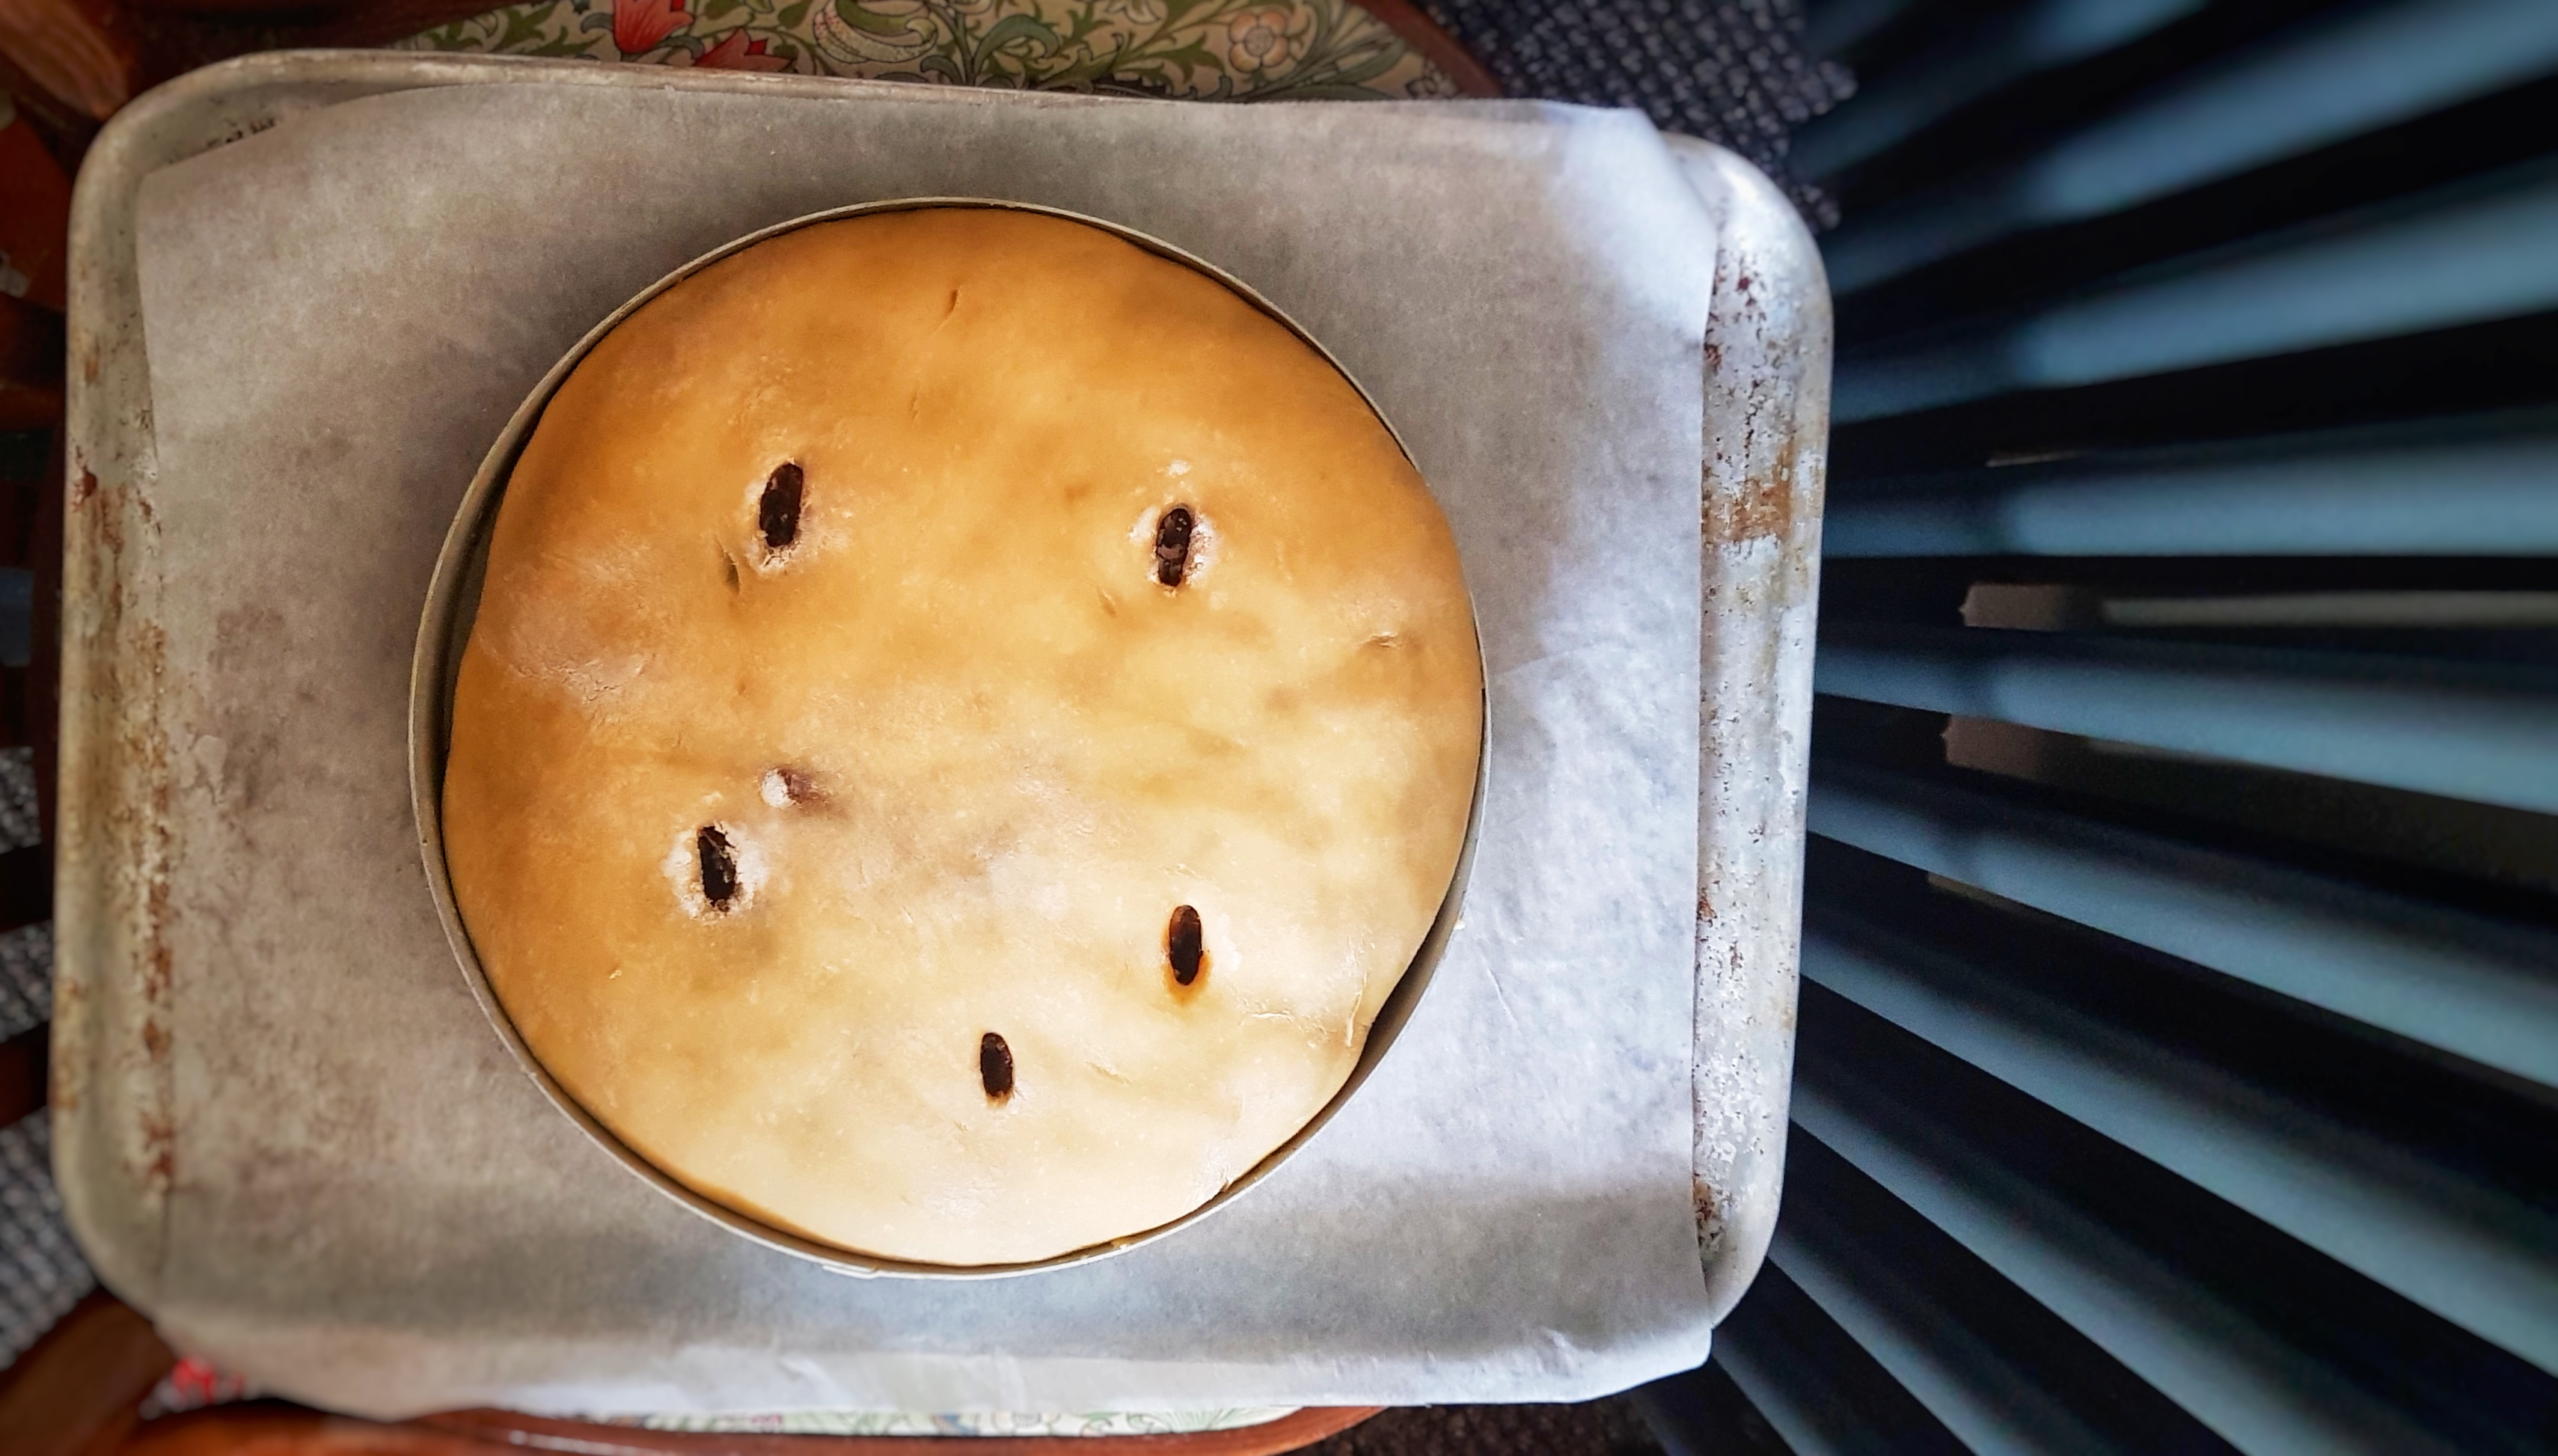
Now liberally grease a 25 cm flan ring with butter and place on a baking sheet lined with greaseproof paper and then dusted with flour, and place the bun in the centre. Press the bun or lightly roll it with your rolling pin so that is just a centimetre off from touching the edge. Paint the top with egg and scatter over a little granulated sugar, then stab holes in the top with a thin, pointed knife right down to its base – this keeps it flat as it rises. Cover with a large plastic bag[1] and allow to prove until it has grown large enough to fill the ring. For me, this took 12 hours.
Preheat your oven to 175°C and place a heatproof tin on the bottom of the oven. When it’s time to bake the bun boil the kettle, then open the oven and slide your bun onto the middle shelf, gingerly slide the tin out enough so that you can pour in the hot water, slide it back in and close the door.
Bake at this temperature for an hour, then turn the heat down to 140°C and bake for a further 2½ hours. If the top is getting too brown, cover it with some kitchen foil.
Remove from the oven, and slide onto a cooling rack. Remove the ring when the bun is just warm.
The black bun will keep for weeks in an airtight box or tub. It is delicious eaten with sharp cheese.
Notes:
[1] I find a supermarket ‘bag for life’ is best for this task. I have one that I use only for proving things like this. Turn it over and turn up the edges, as you would your trousers to make it a sturdy shape and hey presto!
Before we begin: a big thank you to Scots chef and food writer Sue Lawrence for helping me out with the research for this post.
It has become a Christmas tradition of mine to ask my Twitter followers to select by Christmas post for me by way of a poll. I like to include both obvious and obscure options and was very pleased this year to see roast turkey receive no votes all (though I suppose I’ll have to write about it at some point!), and the most obscure on the list – the black bun – win out with 46% of the votes.[1]
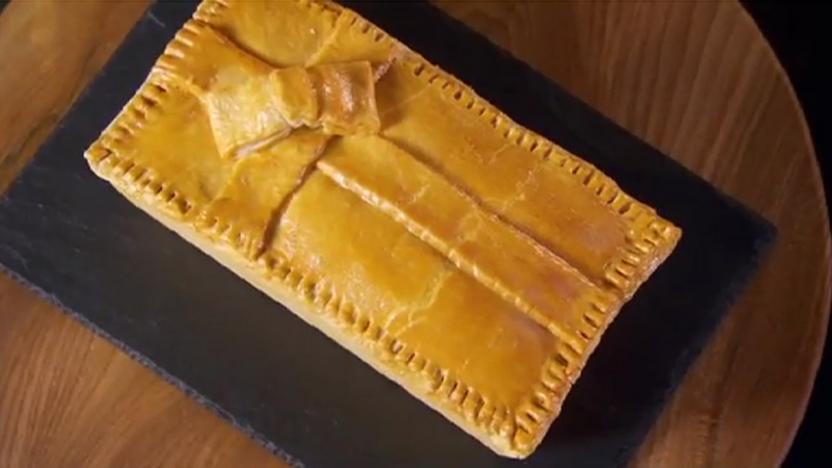
The black bun – sometimes called a Scotch bun – is a Scottish speciality that has changed in shape and constitution through the years, but is today a type of fruit cake baked in a loaf tin lined with shortcrust pastry. It is then covered with more pastry, egg washed and baked. The cake was often made black with the addition of black treacle; Sue Lawrence says of these very rich black buns, ‘the malevolent appearance of the black inner of its shiny golden pastry case might be off-putting to some black bun virgins.’ It might come as no surprise that the bun ‘is almost invariably served with a dram of whiskey.’[2]
Black buns today are fruit cakes wrapped in pastry (pic: BBC)
It is traditional to eat black buns at Hogmanay, the Scots new year festival. Food writer and chef and Sue Lawrence writes evocatively of childhood experiences of the Hogmanay celebration:
‘As I grew up, Hogmanay…was always a time for friends and fun. Friends and neighbours would get together to have a drink and the traditional shortbread (often eaten with cheese), sultana cake, black bun and such delights as ginger and blackcurrant cordial.’[3]
For many Scots Hogmanay, was – and is – more important than Christmas Day is the Christmastide calendar. The black bun is actually the Scots’ Twelfth Cake, but the food and the party was, according to F. Marion McNeill, ‘transferred to Hogmanay after the banning of Christmas and its subsidiary festival, Uphaelieday or Twelfth Night, by the Reformers.’ Christmas Day saw a similar treatment, hence the importance of Hogmanay over other days.[4]
It’s worth mentioning that the black bun wasn’t eaten throughout Scotland: in the Highlands and islands the clootie dumpling was eaten instead.[5] I talk about the clootie dumpling and other Hogmanay foods and traditions with Ulster-Scots chef Paula McIntyre in a new episode of The British Food History Podcast published on 28 December 2022:
You may be wondering why it is called a bun. Well. If you look at older recipes, you’ll see that it was using an enriched white bread dough, a proportion of which is mixed with all of those ingredients one might expect in a Twelfth/Christmas cake: currants, raisins (sultanas are avoided because of their paler colour), candied peel, etc. The mixture was then wrapped in the remaining dough, proved and baked. They were huge and ‘graced many a festive table in the big houses of Scotland over the centuries’, one recipe, provided by Sue Lawrence, used 15 pounds (6.8 kilos) of flour!
I first heard of the black bun, not in a Scottish cookery book as one might expect but in Elizabeth David’s English Bread and Yeast Cookery.[6] She described it as ‘a remarkable confection’, and it is one of the few British, but not English, recipes included in the volume. Indeed, as I found out whilst researching this post, black buns were sold by Edinburgh bakers and sent as gifts all across the British Isles; so it was, at a time, well-known outside of Scotland. Because her book is on yeast cookery, Elizabeth only includes older recipes that use yeast as a leavening agent. She provides several recipes from several sources, and it is interesting to see how the bun became richer and fruitier as time went on. Black buns grew to be so enriched that it became almost impossible to leaven them using yeast, luckily this happened around the same time chemical raising agents were commercially available. At first the chemically-leavened buns were made with bicarbonate of soda and buttermilk – just like a soda bread – but over time, it became more like a regular fruit cake.[7] The pastry initially used was a huff paste – a pastry somewhere between a hot water pastry and a shortcrust. At first it wasn’t eaten, the paste simply protecting the interior, however as time went on, the pastry was swapped for a richer, more buttery shortcrust.[8]
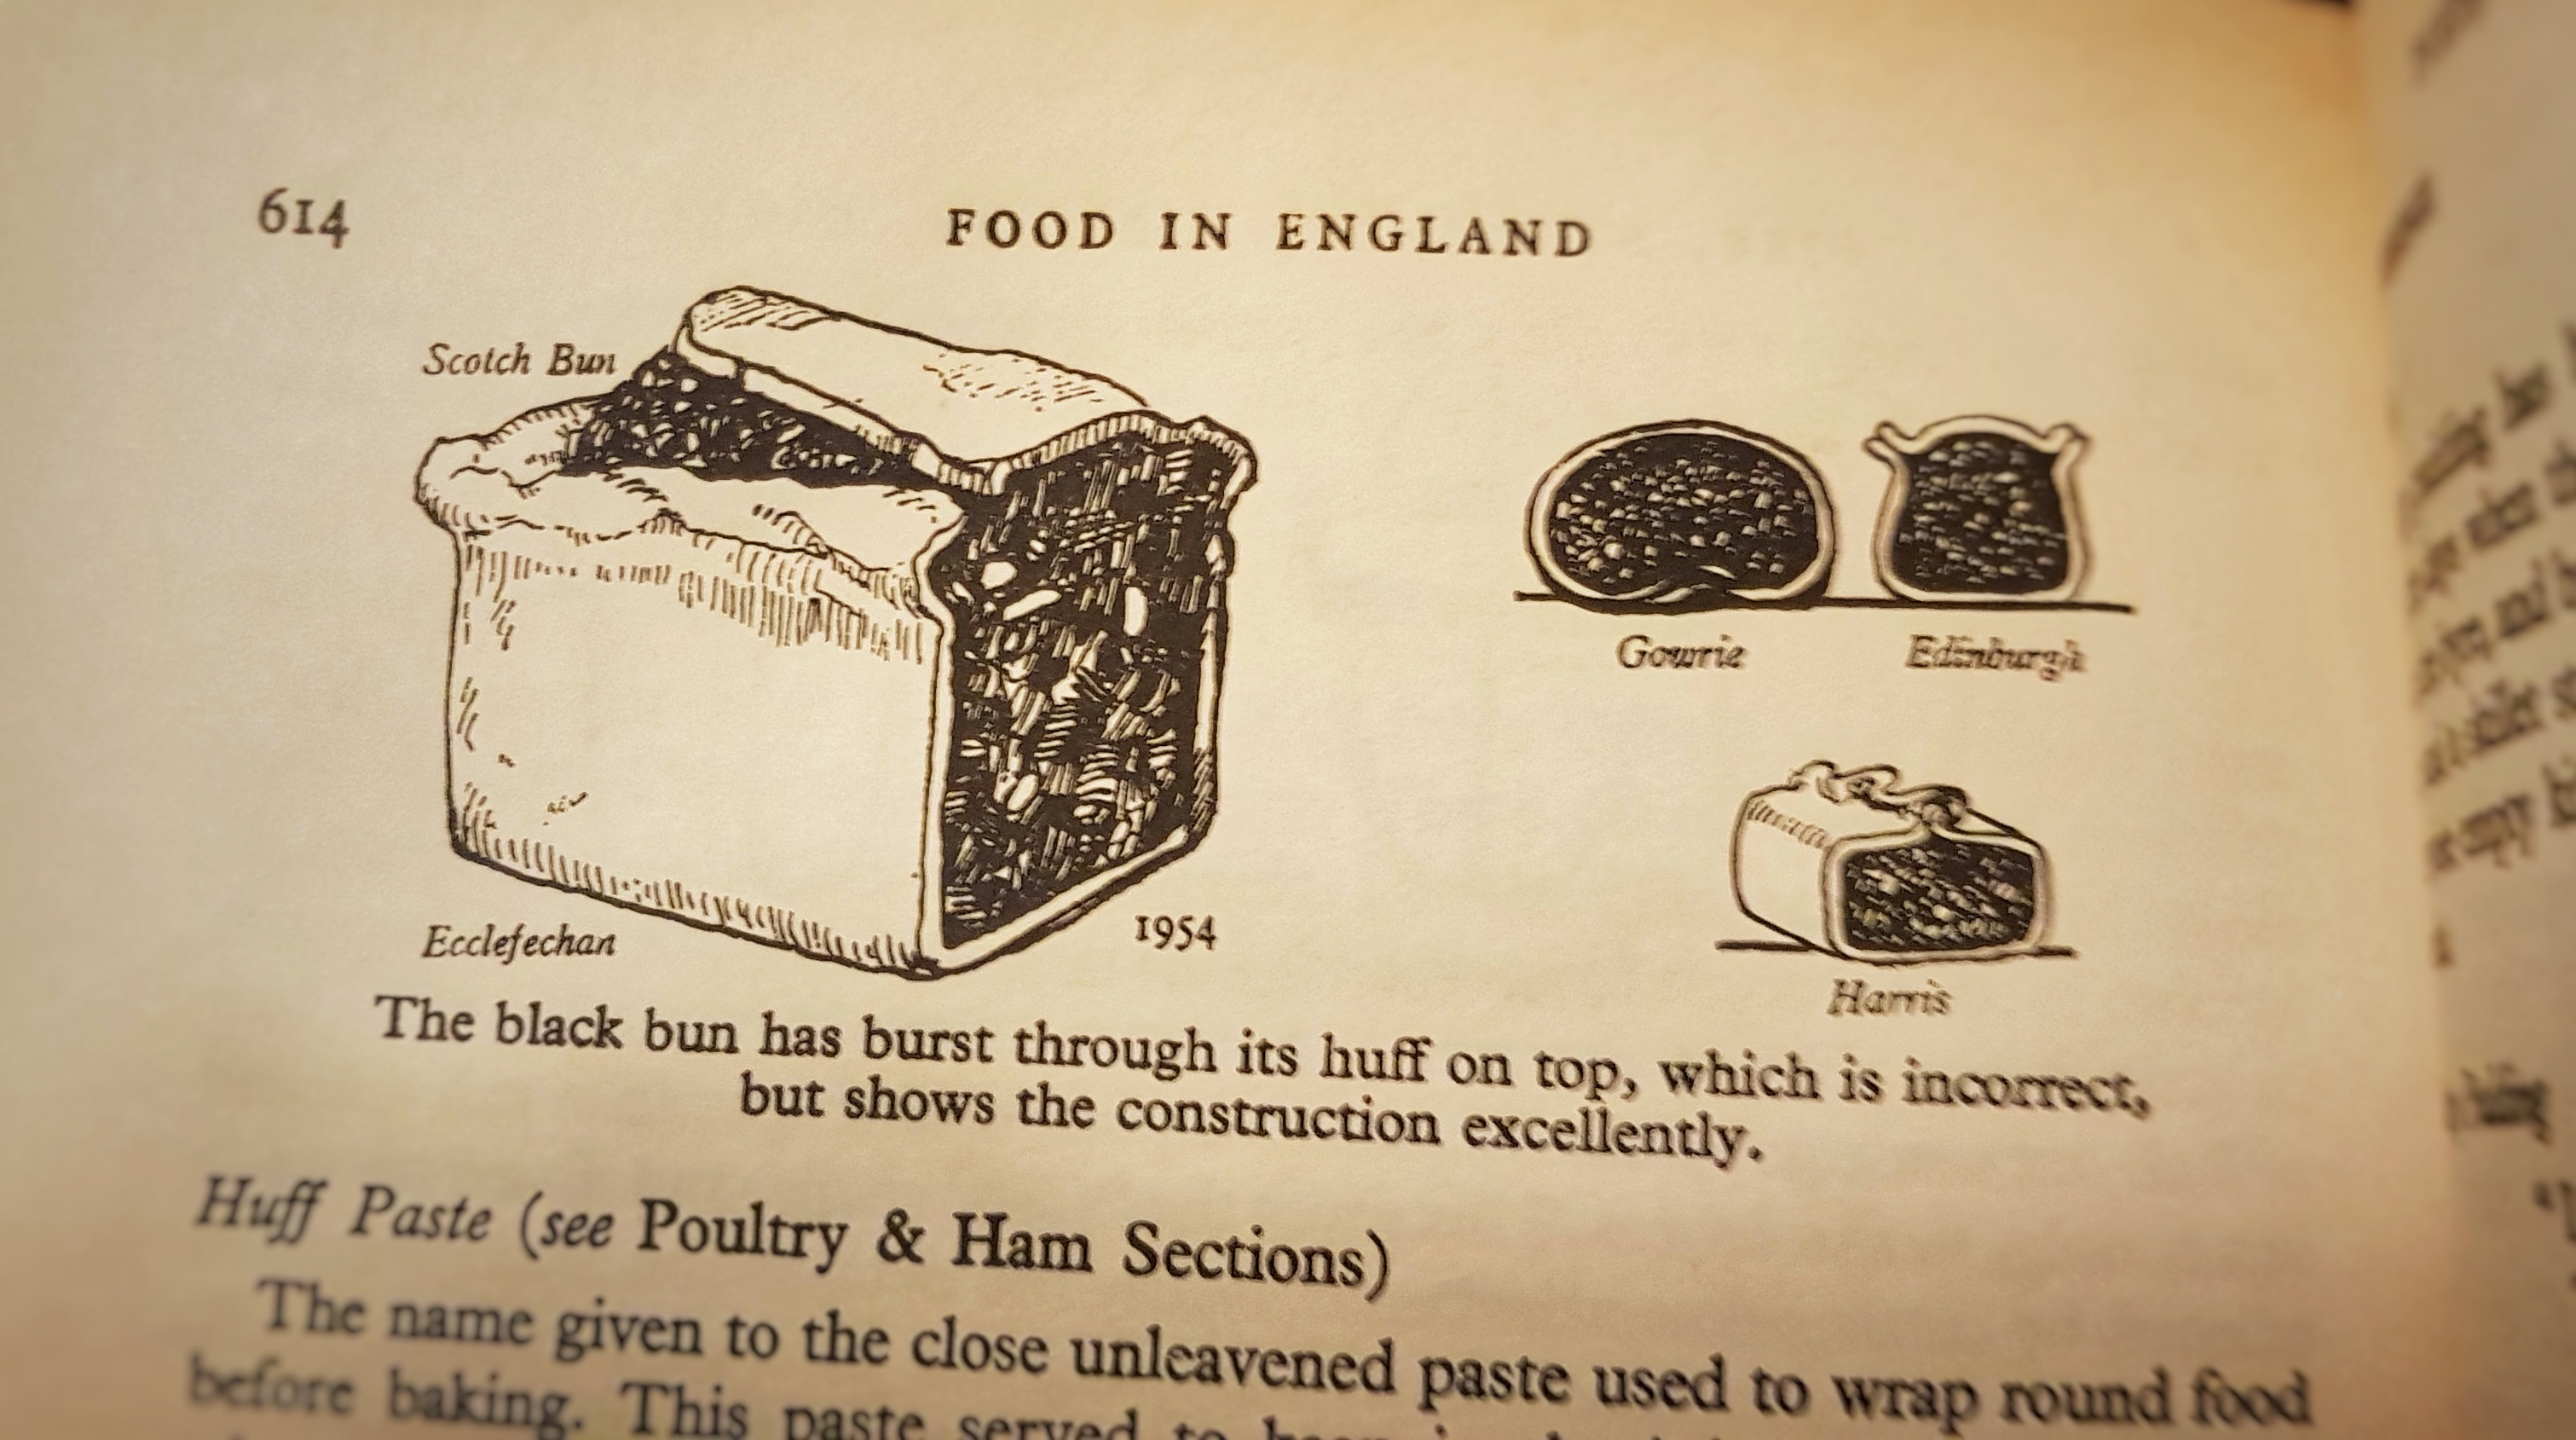
The black bun also gets a special mention in another classic book of English food, Dorothy Hartley’s Food in England,[9] where it is described as a pastry-lined cake. Interestingly, in this book, there is a rare illustration showing the variety of shapes in which the black buns were made:
There are many fantastic recipes for the cake/pastry sort of black bun; Sue Lawrence has one in her forthcoming Scottish Baking Book, and there is one is F. Marion McNeill’s wonderful The Scot’s Kitchen[10] too, so I thought I’d give the yeast-leavened one a go.
I read through a few recipes and based mine on a recipe by Florence Jack, provided by Ms. David in her book. What I liked about it was that it seemed very black: loads of currants and raisins as well as added treacle. I did tone some of the ingredients down because it seemed to me that it enriched it simply wouldn’t rise.
I’ll let you know how I got on in the next post….
If you like the blogs and podcast I produce and would to start a £3 monthly subscription, or would like to treat me to virtual coffee or pint: follow this link for more information.Thank you.
Notes:
[1] The other two options were Brussels sprouts and buche de Noel which attained 21% and 33% of the votes respectively.
[2] Mason, L. and Brown, C. (1999) The Taste of Britain. Devon: Harper Press.
[3] Lawrence, S. (2003) Sue Lawrence’s Scottish Kitchen. Headline.
[4] McNeill, F. M. (1968) The Scots Kitchen: Its Lore & Recipes. 2nd edn. Blackie & Son Limited.
Some of this article contains premium content just for subscribers, if you are not a subscriber, but would like to be one, follow the link further down the page.
As I mentioned last post, I used Elizabeth David’s research on the medieval and early modern bread roll called payndemayn (medieval period) or manchet (medieval and early modern), to recreate my own. The two words at one point, it seems, were interchangeable. There are many spellings of payndemayn, the root of this word being French, pain demesne, from the Latin panum dominicum, the lord’s bread.[1] The word appears in medieval manuscripts such as Forme of Cury. Manchet is believed to be a contraction of the word payndemayn – main – and cheat, the name for another, similar bread made from refined flour that wasn’t quite as white as the really good stuff. Main and cheat eventually became manchet.[2]
It was ‘the lord’s bread’ because the small bread rolls – weighing in at around only 7 ounces (200 grams) – were so expensive that only the lord, at the head of the top table, would receive one. The small loaf would be cut by the lord’s server as described here in the Boke of Keruynge (the Book of Carving) written in 1513:
…take a lofe in your lyfte hand. & pare y lofe rounde aboute / than cut the over cruste to your souverayne, and cut the nether crust, & voyde the parynge, & touch the lofe no more after it is so served.[3]
The over crust, being considered the best part was eaten by the lord, and the rest divided up and given to whomever he so pleased. This is the origin of the idiom the upper crust we sometimes use when referring to the upper classes.
There are mentions of this bread all over, but there are no real recipes in the Middle Ages. There are several mentions of these loaves in recipes though, take this recipe for ‘Soppes Dorre’ from fifteenth century manuscript Harl.4016 (c.1430):
…take a paynmain, And kut him and tost him, And wete him in wyne, And ley hem in a dish, and caste [almond flavoured] syrup thereon.[4]
Elizabeth David went to great lengths in writing EnglishBread and Yeast Cookery to try and get an idea of what these breads were really like, gleaning cues from several sources and combining them. The earliest decent recipes and descriptions crop up in the late sixteenth and early seventeenth centuries, but there are no complete ones: sometimes the ingredients are listed, but the amounts or the shape of the loaves are not given; other times, the shaping is described but the ingredients are missing. She also used artwork from the era to work out the likely shapes.
Elizabeth David’s oval-shaped manchet
It seems that they were also enriched with milk and/or butter and/or eggs, or none of the above, so perhaps something rather like a brioche (sometimes). Elizabeth took the information and created a flour mix of plain white flour, with some strong white flour and a little wholemeal flour, to replicate the lower gluten, not-quite-white nature of the wheat flour used at the time. She enriched her dough with butter and milk, avoiding egg. It put me in mind of my recipe for Cornish/Devonshire splits. She liked that in some descriptions the loaves were oval in shape. To replicate this, she made a deep slash in the dough before it went into the oven. However, I much preferred the sound of Gervase Markham’s 1623 way of shaping his loaves. He instructs us to take the risen dough and
mold it into manchets, round, and flat, scotch [cut] about the wast to give it leave to rise, and prick it with your knife in the top, and so put it into the Oven, and bake it with a gentle heat.[5]
He stabs their tops so that they wouldn’t rise too much in the oven.
My attempt at ‘scotching’ my manchet loaves
I used my Devonshire splits dough as the basis of my manchet recipe, which, as it turned out, was pleasingly very close to Elizabeth’s, except – of course – I used much less salt than she. I decided to make some in the oval shape preferred by Elizabeth, and some like those described by Gervase Markham.
By the way: coincidentally just as I was cooking and researching this post, esteemed food historian Ivan Day posted on his excellent Instagram page a photo of Markham’s manchet, showing that scotched waist, along with some other breads of the same era. Here’s a link to his post, if you want to take a look at those.
Subscribers get access to special blog posts, Easter eggs from my podcast, and a monthly newsletter. You can become a subscriber by following this link
Subscribe to get access
This recipe is for my subscribers. Read more of this content when you subscribe today and support the blogs and podcast. Subscribers get access to special blog posts, Easter eggs from my podcast, and a monthly newsletter. You can become a subscriber by following this link.
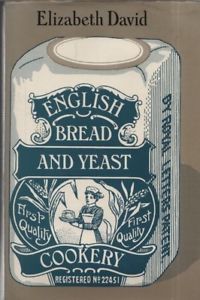
The cover of the 1st edition of English Bread & Yeast Cookery
The great food writer Elizabeth David wrote several extremely popular and influential cookery books about food and food culture in France , Italy and the Mediterranean, introducing to the people of Britain a vibrant food culture of which they could only dream: her first being published when the country was still in the grip of post-war rationing.[1] However, less well known to many are her more scholarly books that she wrote in the latter half of her career. Most celebrated of these is English Bread and Yeast Cookery (1977).
I was introduced to Elizabeth David via Jane Grigson as I was cooking my way through Grigson’s book English Food for my blog Neil Cooks Grigson. Grigson was very much influenced by David, and several of her recipes appear in English Food, including three from English Bread and Yeast Cookery.[2] I bought myself a copy (the 2010 Grub Street edition). I distinctly remember the day I received it I the post: I was immediately struck by both the sheer amount of research and her wonderful evocative writing style. I then spent the next few hours, flicking the through the book, poring over her words and the wonderful illustrations.
Elizabeth David in her kitchen (Elizabeth David Archive)
But she was on a mission: she was depressed at the state of Britain’s bread and other baked goods, and she wanted to communicate just how good bread can be. She looked to France to show us that good, affordable bread was being baked today, but she also travelled back into our past to demonstrate just how good, varied and culturally important our own breads were.
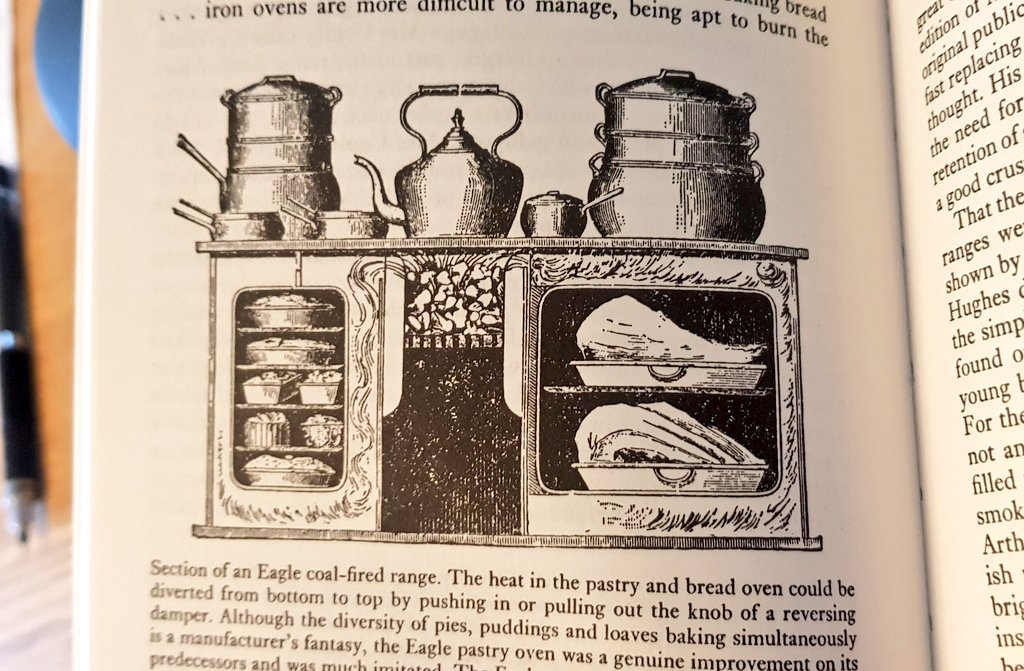
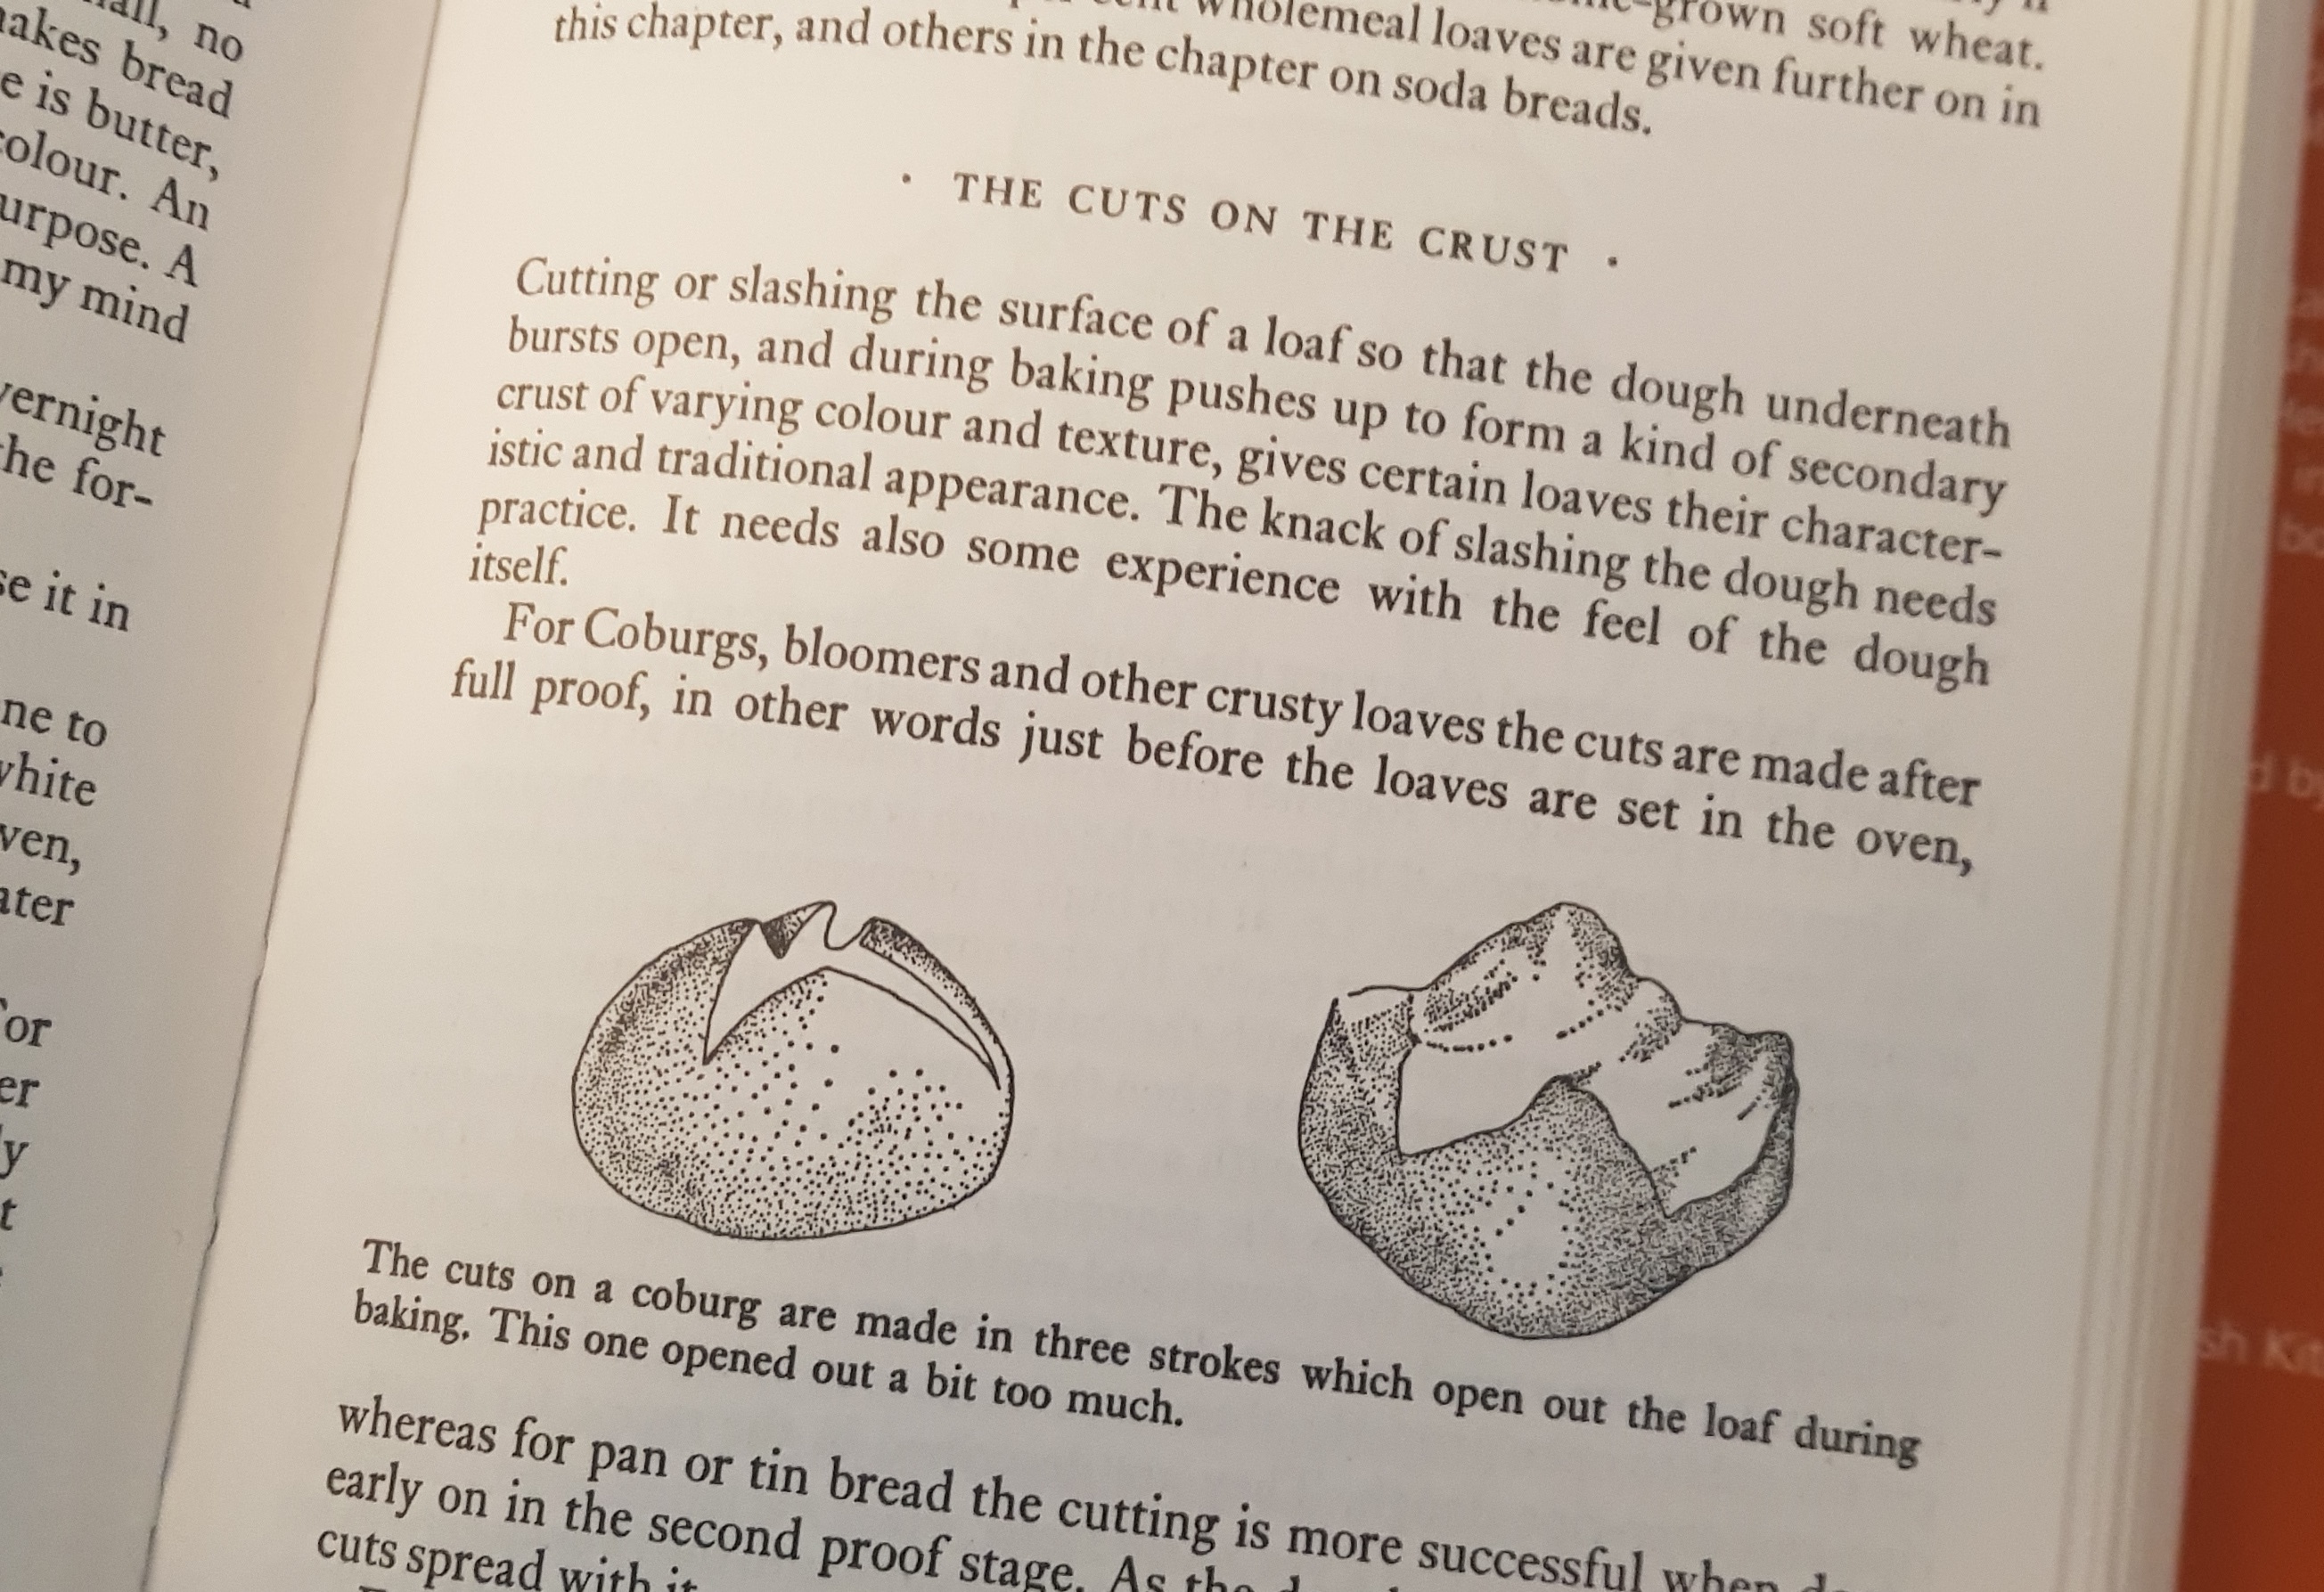
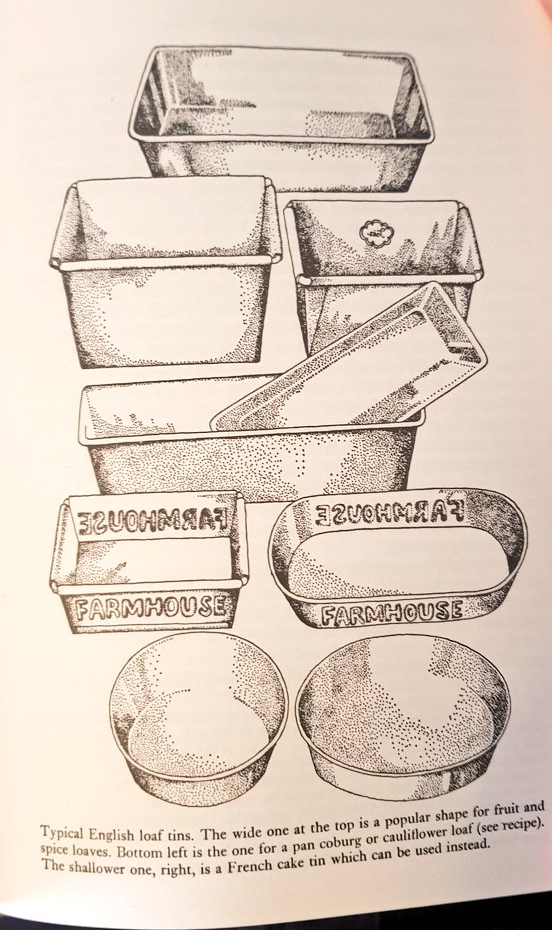
Elizabeth split her book into two halves: the first being the history, not just of bread, but every single element of it: milling, yeast, salt, ovens, tins, weights and measures, the list goes on. The second half focusses upon the recipes themselves. Usually she provides several historical recipes taken from a variety of sources, showing us how the food has changed over the years, and then, at the end, she provides us with her own recipe updated for modern kitchens, measures and ingredients. No stone is left unturned. There is an astounding variety of different enriched buns and teacakes, many of which are regional and working class. I particularly love her introduction to the section on lardy cakes, saying they ‘are just about as undesirable, from a dietician’s point of view, as anything one can possibly think of. Like every packet of cigarettes, every lardy cake should carry a health warning.’ She tells up about the shapes of traditional loaves, and the cuts that were made upon them; and the weights of various loaves from our past – how many of us have been puzzled over an old recipe asking for ‘the crumbs of a penny loaf’ or some such, having no idea to how much to add? Well Elizabeth David has got your back. One of my favourite of her rabbit holes is the account of Virginia Woolf’s excellent bread making skills, something about which I have already written.
One very important section is Elizabeth’s chapter regarding payndemayn, the refined white loaf that furnished the dinner tables of the upper classes. They were eaten in the High and Late Middle Ages, morphing into manchet rolls by the early modern period. There are few examples or complete descriptions of these breads, other than that they were made of white flour (or the whitest that was possible at the time). In writing this chapter, David managed to piece together a method for them. Her work in this area is still the ‘go-to’ piece for food historians today.
If you like the blogs and podcast I produce, please consider treating me to a virtual coffee or pint, or even a £3 monthly subscription: follow this link for more information.
There are a couple of downsides to her approach however; sometimes I find her a little too acerbic, I go away after reading some passages feeling both personally attacked and responsible for the state of the country’s bread, essentially blaming the English’s preference for cheapness, whiteness and shape of their bread, over nutrition and taste. In part, I suppose, she has a point: it might not be our fault, but we do hold the power to change it on a personal basis at least. Just buy or make better bread: it doesn’t have to be expensive or time-consuming, and as I often say, two slices of home-made bread and butter are so much more filling than two slices of factory-made bread. The latter is really a false economy. But this brings me to my second point, and it might be a little controversial: I don’t think her bread recipes are very good. Her cooking tips are great (e.g. baking bread in a cold oven, or by covering it with a cloche) but her descriptions of the bread-making process are not clear. In reading this book I have learnt everything about bread except how to make a loaf of it.
One curious thing I noticed when trying to make her breads is they are often too salty (as a lover of saltiness, this is a view I rarely hold) but in researching this post, I found I was not the only one with this opinion, with one critic saying of her book ‘the facts are impressive and so is the amount of salt.’[3] David gives her reason for this; she uses unsalted butter and therefore makes her bread saltier to make up for it. However there is another reason why she was liberal with her salt: in 1963, Elizabeth suffered a cerebral haemorrhage after which she lost the sensation in many of her tastebuds. This experience made her change tack in her own work, withdrawing to her personal library to focus upon research. As writer Melissa Pasanen put it: ‘[this] may explain the emphasis on history over flavour.’[4]
But none of this matters: the book is wonderful, and her beautiful writing more than makes up for its short-fallings, and if you don’t own a copy, please get hold of one, you will not be disappointed.
Next post I will go for a deep dive into her payndemayn recipes.
Notes:
[1] Her first being A Book of Mediterranean Food in 1950.
[2] These are ‘Rice Bread’, ‘Wigs’ and ‘Elizabeth David’s Crumpets’
[3] Pasanen, M. (2003) ‘Enough Saffron to Cover a Sixpence: The Pleasures and Challenge of Elizabeth David’, The Art of Eating.