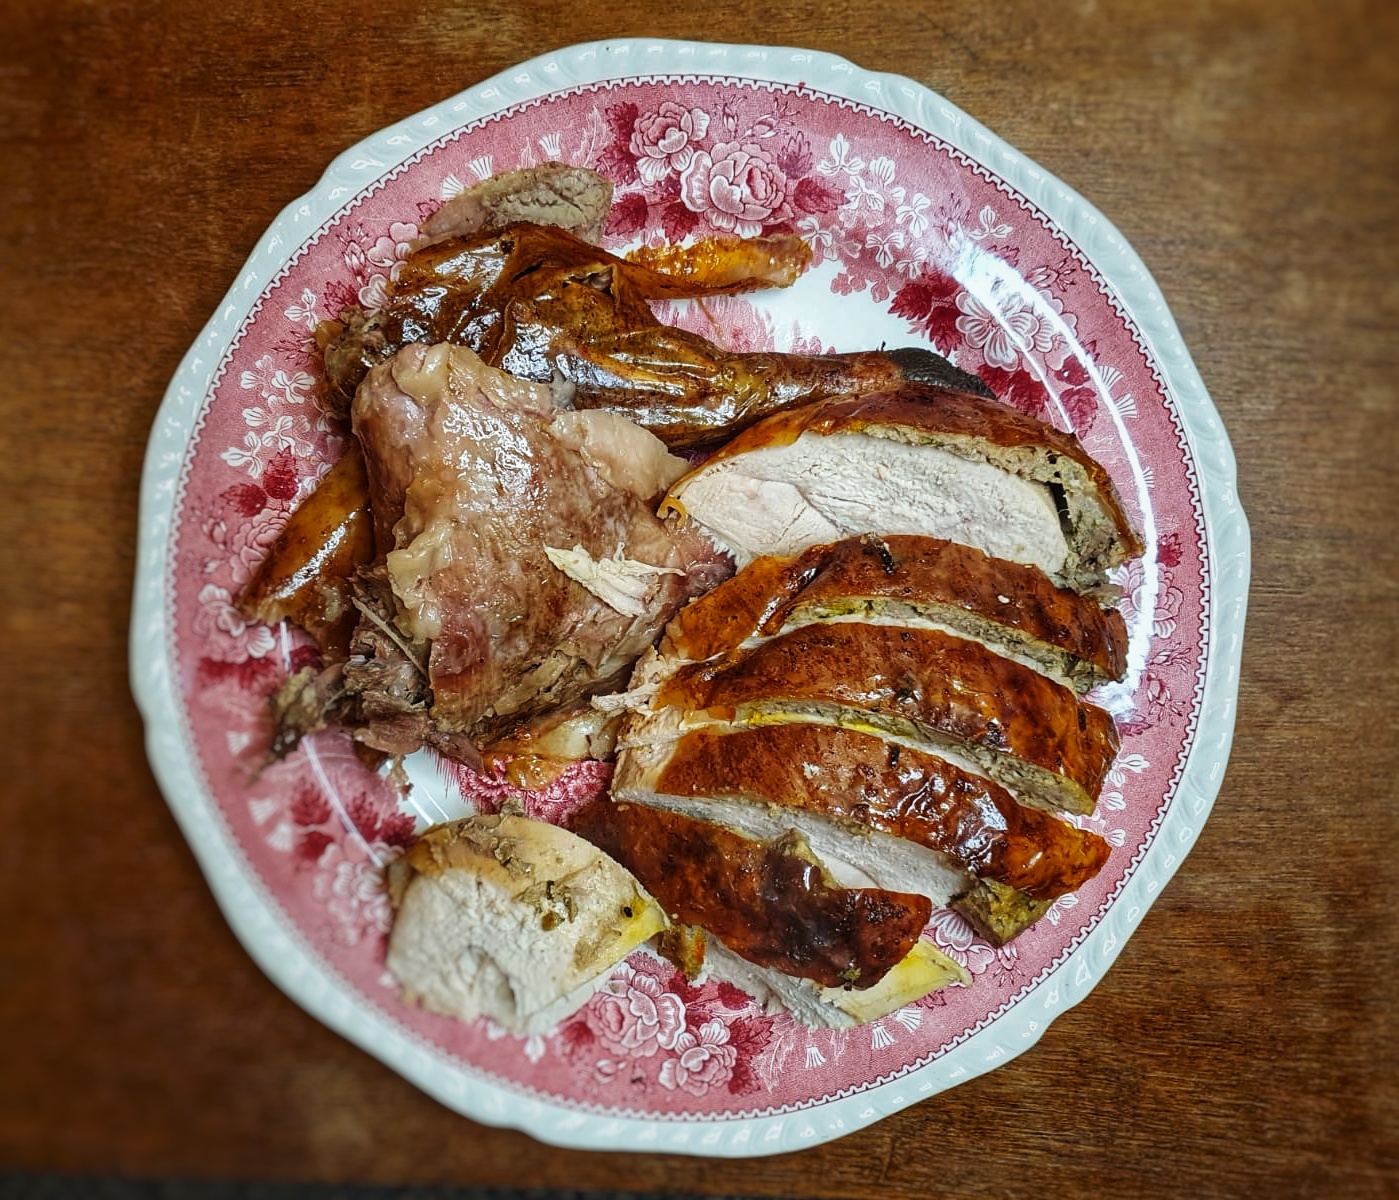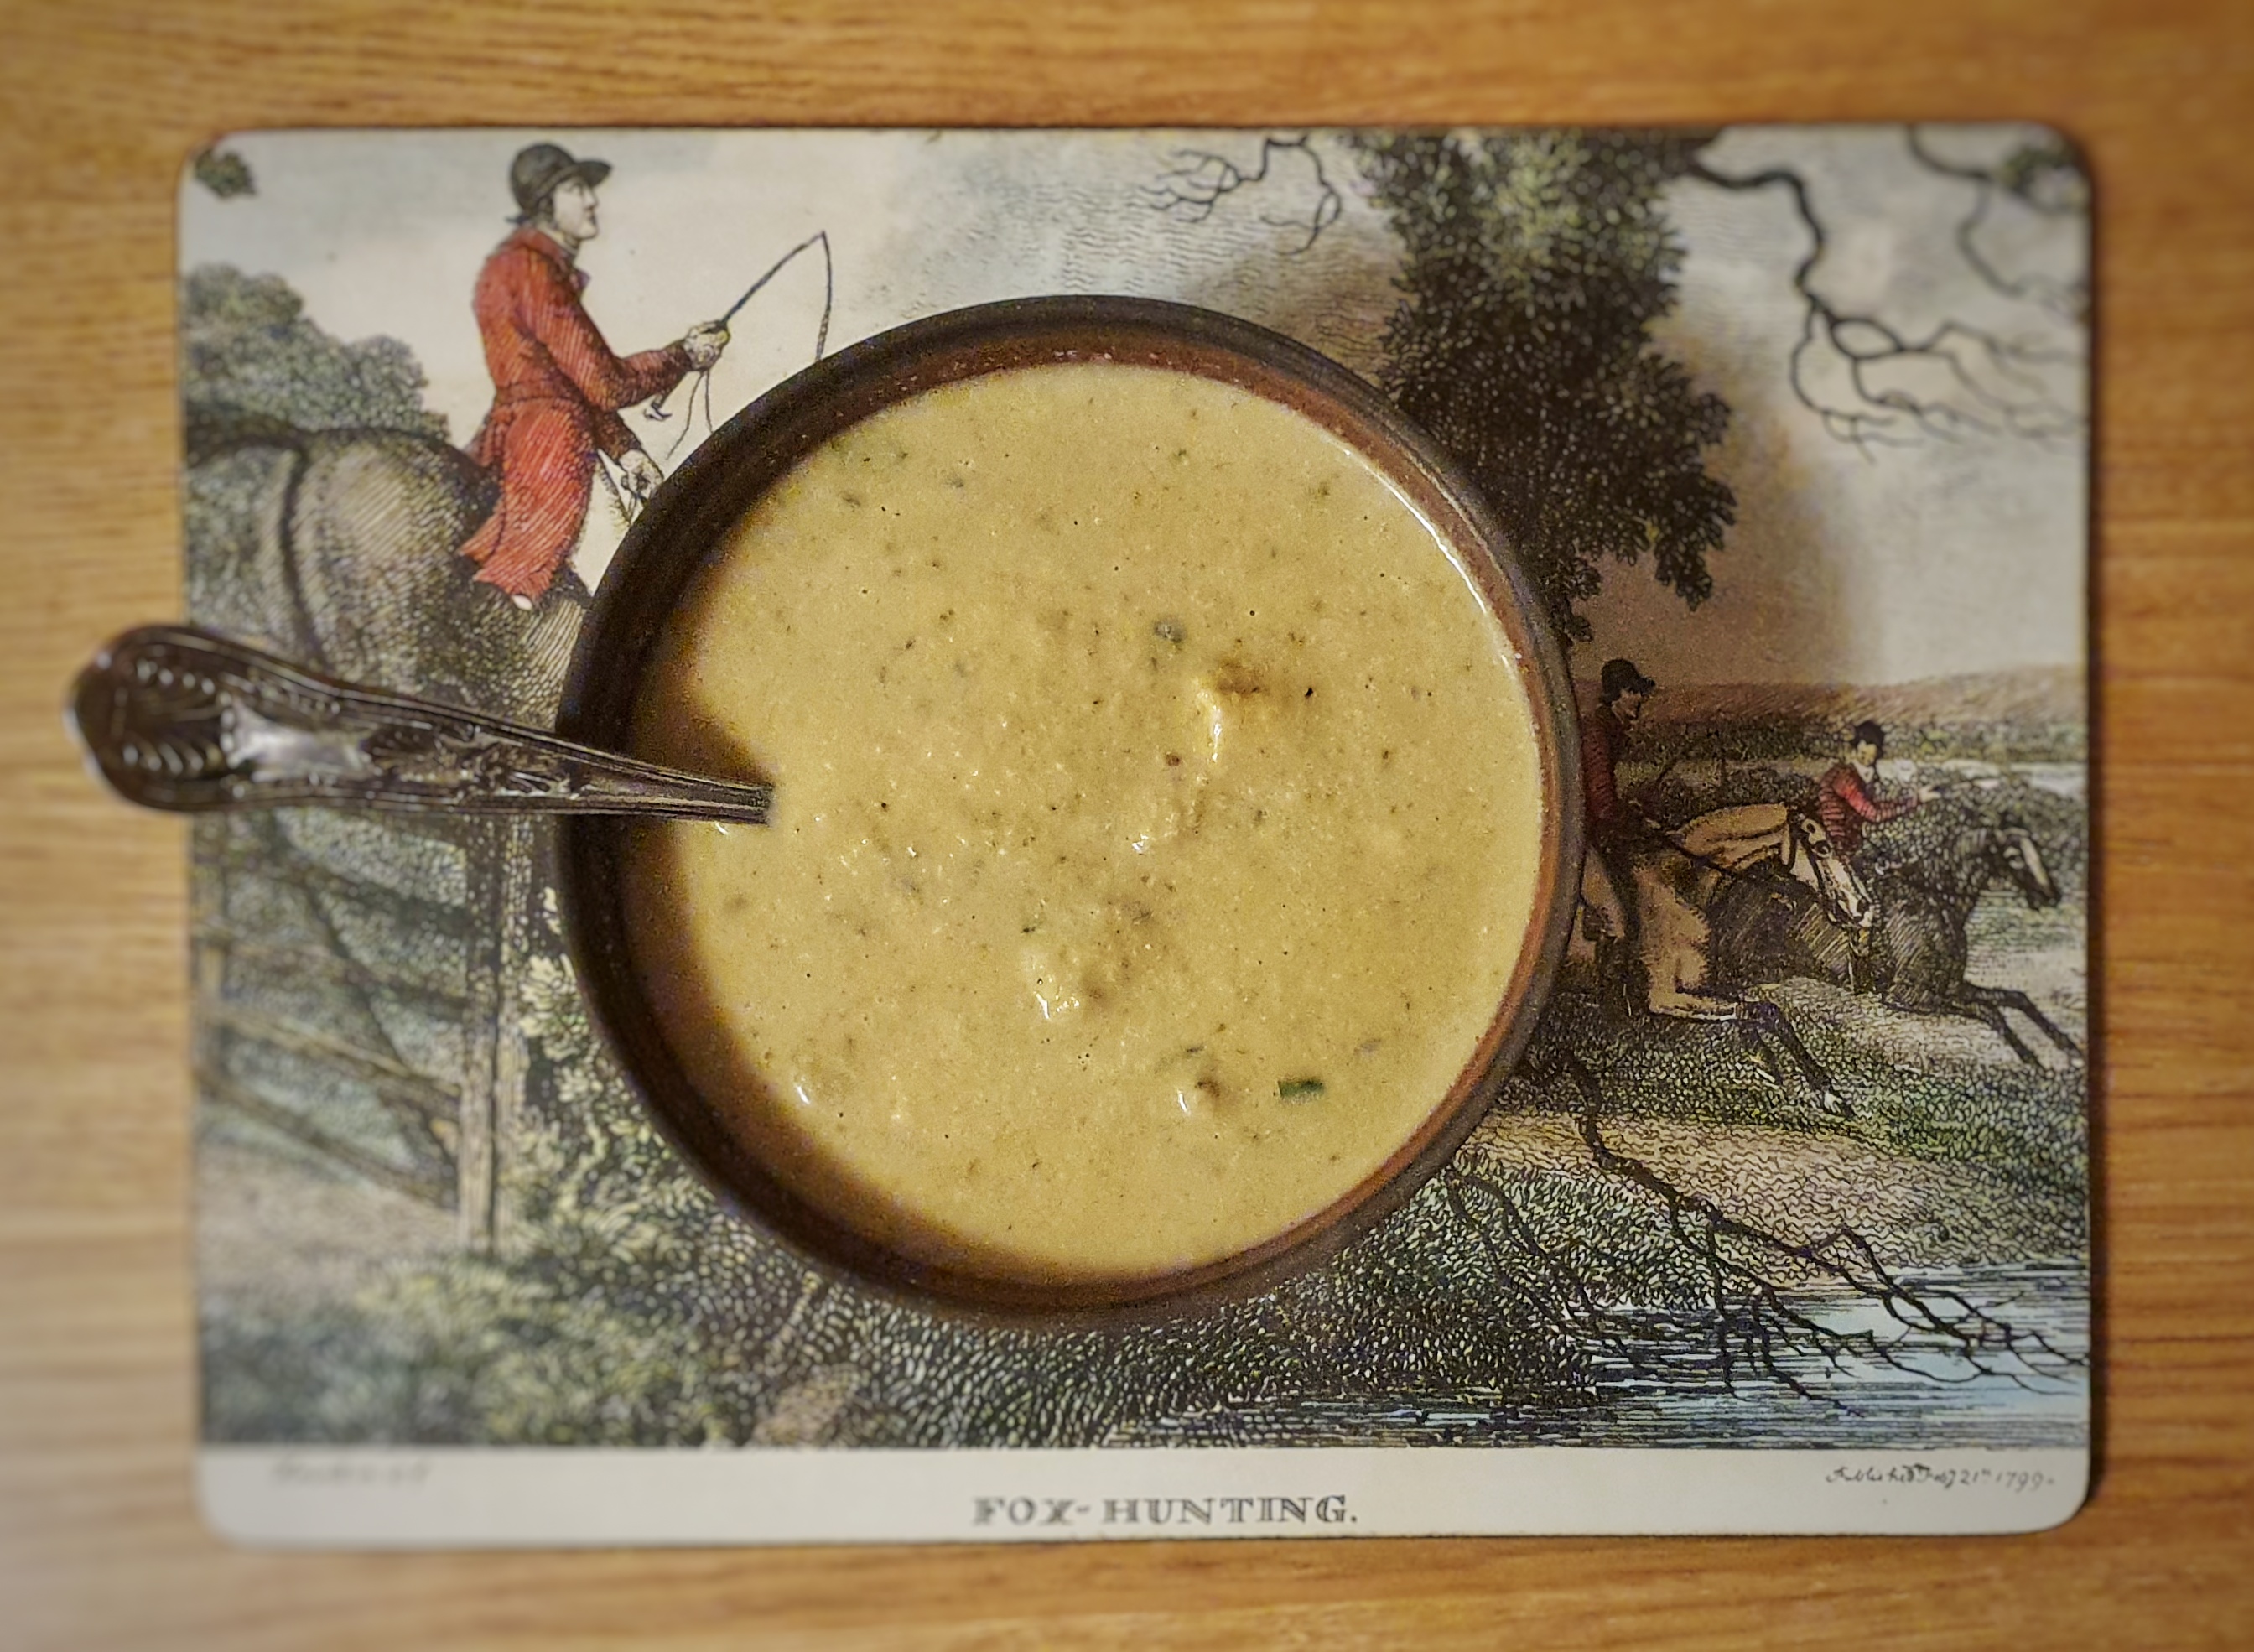
If you are not loving your leftovers at Christmastime, then you are missing a trick: it doesn’t have to be all dry turkey and cranberry sandwiches for the next week.
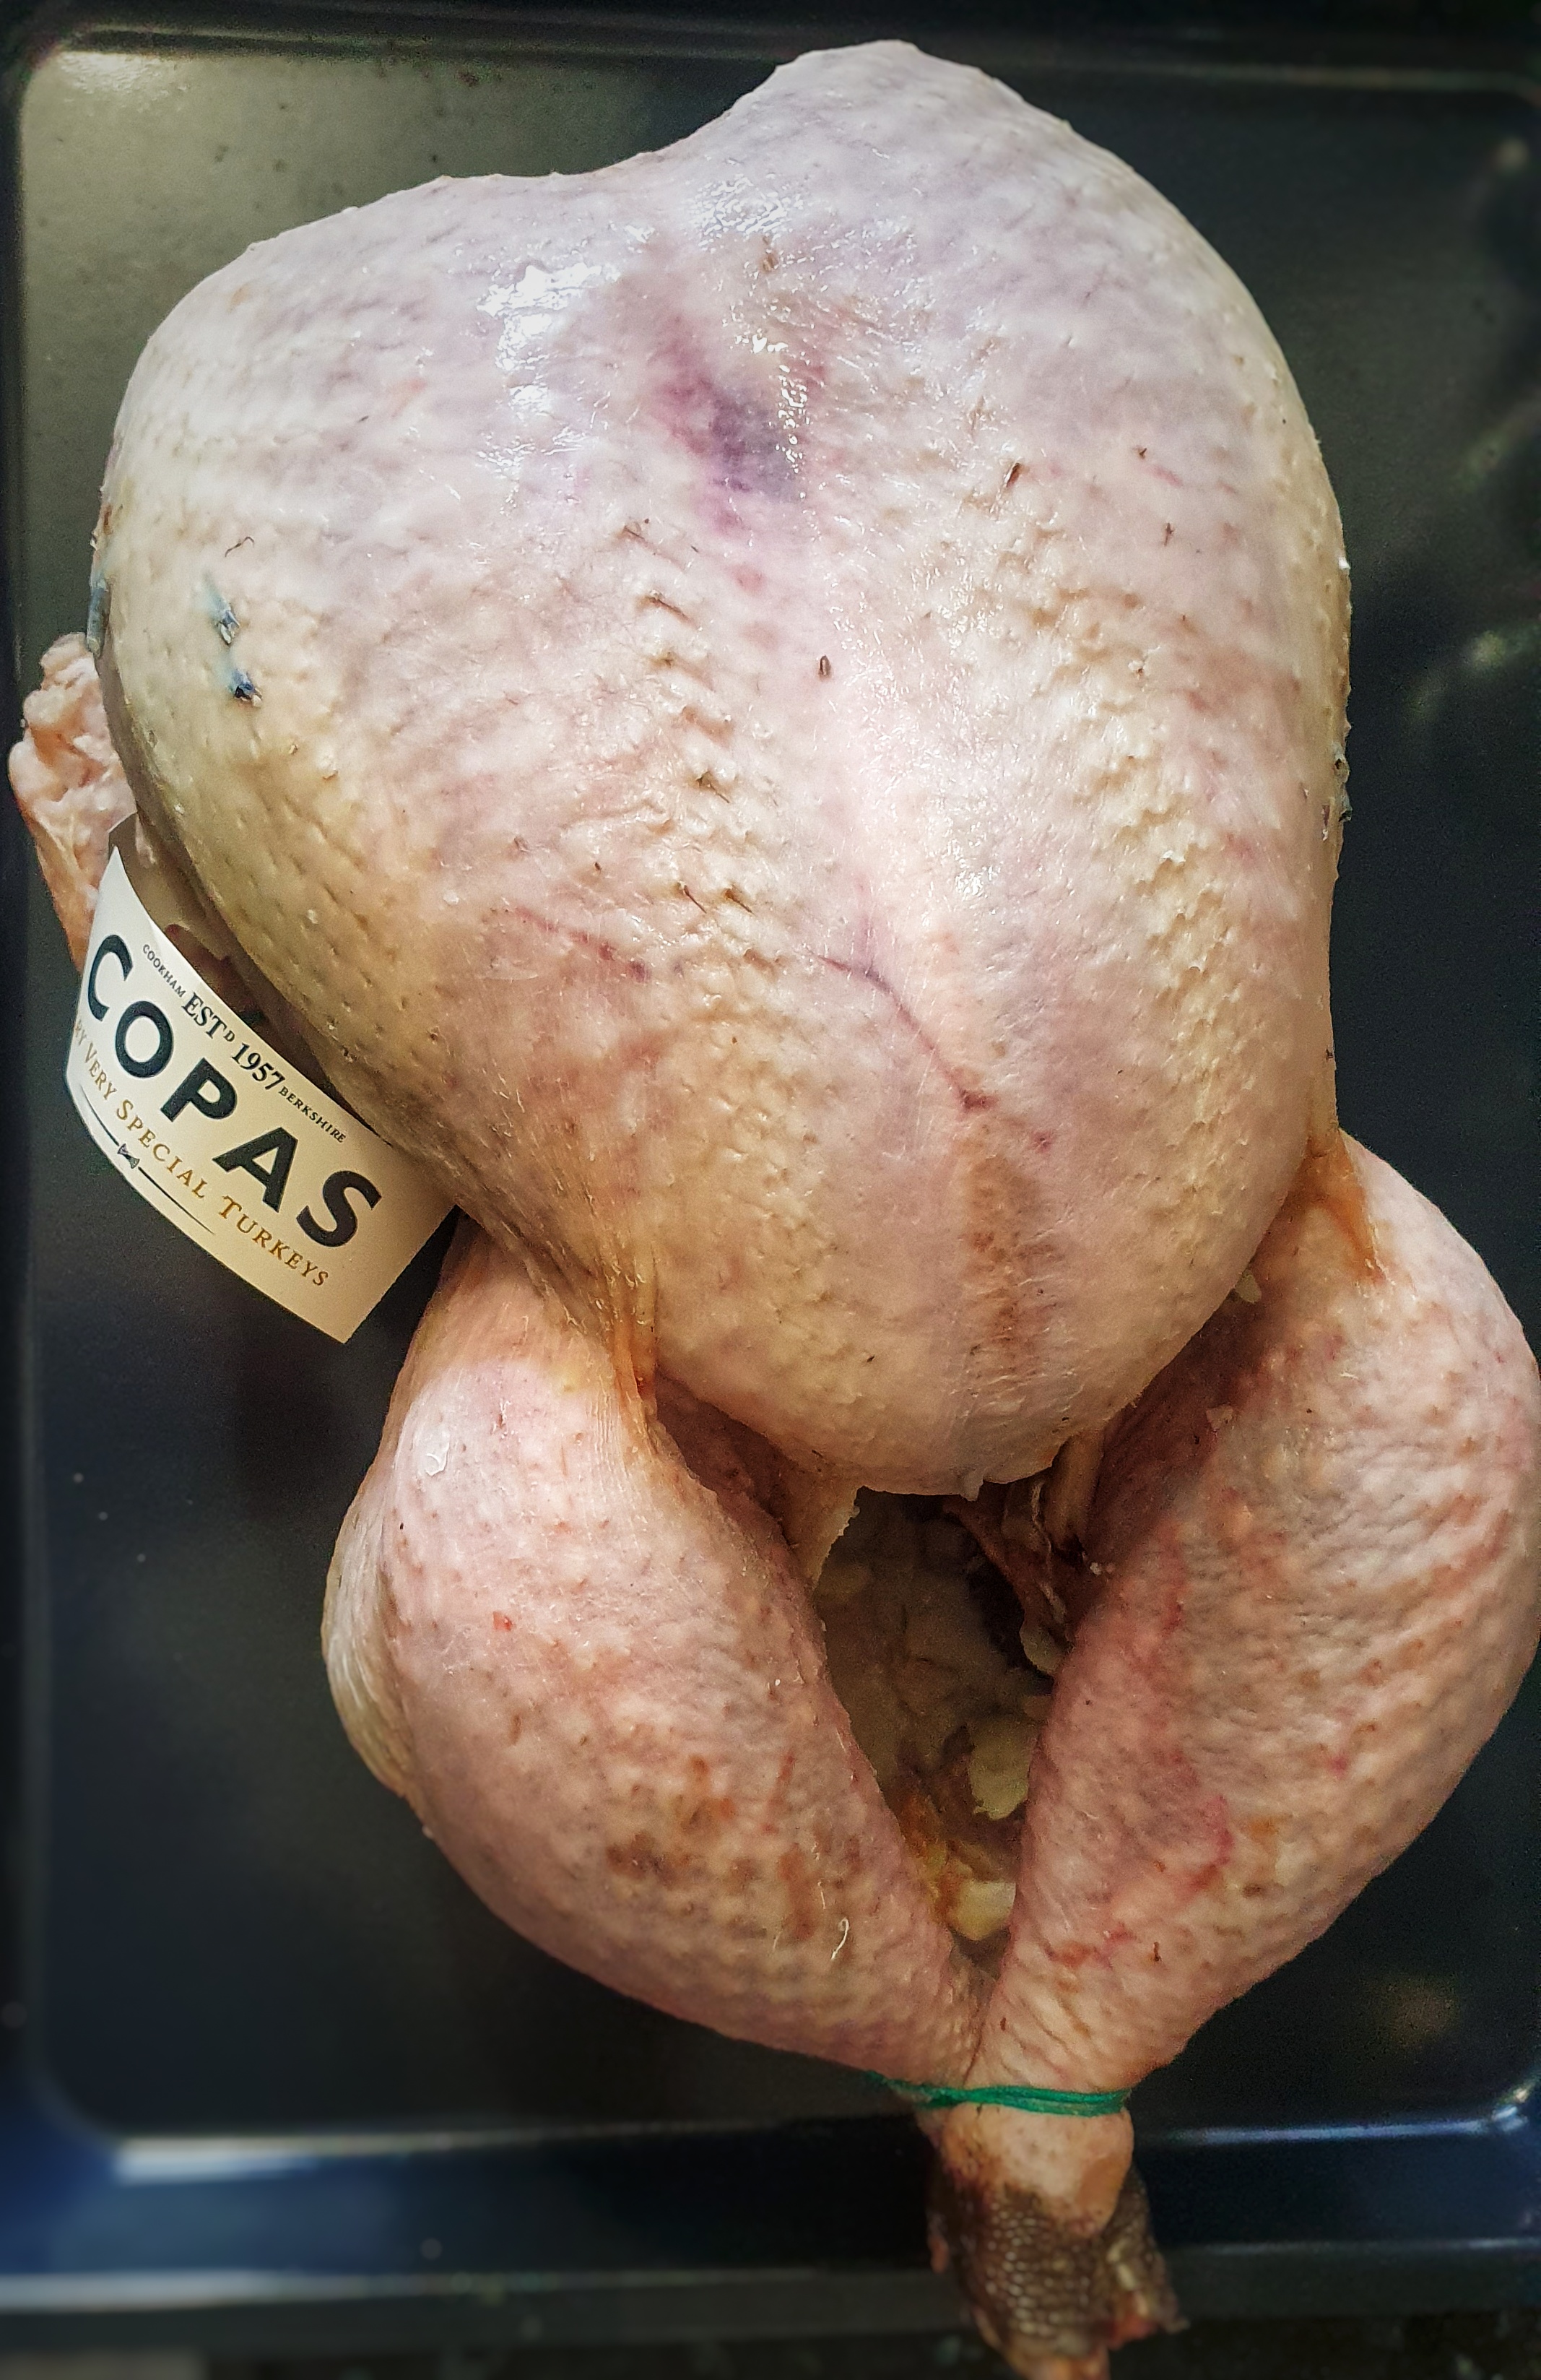
This is a really great recipe adapted from Jane Grigson’s English Food. I’ve made a few tweaks, and I have provided you with a method for making turkey stock. This recipe would work with leftover chicken, or even pheasant and partridge, or a mix of them.
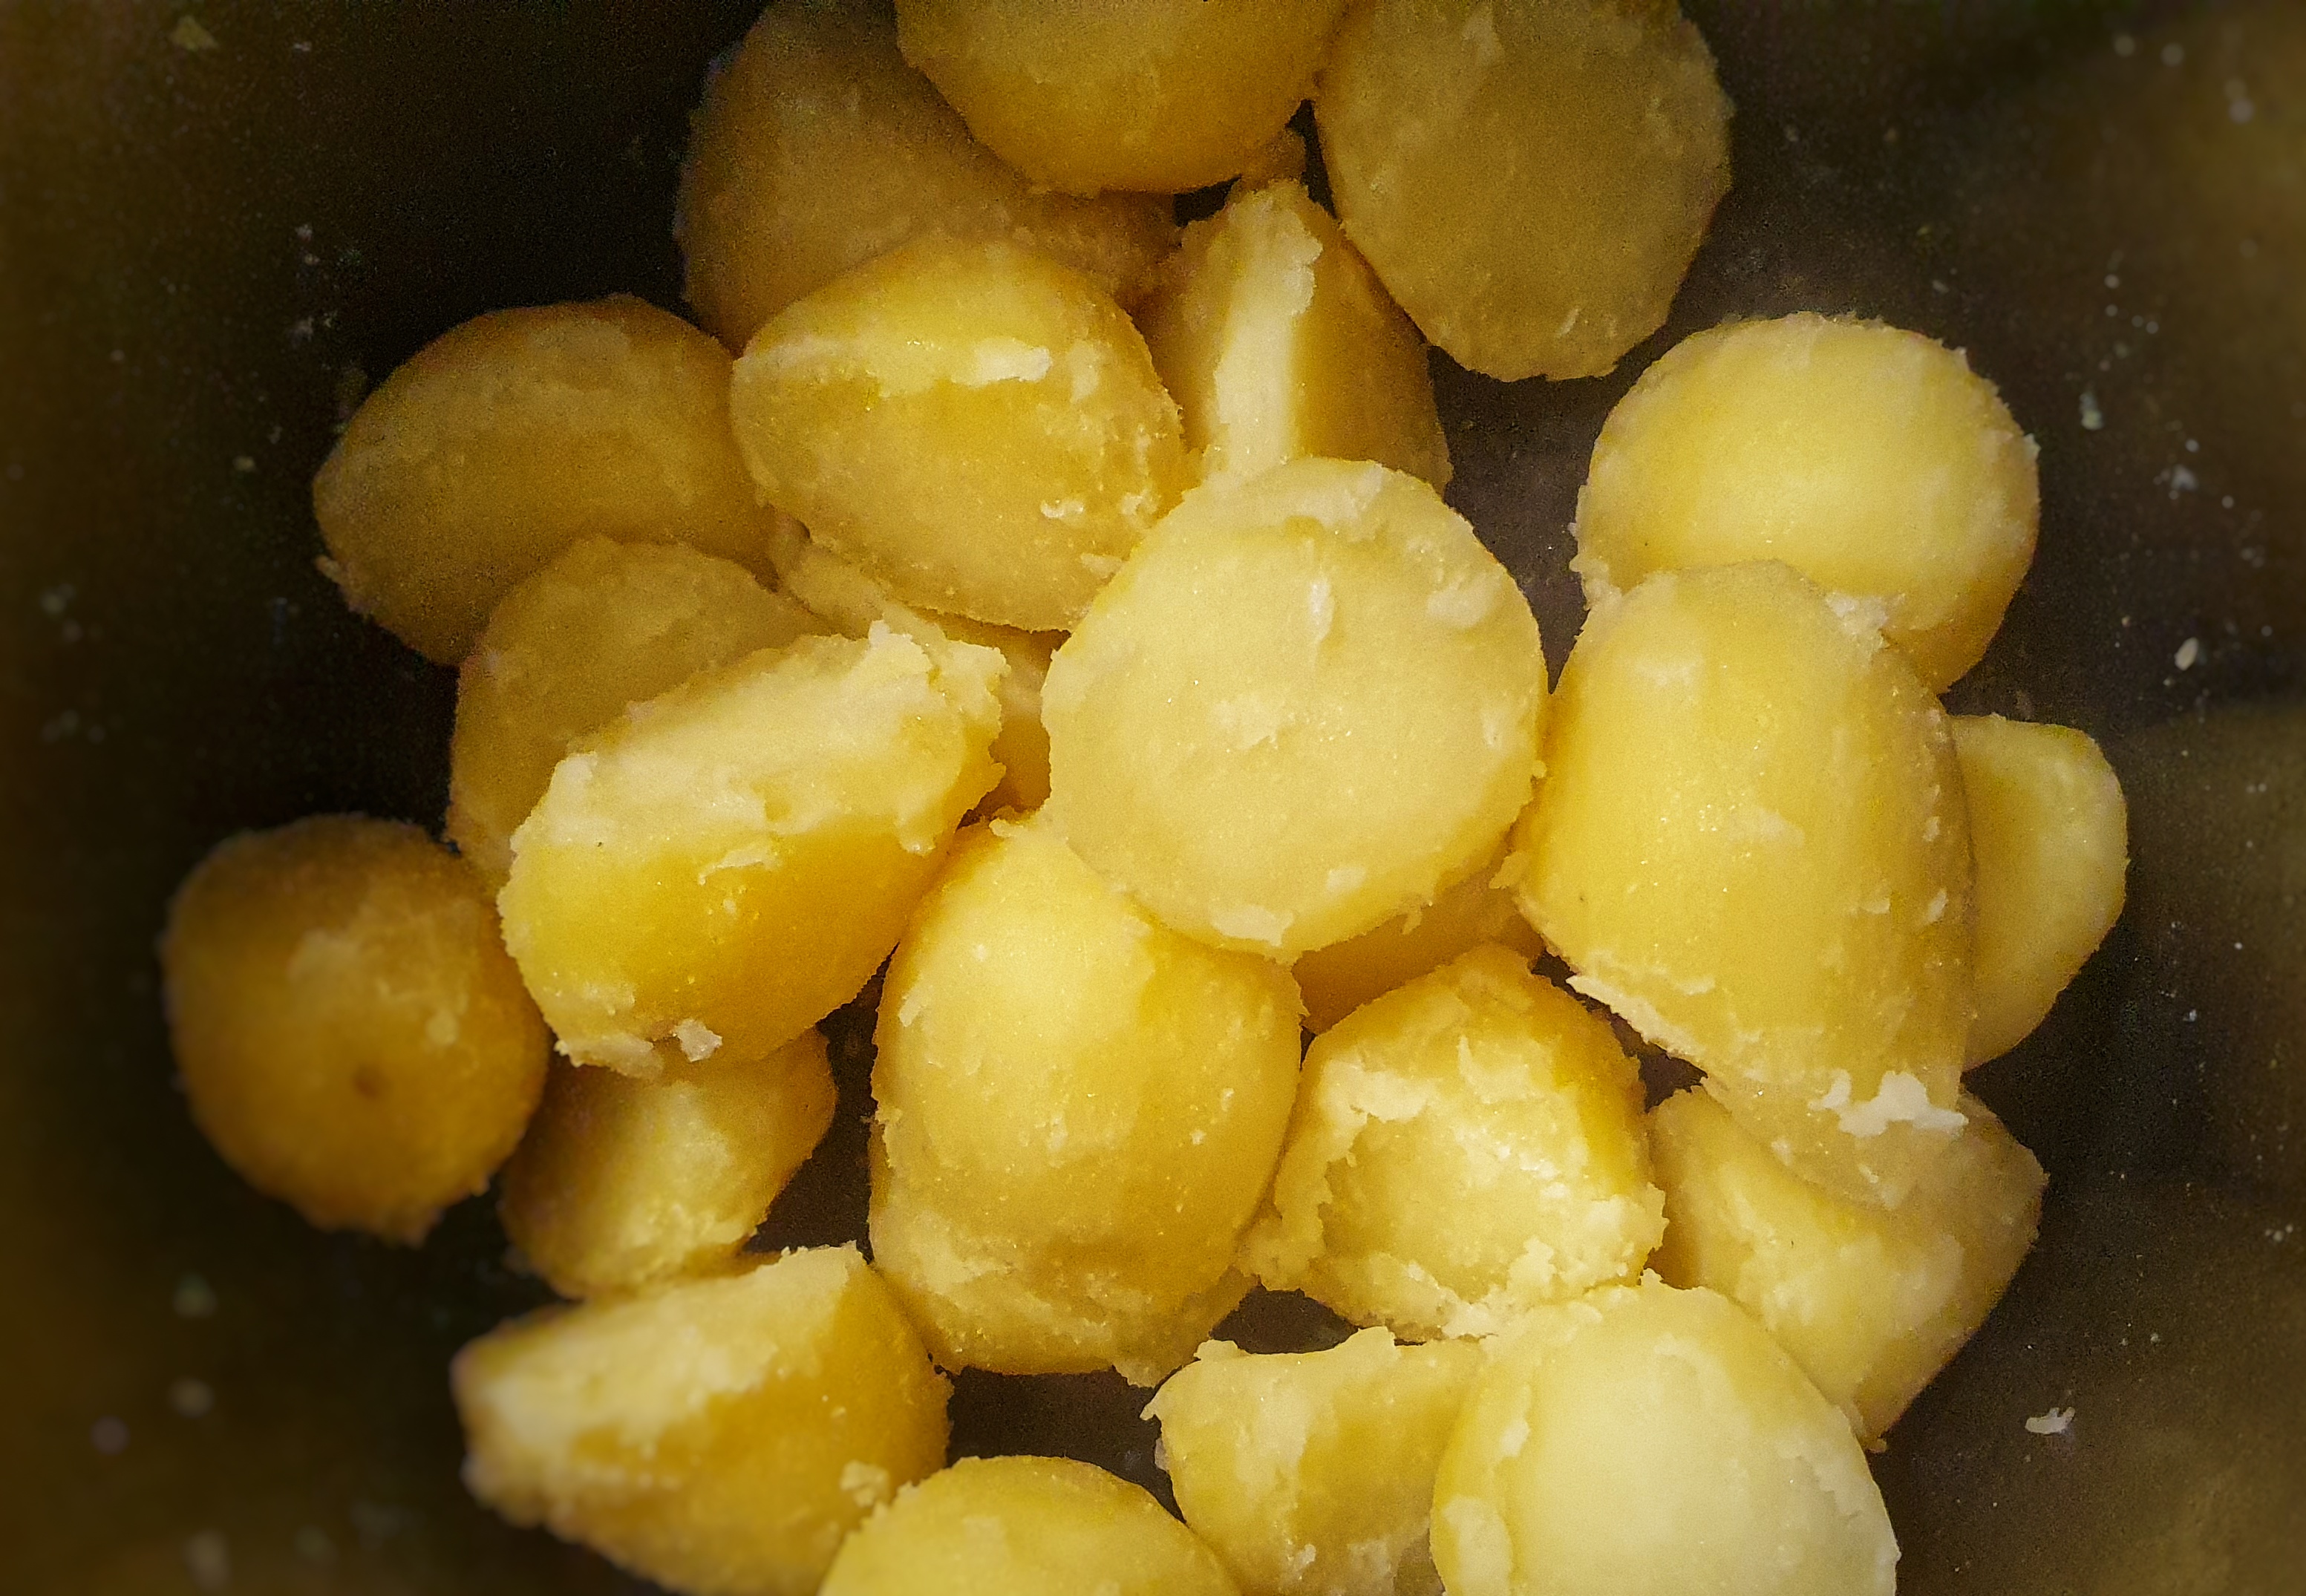
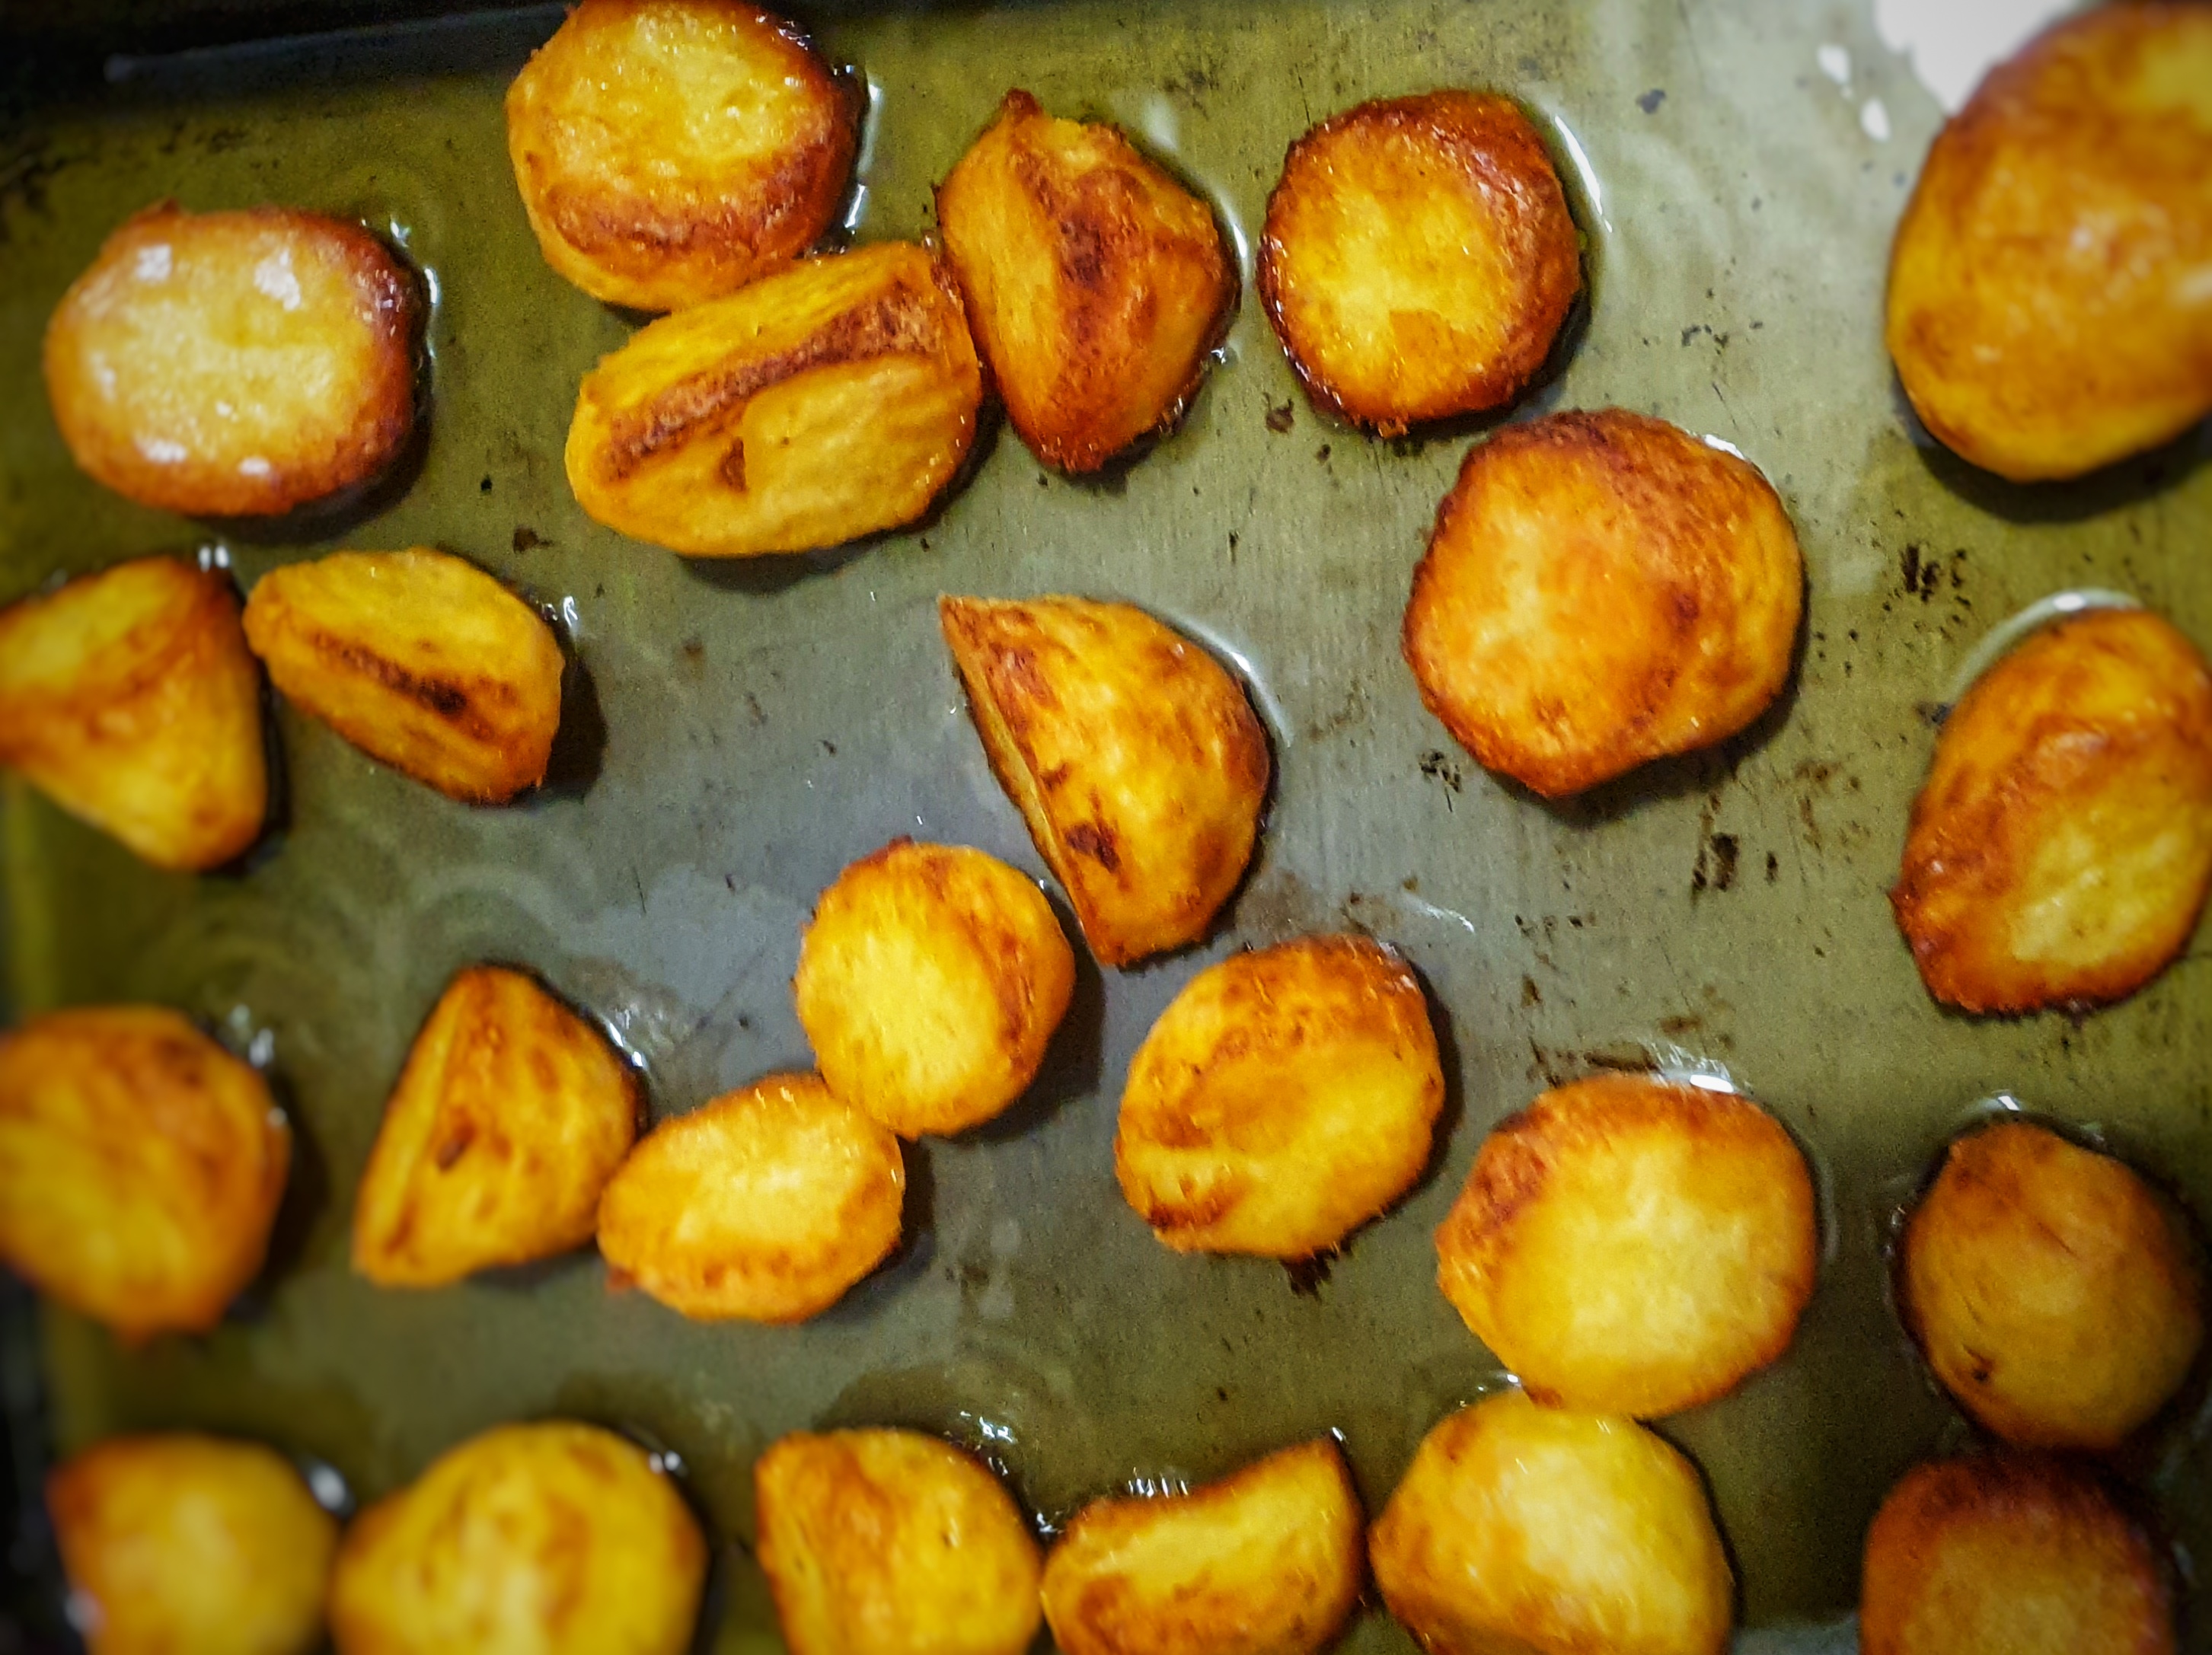
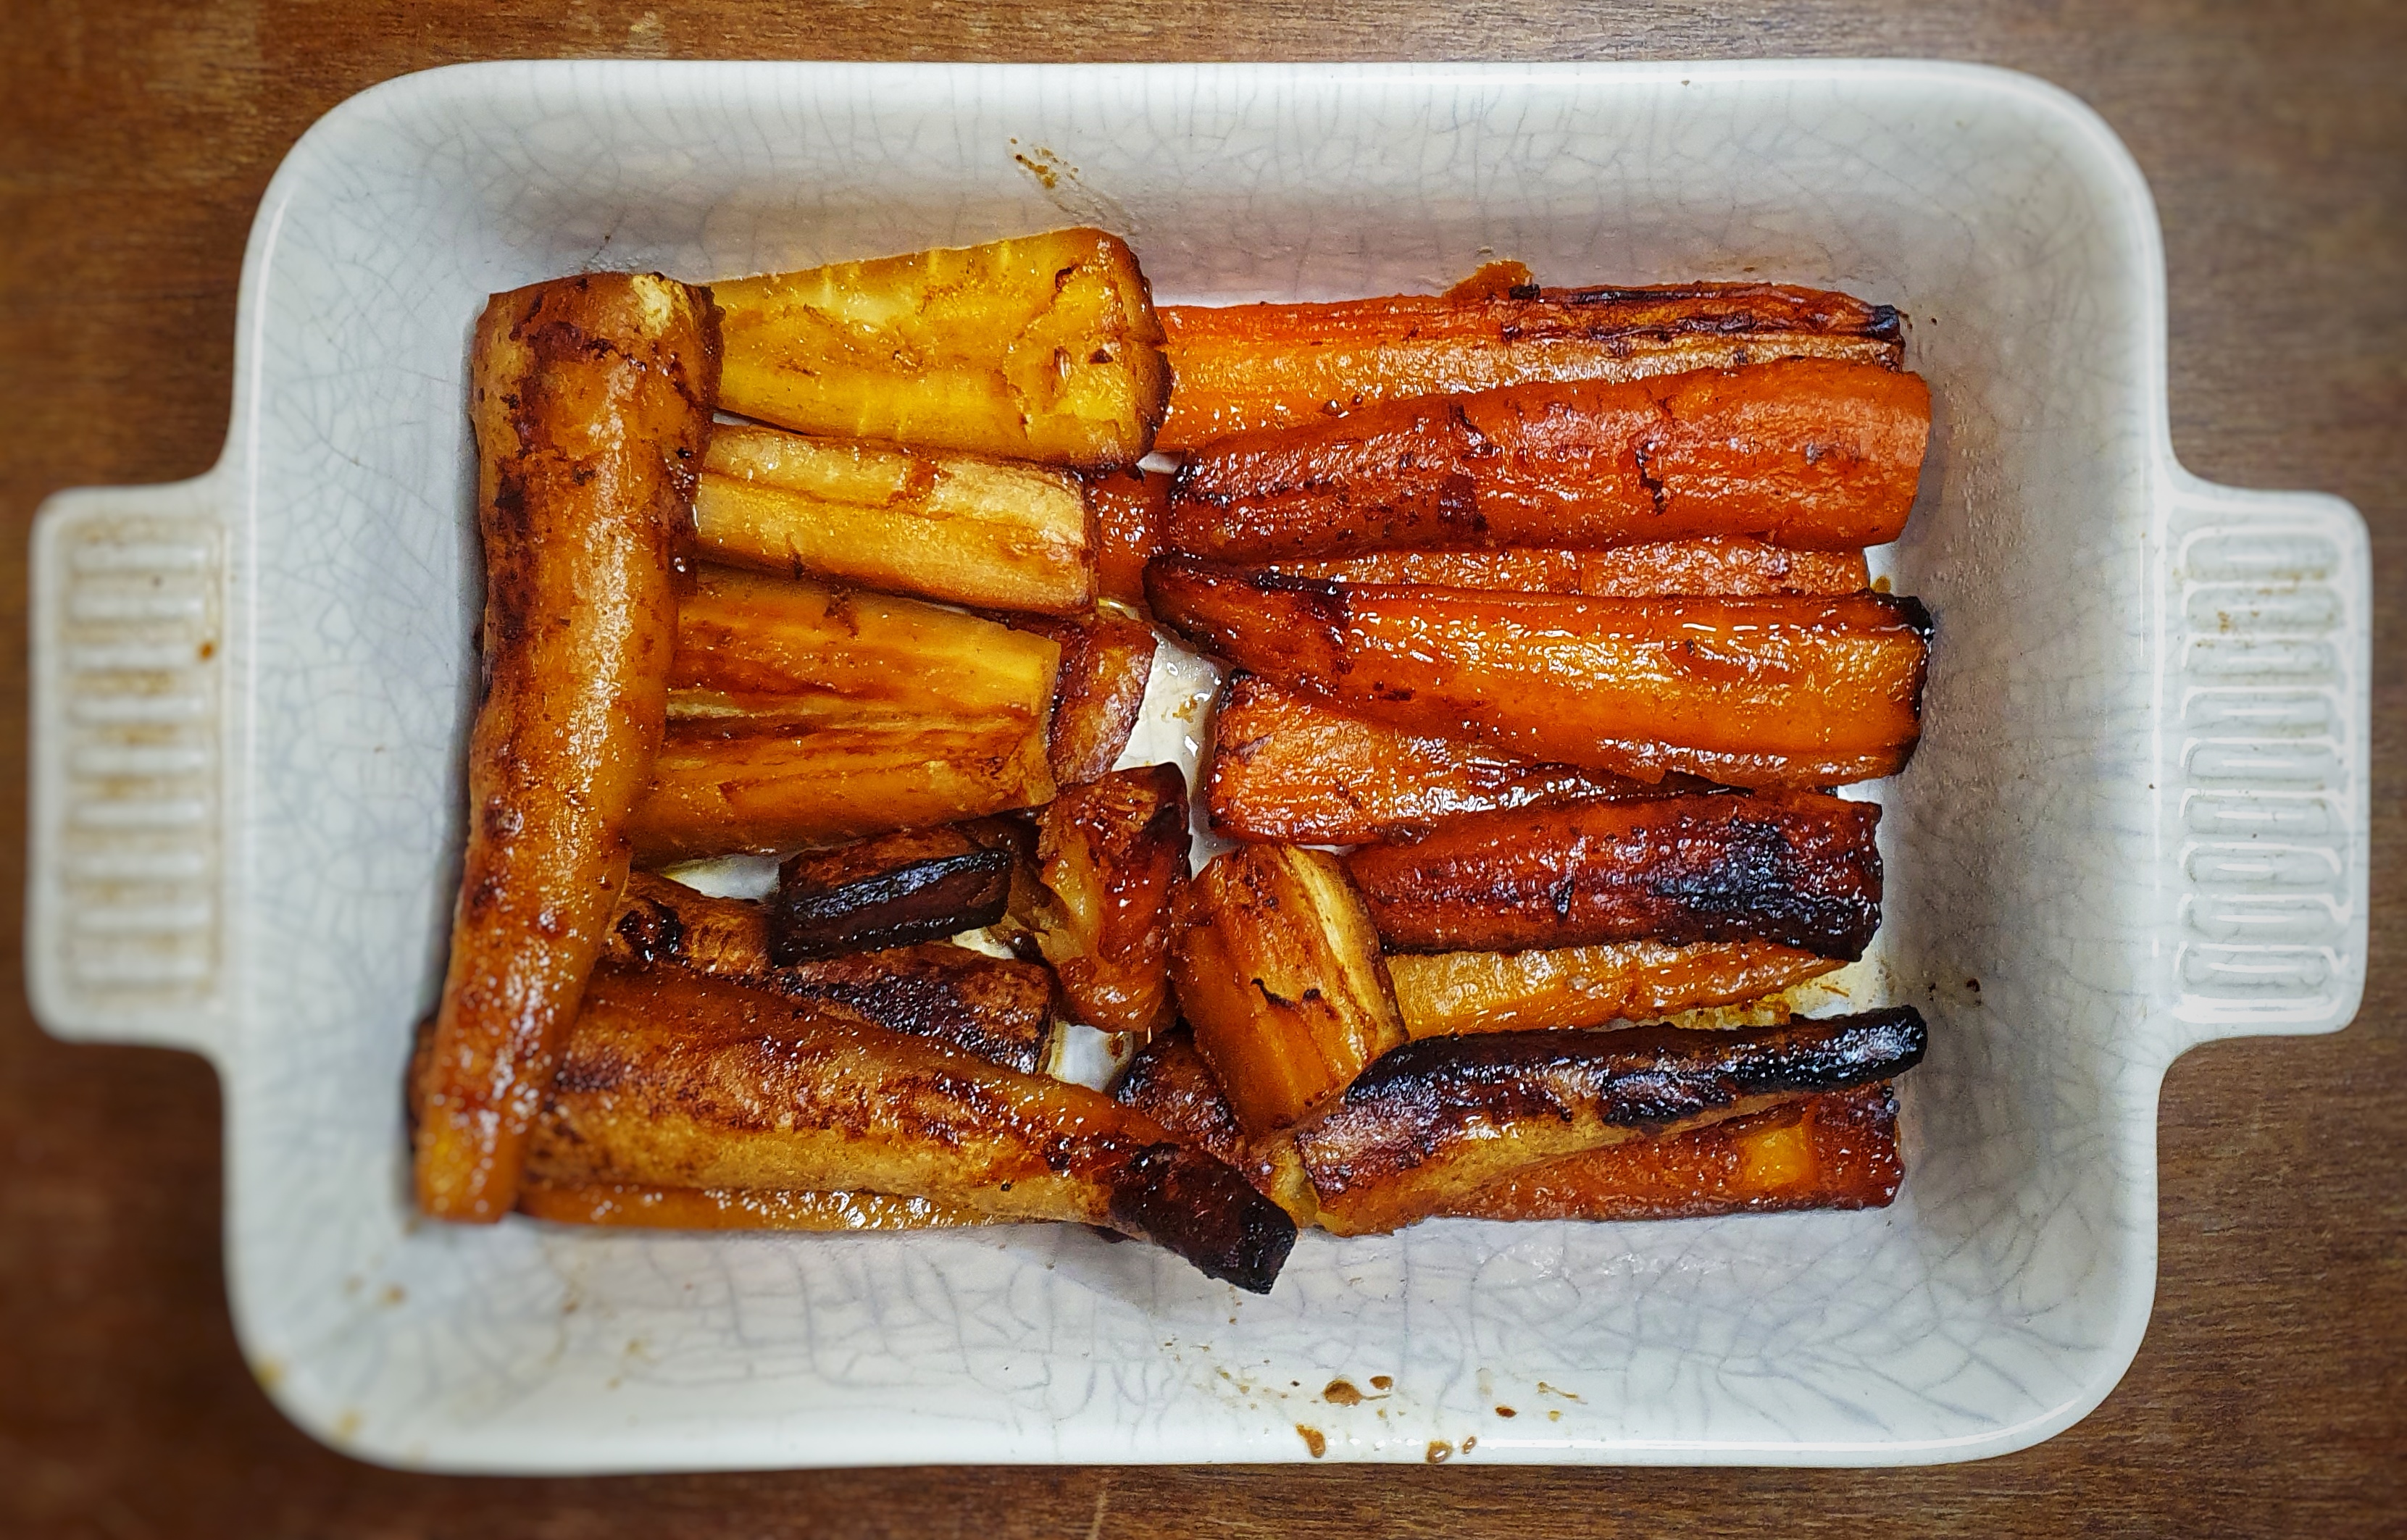
Because it’s a leftovers dish, don’t worry if you don’t have all of the ingredients, though I would say it’s important to have at least three of the basic soup veg and one herb (fresh or dried). It doesn’t even matter if you don’t have any hazelnuts: almonds would work just as well, or you could miss them out entirely. Also, if there are any leftover boiled or steamed vegetables, or roast potatoes, you can pop them in before everything gets blitzed.
If you like the blogs and podcast I produce, please consider treating me to a virtual coffee or pint, or even a £3 monthly subscription: follow this link for more information.
This recipe makes many servings.
For the soup
2 to 3 tbs of fat: this could be butter, leftover fat from the roast potatoes or skimmed from the roast turkey juices
Basic soup veg, peeled, trimmed and diced, such as 2 carrots, 2 onions, 3 cloves garlic, white part of one or two leeks (keep the green parts for the stock), 3 sticks of celery
Herbs: 4 bay leaves, a small bunch of thyme or a tsp of mixed, dried herbs
1 tsp celery salt
1 bunch tarragon leaves, chopped
1 bunch parsley, chopped
1 medium potato, peeled and diced
1.5-2 L turkey stock
Salt and pepper
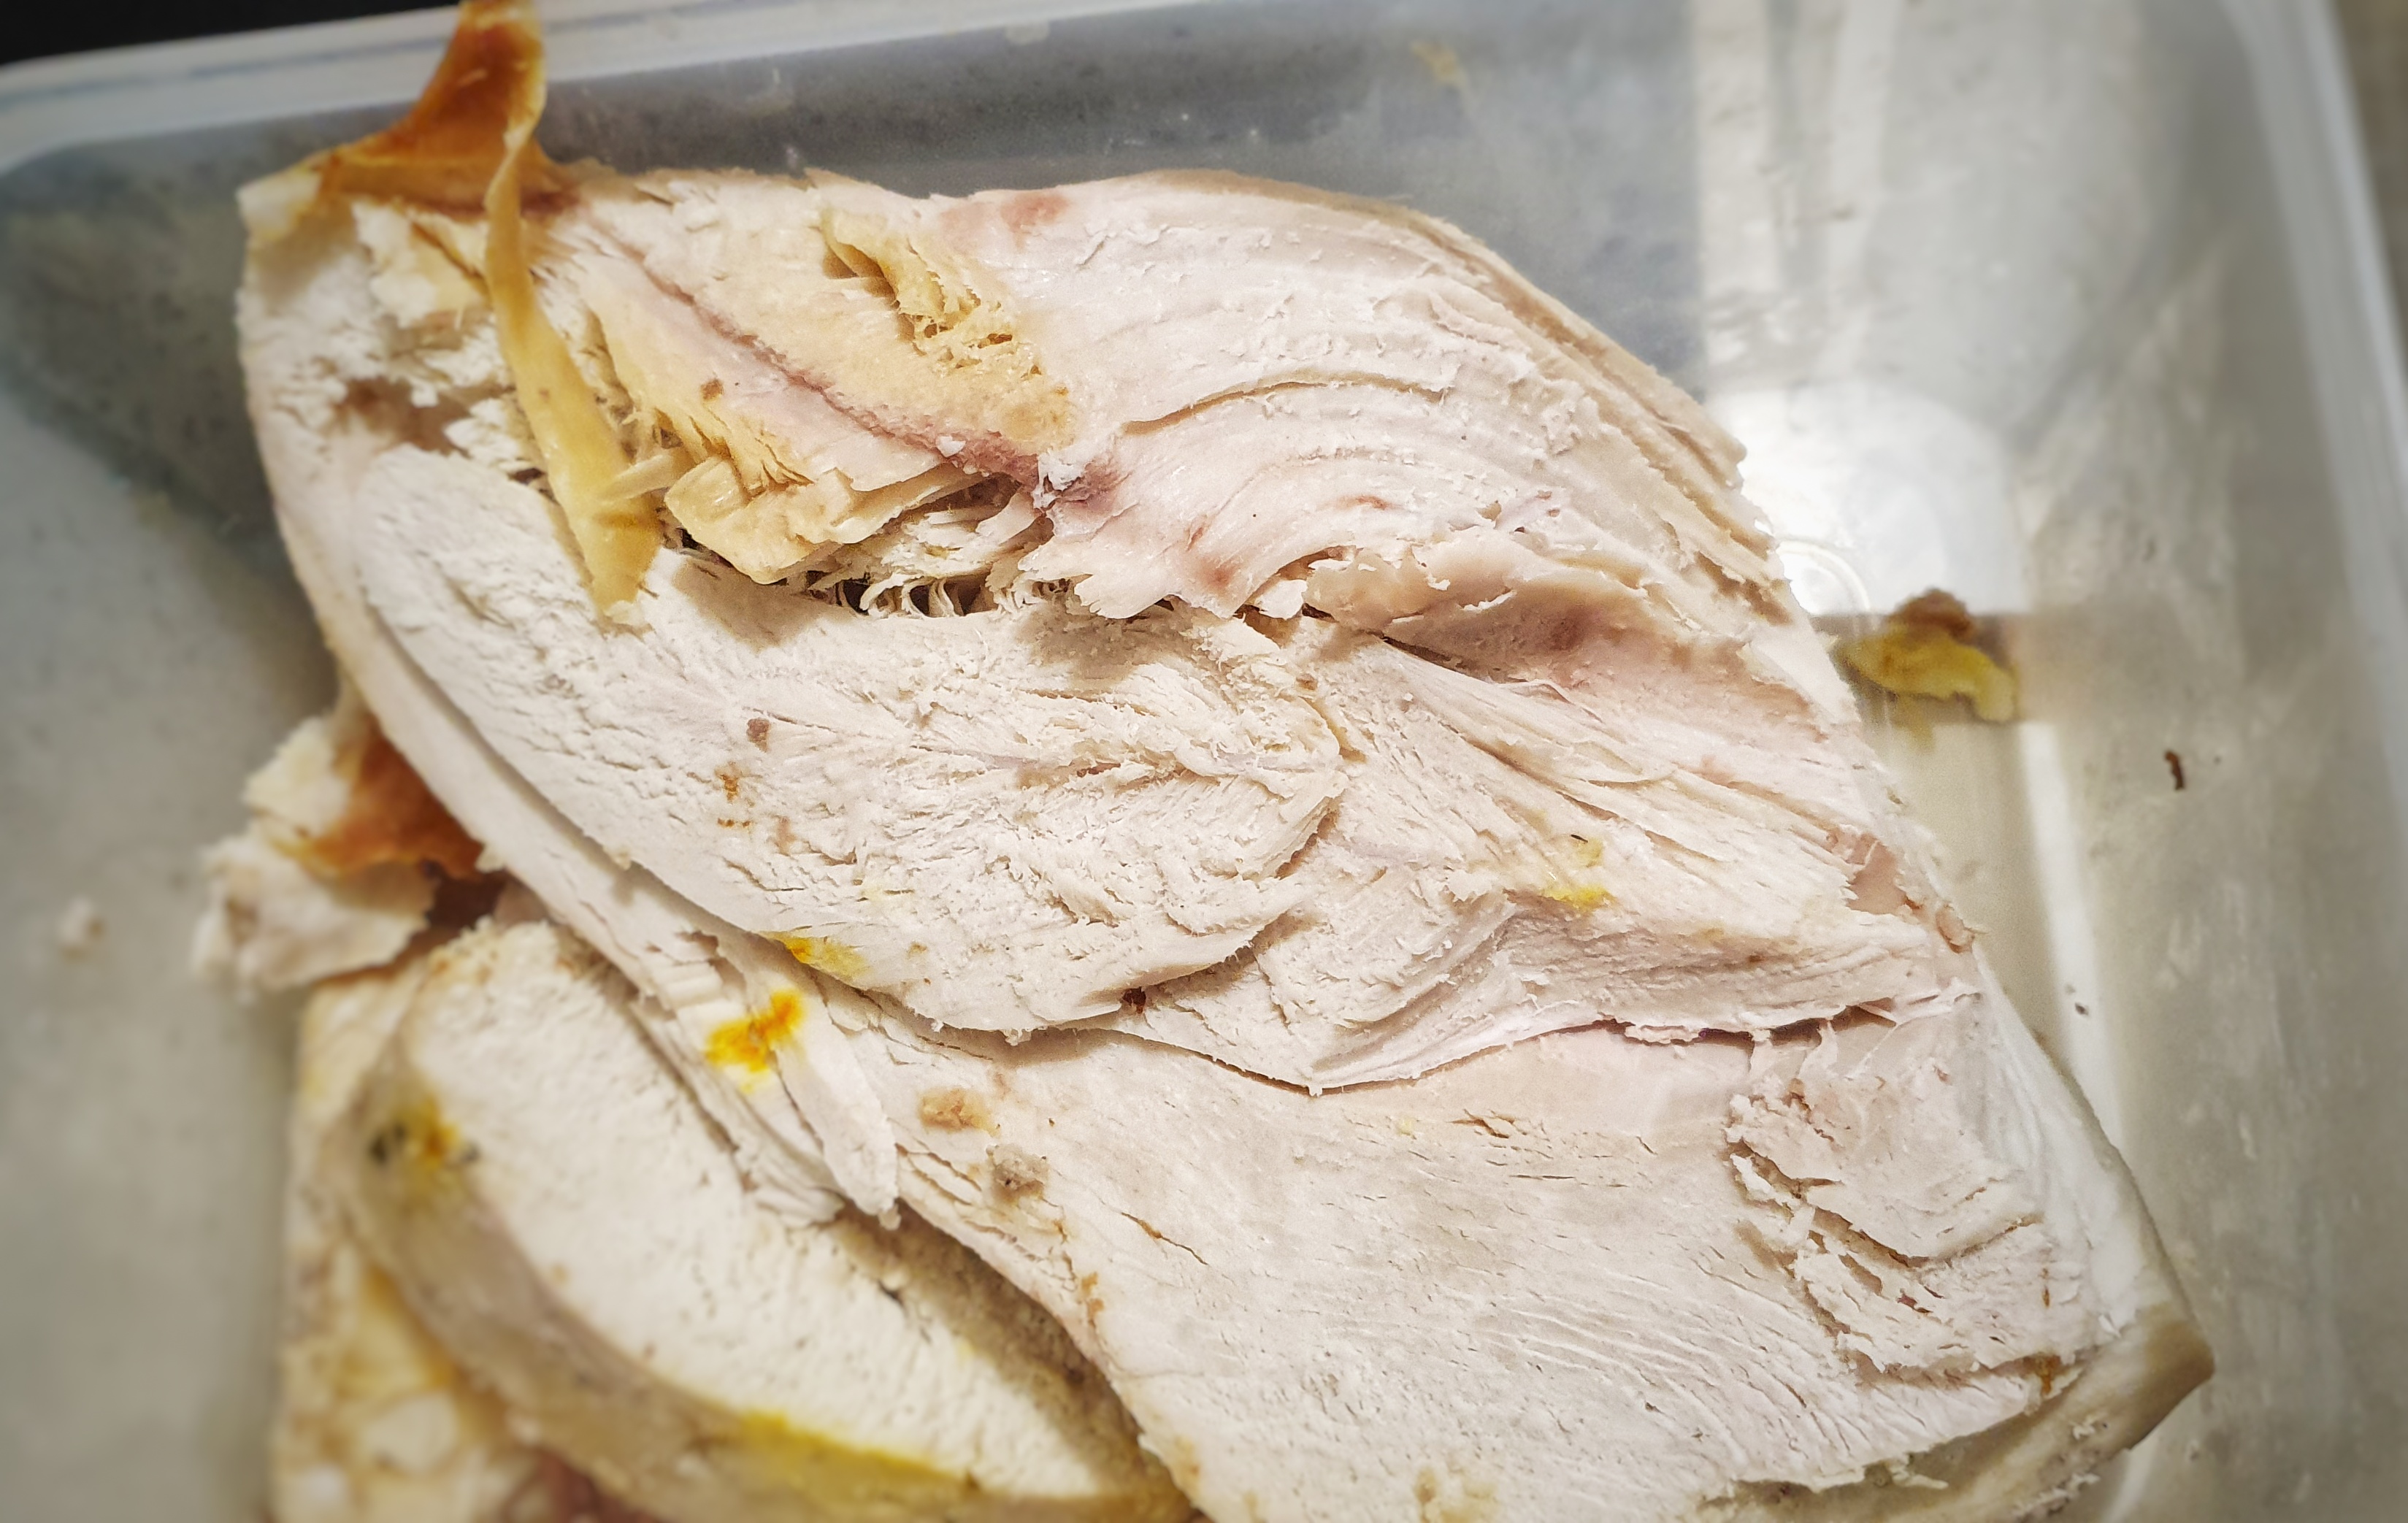
2 handfuls diced turkey breast (or whatever you have left)
100 g roast hazelnuts, roughly chopped
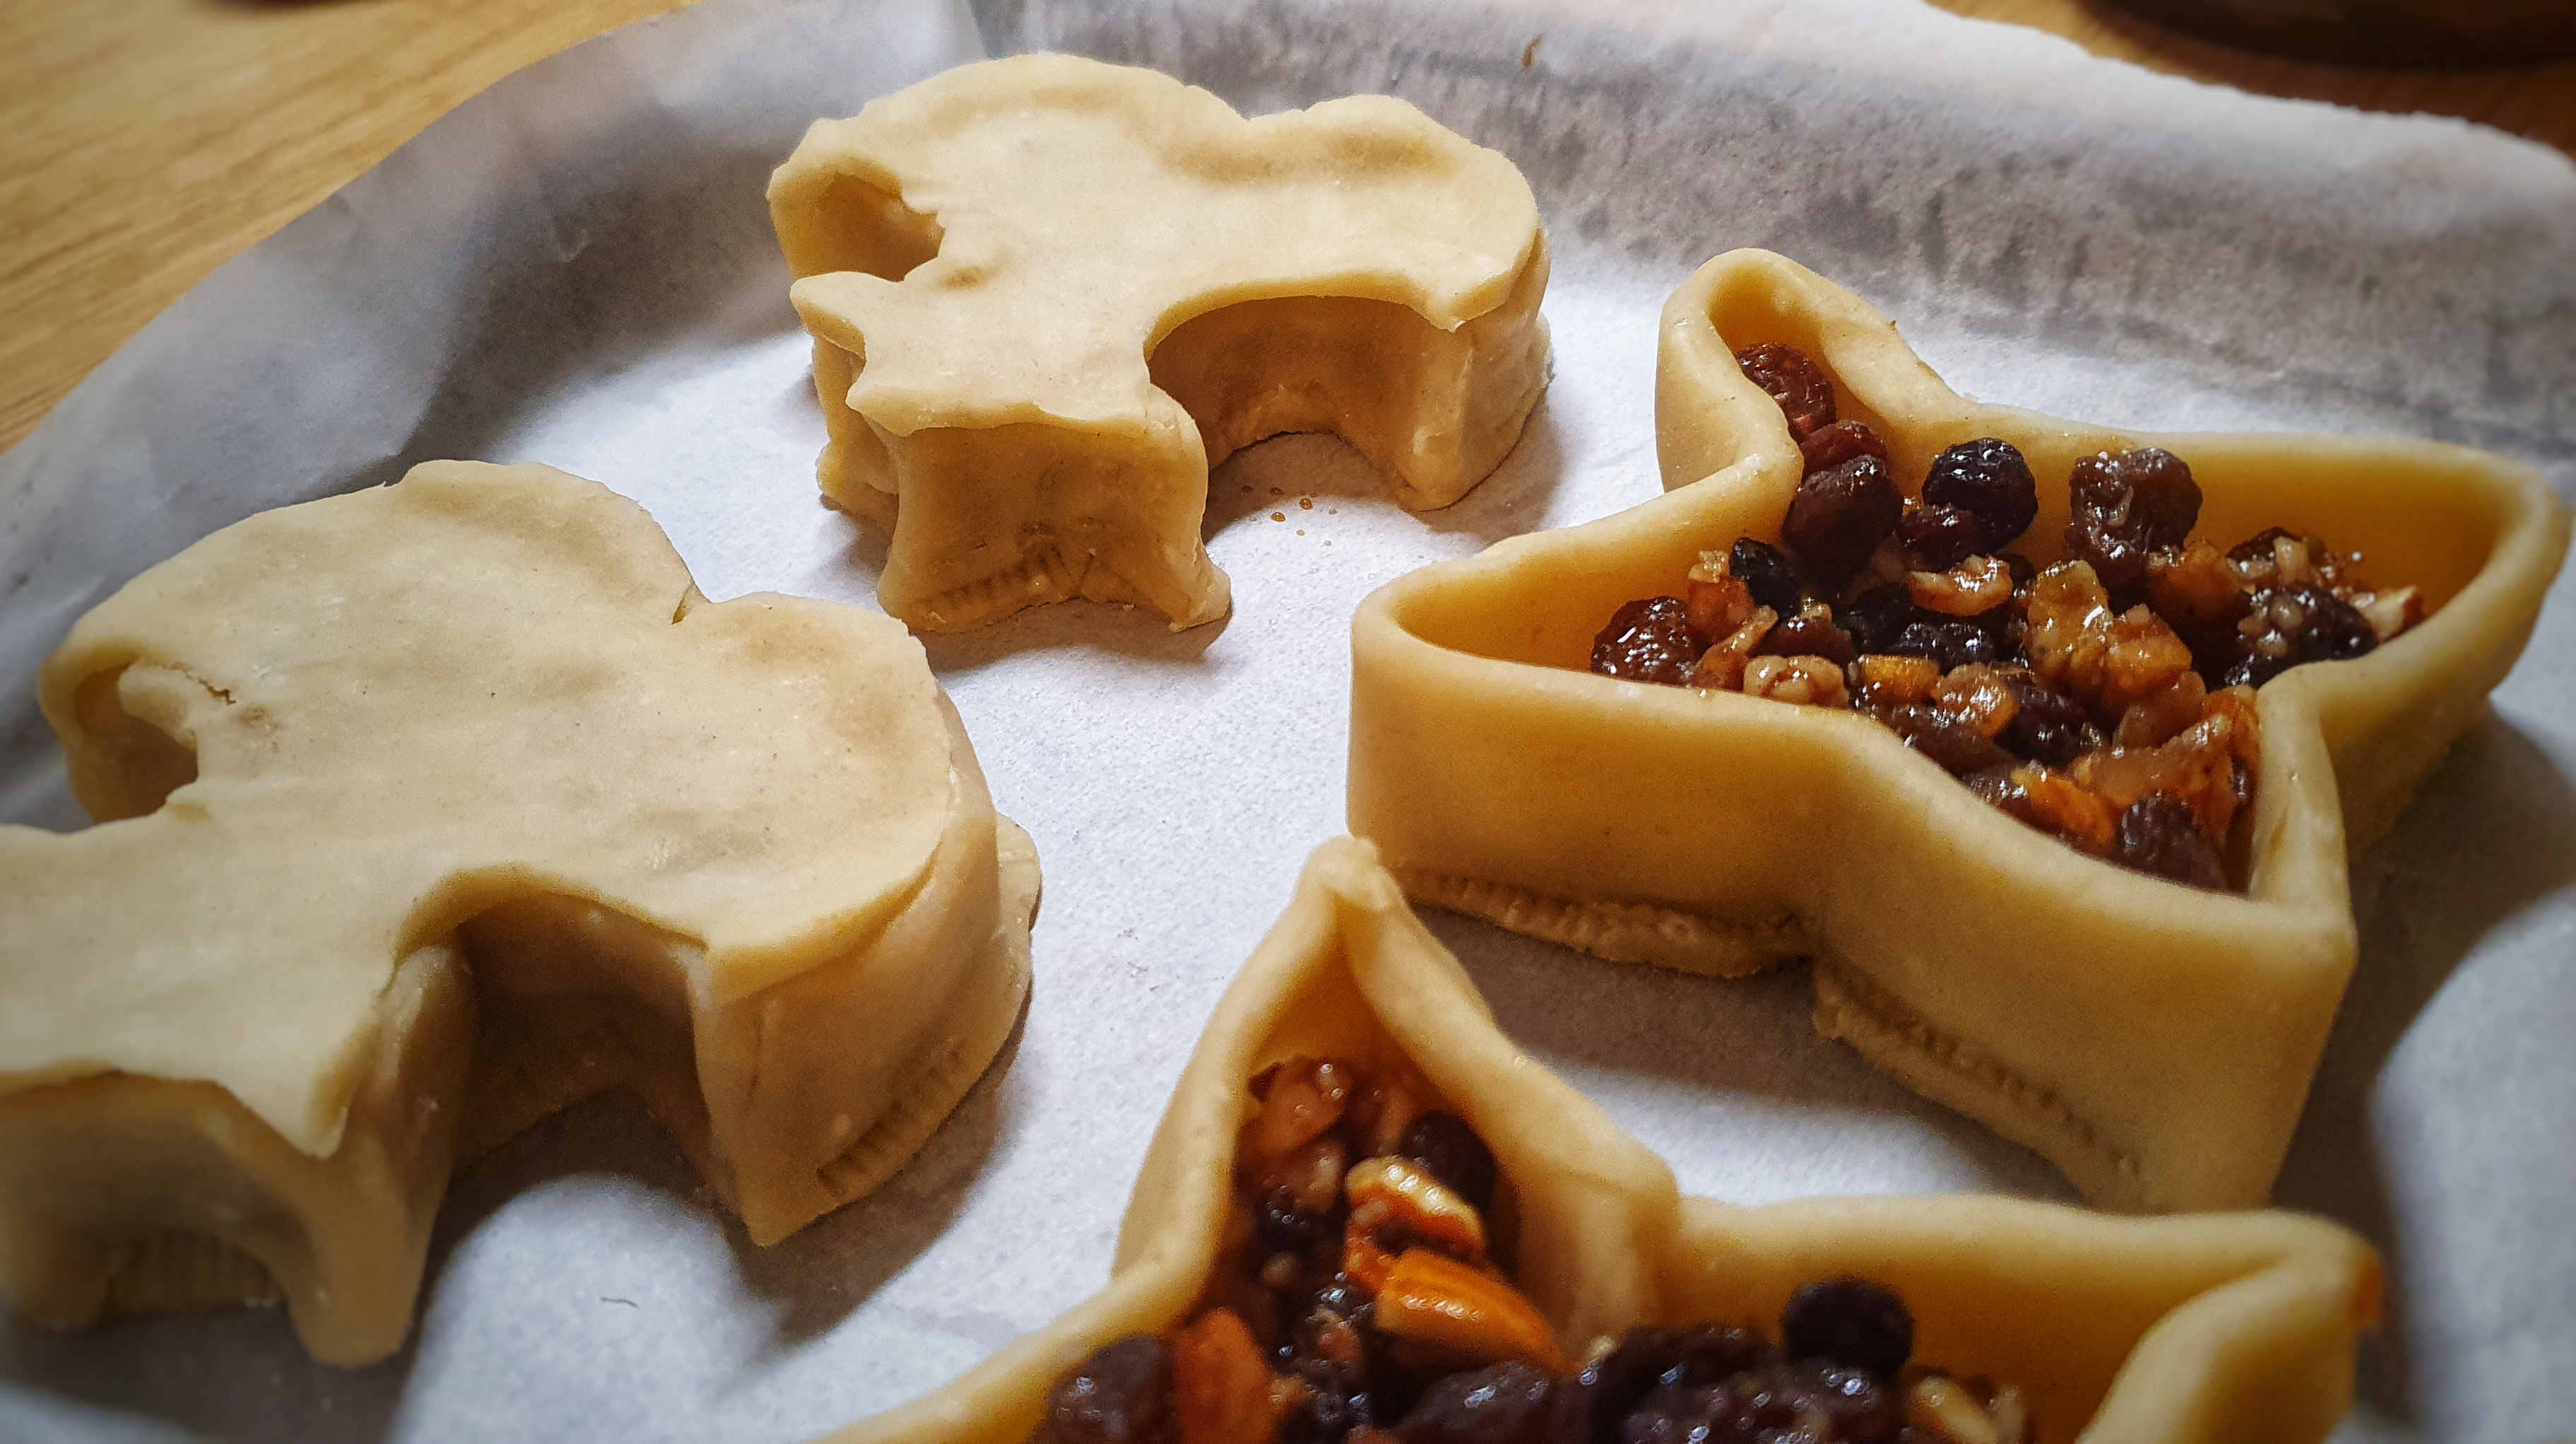
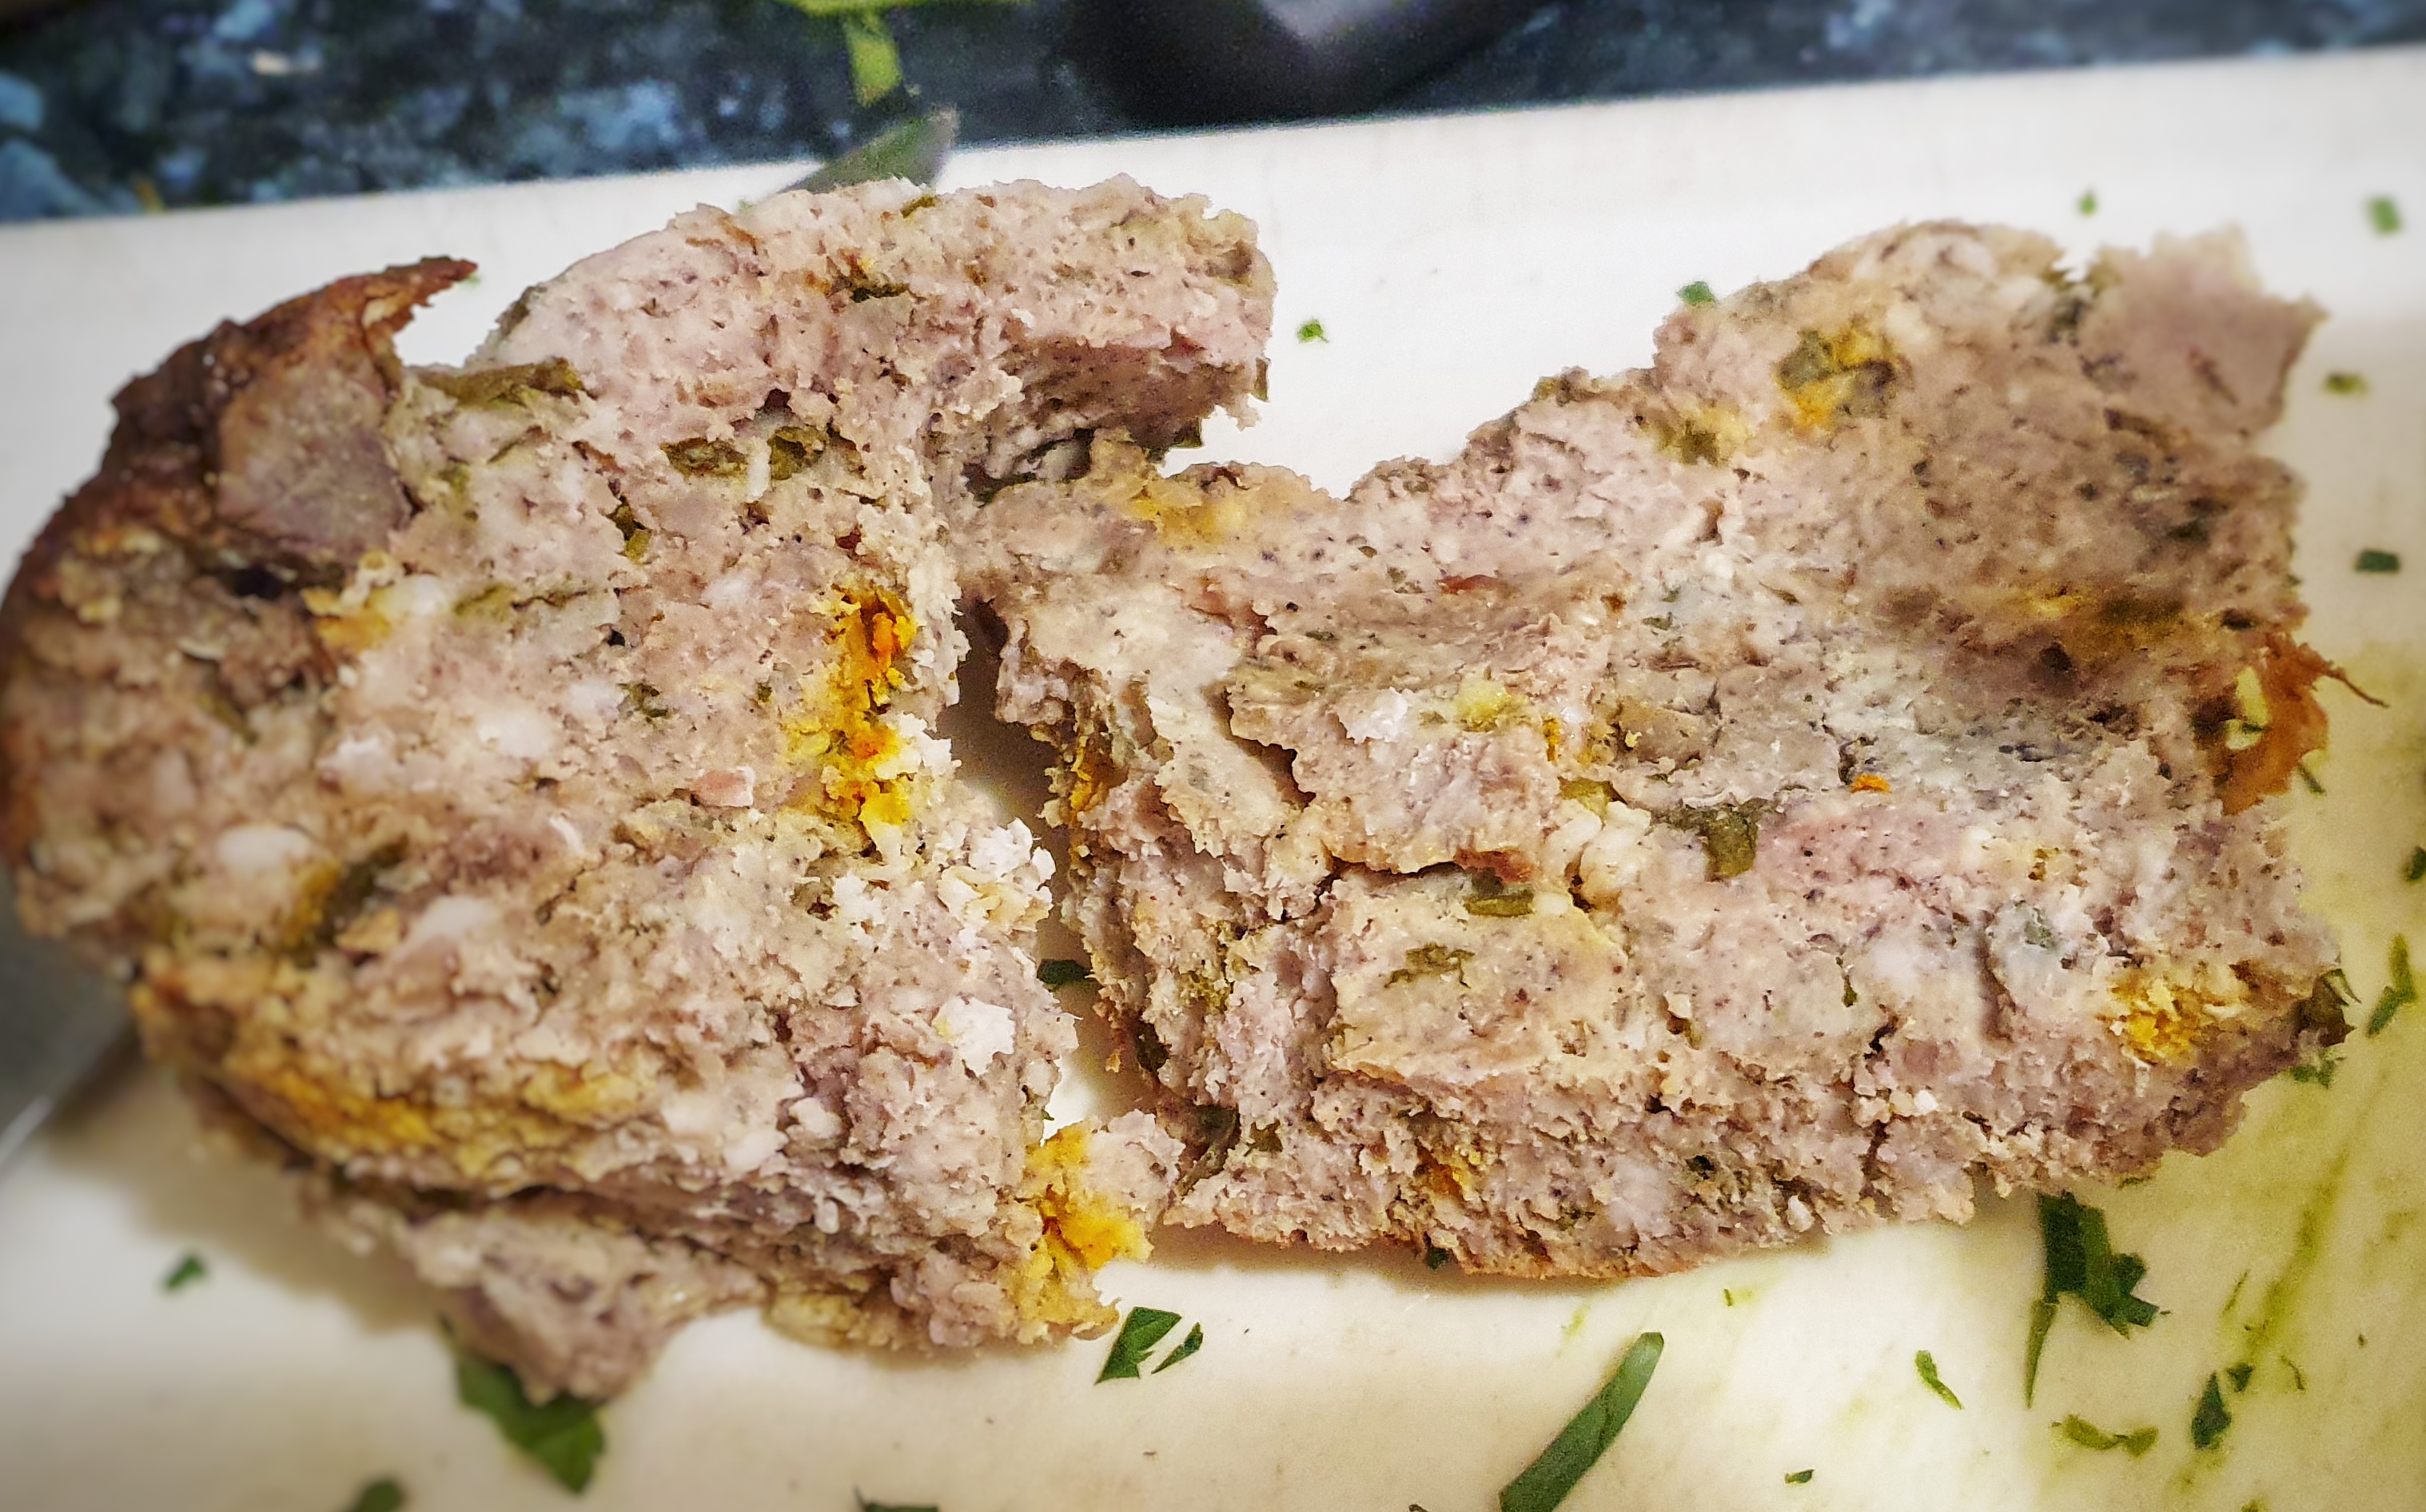
Leftover stuffing, cut into approx. 1 cm dice
150 ml cream
Heat the fat in a stockpot or large saucepan and add the diced soup veg and herbs, plus the celery salt. Stir and fry on a medium heat until things begin to turn golden brown. Add half of the parsley and tarragon plus the potato and continue to cook for another 7 or 8 minutes.

Pour in the turkey stock and bring the whole lot to a lively simmer, then turn it down to gently bubble until the vegetables are nice and soft, about 15 minutes.
Taste, and season with salt and pepper at this point, then add the diced turkey and the hazelnuts. Simmer for a further 7 or 8 minutes, then allow to cool slightly before blitzing the soup in batches in your blender or food processor. Be careful here! Don’t overfill your blender, especially if the soup is still quite hot.
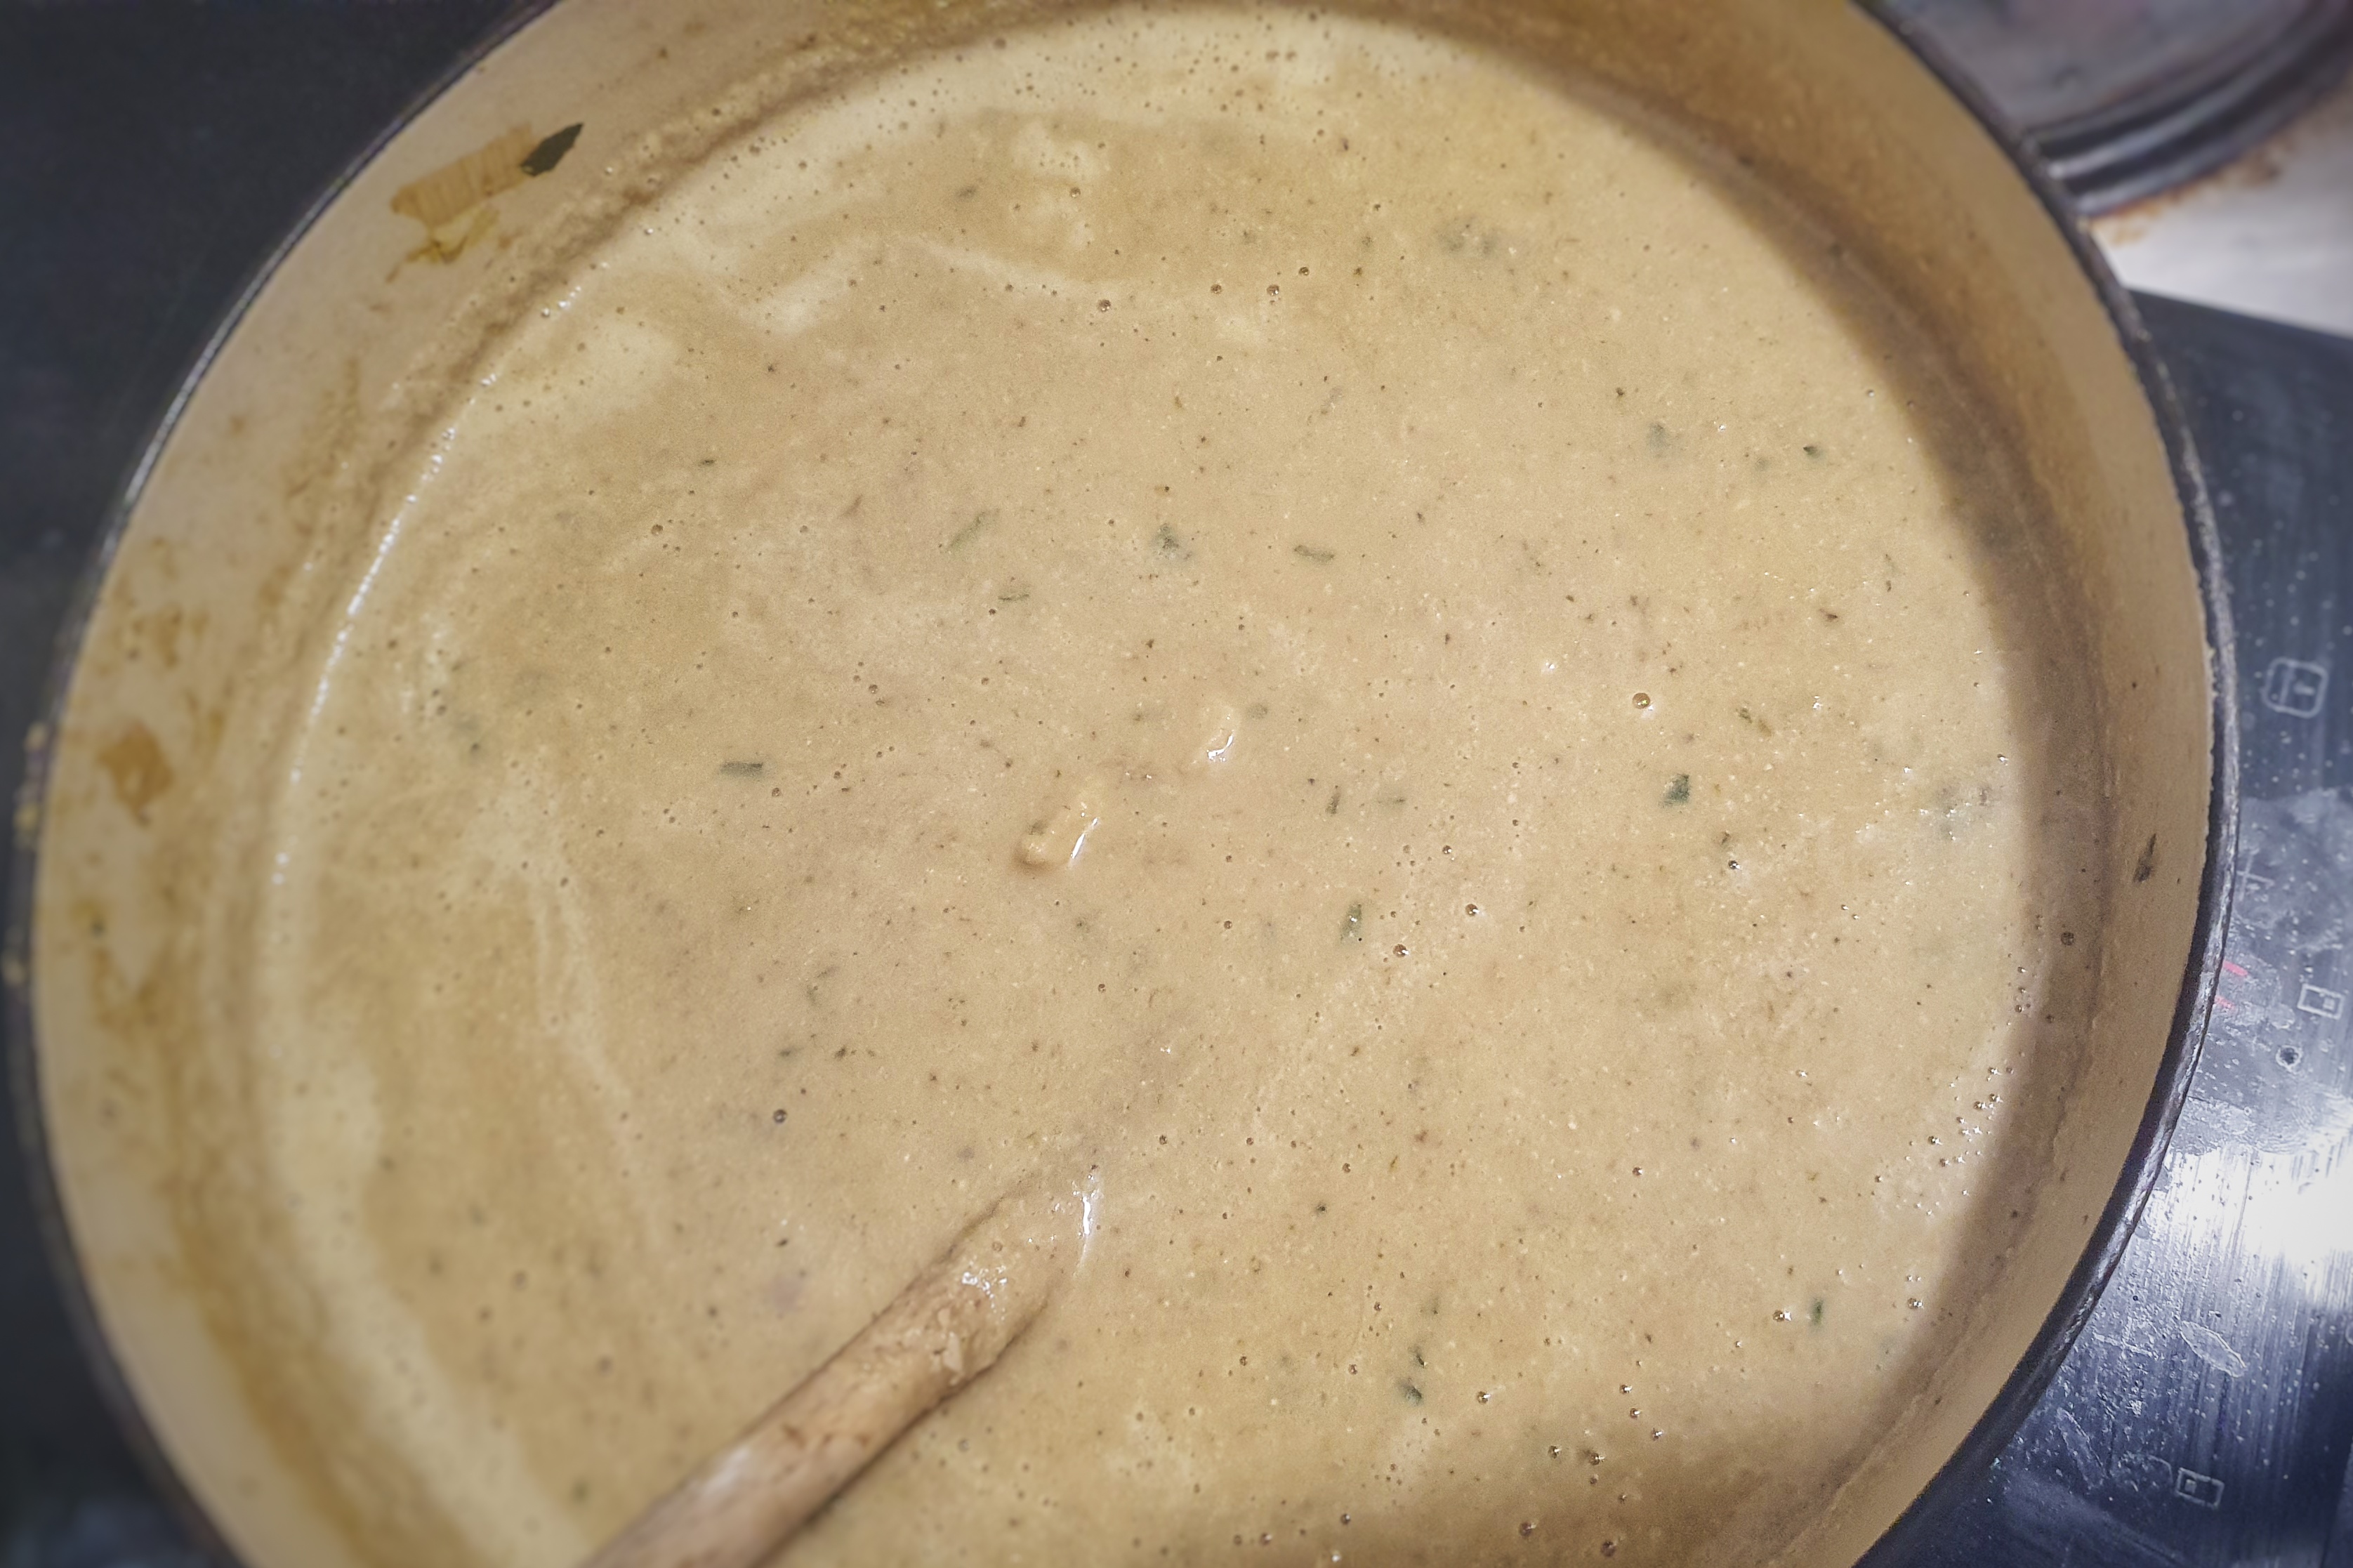
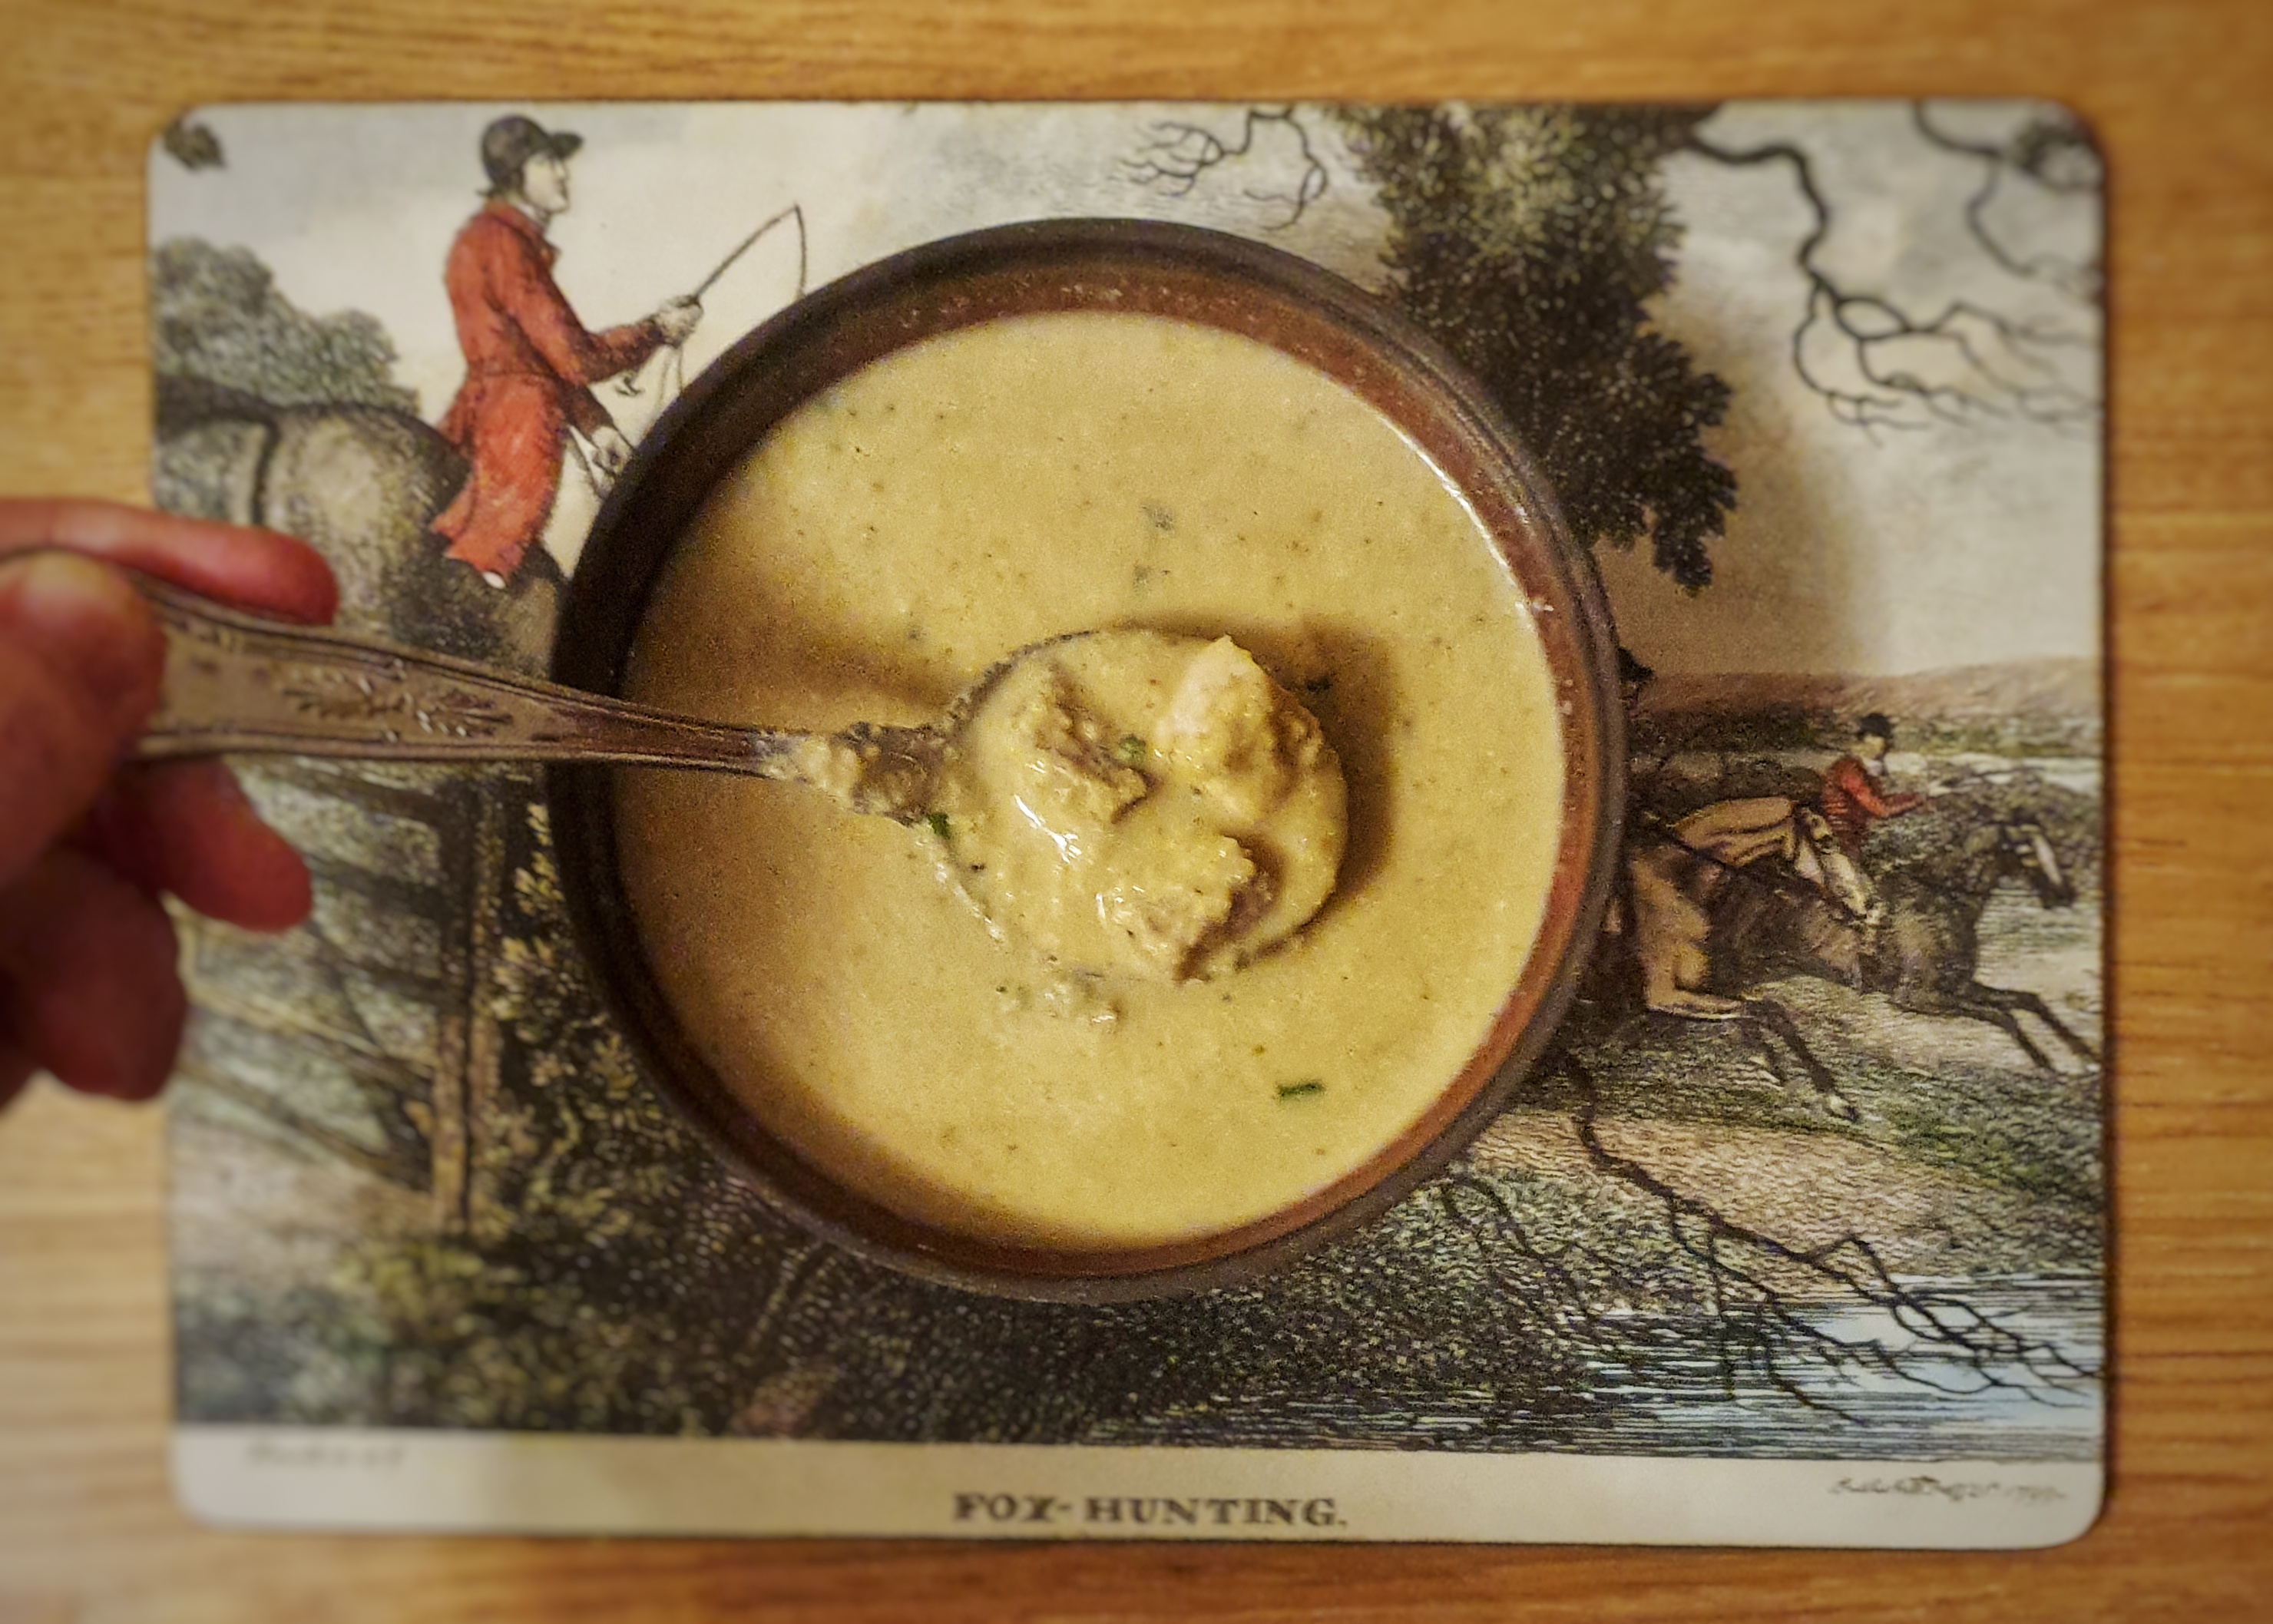
Return to a clean pan, bring back to a simmer, add the cream and the rest of the parsley and tarragon, as well as the diced leftover stuffing. Taste and season with more celery salt and pepper. Serve immediately.
For the stock
I keep vegetable trimmings and peelings in bags in my freezer for stock-making sessions such as these; you can, of course, use regular stock vegetables: celery, onions, carrots, leeks, etc.
Makes around 2 litres of jellied stock
2 tbs of fat or oil
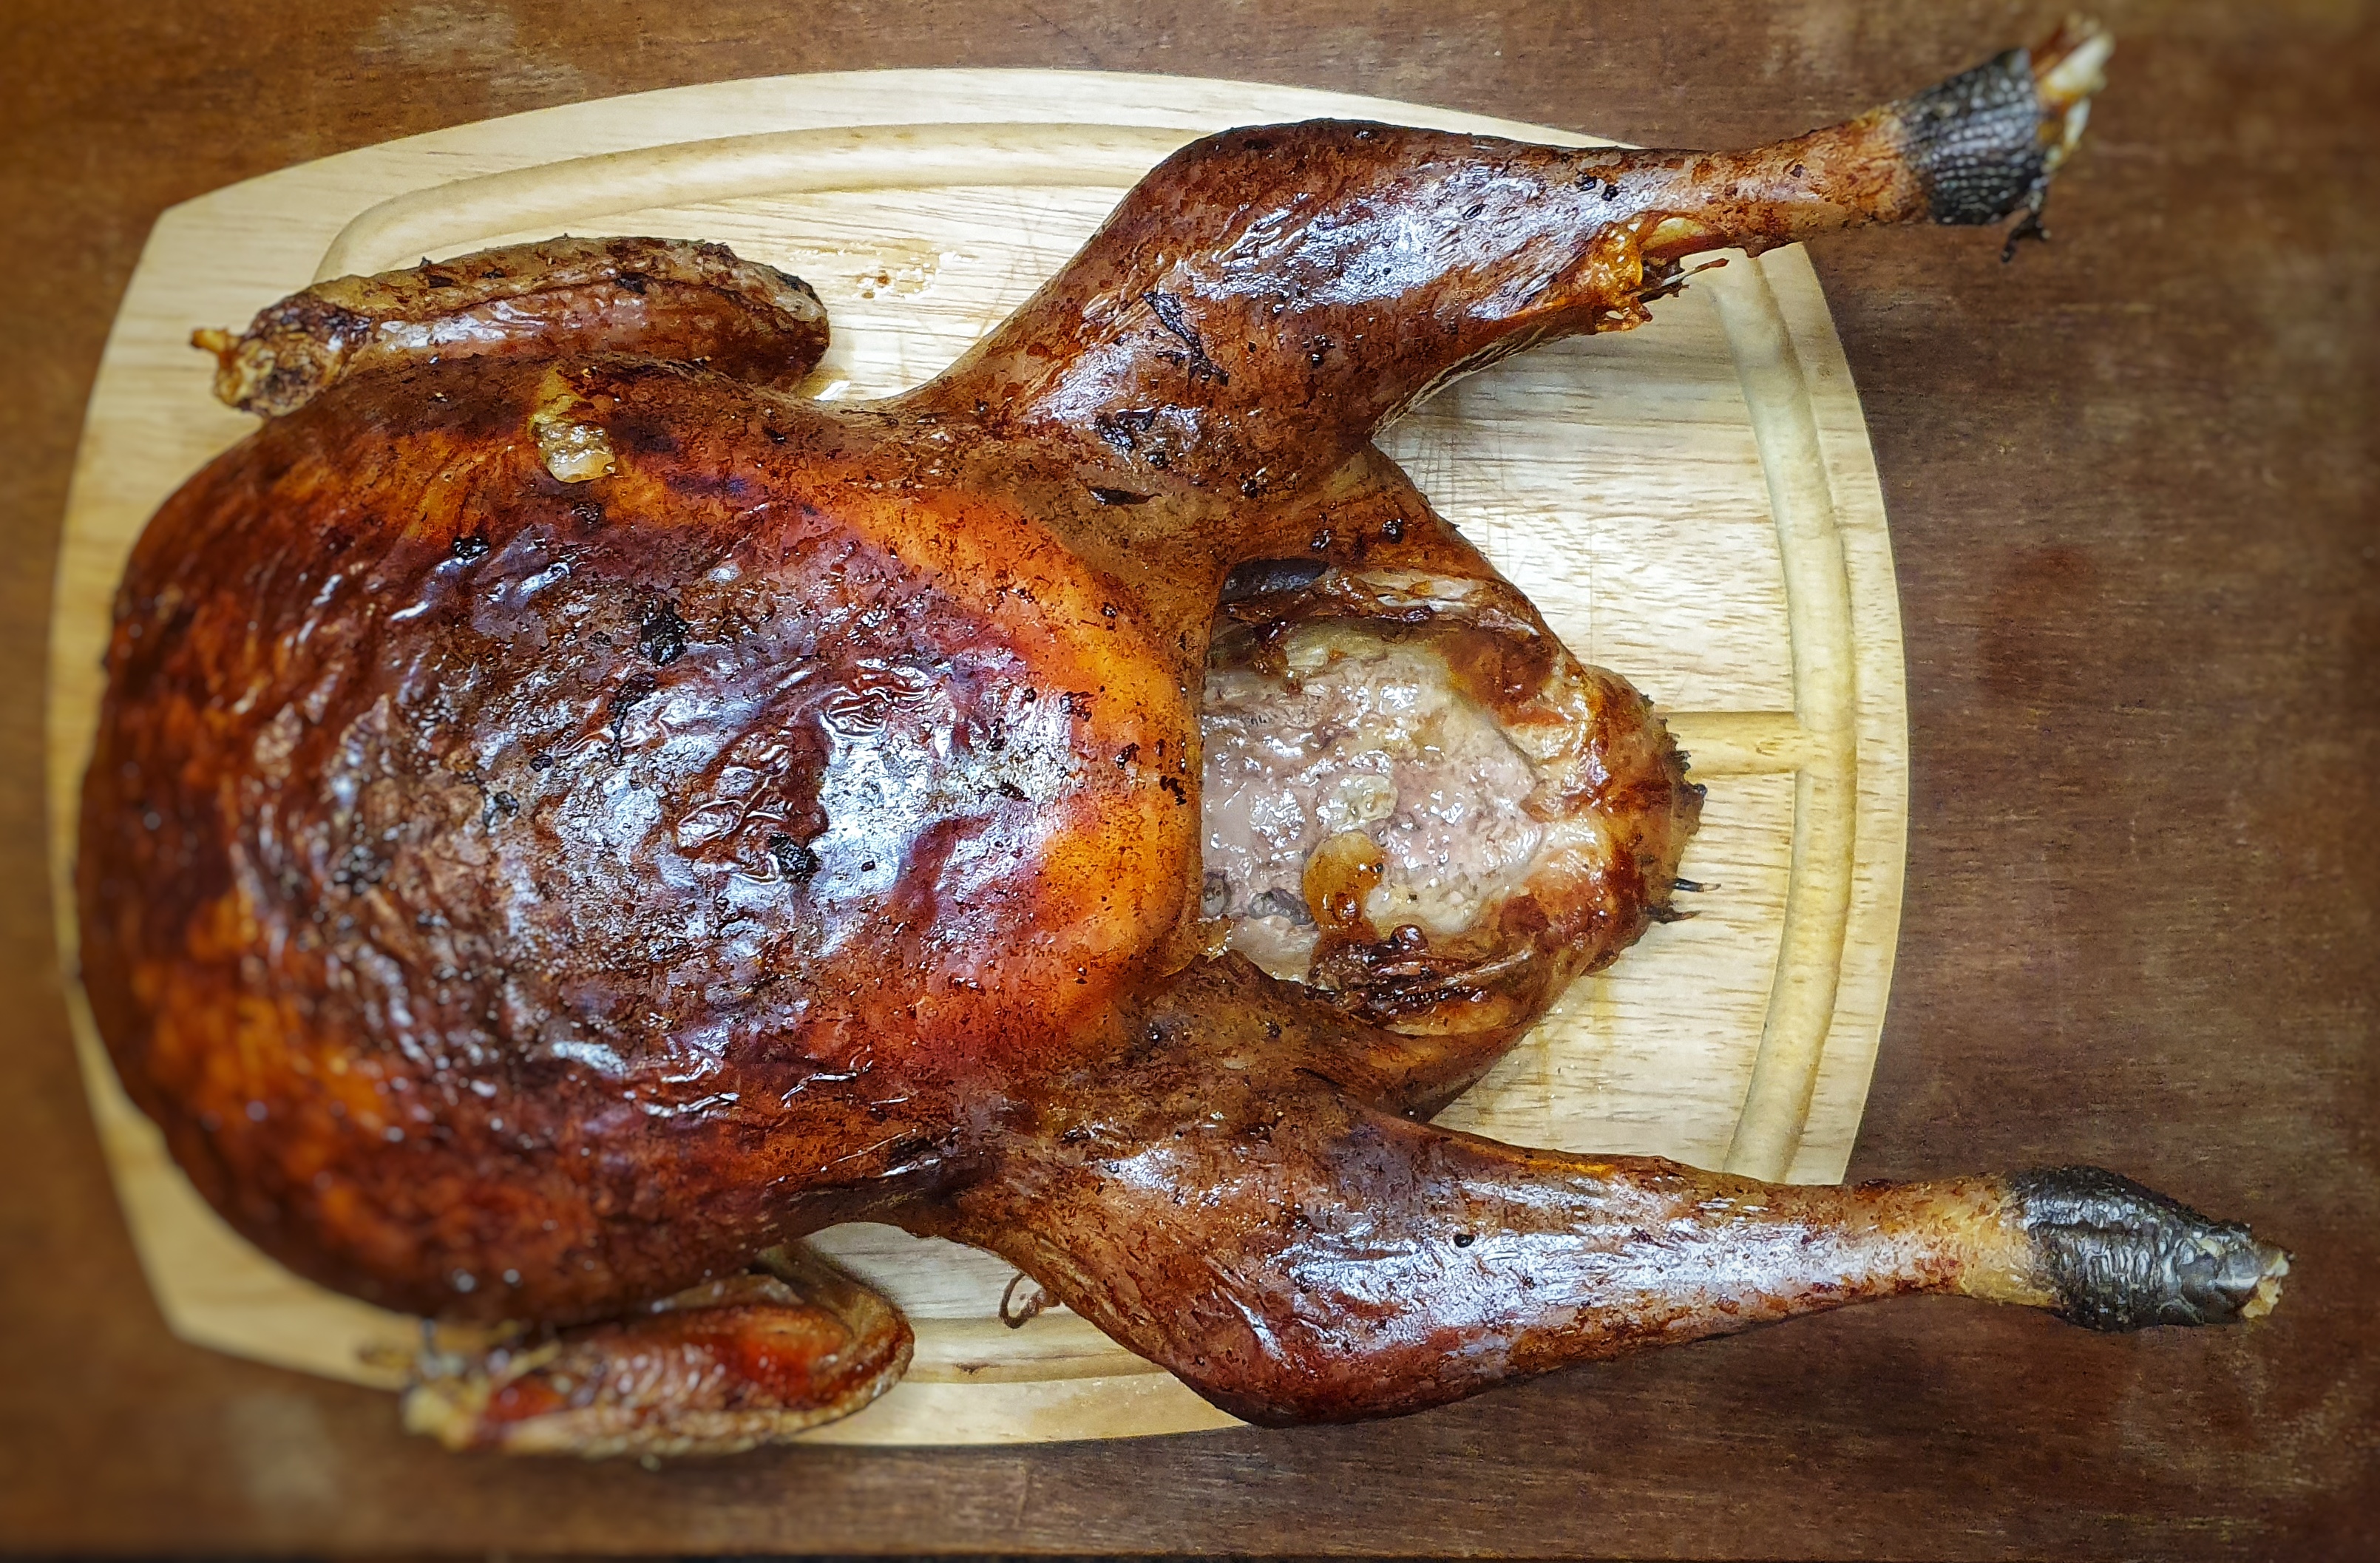
The roast turkey carcass, broken into pieces – don’t be too thorough with removing the meat, leave some on.
Vegetable trimmings and peelings (avoid brassicas) or a mixture of stock vegetables: 2 carrots, 2 celery sticks, the green part of a leek or two, a couple of onions, a few smashed garlic cloves.
Aromatic herbs, e.g. 3 or 4 bay leaves, a small bunch of thyme and/or rosemary, parsley stalks
Aromatic spices, e.g. 1 tsp black peppercorns, 6 cloves, 1 tsp allspice berries, 2 blades of mace
1 tsp salt
Any leftover turkey juices or turkey gravy
Cool water to cover
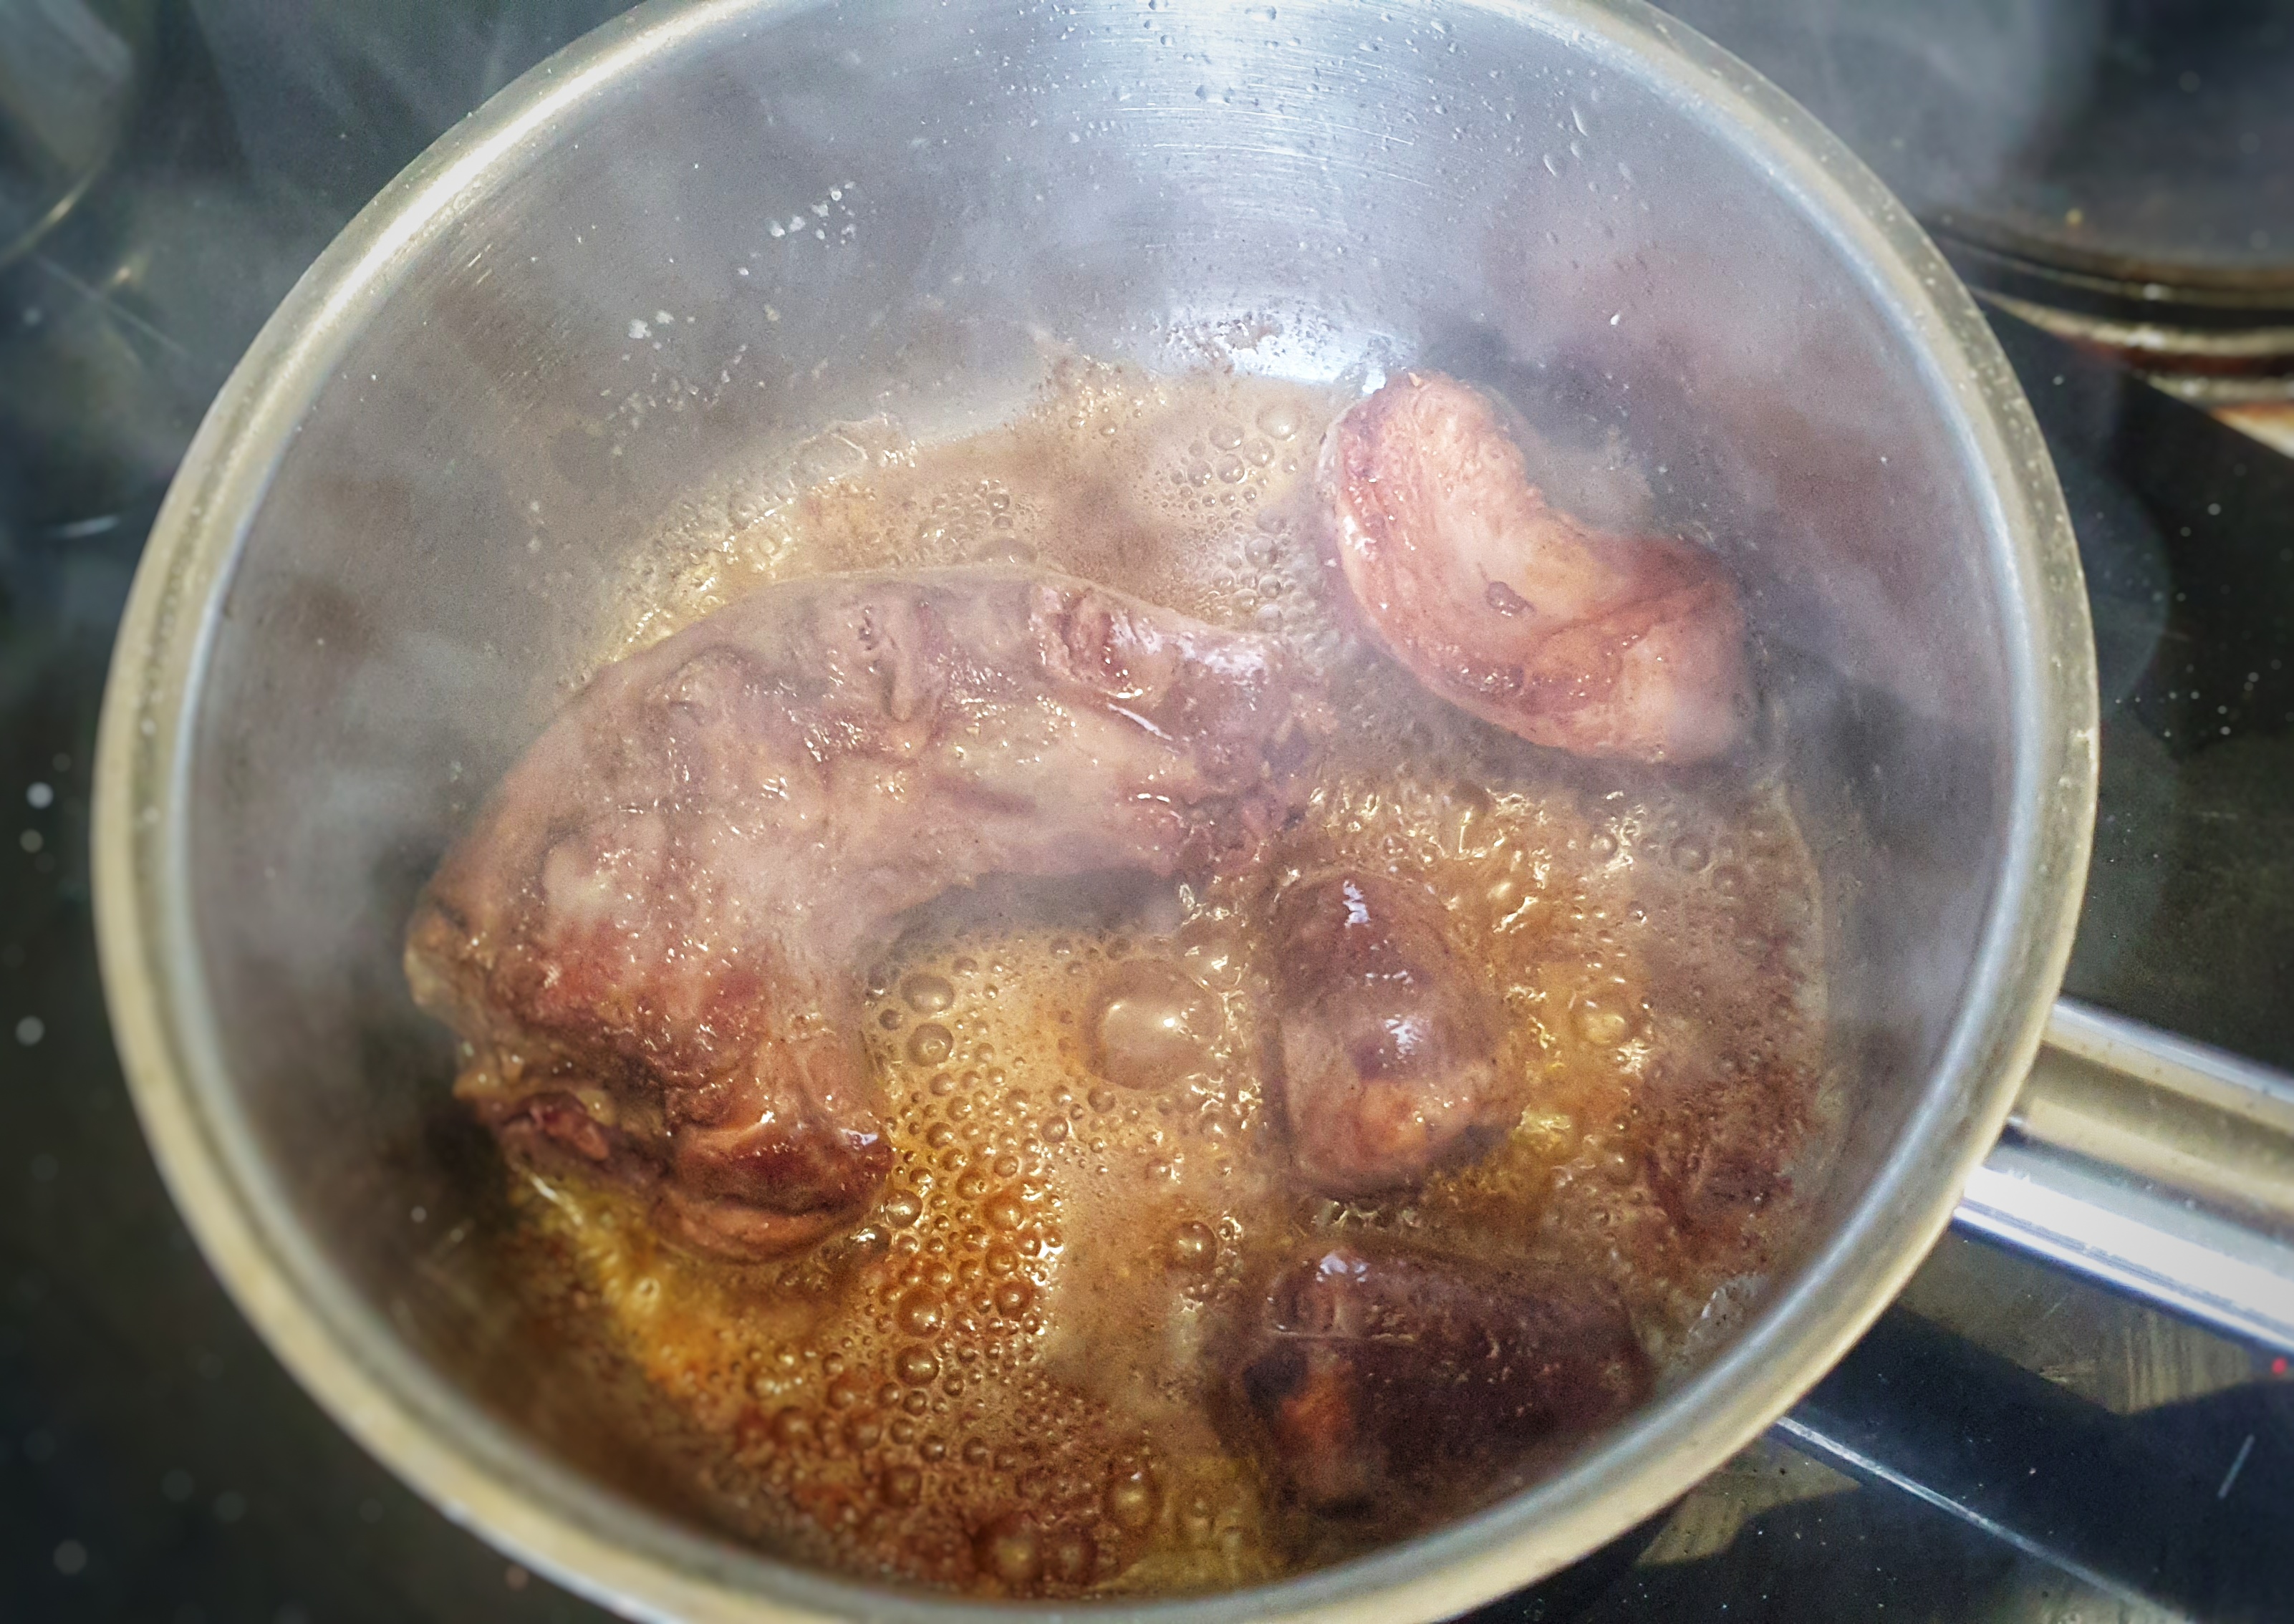
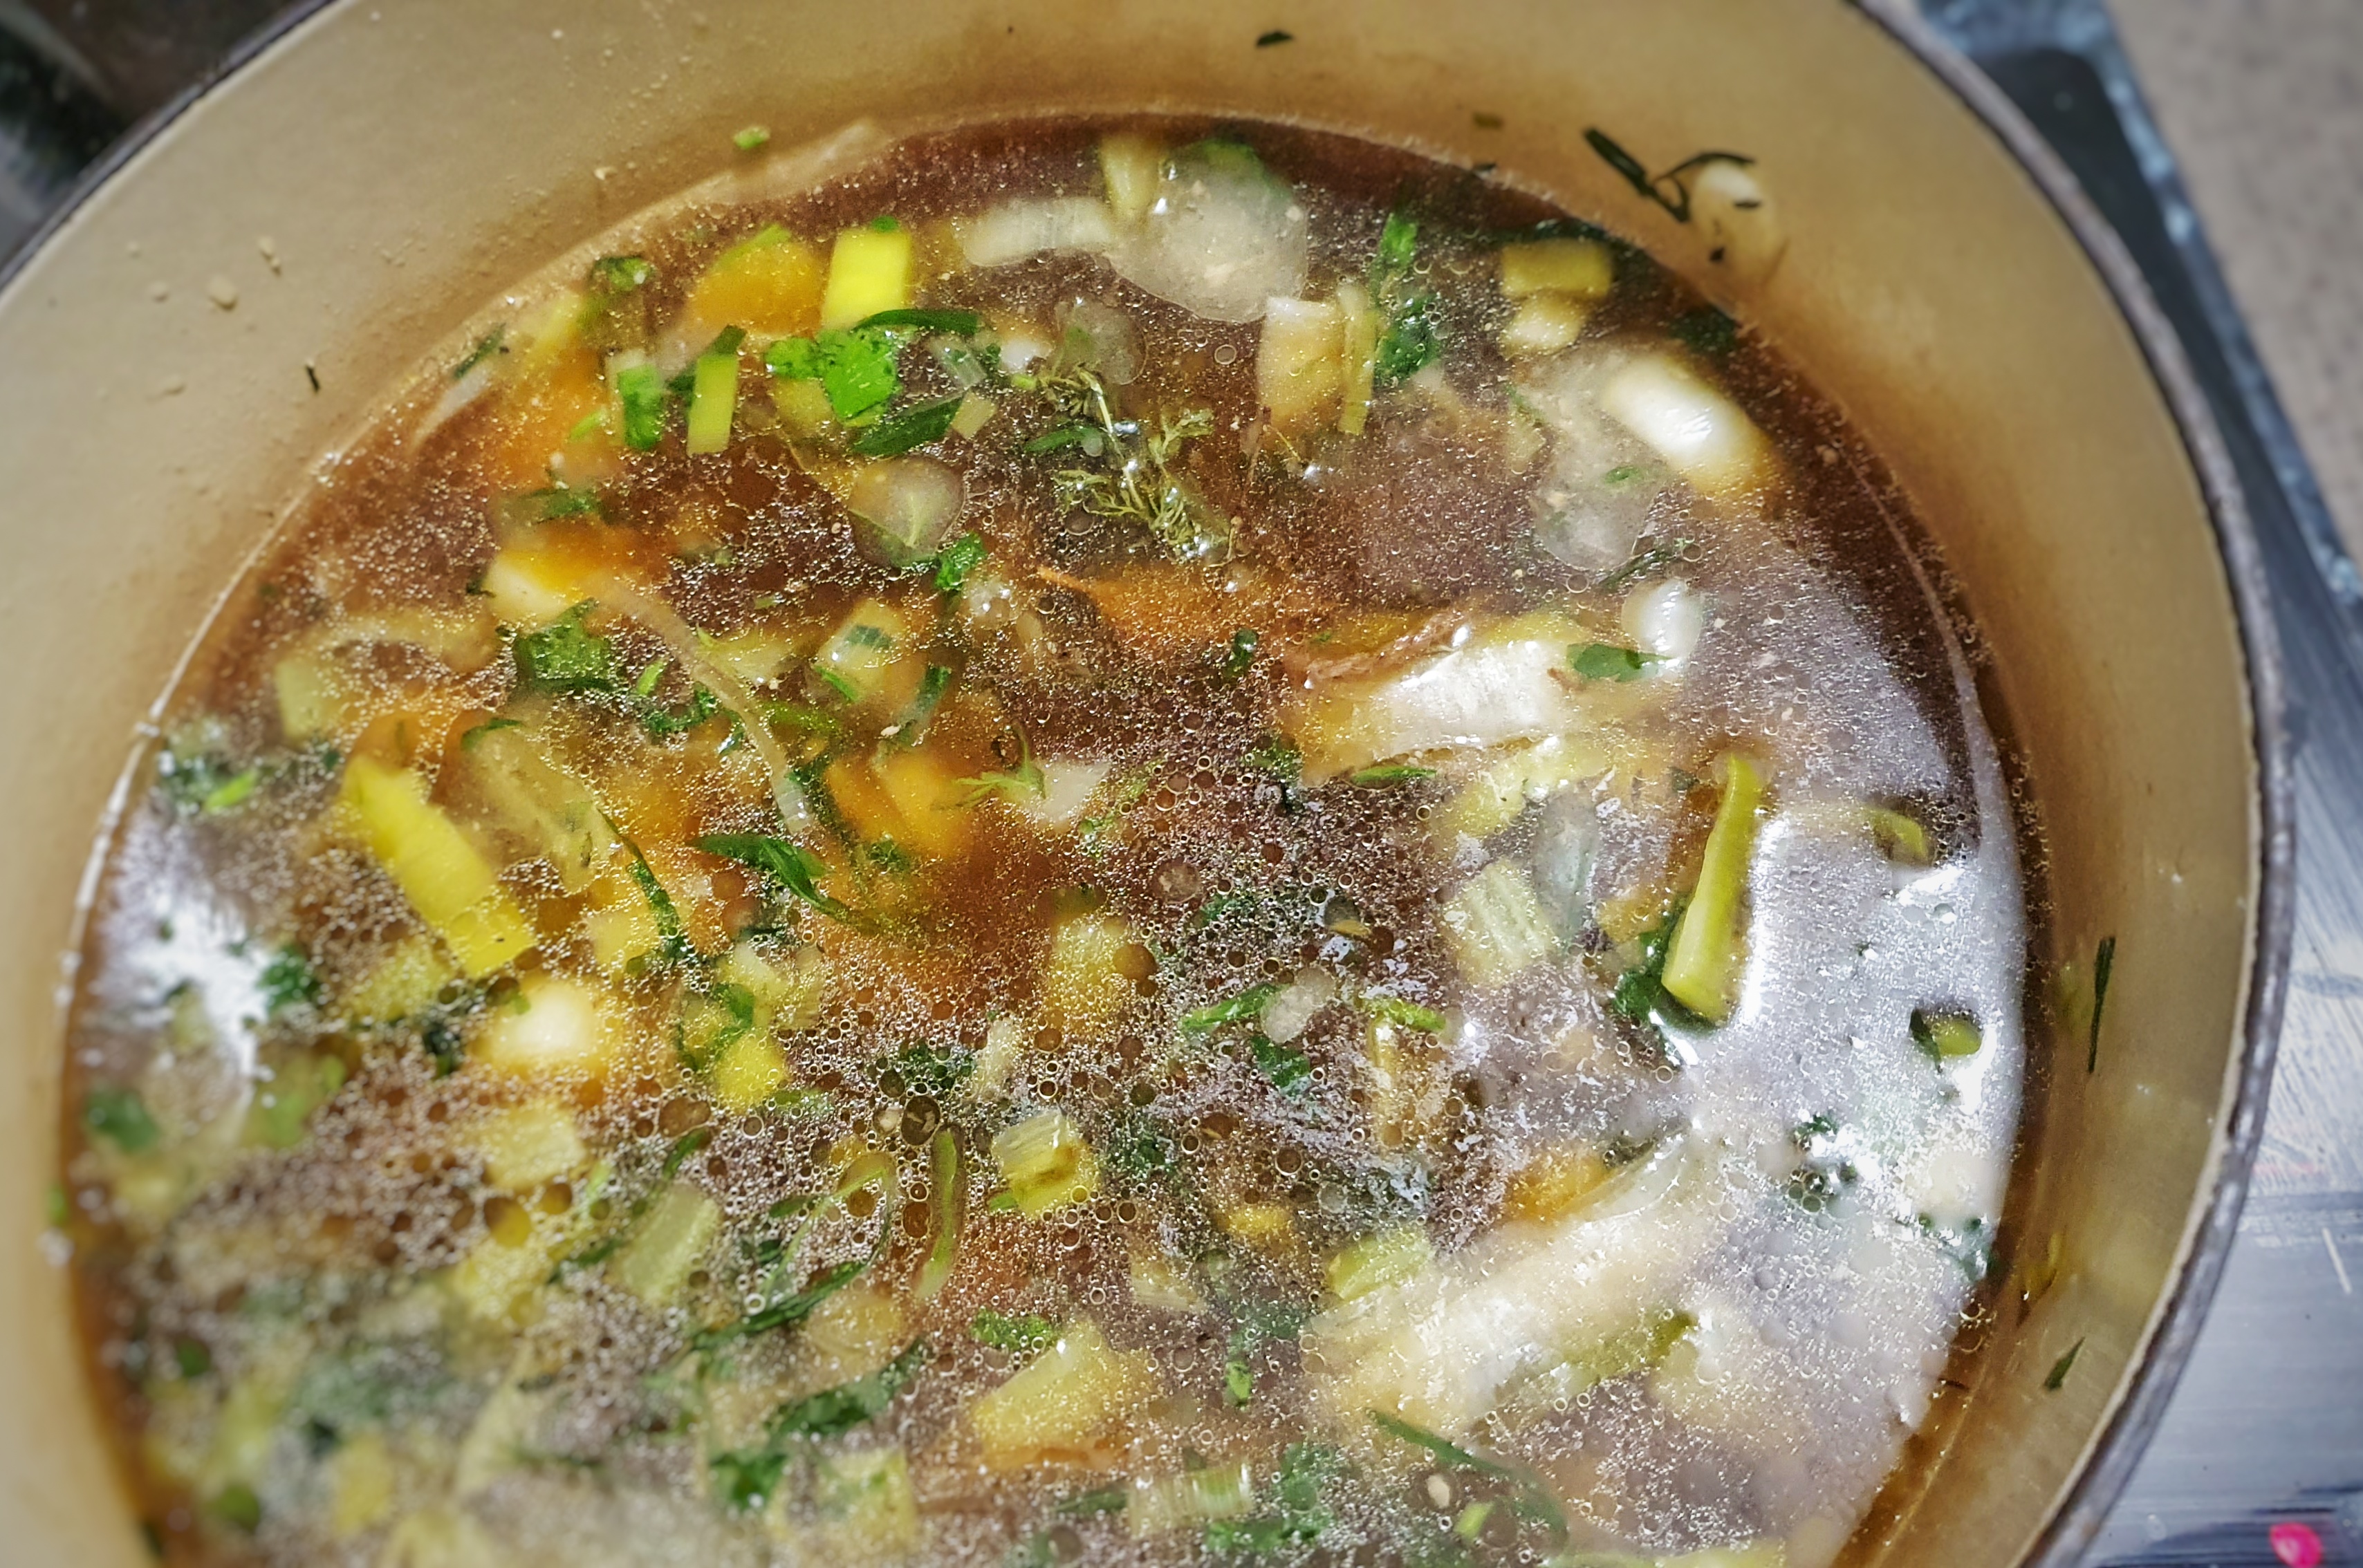
Heat the fat or oil in a stockpot or pressure cooker and add the turkey carcass, the vegetables, the herbs, the spices as well as the salt. Stir and fry until both the turkey and vegetables are starting to turn a good, golden brown.
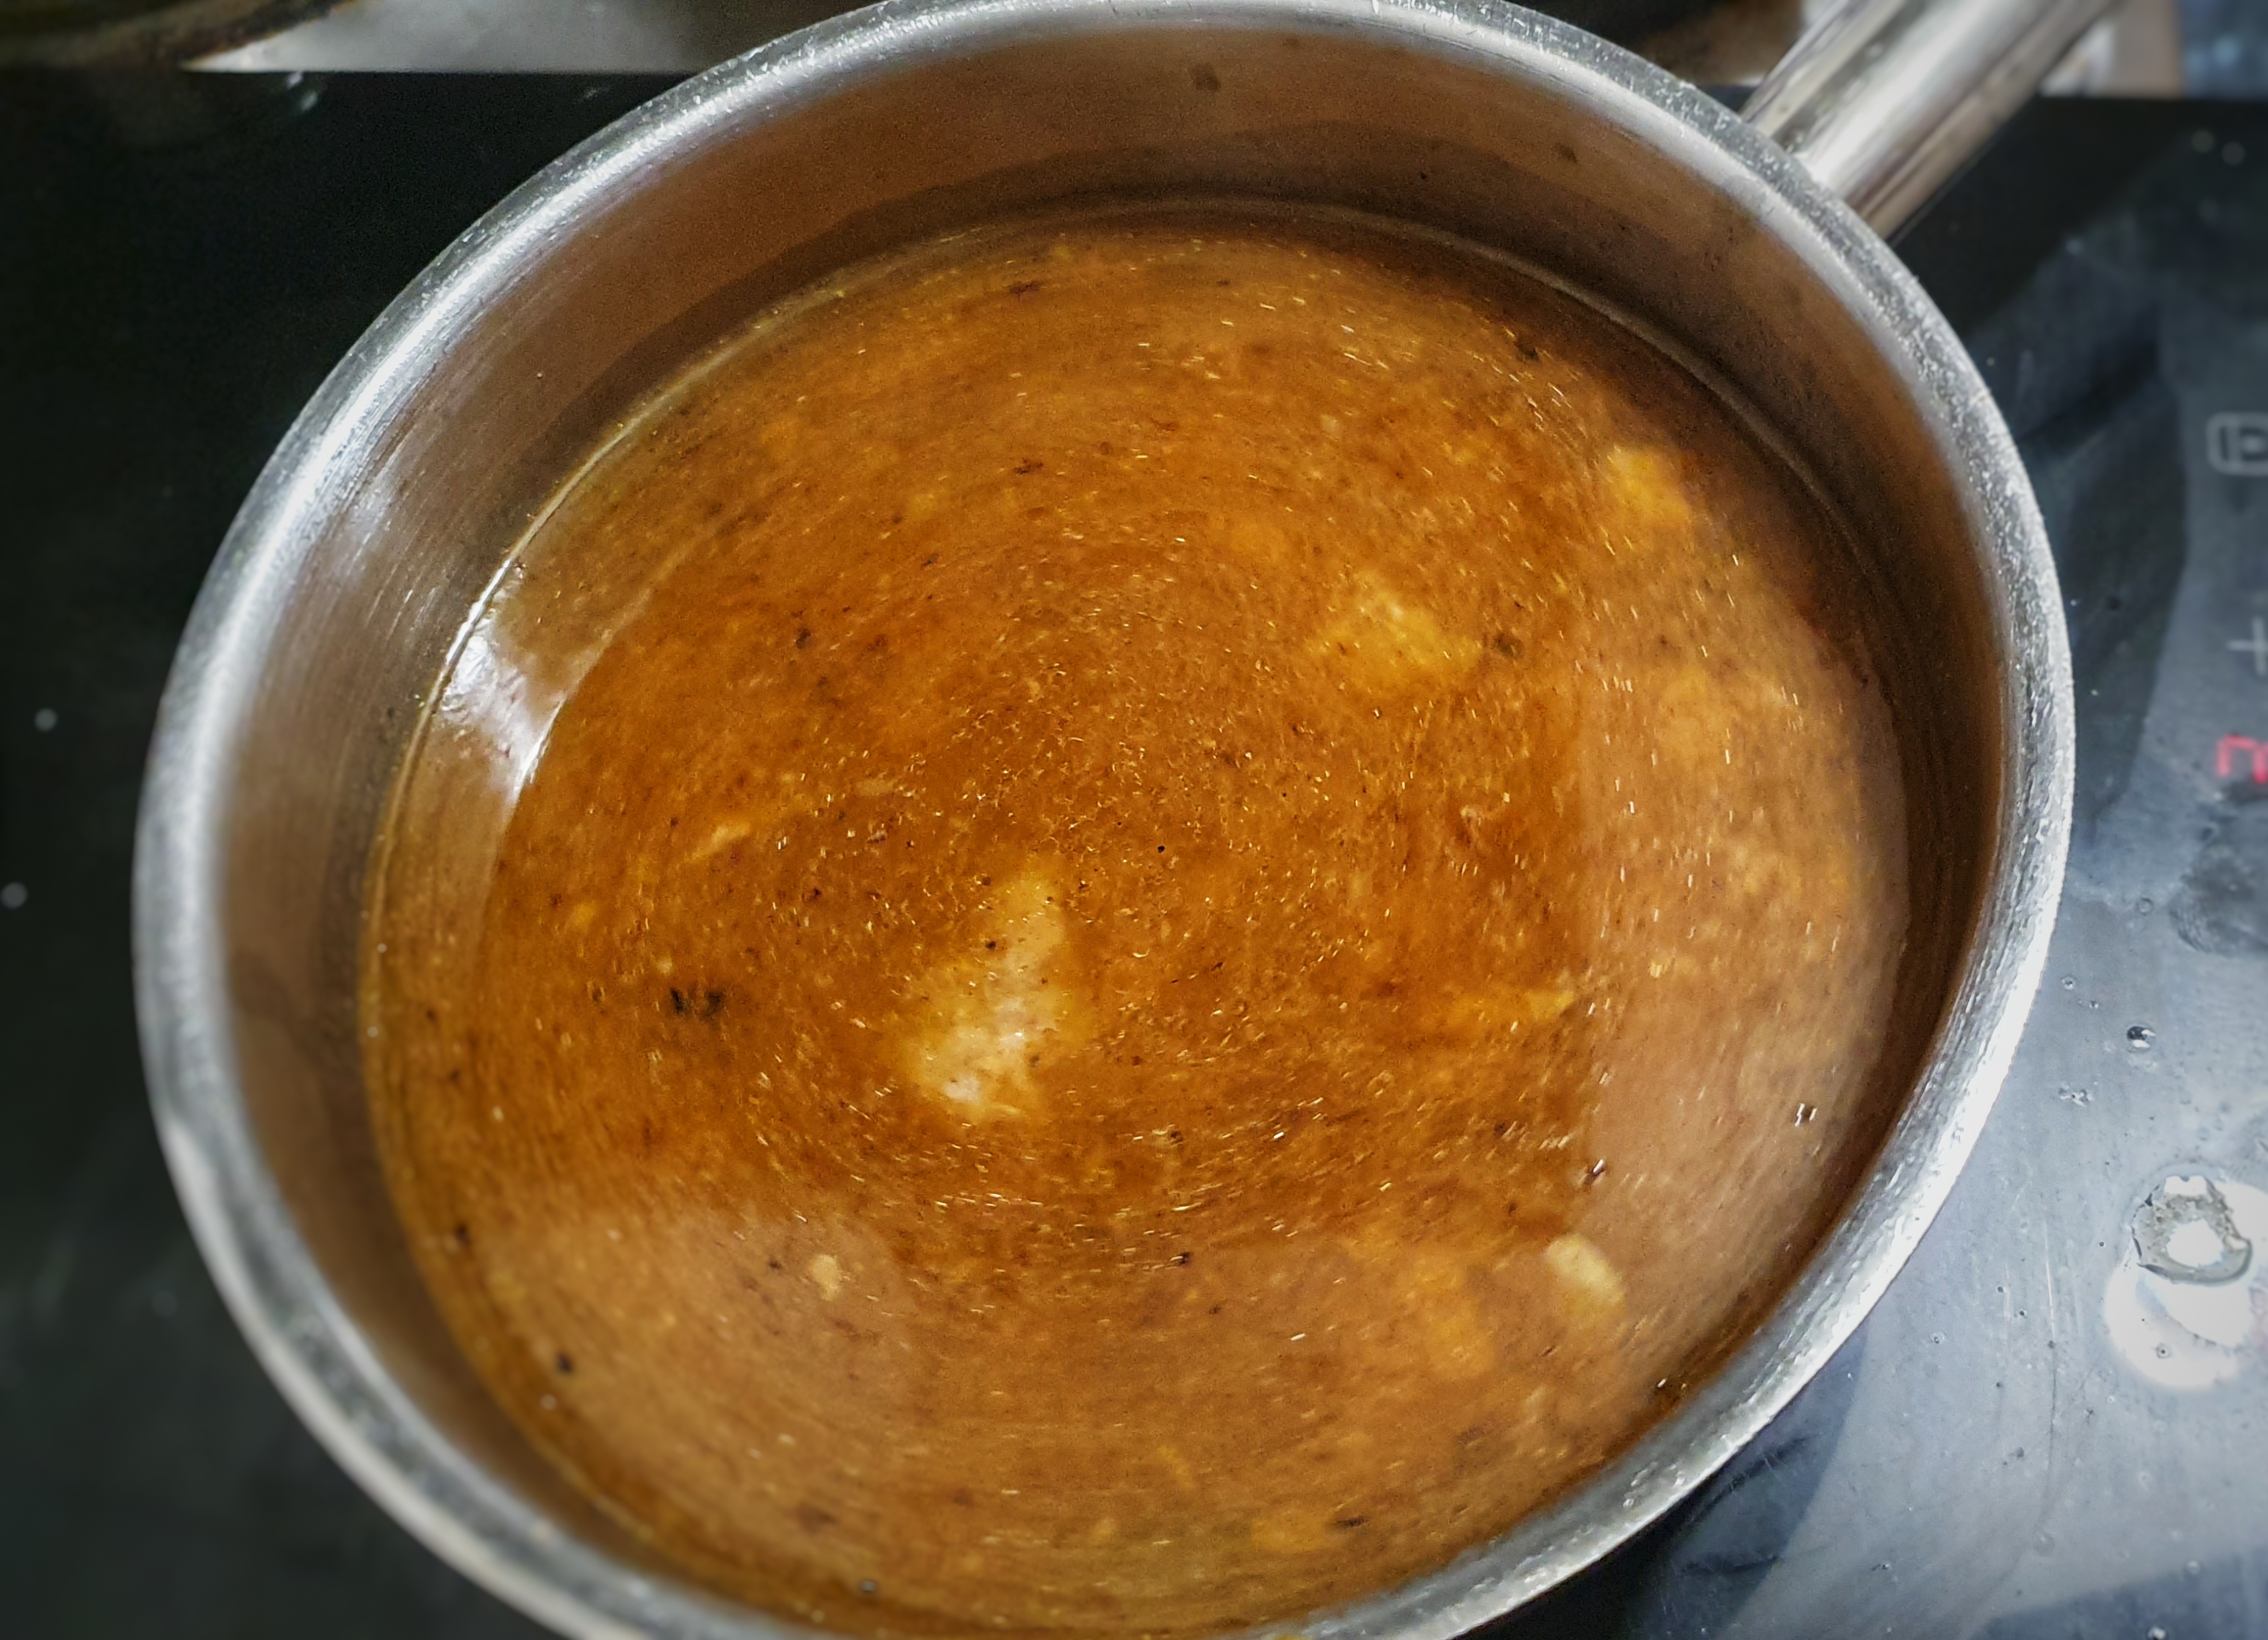
Add any leftover gravy and top up with water so that it barely covers the turkey and vegetables.
If cooking in a stockpot: bring slowly to a simmer, turn the heat over and let it cook very gently for two hours.
If cooking in a pressure cooker: bring to a simmer, when high pressure is reached, reduce the heat and cook for 25 minutes before turning off the heat and allowing the stock to depressurise.
If cooking in a slow cooker: transfer everything to your slow cooker (careful!) and cook on a high setting for 1 hour and then a medium setting for 2 more hours.
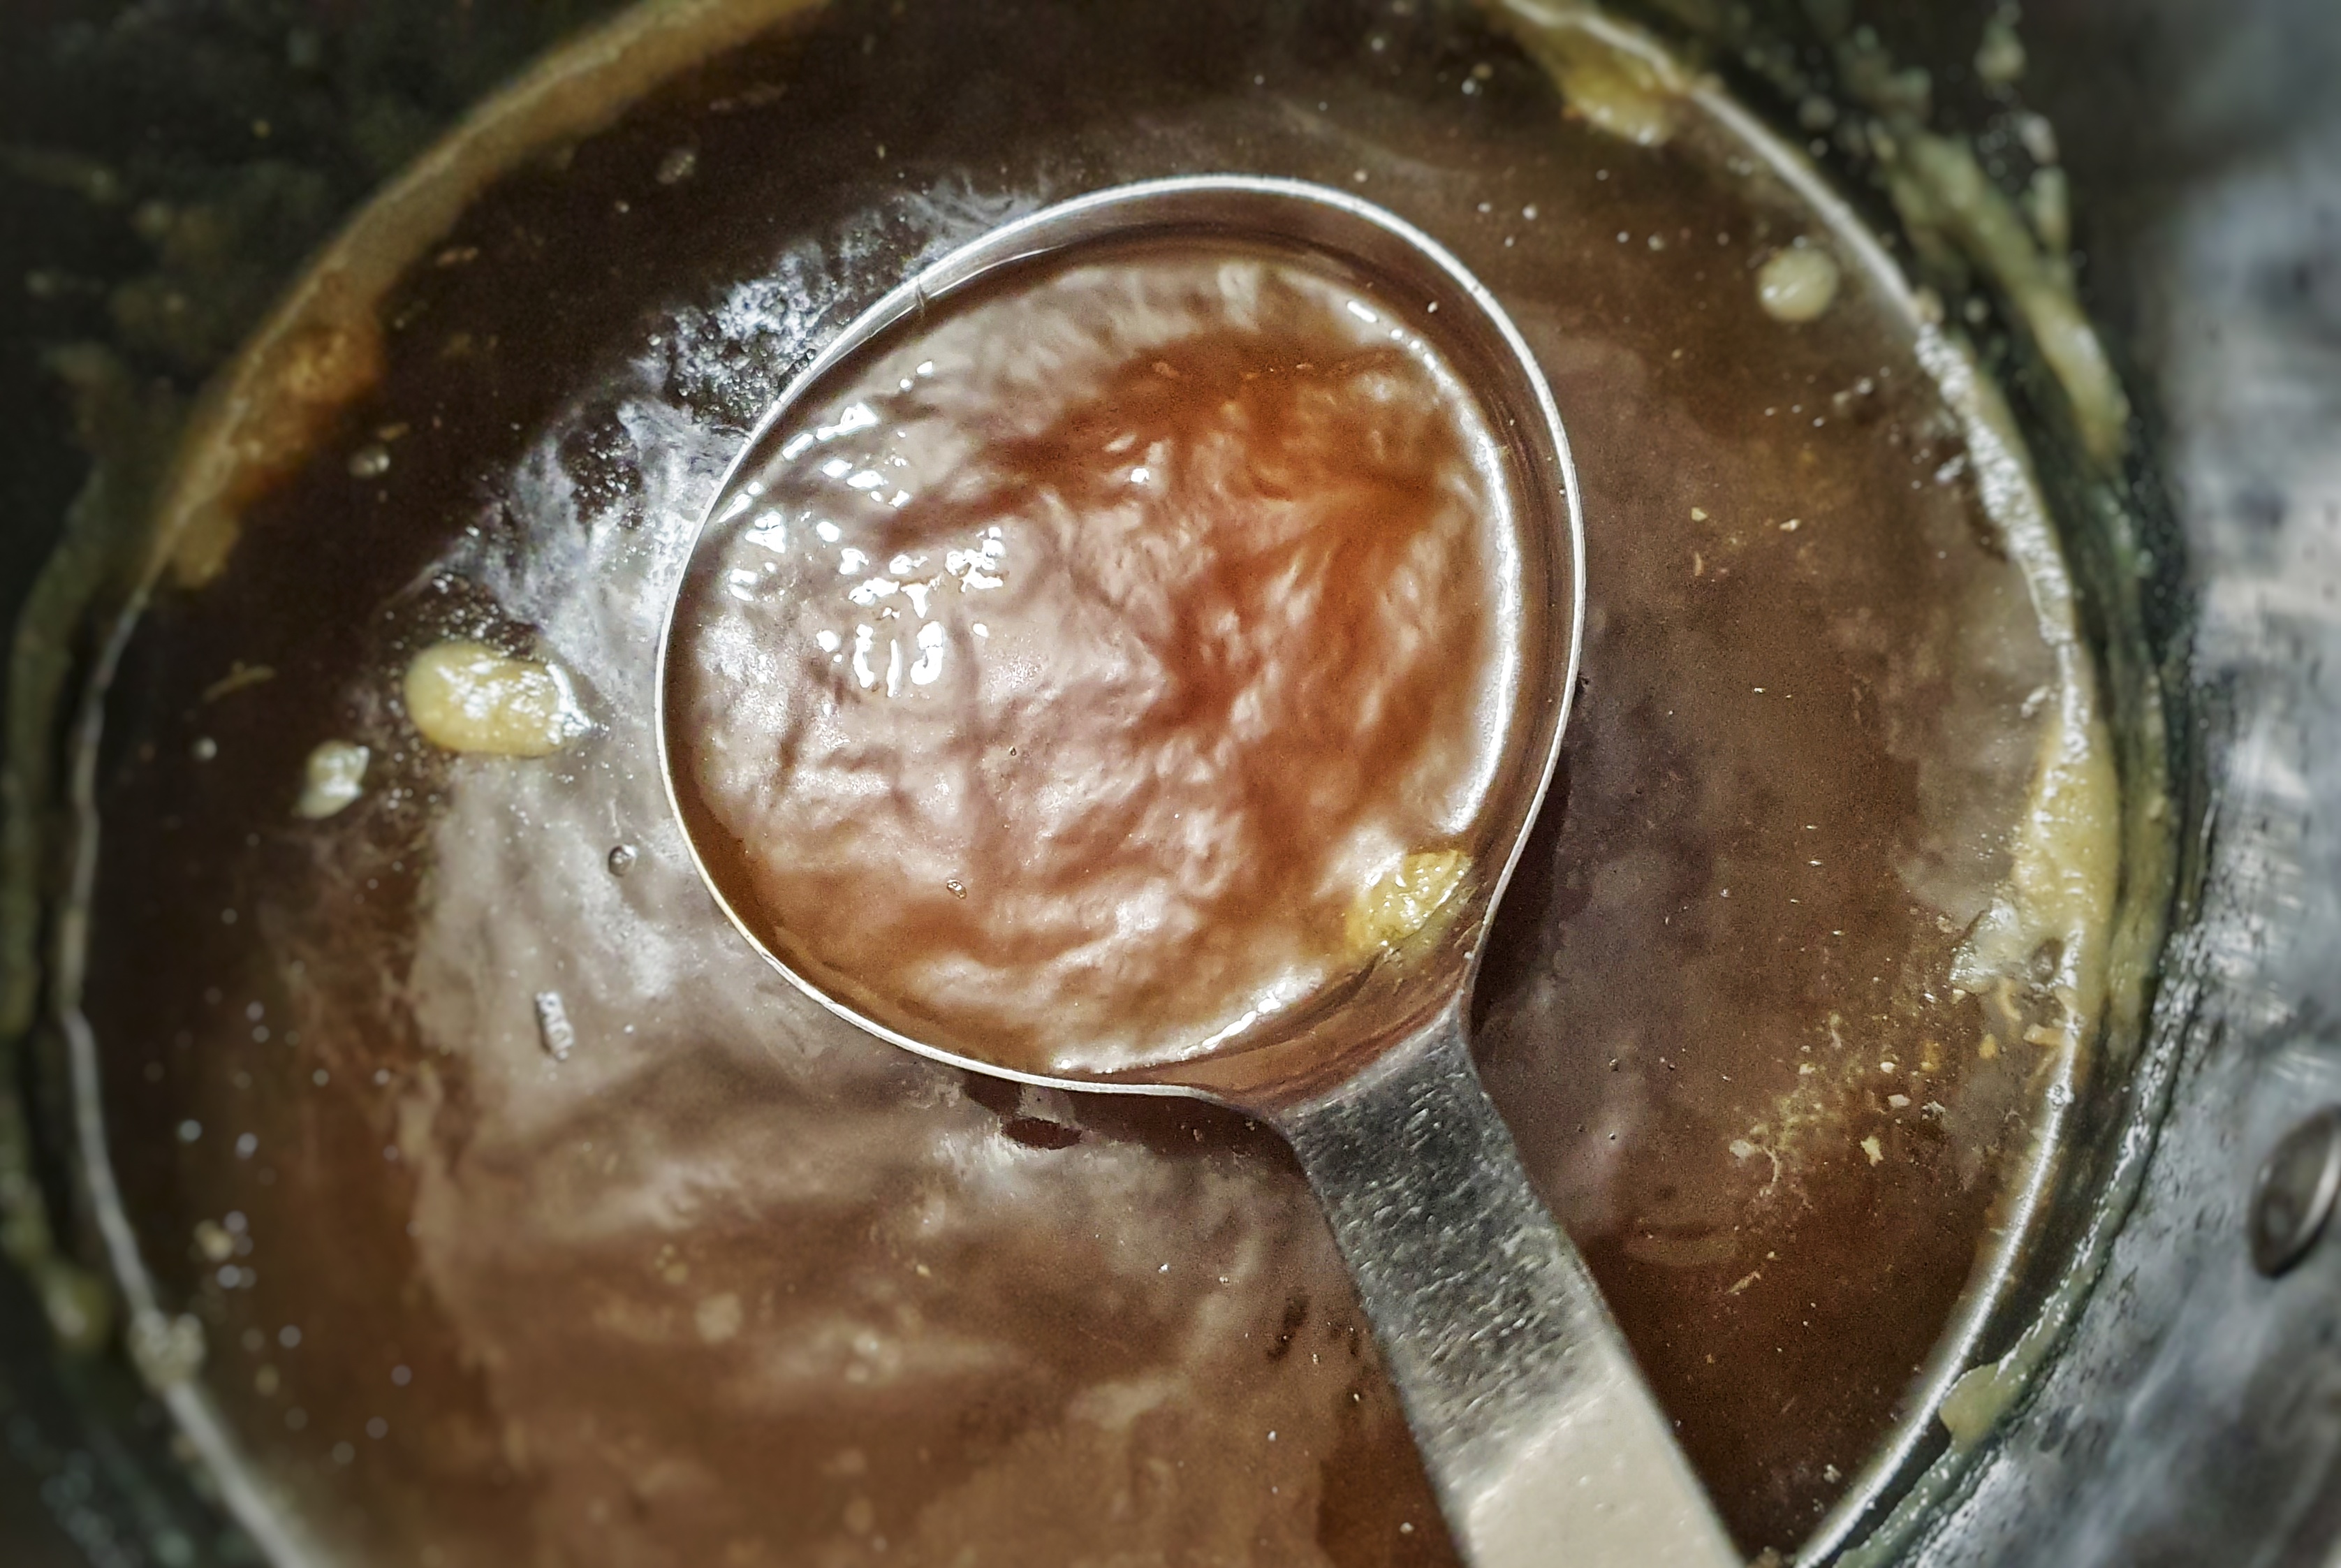
When the stock is ready, pass the whole thing through a strainer, pressing down on the cooked mush with the back of the ladle: we want as much flavour as possible. Let the stock cool down and then refrigerate. Skim away the fat before using.
Tip: If you need the stock straight away, you can skim the fat with a spoon, but a quicker method is to throw in a couple of handfuls of ice cubes. The fats immediately freeze to the exterior of the cubes, and can be lifted out before the ice has had the chance to melt.