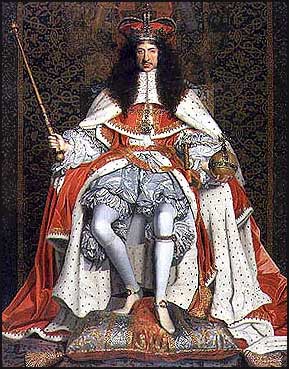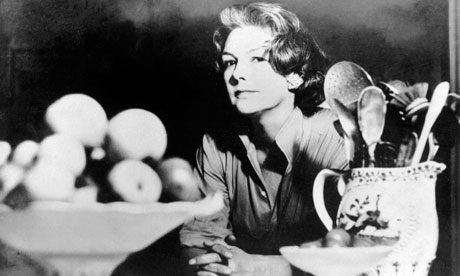
Here we are at the mid-way point of the Dinner Party Through Time and we have arrived in the Georgian period with two great recipes inspired and stolen from the excellent 18th century cook book The Experienced English Housewife by Elizabeth Raffald. The book and the great lady herself deserve a post to themselves really; it lets such a light into the world of grander houses during that time. It’s a book I often leaf-through, so it was the obvious choice.
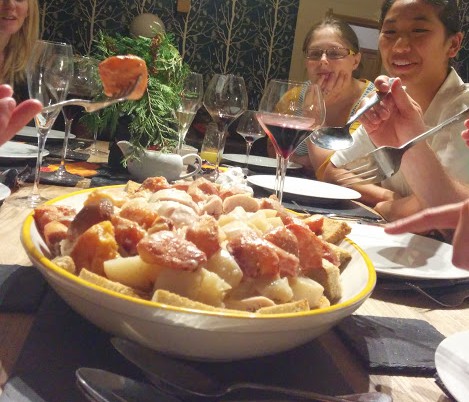
I thought that the course should be from opposite ends of the gastronomic spectrum with a rich leg of mutton, specially prepared to taste just like venison, and a Lenten pie, specially made for fast days and full of lovely vegetables and herbs.
To dress a Leg of Mutton to eat like Venison
Get the largest and fattest leg of mutton you can get cut out like a haunch of venison as soon as it is killed, whilst; it will eat the tenderer. Take out the bloody vein, stick it in several places in the under side with a sharp pointed knife, pour over it a bottle of red wine, turn it in the wine four or five times a day for five days. Then dry it exceeding well with a clean cloth, hang it up in the air with the thick end uppermost for five days; dry it night and morning to keep it from being damp or growing musty. When you roast it cover it with paper and paste as you do venison. Serve it up with venison sauce. It will take four hours roasting.
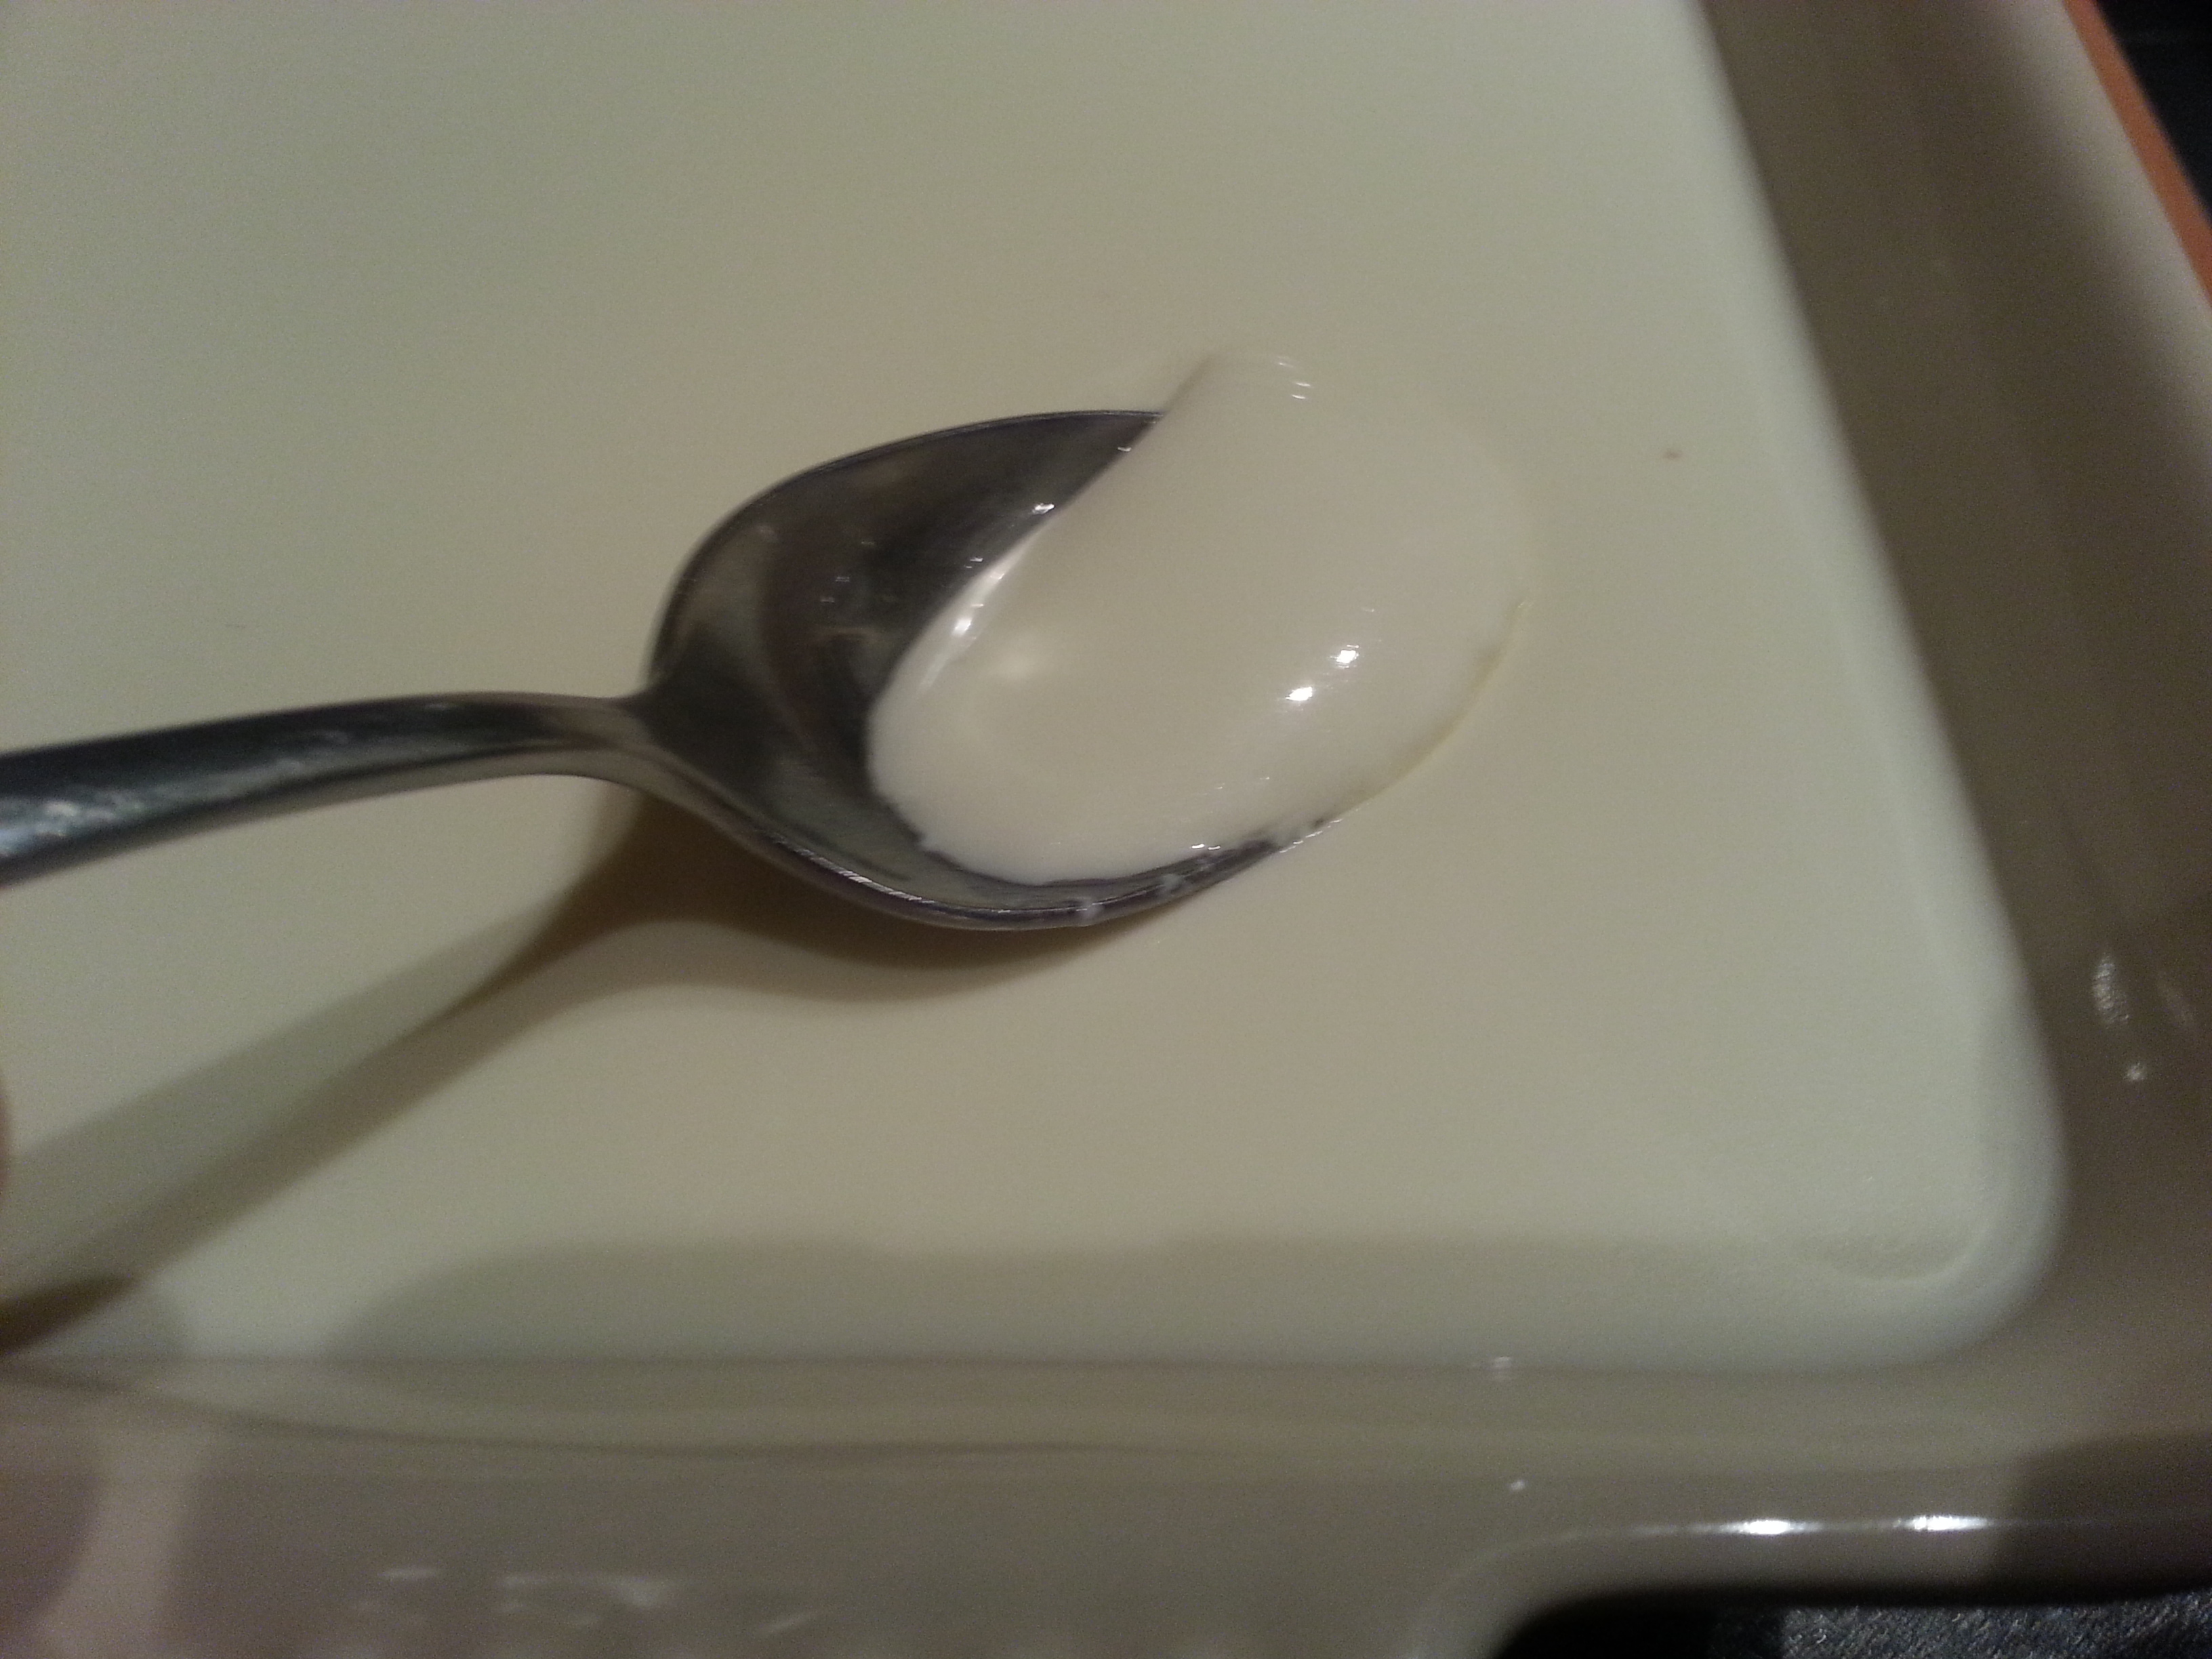
It was very intriguing, but it was also obviously unachievable. Looking in other books, I found many versions of it, sometimes roasted, sometimes braised, but always marinated in red wine (and often in the blood of the beast too!). I knew the recipe looked familiar, and it finally dawned on me that an updated recipe for it appeared in good old English Food by good old Jane Grigson. It’s not served with a rich venison sauce, but a gravy made with the cooking liquor
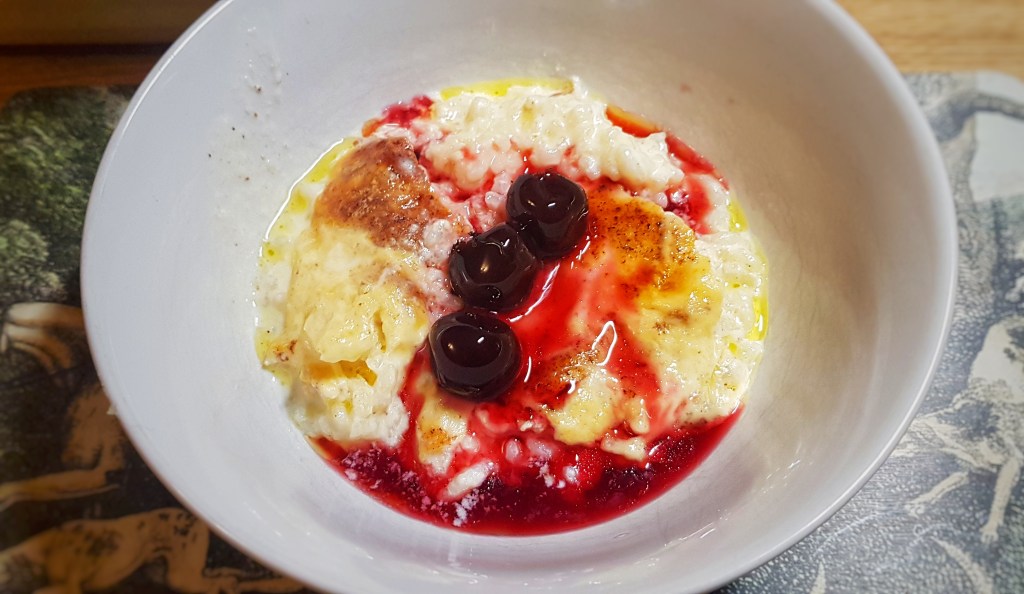
There’s a 4 day marinating time for this recipe, so plan ahead if you fancy making it. It is worth it, this is one of the most delicious things I have ever cooked and eaten. It is beautifully gamey, but with the moist succulence you would expect from lamb or mutton. It is magically transformed! Witchcraft can only be to blame.
Here’s what you need:
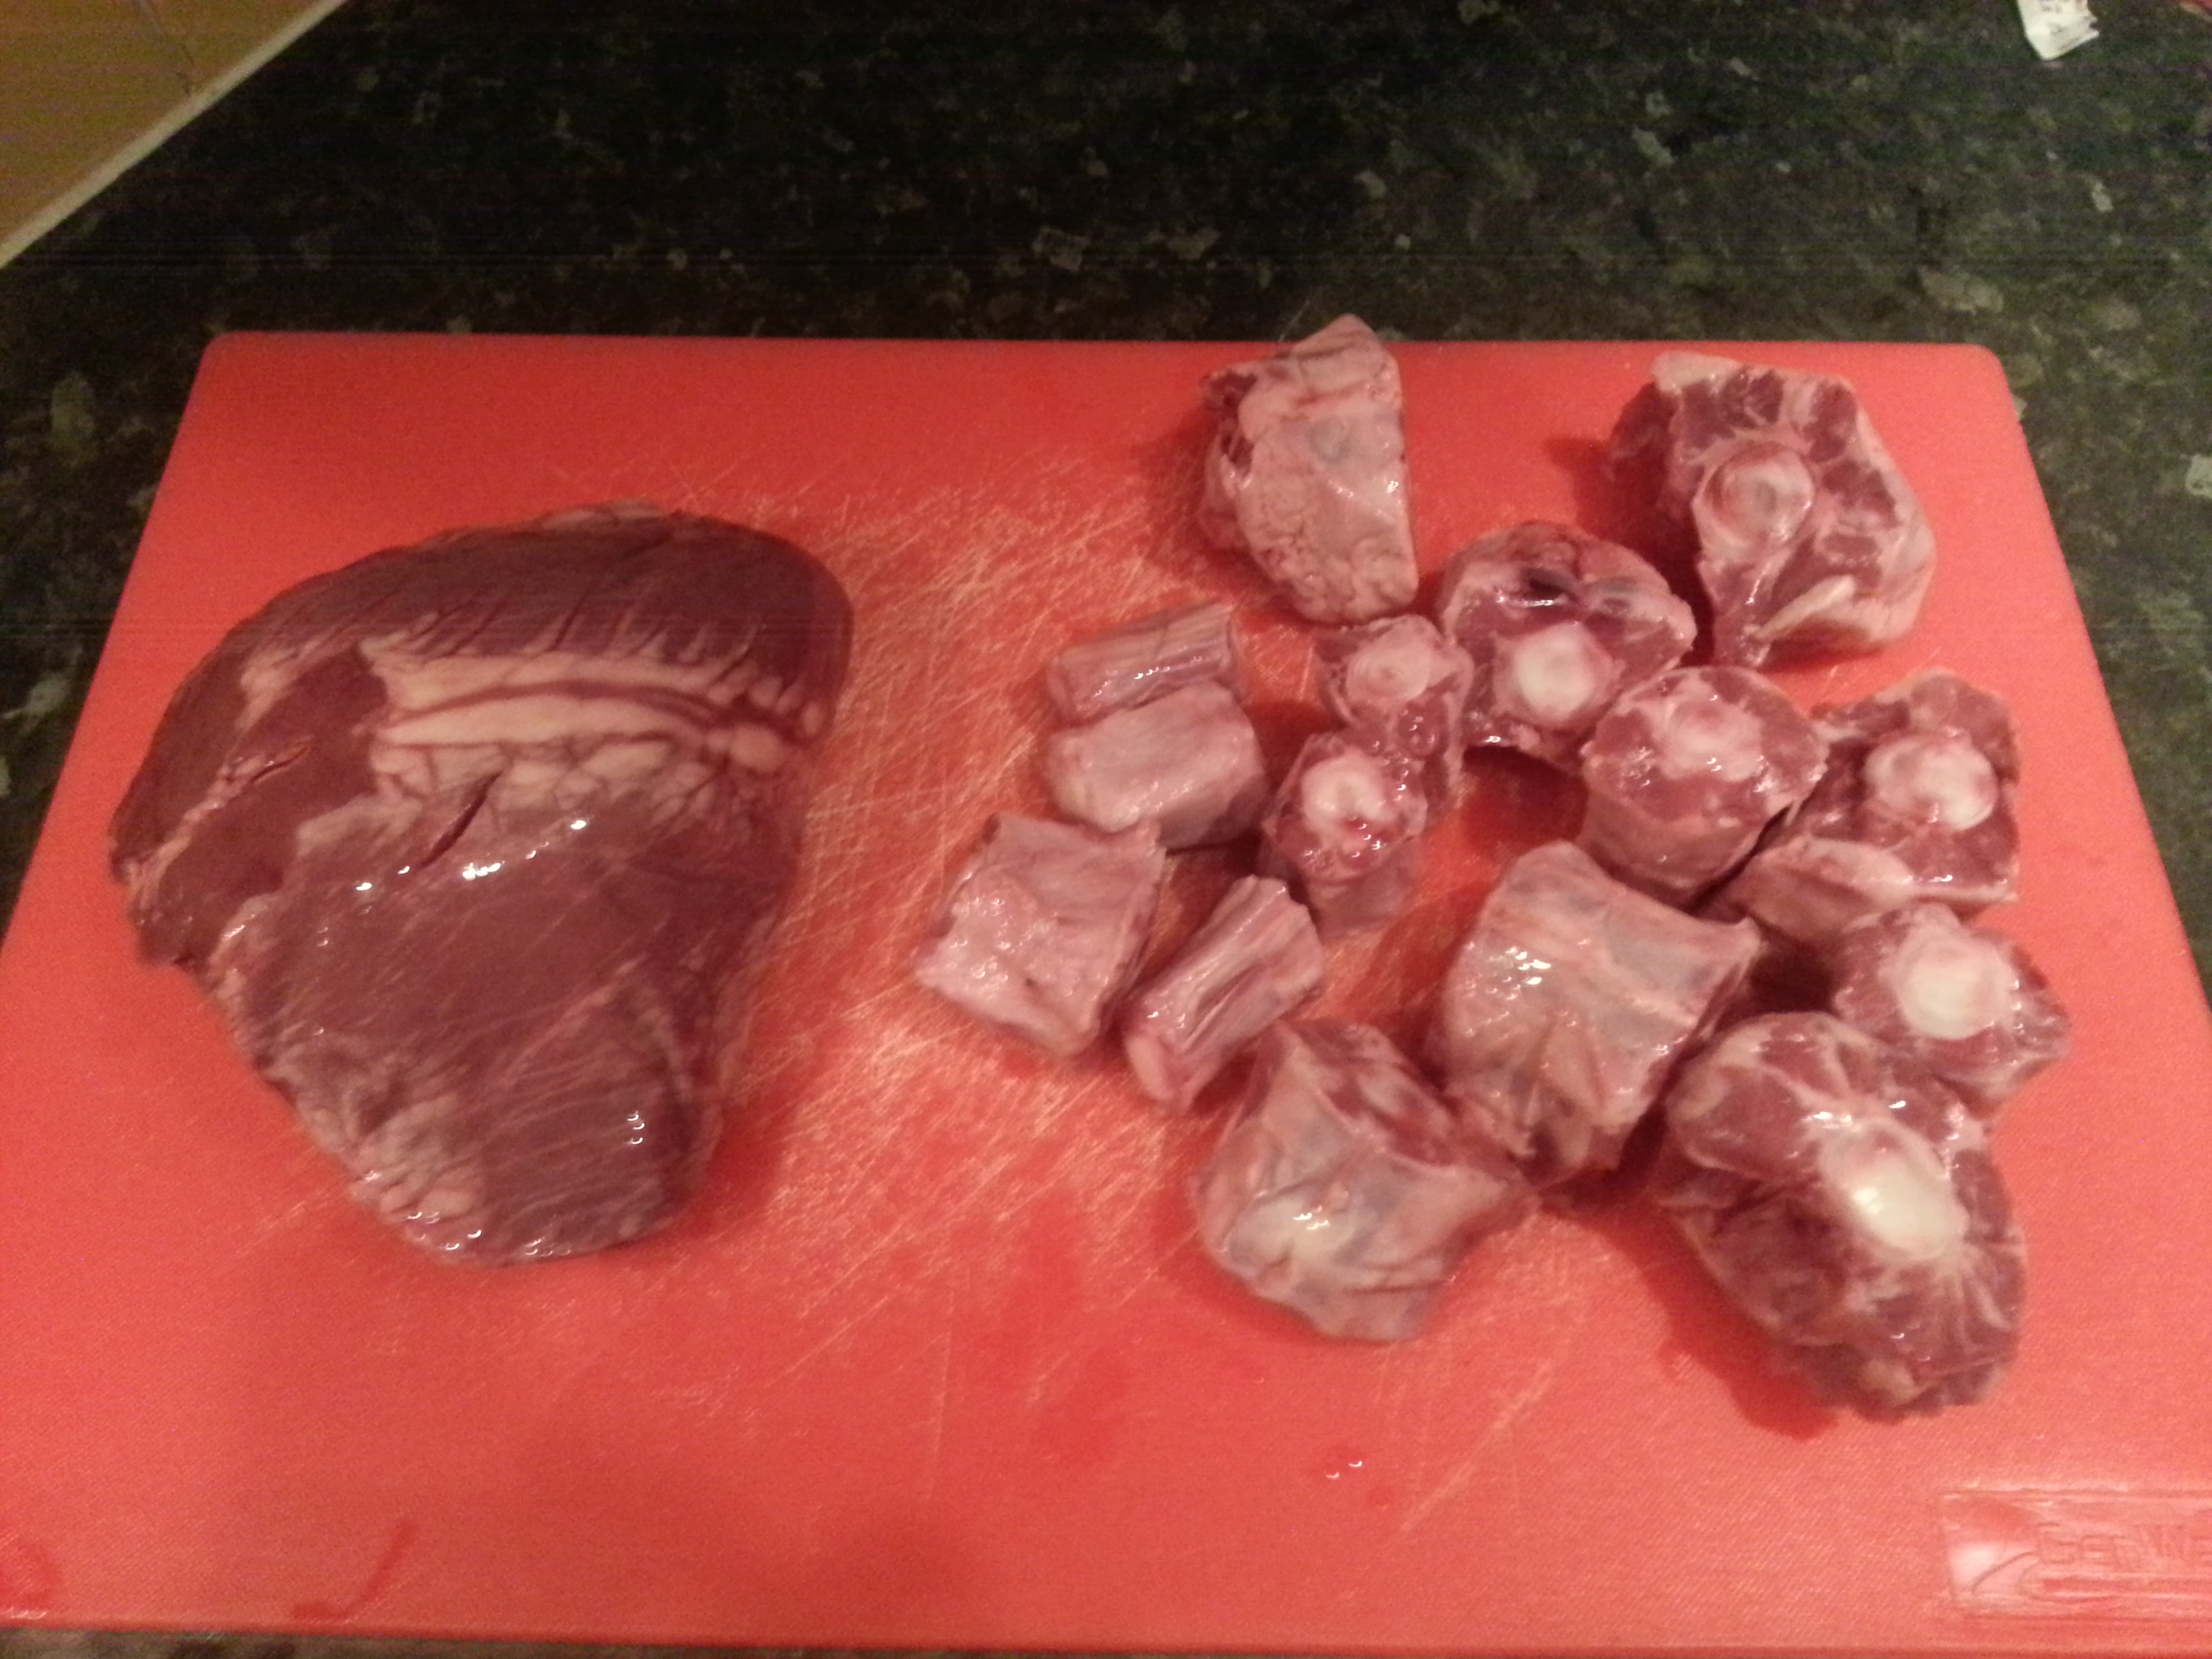
1 full leg of mutton (or lamb)
For the marinade:
250g onions, chopped
250g carrots, chopped
100g celery, chopped
4 or 5 cloves of garlic, chopped
3 tbs sunflower oil or lard
2 bay leaves
3 good sprigs of thyme
6 sprigs of parsley
3 sprigs of rosemary
12 crushed juniper berries
12 crushed coriander seeds
15 crushed black peppercorns
1 tbs salt
750ml red wine
175ml red wine vinegar
To cook the mutton:
3 onions, sliced
3 carrots, diced
3 celery stalks, sliced
3 leeks, sliced
375g unsmoked streaky bacon, chopped
90g salted butter
Veal stock or water
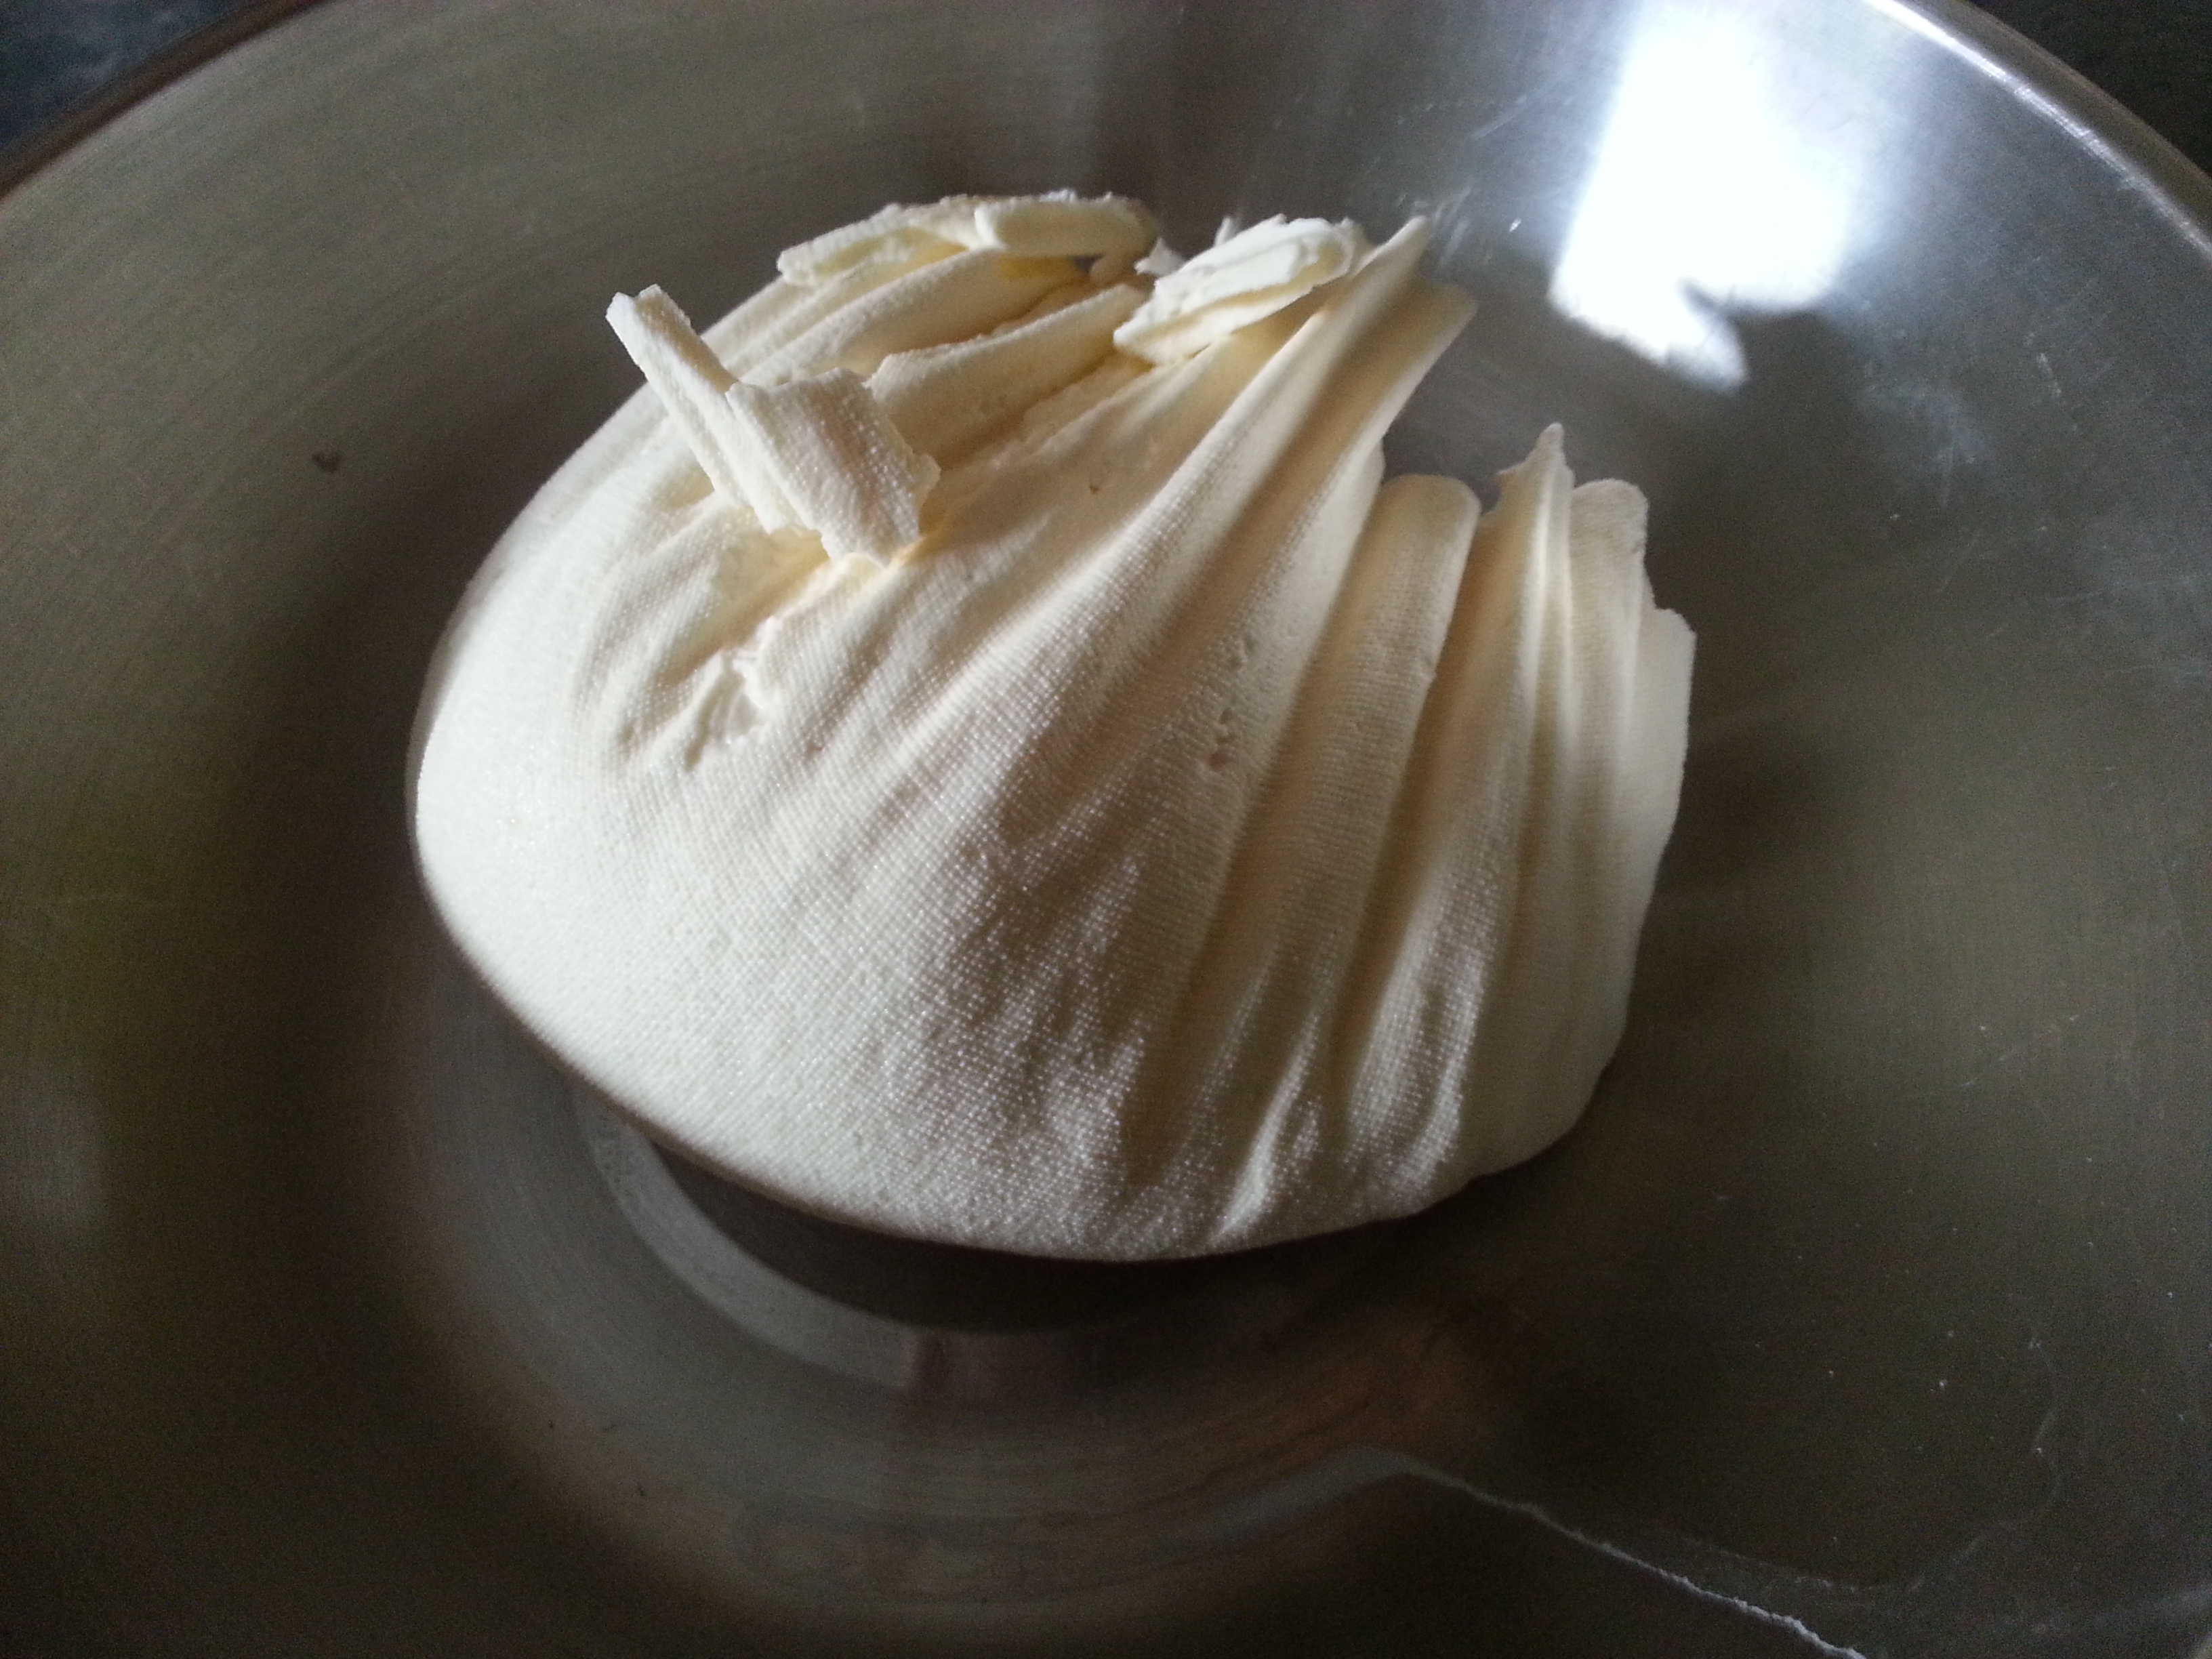
To make the marinade, fry the vegetables in the oil or fat. Take your time over this and get them good and brown; the veg won’t be in the final dish, but their flavour will be. Let them cool, and mix with the remaining marinade ingredients.
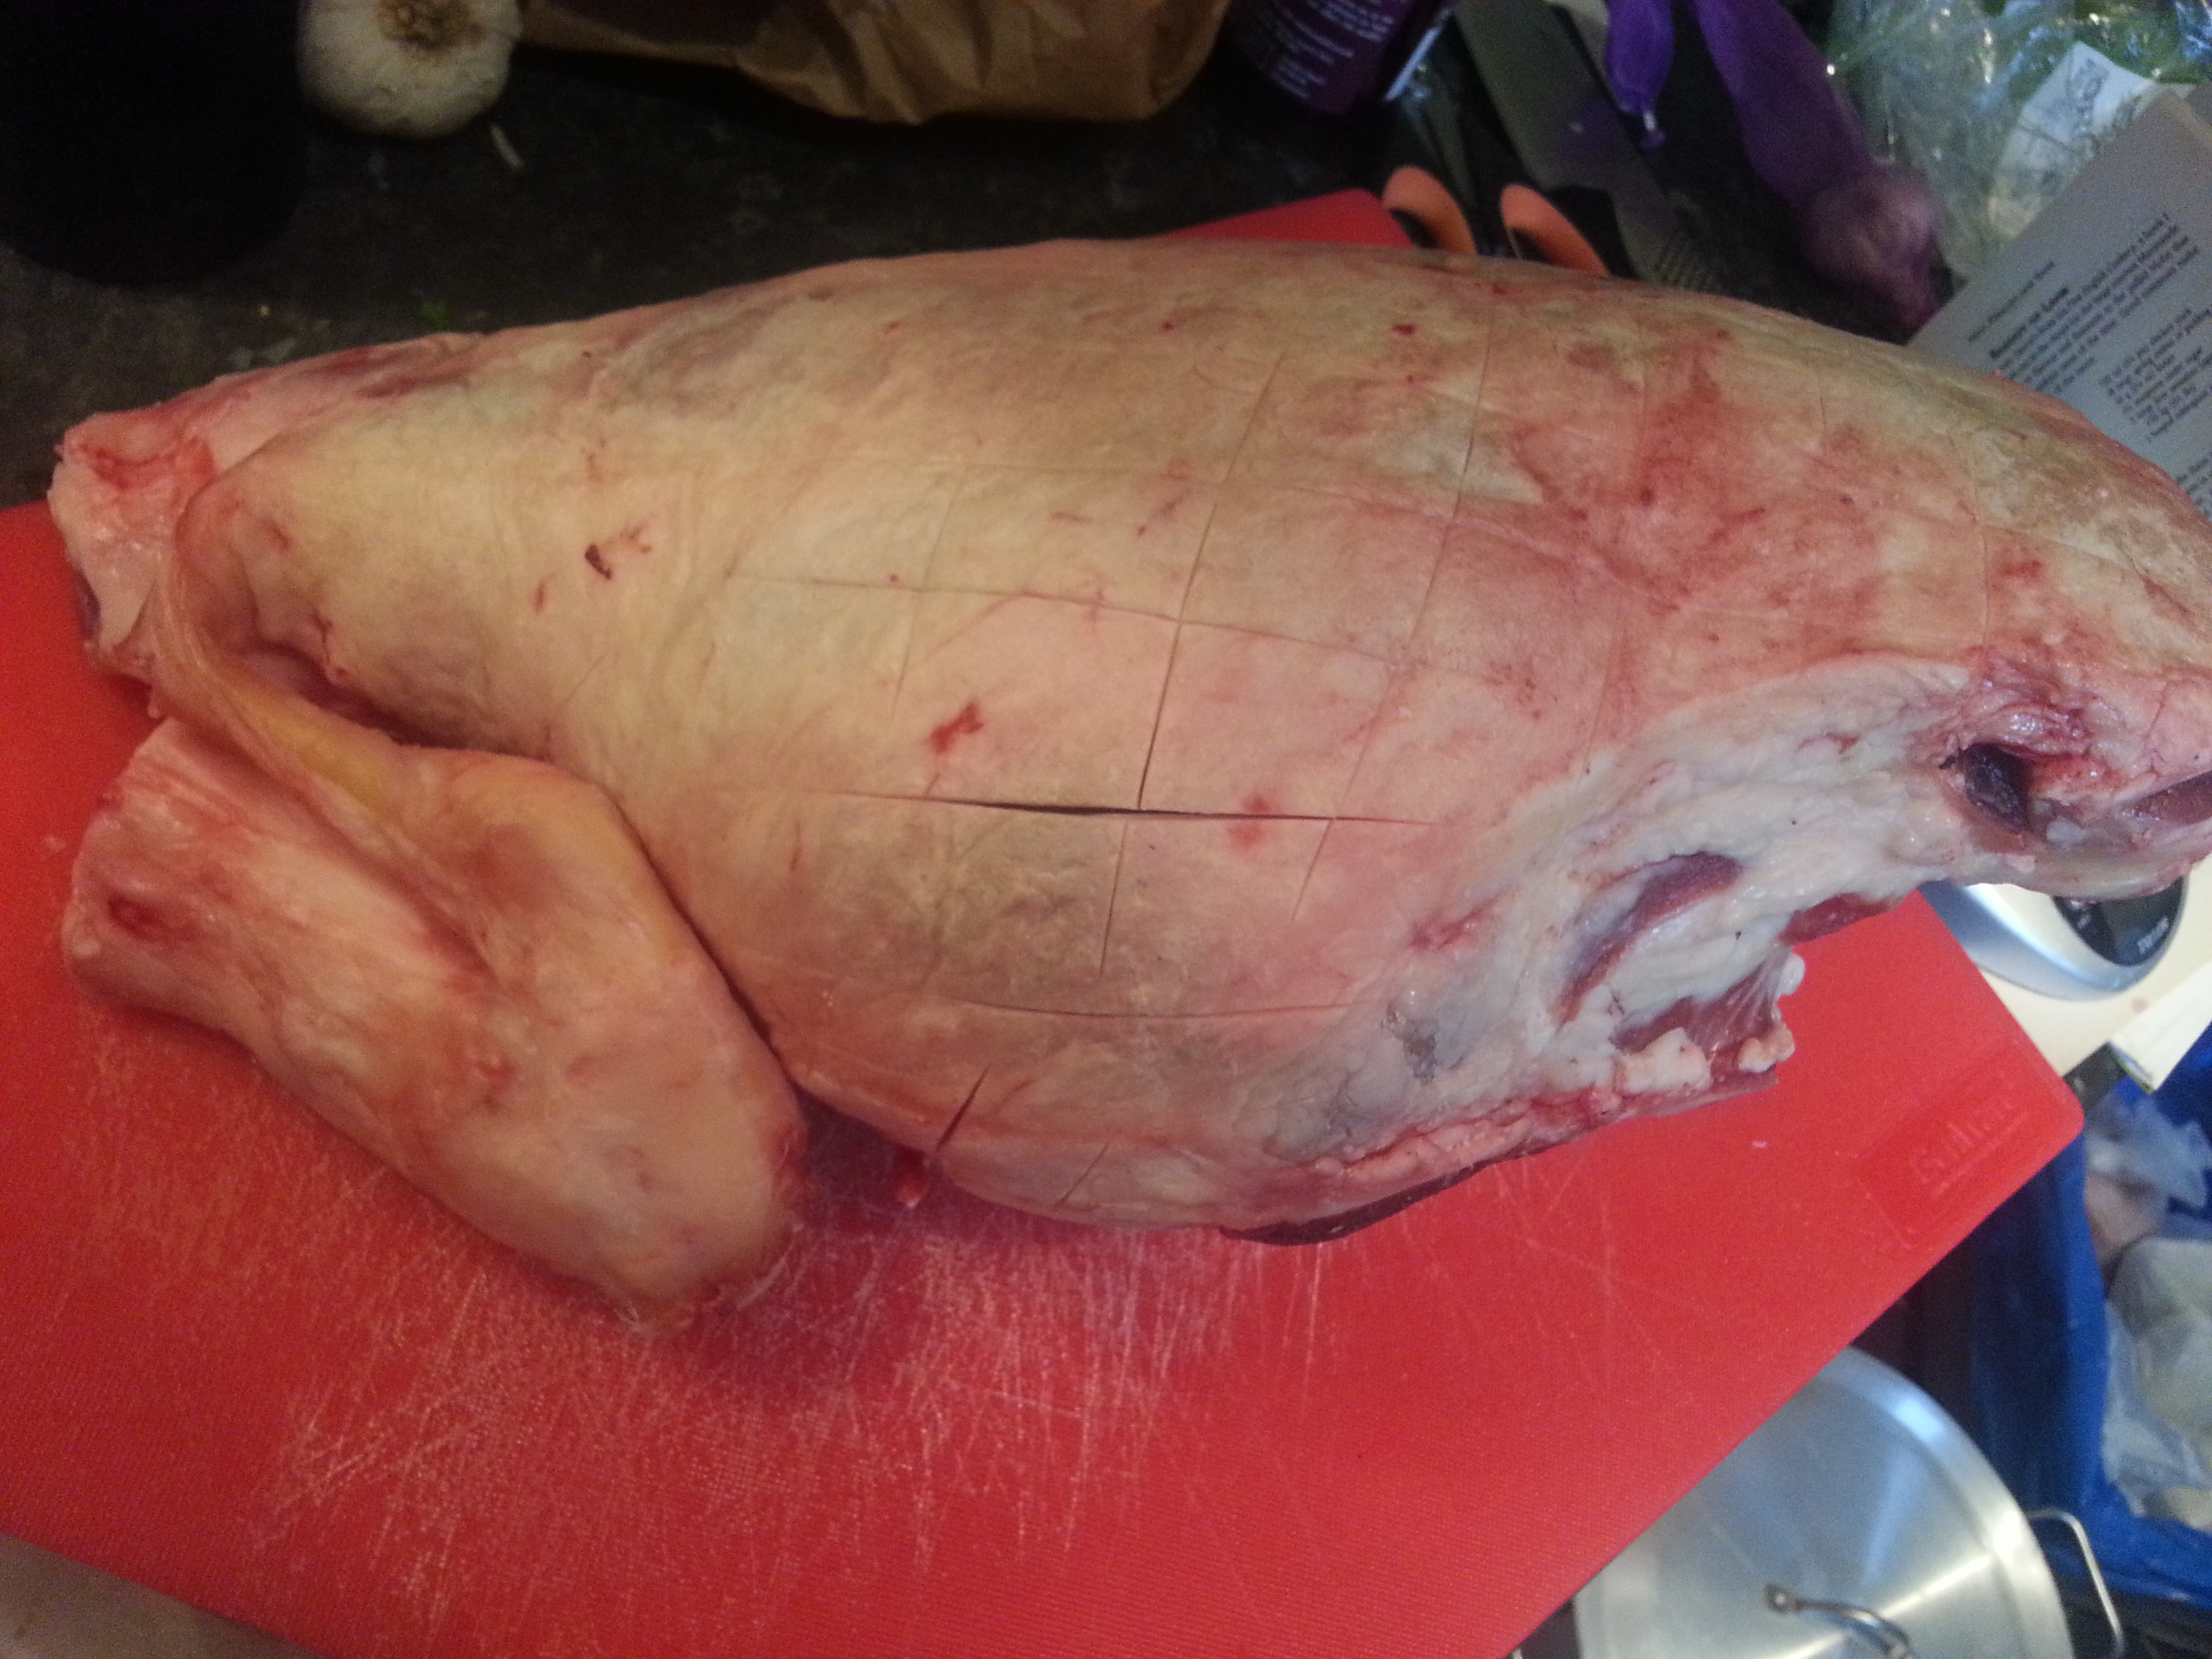
Score the fat of the leg into a diamond pattern, like you would do for a ham. Find a large, deep dish or pot and place the lamb inside and pour over the marinade. Make sure the whole leg gets the marinade on it, so turn it over a few times. Keep the leg somewhere cool – a fridge, or a nice cool cellar or pantry – and cover it with foil. Turn it twice a day for four days.
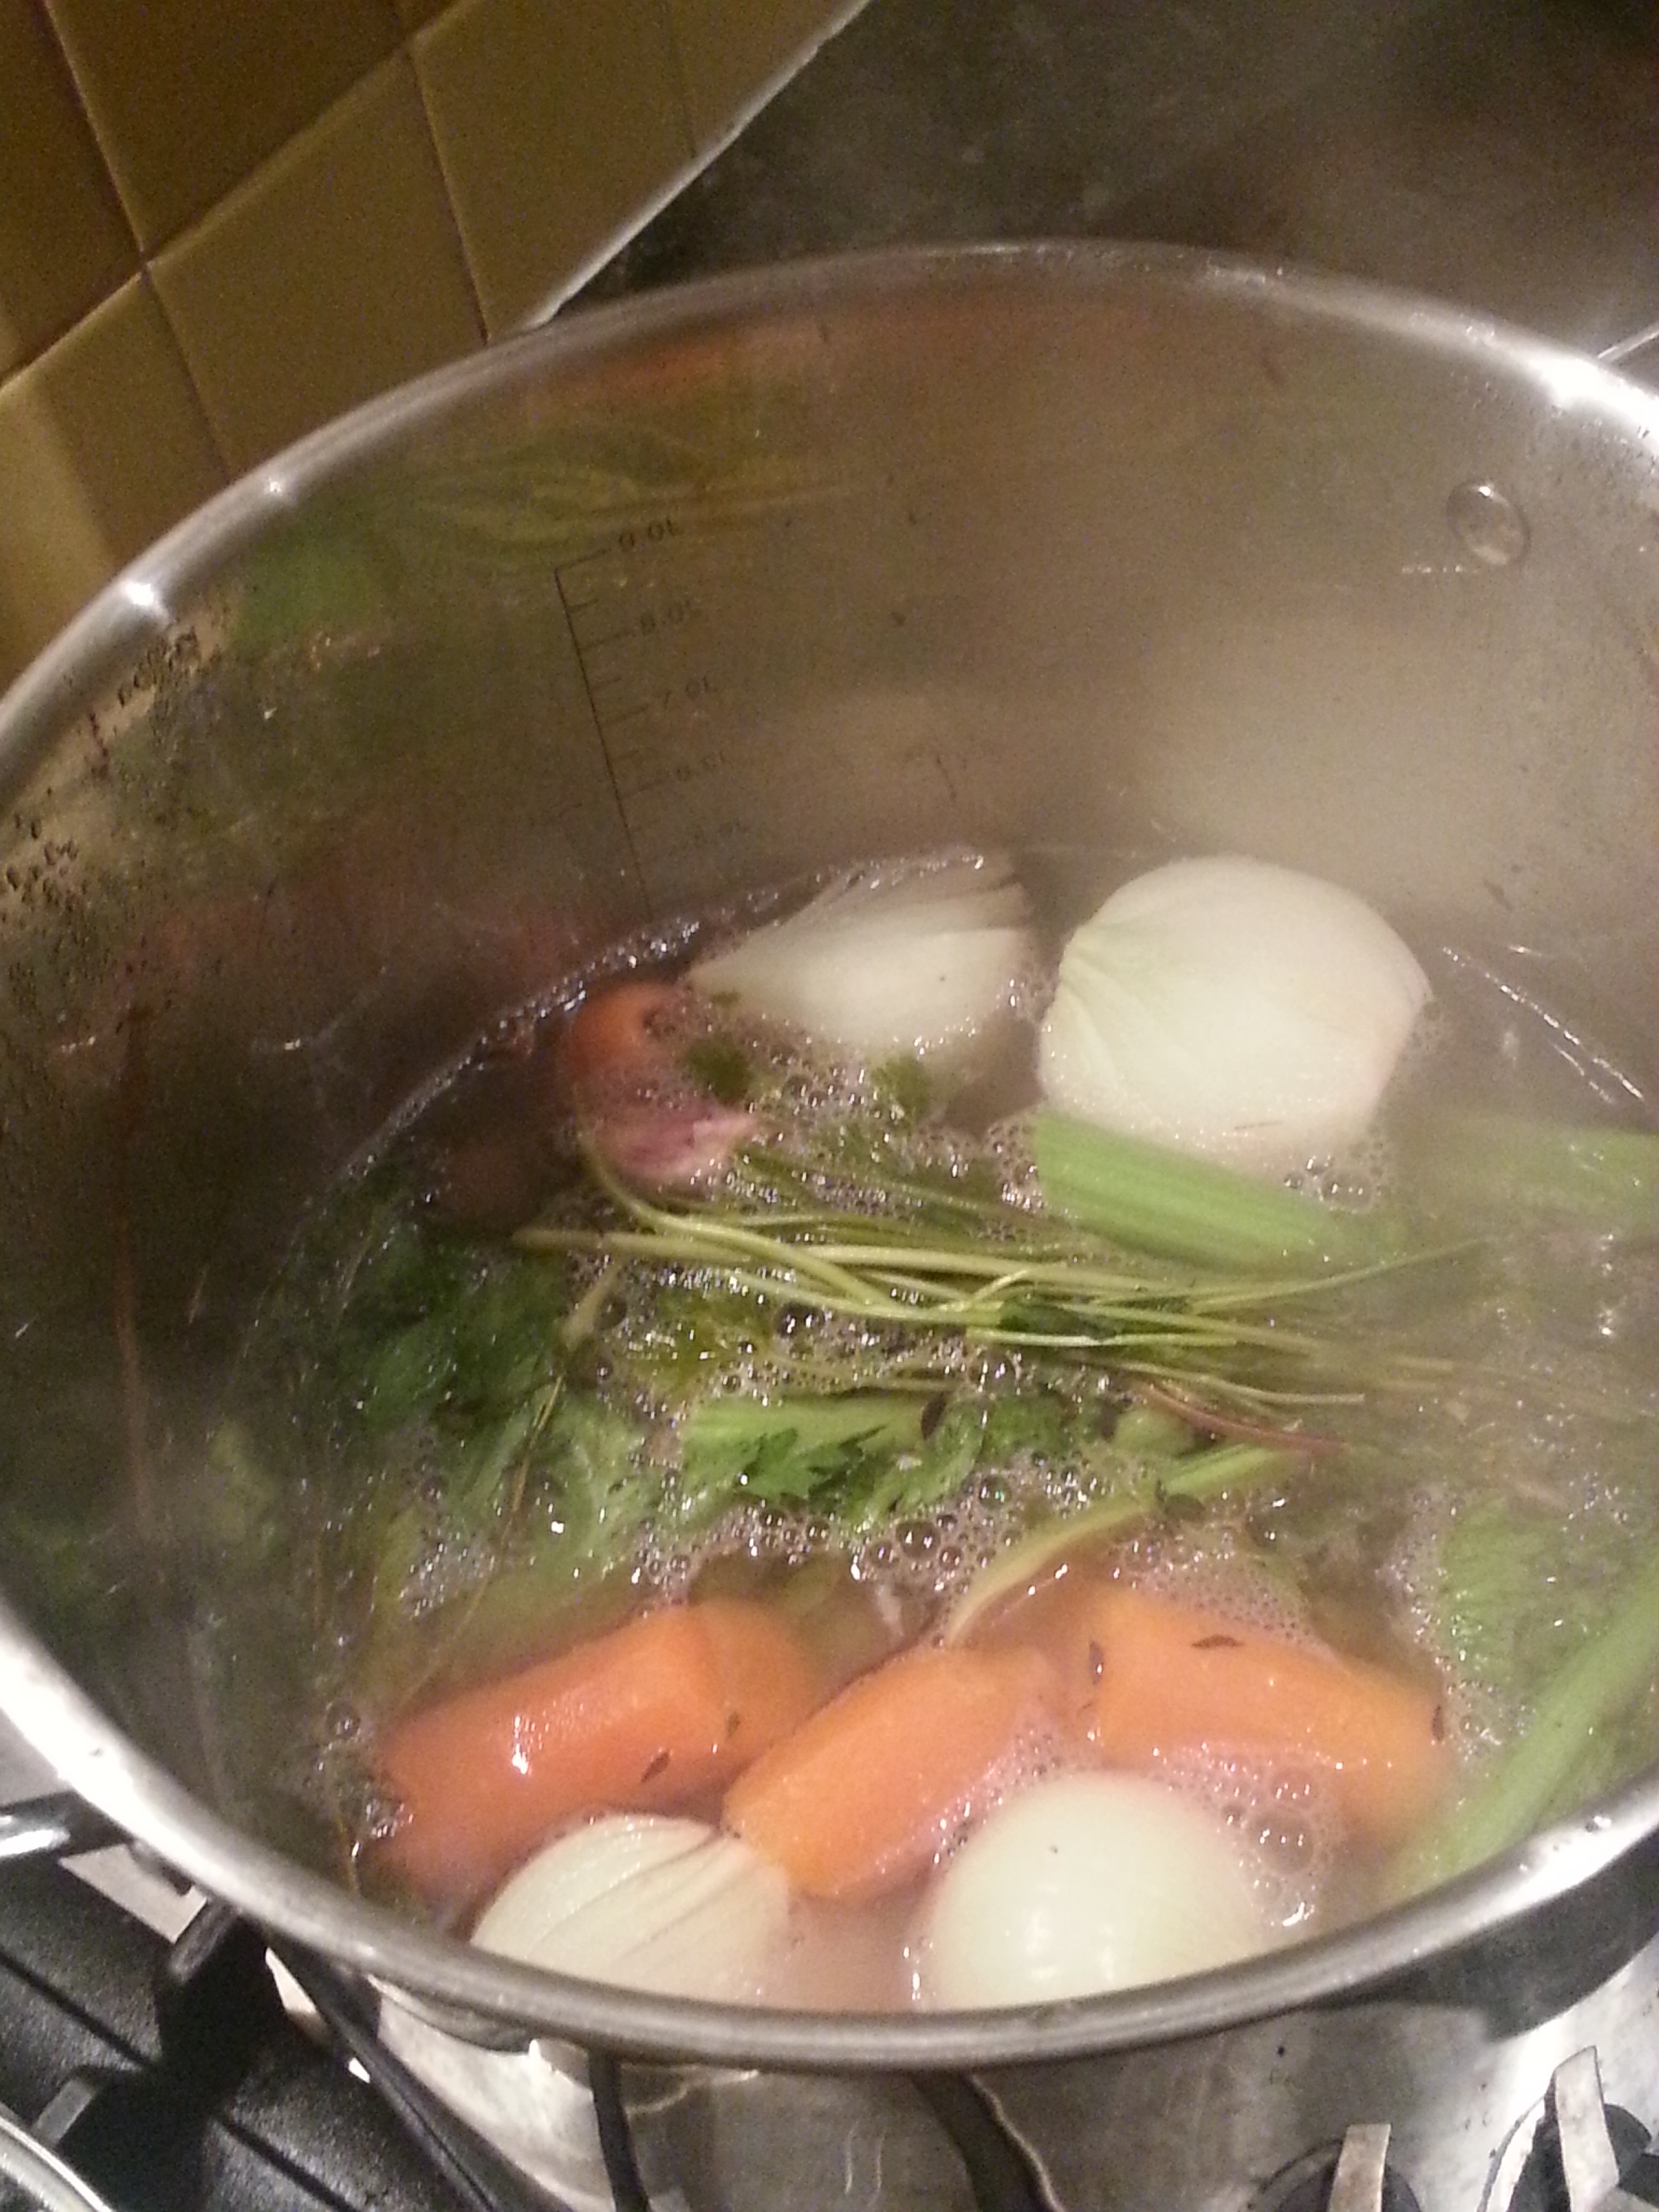
When the four days is up, get the new set of vegetables ready. To cook the mutton, spread the prepared vegetables over the base of a deep roasting tin, place the leg on top and strain the marinade over it. Top up the marinade liquid with veal stock or water so that it comes up two-thirds of the way up the tin. Cover with foil.
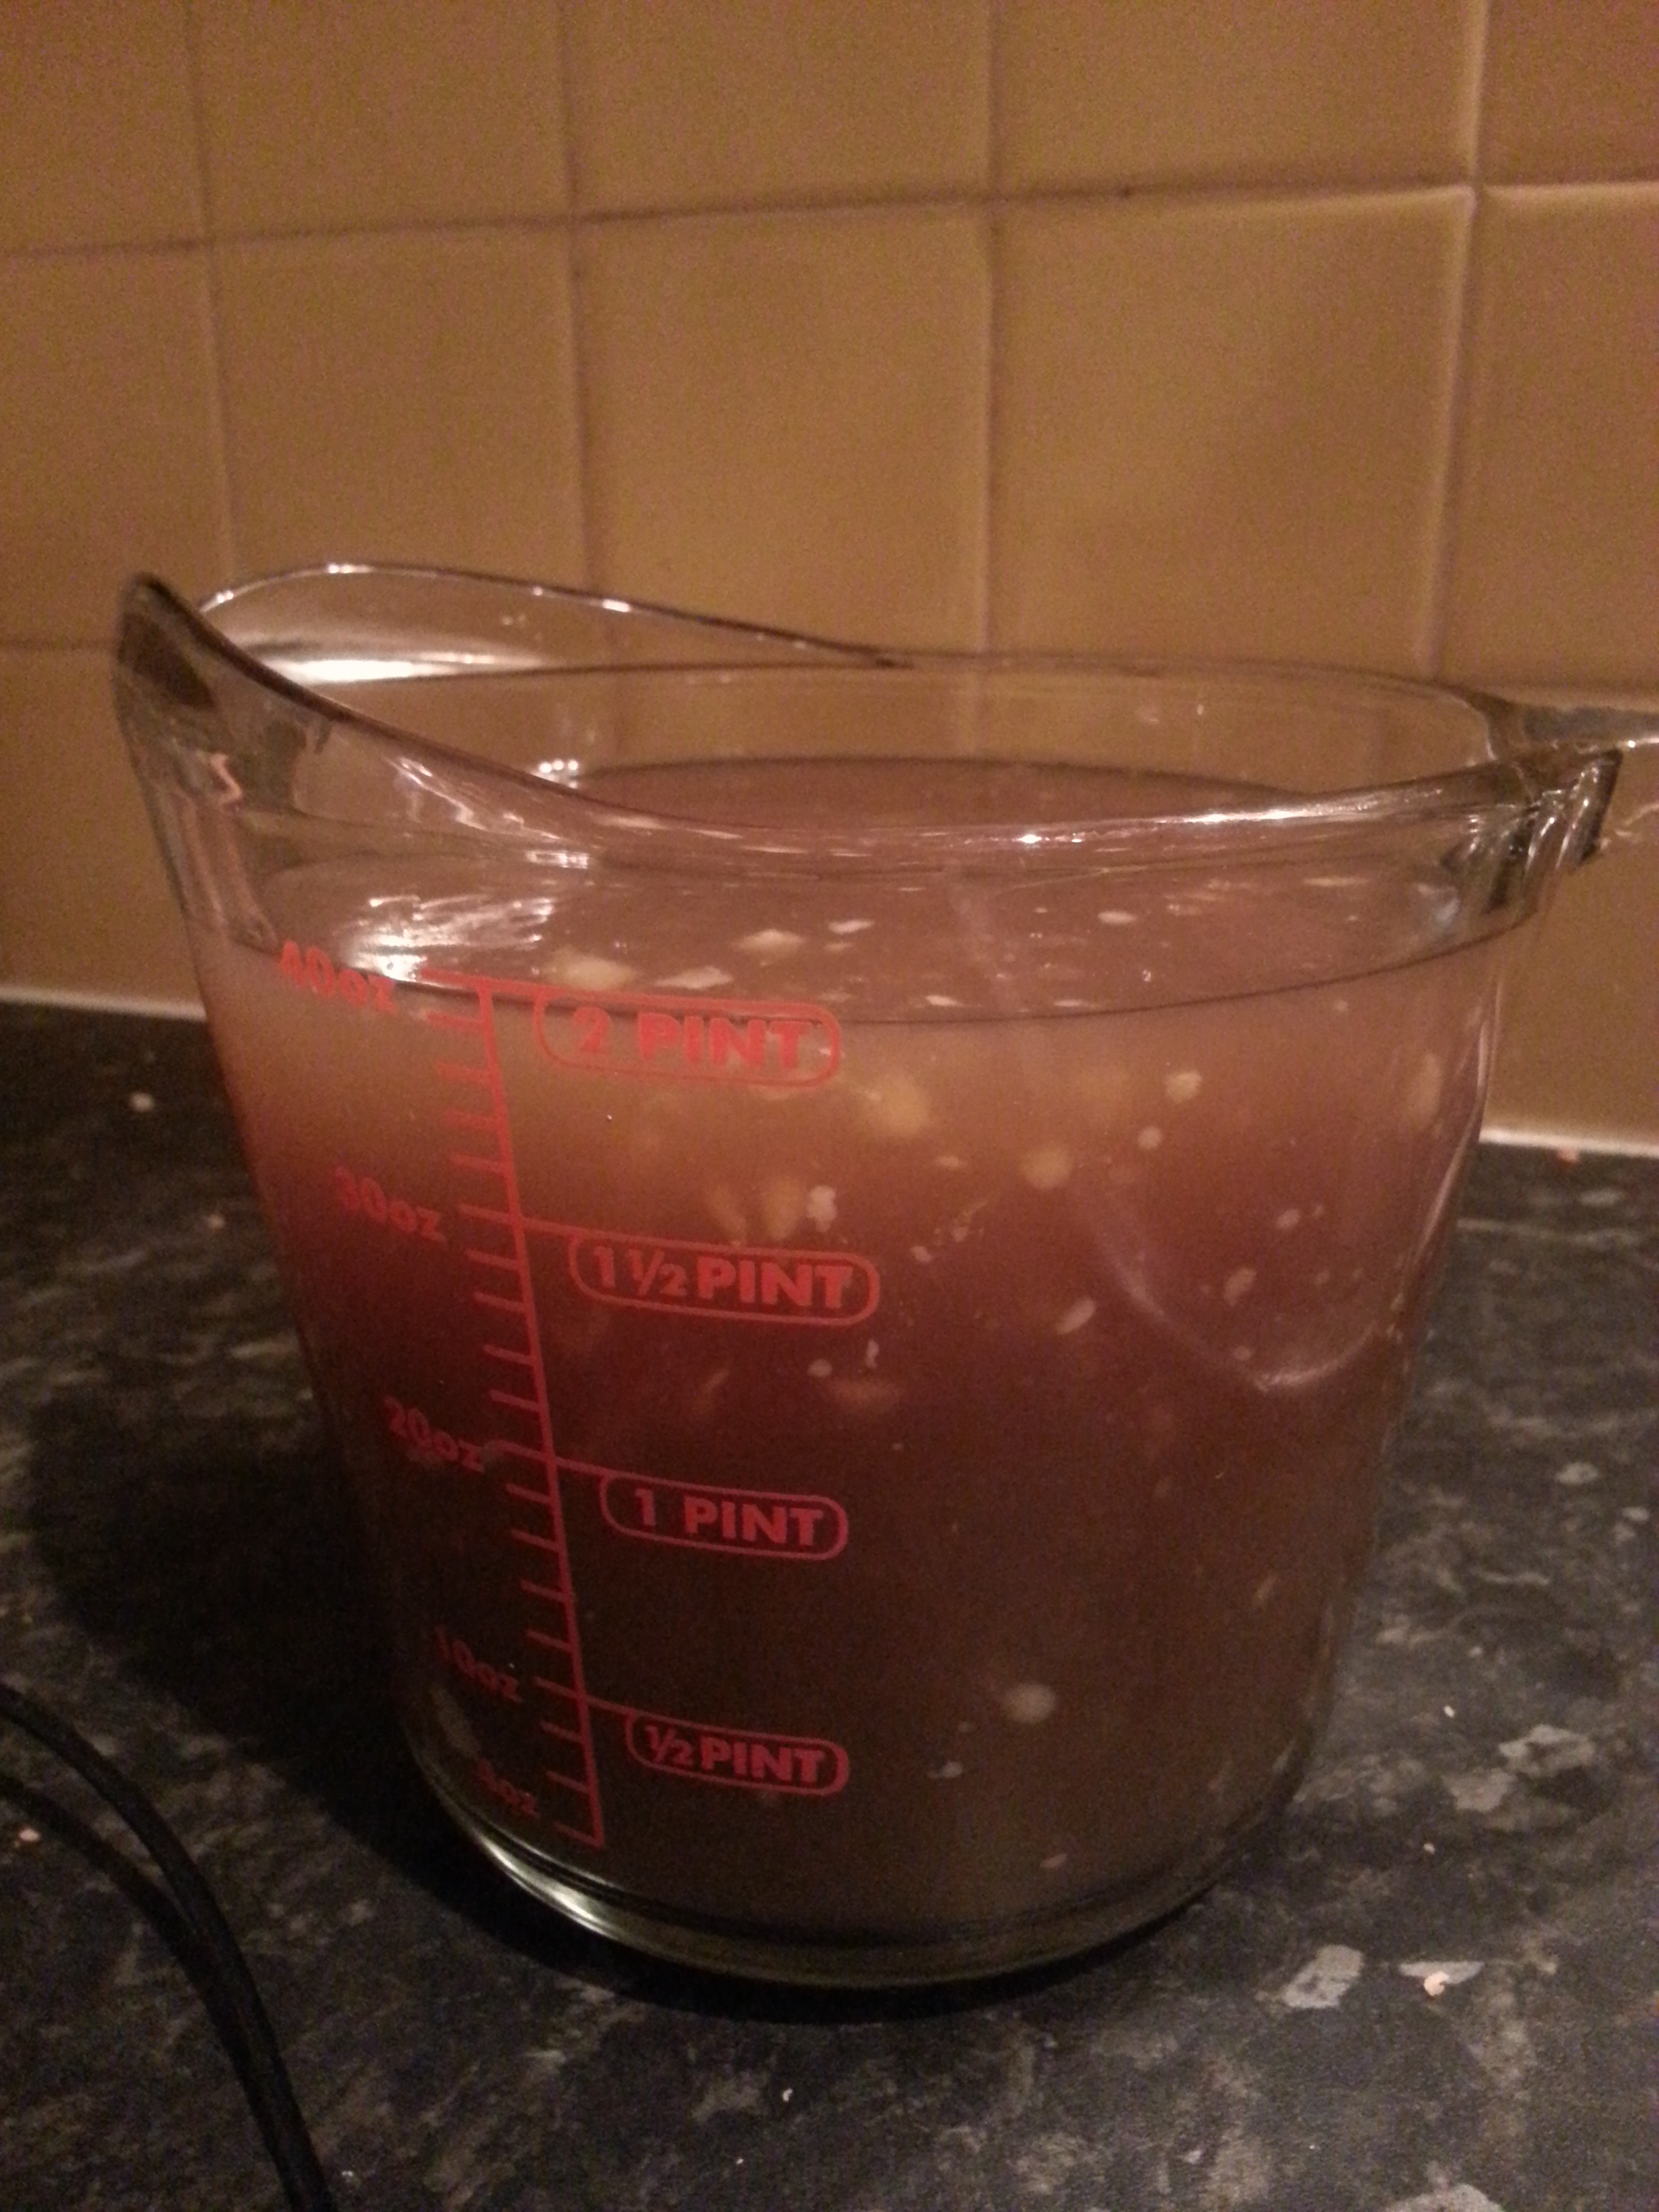
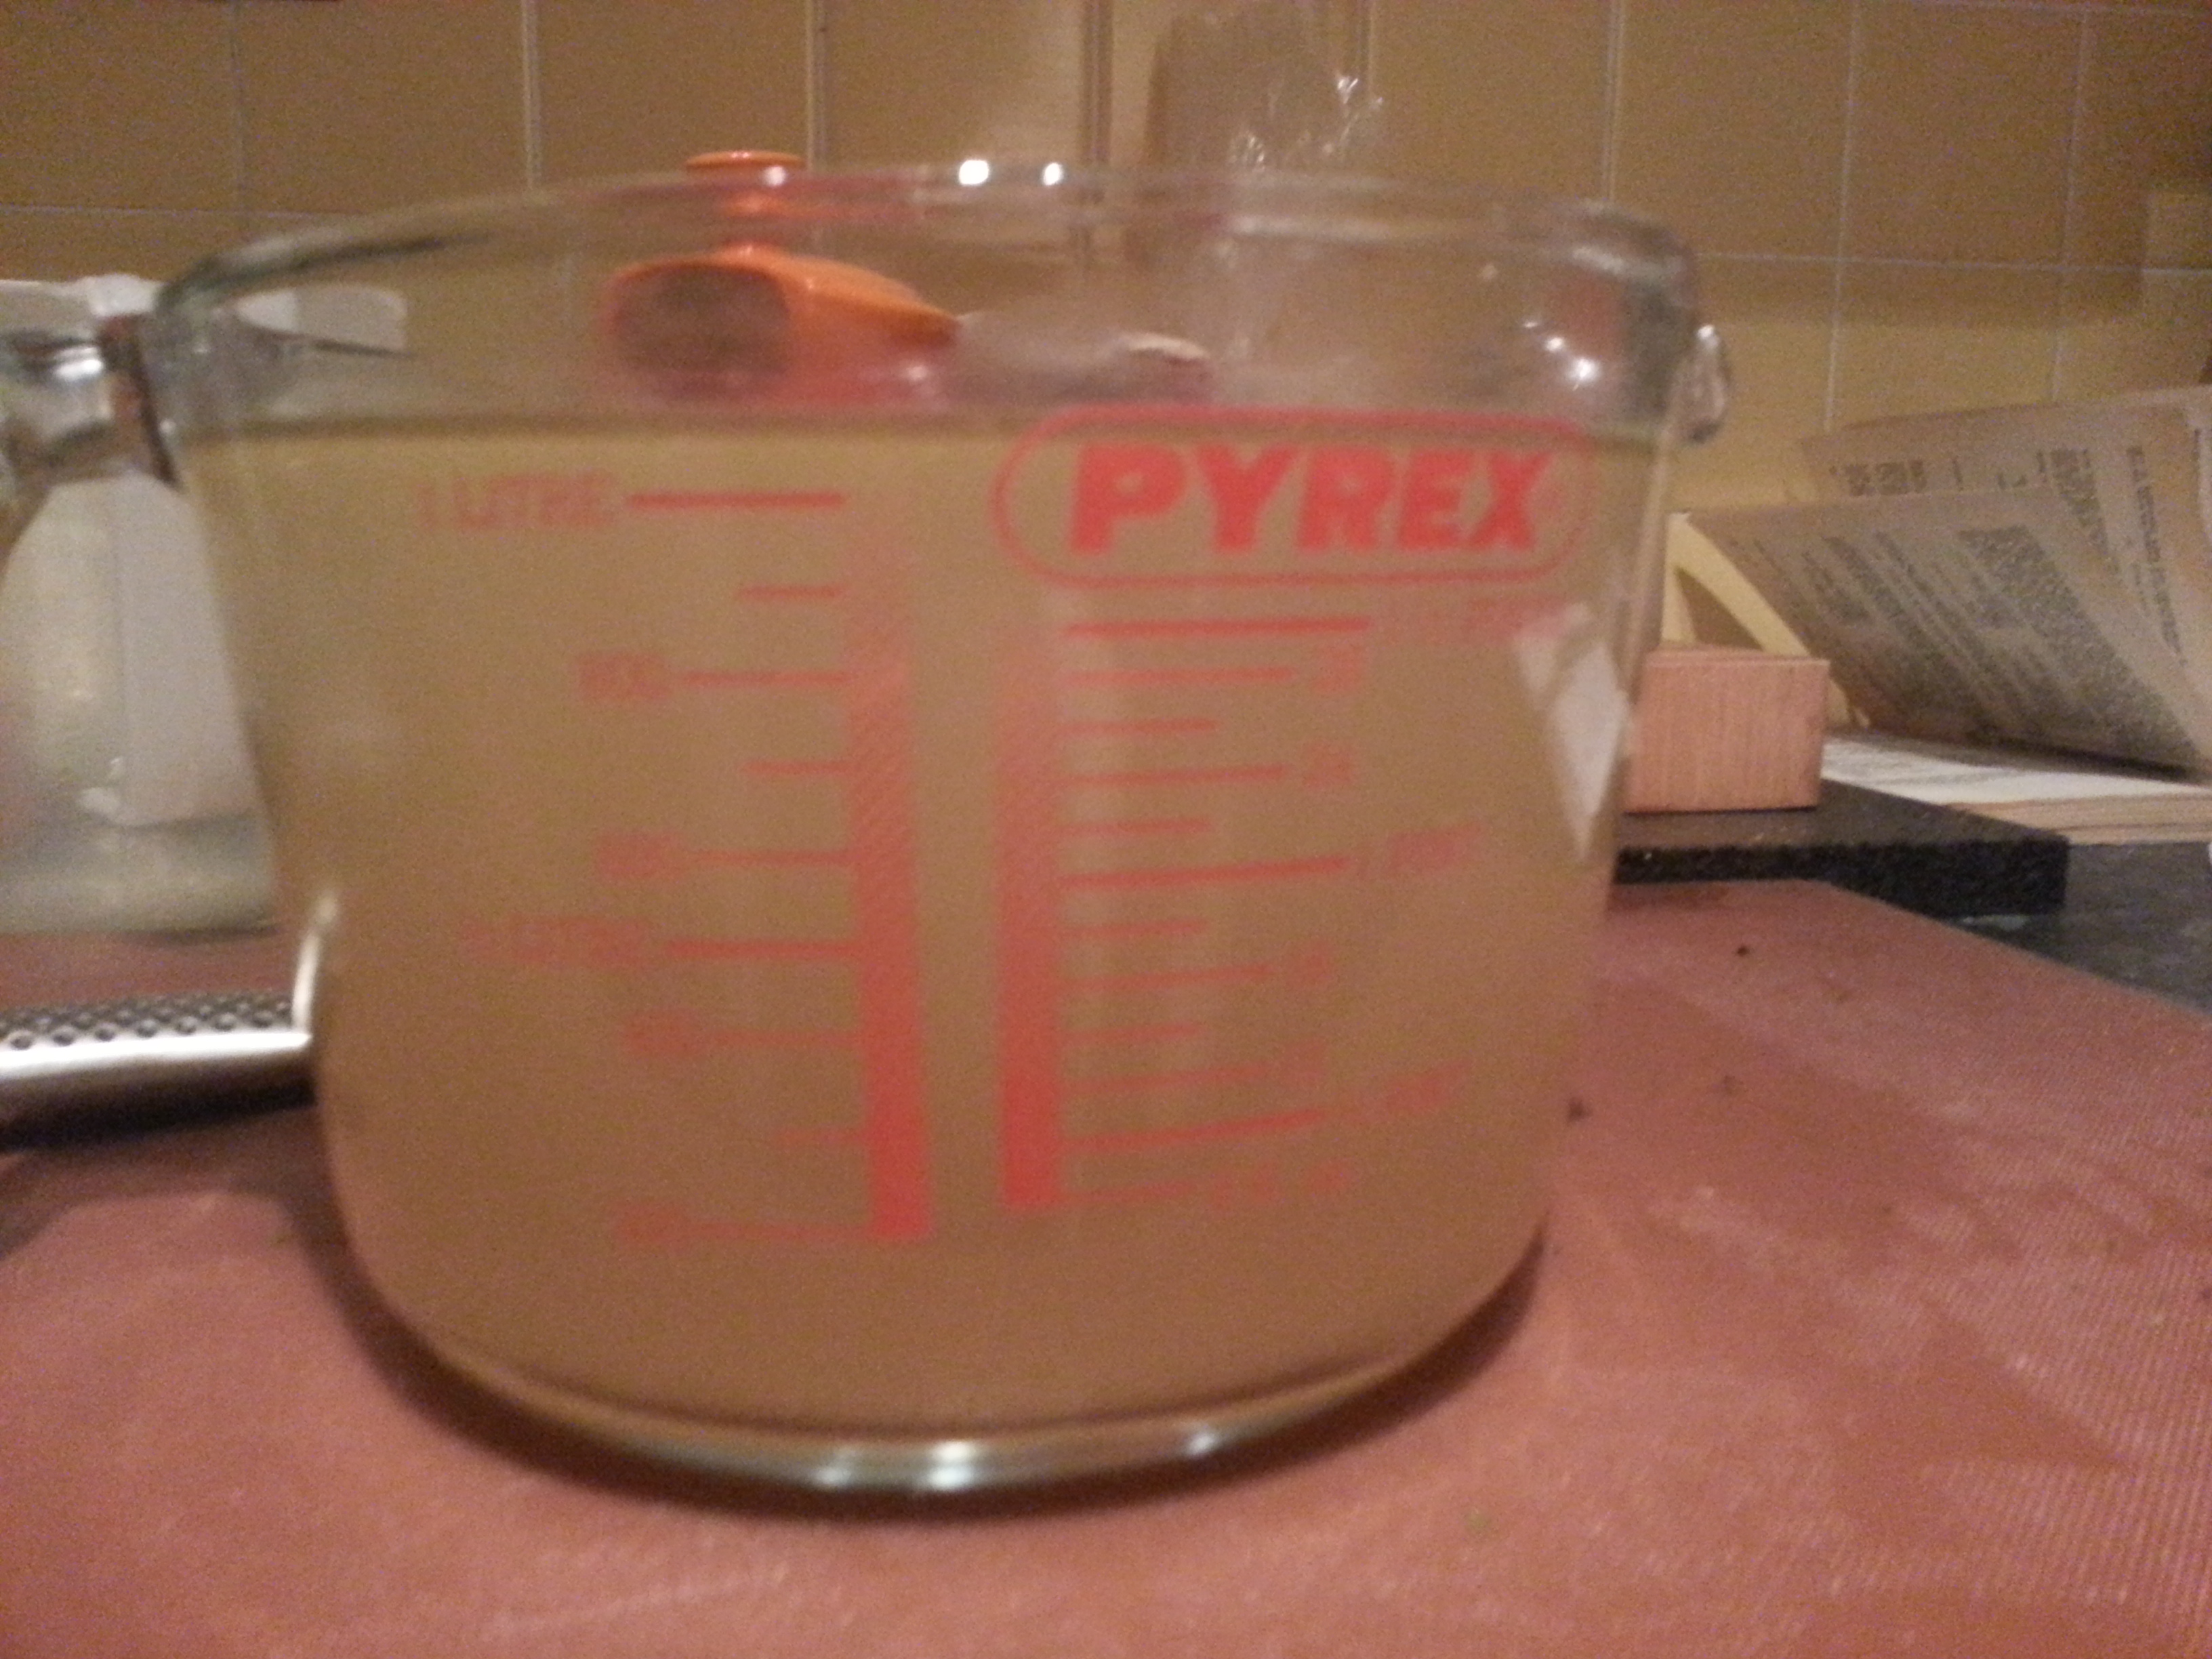
You have two choices now: either bring the whole thing slowly to boil and simmer gently for 3 hours on the hob, or bring to simmer and pop it in a cool oven instead, 150⁰C will do it, for a similar amount of time. Turn the joint over after ninety minutes and in the final half an hour, ladle out 2 pints of the cooking liquid and boil it down hard to make a concentrated, richly flavoured stock.
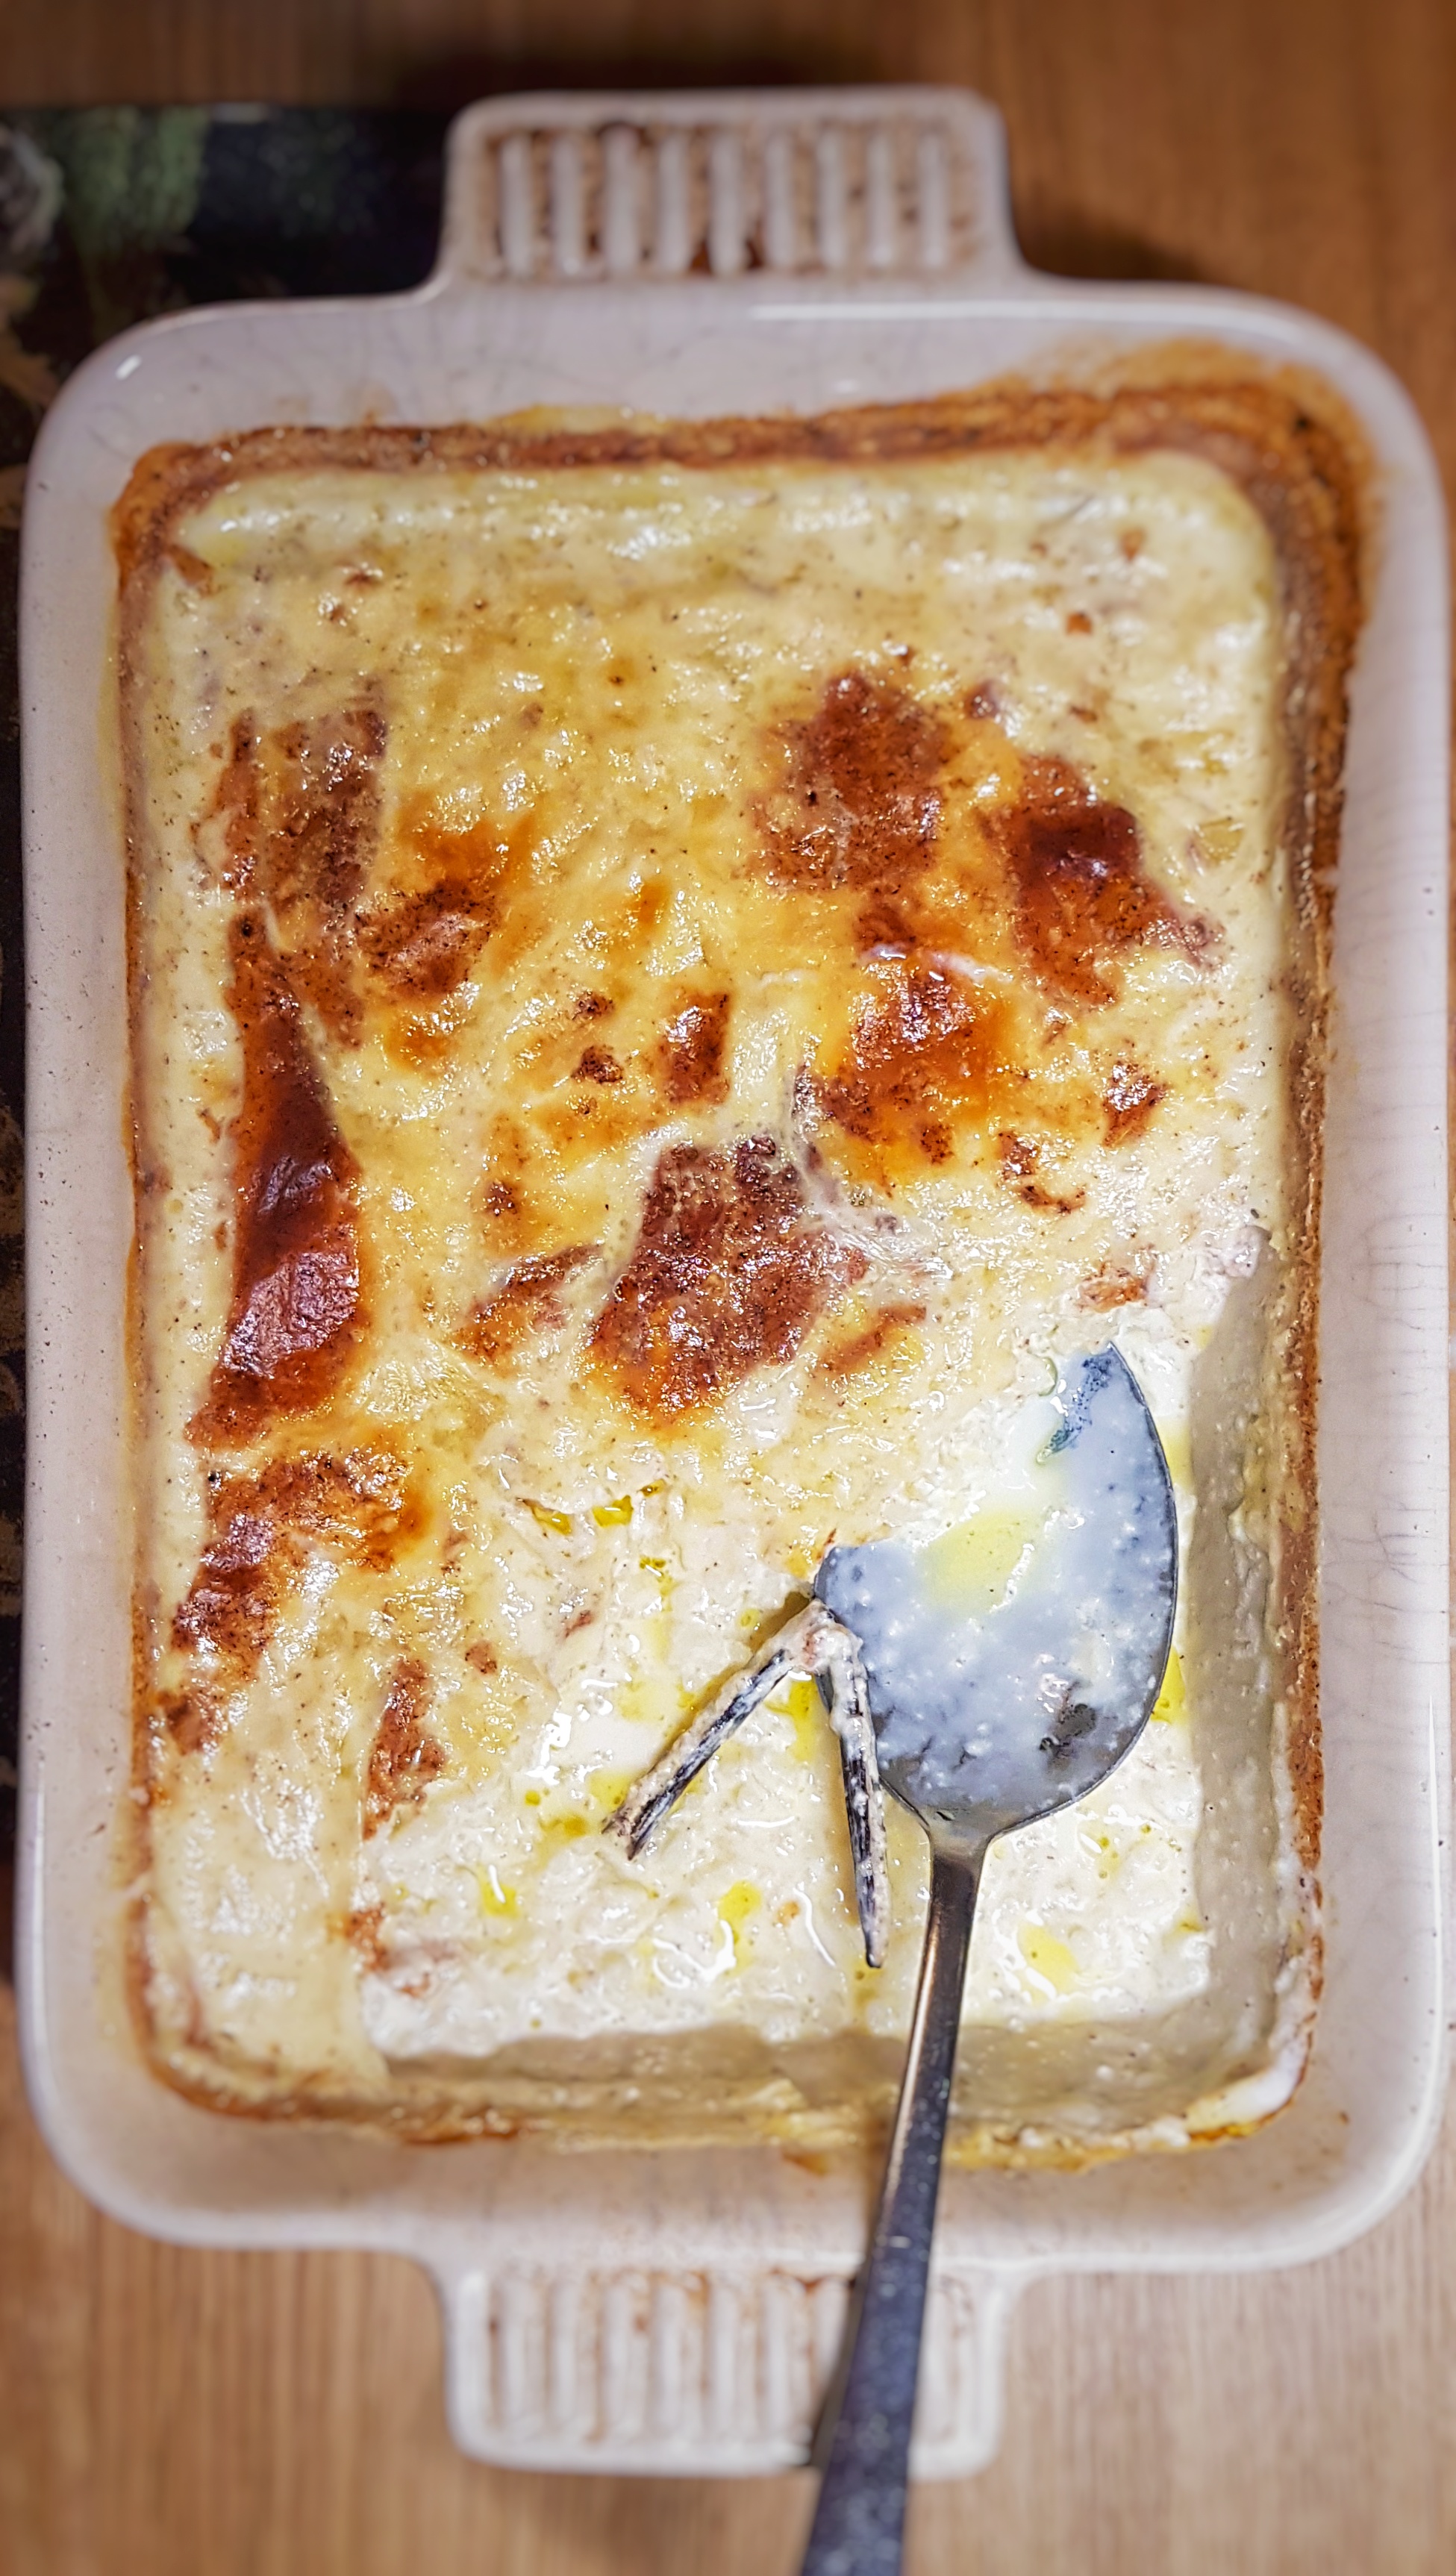
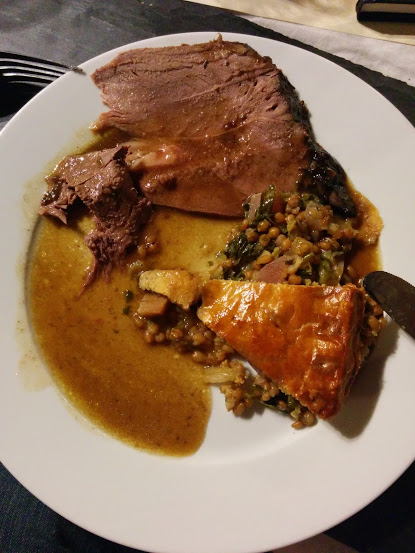
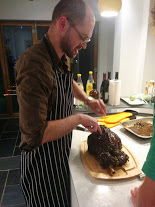
When the cooking time is up, remove the leg and put it into another roasting tin and turn the oven up to 220⁰C. Roast for a good 20 minutes and baste well with the concentrated stock to achieve a nice glaze. Any remaining concentrated stock can be used as gravy.
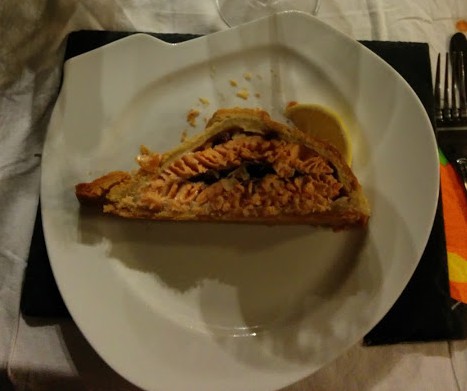
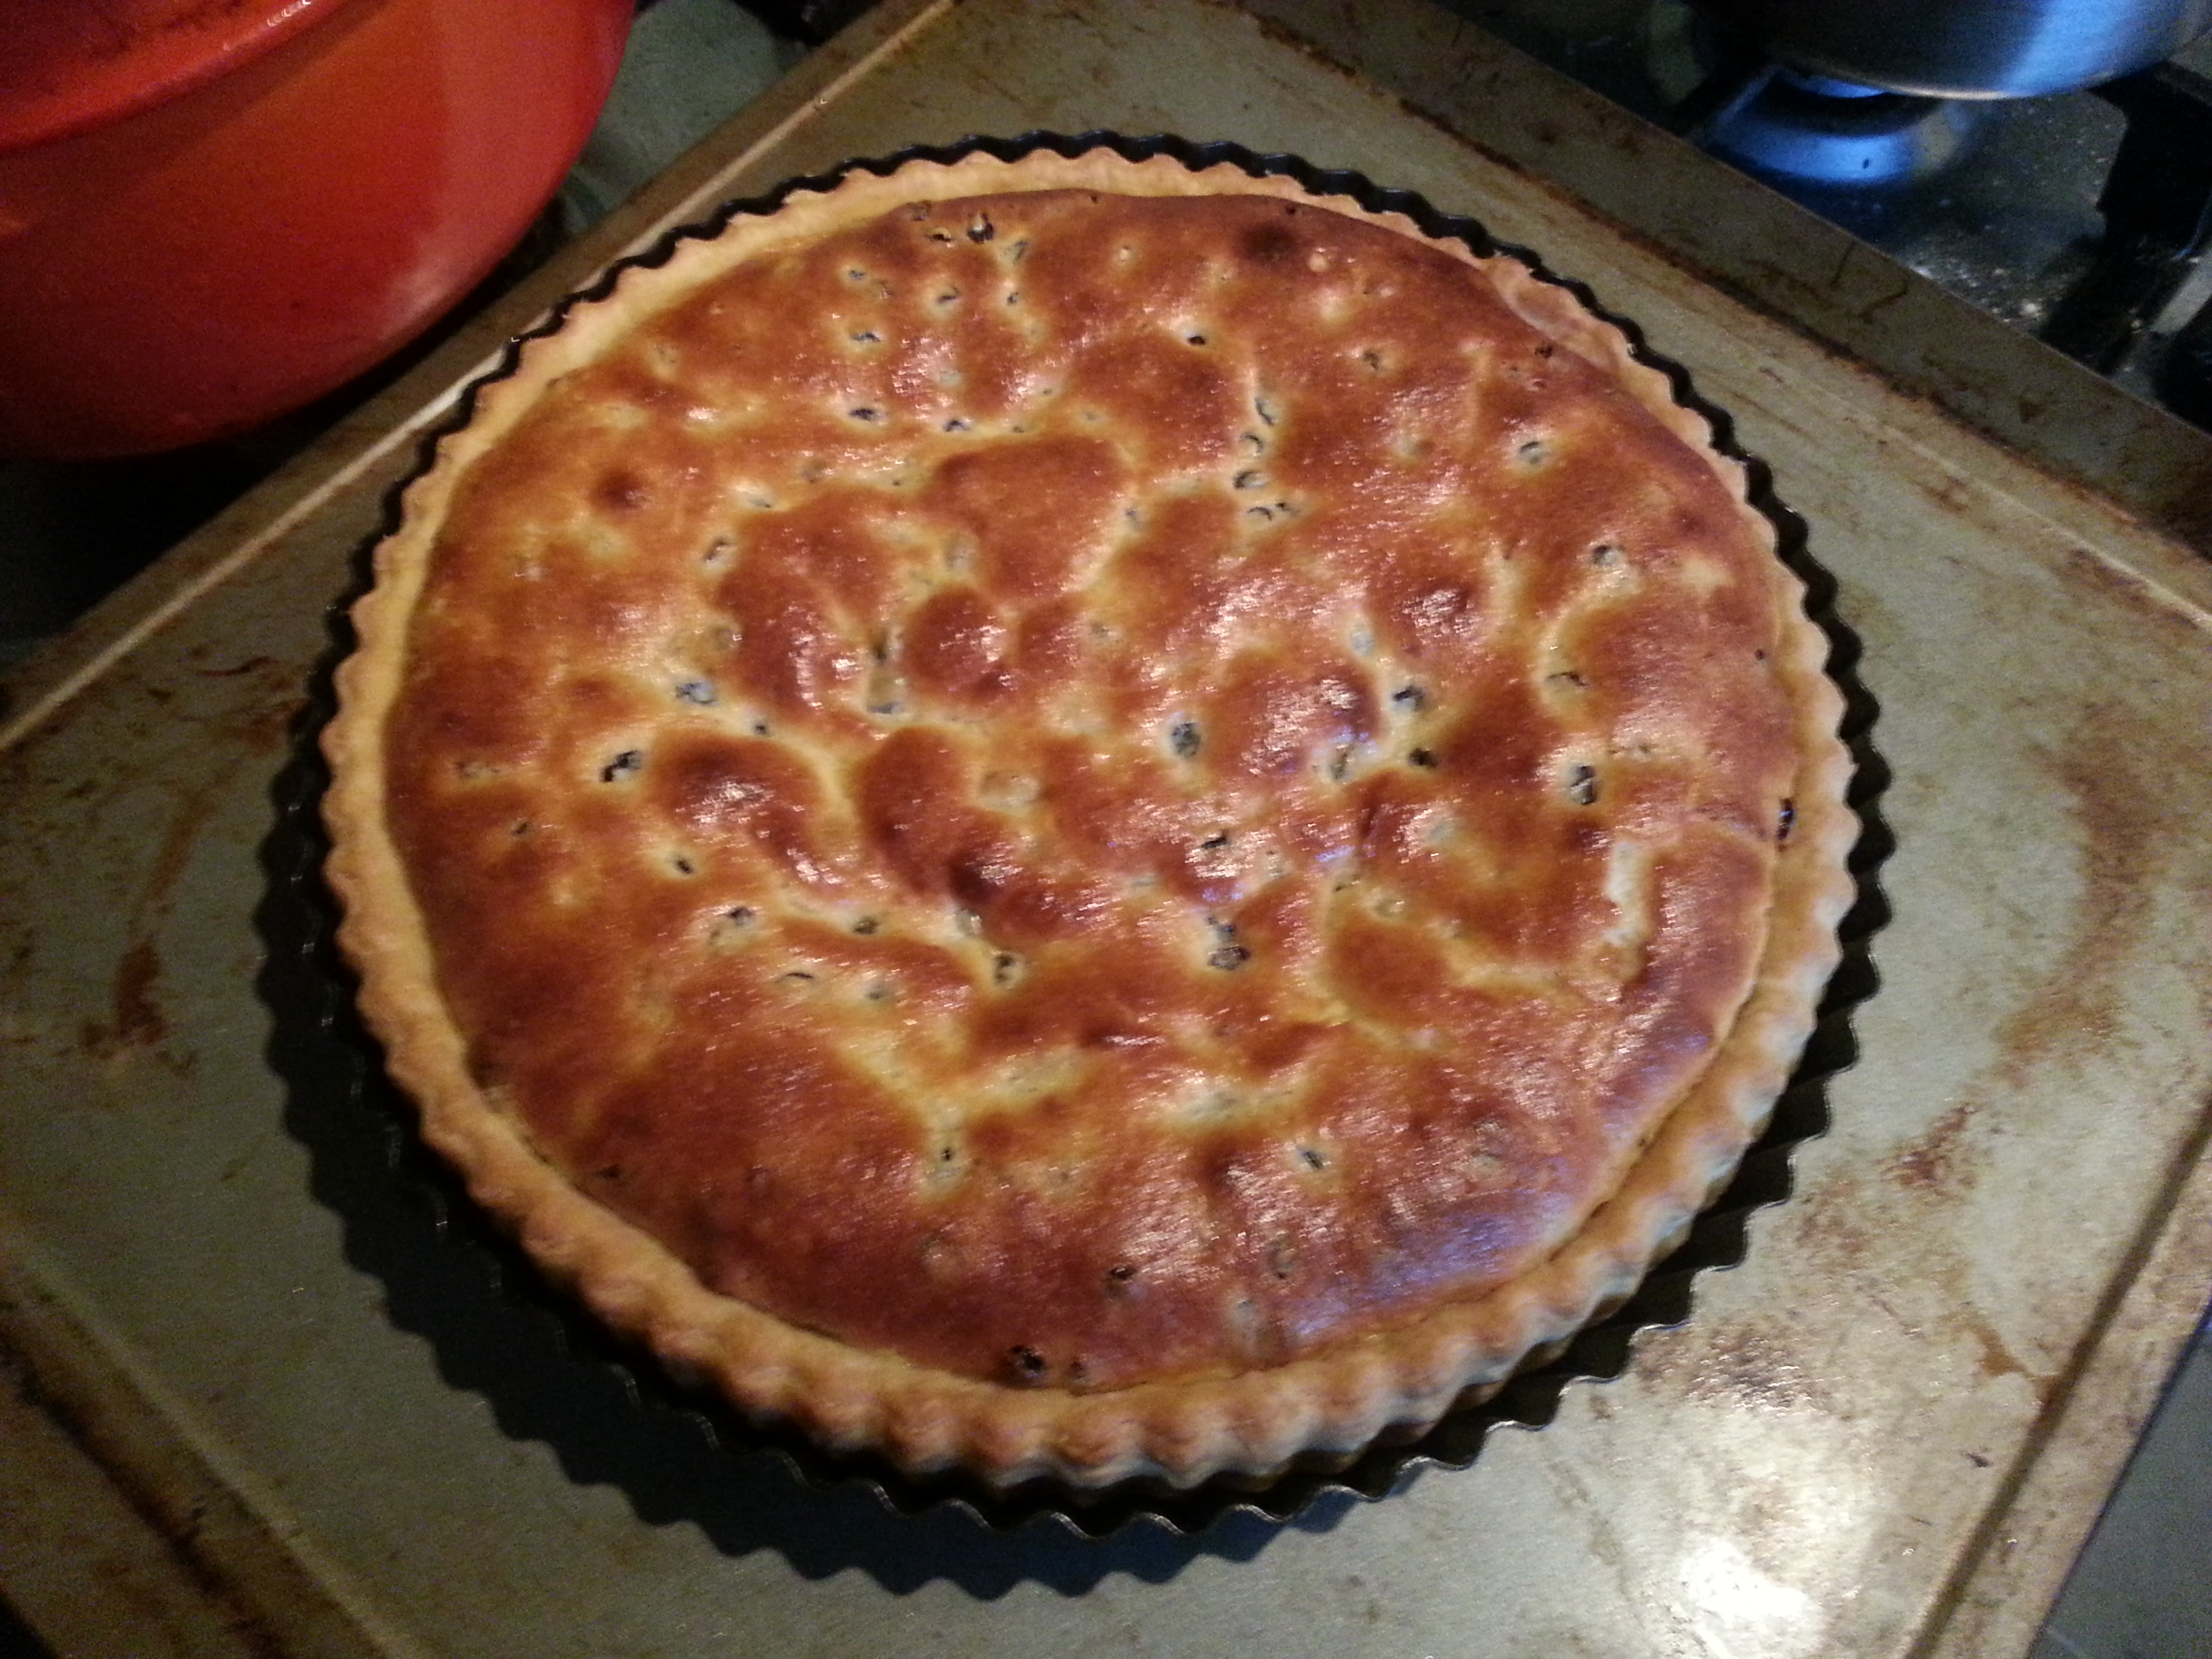
An Herb Pie for Lent
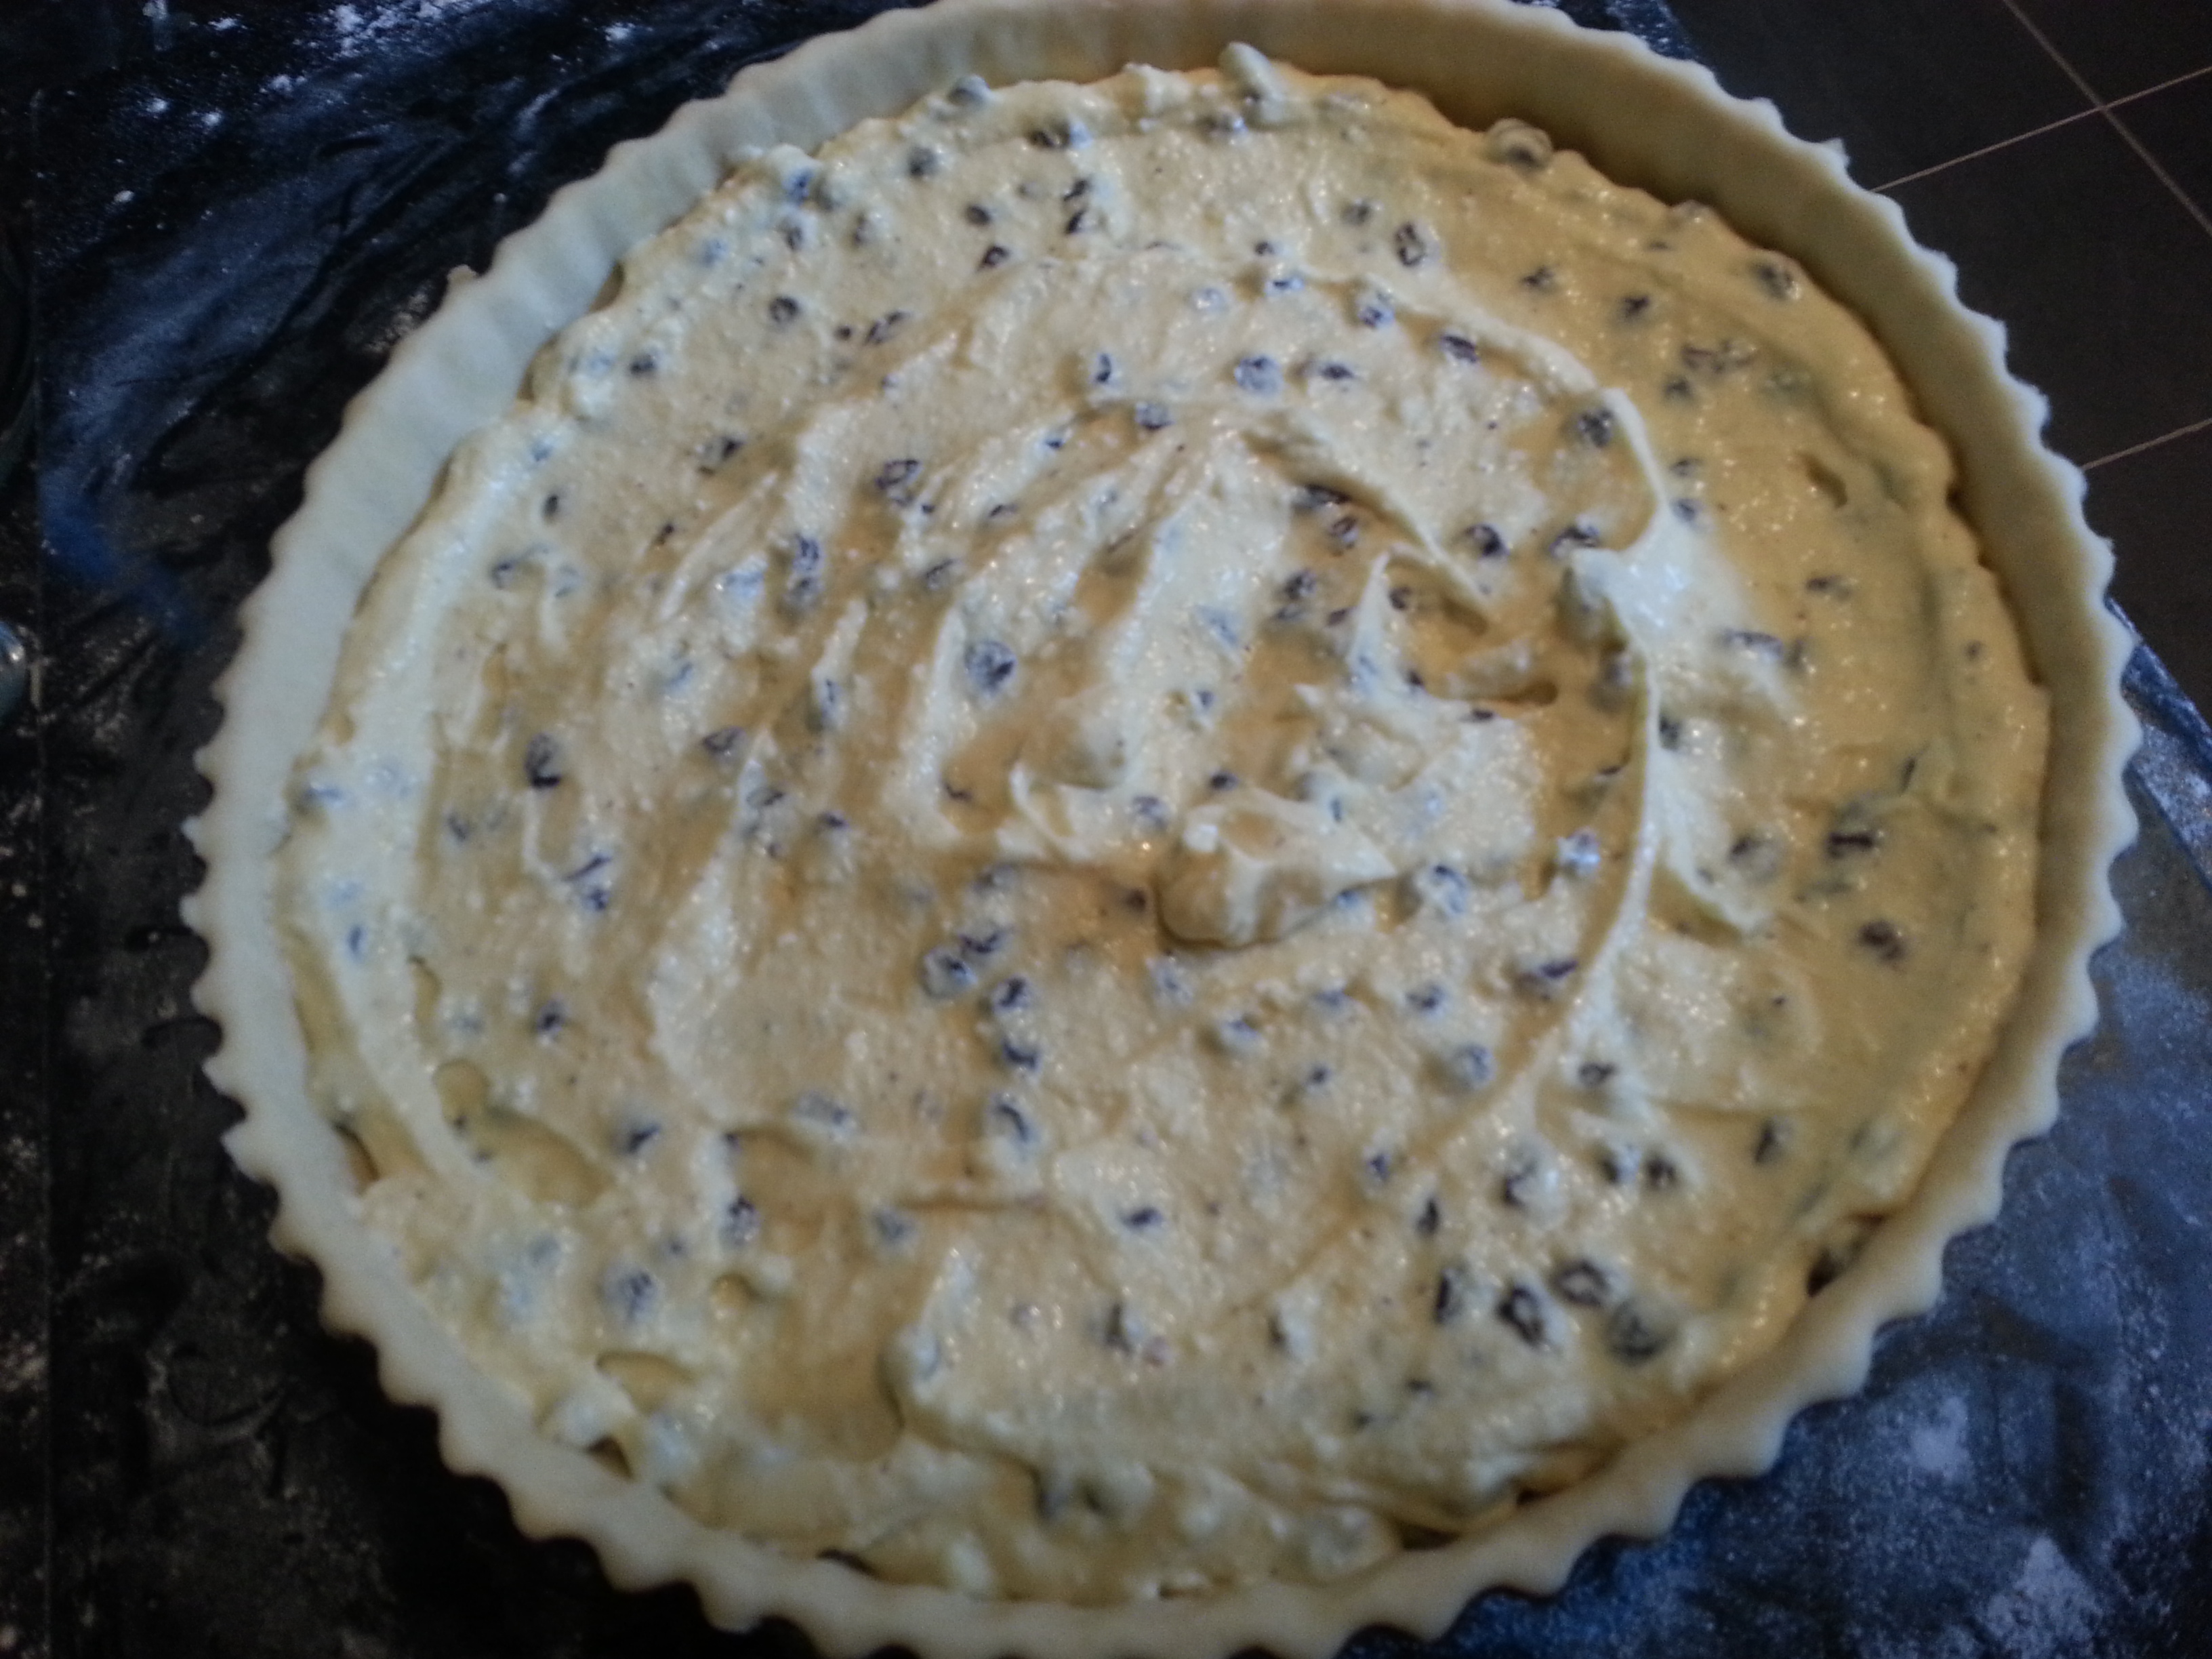
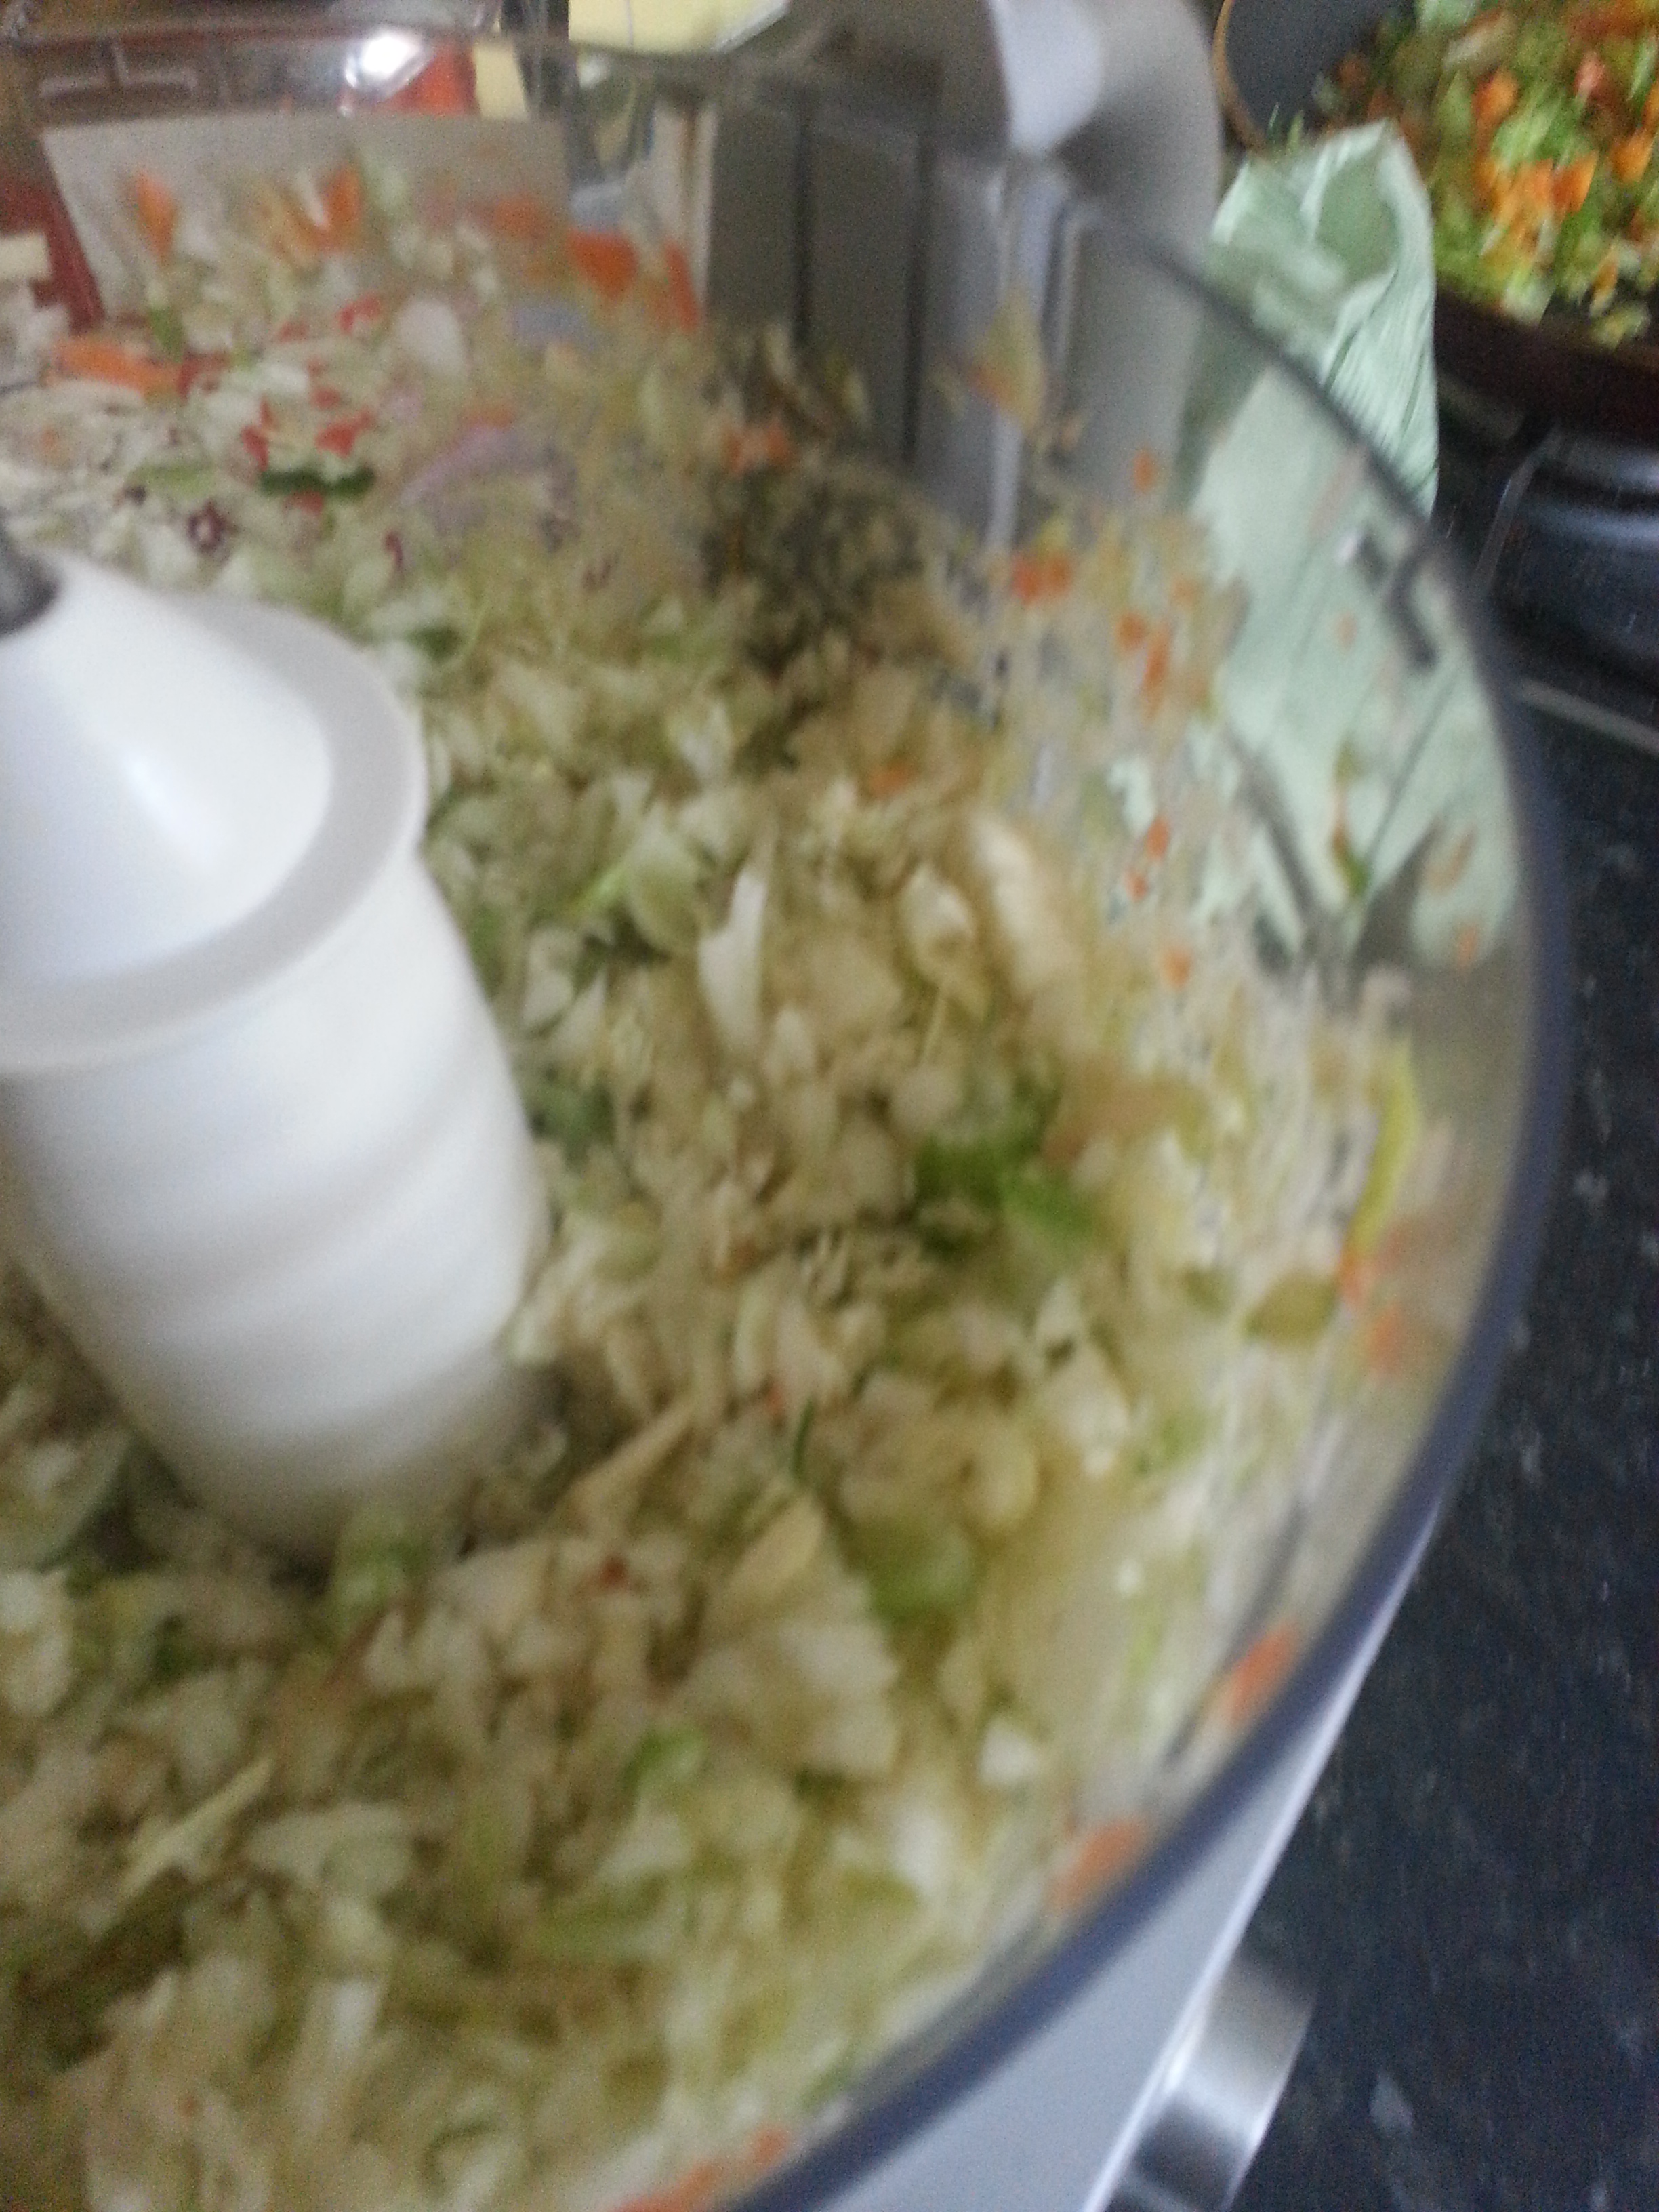
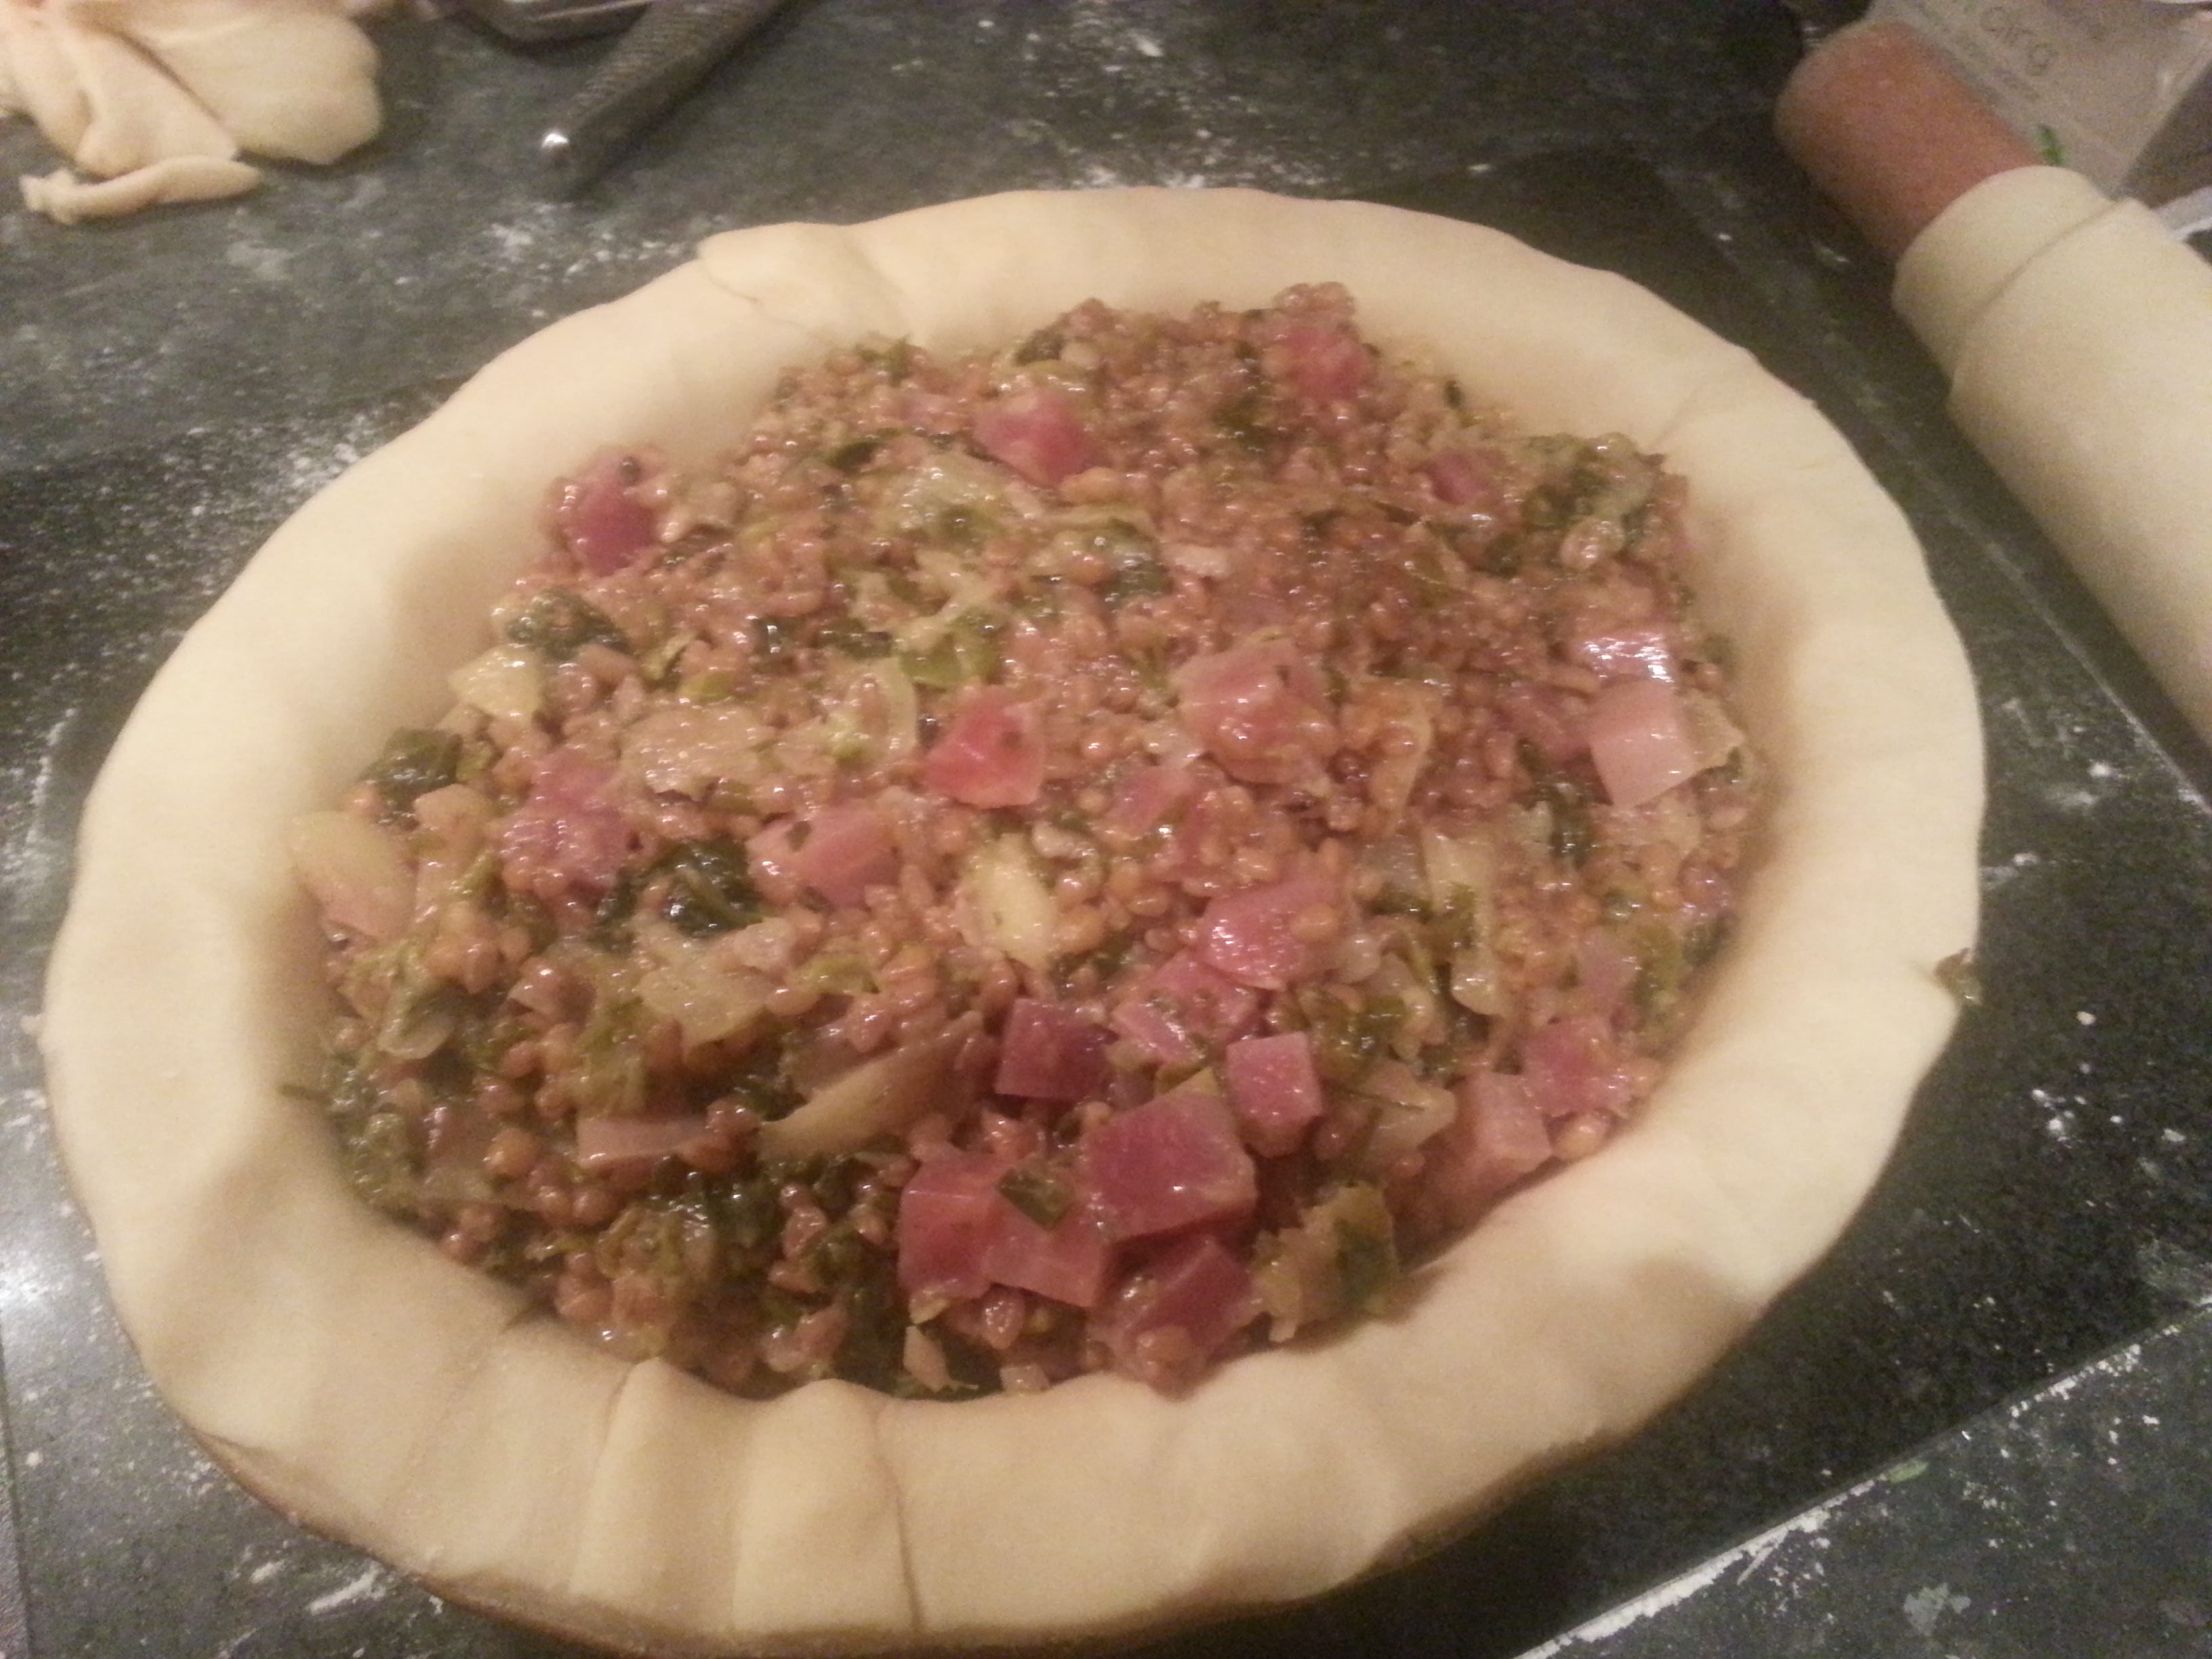
Take lettuce, leeks, spinach, beets and parsley, of each a handful. Give them a boil, then chop them small, and have ready boiled in a cloth one quart of groats with two or three onions in them. Put them in a frying pan with the herbs and a good deal of salt, a pound of butter and a few apples cut thin. Stew them a few minutes over the fire, fill your or raised crust with it, one hour will bake it. Then serve it up.
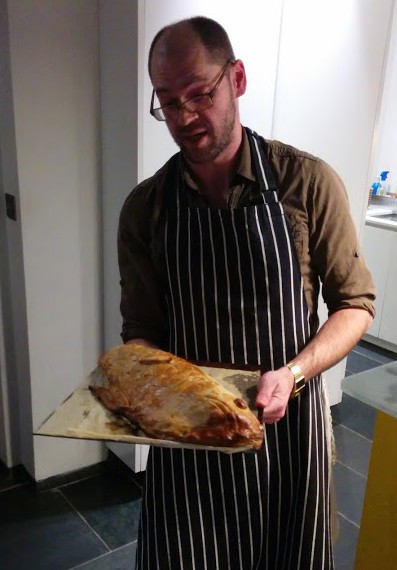
Groats are whole grains of cereals and oats or barley could have been used, but I chose whole wheat. The only change I made was to use a normal shortcrust pastry and make a regular double-crust pie in a tin, rather than a raised crust with a hot water pastry. I regret that a bit now, but I wasn’t as good at pastry then as I am today. It is a good pie – some plainer cooking that married very well with the rich meat.
Here’s how I approached the recipe:
1 onion, chopped
oil or butter
150g wholewheat groats
generous knob of butter
2 Cox’s apples, peeled, cored and sliced
2 little gem lettuce, sliced
1 leek, sliced
1 medium golden beetroot, diced
1 handful of spinach, rinsed
1 bunch parsley, chopped
shortcrust pastry
Begin by gently frying the onion in a little butter or oil until soft and golden. Add the groats and cover with water. Simmer gently until the groats are tender, topping up with more water if things look a little dry. Season with salt and pepper and allow to cool. Meanwhile fry and soften the apples in butter and let those cool too.
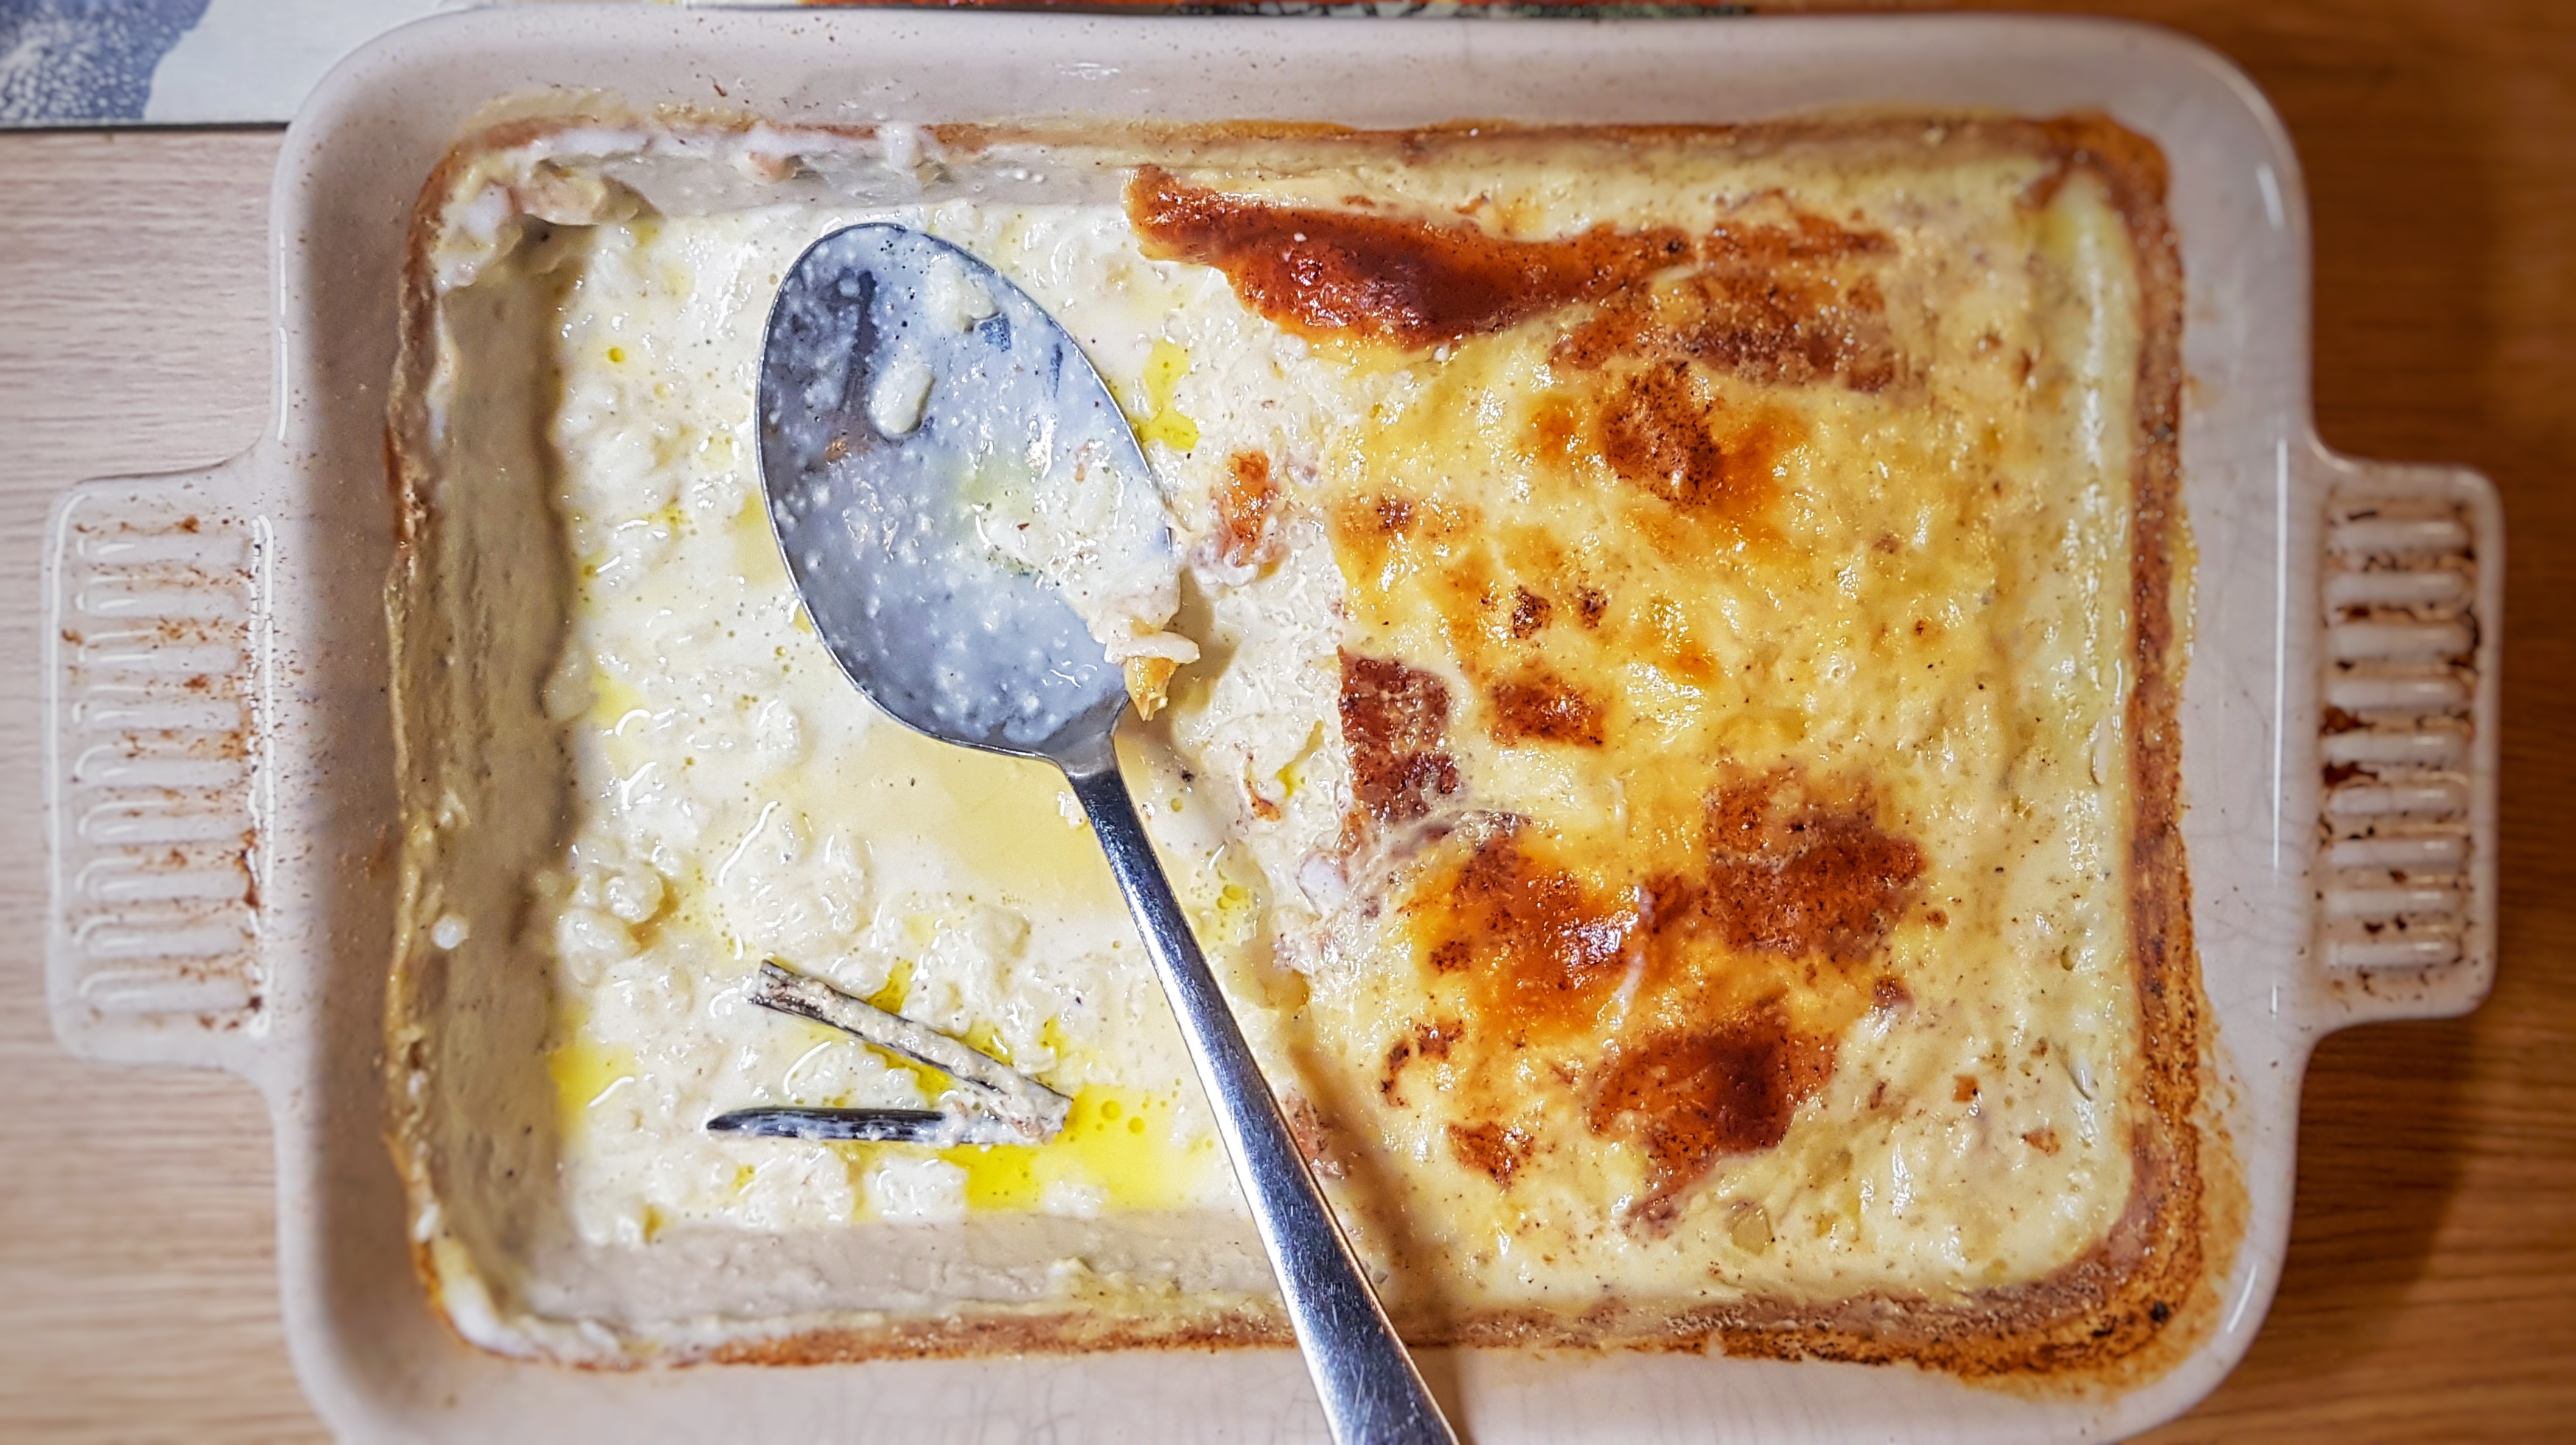
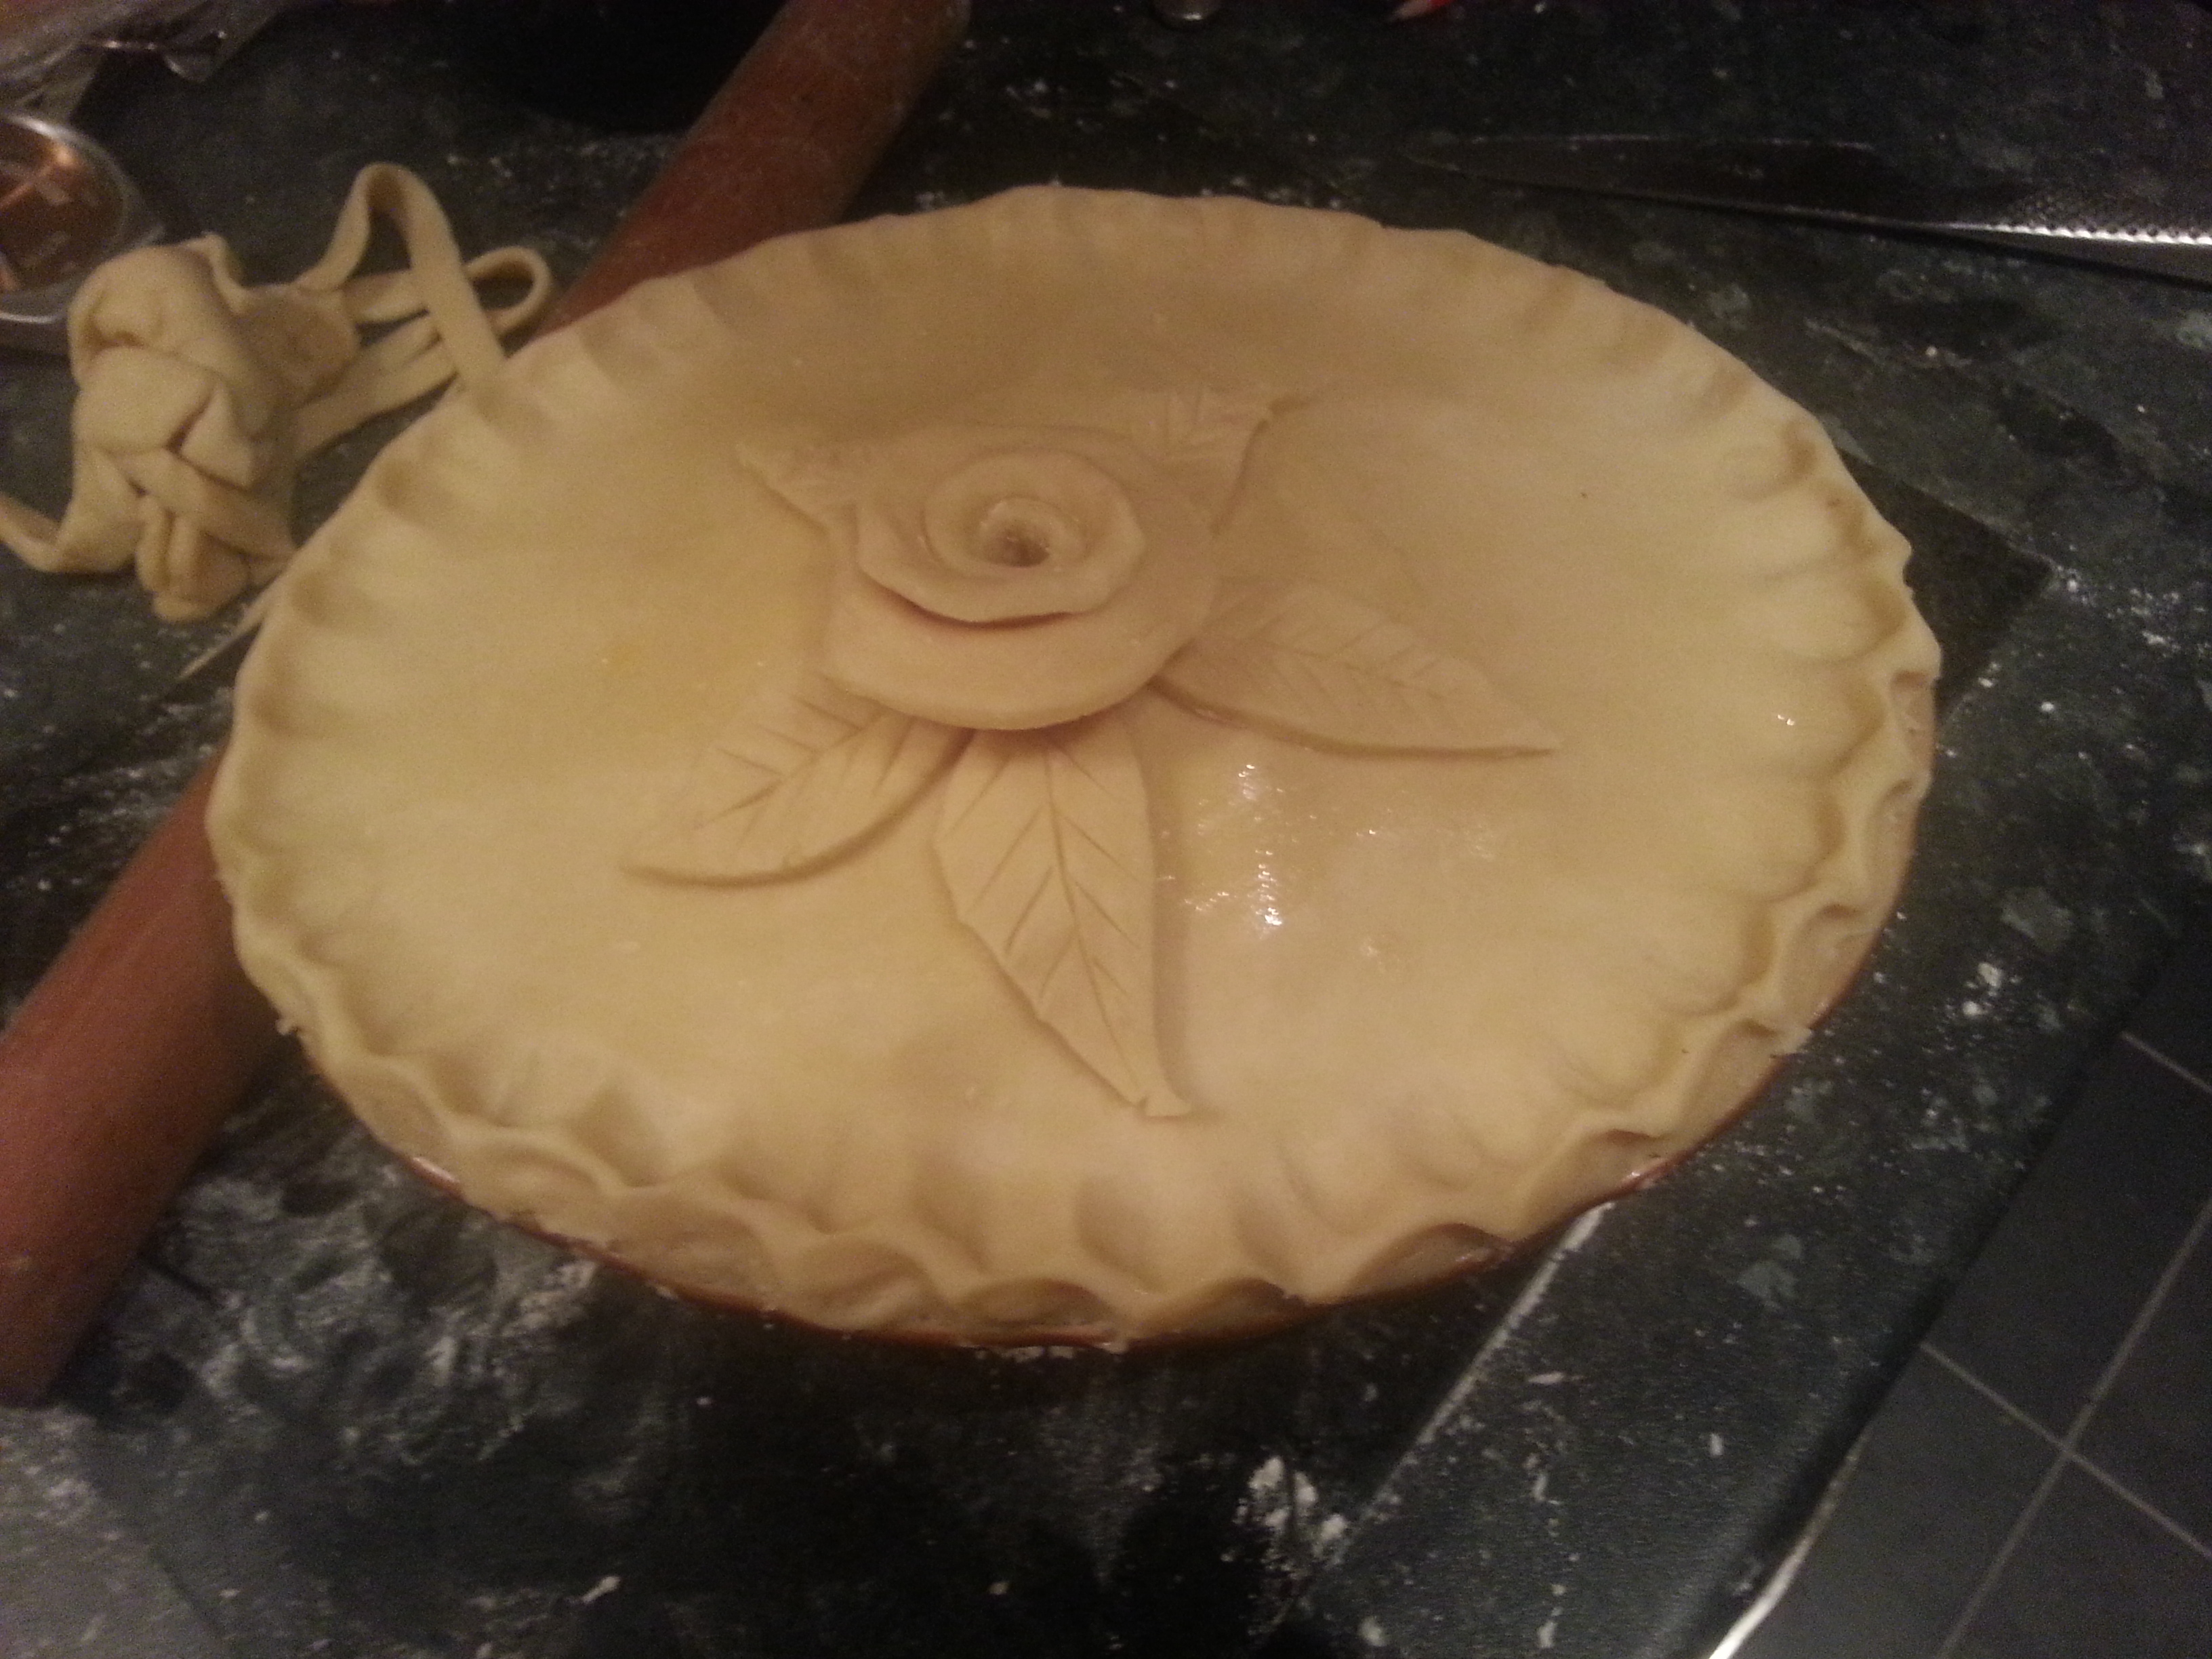
Mix the apples with the groats and the remaining vegetables and line a pie tin with shortcrust pastry. Tip in the mixture and cover with more pastry in the usual way.
Glaze with beaten egg and bake at 200⁰C for 20 minutes until golden, then turn down to 175⁰C for 35 to 40 minutes.
If you like the blogs and podcast I produce, please consider treating me to a virtual coffee or pint, or even a £3 monthly subscription: follow this link for more information.