Tag Archives: food

First Course: Tudor Salmon en Croute

tudor fisherman

The second dish in my Dinner Party Through Time menu, and we have moved along a couple of hundred years to Tudor Britain.

This is a recipe that is inspired by the Tudor love of combining fish with candied sweetmeats. Large medieval banquets had to contain dishes with lots of spice; after all how else could you display your vast wealth other than to use that exciting spice, sugar? When first brought to Europe from India, sugar was considered a spice and therefore medicinal. It lost its rank as a spice once it gained popularity as a more general addition to the dinner table; albeit a giant banqueting table.

The addition of the salmon, then, you might feel was also a mark of an ostentatious lord. It is not the case, back in the day, before such things as pollution and overfishing, streams were teeming with fish like salmon. In fact they were so common on the River Mersey that people used to feed them to their pigs! The same, of course, goes for oysters too, and yet we can now buy a pound of sugar for 30 pence. How times have changed.

This dish is very attractive: a lovely fish wrapped neatly in pastry with some sweet spice, fruit and nuts, plus a nice piquant herb sauce. It’s pretty easy to make to boot, as long as you have good shortcrust pastry. This was so good, that it became the main course at my last pop-up restaurant.

tudor salmon 3

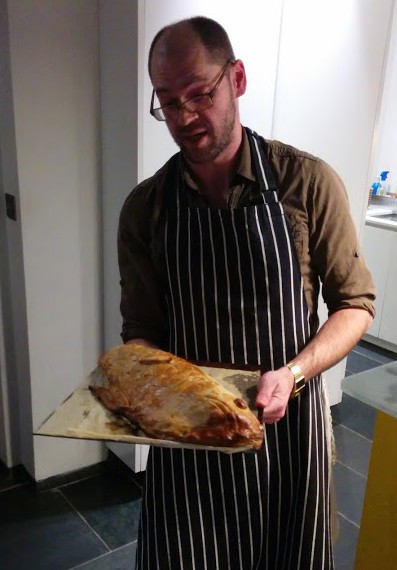
Yours Truly, with the fish

This recipe is actually from Jane Grigson, who did the tricky bit for us and worked out a recipe. It comes from her book English Food and I suggest you buy a copy (see the other blog about that!). The only real difference I’ve made is to multiply up the amounts; I used a whole salmon, rather than just a piece as in the book.

You will need:

1 salmon, filleted, skin on or off

250g butter, softened

8 knobs of preserved ginger, chopped

1-2 tbs of the ginger syrup

2 heaped tbs raisins or currants

2 heaped tbs slivered almonds

salt and pepper

shortcrust pastry (see method)

beaten egg

For the herb sauce:

4 shallots, very finely chopped

2 tsp parsley, finely chopped

2 tsp of chervil or tarragon, or a mixture, finely chopped

125g butter

2 tsp plain flour

600ml double cream

2 tsp English mustard

salt and pepper

4 egg yolks

juice ½ lemon

Beat the softened butter with the preserved ginger, raisins and almonds. Sweeten with the syrup as you see fit. Use half of the mixture to sandwich the two pieces of salmon together and then spread the remaining half over the top piece. Season with salt and pepper.

Now you are ready to encase the beast in pastry. I used a batch made of 800g flour and 400g of fat (200g each lard and butter), 2 eggs and a little water, but you might need more or less, depending upon the size of your salmon. Roll out a third of the pastry into a shape larger than the fish and place it on top. Trim around it, leaving a two centimetre gap.

Next, roll out the rest and carefully place it over the fish, trimming the pastry away so there is a one centimetre gap between it and the lower layer. Brush with beaten egg all around the edges, and fold and crimp the pastry all the way around; rather like a huge pasty. Use the trimmings for decoration. There were a few small cracks in my pastry, but I hid them most cleverly with some pastry leaves that I placed here and there. I must say, I was quite impressed with my effort.

Make two or three slashes on the top so that steam can escape and bake for around 45 minutes at 220⁰C (425⁰F). To tell that it is done use a temperature probe; if the centre is around 50⁰C it’s ready to come out. As the fish rests, it will increase in temperature.

tudor salmon 1

As it rests, you can get on with the sauce. Gently fry the shallots and herbs in butter. When the shallots have softened, stir in the flour, then the cream (reserving a little for later). Simmer for around 10 minutes, then season with salt, pepper and mustard. Whisk the egg yolks with the reserved cream, turn down the heat in the pan and pour in. The sauce will thicken as the yolks start to cook – do not let the sauce boil, or your yolks will scramble. If it seems on the thick side, add a little water. Finally, lift the whole thing by adding a good squeeze of lemon juice.

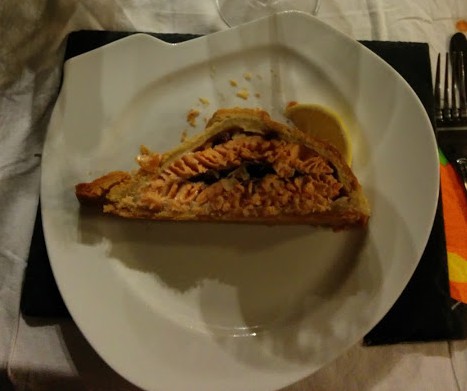
The rested salmon can now by sliced up. The best way I find to do this sort of operation is to use a serrated knife. Slice the untidy end off, but keep it pressed up against the rest of the fish as you make more slices. Don’t take away any slices until you are finished cutting, otherwise everything will crumble and collapse.

The best thing to eat with this, I would say, is a green bitter vegetable such as broccoli or kale.


If you like the blogs and podcast I produce, please consider treating me to a virtual coffee or pint, or even a £3 monthly subscription: follow this link for more information.


1 Comment

Filed under baking, Britain, cooking, food, General, history, Uncategorized

The Hors d’Oeuvres: Mediaeval Pork Tartlettes

The first course of my Dinner Party Through Time was a little amuse bouche from a mediaeval recipe dating around 1400. On the throne was Henry IV, Geoffrey Chaucer was a contemporary; indeed, he was present at his coronation.

The recipe calls these little mouthfuls tartlettes, but they are actually more like a stuffed ravioli or even dim sum. Left-over pork is ground up with spices and other flavourings, wrapped up in a paste and simmered in salted water.

Unfortunately there’s no photographic evidence of this dish so you’ll have to make do with a picture of Henry IV and imagine him eating one.

MOU202462 Portrait of King Henry IV of England (1367-1413) (oil on canvas) by English School, (17th century) oil on canvas 50.5x43 Private Collection © Philip Mould, Historical Portraits Ltd, London, UK English, out of copyright

Here’s the recipe:

Take pork ysode and grynde it small with saffron, medle it with ayren and raisons of coraunce, and powder fort, and salt; and make a /bile of dowhg and close the fars thereinne. Cast the tartlettes in a pan with faire water boillyng and salt.

Although it is relatively simple to cook, this was very much a rich man’s dish with saffron and currants as well as powder fort. This was a commonly used spice mix made up of ground ginger, cumin and long pepper. Long pepper is very difficult to source these days, so for my version of the recipe I used regular black pepper.

I could have covered my meat mixture, or ‘farce’, in thinly rolled fresh pasta, but instead went for the less fiddly option of using filo pastry. I wasn’t convinced that the tarlettes would taste good boiled as in the recipe, so for the dinner party, I simmered half of them and baked the remainder. It turned out that everyone preferred the simmered tartlettes. How little faith I had!

This recipe makes around a dozen tartlettes

350g of lean, cooked pork

good pinch of salt

heaped teaspoon of powder fort spice mix

30g currants

1 tbs single cream

1 egg, separated

4 sheets of filo pastry

salted water

Powder fort spice mix:

3 tsp ground cumin

1 tsp ground black peppercorns

1 tsp ground ginger

To begin, mince the cooked pork and thoroughly mix in the salt, powder fort, currants, cream and the egg yolk.

Unfold three or four sheets of filo pastry. It can be a tricky number to keep it from drying out, but you should be able to avoid any major disasters by keeping the pastry sheets covered with a damp tea towel.

Cut a strip of filo three centimetres thick and roll a generous teaspoon of the mixture in the filo strip. You are aiming to cover the filling with two or three layers of pastry so there may be enough in one strip for more than one tartlette. Seal the pastry with a light brush of egg white. Continue until you have used up all of the mixture.

Cook the tartlettes by dropping them into simmering salted water for three or four minutes, remove with a slotted spoon and drain them carefully on some kitchen paper. Eat them immediately.

If you don’t want to boil your tartlettes, they can be brushed with more egg white and baked in the oven at 200⁰C for 8 minutes or so.


If you like the blogs and podcast I produce, please consider treating me to a virtual coffee or pint, or even a £3 monthly subscription: follow this link for more information.


5 Comments

Filed under Britain, cooking, food, General, history, Meat, Recipes, Uncategorized

A Dinner Party Through Time

Hors d’oeuvres.
Pork tartlets, 14th century, Plantagenet
~
First Course
Salmon en croute with candied fruit and herb sauce, Tudor, c1600
~
Second Course
Hashed chickens and stewed turnips with roast quince, 1660, Stuarts
~
Third Course
‘Mutton to eat as venison’, with Lenten Pie, 1773, Georgian
~
Fourth Course
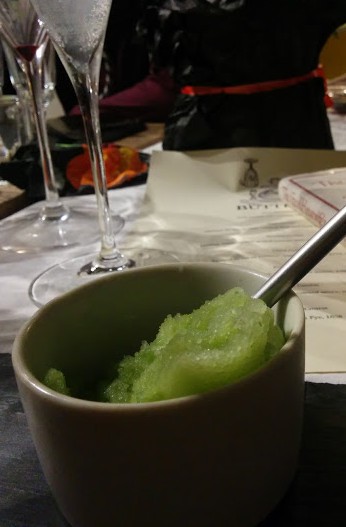
Cucumber, gin and mint sorbet, 1920s
~
Fifth Course
Pigeon faggot, cabbage and mustard sauce, mash, WWII 1940s
~
Sixth Course
Pompion Pye, Stuarts

Late last year at the very beginning of November I was asked to cook for a dinner party and I was given the most fantastic brief. It was to be for 15 people and 7 courses, and a whistle-stop journey of British food through the ages. This is the kind of brief I absolutely love getting my teeth into.
For anyone who is interested in history, there is no better way to experience it first-hand than cooking an old recipe; you can watch a film, read some original documents, whatever, but food is the only way to actually directly witness a past event.
After much deliberating, I came up with menu, and I thought I would share with you the recipes for each course along with a bit of history about the times or the people who wrote it.
We began with Plantagenet hors d’oeuvres and ended up at World War II for the sixth course.
The dessert bucked the trend; a pudding that used pumpkin as its main ingredient was asked for. (It was the day after Hallowe’en, after all.)
Here’s the full menu:


If you like the blogs and podcast I produce, please consider treating me to a virtual coffee or pint, or even a £3 monthly subscription: follow this link for more information.


10 Comments

Filed under Britain, cooking, food, history, Recipes, Uncategorized

Toast

toasting fork

from iggandfriends.wordpress.com

Hot buttered toast must be the most popular British breakfast item, whether eaten on the run to the bus stop, or served up with a full English breakfast or posh scrambled eggs and smoked salmon on a Sunday. Elizabeth David described it as a ‘peculiarly English…delicacy’.

It is true that the wafting smell of freshly made toast combined with the sight of the slow melting of a good covering of salted butter is so comforting. Indeed, the first thing offered up to you after you’ve come round from an operation on the NHS (and I unfortunately have had many times) is tea and toast. (Digressing slightly, the first thing offered up to you after an operation in the USA is the similarly comforting cookies and milk.)

Most toast today is, of course, made from the flabby Chorleywood processed white sliced loaf, which produces quite depressingly poor ‘wangy’ toast. Proper toast requires proper bread; bread that has gone a slightly stale. Perfect toast is in the eye of the beholder: thick, thin, crisp throughout, soft in the centre, pale, dark, a scraping of butter or lashings of it.

Making toast was a way of using up stale bread, of course, so toast shouldn’t even be required now that we have the invention of Chorleywood processed bread. It’s ironic that our love of toast means we, on the whole, now make it with a product unsuitable for making it.

It won’t surprise you that there are some very detailed descriptions in old cookbooks as to the best way for making toast.

soyer

The earliest official piece of toasting equipment was the toasting fork. Here’s the flamboyant Victorian chef Alexis Soyer’s instructions from A Shilling Cookery for the People from 1854:

How to Toast Bread – Procure a nice square loaf that had been baked one or two days previously, then with a sharp knife cut off the bottom crust evenly, and then as many sliced you require, about a quarter of an inch in thickness. Contrive to have a clear fire: place a slice of the bread upon a toasting-fork, about an inch from one of the sides, hold it a minute before the fire, then turn it, hold it another minute, by which time the bread will be thoroughly hot, then begin to move it gradually to and fro until the whole surface has assumed a yellowish-brown colour, then turn it again, toasting the other side in the same manner; lay it then upon a hot plate, have some fresh or salt butter (which must not be too hard, as pressing it upon the roast would make it heavy),spread a piece, rather less than an ounce, over, and cut the toast into four or six pieces. You will then have toast made to perfection.

Coal range

Next rung up on the evolutionary ladder of toast-making was the invention of the toast plate, a cast iron rack that could sit in front of coal-powered range cooker. My friend Andreas actually has an original coal range cooker with a toast plate built in. I am very jealous.

range toasting plate

You can buy plates that lay over a gas burner on the stove top that I suppose achieves a flavour closest to the ones found on the coal ranges. Elizabeth David owned one (from English Bread and Yeast Cookery, 1977):

Elizabeth David

Part of the charm of the toast produced on this device is that every piece is different, and differently marked, irregularly chequered with the marks of the grill, charred here and there, flecked with brown and gold and black.

At home, the best way to make toast is by using a grill, preferably a gas grill; it produces a much more even heat and therefore even toasting than an electric grill. I love the flecked toast that David described, but an electric grill has hot spots that produce slices well done in one patch and hardly coloured in another.

THE WAY WE COOKED

You might think all you need to do is stick the bread under the grill and wait, right? Wrong. Here are Delia Smith’s instructions for making toast under a grill, though first you need to slice it (from How to Cook: Book One, 1998):

  1. The key to slicing bread is to use gentle, rapid saw movements with the knife and not to push down too hard on the loaf. For toast, cut the bread into slices about ½ inch (1 cm) thickness. The crusts can be on or off, depending how you like them.
  2. Pre-heat the grill for at least 10 minutes before making the toast, turning it to its highest setting.
  3. Place the bread on the grill rack and position the tray 2 inches (5 cm) from the heat source.
  4. Allow the bread to toast on both sides to your own preferred degree of pale or dark golden brown.
  5. While that is happening, keep an eye on it and don’t wander far.
  6. When the toast is done, remove it immediately to a toast rack…Putting it straight on to a plate means the steam is trapped underneath, making it damp and soggy. If you don’t possess a toast rack you really ought to invest in a modest one. Failing that, stand your slices of toast up against a jar or something similar for about 1 minute before serving.
  7. Always eat toast as soon as possible after that, and never make it ahead of time.
  8. Never ever wrap it in a napkin or cover it (the cardinal sin of the catering trade), because the steam gets trapped and the toast gets soggy.
  9. Always use good bread, because the better the bread, the better the toast. It is also preferable if the bread is a couple of days old.

The toast rack is an essential. Before I owned one, I leant the slices against each other as you would for a house of cards.

So there we go, a definitive guide to making toast, well, as long as you’re not using an electric toaster!


If you like the blogs and podcast I produce, please consider treating me to a virtual coffee or pint, or even a £3 monthly subscription: follow this link for more information.


17 Comments

Filed under baking, bread, Britain, cooking, food, General, history, Recipes, Teatime

How to Make a Basic Veal Stock

To me, life without veal stock…is a life not worth living

Anthony Bourdain

A while ago, I started up a series of posts on stock-making, and thought I should continue it.

When it comes to stock-making the home cook needs to keep out an eagle-eye for off cuts of meat and bones to sequester in the freezer ready to whip out for a stock. This I always do at Levenshulme Market (of which I am a Director), where the excellent Wintertarn has a stall selling organic cheese and –being good, sustainable dairy farmers – their organic rose veal too. I always have a nosey for any odd bits and I’ve managed to stockpile a few calves’ tails and a calf’s heart, amongst other things.

2015-01-15 16.48.38

These sorts of bits are great for making meat stocks – muscle for meaty flavour and bones for gelatinous body.

I thought I would give you my recipe to make a basic veal stock ready for classic soups, stews and sauces. It is the stock favoured in posh restaurants with kitchen run by French chefs, but it is easy to make, and cheap too, if you know where to look. It’s always a good idea to make friends with your local butcher, for this very reason. The reason it is liked so much is that it as there is no dominating flavour as there can be with beef stocks, yet there is plenty of body.

I have written a post already on general stock making, so it might be a good idea to have a look at that if you haven’t made stock very often.

This recipe is guidance really, most quote veal knuckle (the veal equivalent to a pig’s trotter) and veal shin, but you can use any cheap/free bone and muscle combination. You only need to the basic aromatics too – this is a simple, yet elegant stock, of course you can add other vegetables too. Notice there are no peppercorns; if you want a clear stock they need to be avoided as they can make the stock cloudy. If you don’t care, add half a dozen.

1 kg of veal knuckle, split, or tail, or other bones, chopped up

750g shank, or other well-used muscle cut into pieces (heart, tongue, skirt, osso bucco etc.)

2 carrots, peeled and halved lengthways

2 onions, peeled, halved and studded with 2 cloves each

2 sticks of celery, roughly chopped

2 whole garlic cloves

a bouquet garni made up of thyme, parsley stalks, 2 bay leaves

First, get a large pot of water on the boil, and blanche the meat for 5 minutes. This gets rid of the scum, that otherwise would rise to the surface and require skimming. Drain the meat and give it a quick rinse. Place in your stock pot with the vegetables, packing everything in tightly. Pour cold water to just cover, around 2 litres.

Bring to a simmer very slowly, it should take at least 20 minutes. If you do this correctly, you won’t get any more scum rising to the surface.

2015-01-15 17.27.27

Once the water is barely gurgling, move the pot onto the smallest hob on your cooker, set at its lowest heat. Keep the pot covered and let it tick over for 5 hours. It may seem like a long time, but it really needs this long slow bathe. It’s not like you have to stand over it. Tip your nets, grout the bathroom or take the dog out or something in the meantime.


If you like the blogs and podcast I produce, please consider treating me to a virtual coffee or pint, or even a £3 monthly subscription: follow this link for more information.


Strain the stock through a sieve into a clean pan, bring to boil and reduce by a third. Cool overnight and take away any fat that has solidified on the stock’s surface. You should have a pale coloured jellied stock that can be seasoned and used as required.

If you want a richer brown stock, the bones and vegetables can be browned in the oven first.

In the next post I’ll give you a recipe that needs a good, home-made stock like this.

2015-01-19 19.37.50

17 Comments

Filed under cooking, food, General, Meat, Recipes, Soups

Rice Pudding

 What is the matter with Mary Jane?

She’s perfectly well, and she hasn’t a pain,

And it’s lovely rice pudding for dinner again!—

What is the matter with Mary Jane?

AA Milne, Rice Pudding

 Rice pudding has been made in Britain ever since rice found its way there via those Asian European trade routes in the eleventh century. It’s a classic pudding and one of my very favourites, even eaten from a tin. In the Victorian times, it would have been put into the category of ‘nursery puddings’ along with all the other milky, custardy unrefined ones that everyone remembers from their childhood.

I love all of the milk puddings: semolina, macaroni, sago, the lot, but rice pudding is the best. I served it at one of my Pud Clubs, but it unfortunately scored low; it seems that people either love it or hate it.

Here’s an example of a rice pudding that is cooked in the oldest sense of the word pudding, i.e. it is stuffed into intestine (‘farnes’) and boiled. It appears in The English Huswife by Gervase Markham in 1615

Take half a pound of rice, and steep it in new milk a whole night, and in the morning drain it, and let the milk drop away; then take a quart of the best, sweetest and thickest cream, and put the rice into it, and boil it a little; then set it to cool an hour or two, and after put in the yolks of half a dozen eggs, a little pepper, cloves, mace, currants,dates, sugar and salt; and having mixed them well together, put in a great store of beef suet well beaten and small shred, and so put it into the farmes…and serve them after a day old.

The earliest recipe I could find is from 1400 from Food in England by Dorothy Hartley, but she doesn’t say which manuscript it’s from:

Nye ye ris whges hem clene, seethe them fort til hit breke, let it kele, do thereto almand mylke, and of Kyne colour yt salt, and gif it forth.

Roughly translated: rinse the rice and boil it until it will break easily. Let it cool, and add almond milk as well as cows’ milk (kyne). Add some salt and serve.

I think that a combination of almond and cows’ milk sounds quite delicious. Notice that there’s no sugar or spice; far too expensive in those days!


If you like the blogs and podcast I produce, please consider treating me to a virtual coffee or pint, or even a £3 monthly subscription: follow this link for more information.


Anyways, enough waffle, here is my recipe for rice pudding. It takes long and slow cooking, but these things are worth the wait. I use vanilla as my spice, but you could use cinnamon, nutmeg or allspice. Currants or sultanas make a good addition too.

The most important thing is to buy proper pudding rice – a short, fat grain similar to Arborio rice. If you can’t get hold of it, I’m sure any other glutinous rice will do, but don’t quote me on that!

If I have to put a number to it, I suppose I’d have to say it serves four, but in my house it’s probably more like two:

30g butter

100g pudding rice

60g caster or vanilla sugar

1 vanilla pod (if using regular caster sugar; you could, of course, use 1/2 tsp or so of vanilla extract)

1 litre Channel Island Gold Top or 850 ml whole milk and 150 ml cream

zest 1/2 lemon (optional)

pinch of salt

1 whole nutmeg

Jam (optional)

Preheat your oven to 160⁰C

Grease an ovenproof dish with a capacity of a little over 1 litre with butter and scatter in the pudding rice, followed by the sugar. Break up the remainder of the butter into little knobs and dot them about.

Deal with the vanilla pod if using: using a small pointed knife, carefully cut the pod lengthways so that you can scrape out the seeds. Put seed and pod in amongst the rice.

Pour on the milk, the lemon zest (if using) and the salt. Give it a gentle stir, poking down any grains of rich that refuse to sink. Now grate the whole entire nutmeg on the top of the pudding and and pop into the oven for 2 hours, but it may be more; it must look runnier than you would like as it continues to thicken outside of the oven. Every half an hour give the pudding a good stir so that the rice grains don’t clump together. Don’t mix it in the final 30 minutes or so if you want to achieve a good skin.

Make sure everyone gets some skin and a good blob of jam. I would go strawberry or raspberry here, but it is entirely up to you.

I ate this rice pudding with sour cherries in syrup

12 Comments

Filed under baking, Britain, cooking, Dairy, Desserts, food, General, history, Puddings, Recipes, Uncategorized

Yorkshire Curd Tart

Ah, Yorkshire. God’s Own Country and my home county (well, it’s 3 counties technically, but let’s not worry about that now). There are many delicious regional recipes to be found there, but this must be the best: Yorkshire curd tart. For some very strange reason it hasn’t really ever made its way out of Yorkshire. Essentially it is a baked cheesecake – something that Britain isn’t considered famous for, yet if you delve into the old cook books, you’ll find loads of recipes for them. The cheese in question here is, of course, curd cheese which is sweetened with sugar, and mixed with currants, allspice and sometimes rosewater.

2014-01-19 16.02.32

Now a few guiding words on the making of a curd tart: no matter what you read, and I want to be very clear on this, cottage cheese cannot be used. It must be curd cheese which is very different in taste and texture to cottage cheese. These days it is difficult to get your hands on it, but it is very easy to make yourself, as you’ll see below. Also, the only spice to be used must be ground allspice (or clove-pepper as it used to be called in Yorkshire). Not cinnamon, not nutmeg, and certainly not mixed spice. Another misconception is that lemon curd is spread on the pastry base of the tart. Well it’s not, Mr Michelin Guide. Lastly, and as already mentioned, it’s a kind of cheesecake, and not some kind of custard tart as some people seem to think (Mr Paul Hollywood, I’m looking at you).

Ok. Good. Glad we got those issues out of the way.

Curd tarts were traditionally made around Whitsuntide from left-over curds from the cheese-making process and seem to originate in the early-to-mid 17th century. Most families kept their own cow in those days. For those of you that don’t know (and who does?), Whitsuntide derives from the words White Sunday which is our name for Pentecost, which, if my memory serves me correctly, is the seventh Sunday after Easter. The important thing is that there’s a Bank Holiday the next day and a whole week off for half term for the schoolkids.

In dairy farms with several cows, special curd tarts would be made after the cows had calved, using the cows’ colostrum to make the curd for the tarts. Colostrum is the milk produced straight after a mammal gives birth. It is particularly rich in nutrients and fat, and is yellowish in colour. I’ve always thought of this as a bit mean of the dairy farmer’s wife, but then again, she’d also have to tuck into umbilical cord pie the next day, so I suppose it evens out.

To Make Curd Cheese

It’s really easy to make your own curd cheese. All you need is some gold top Channel Island milk, some rennet, salt, and some muslin or other cloth to drain the whey from the curds; I have used an old pillowcase in the past with much success.

Rennet is an enzyme that curdles milk. In the old days a piece of a freshly-slaughtered male calf’s stomach lining would have been popped into the milk (as still occurs in the production of some non-vegetarian cheeses). These days with the magic of science, we can produce it from bacterial culture.

This recipe makes around 750g curd cheese.

In a saucepan, warm a litre of Channel Island milk to 37⁰C, also termed ‘blood-heat’. Use a thermometer if you like. Pour the milk into a dish or bowl and stir in half a teaspoon of salt and your rennet. Follow the instructions on the bottle to see how much to add, as different brands vary. Stir it in, along with half a teaspoon of salt.

2014-01-18 20.14.10

Leave the milk to stand for 10 or 15 minutes. Upon your return, you’ll see that the milk had gone all wobbly and can be easily – and satisfyingly – broken into curds.

2014-01-18 20.30.58

Scald your straining cloth with water straight from the kettle, spread it out over a bowl so the edges hang over, and then pour in your curds and whey. Tie up the cloth with string and hang up the cheese above the bowl to strain for 4 or 5 hours. Hey presto! You have made curd cheese. It keeps for several days covered in the fridge.

2014-01-19 10.58.25

To Make a Yorkshire Curd Tart

Here’s the recipe I use which is based on the one that appears in Jane Grigson’s English Food. It makes enough filling for one 10 inch diameter tart tin, though you can make several small ones if you prefer. The recipe only requires 250g of cheese, so if you’re making your own, you might want to adjust the quantities in the recipe above, or just make three tarts.

The tart is not overly sweet and has a lovely soft centre and a golden brown colour.

125g salted butter

60g caster sugar

250g curd cheese

125g raisins

pinch of salt

2 eggs, beaten

¼ to ½ tsp ground allspice

1 tsp rosewater (optional).

blind-baked 10 inch shortcrust pastry shell (made or bought)

First of all, cream together the butter and sugar well, then mix in the cheese, raisins, salt and eggs. Season to taste with the allspice and rosewater.

2014-01-19 15.34.58

Pour the filling into the pastry shell and bake for 25 to 30 minutes at 220⁰C. Cool on a rack.


If you like the content I make for the blogs and podcast, please consider supporting me by buying me a virtual coffee, pint or even a subscription : just click on this link.


72 Comments

Filed under baking, Britain, cooking, Dairy, Desserts, food, General, history, Puddings, Recipes

To Make Vegetable Stock

As promised in my last post a good recipe for a basic vegetable stock which is definitely robust enough to be swapped for chicken or fish stock in any recipe.

It is hard to be exact when making stock because it depends upon the vegetables you like, the vegetables you have and what the stock is to be used for. It’s also worth mentioning that if you don’t have tomatoes, for example, don’t worry, just include something else to make up for it.

The basics are fundamental. You need at least three of the following: onion, leek, carrot, celery and garlic and then everything else is a bonus. I would say you should use at least 3 more vegetables.

The good thing about a vegetable stock is that because it is only simmered for 20 minutes you can get away with cabbage, cauliflower, broccoli, or any other brassicas before they go all farty. Asparagus trimmings, sweetcorn, pea pods, and anything else you can think of all count. Keep your trimmings in a freezer bag until they are required.

The same goes for herbs: freeze parsley stalks and anything else that is looking a bit sad sat in the bottom of the fridge. Avoid mint as it tends to overpower vegetable stocks.

The spices I like to use are peppercorns, cloves and then either some fennel seeds or some allspice berries, but it’s up to you really; cumin or cardamom, nutmeg or mace, chillies or lemon peel have all worked successfully in the past.

Remember: the whole point of making your own stock is that you don’t get the same thing every time. I have never included a vegetable that hasn’t worked, even ones you won’t suspect like beetroots, cucumbers, lettuces and courgettes.

For more general information on stocks click here.

This recipe makes around 1 ¾ litres of stock.

2013-09-01 11.56.01

Ingredients

At least 3 of the following: 1 large onion, 1 carrot, 2 cloves of garlic, 2 sticks celery (with leaves), 1 leek (include the green top)

75g brassica – e.g. cabbage, broccoli, turnip &c

2 tomatoes

½ fennel bulb

Any other vegetable trimmings (if using all trimmings, go for at least 300g in weight)

30g butter or 2 tbs olive oil

2 bay leaves

6-10 parsley stalks

4 springs of thyme

1 sprig rosemary

6 peppercorns

6 allspice berries or a teaspoon of fennel seeds

3 cloves

around 2 litres of water

Begin by preparing your mirepoix; a mirepoix is just vegetables chopped very small so that the maximum amount of flavour can be extracted in the minimum amount of time. I go for the easy option and use a food processor.

2013-09-01 12.08.58

Heat the butter or oil in a pan and fry the vegetables for around 10 minutes so that they soften but don’t colour.

Tip the vegetables into a large saucepan or stockpot along with your herbs and spices. Cover them with cold water and slowly bring to a bare simmer. Try and make sure the stock doesn’t boil. Simmer the stock on the smallest hob on the lowest possible heat so that it merrily ticks away for around 20 minutes.

Let the stock cool slightly before straining it off. Avoid seasoning it with salt – wait until you’ve made the dish you are to use the stock for.

Your vegetable stock is now ready to use.

2013-09-01 20.06.34

If you want, you can reduce it, but you must be careful not to boil it hard as the subtle flavours will evaporate and the stock will look and taste like overcooked sprouts. The best way reduce it is to pour the stock into a wide pan and let it simmer and reduce gently.


If you like the blogs and podcast I produce, please consider treating me to a virtual coffee or pint, or even a £3 monthly subscription: follow this link for more information.


1 Comment

Filed under cooking, food, Recipes, Vegetables

Stock-making, a quick guide

Stock is the body and soul of soups – Lindsay Bareham

I have been making my own stocks for years now and it is part of my regular kitchen routine. I sequester bones, meat offcuts, fish heads and trimmings, vegetable peelings and herb stalks in bags in the bottom of my freezer so that I can combine them appropriately whenever I need to. It’s a thrifty way of living; often making a large batch of stock costs only the price of the fuel that cooked it.

For those that do not cook much at home, stock-making is sometimes regarded as some kind of alchemy, yet this is a misconception, and indeed there are many very complicated stock recipes, but the home cook (I include myself here) need not bother with these. The chances are you have made stock several times and have thrown it down the sink without a second thought, because in its most basic form, the water you cook your vegetables in is a good, light vegetable stock.

From a history point of view, one cannot pin-point when stocks were first made, and one cannot unravel the origins of stock from soup. Take this example from Good Things in England by Florence White:

[The soup] is nothing more than the water in which young cabbage has been boiled…It is extremely good and delicate and tastes very much like chicken broth. It is not merely an economy but a luxury; one of the best of health and beauty drinks.

Wise and thrifty cooks throughout the millennia used the water that their tough meat joints were simmered in or their fish poached in and used them as the base of another dish. One of my favourite dishes is poached silverside of beef which consists of beef, herbs, a couple of veg and water. The resulting broth makes beautifully-tasting soup.

2013-05-02 20.47.25

Poached Silverside of Beef

Seeing as we are trying to be thrifty folk, I thought I would give you a quick guide to stock-making. As I have mentioned, it will save you money, and – like when you make your own bread – you will see how sublime it can taste. Every stock you make will taste a little different each time and it can be tailored to suit its use, e.g. add a few fennel seeds to a stock for a fish soup. Best of all, your soups and stews won’t taste of stock cubes. There is nothing wrong with having a stash of them in your food cupboard, I would do too, but with my very frustrating onion and tomato intolerances, I usually have to do my own. The point is, that when you use bought stock cubes, every soup and stew ends up tasting the same.


If you like the blogs and podcast I produce, please consider treating me to a virtual coffee or pint, or even a £3 monthly subscription: follow this link for more information.


What makes up a stock?

This is the beauty of stock-making; there are no hard-and-fast rules with respect to ingredients.

All good stocks should contain some flavoursome vegetables and aromatic herbs and spices, often called a bouquet garni, as well as the main ingredient: this might be meat and bones, fish, or, more vegetables. The stock might be seasoned or enriched with salt, wine, soy sauce, Worcester sauce, tomato puree, mushroom ketchup or any number of other things, though it is usually best to do this once the soup or stew that the stock is being used for has been made.

Stock vegetables

2013-09-01 11.56.01

The vegetables used in your stock are often key to the quality as they add a lot of depth. The three basic vegetables used for most stocks are carrots, celery and onion, though I personally add garlic and leek to this ‘trinity’ (a trinity in five parts?). My general rule of thumb is to try and include at least three of the five. Anything else is a bonus, really. Fennel is a good addition, if used sparingly, as are tomatoes, mushroom peelings, pea pods. Lentils, parsnips and potatoes add an earthiness, but should be avoided if you don’t like your stock cloudy. Brassicas such as cabbage, cauliflower, of sprouts should be used very sparingly, especially in meat or poultry stocks that have a lengthy cooking time, they are great in vegetables stocks though. Vegetables need to be roughly chopped in long-cooked meat stocks, and chopped small (a mirepoix as it is called in the trade) in quick-cook vegetable and fish stocks. A food processor makes an easy job of it.

2013-09-01 12.08.58

Herbs, spices and other aromatics

Like the vegetables, the herbs and spices you add will depend upon what you have and they are essential. Must-haves herbs include bay leaves, parsley stalks, thyme and rosemary. Other herbs are great if you can get hold of them. Dill stalks in a fish stock are delicious as is a tiny mint sprig in a summertime lamb stock. I keep and freeze all my herb stalks to use later in stocks – there’s no need to throw them away. Must-have spices include black peppercorns, cloves and allspice berries.

The thinly-pared rinds of citrus fruits are also used quite a lot: a strip of orange peel transforms a game stock and lemon rind really lifts chicken, vegetable and fish stocks.

These herbs and spices are often tied up into a faggot or bouquet garni, though I never bother to tie mine up for stock, though I do for stews and soups where careful and efficient removal is required.

Poultry, meat and game

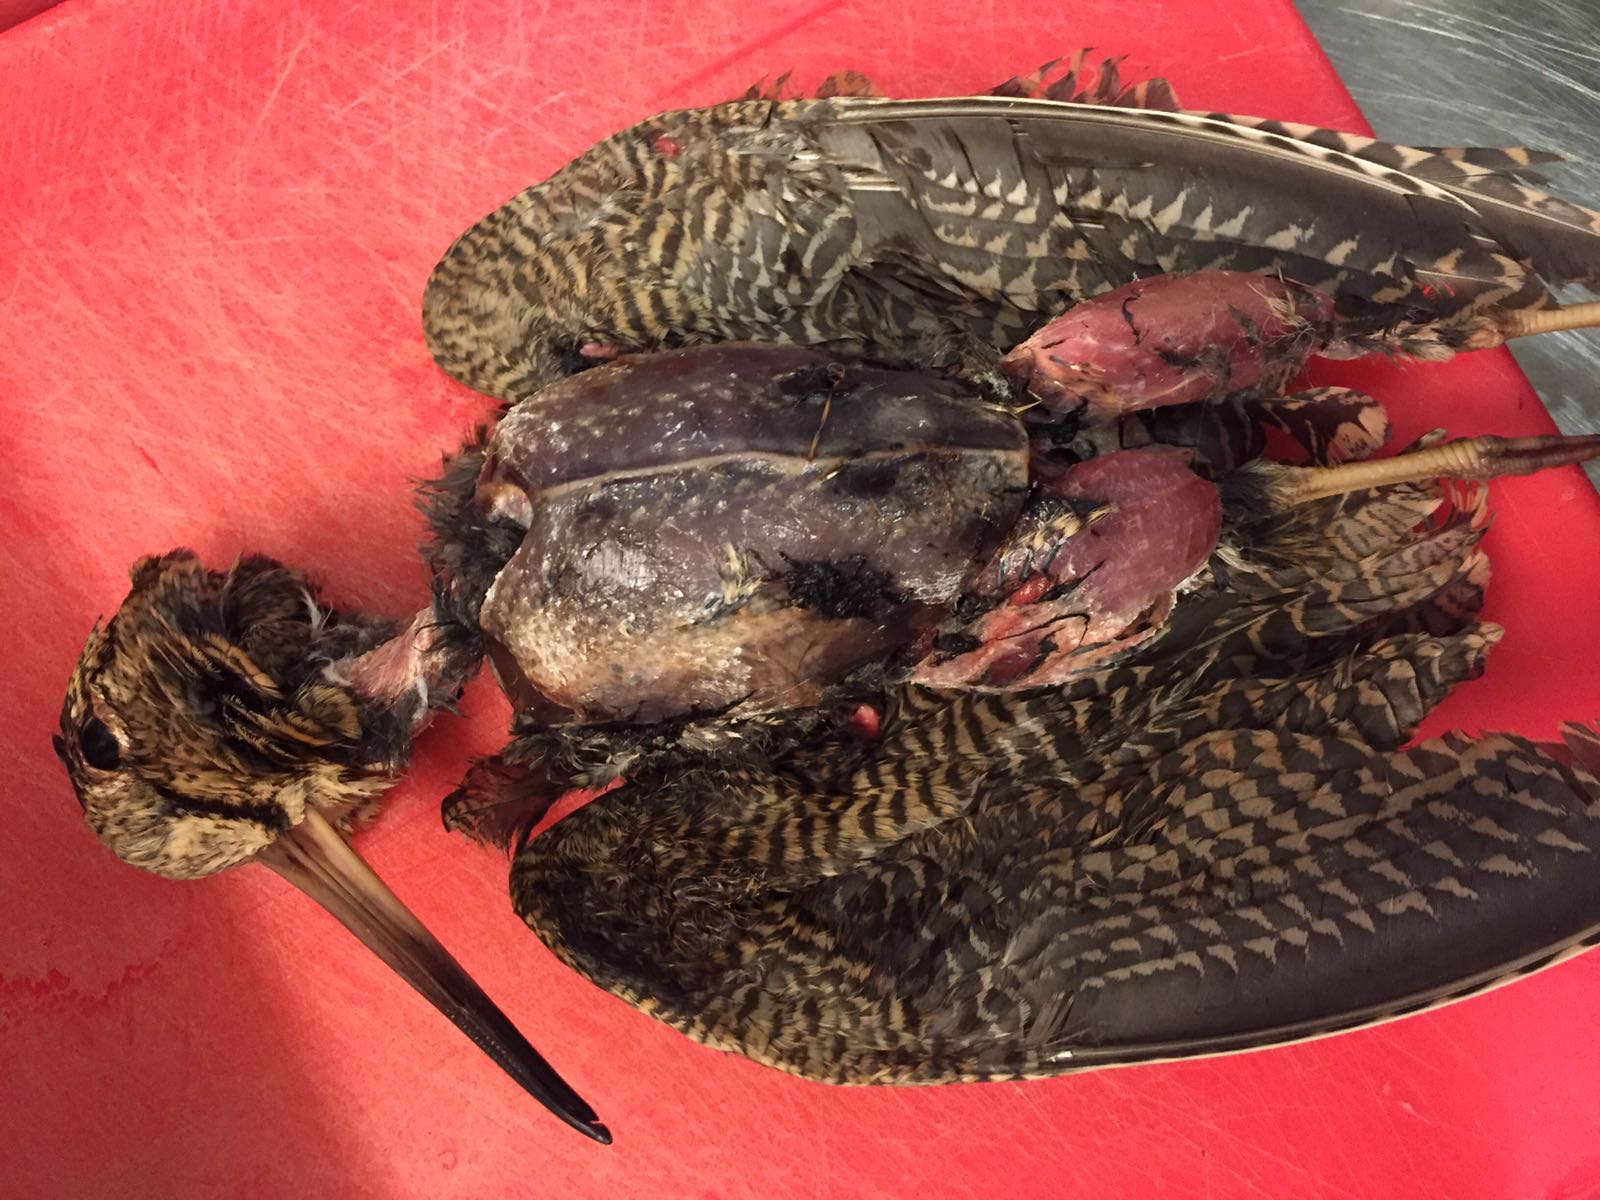
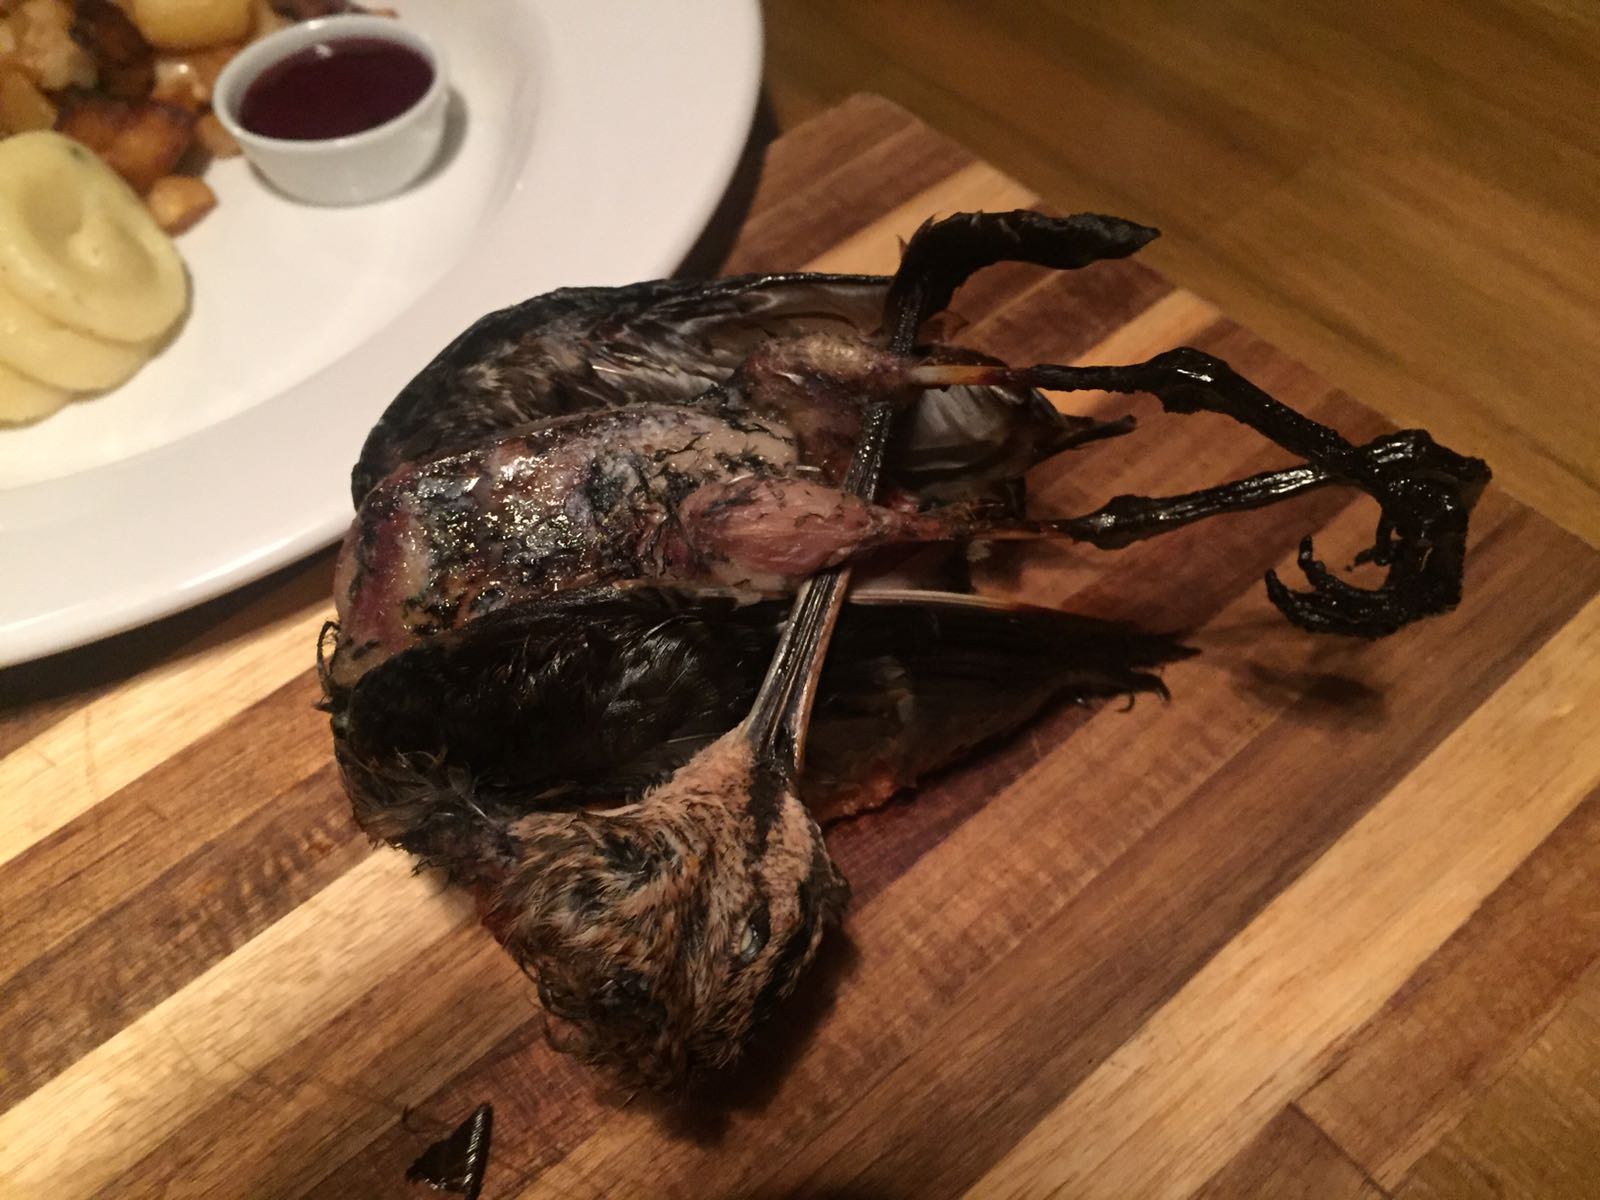
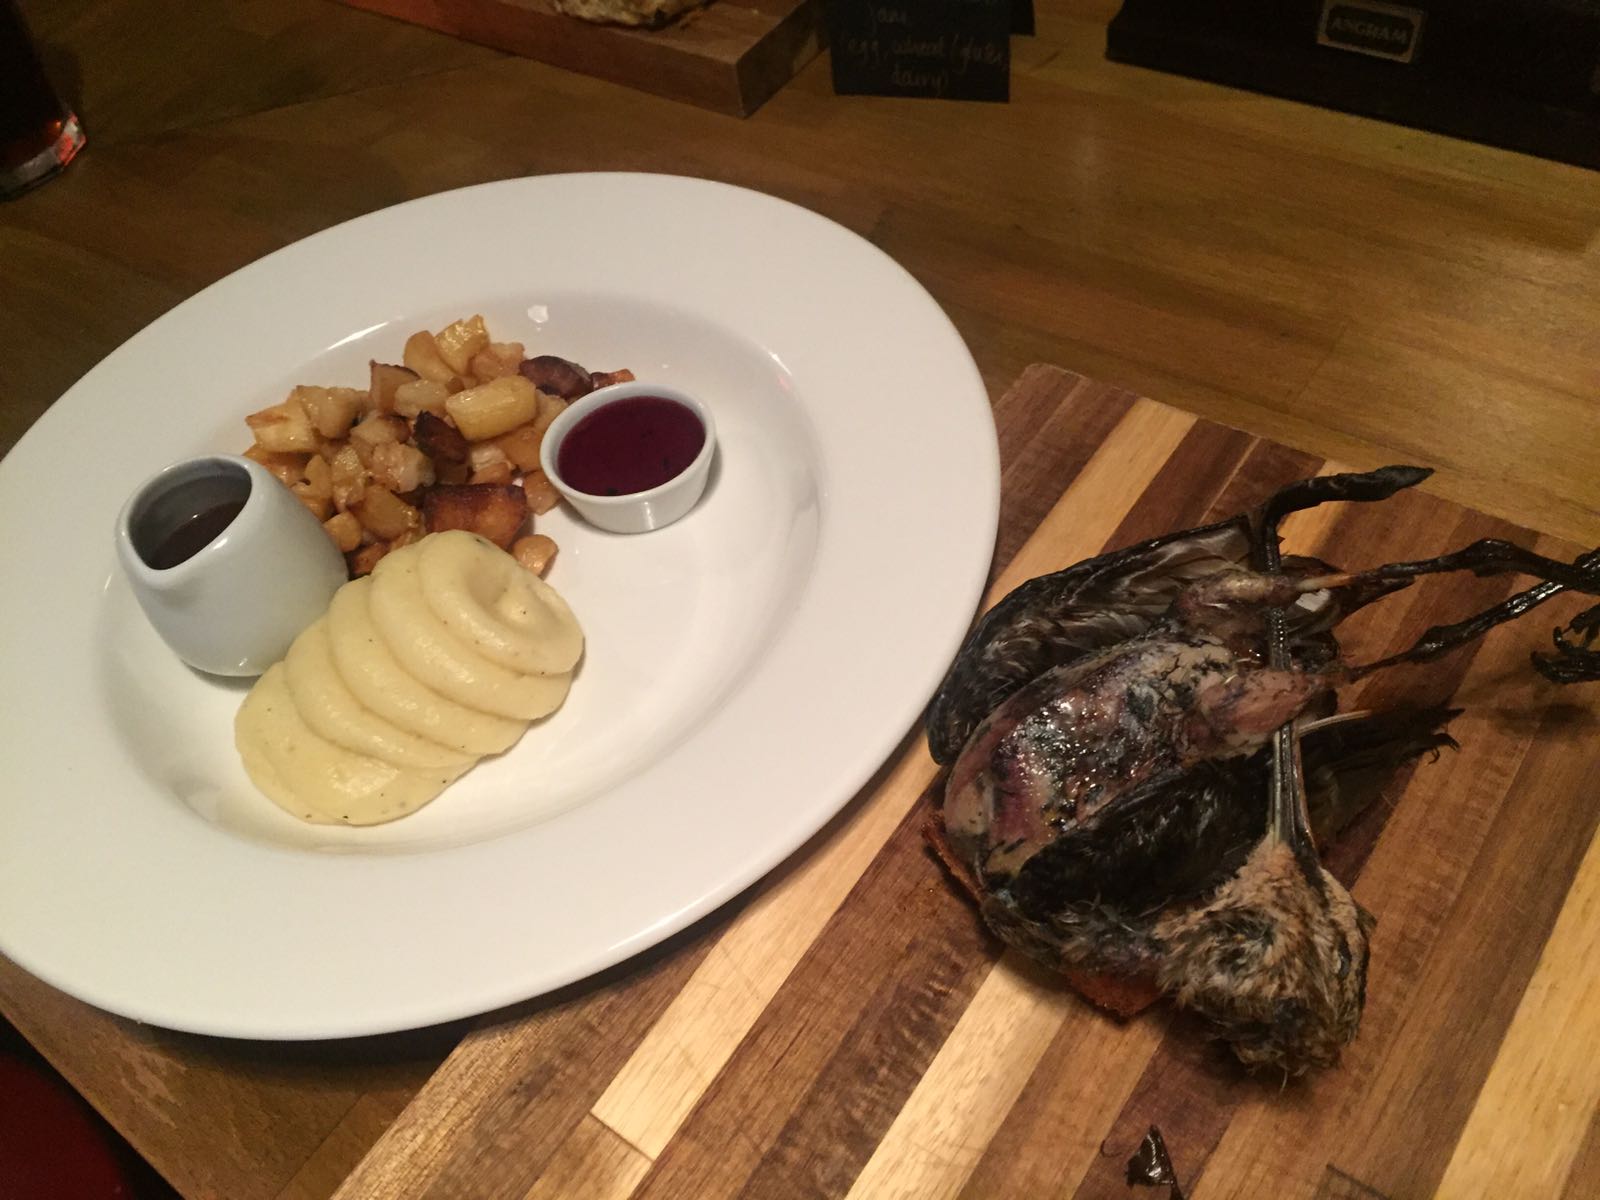
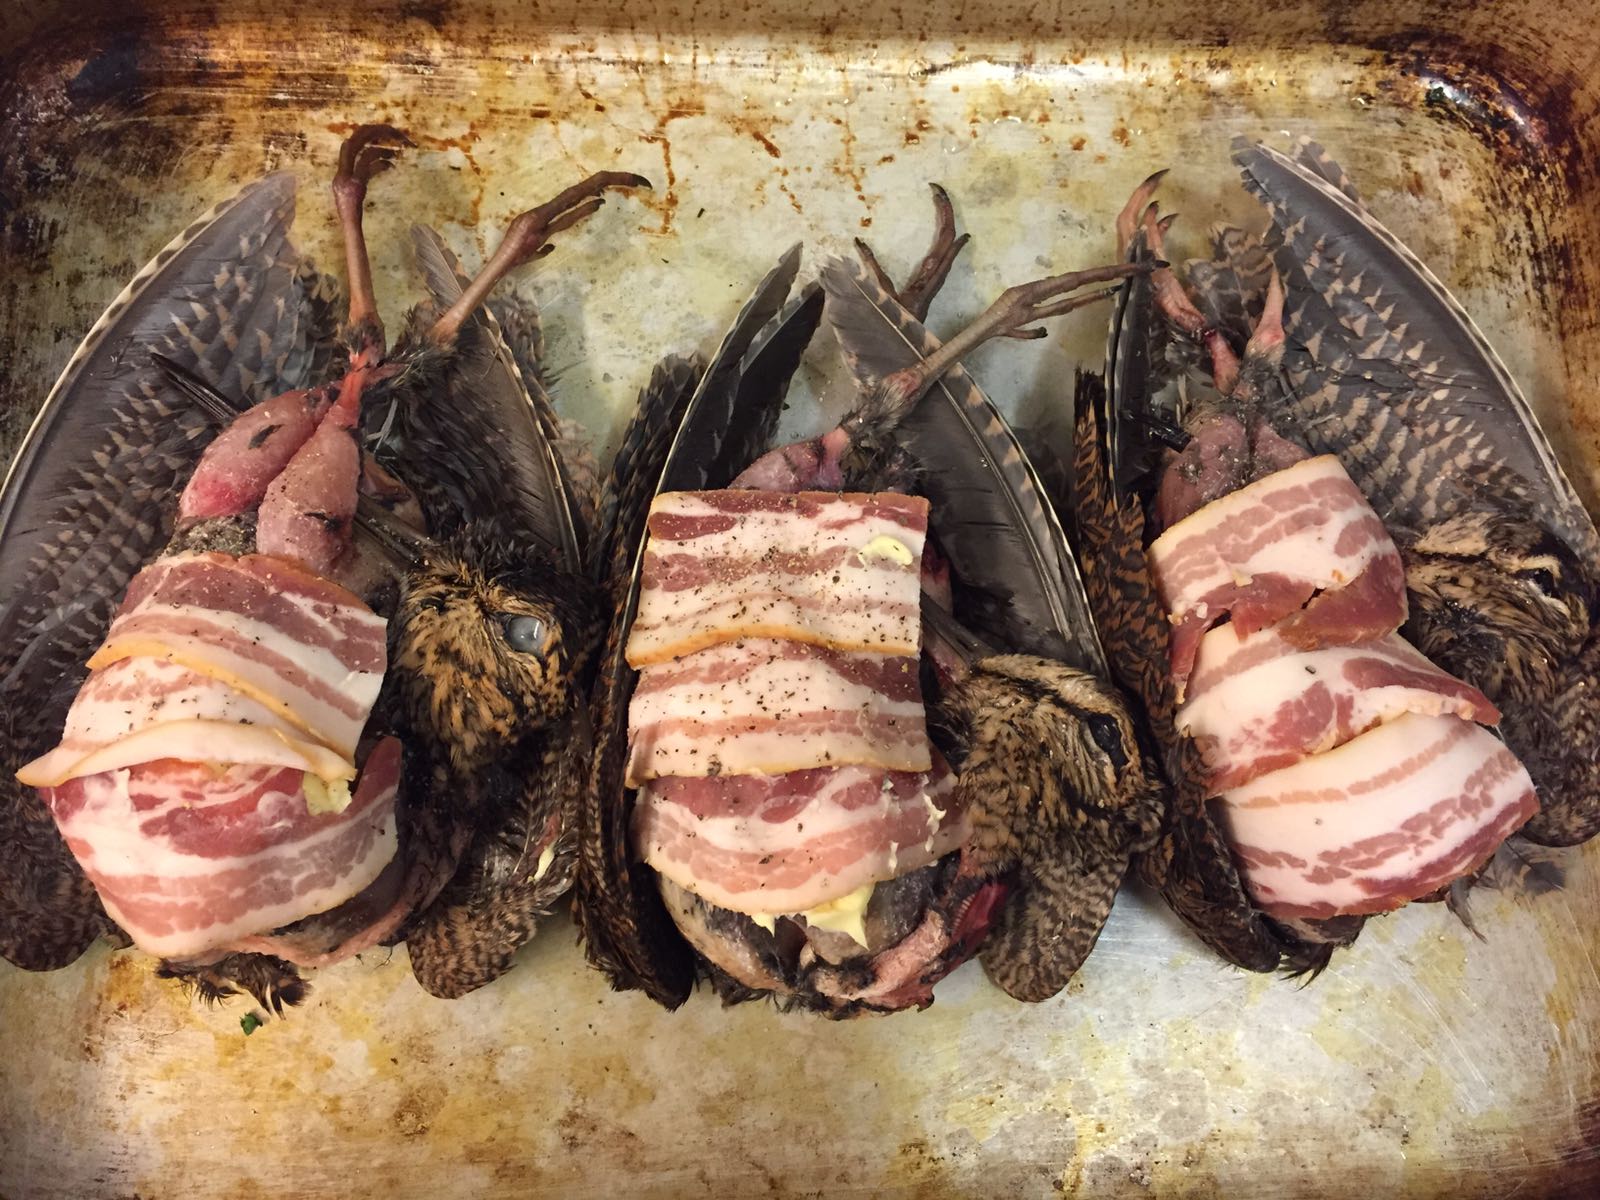
Use whatever you have – raw meat and bones, or bones from a roast. A little goes a long way: I have made game stock using a single woodcock carcass that still tasted great. It is best to avoid bones that have already been stewed as most of the flavour will already have leached out, but do add any left-over pan juices, jelly or gravy. Raw meat or bones will benefit greatly from a quick roasting in a hot oven for 20 minutes or so.

2013-01-11 17.40.58

The important thing here is to treat your stock meat properly – if you boil the stock hard, the tasty amino acids and textural gelatine will not go into your stock, but will either form a nasty grey scum or will be trapped within the meat. Low simmers and long cooking times are essential.

2013-01-11 18.12.08

It is best to avoid kidneys and livers in stocks, as their flavour is far too strong, but hearts, tongues and heads all make good additions.

Fish

Fish stocks, in contrast to meat stocks, can be made in minutes. Use bones and trimmings in your stock, but avoid oily fish such as mackerel and sardines. Mussel, clam, cockle or oyster liquor would be delicious, if you ever have any.

Clarifying Stock

You might want to clarify your stock after straining it. This is straight-forward enough to do and there are several methods. The quick method is to whisk a mixture of egg whites and broken egg shells into the hot stock. The eggs grab hold of and magically mop-up the cloudy substances. The slow – and best – method is to freeze the stock, tie it in muslin and let the melting stock drip through. This method makes beautifully clear stocks.

There are a few tricks to avoid cloudiness in the first place: Don’t use starchy vegetables like potatoes, lentils and parsnips and avoid peppercorns. The best way is it leave the stock be; prodding, poking and rearranging items is the surest way to cloud it.

2013-03-21 20.18.50
Poaching sweetbreads in a light vegetable stock called a court-bouillon

Some stock-making rules:

  1. Start with cold water and bring to a simmer slowly. This is the most important rule of all. As the water gradually heats, the flavours leach out and don’t boil away and connective tissues break down to release their gelatine. The stock should never get hotter than a bare simmer; you want the odd gurgle, nothing more
  2. Remove the scum before you add the herbs and spices. If you don’t the scum gets all caught up in it, making a nasty grey mess. Skim the scum, then add the aromatics.
  3. Remove the layer of fat. Nobody wants greasy soup. The best way to do this is to let it cool and then scrape the fat layer away. If time is an issue, lay paper napkins on the stock’s surface.
  4. The amount of water you use depends on your pot. Don’t follow the recipe when it comes to adding water. Arrange the ingredients in your pan with few gaps and add enough water to just cover.
  5. Break the bones and cut up the meat. This increases the surface area and therefore increases the flavour of your stock.
  6. When storing stock, cool it quickly and keep in the fridge up to 2 or 3 days. Any longer than that, freeze it.
  7. Reducing stocks enhance the flavours and mean you can store more in the freezer. You must strain the stock and skim it of fat before reducing it. Meat stocks you can boil it quite heard, but vegetable and fish stocks need to be treated a little more gently.

Stock recipes

Every post I write a post with a stock recipe or information about stock I tag it appropriately. Click here to see the posts.

I will post a good vegetable stock recipe in the next day or so, as it is the most useful of all the stocks and I already have posted a duck stock recipe.

The best advice is really to use stock recipes as a guide only, use what you have to hand. Keep your vegetable and meat trimmings in a bag in your freezer and you’ll find that you’ll quickly fill them.

9 Comments

Filed under cooking, food, General, Meat, Recipes, Soups, Uncategorized, Vegetables

Forgotton Foods #3: Umbilical Cord

umbilical cord

I have been writing posts of late on the huge variety of cuts we can get from meat, whether prime cuts or more humble (or should that be umble?) cuts, but I fear I may not be able to cook you all this one!

The umbilical cords of calves born on dairy farms were often collected by thrifty farmers and turned into a dish known as ‘muggety pie’ by famers’ wives. There’s a description of it in the excellent book Food in England by Dorothy Hartley; she says:

The umbilical cord of the calf was washed, soaked in salt water, and cut into short lengths which were then split open end to end twice, and cut, so making small oblong pieces. These were then boiled, till soft, with onions and seasoning, chopped again and made into a pie, using the gelatinous stock and some milk to make the filling gravy. The whole white pie was then covered with crust and baked.

Muggety pie was popular in the West Country, particularly in Gloucestershire and Cornwall, “all jelly soft it was…it was the jelly gravy was the best part – some did put taters and a turnip and sech, but ‘twas best plain, and good cold,” told old farm-hand.

Foods like muggety pie are dishes that probably never travelled much further than the dairy or cattle farmers’ houses and quickly forgotten. It was borne out of a necessity that no longer exists, but why kill an animal for meat that can be sold on when there is good protein laying there in the hay?

So, if there are any diary or cattle farmers that have a spare umbilical cord or two hanging around, let me know and I’ll bake you a delicious pie!

Don’t worry though, you don’t have to miss out on muggety pie because it can also be made out of sheep’s intestines or a sheep’s pluck (i.e. lungs, heart and liver) that latter of which should easily be found at butchers given a little notice…


If you like the blogs and podcast I produce, please consider treating me to a virtual coffee or pint, or even a £3 monthly subscription: follow this link for more information.


1 Comment

Filed under baking, Britain, cooking, Dairy, food, General, history, Meat