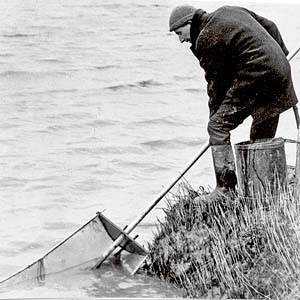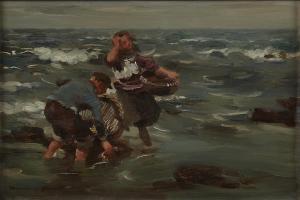
The Dulse Gatherers by William Marshall Brown, 1863-1936
Nobody really eats dulse, or any other seaweed for that matter, in England these days, though they used to. It is a pity because I do like the stuff. It is eaten in Ireland and parts of Scotland still; I ask friends to bring back a bag of it whenever they cross the seas. I recently received a bag from my friend Hugh.
Dulse had been eaten for over one thousand years in North-Western Europe, the ancient Celtic Warriors of old ate dulse as they were marching, and during the seventeenth century British sailors ate it to prevent scurvy (although it was originally used as an alternative to chewing tobacco). Even today, its healthful properties are noted; my friend Evelyn from Ballymena, Northern Island tells me:
When I was pregnant, the midwife thought I was very healthy as my blood pressure and iron levels were so good. Iron goes up to 17 mg/dl max but I was the first person she’d seen that had 15 – apparently quite unheard of for a lady, especially a pregnant lady! We put it down to the dulse (nothing else remotely healthy going on at that time in my diet), and she’s been recommending it to everyone.
Its popularity in Ireland as well as Scotland led to dulse being popular in the USA too when they emigrated over the Pond, although none of my American friends seem to have heard of it.
The dulse industry has obviously died a bit of a death in England, and the rest of the UK and Ireland, compared to days of yore. Charles Dickens, writing in 1858, reminisces about childhood holidays in Aberdeen where there were often over a dozen ‘dulse-wives’ selling dulse:
[O]f all the figures on the Castlegate, none where more picturesque than the dulse-wives. They sat in a row on little wooden stools, with their wicker creels placed before them on the granite paving stones. Dressed in clean white mutches, or caps, with silk-hankerchiefs spread over their breasts, and blue stuff wrappers and petticoats, the ruddy and sonsie dulse-women looked the types of health and strength… Many a time, where my whole weekly income was a halfpenny, a Friday’s bawbee, I have expended it on dulse, in preference to apples, pears, blackberries, cranberries, strawberries, wild peas and sugar-sticks.
He recalls a conversation:
A young one would say: “Come to me, bonnie laddie, and I’ll gie ye mair for yer bawbee than any o’ them.”
An old one would say: “Come to me, bonnie laddie, and I’ll tell what like yer wife will be.”
“Yer dinner ken yerself.”
“Hoot aye – I ken brawly: she’ll hae a head and feet, an mou’, and eyen, and may be a nose, and will be as auld as me, if she lives as lang.”
“Aye: but ye gie me very little dulse for my bawbee.”
“Aye,” replies the honest woman, adding another handful, “but sic a wife is weel worth mair siller.”
The dulse-wives exploded into laughter, when the woman suggested some one like herself, as the ideal wife which youth is doomed always to pursue and never to attain.
Oh! those dulse-wives.
My friend Evelyn reminisces:
It comes with shells and little crustaceans on it; my friend Maisie used to spend hours ‘cleaning’ dulse & would then give me nice little bags with no icky bits on them. Strangely it doesn’t seem to fall under any health and safety rules. Old men that live by the sea just grab a load and dry it on the rocks in the sun.
You can also buy it dried and flaked in sealed bags looking like reddish tea leaves. Even better, of course, you can forage for it. I must say seaside foraging forms a hole in my knowledge. I should try and remedy that.
Cooking with Dulse
Dulse can be eaten as is, or used in salad and sandwiches. I personally think it is best eaten cooked so I’ve included a couple of simple recipes for you.
Mashed Potato with Dulse
This is a great recipe and much healthier than regular mash because it uses olive oil as opposed to butter. It’s vegan and gluten free too, so you shouldn’t get any complaints from anyone!
It could not be easier, really. First, scrub and then boil some potatoes in their skins without adding any salt. Remove the skins and mash them. Next, finely shred the dulse and fry it in olive oil – you’ll need about 15 grams of dulse for every kilogram of potatoes used. Of course, if you are using the flakes, you can sprinkle them straight into the hot oil. This takes just a few seconds. Add the oil and dulse to the spuds and mix, mashing in some extra olive oil if need be. Season.
Serve with lamb, beef, chicken or fish
If you like the blogs and podcast I produce, please consider treating me to a virtual coffee or pint, or even a £3 monthly subscription: follow this link for more information.
Lamb & Dulse Broth with Dulse Shards
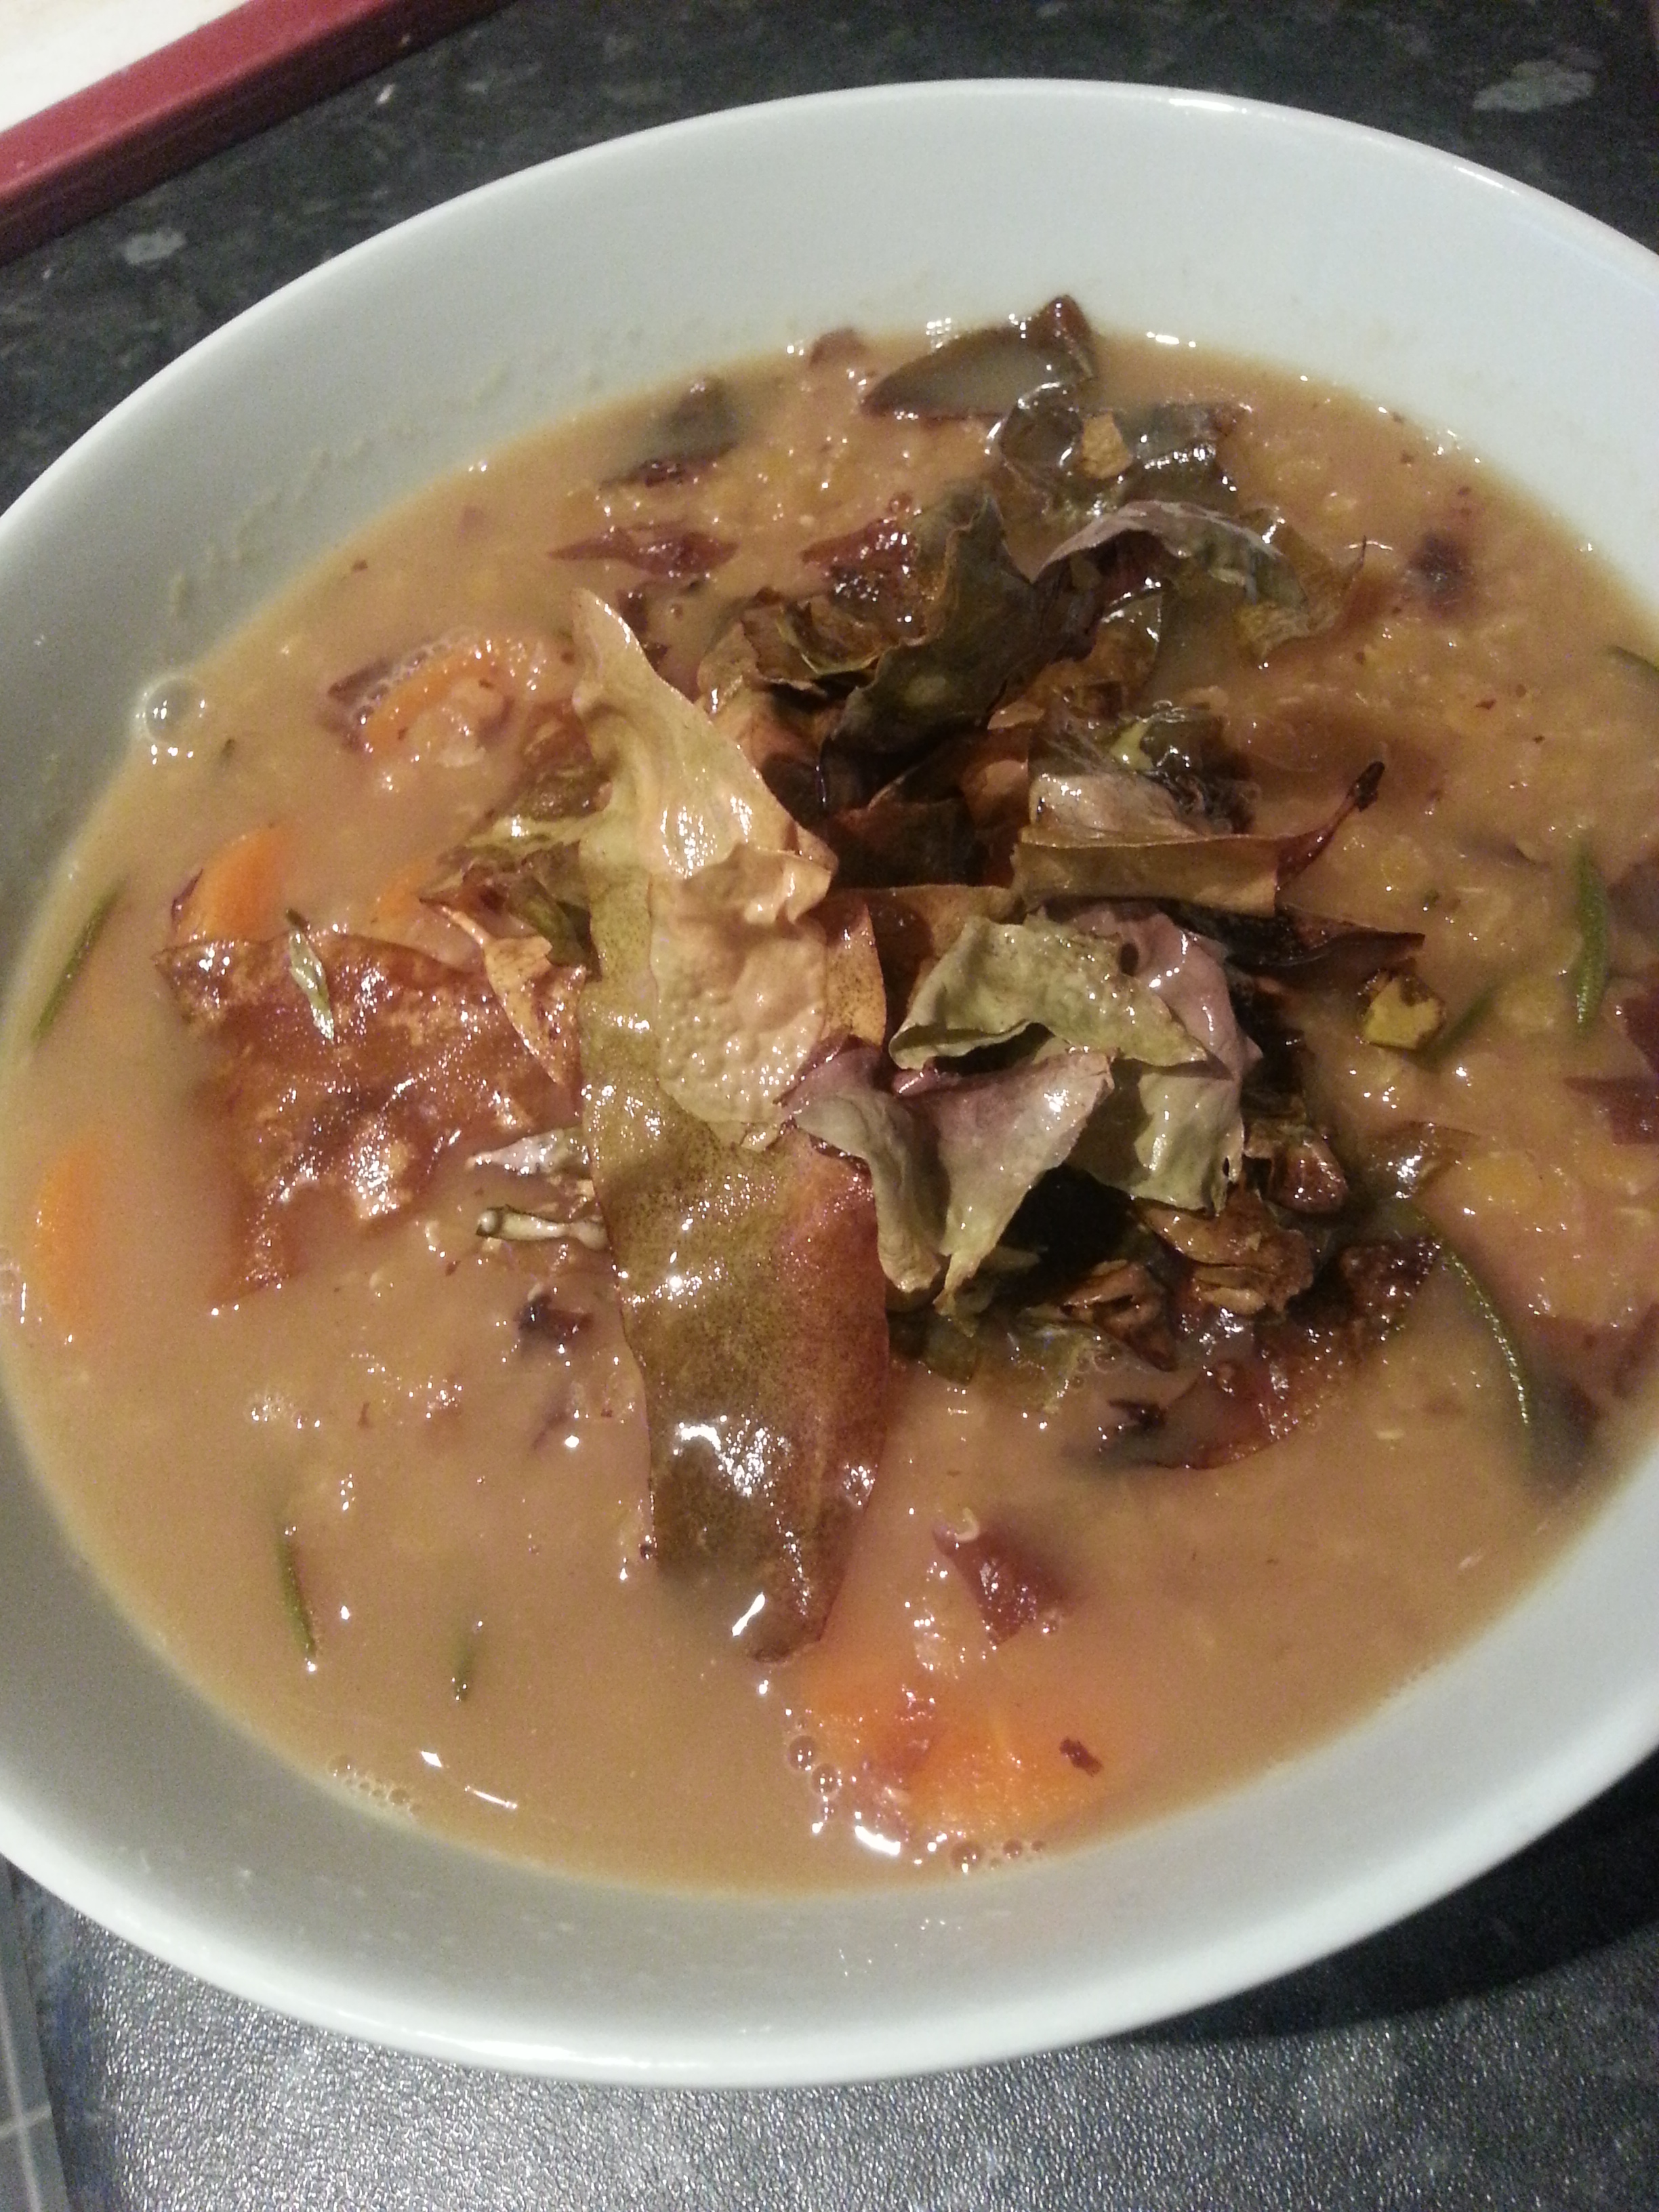
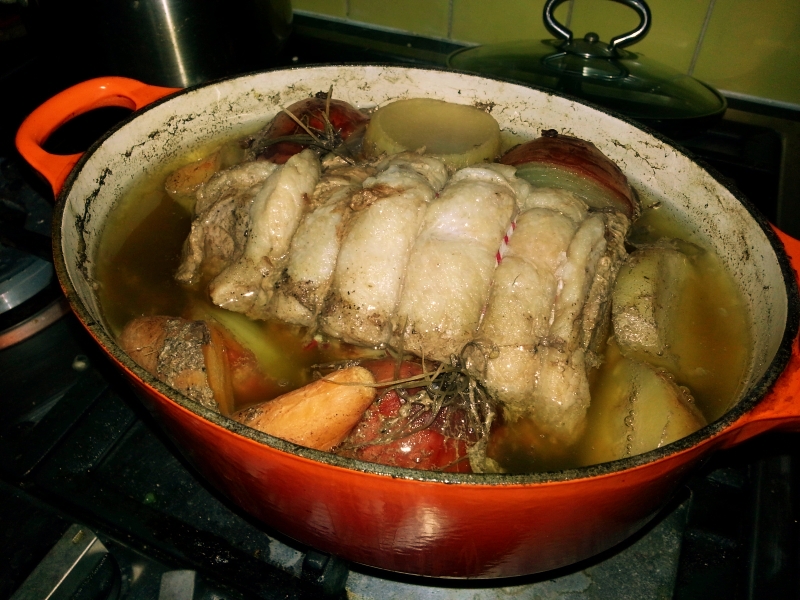
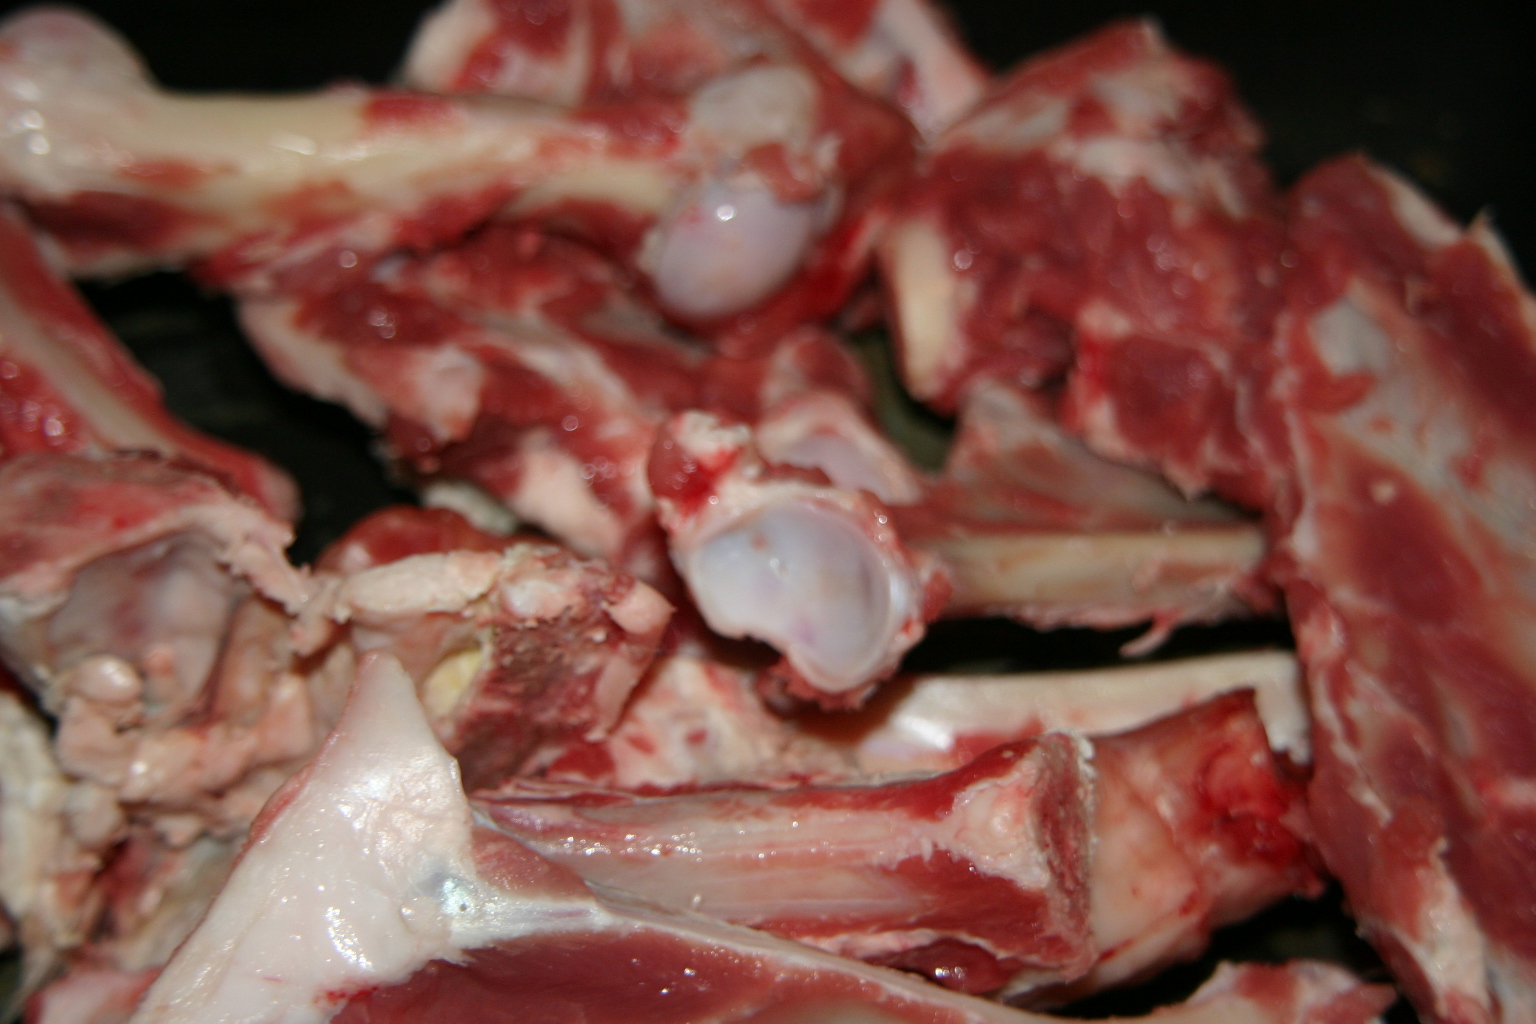
I came up with this soup when I found some frozen lamb stock secreted at the back of a freezer-drawer recently. It draws on that classic combination of lamb and seaweed. This recipe requires the rock-dried dulse to make the sweet-tasting shards, but any dulse can be used for the soup itself.
Ingredients
1 tbs butter or olive oil
1 carrot, diced
1 stick celery, diced
a sprig of thyme
a sprig of rosemary
a bay leaf
60g red lentils
2 or 3 tbs dried, chopped dulse
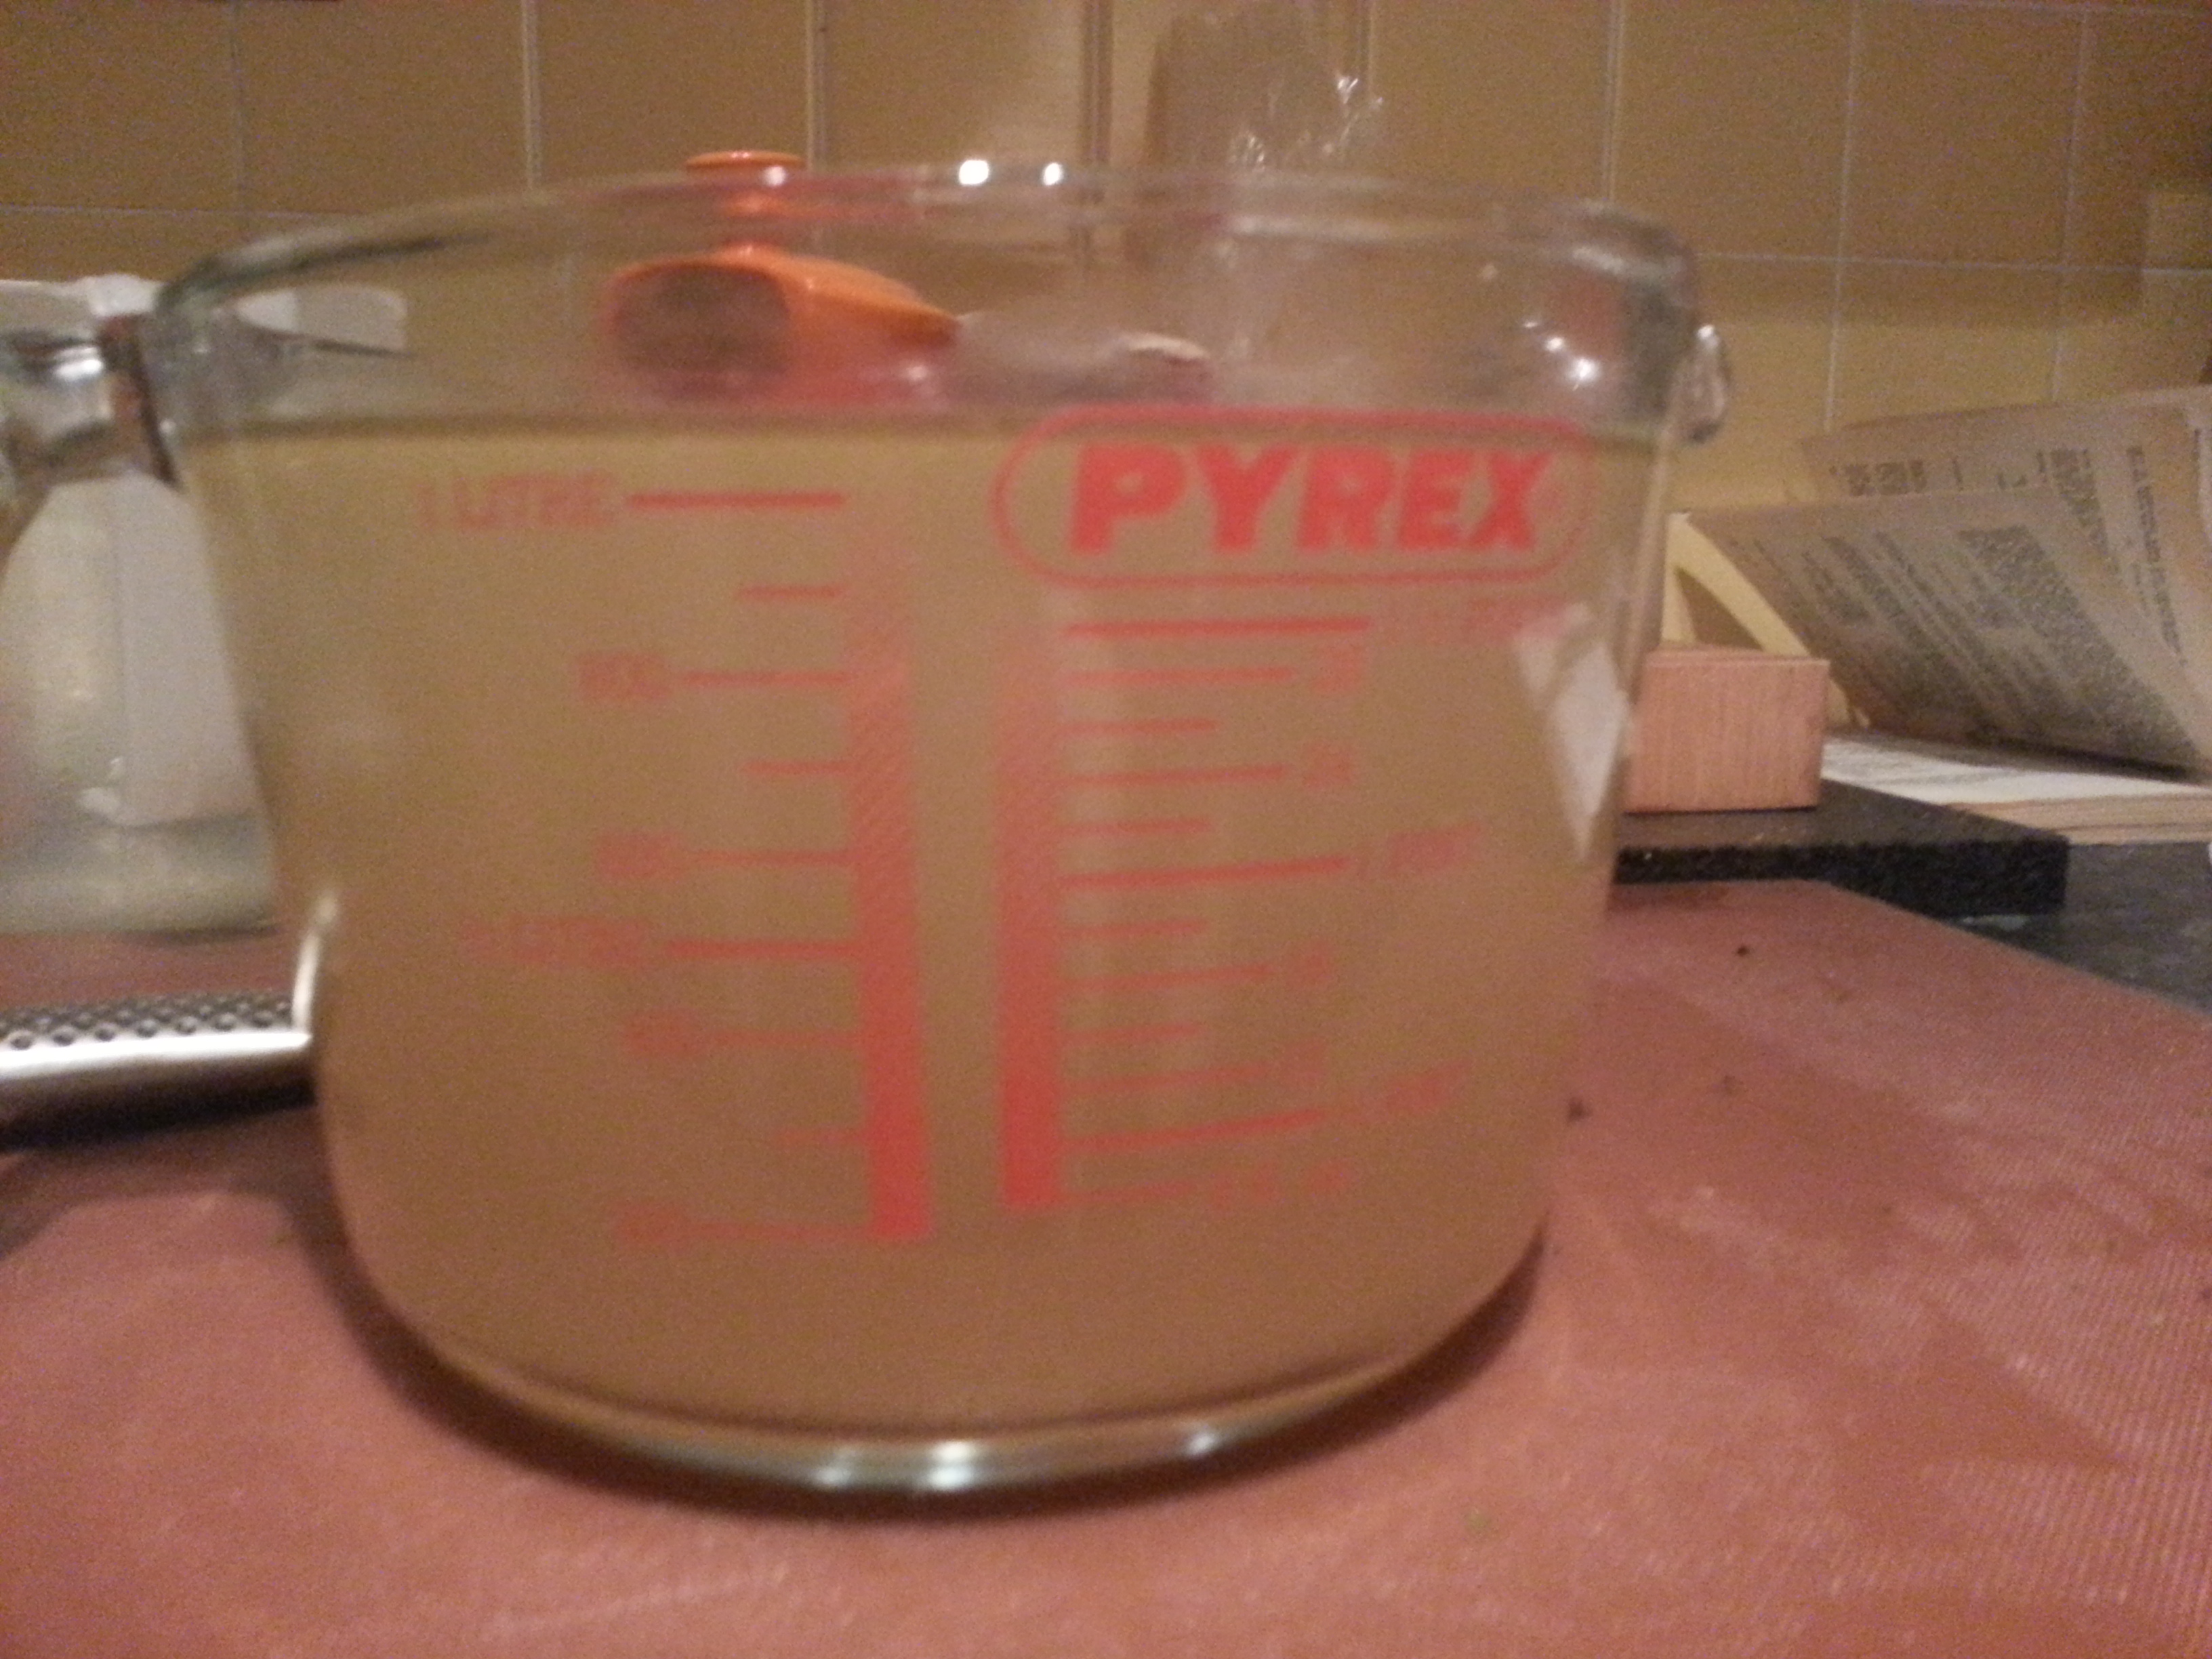
1 litre well-flavoured lamb stock
salt & pepper
For the dulse shards:
‘leaves’ of dried dulse
sunflower, groundnut or rapeseed oil for frying
Melt the butter or oil in a saucepan, add the carrot, celery and herbs. Fry gently for 10 or 15 minutes until the vegetables are soft and translucent. Add the lentils and fry for another two minutes before adding the dulse and lamb stock. Bring to a simmer and cook for around 20-25 minutes until the lentils have cooked and broken up, thickening the broth. Season.
Meanwhile, prepare the dulse shards. Heat up some oil in a frying pan and when hot, throw just one or two dulse pieces into the oil. The dulse will immediately sizzle, crisp and change colour as if by magic. After just a few seconds, remove and drain on kitchen paper. Fry all your dulse pieces in this way, and break them up into shards and place them gently on top of your finished soup.