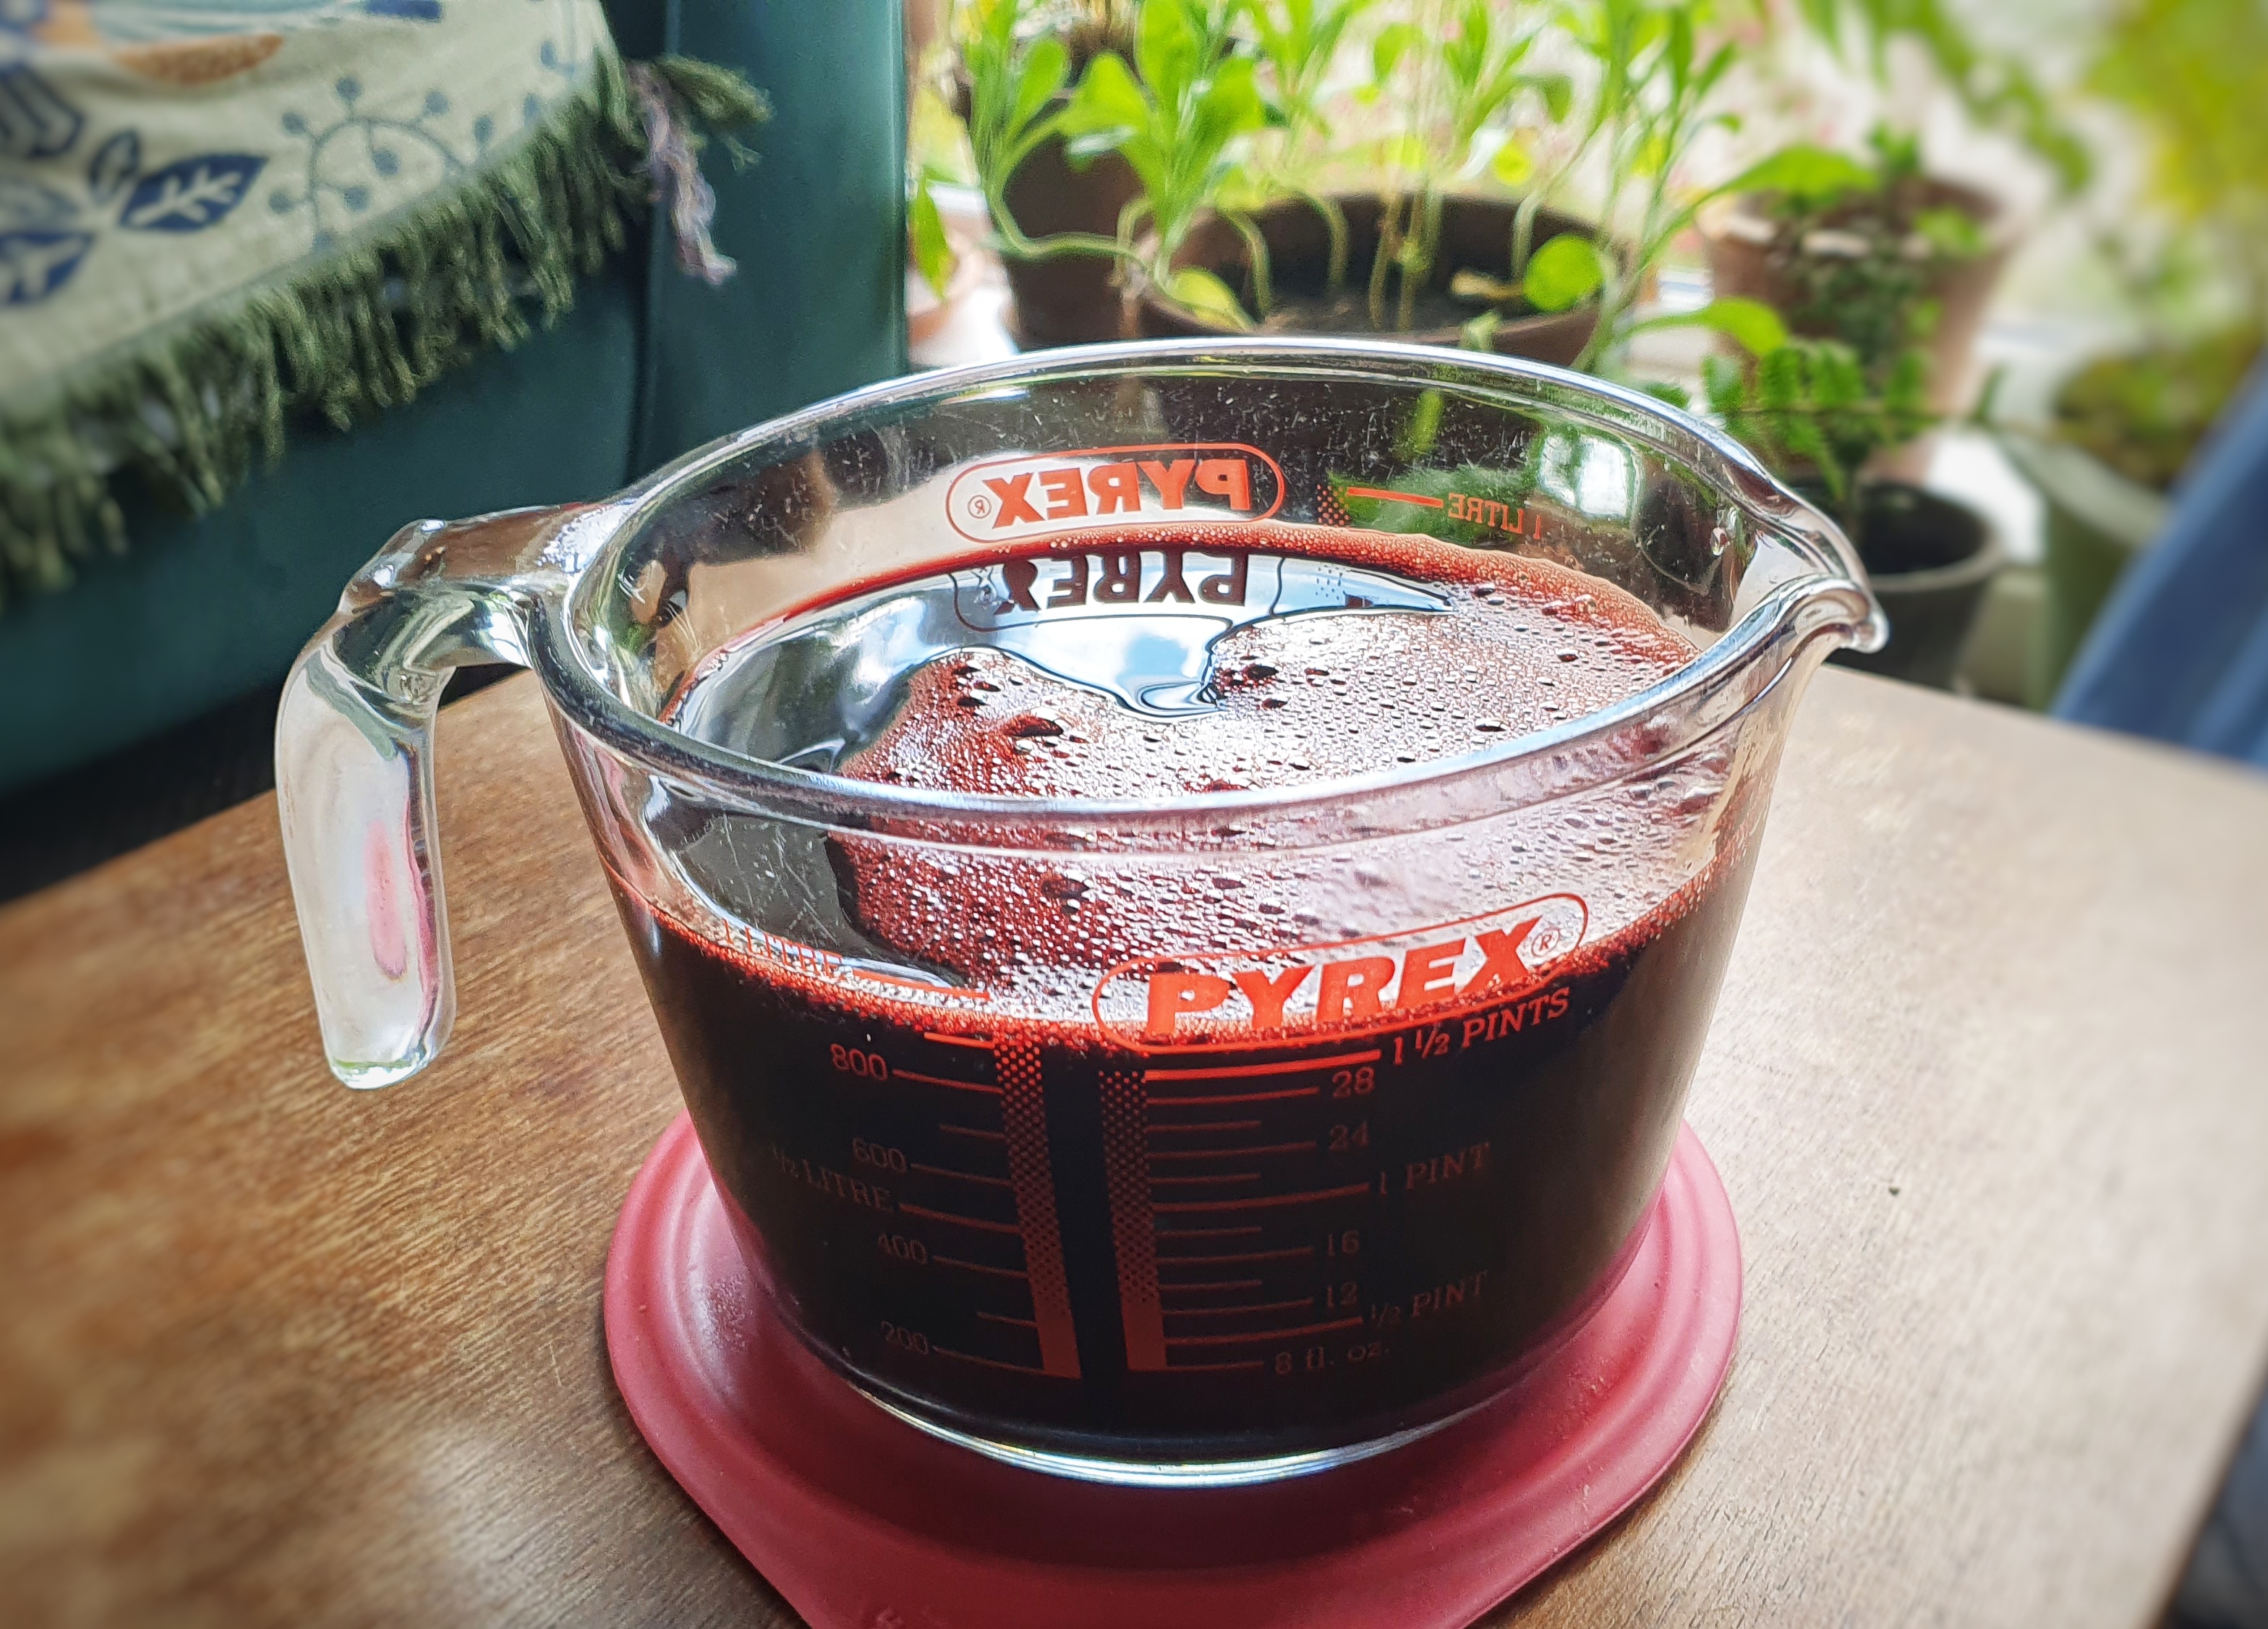
For years now, I have wanted to make my own fresh blood black puddings, but fresh blood is so tricky to get hold of in Britain, I thought I would never get the opportunity. Lucky for me then, that Fruit Pig, who are sponsoring the ninth season of The British Food History Podcast, kindly sent me a litre of pig’s blood. When it came to recipes, I very much had my eye on Early Modern black puddings because they seem so outlandish compared to traditional black puddings of today. On one hand, they are very British, containing oatmeal and/or breadcrumbs and plenty of chopped beef suet. On the other, they are reminiscent of a French boudin noir in that there are lashings of cream and egg yolks.
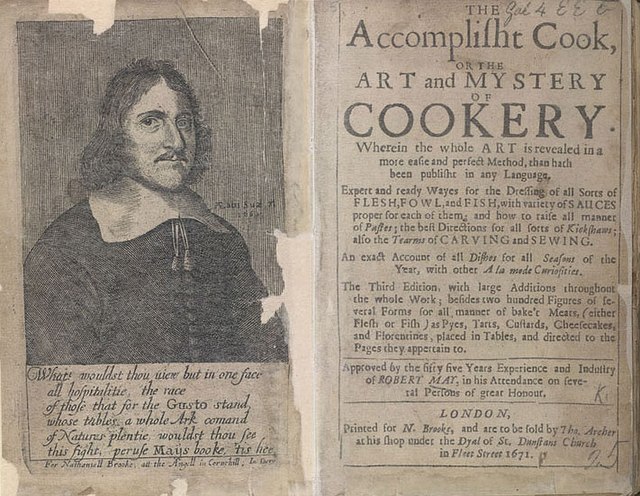
There are lots of unexpected herbs and spices, too. Thomas Dawson uses sheep’s blood, milk-soaked oats, suet and what we might think of as the constituents of a mixed spice today: nutmeg, mace, black pepper, ginger and cinnamon.[1] Sir Kenelm Digby liked to use chicken blood, cream, almond cream, bone marrow, sugar, salt, rosewater and eggs.[2] Robert May gives us some precise pointers as well as several ways of making black puddings. In one recipe he combines blood and cream in a ratio of 2:1. Sometimes he soaks oats in milk, sometimes blood: ‘Steep great oatmeal in eight pints of warm goose blood, sheeps blood, calves, or lambs, or fawns blood’. He uses a whole range of interesting herbs, including thyme, spinach, parsley, sorrel and strawberry leaves, to name but a few. He also adds ‘Sometimes for variety, Sugar, Currans, &c.’[3] I really want to know what sweet black pudding tastes like!
Using these descriptions as inspiration, I created the recipe below. There was a certain amount of trial-and-error, and whenever I got stuck, I made sure to gain advice from Regula Ysewijn’s Pride and Pudding, Hugh Fearnley-Whittingstall’s The River Cottage Cookbook and Fergus Henderson’s The Complete Nose to Tail.[4]
I learned a great deal making them – the most important lesson being just how skilled one must be to make these sorts of puddings frequently and in large amounts. It made me appreciate even more the hard work of our forebears and Fruit Pig!
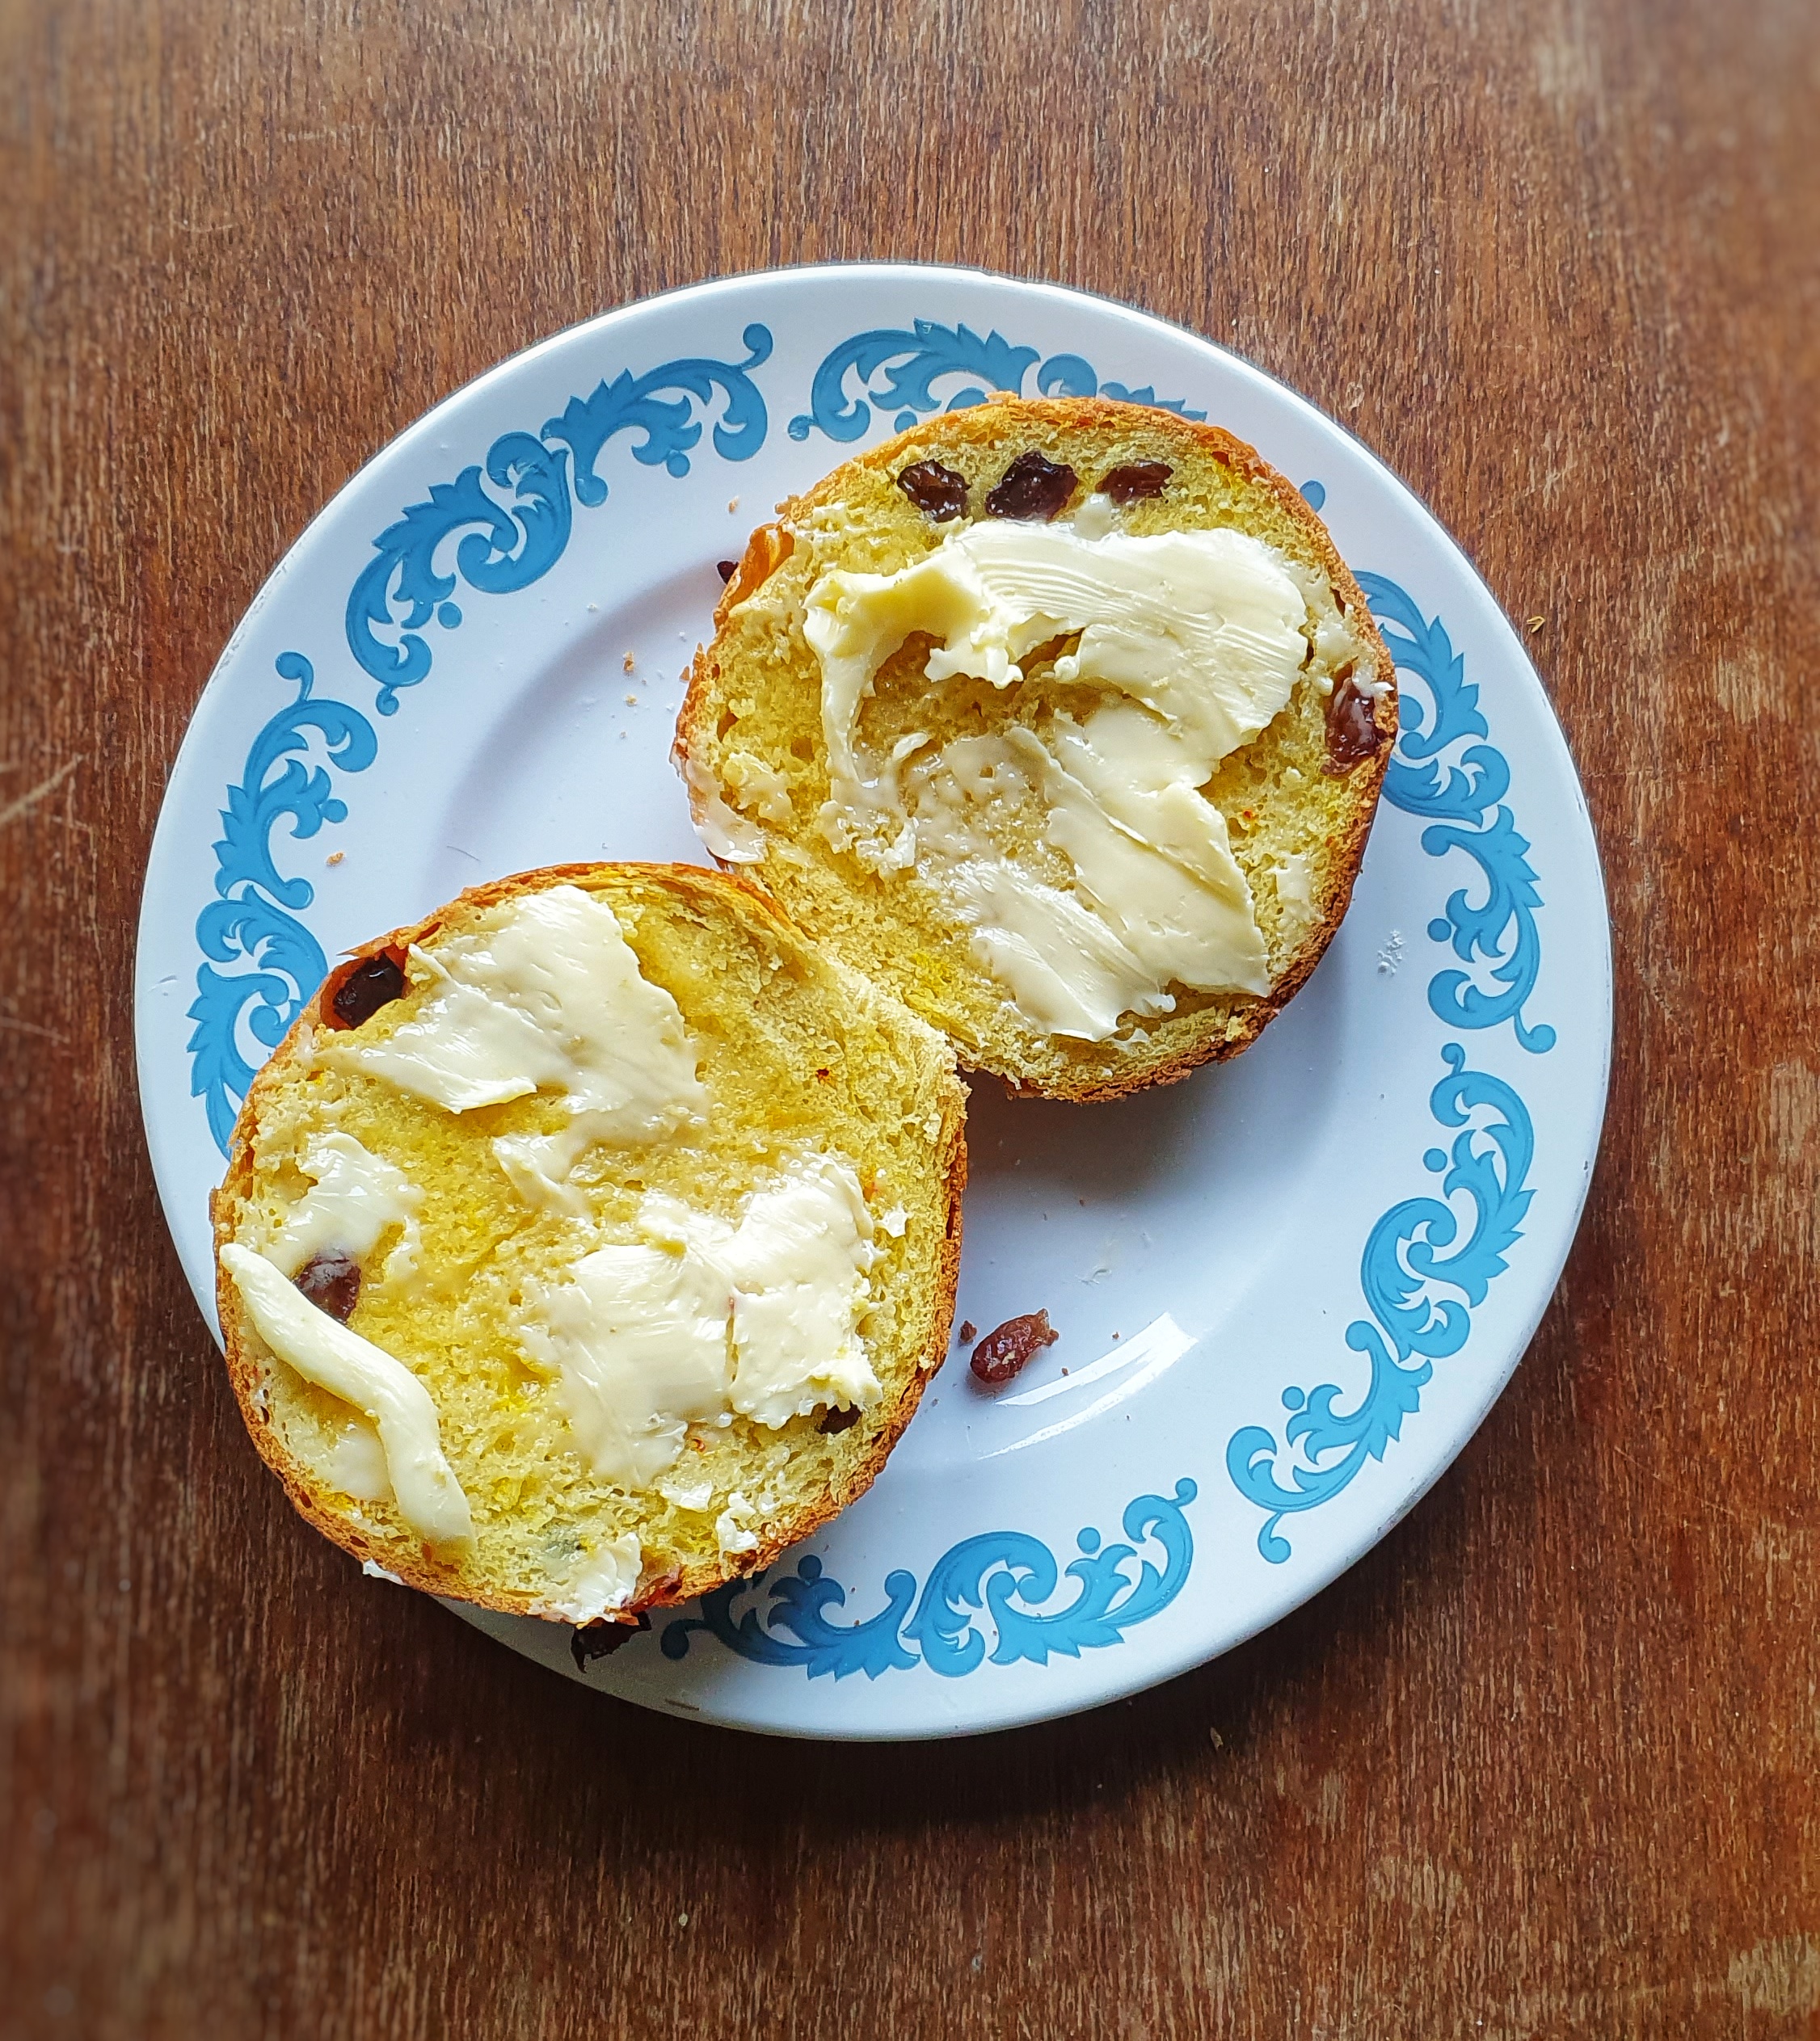
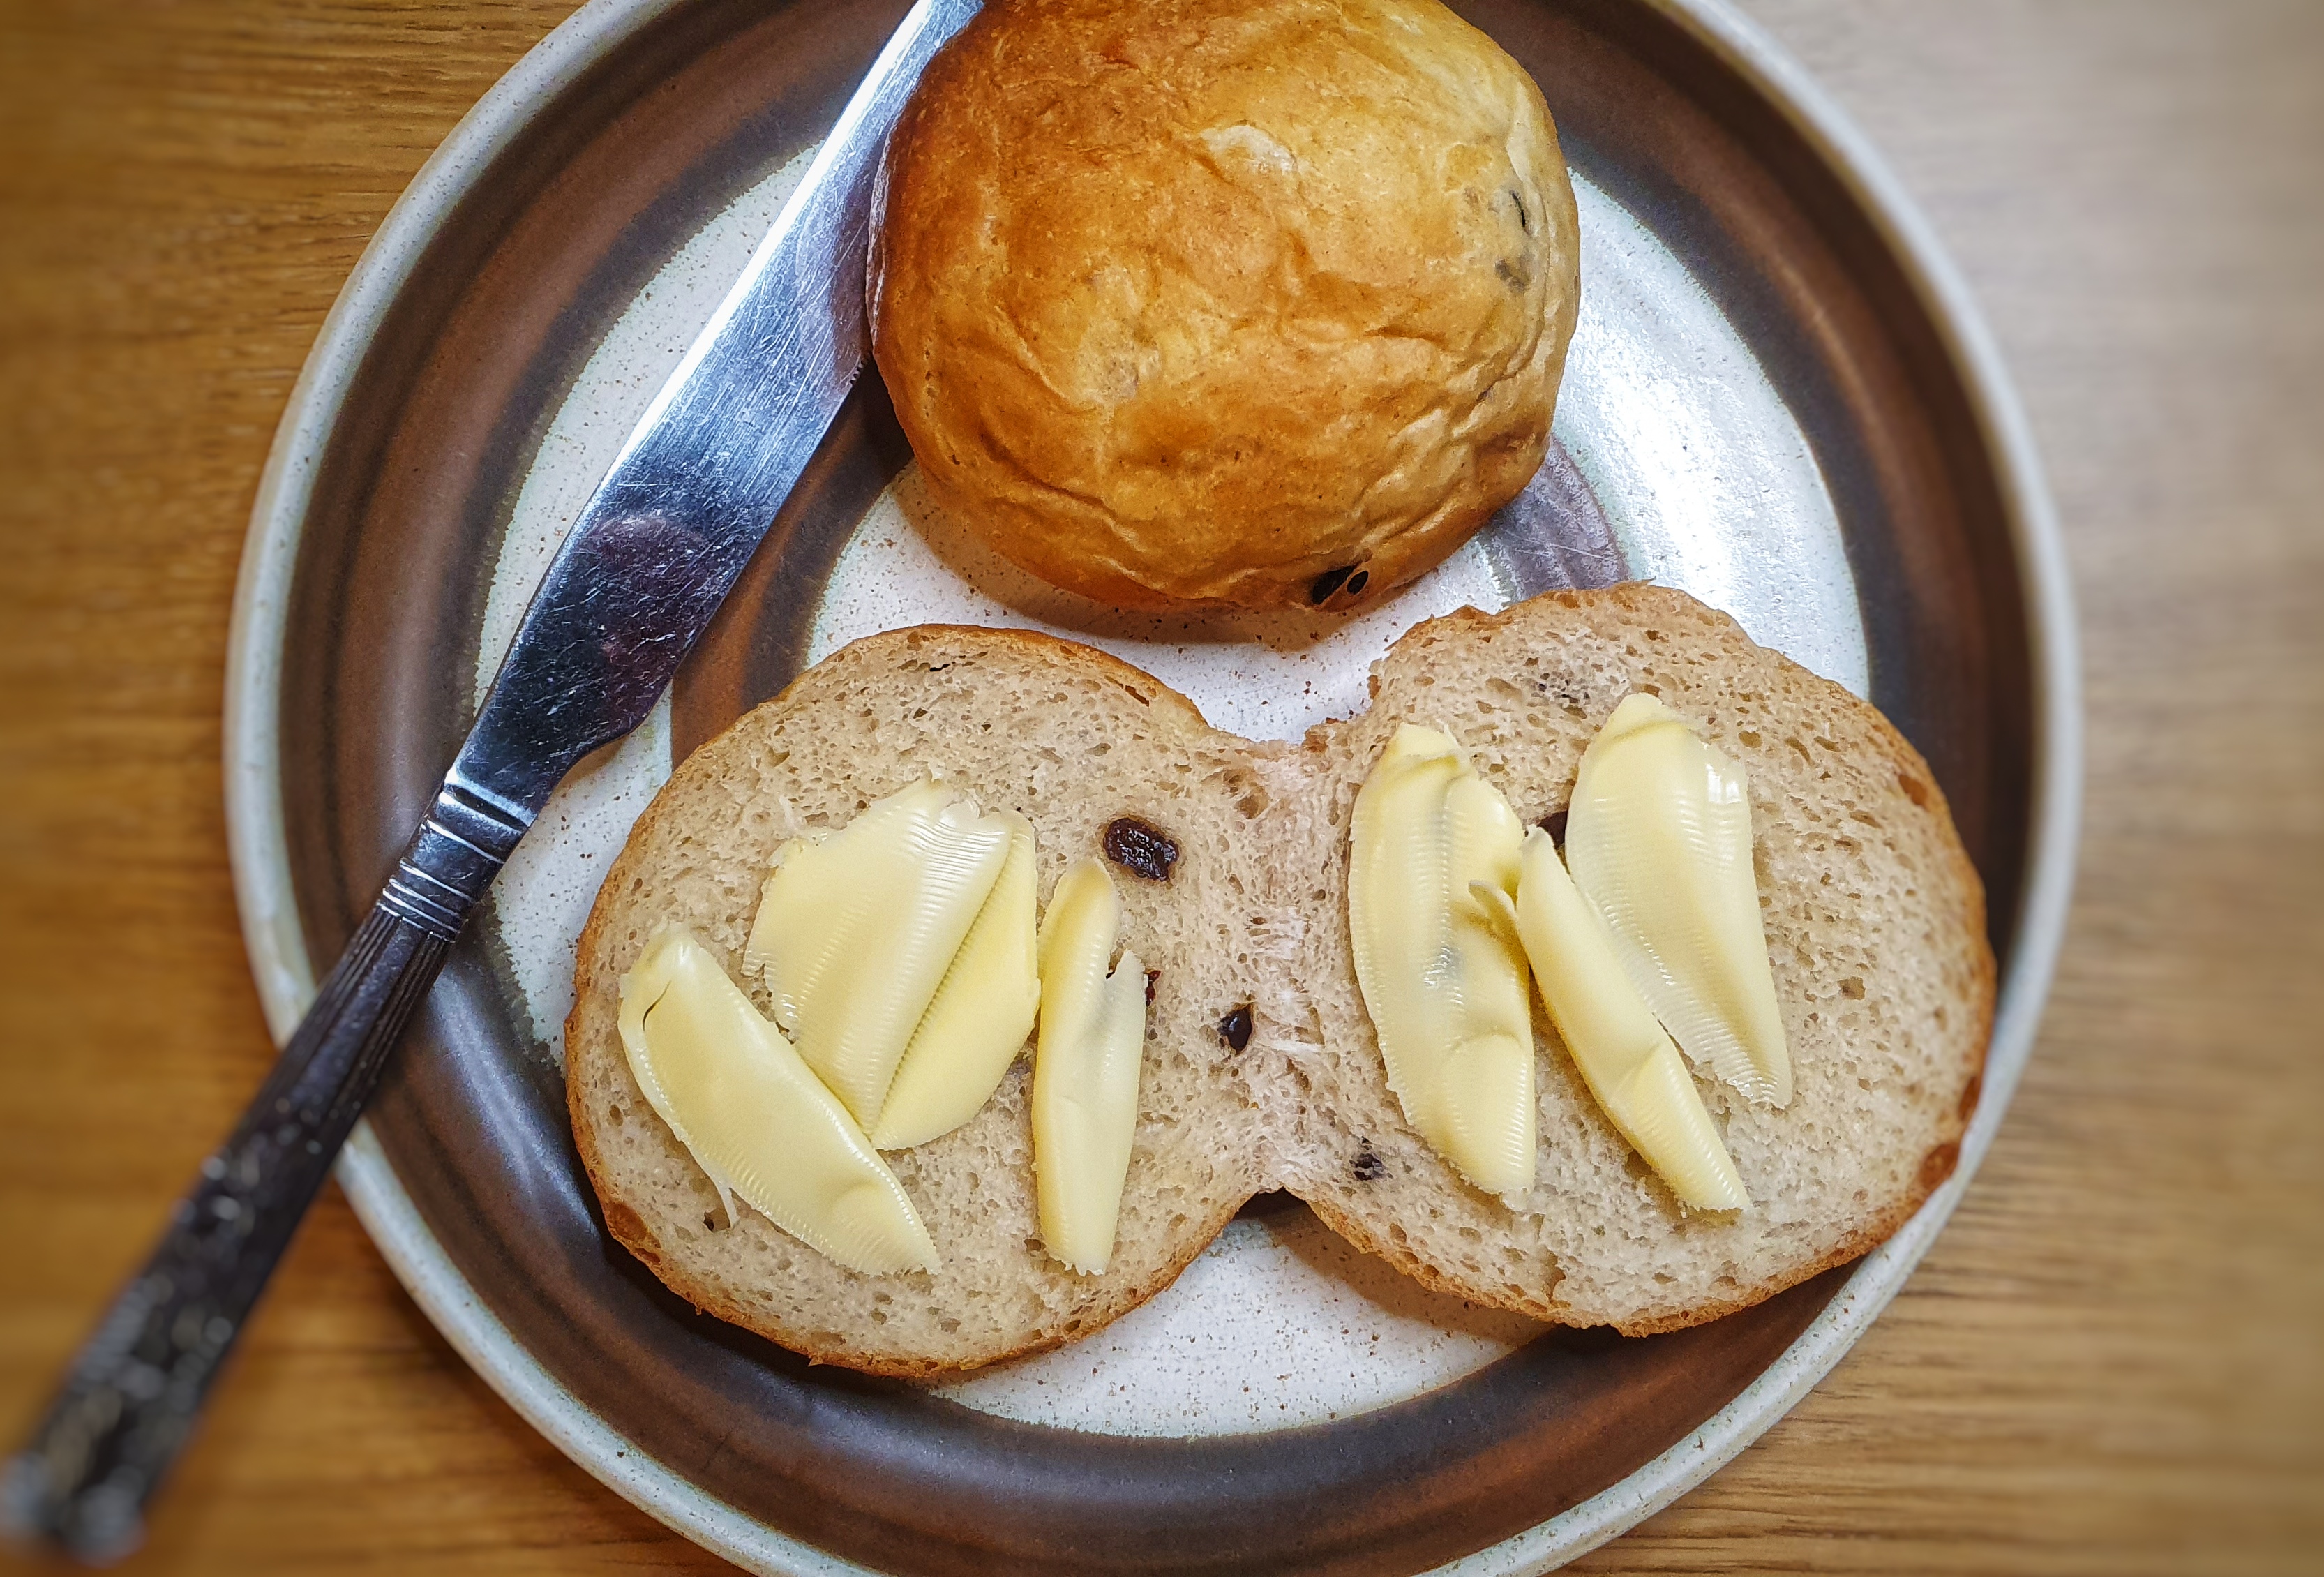
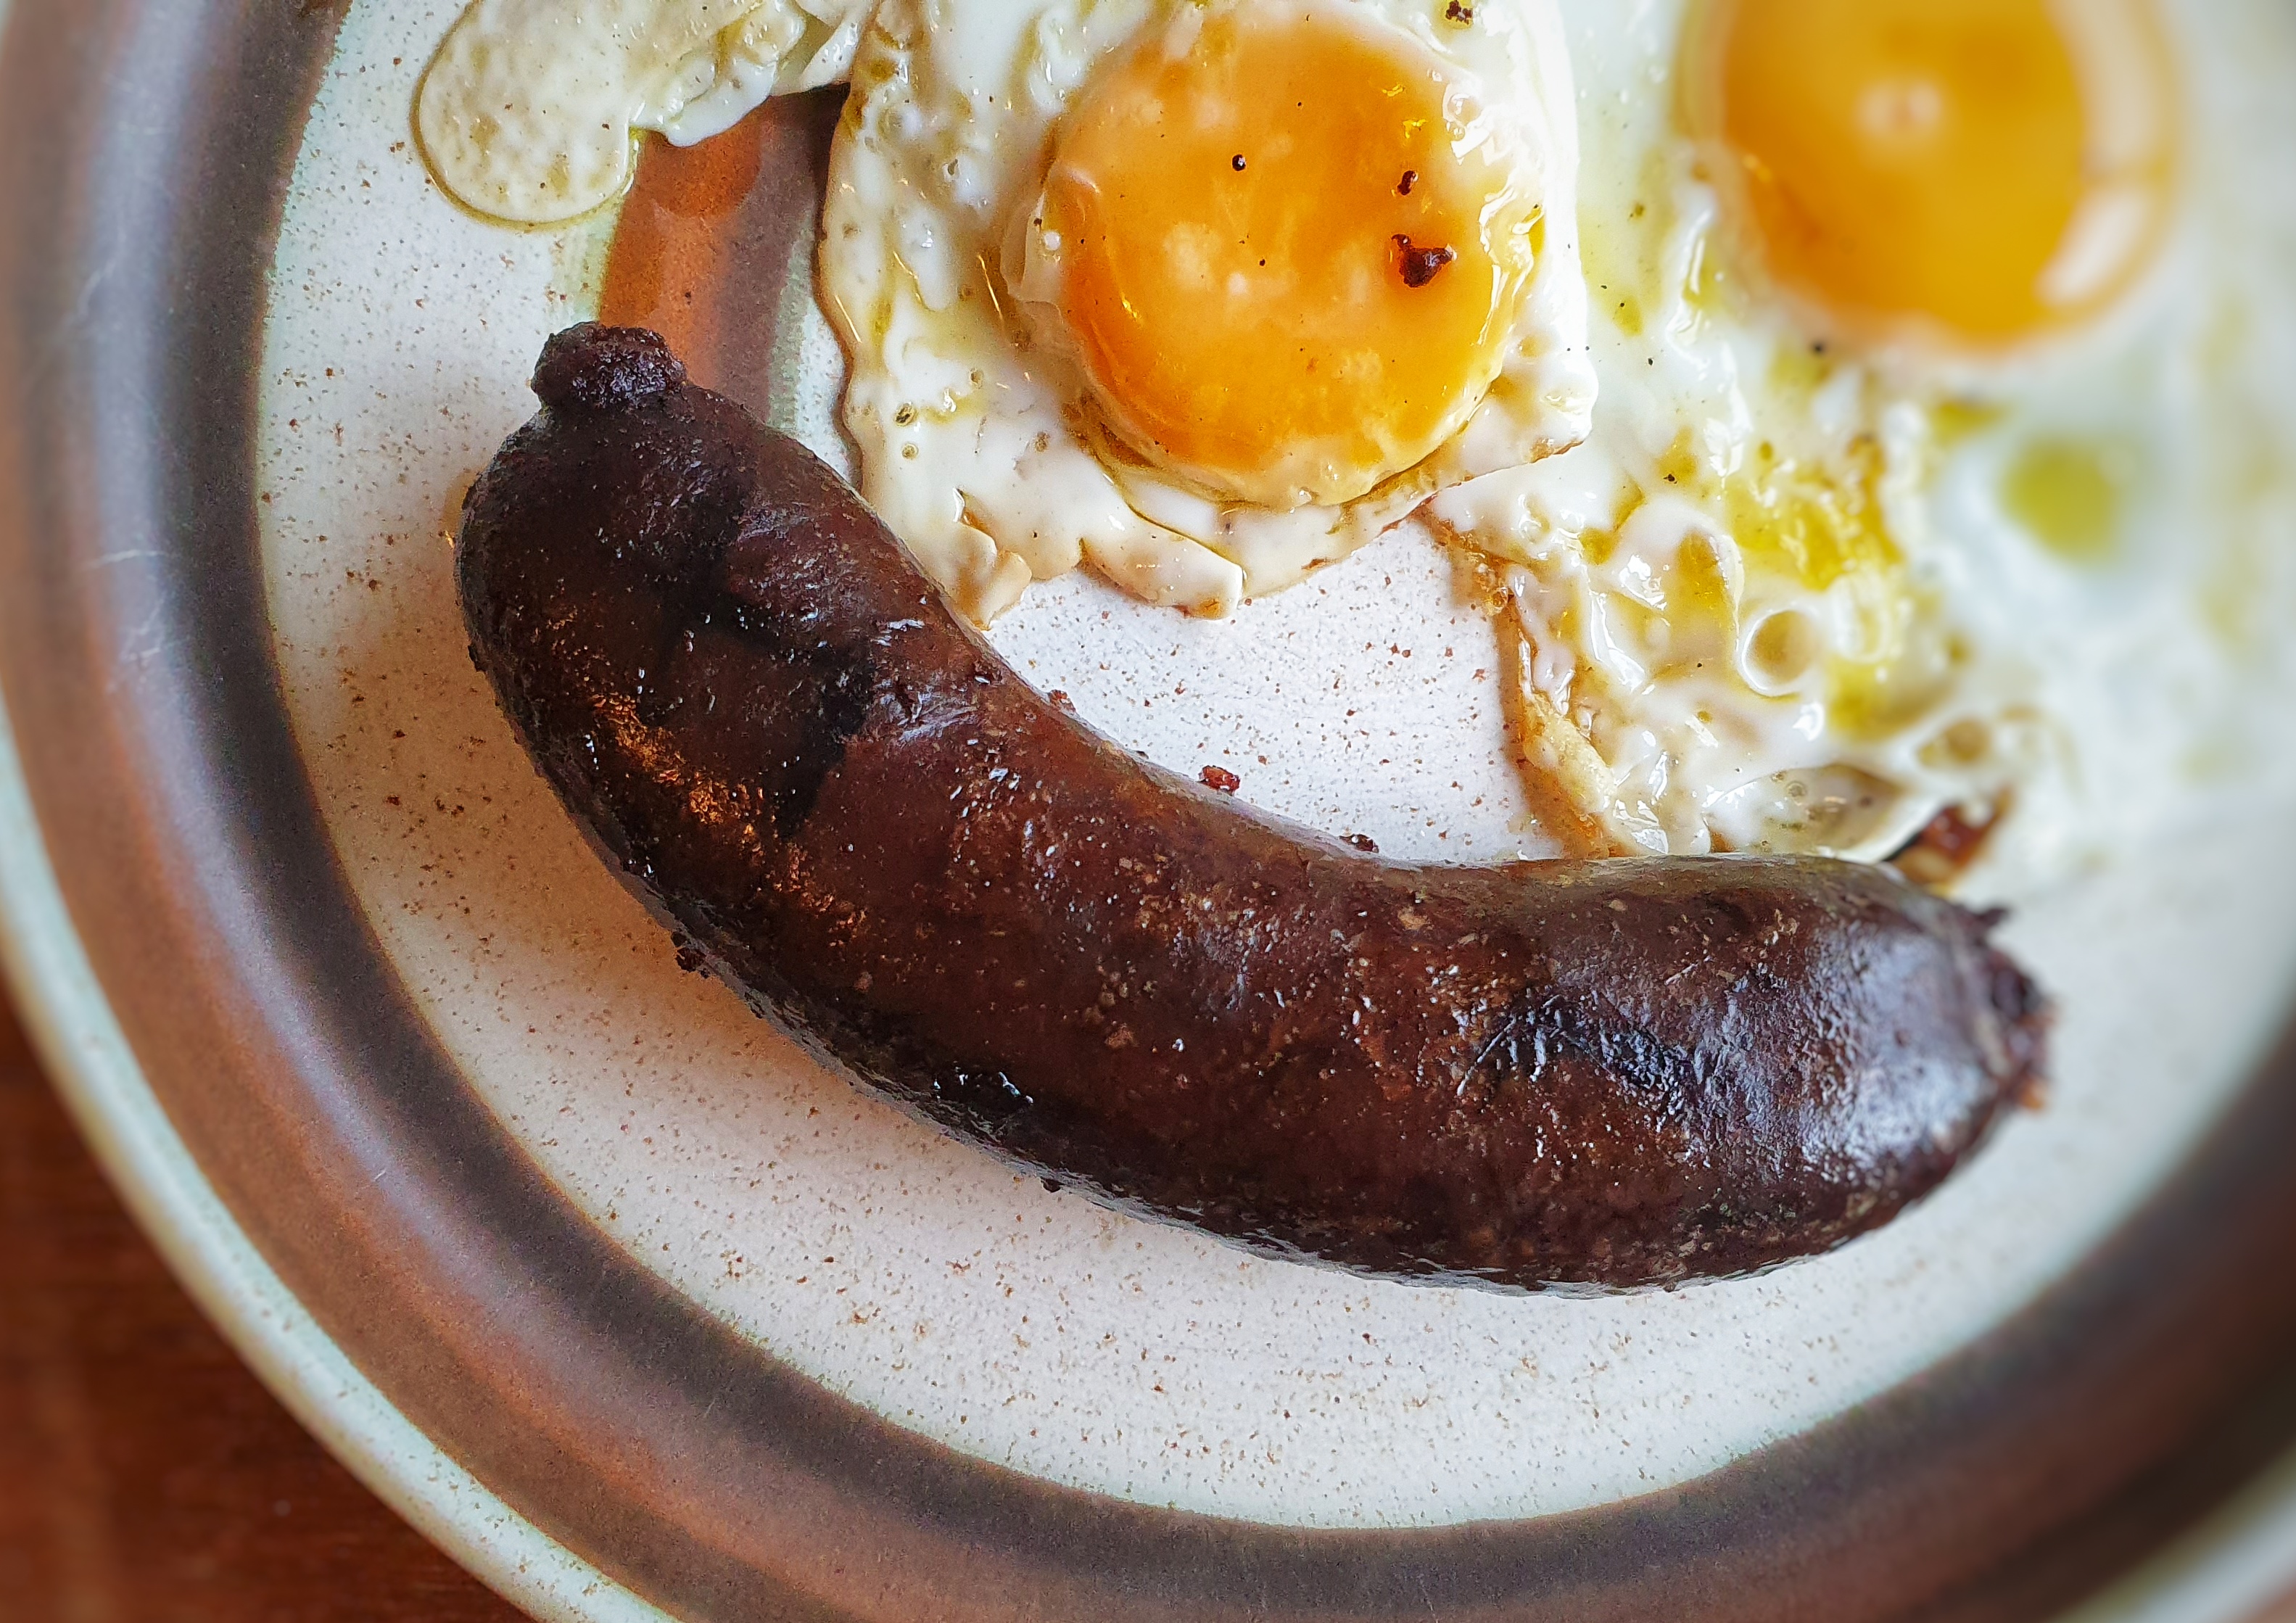
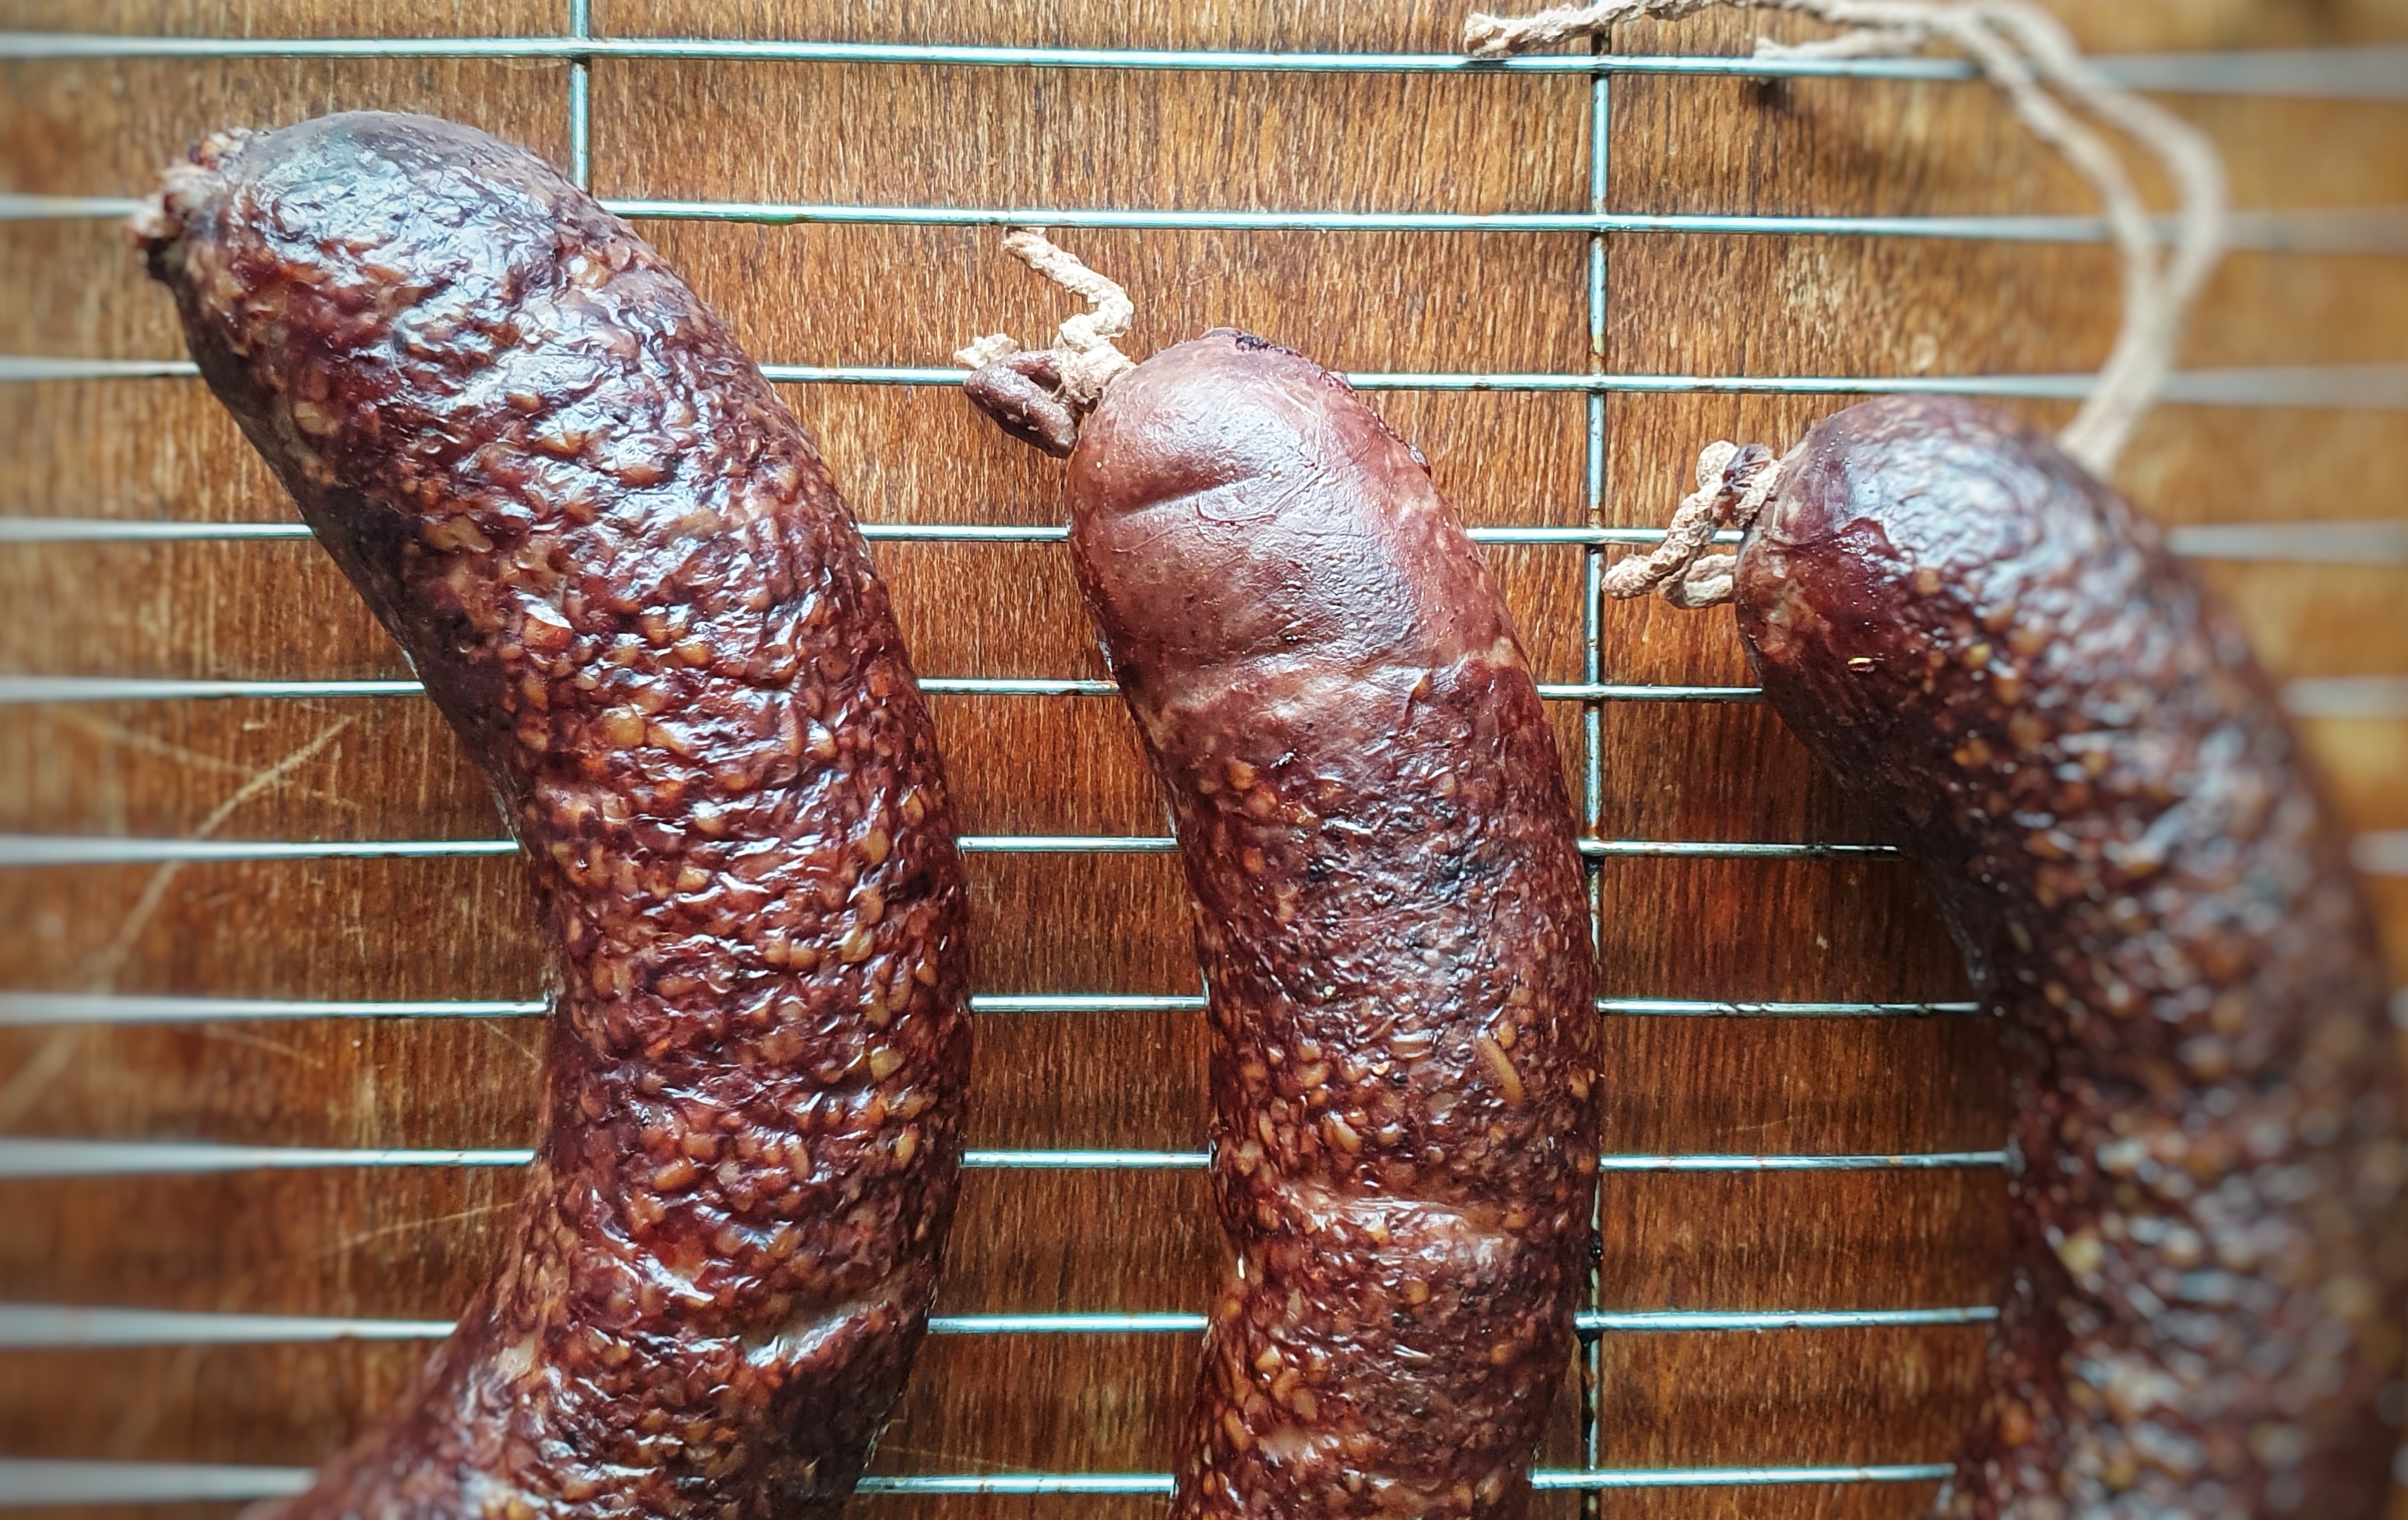
I was really surprised with how well the puddings turned out, and I would certainly recommend giving them a go. I made one batch with sugar and currants and one without. You might be surprised to hear that the sweet one was really quite delicious. I fried my savoury puddings and served them with fried eggs atop some sourdough toast. They tasted rich and were a cross between a black pudding and haggis. I’ll let you know how I served the sweet black puddings.
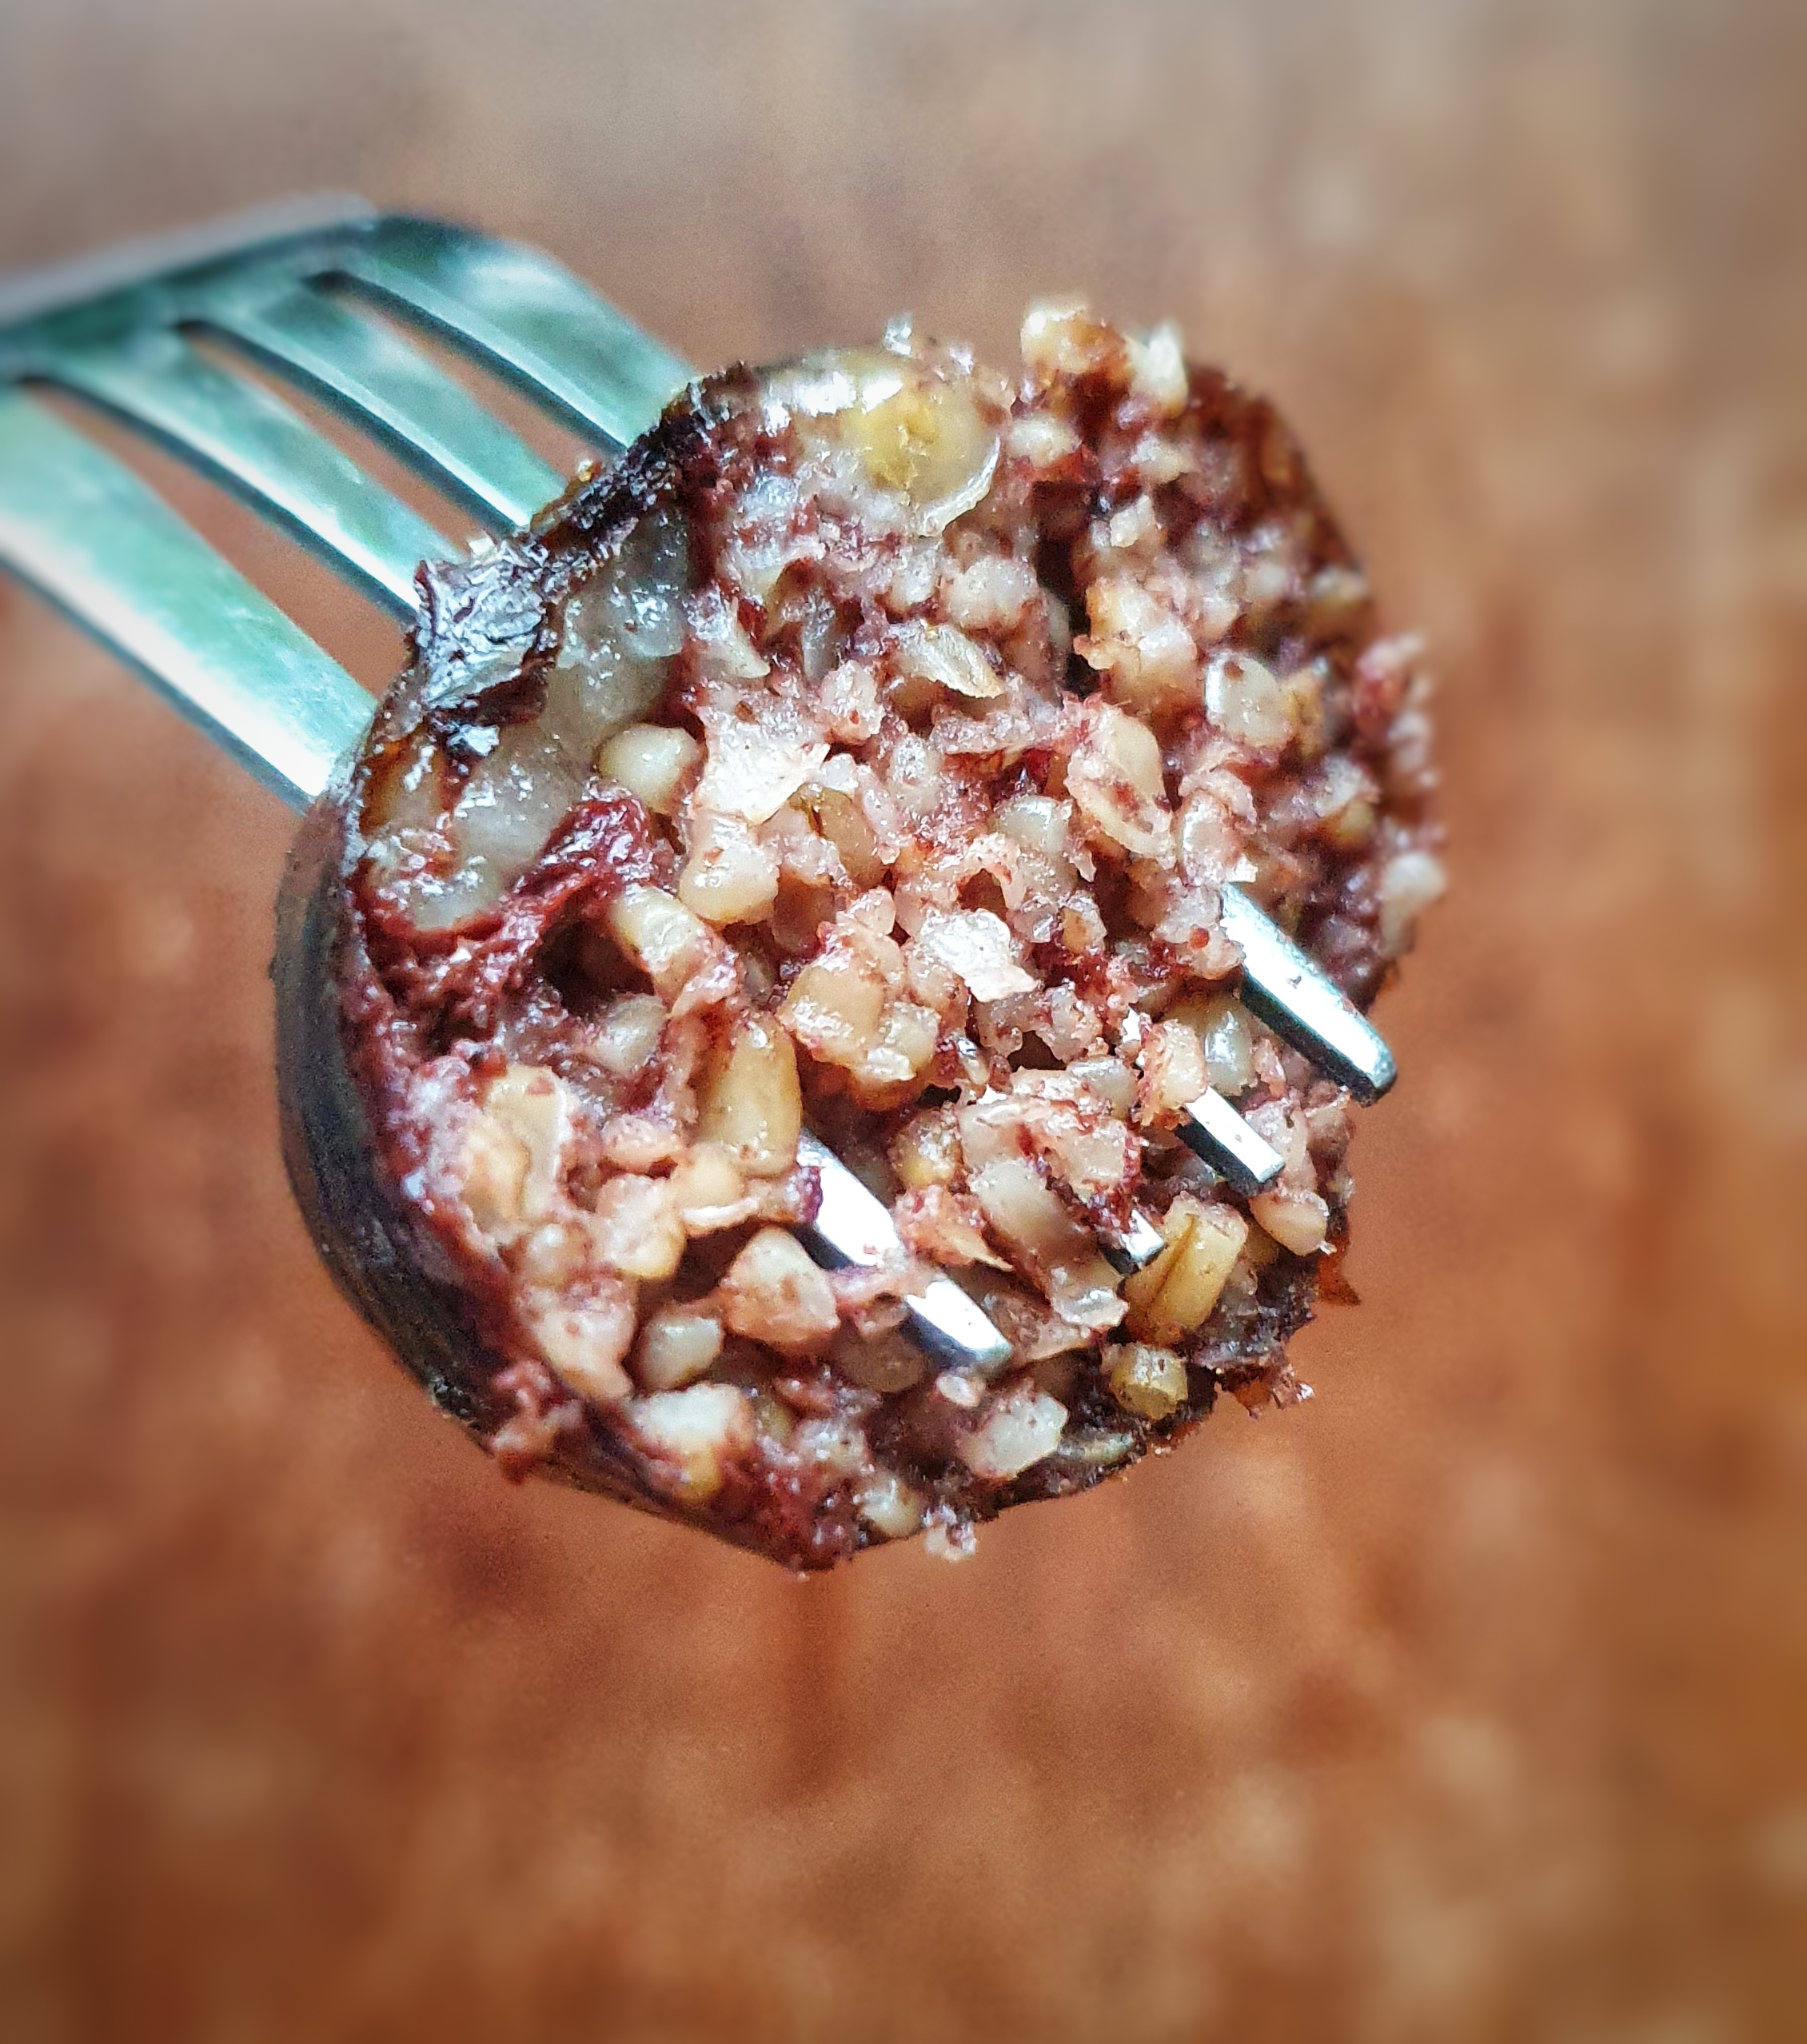
There are just a couple of things I would have done differently: my main issue was that the butcher gave me pigs’ casings which were not suitable for these black puddings – the nubbly pieces of oat tore through them easily, and the skin burst under their own weight at times. I would therefore recommend beef casings or simply baking them in the oven in loaf tins, or maybe even frying up blood pancakes as suggested by Regula Ysewijn![5]
If you can, support the podcast and blogs by becoming a £3 monthly subscriber, and unlock lots of premium content, including bonus blog posts and recipes, access to the easter eggs and the secret podcast, or treat me to a one-off virtual pint or coffee: click here.
Recipe
Makes approximately 12 x 20 cm black puddings if made in pork casings, and 6 x 20 cm puddings if made in beef casings.
600 g pinhead oats
Milk (see recipe)
1 tsp fennel seeds
½ tsp cloves
½ tsp black peppercorns
3 blades of mace
1 ½ tsp dried, mixed herbs
2 tsp salt
900 ml fresh pig’s blood (or reconstituted dried blood)
600 ml double cream
200 g chopped beef suet
2 whole eggs, beaten
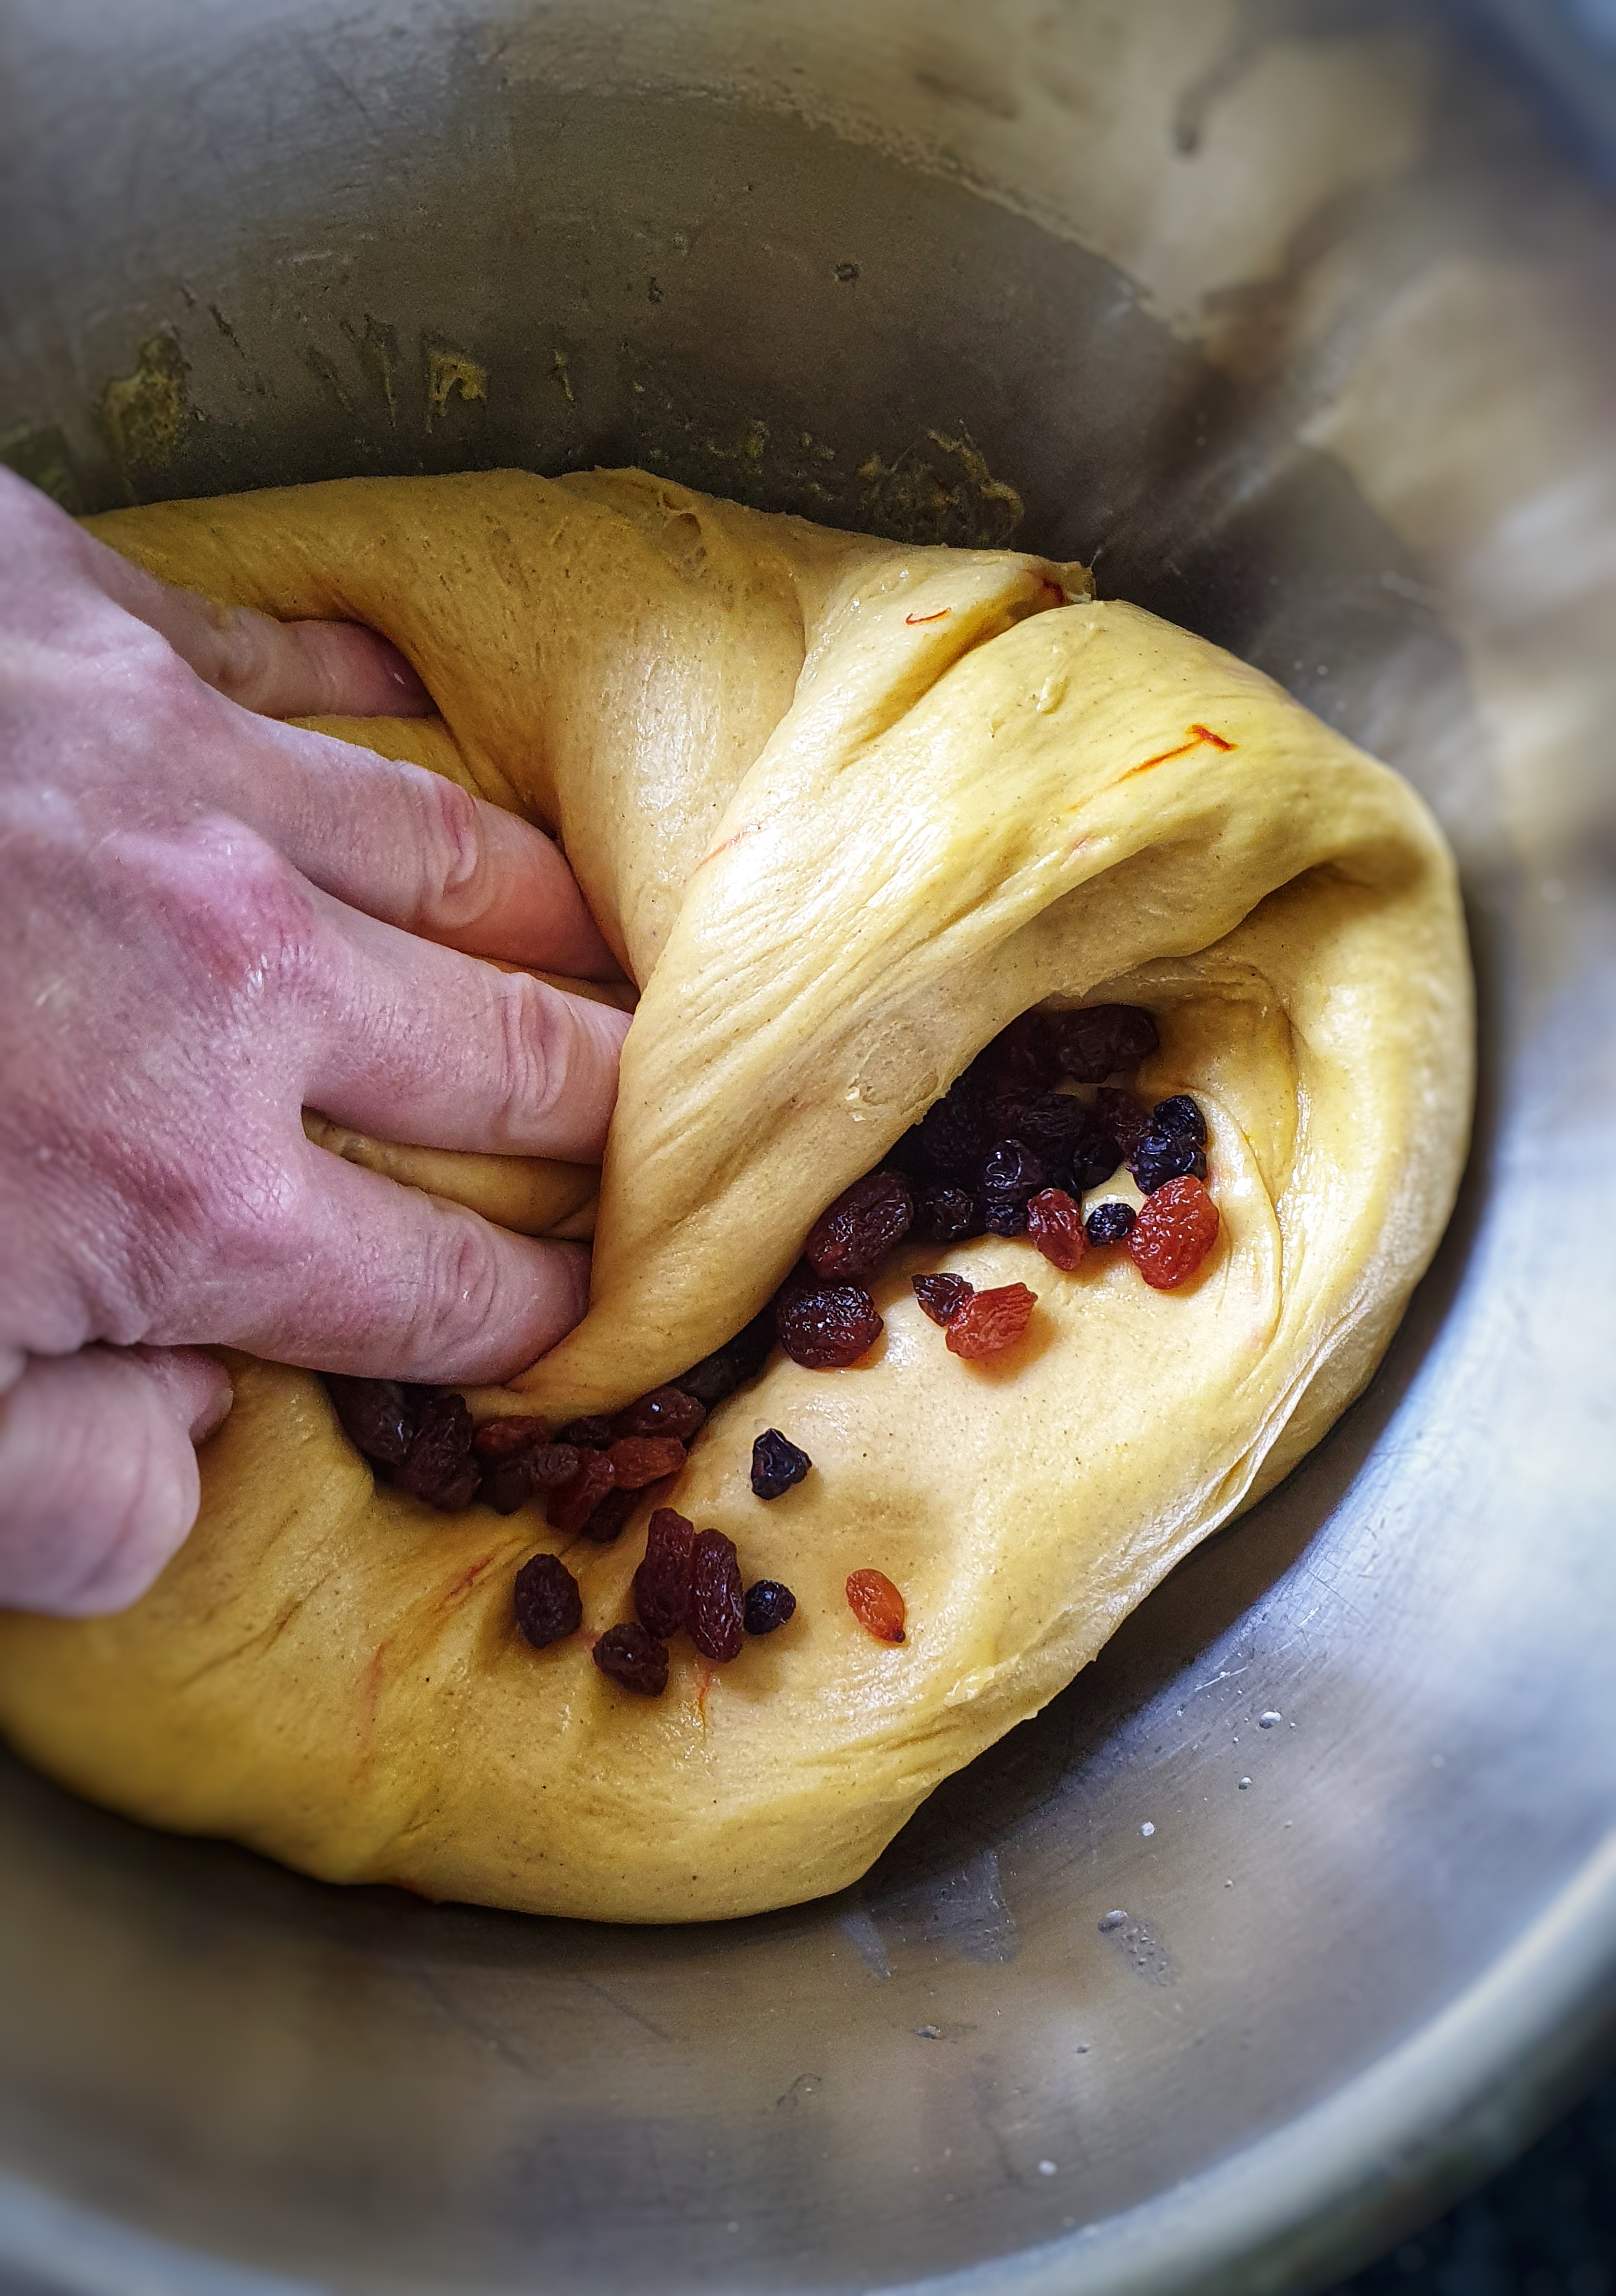
140 g currants (optional)
320 g sugar (optional)
Natural pork or beef skins, soaked in water overnight (optional, see recipe)
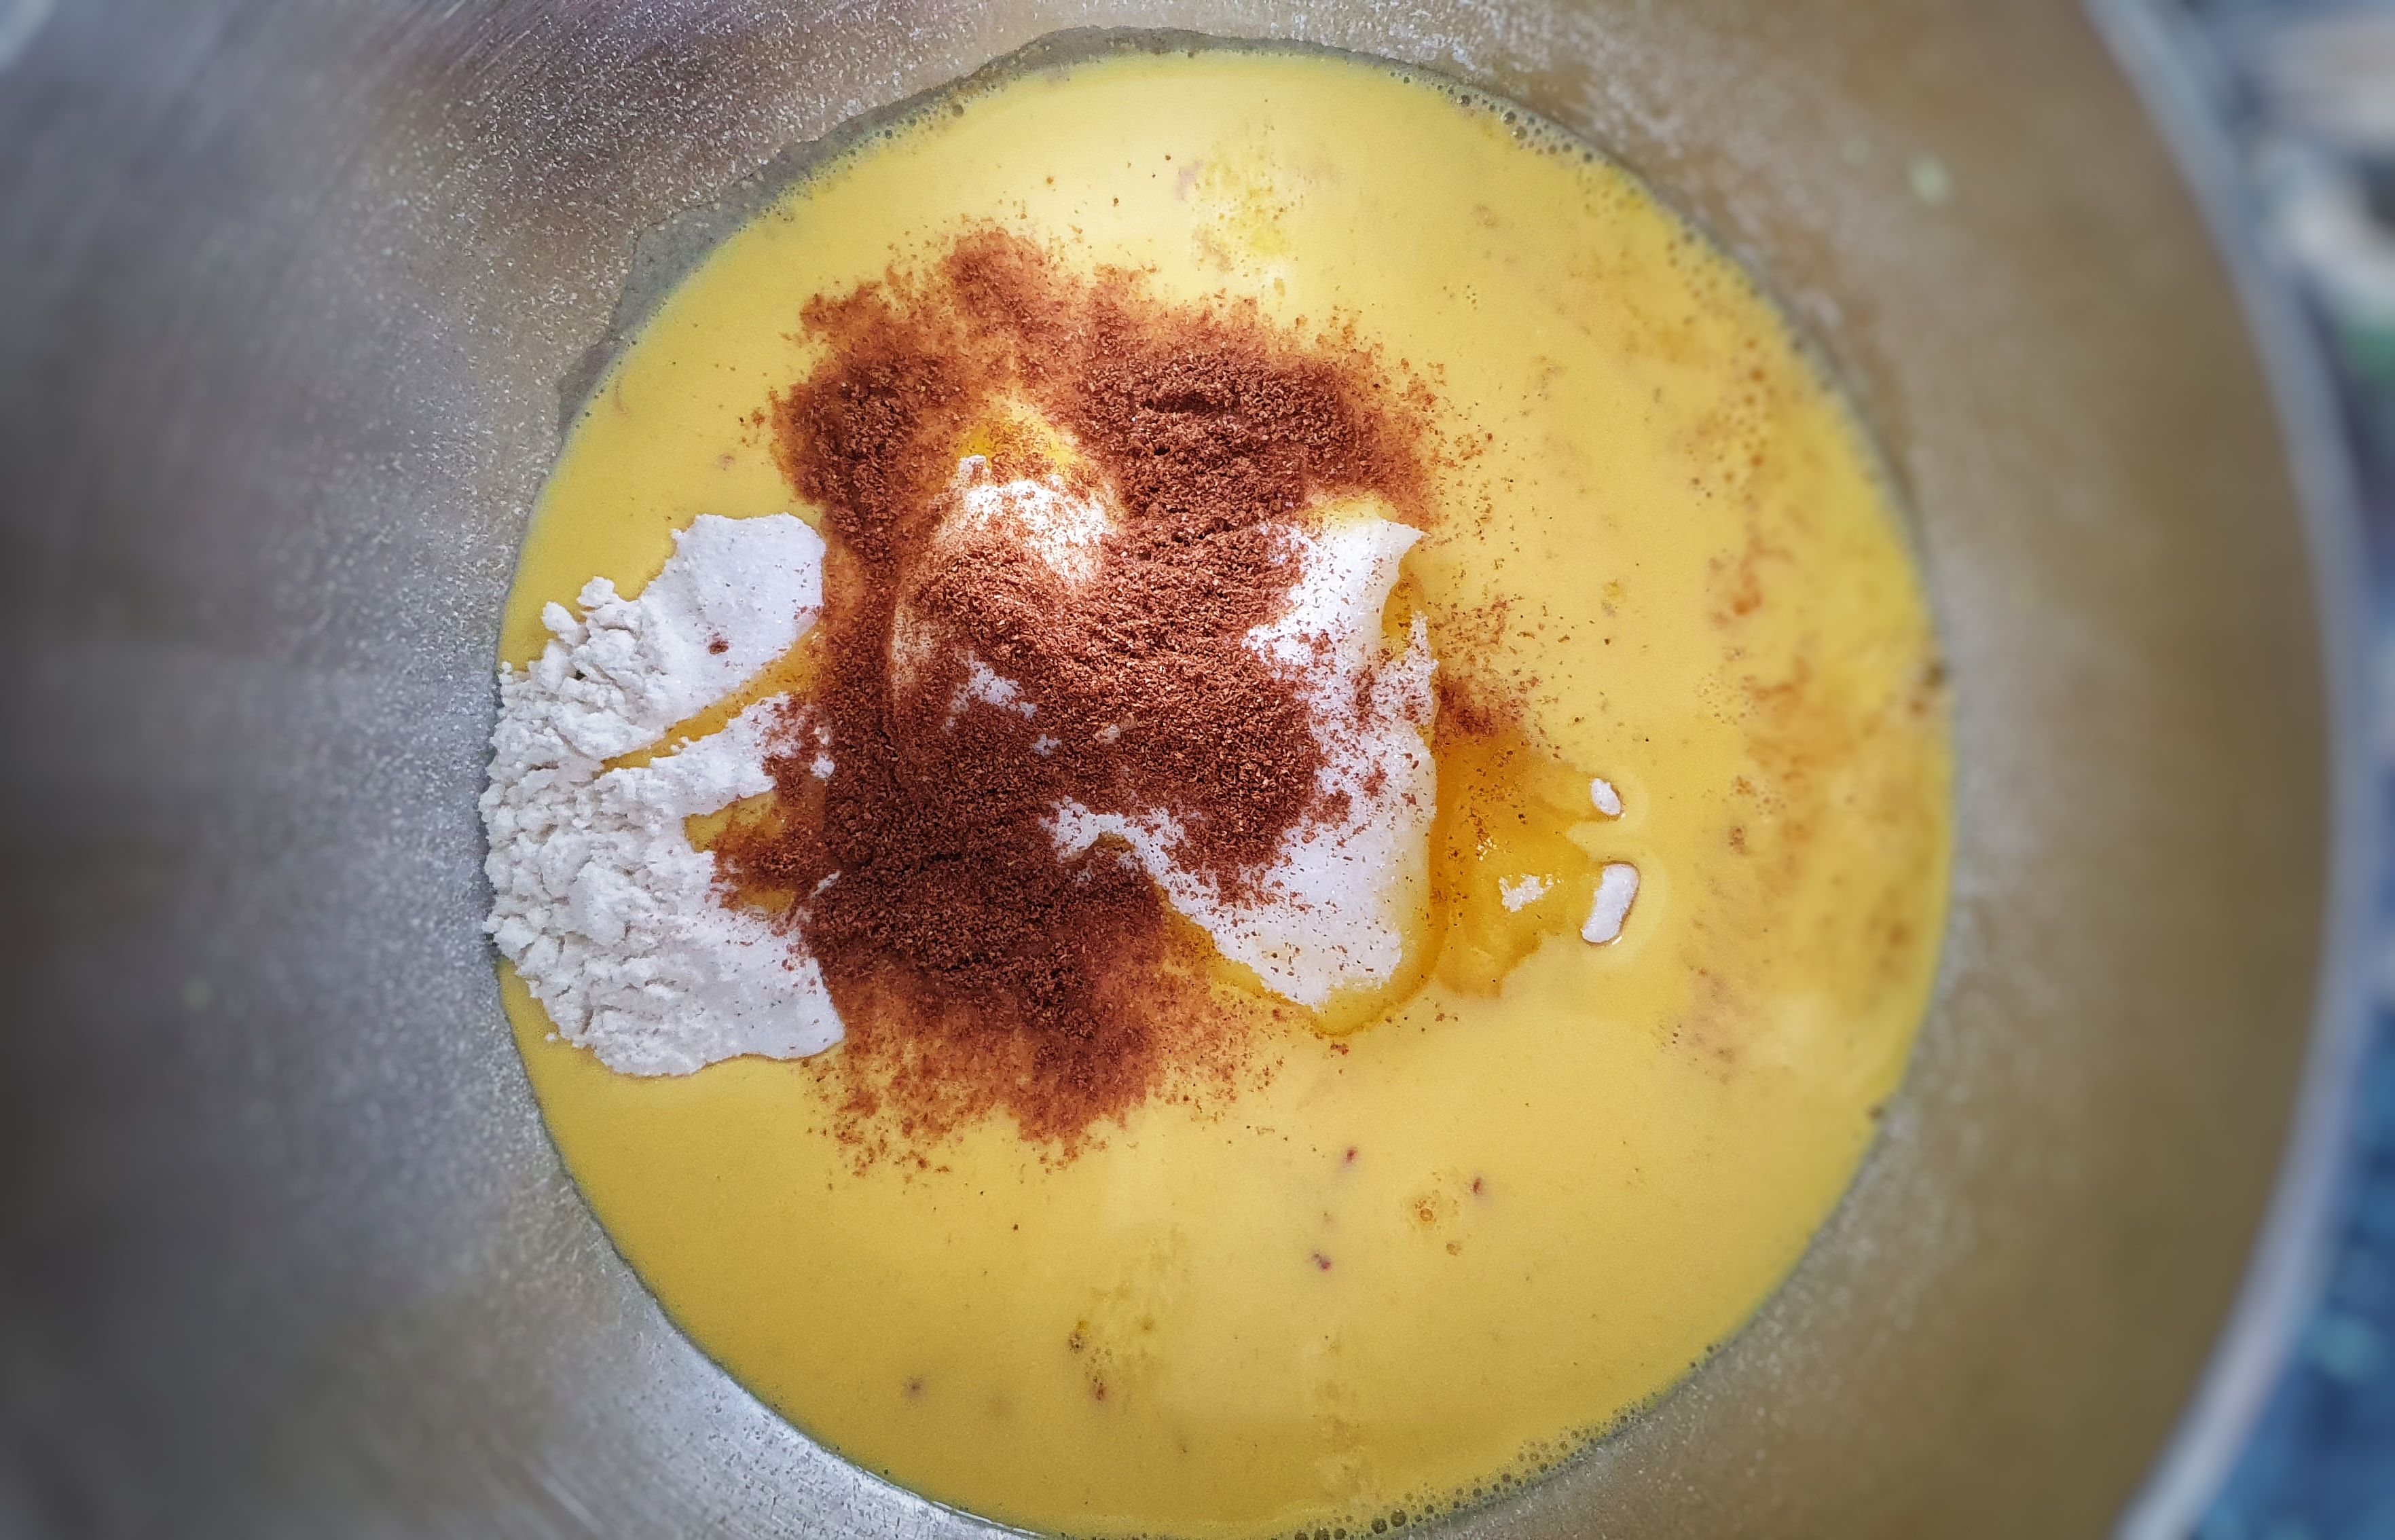
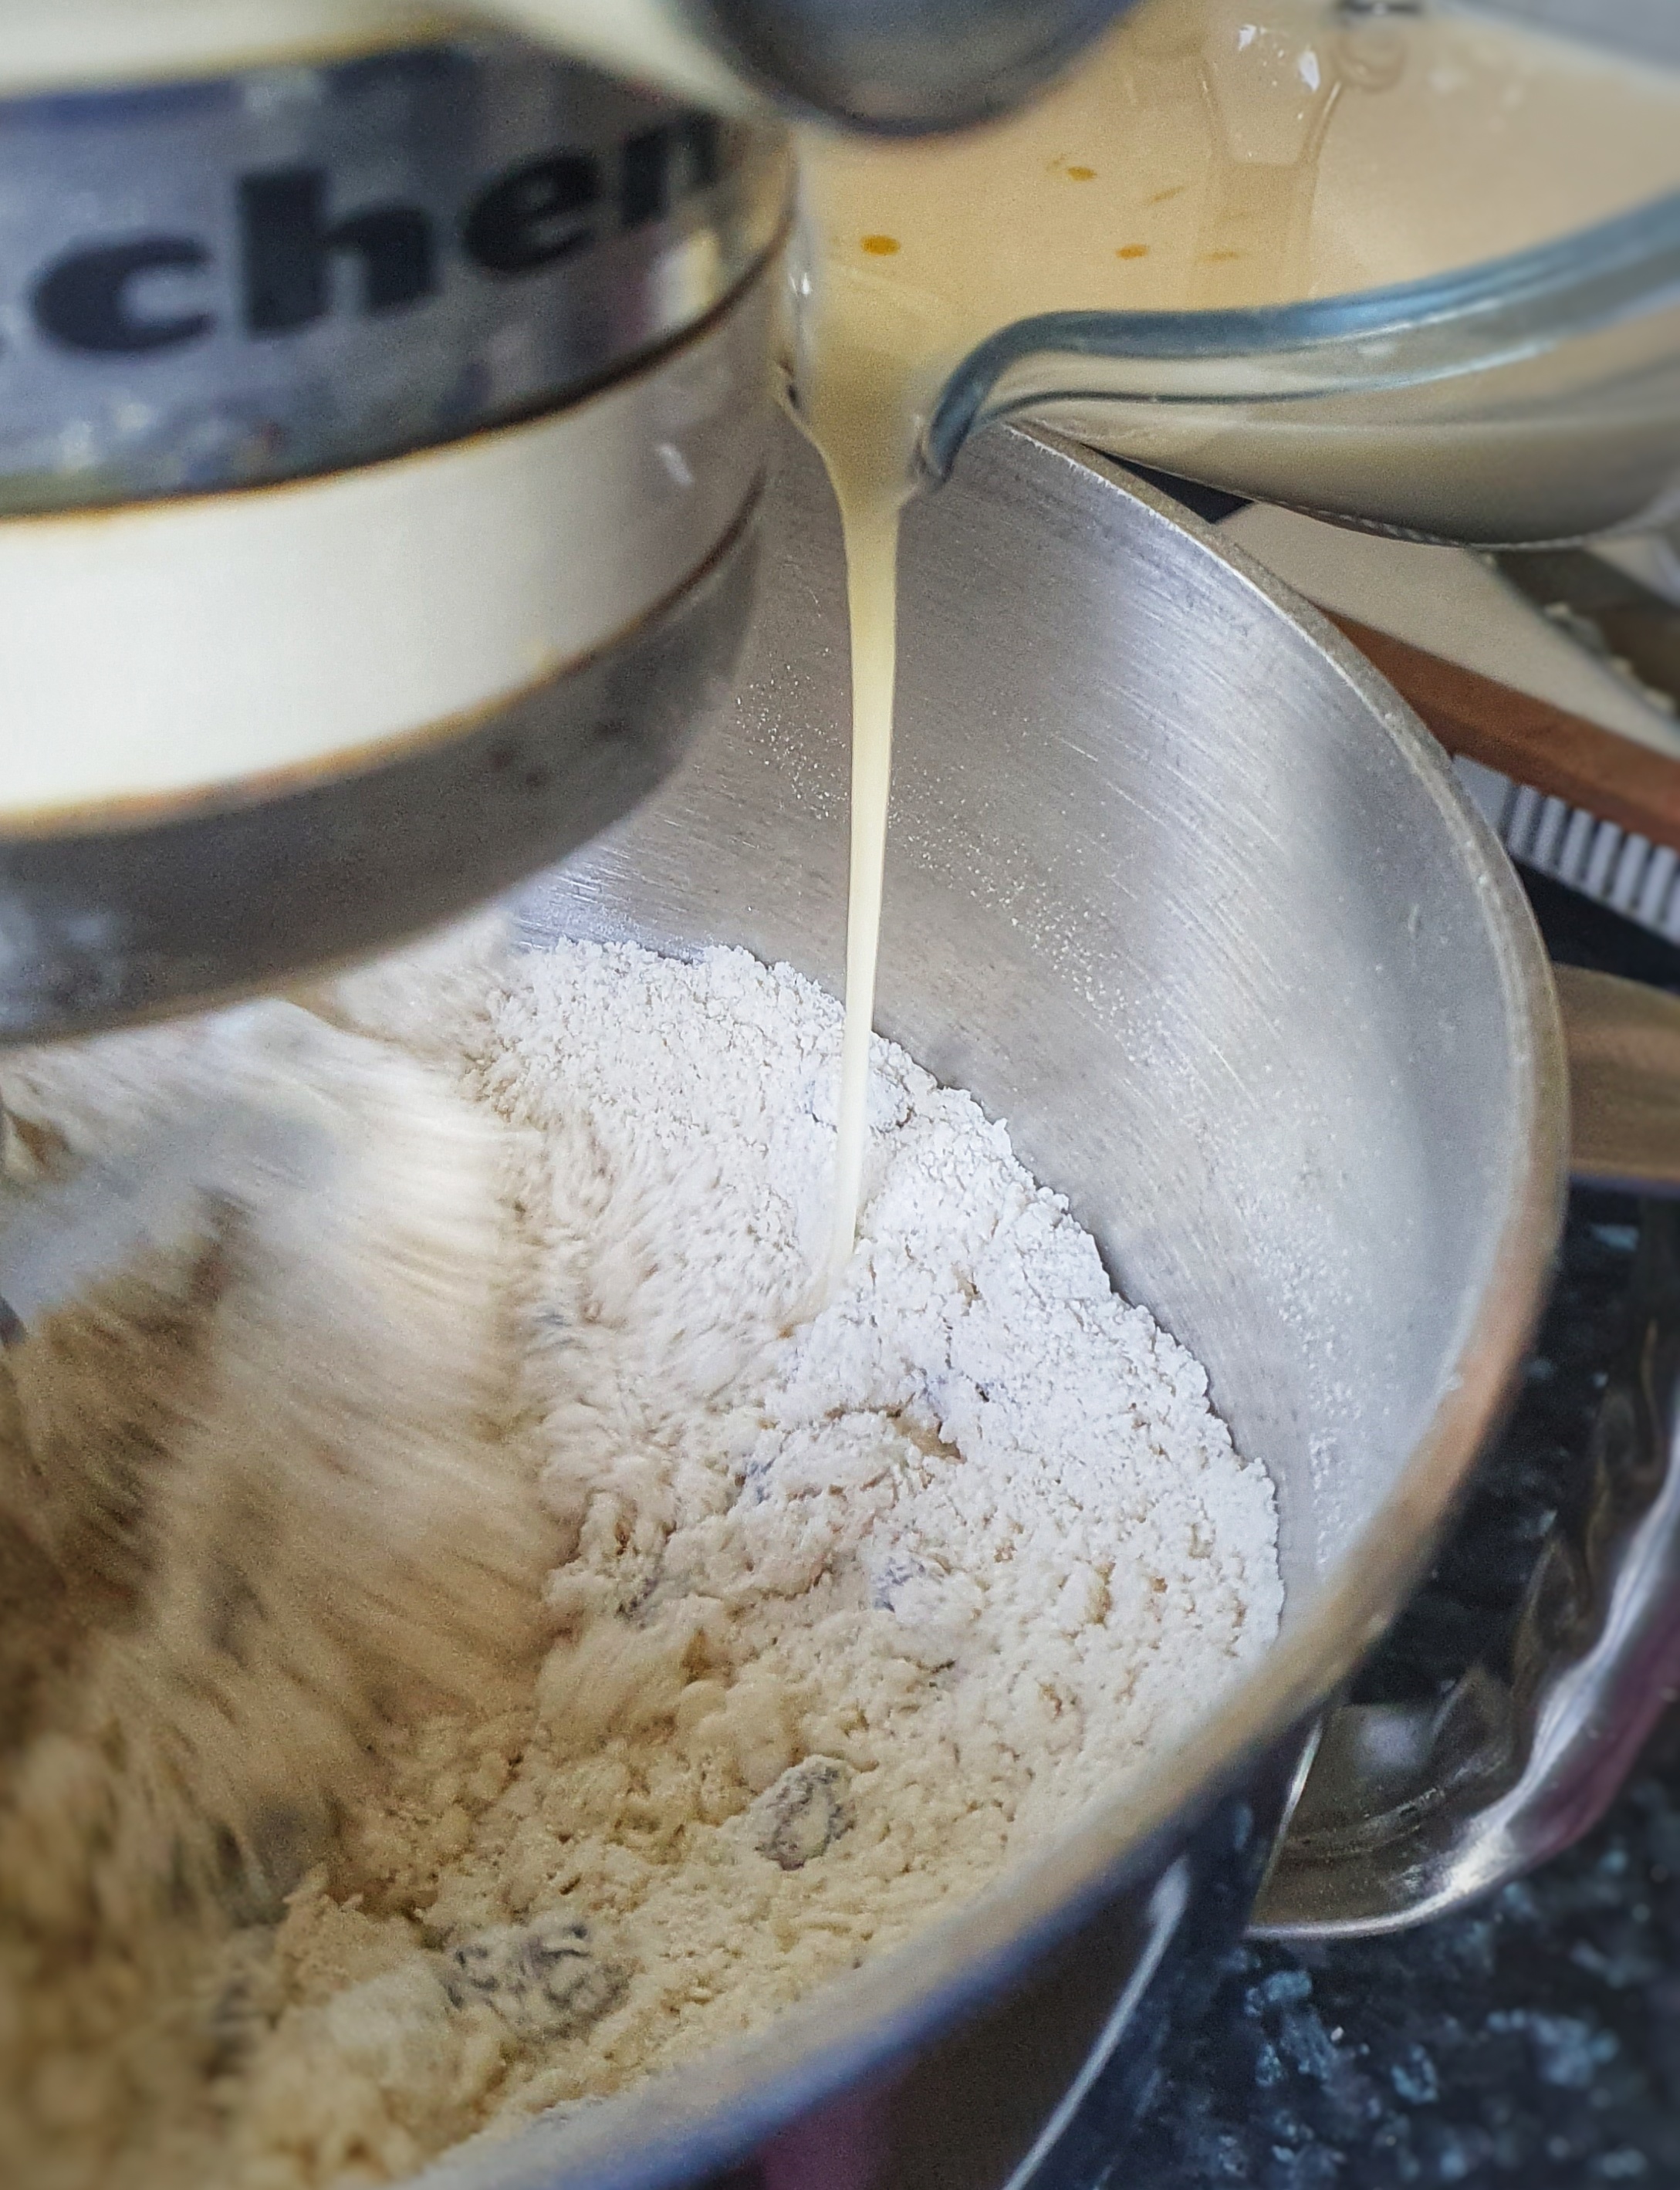
The day before you want to make your puddings, place the oats in a bowl or large jug and pour in enough milk to just cover them. Place in the fridge overnight. Grind the spices and mix in the dried herbs and salt.
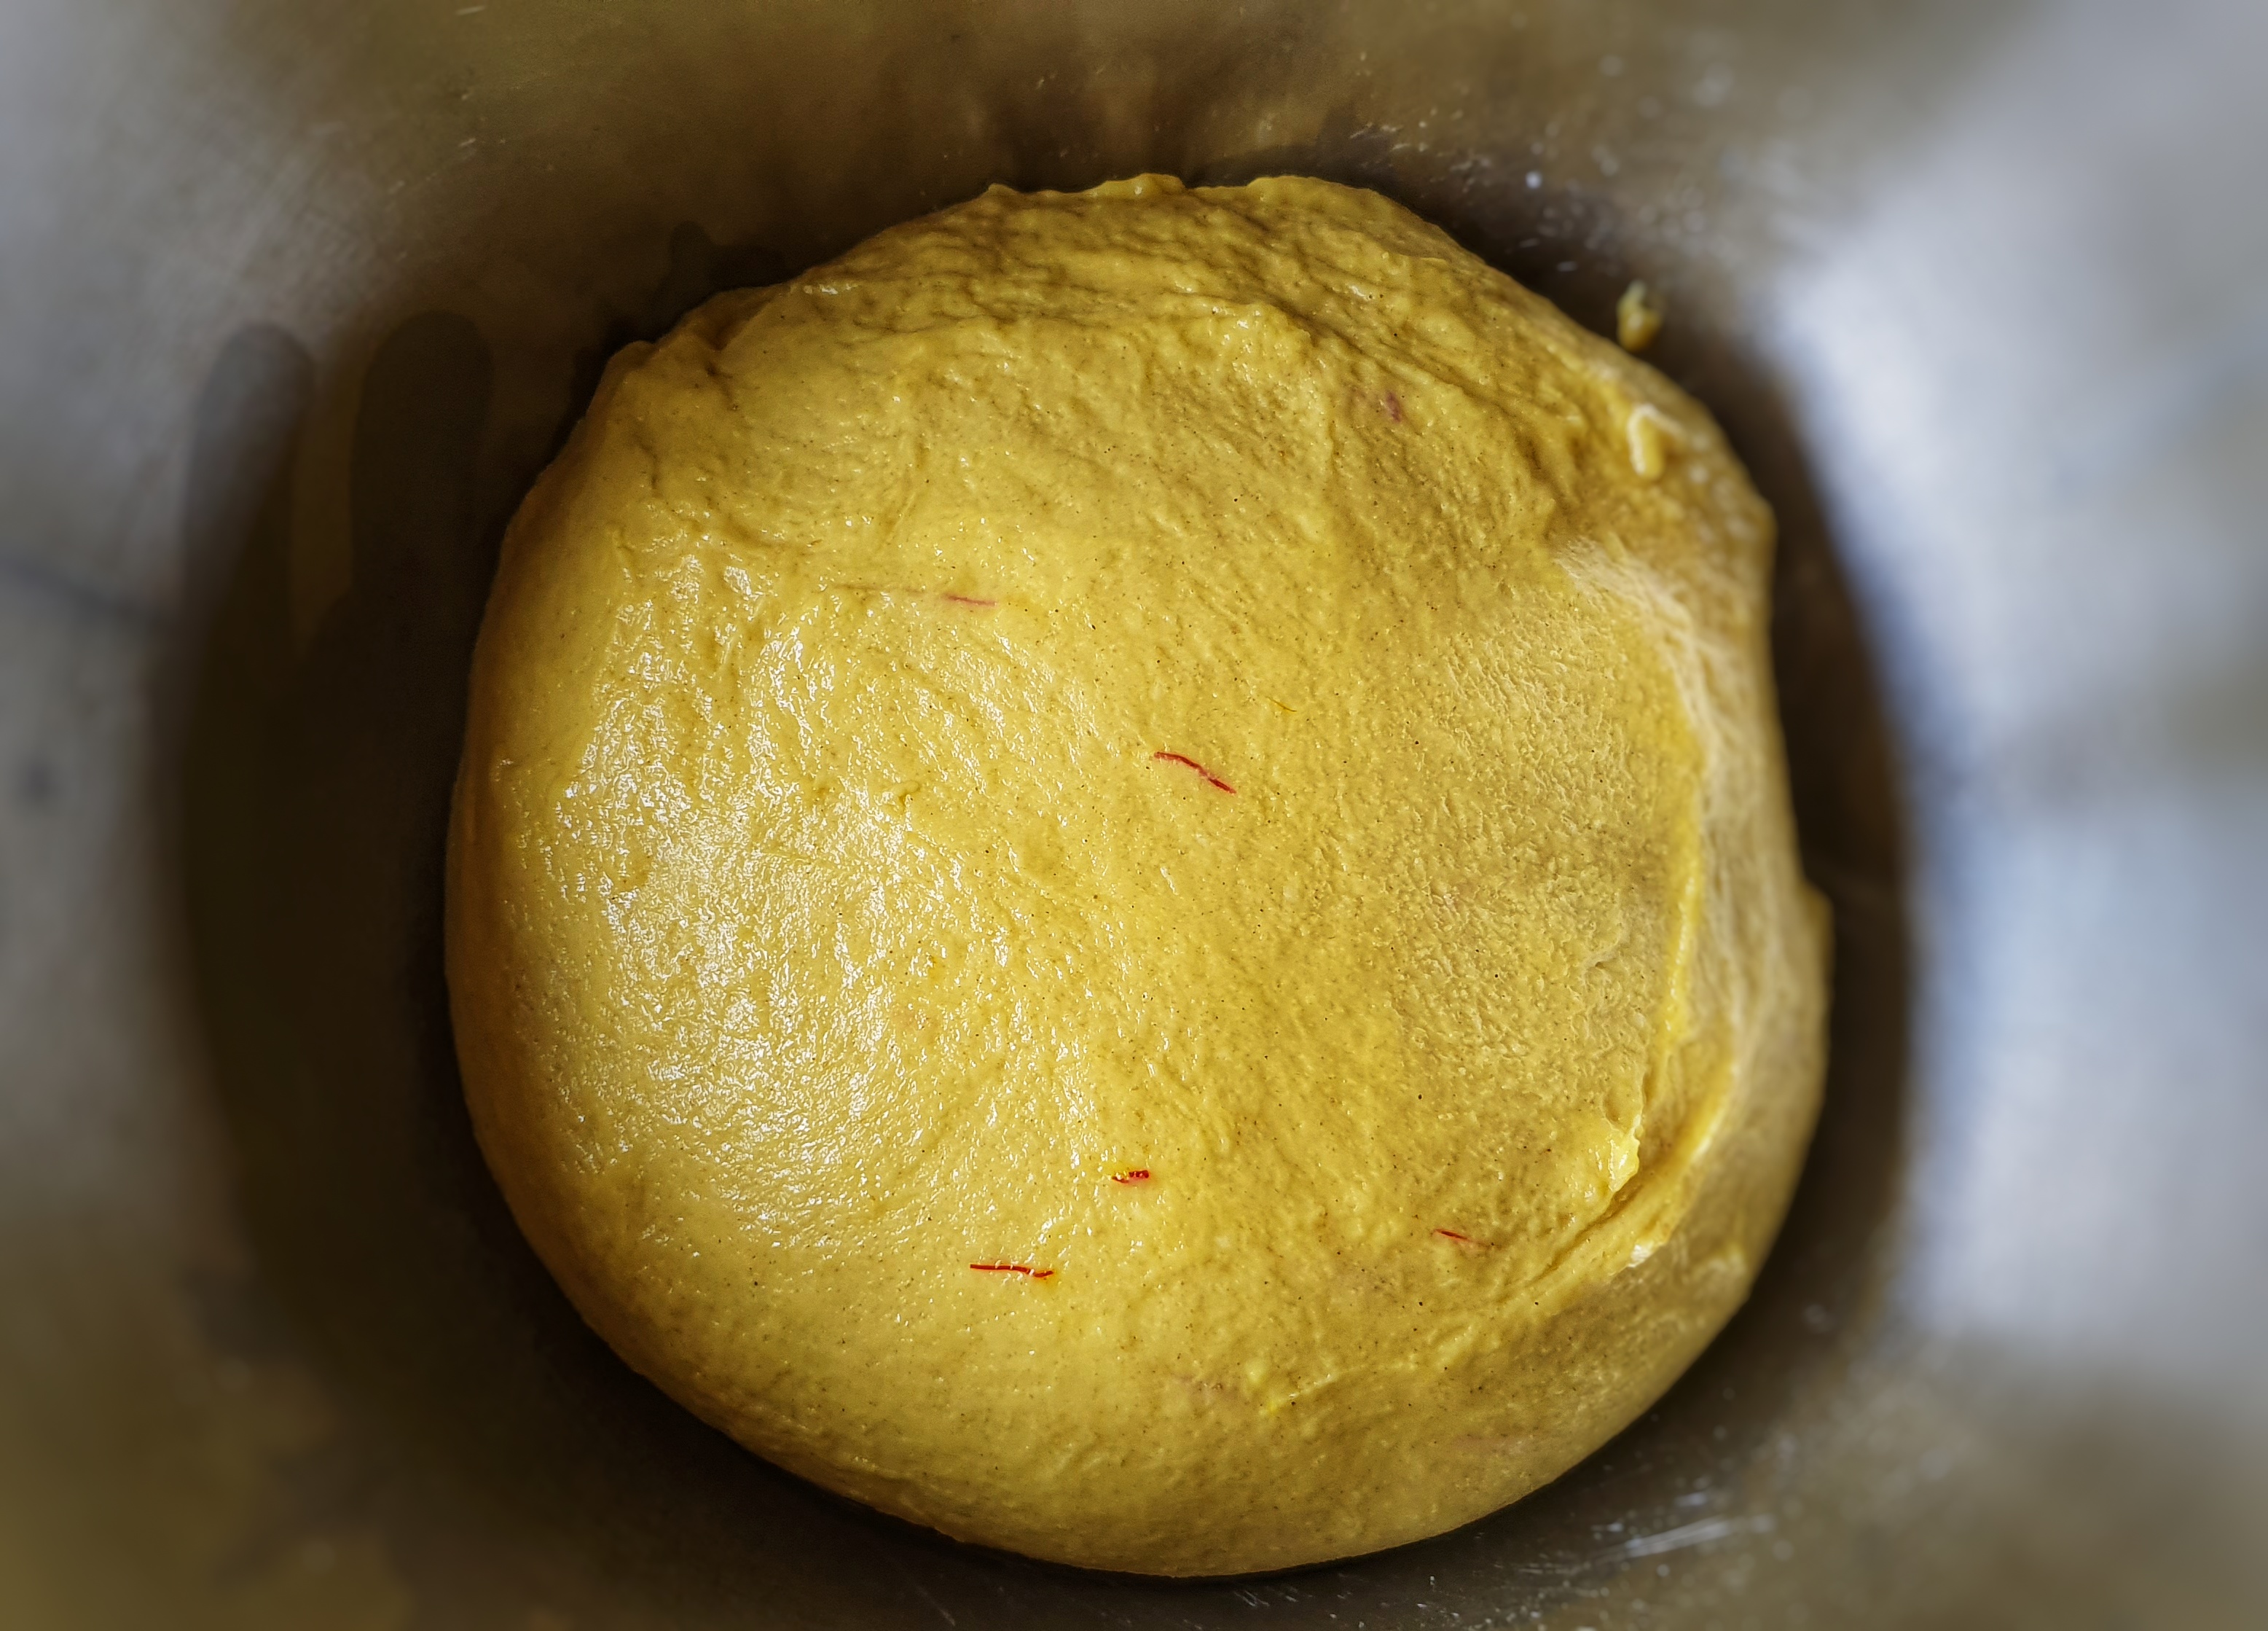
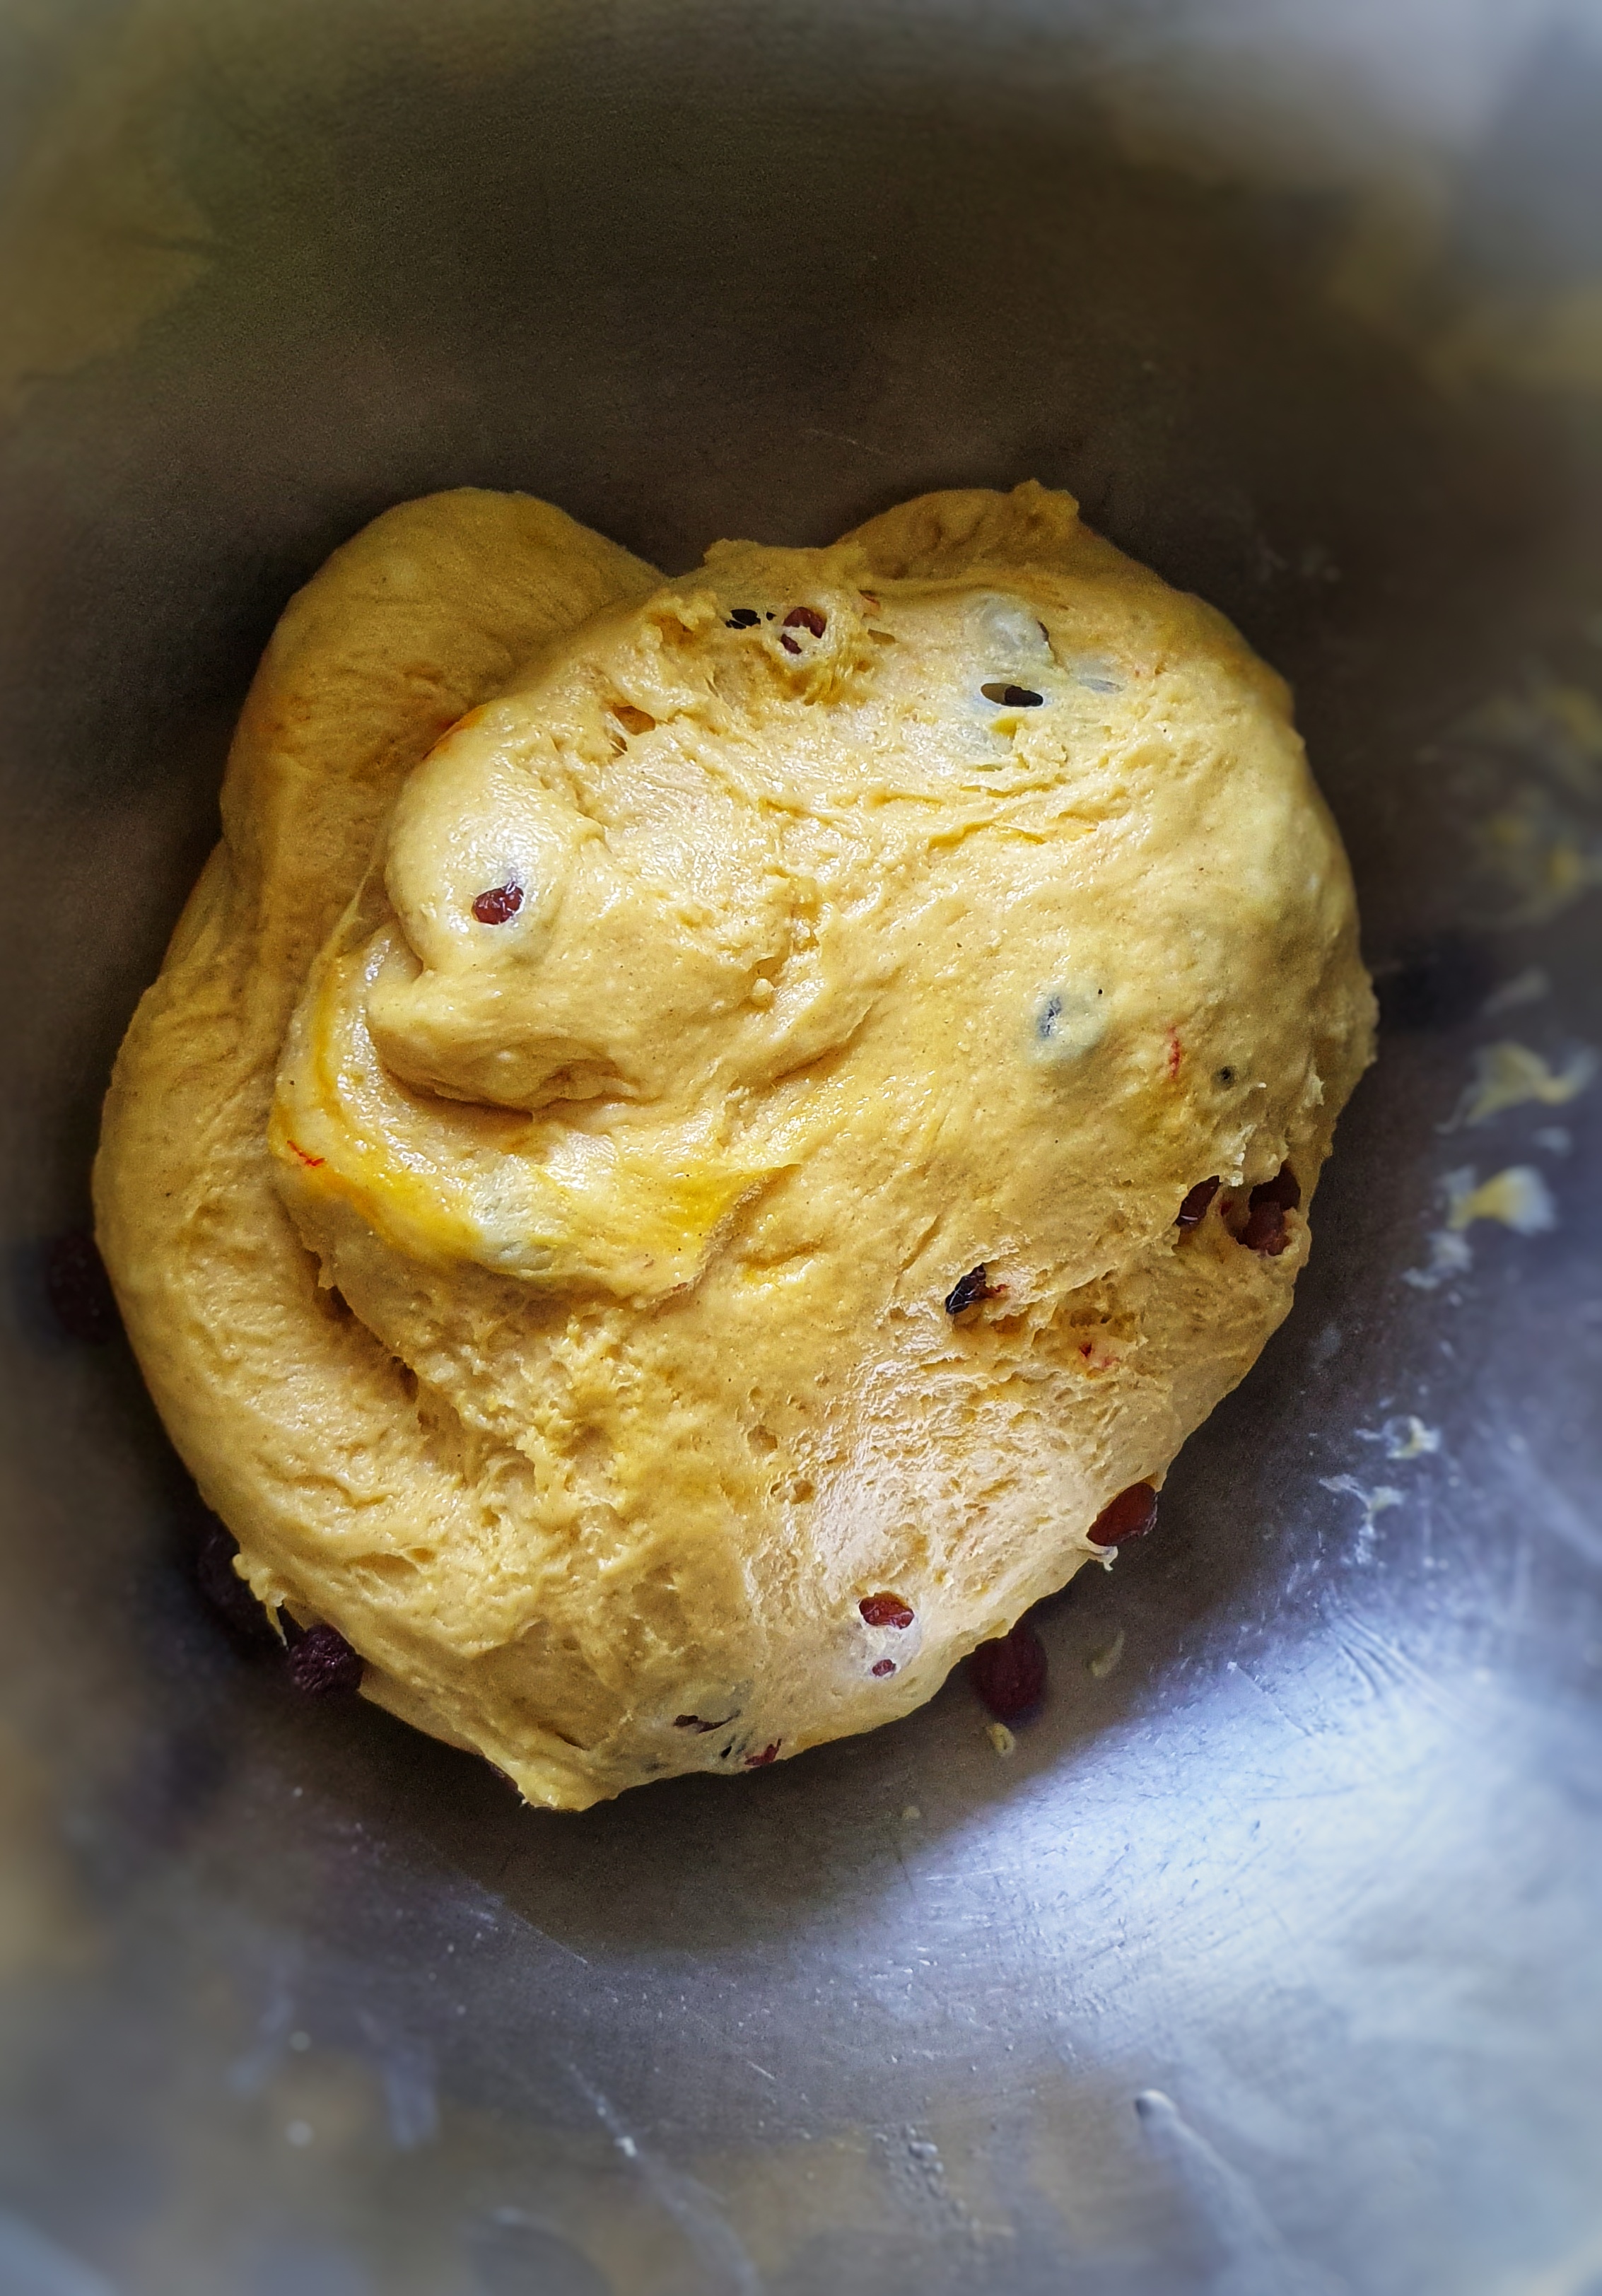
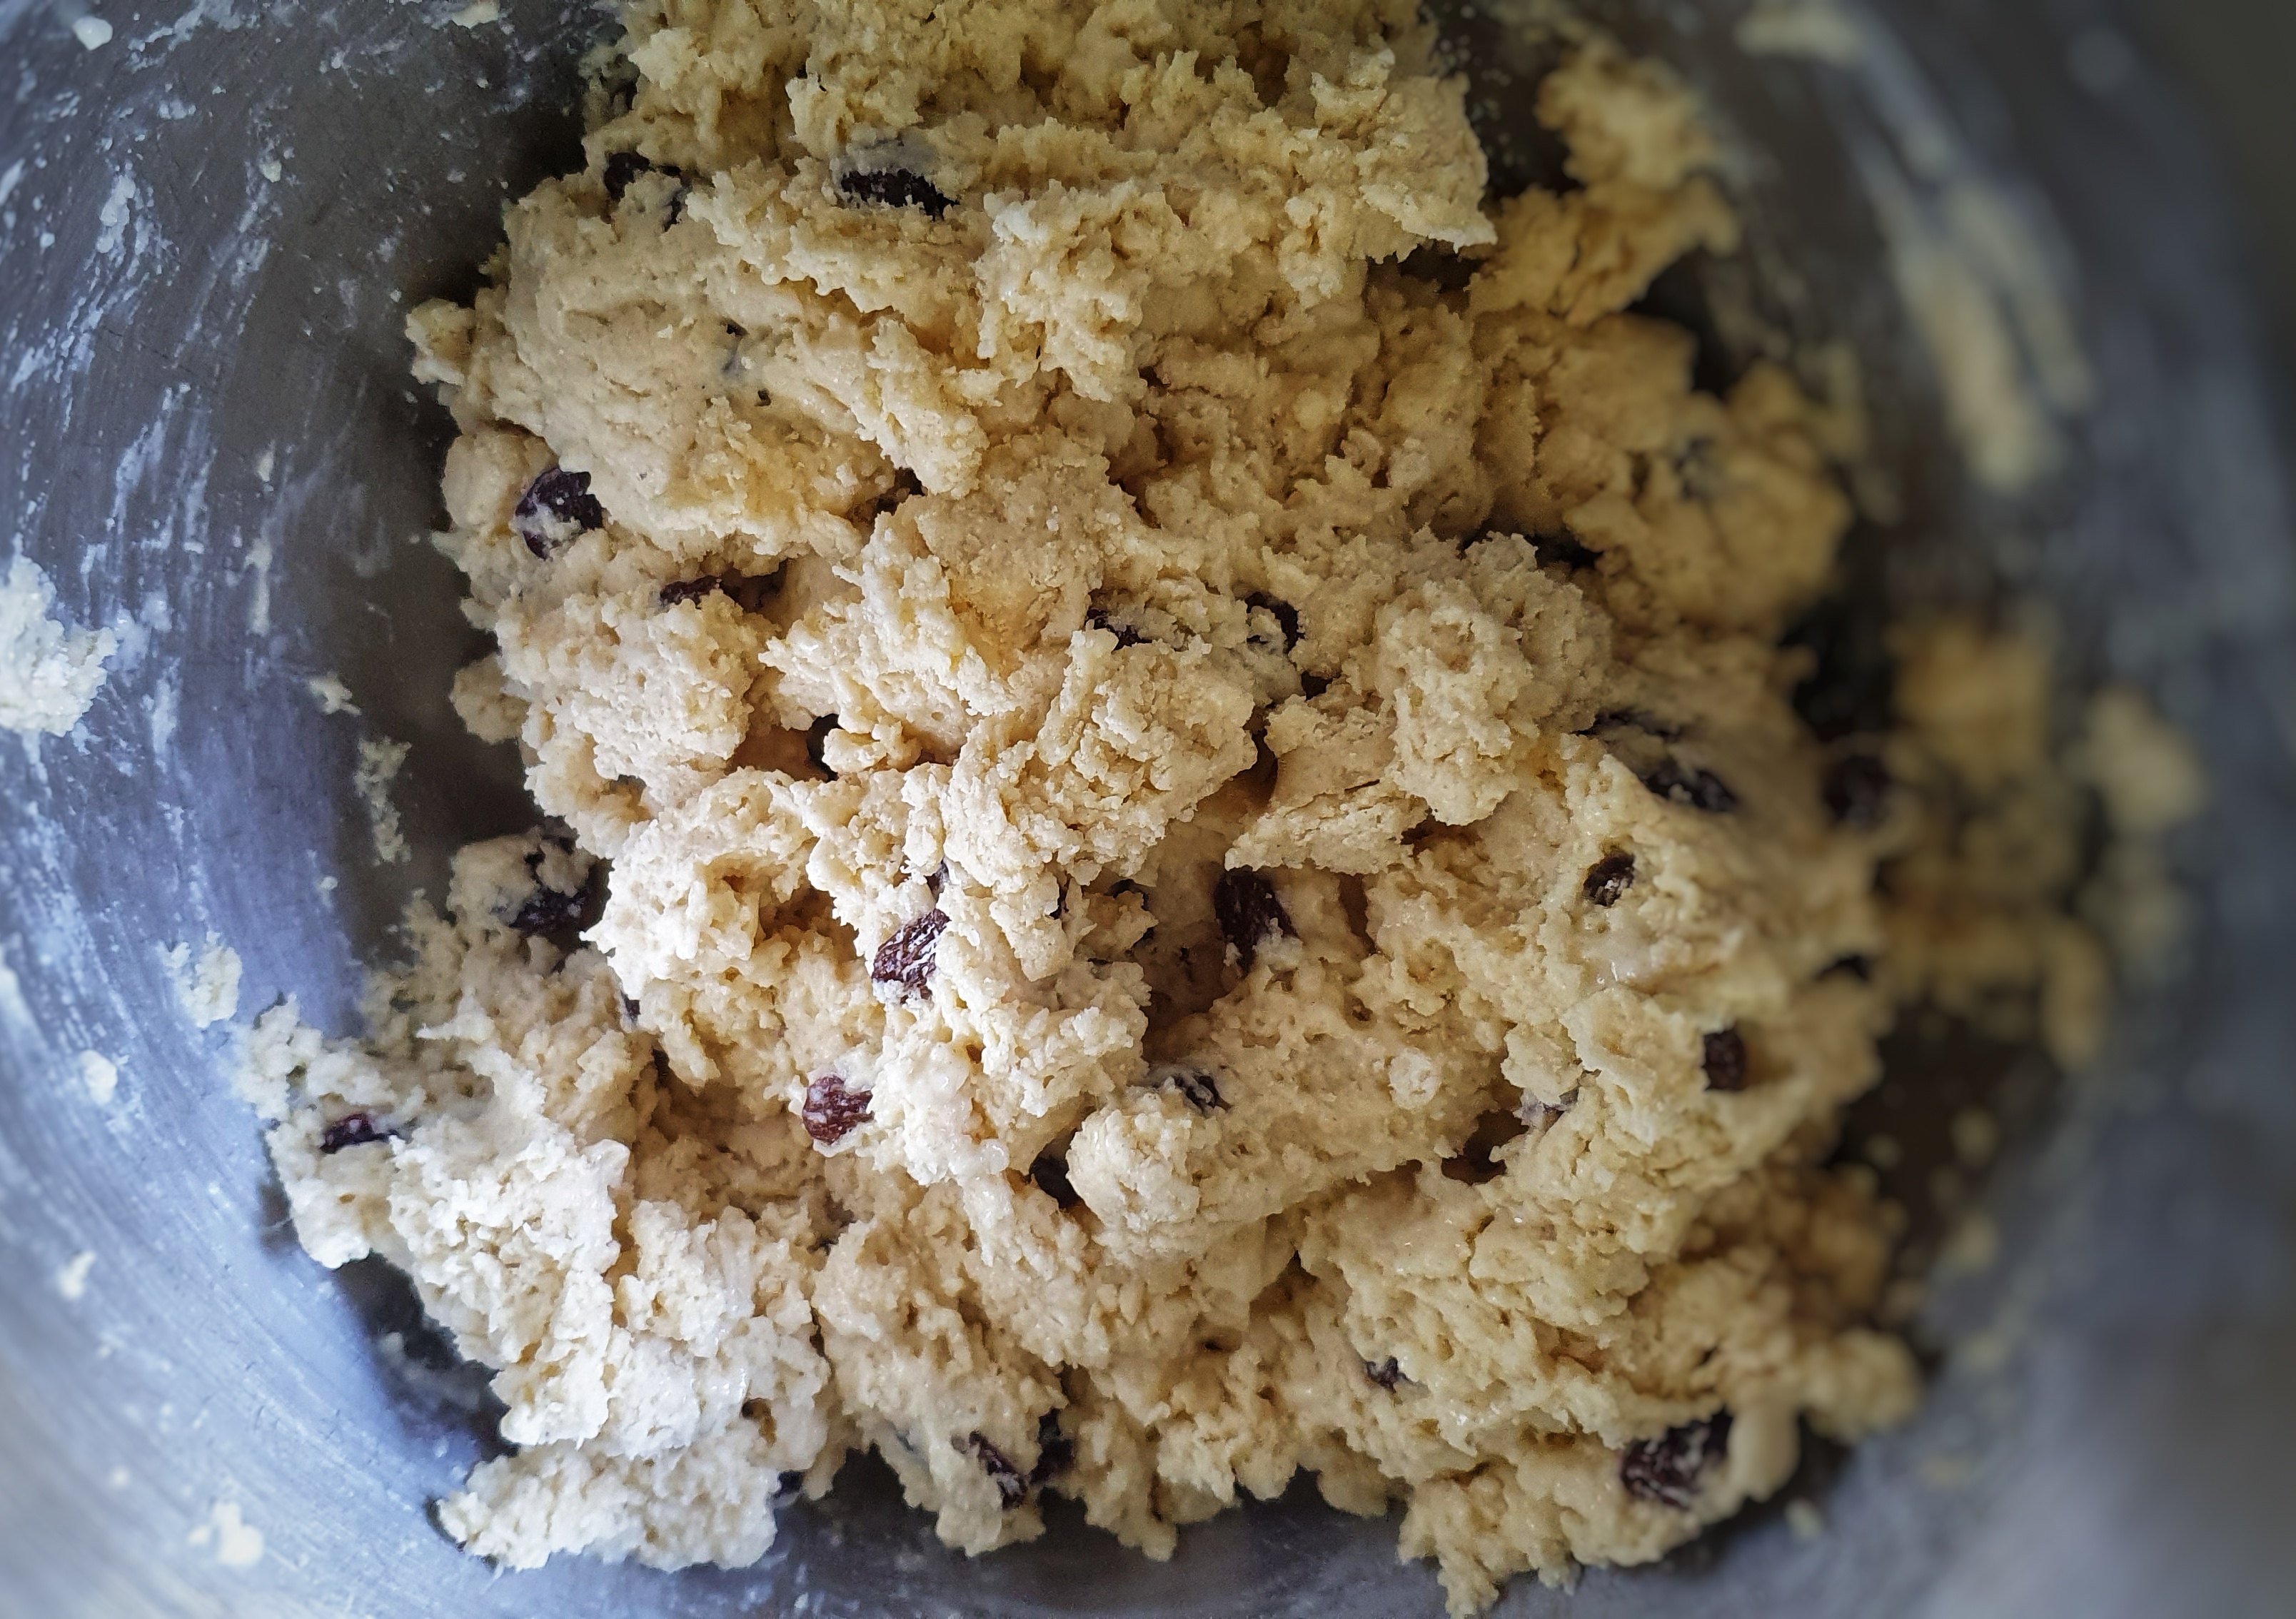
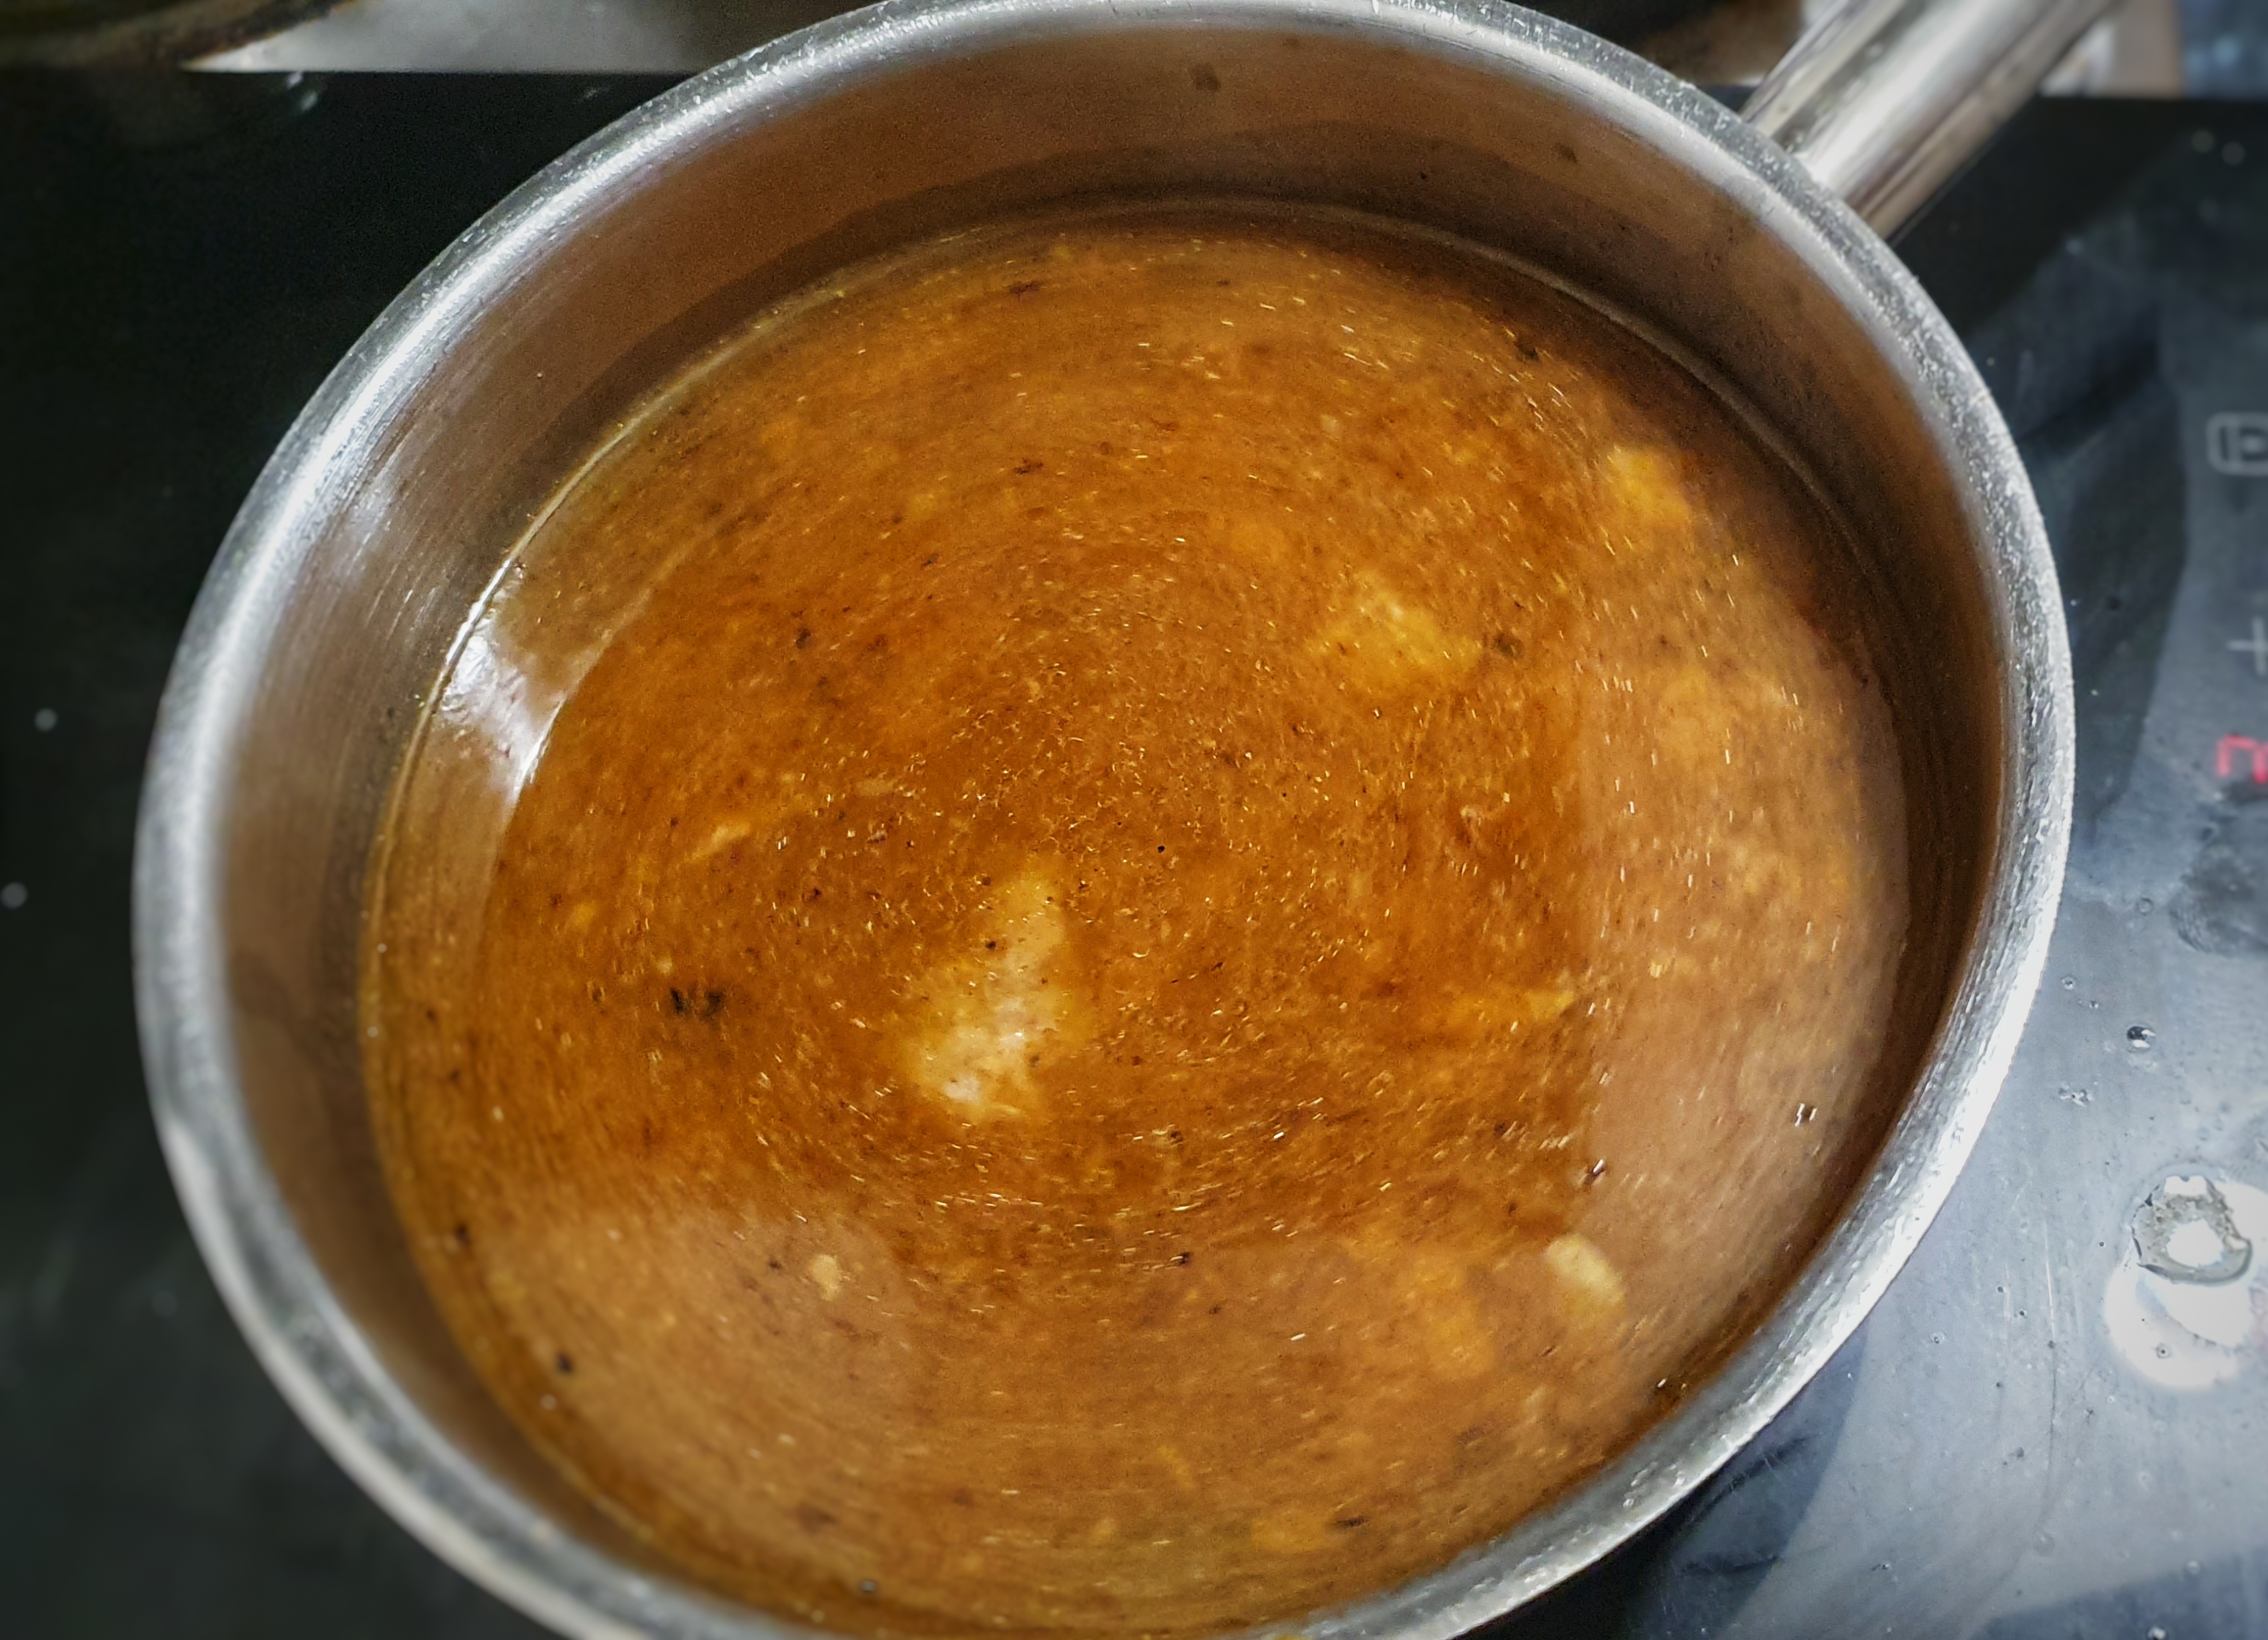
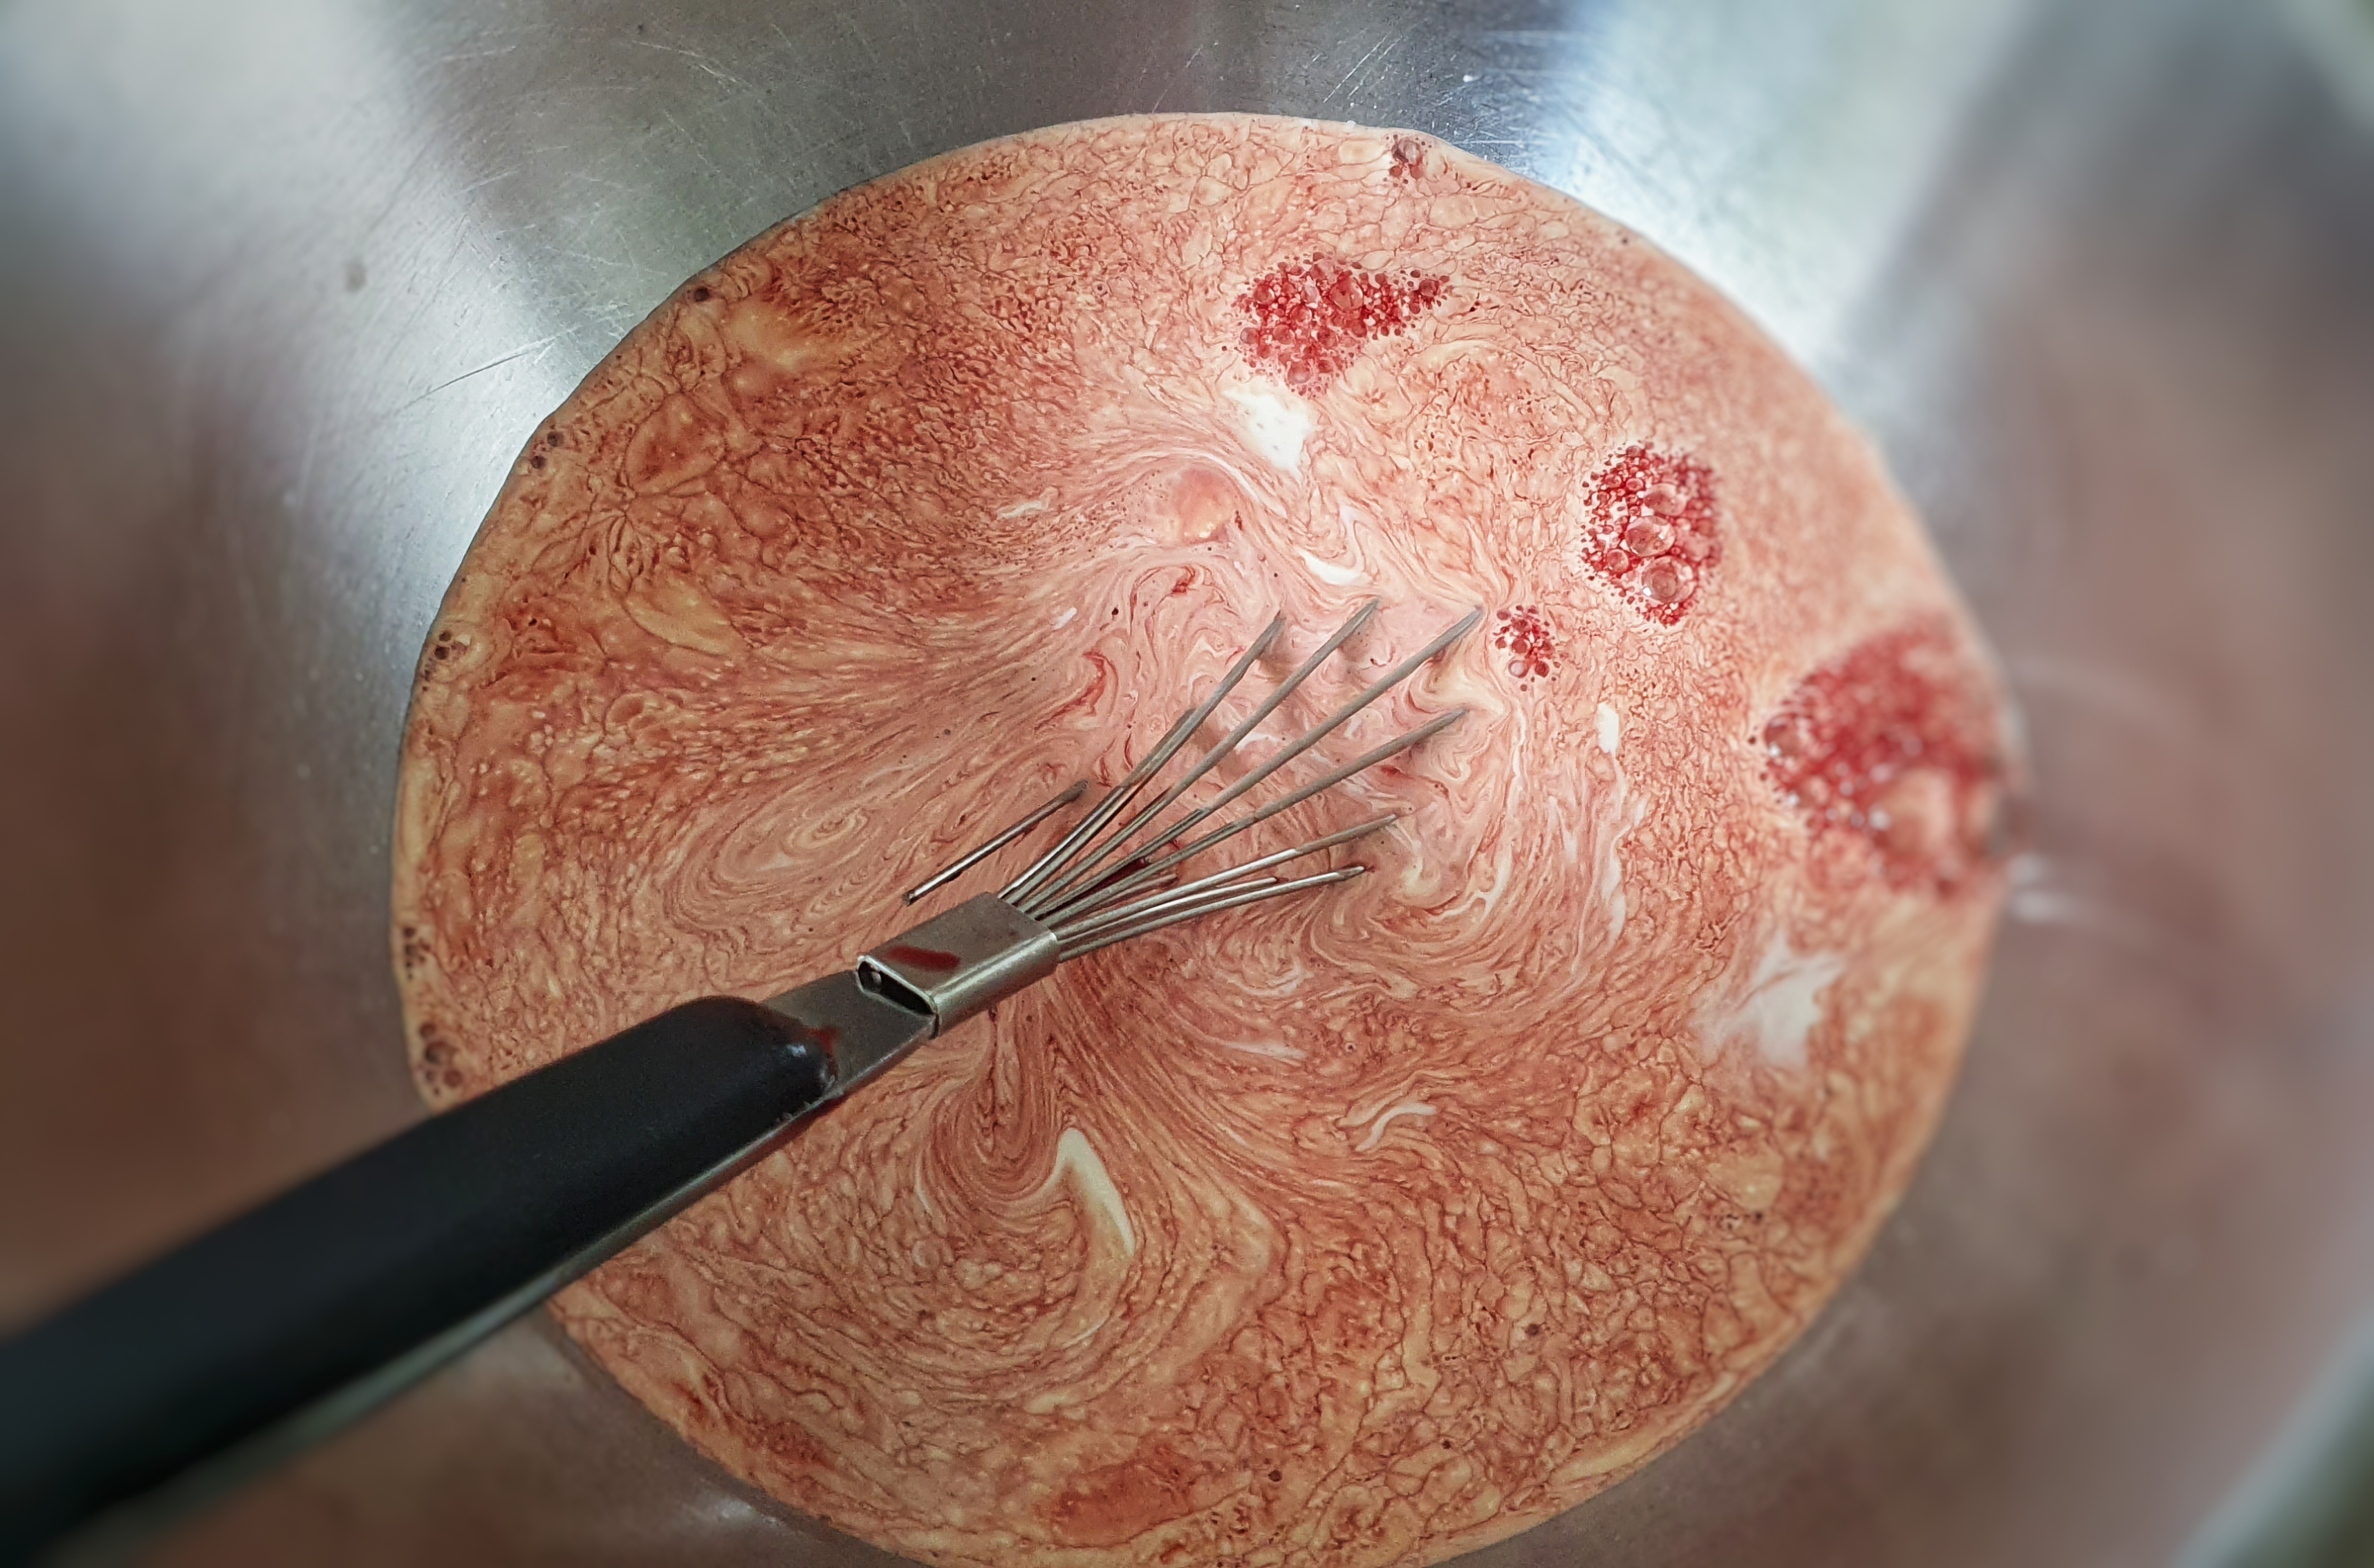
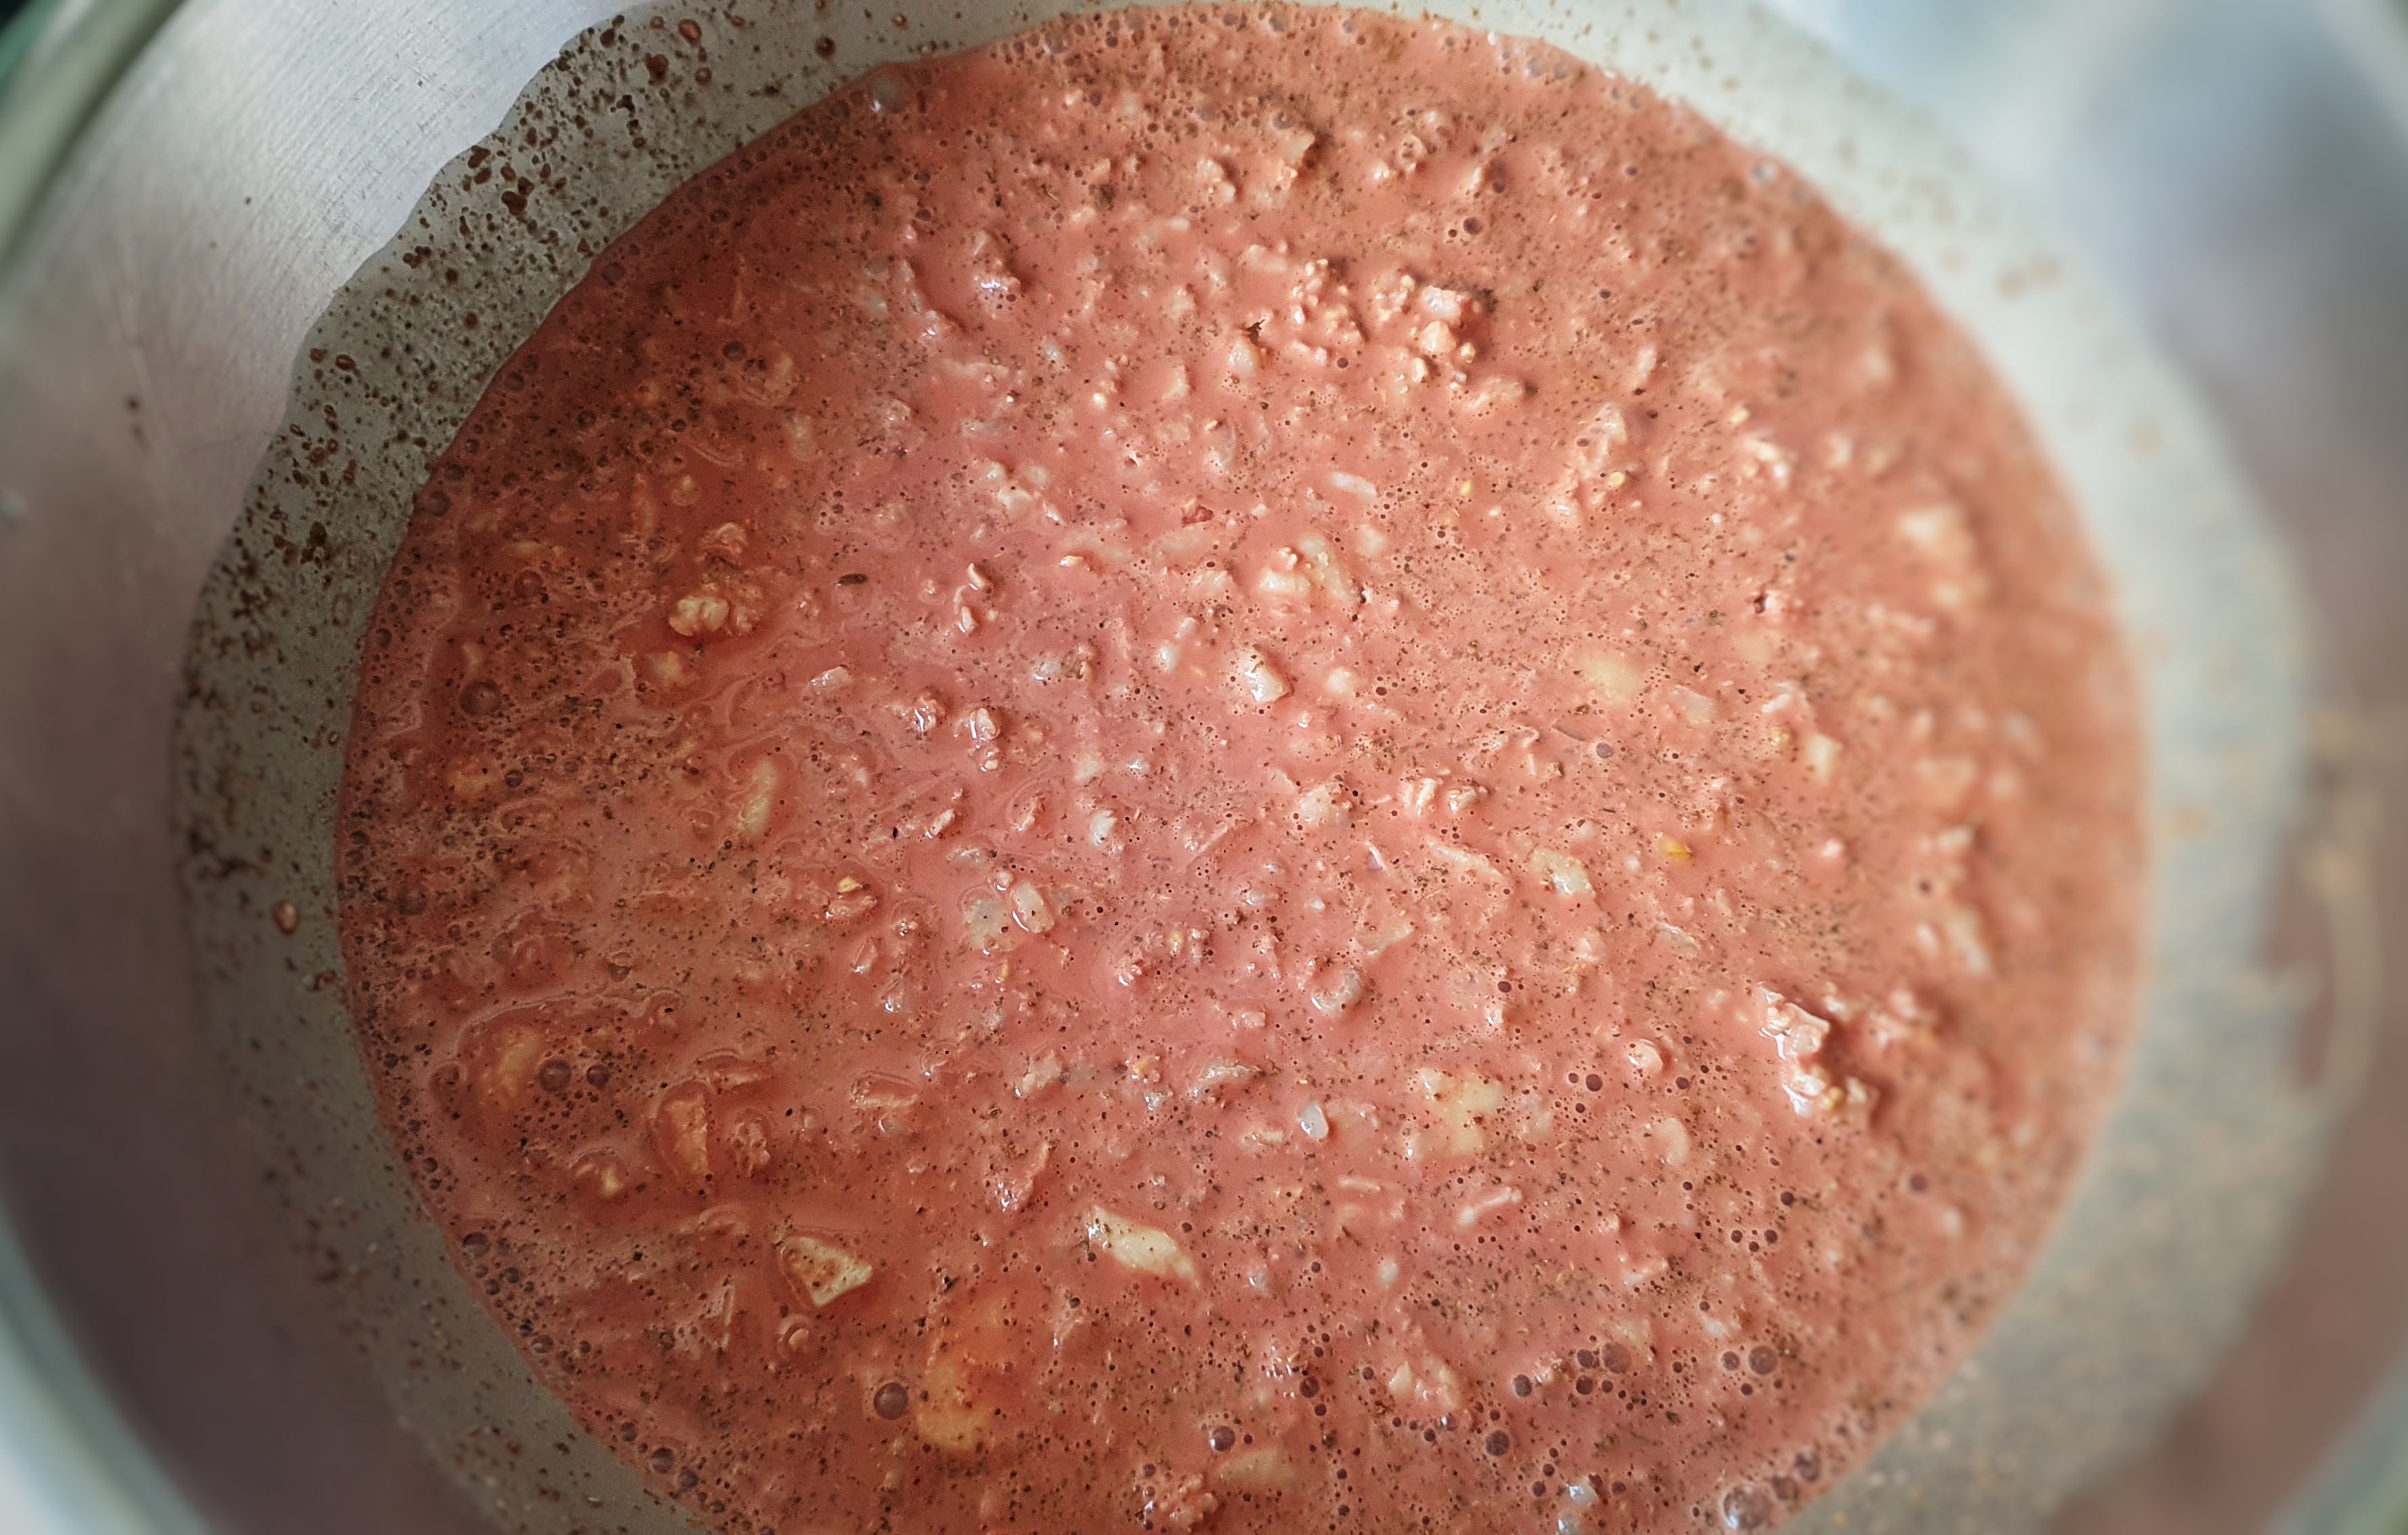
Next day, place all of the ingredients (aside from the casings, if using) in a large mixing bowl. Combine and allow everything to mingle, dissolve and absorb; around an hour – or more if you have the time.[6]
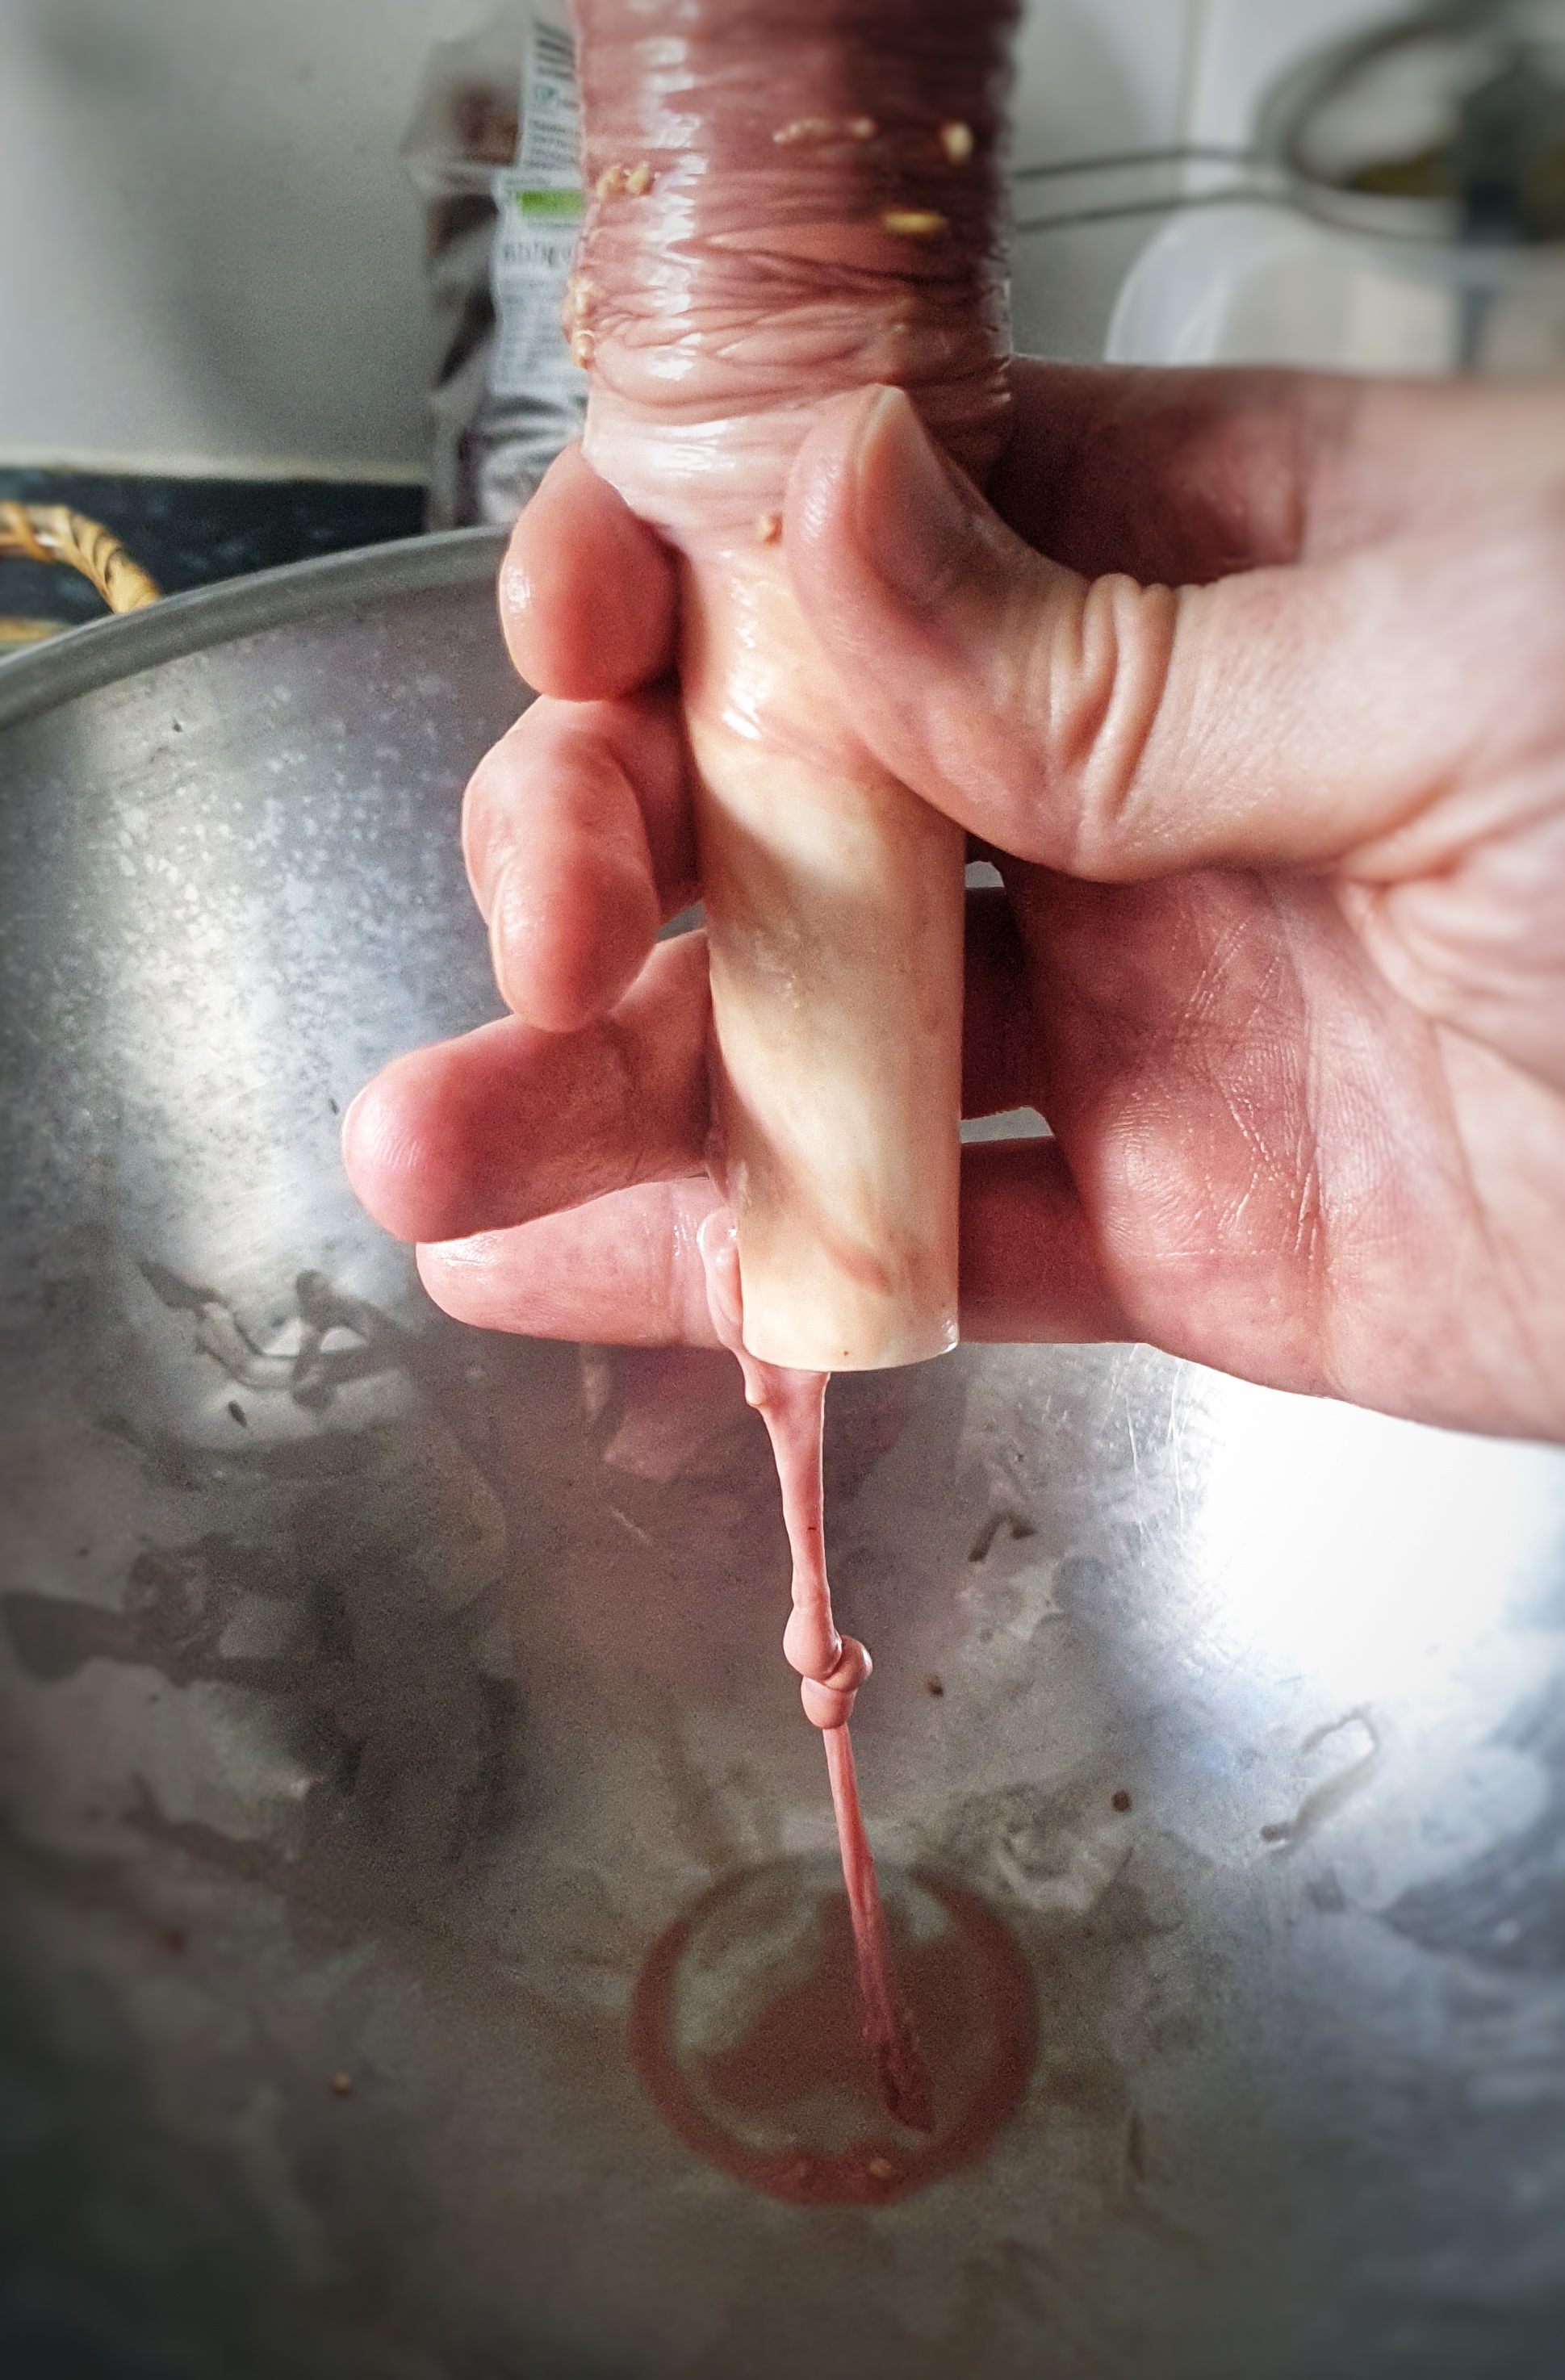
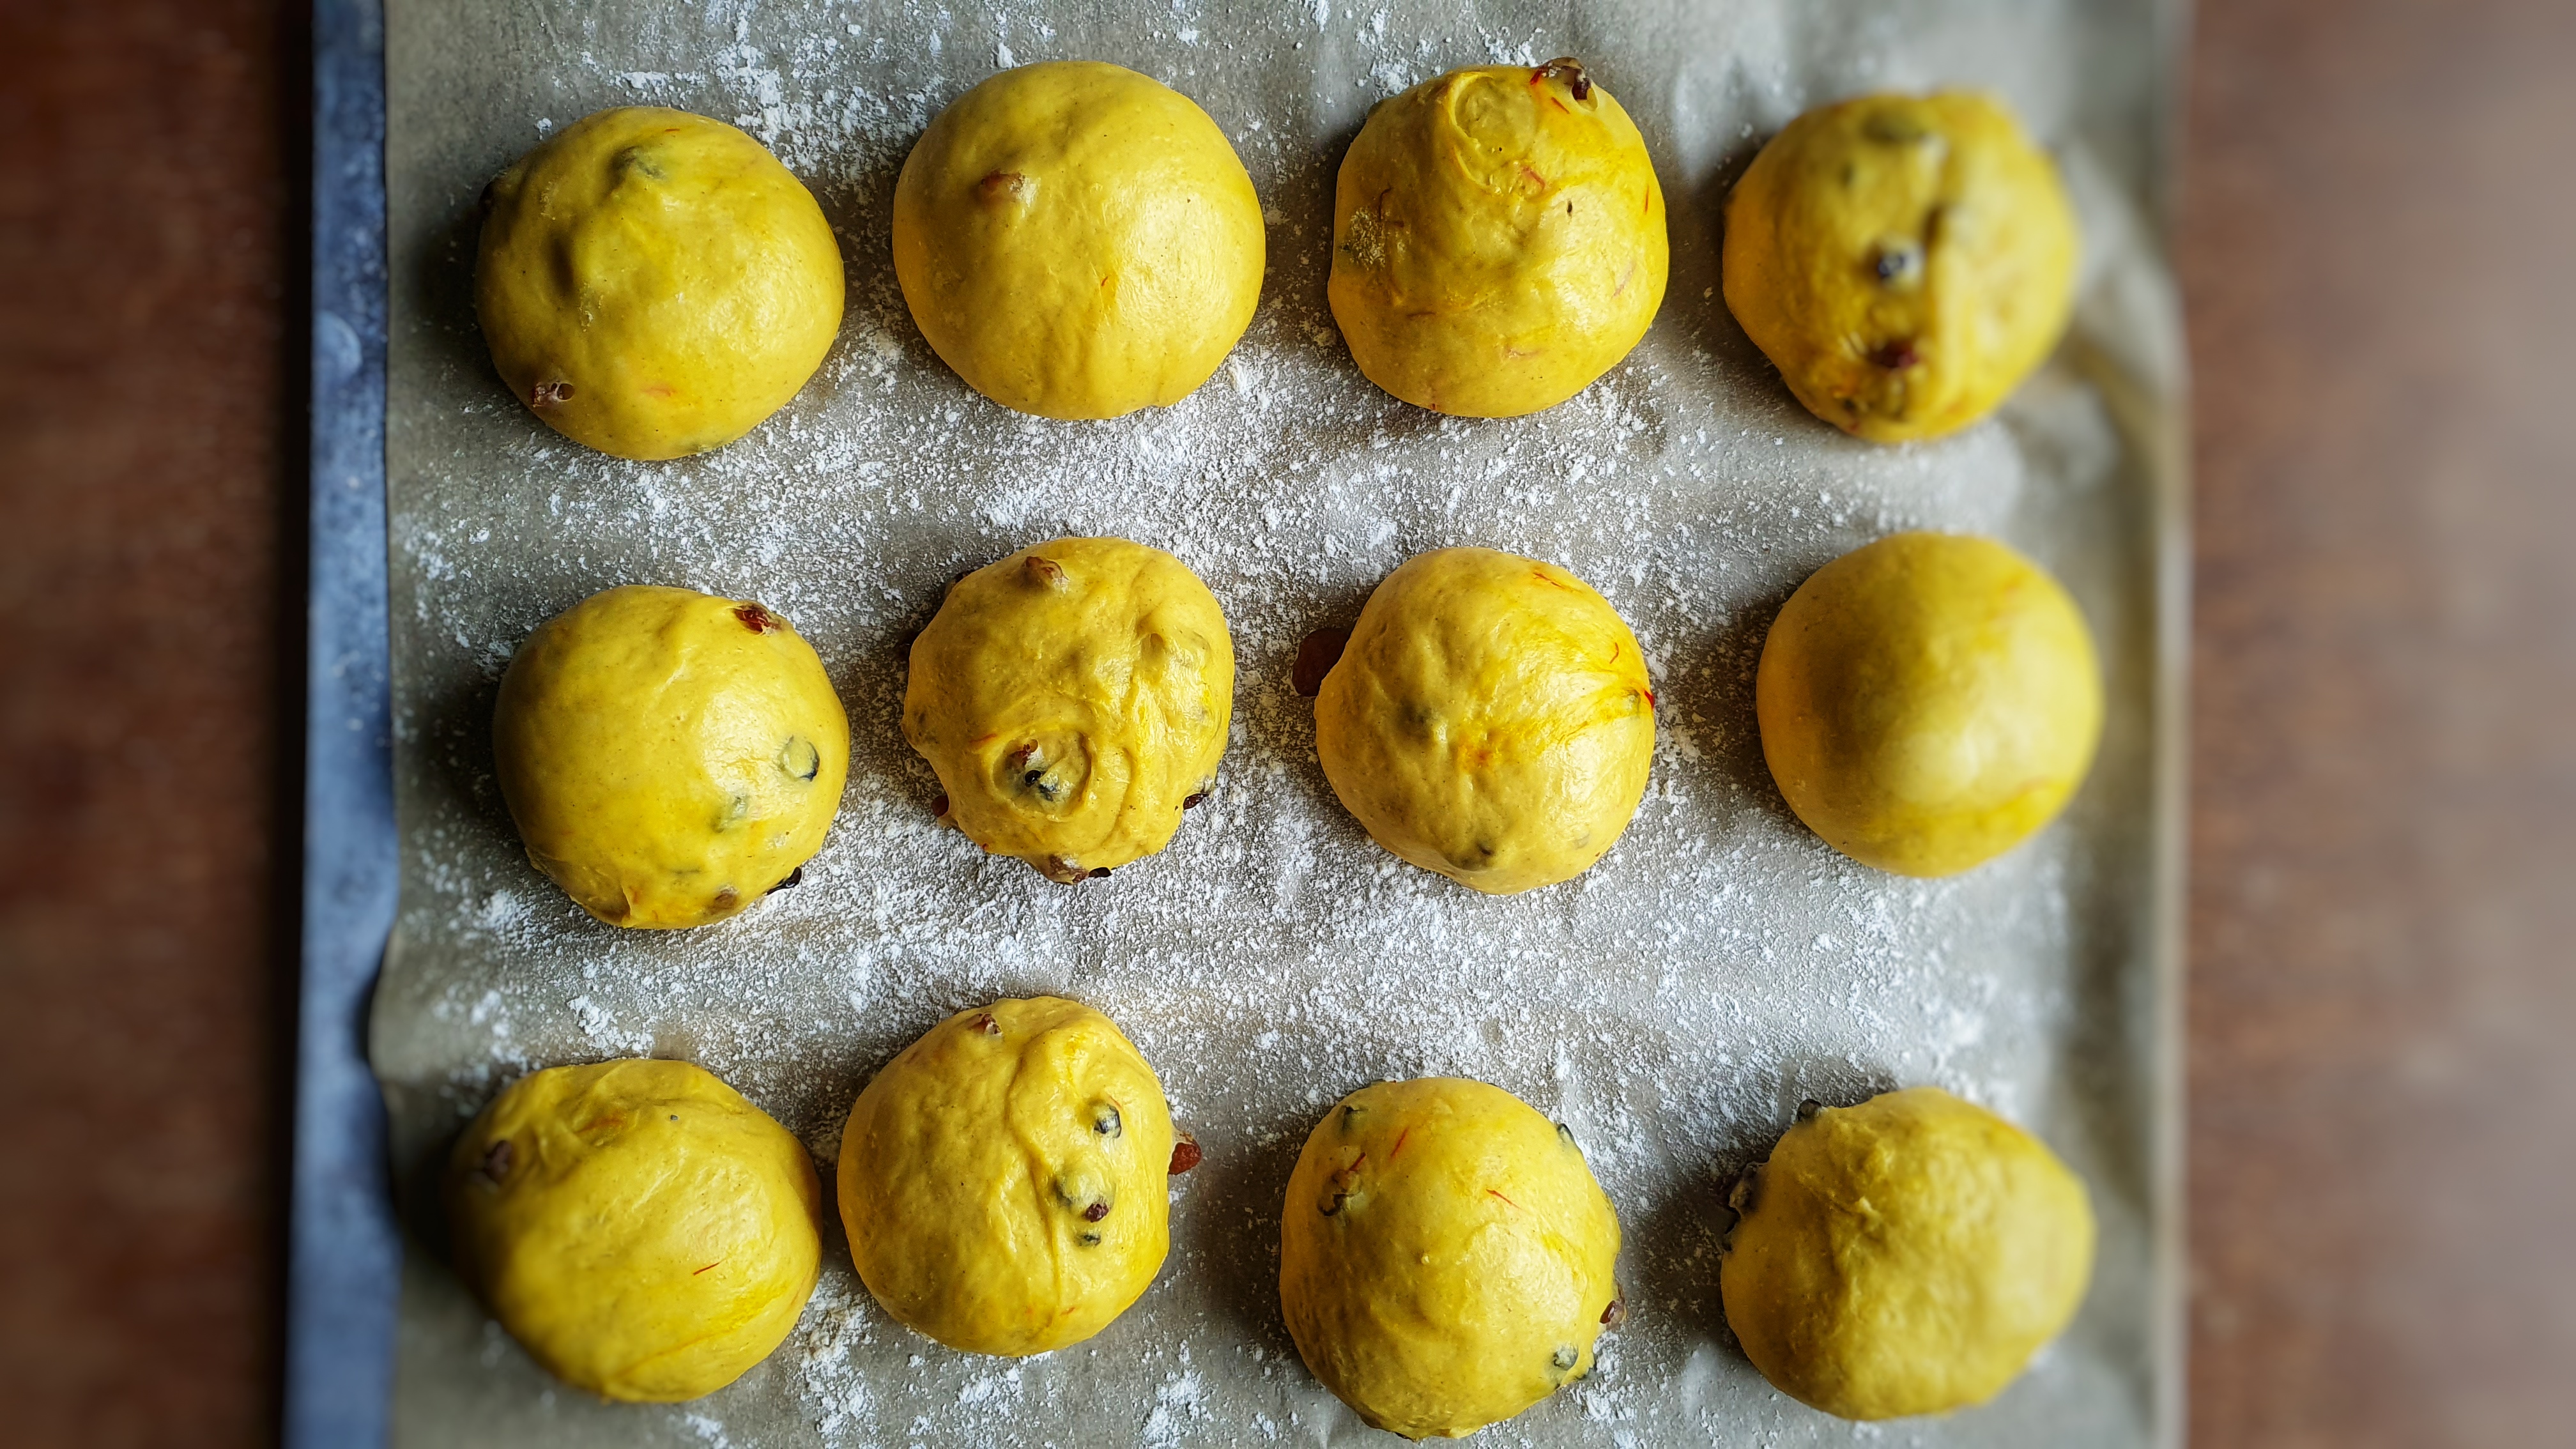
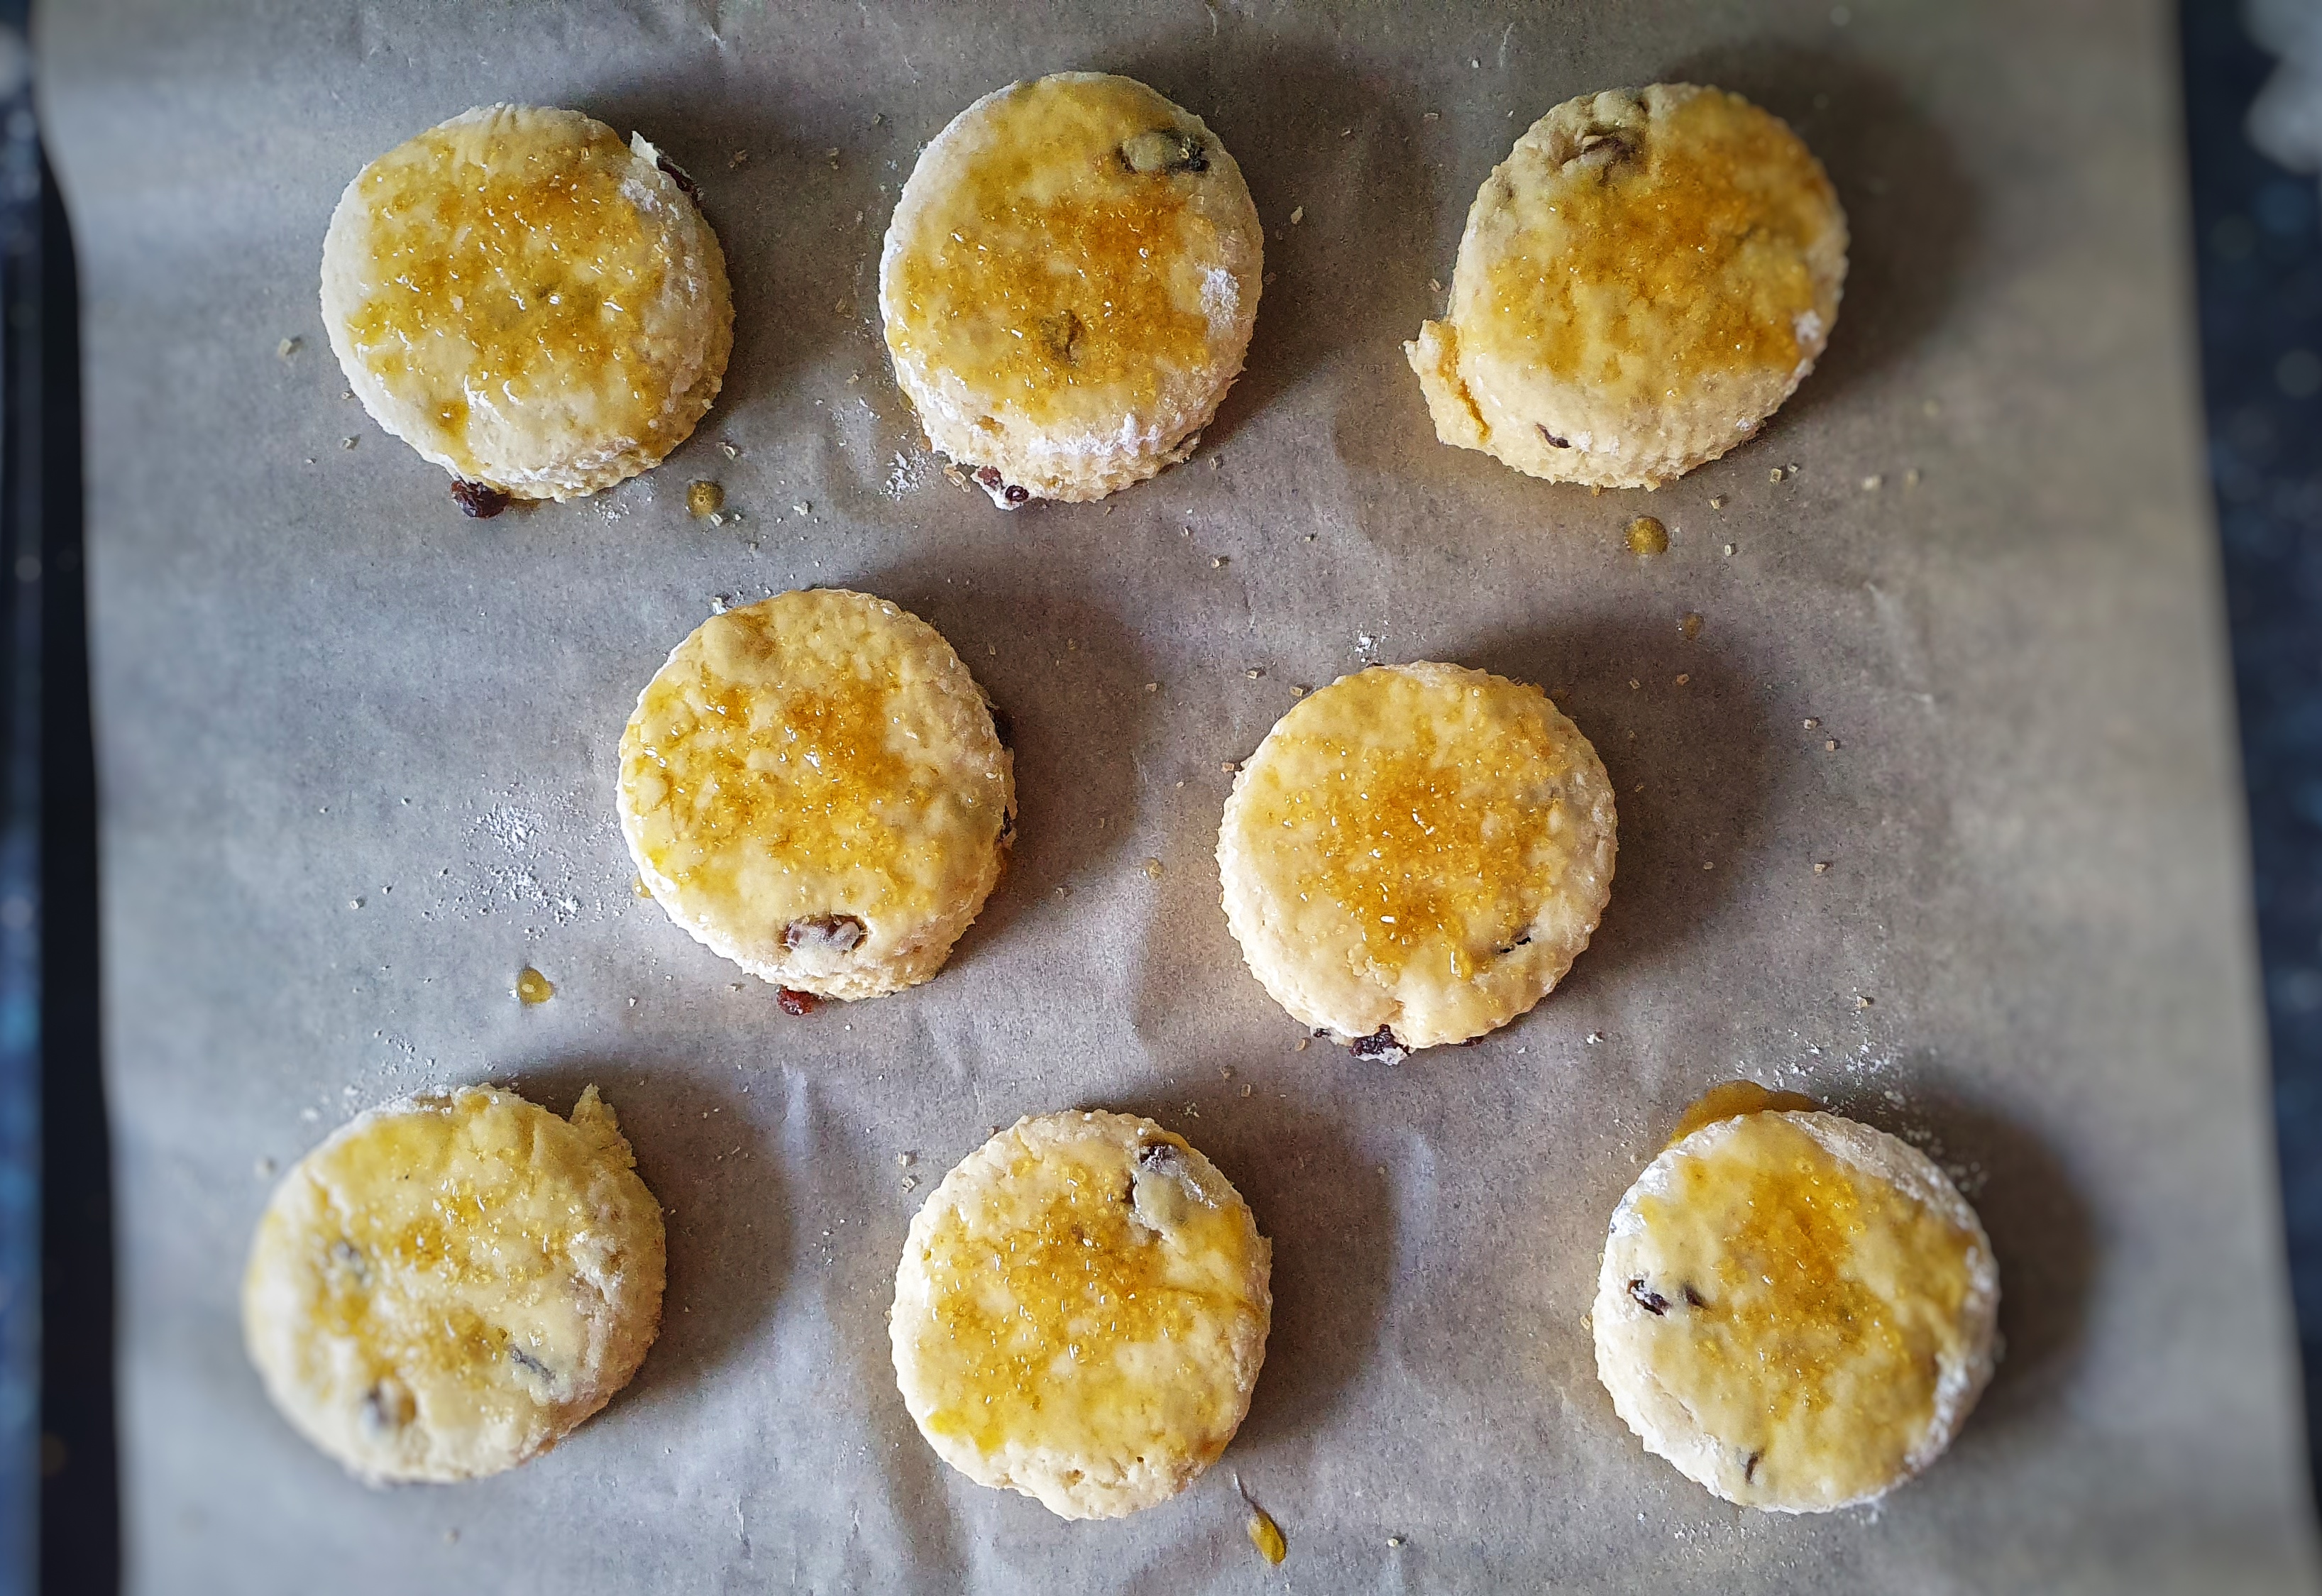
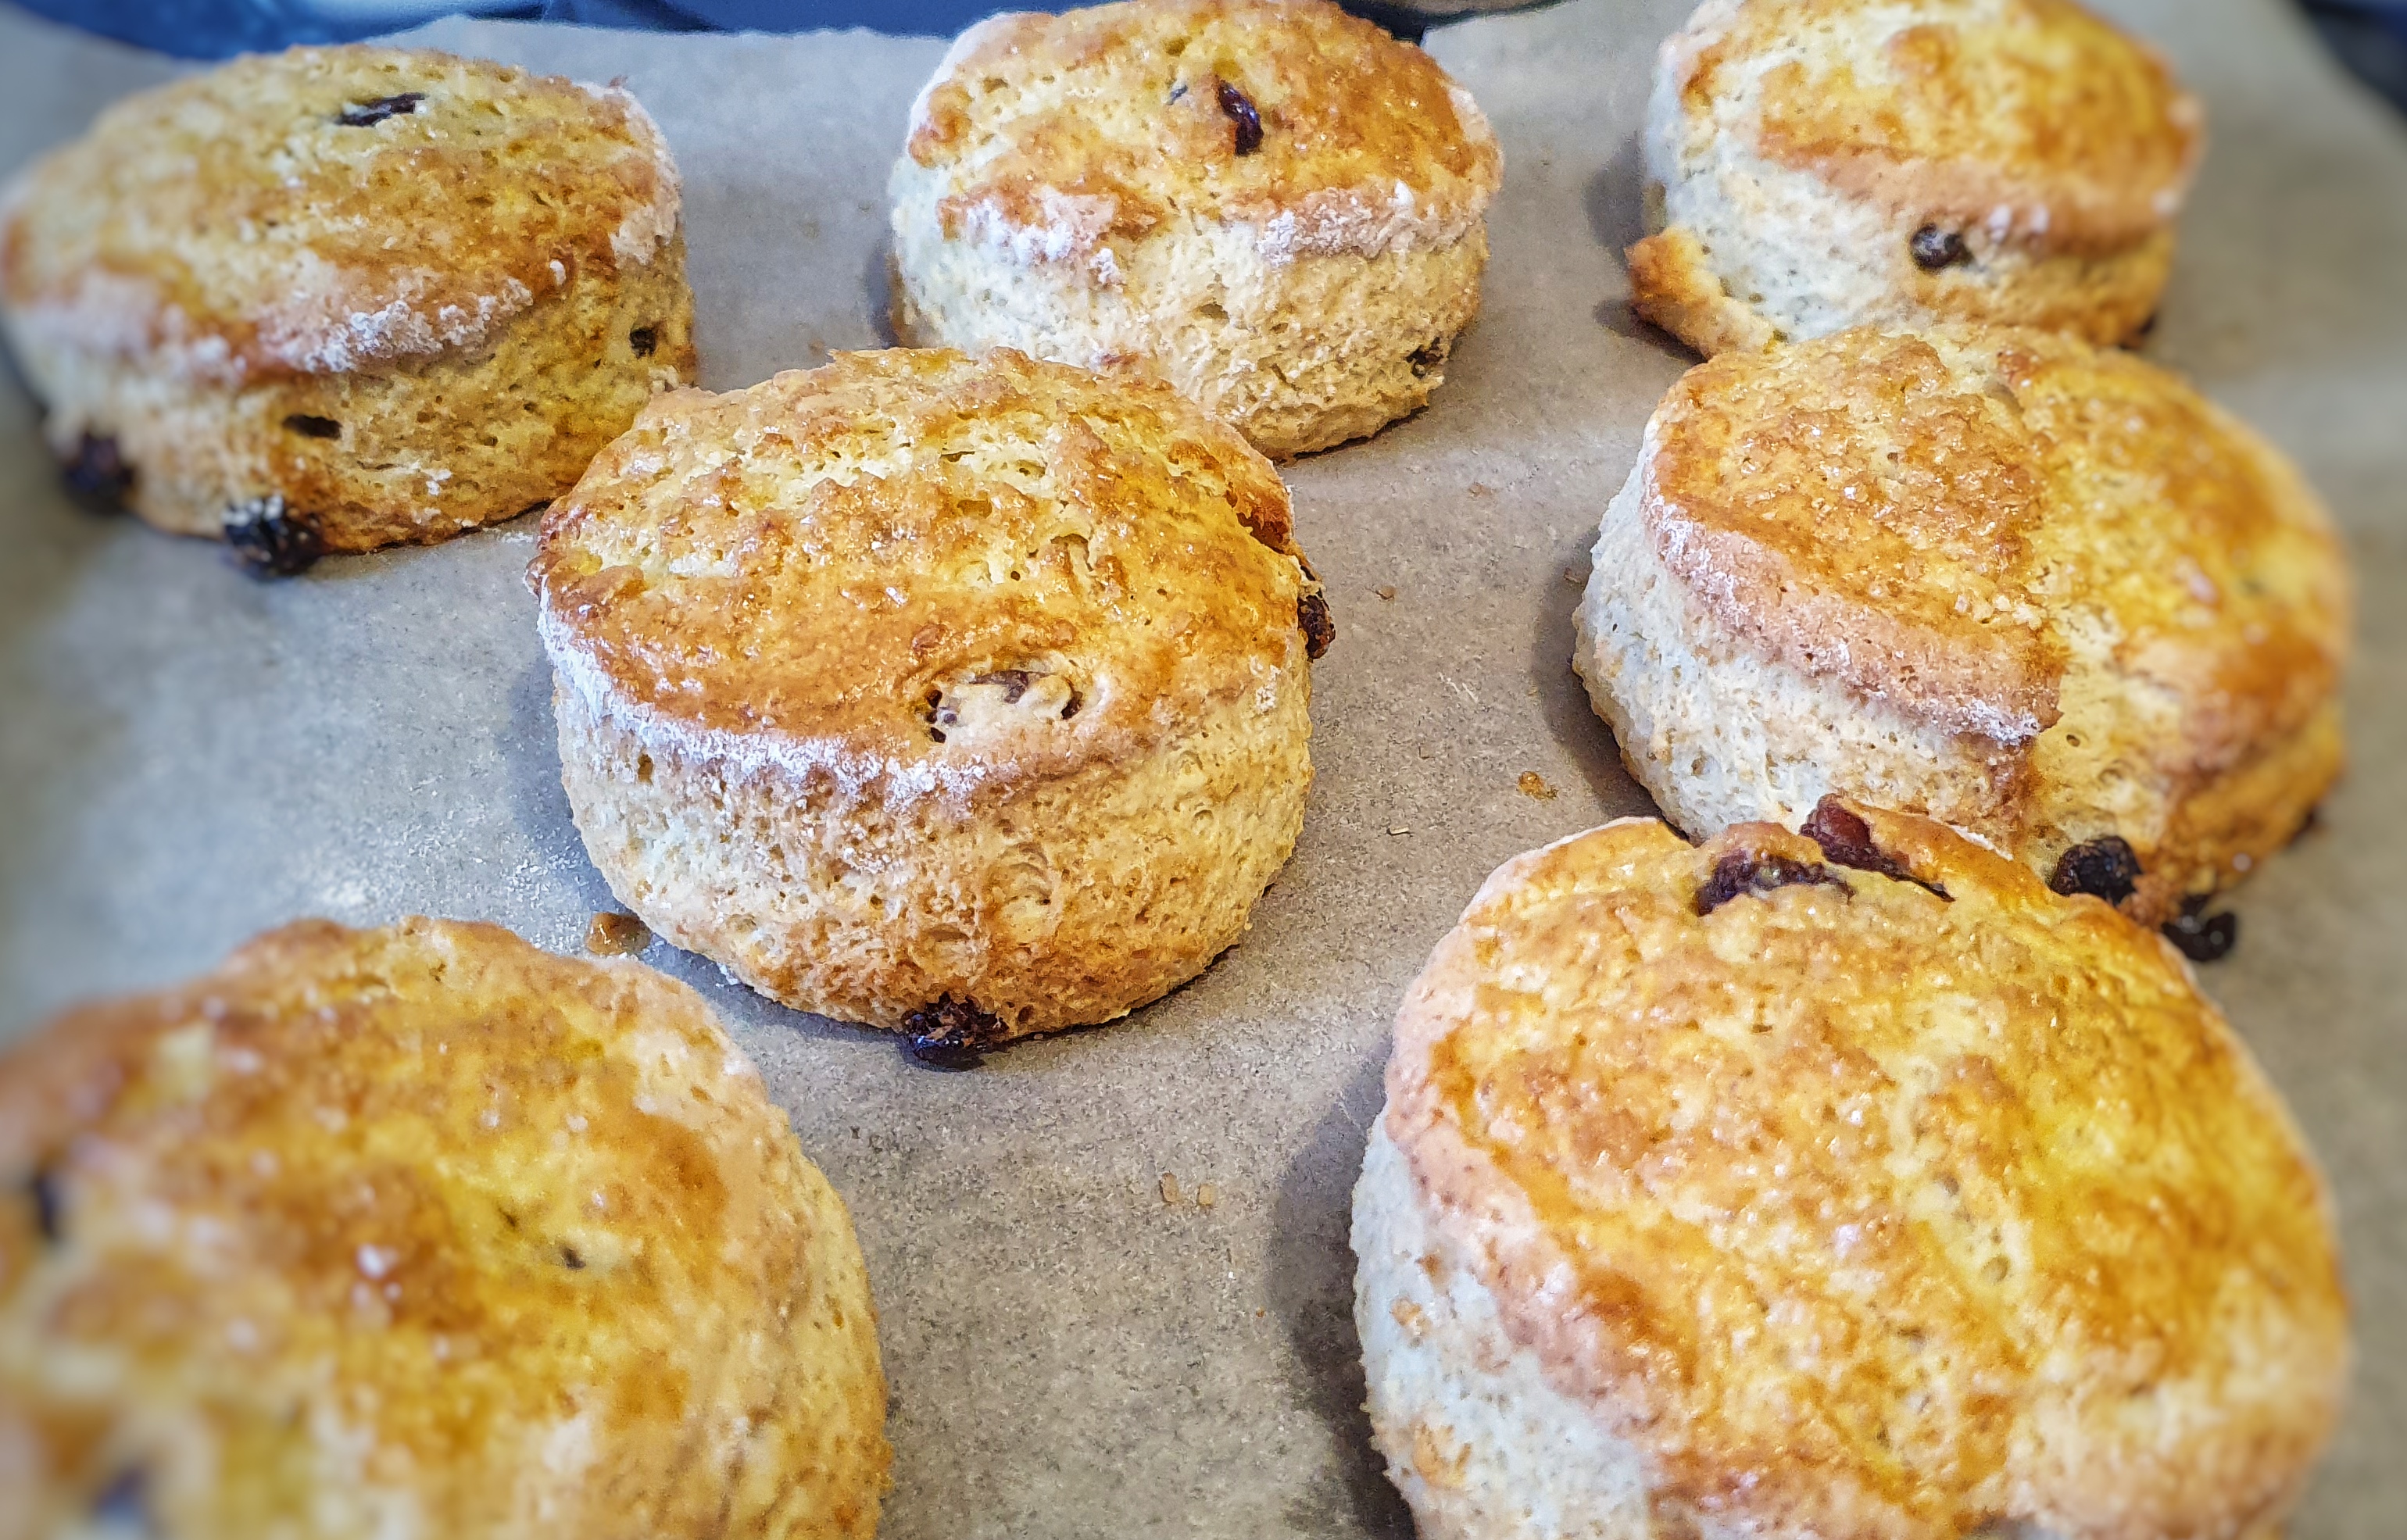
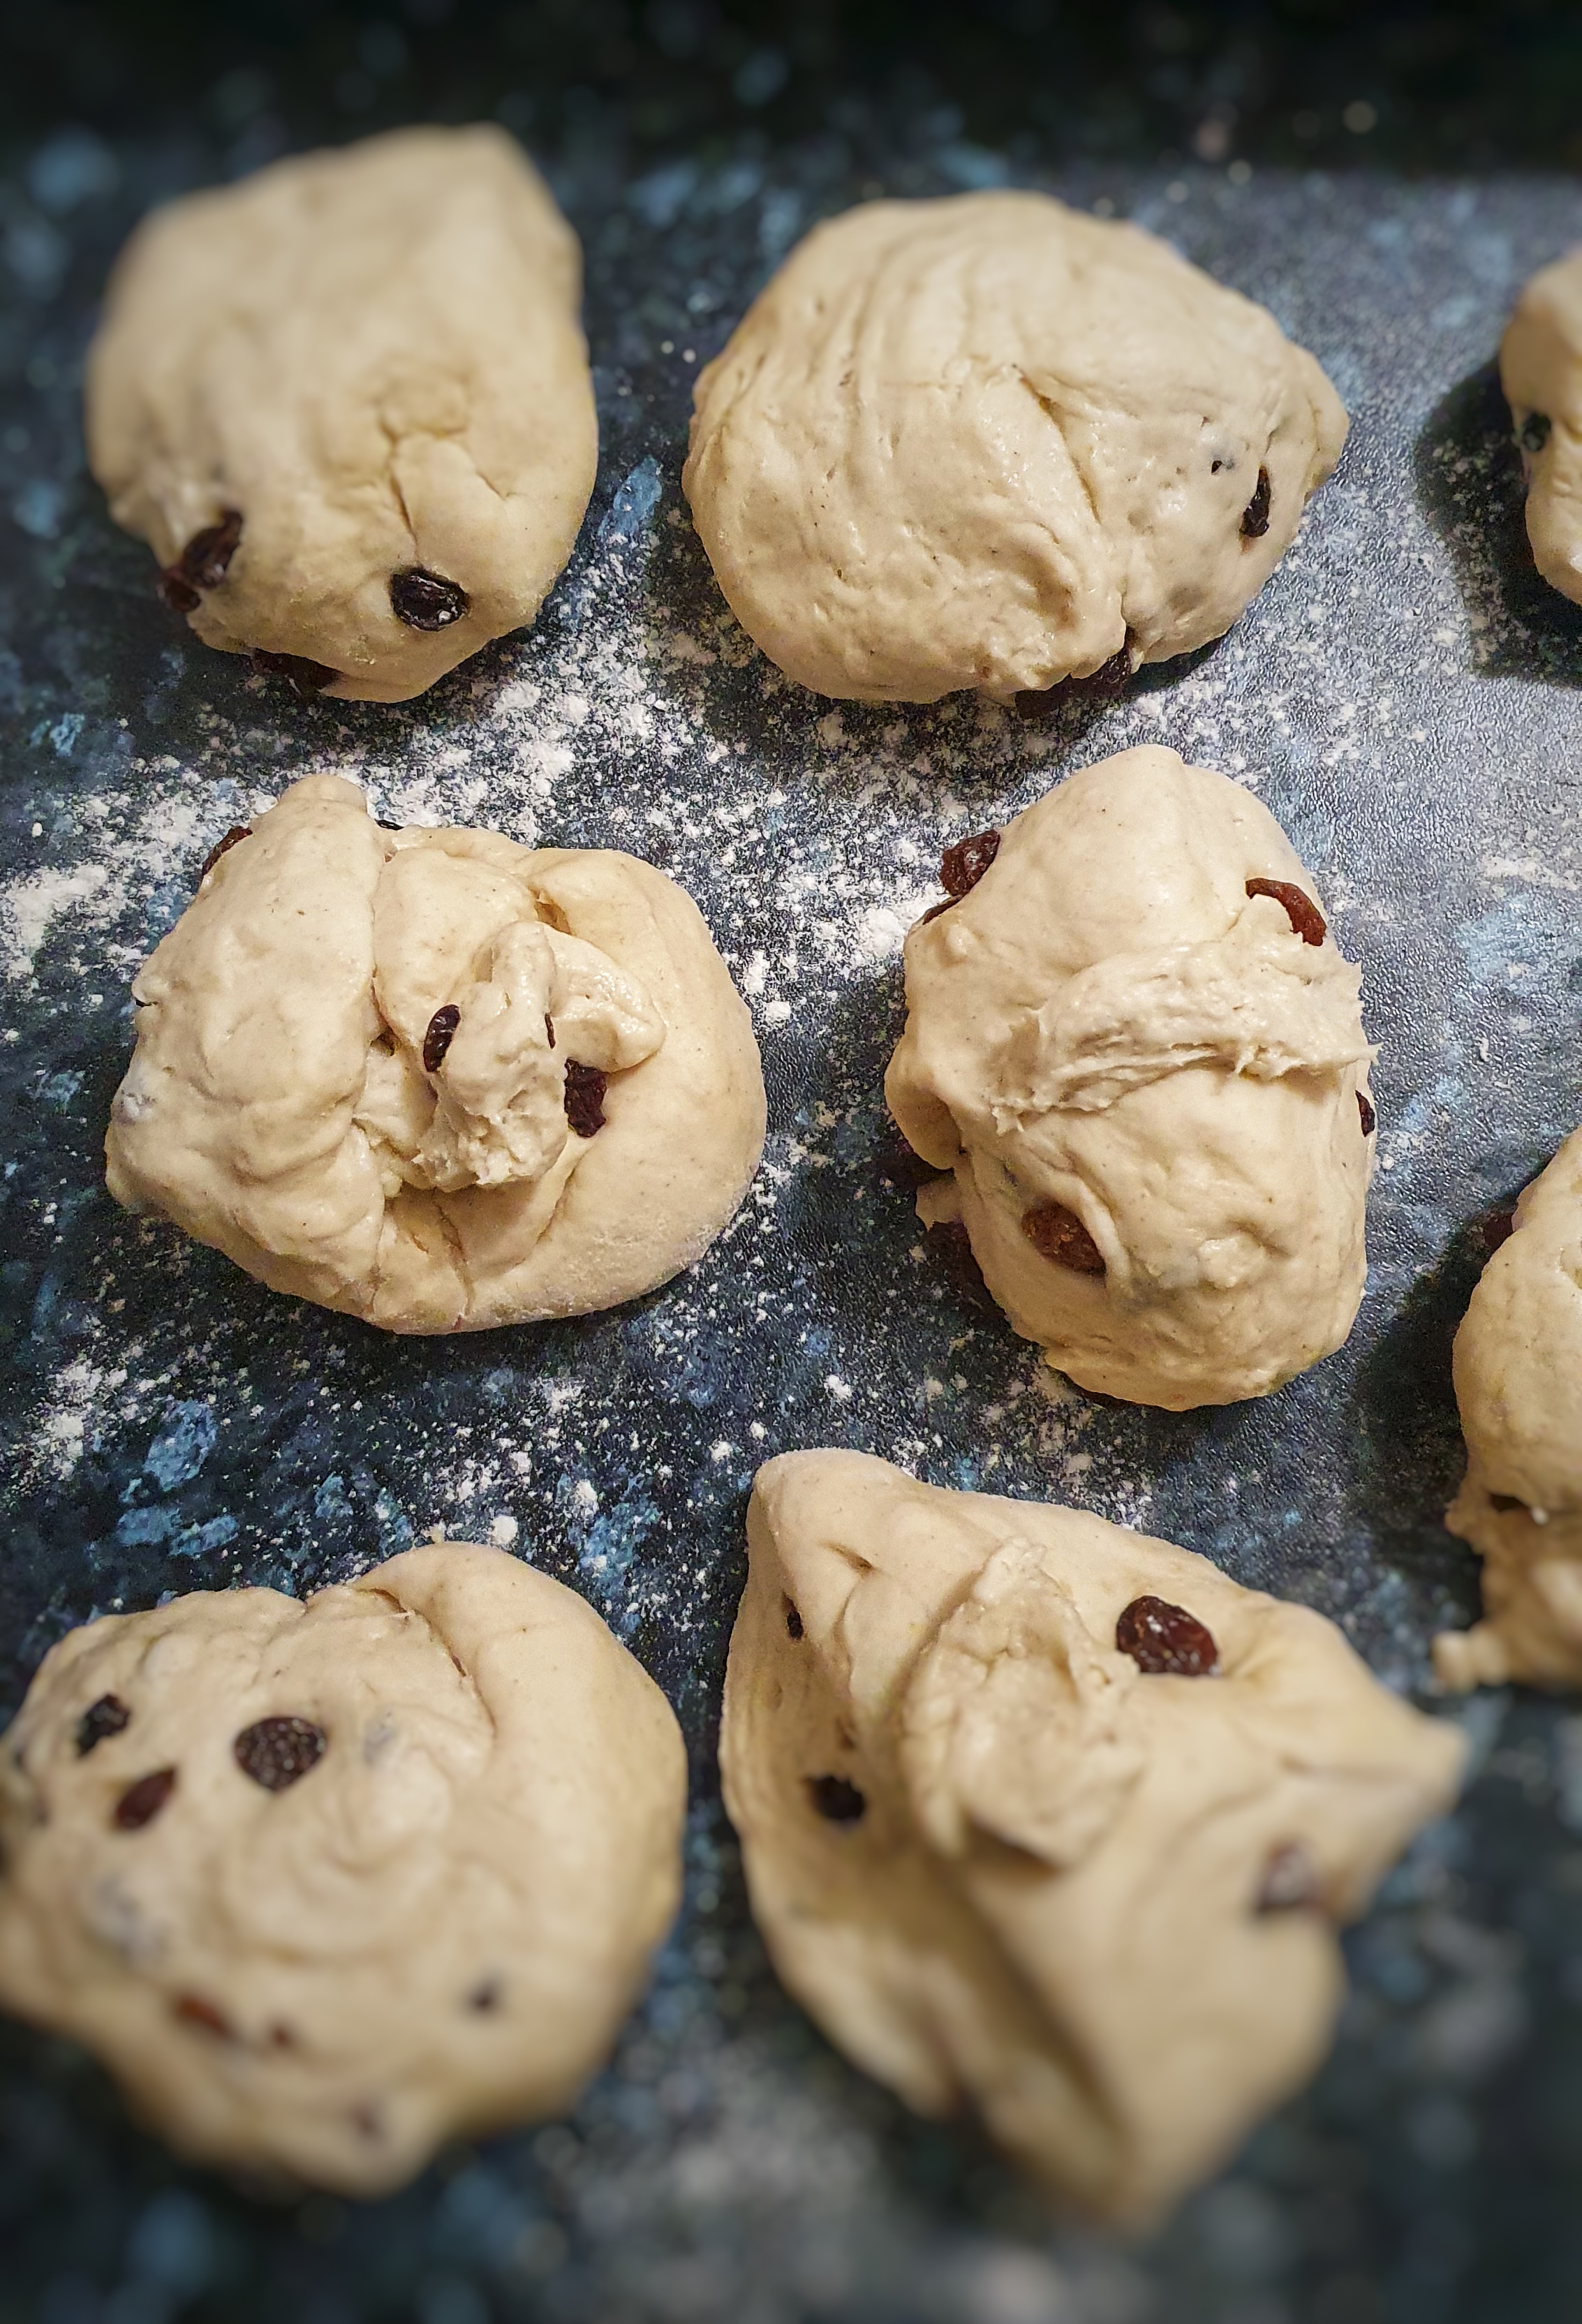
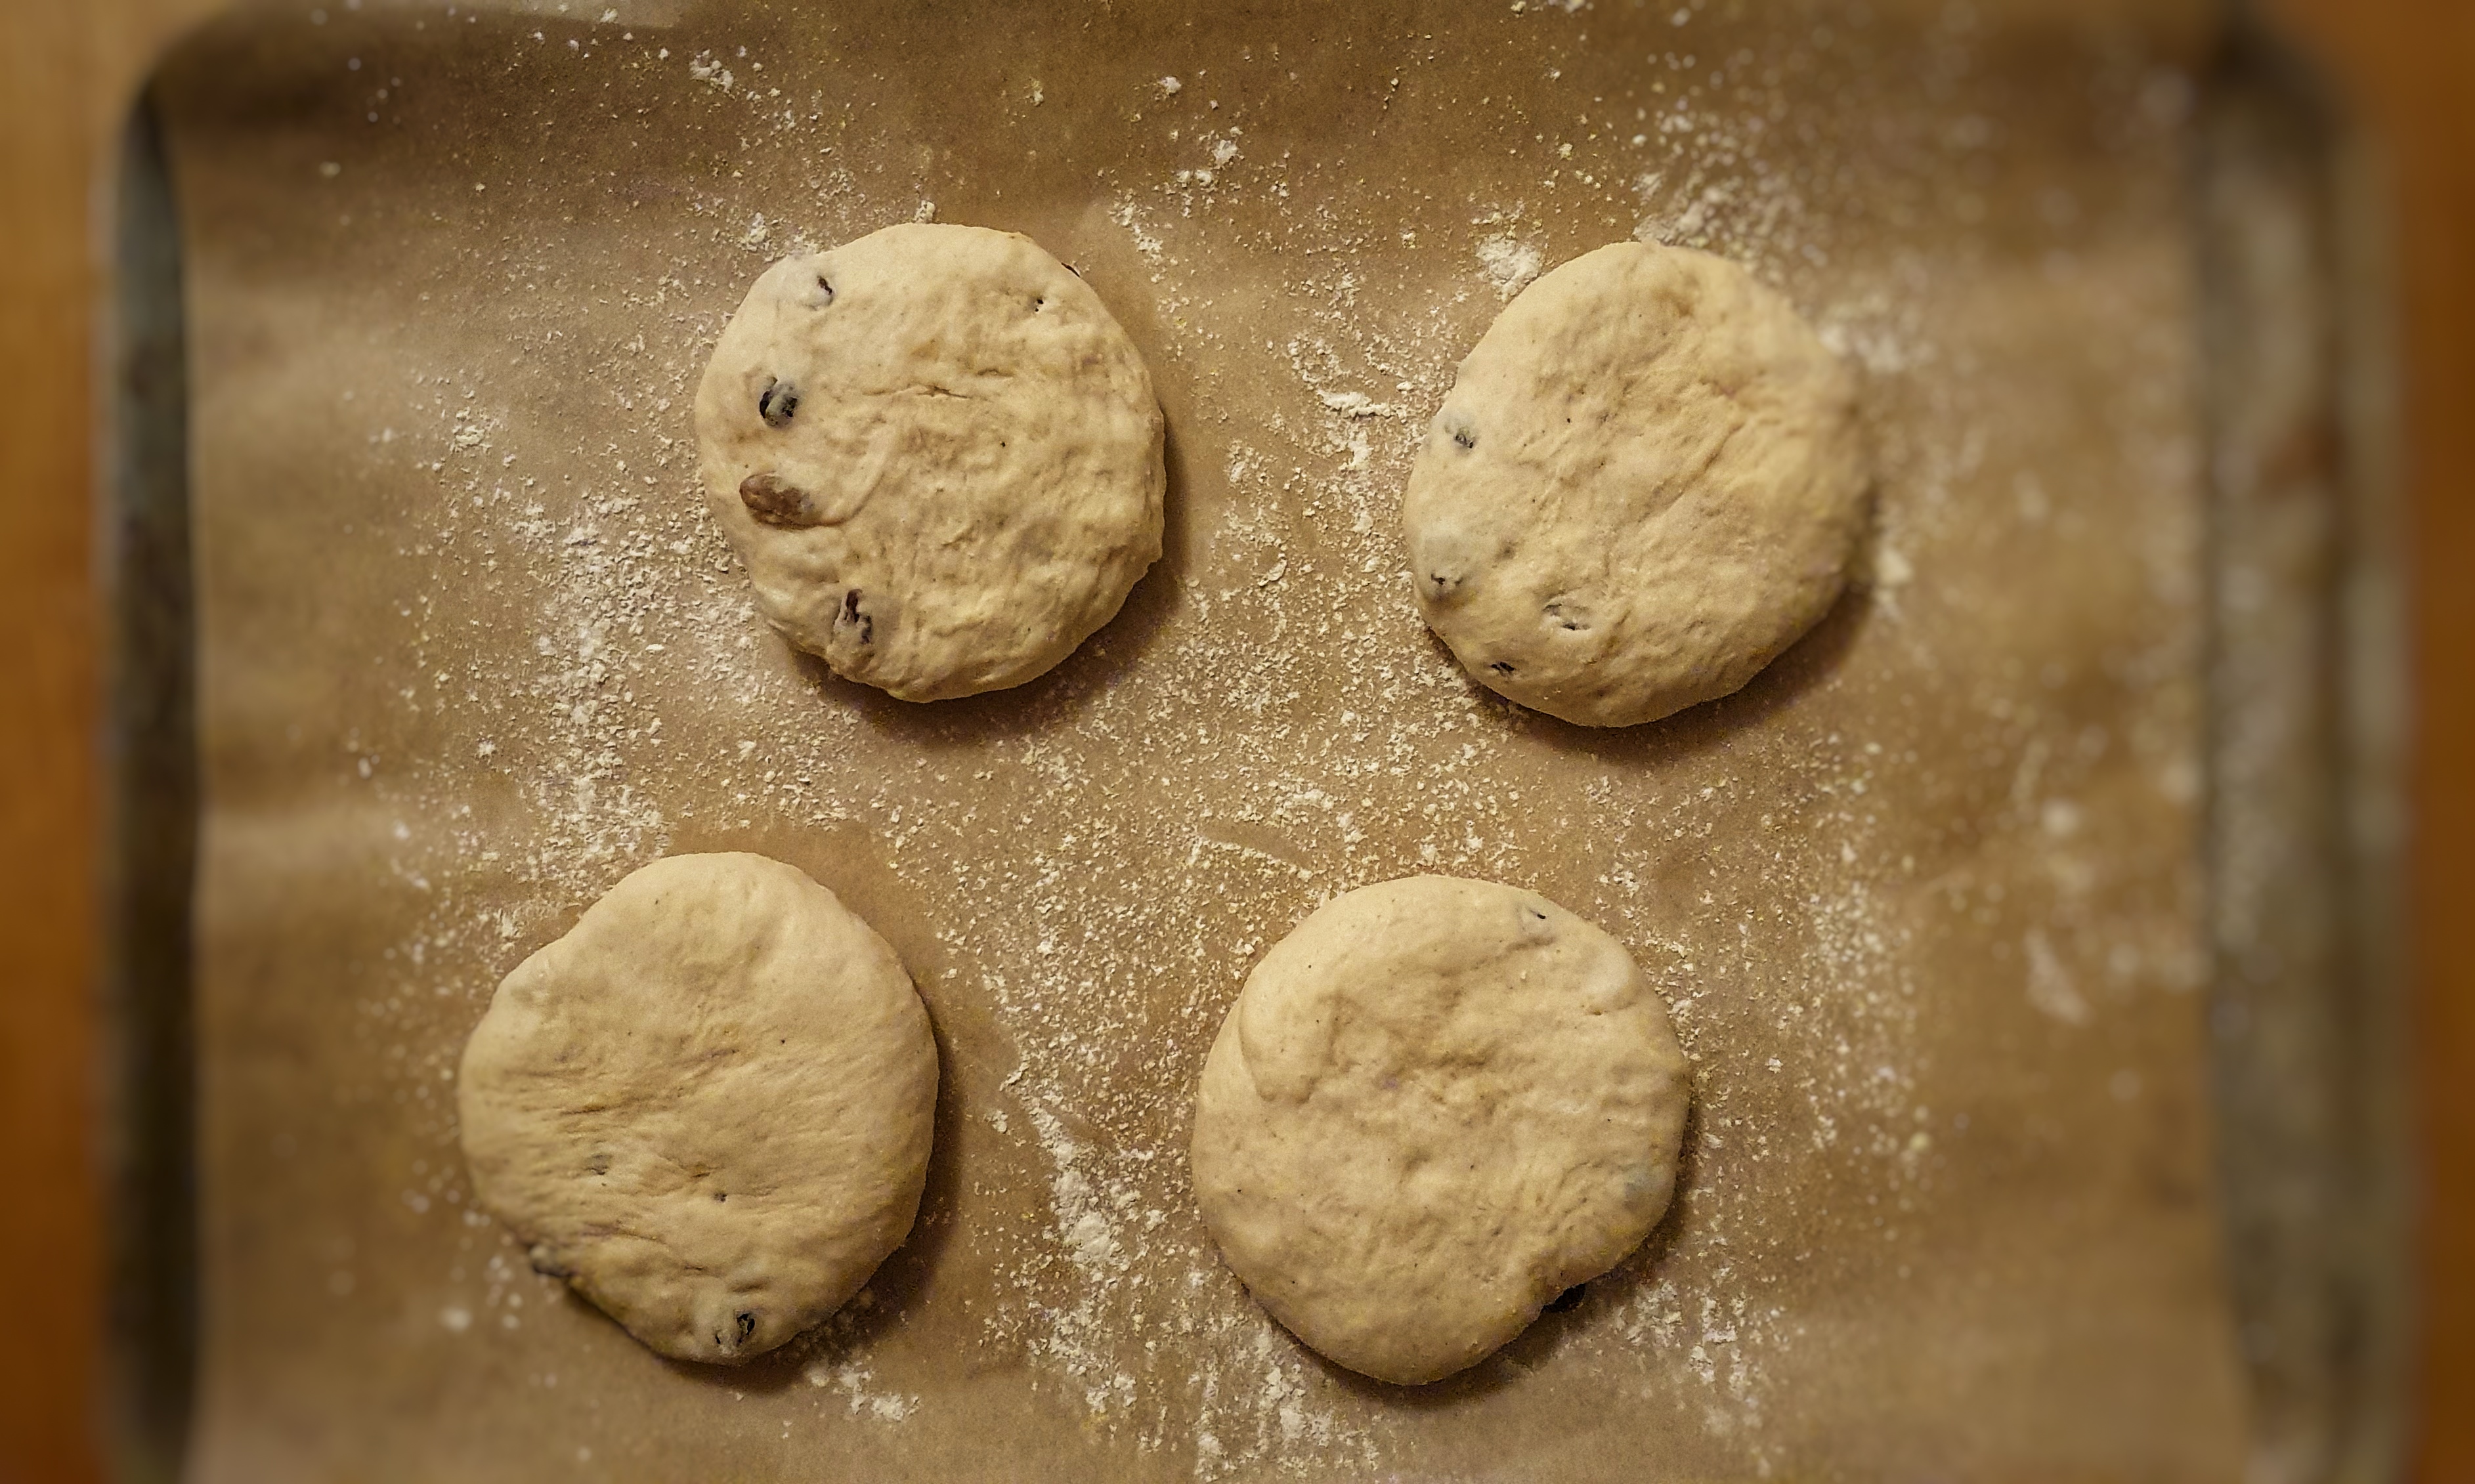
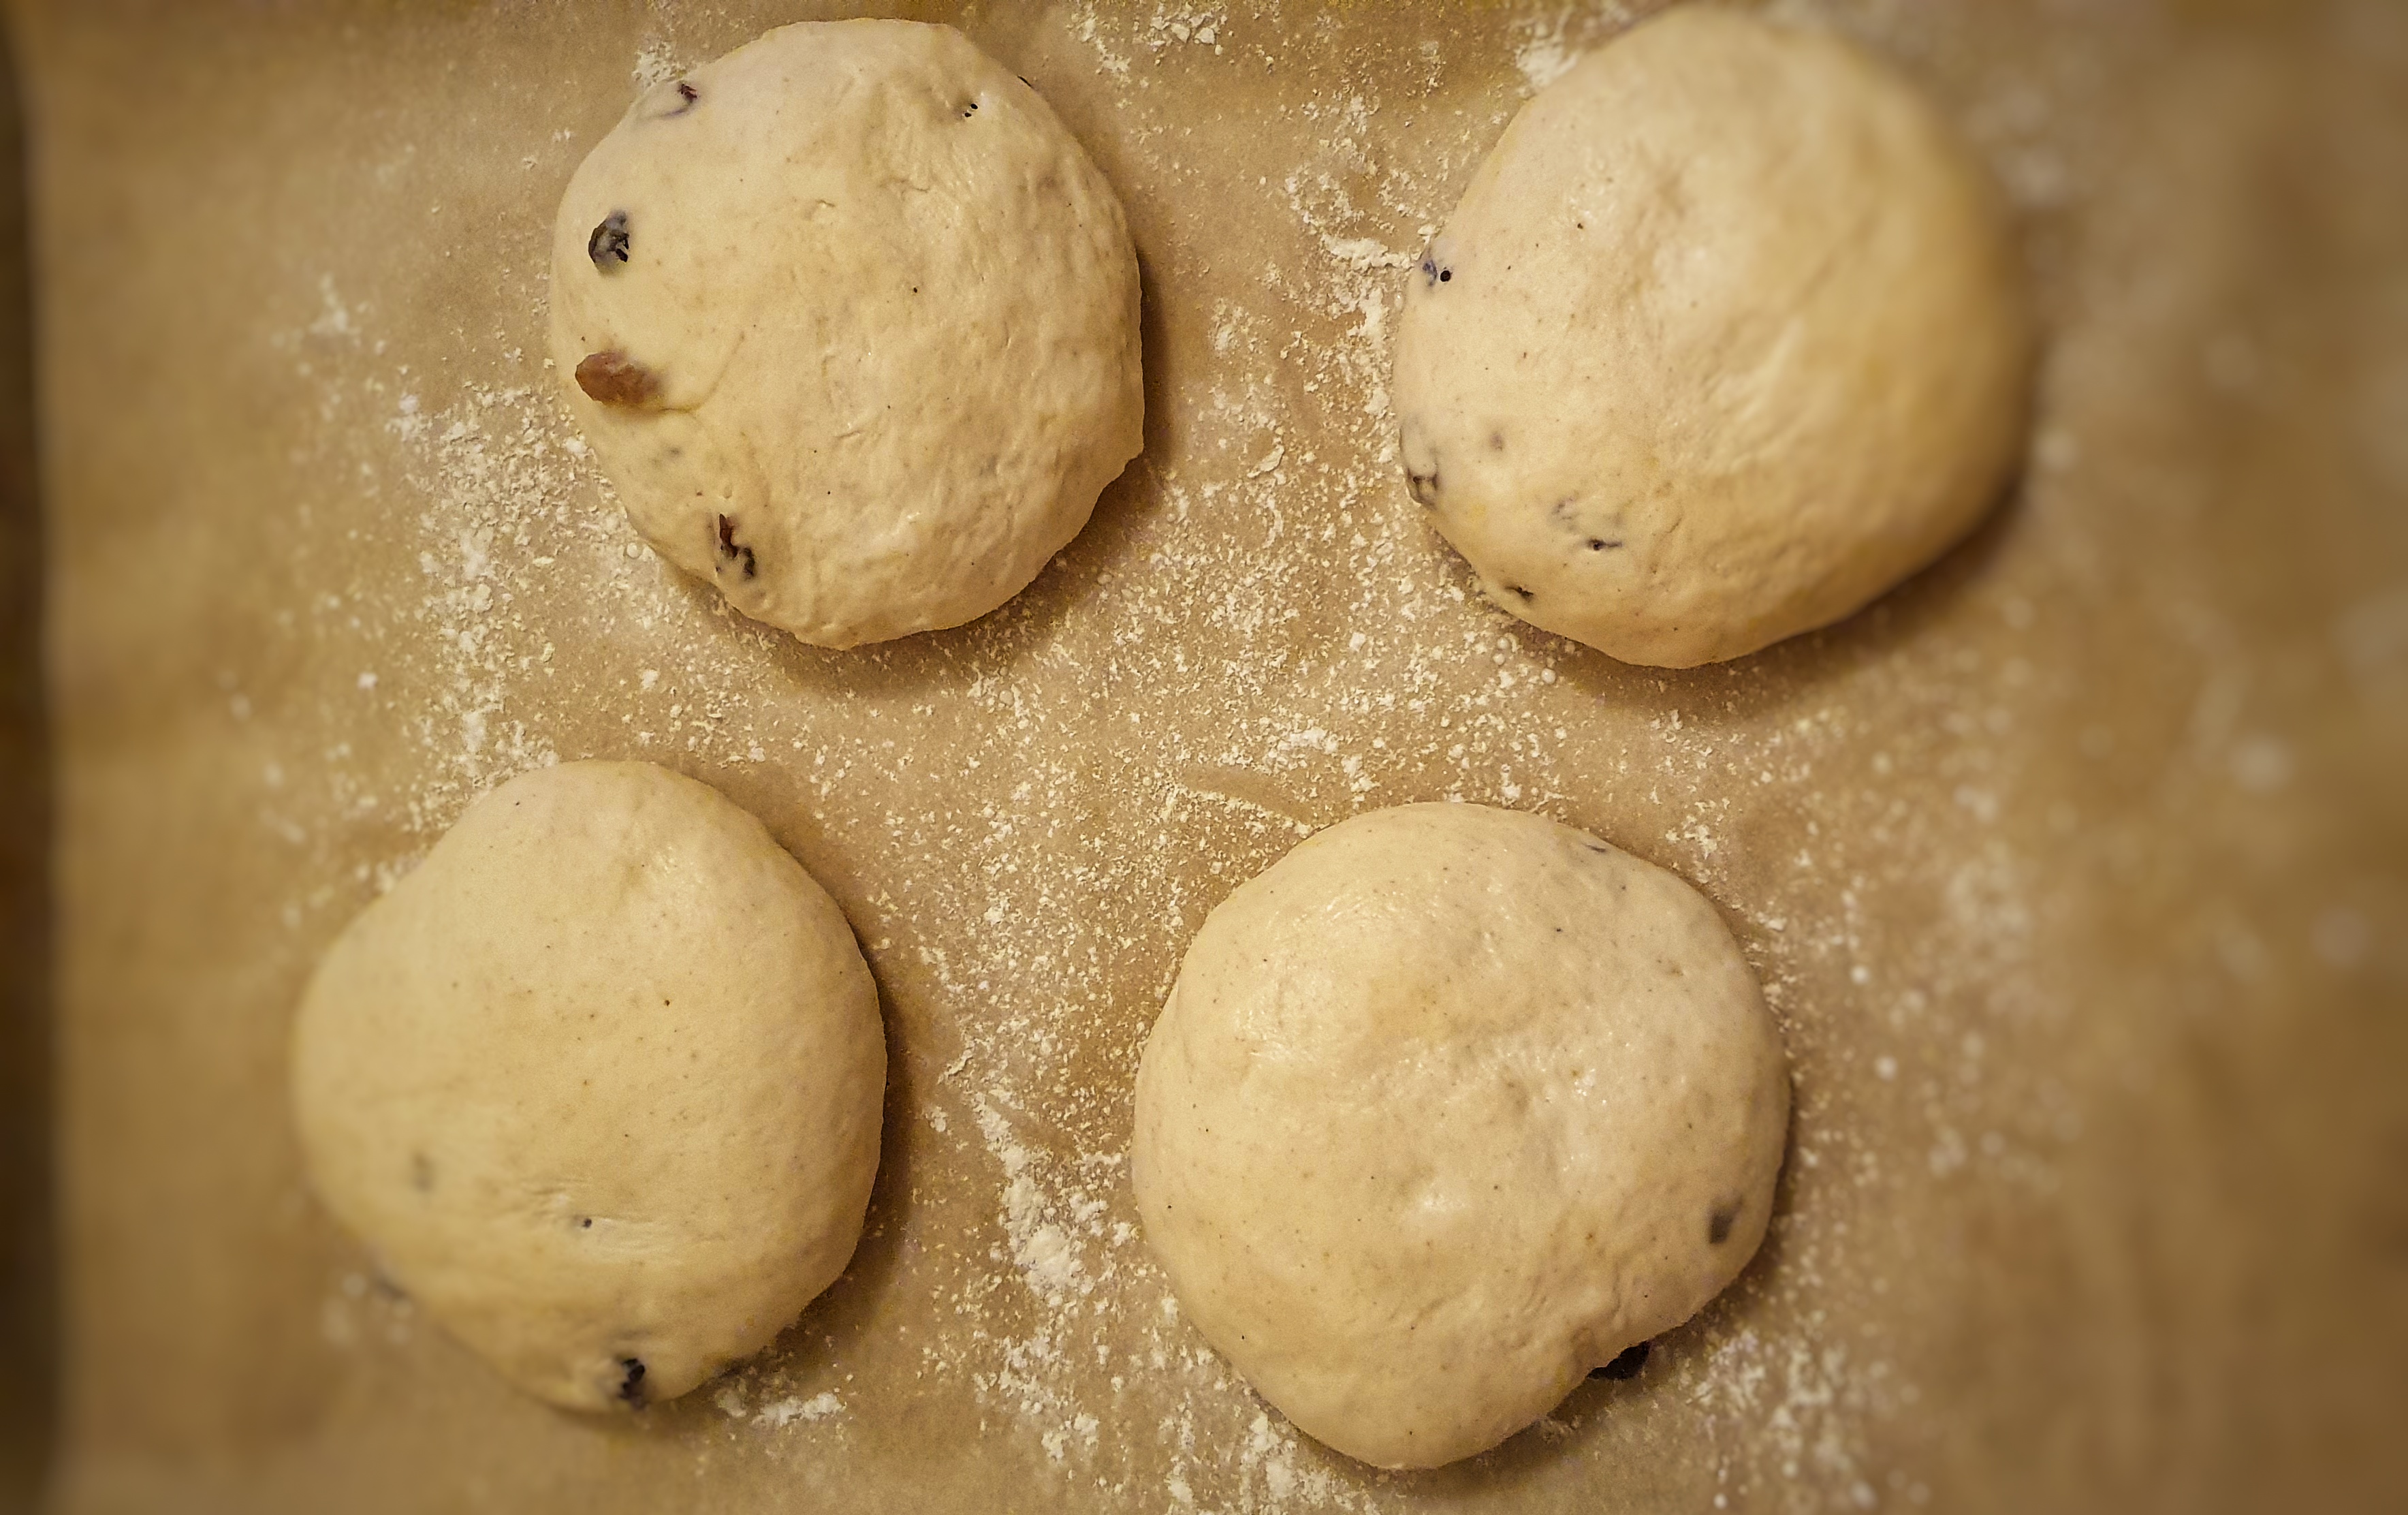
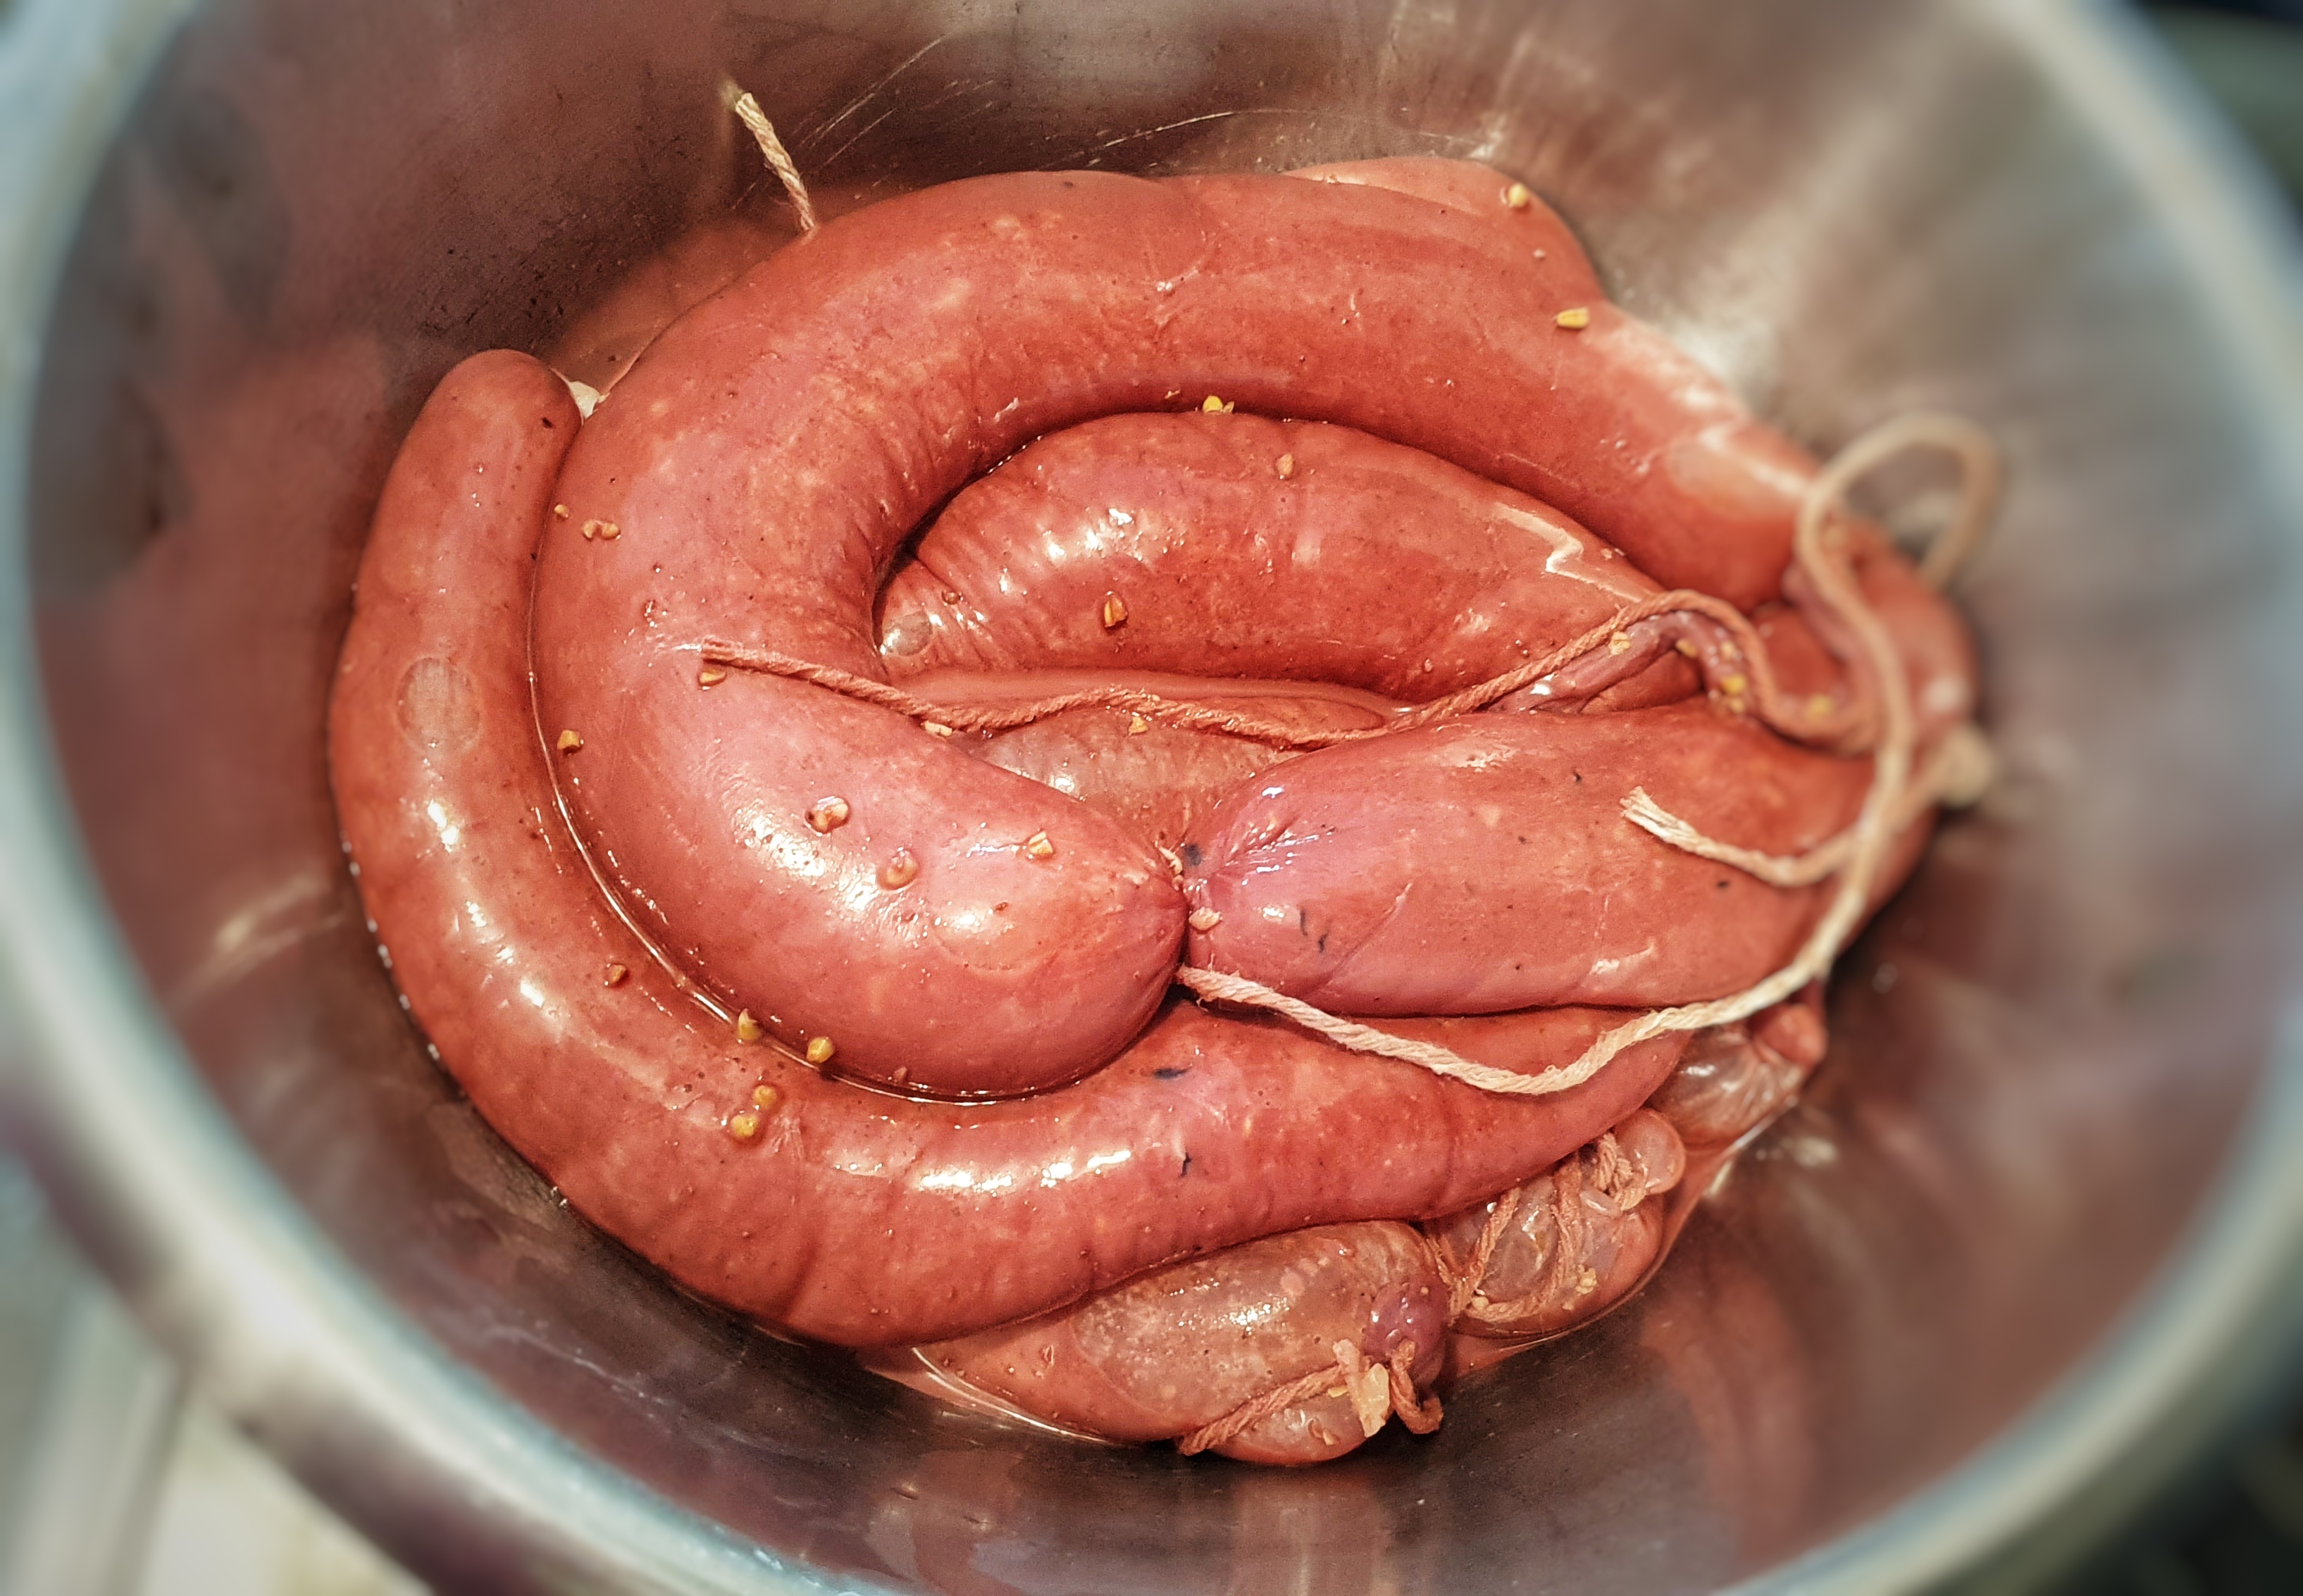
Once everything has had the chance to macerate and absorb, it is time to assemble the puddings. I used my sausage stuffer funnel from the Kitchen Aid and attached a length of pork casing onto it, then secured it with some string and knotted the end. Then I set about filling the casings, a spoon at a time, letting the skins naturally fill and fall into a bowl. Then I tied a link off with some string, making sure the casing wasn’t full and there were no obvious air bubbles. The lengths of the puddings were around 20 cm – though I wasn’t very consistent. In retrospect, I would recommend using beef casings tied to a wide-mouthed jam funnel, much easier to fill and no constant tearing.
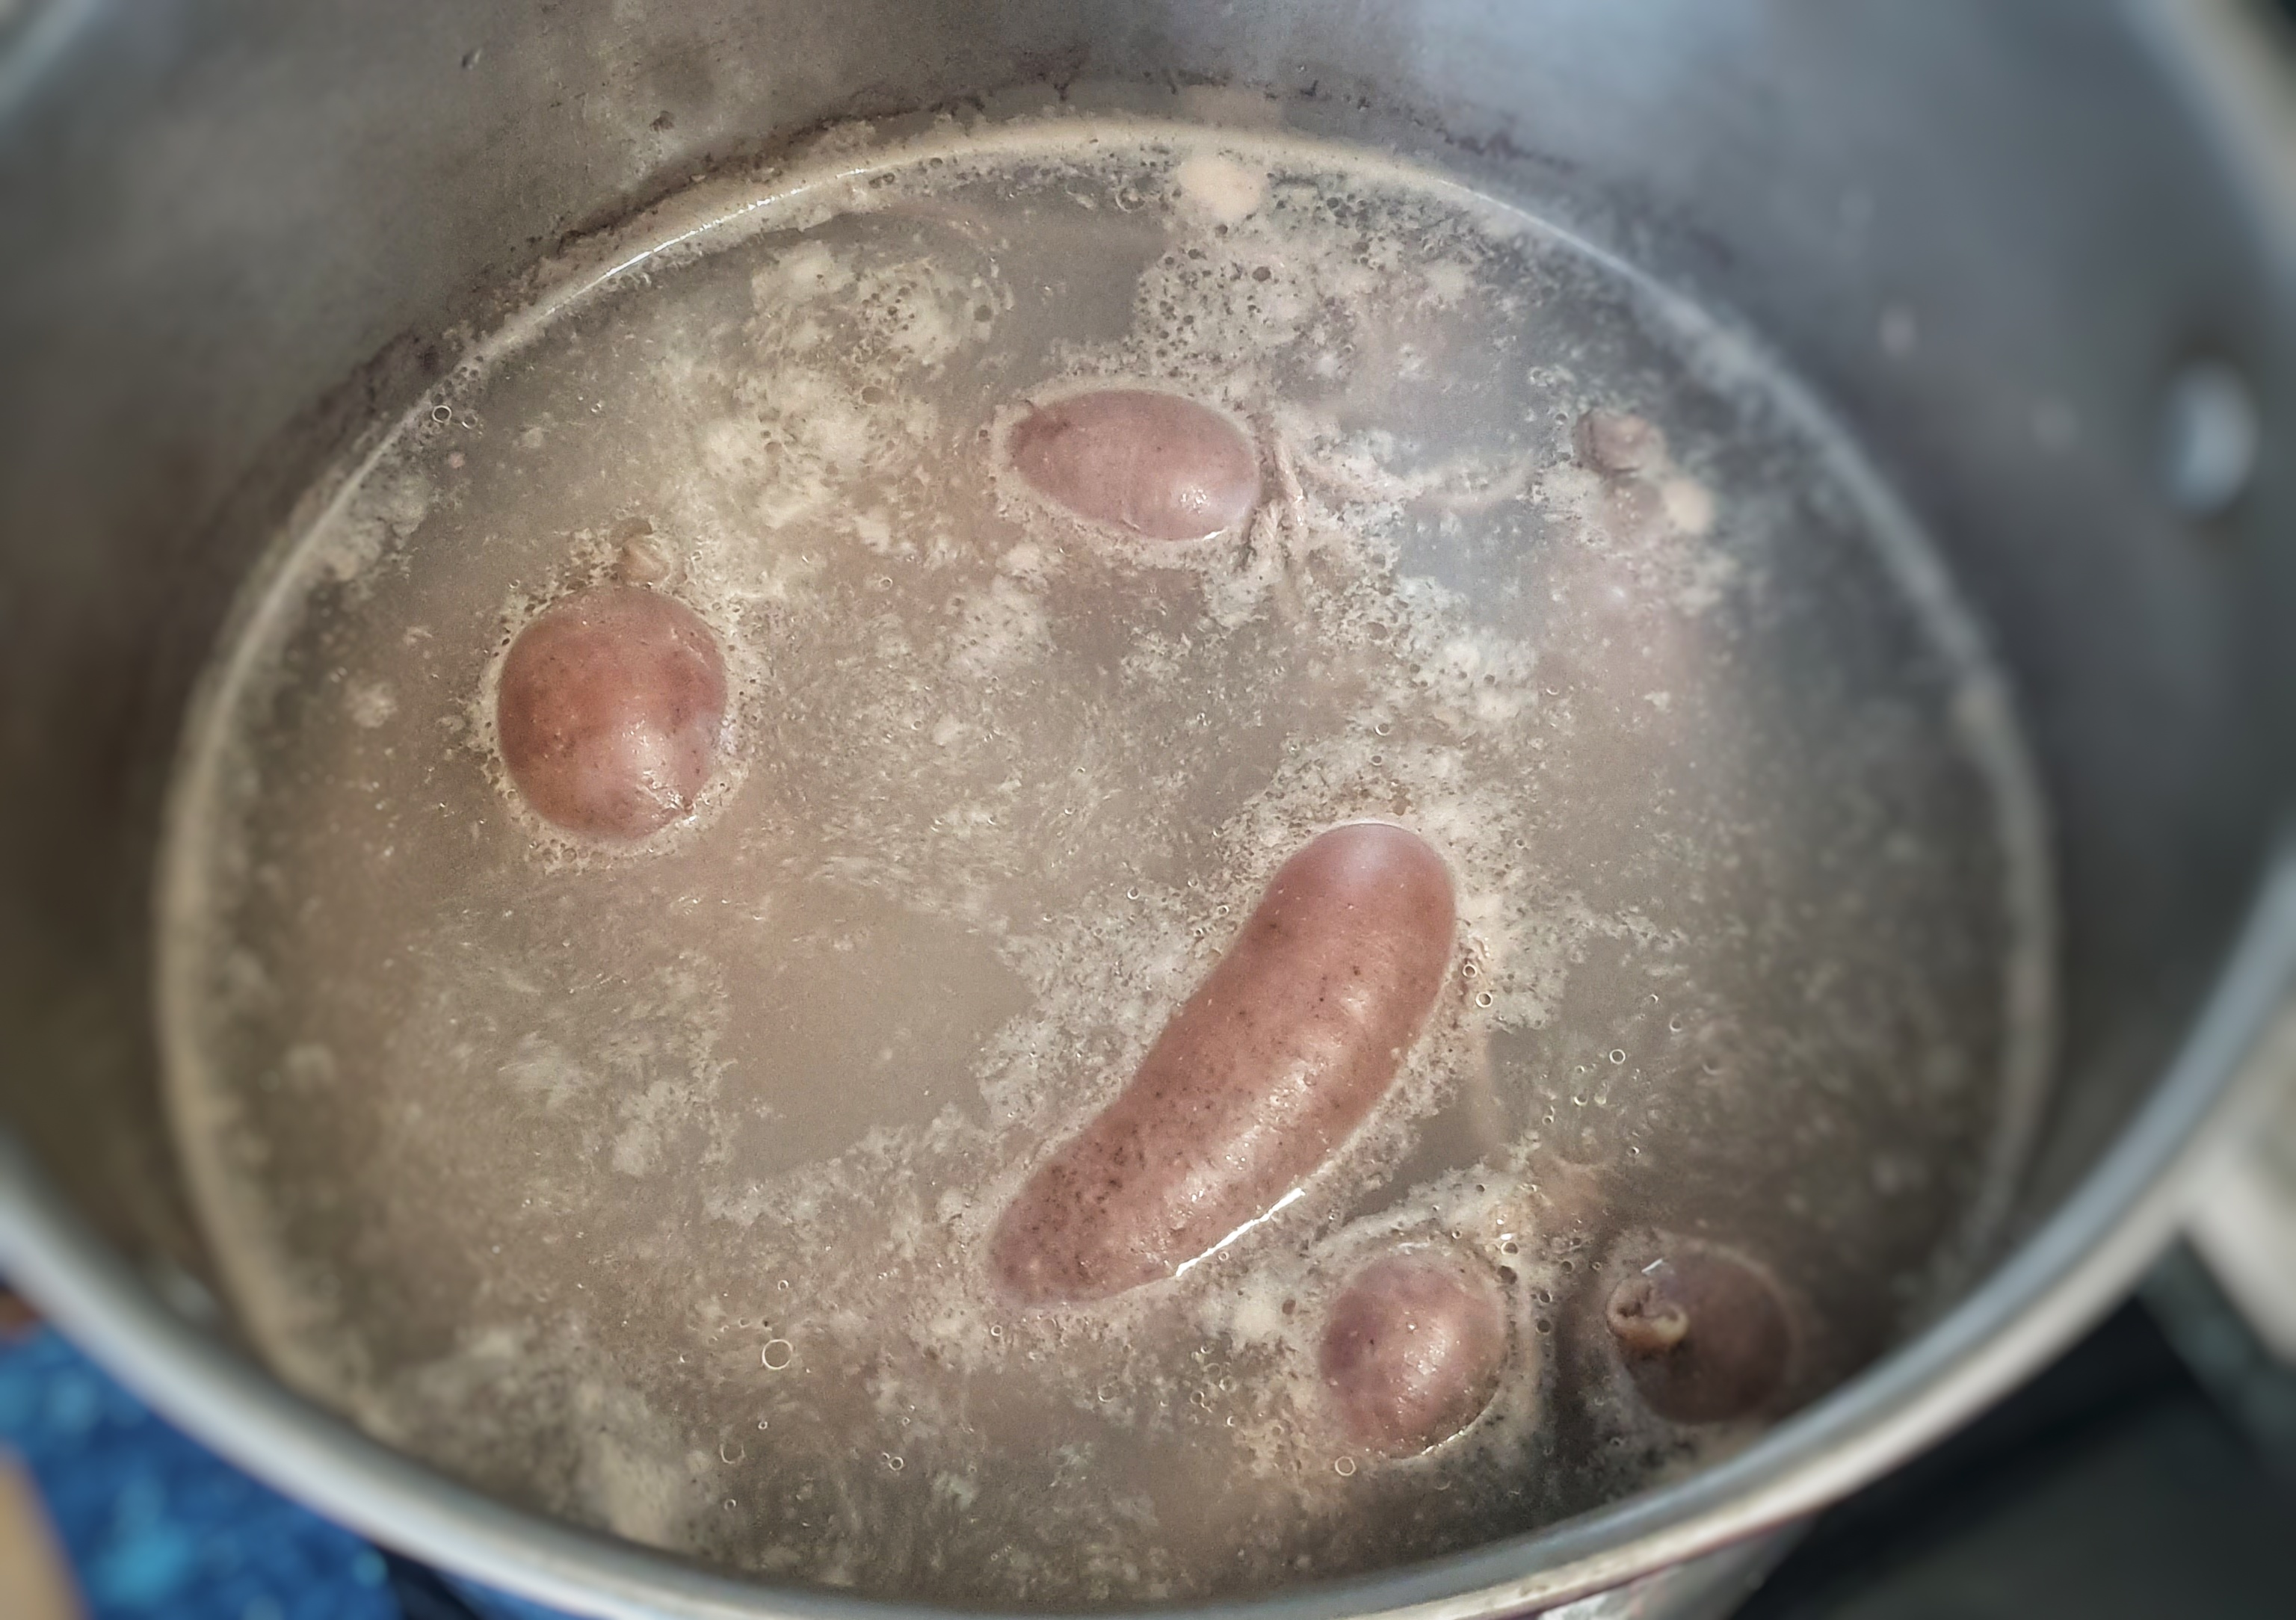
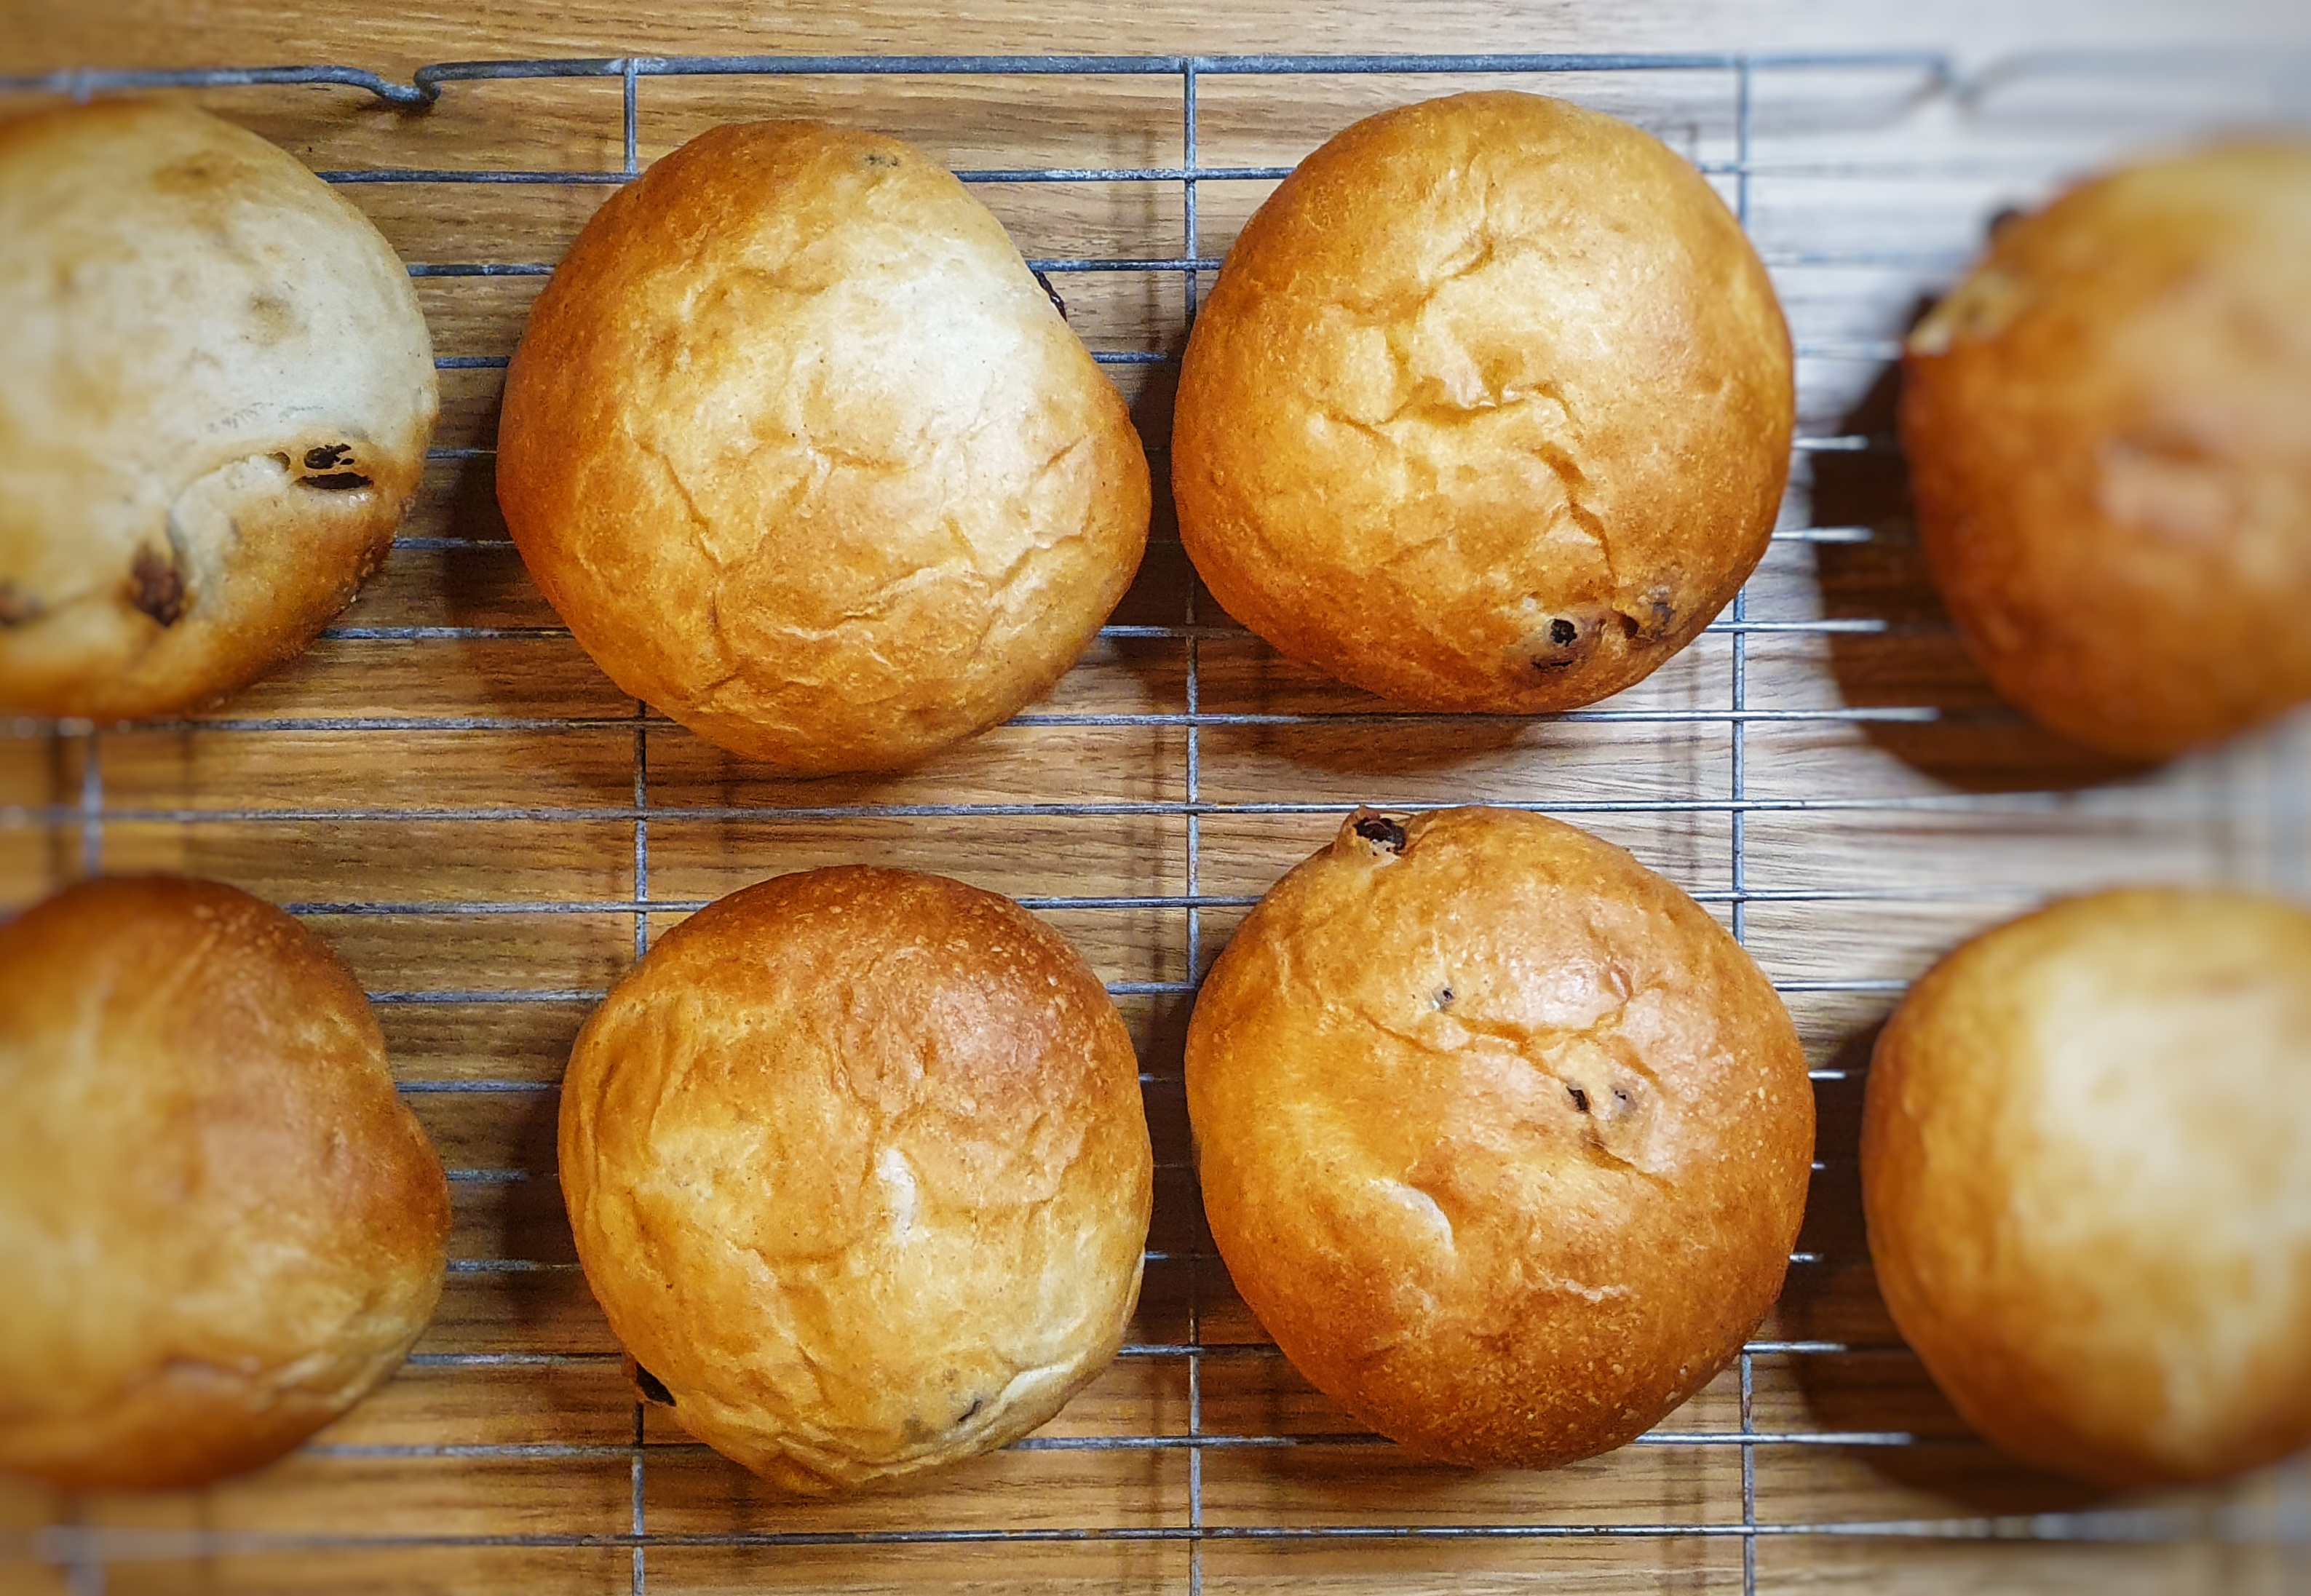
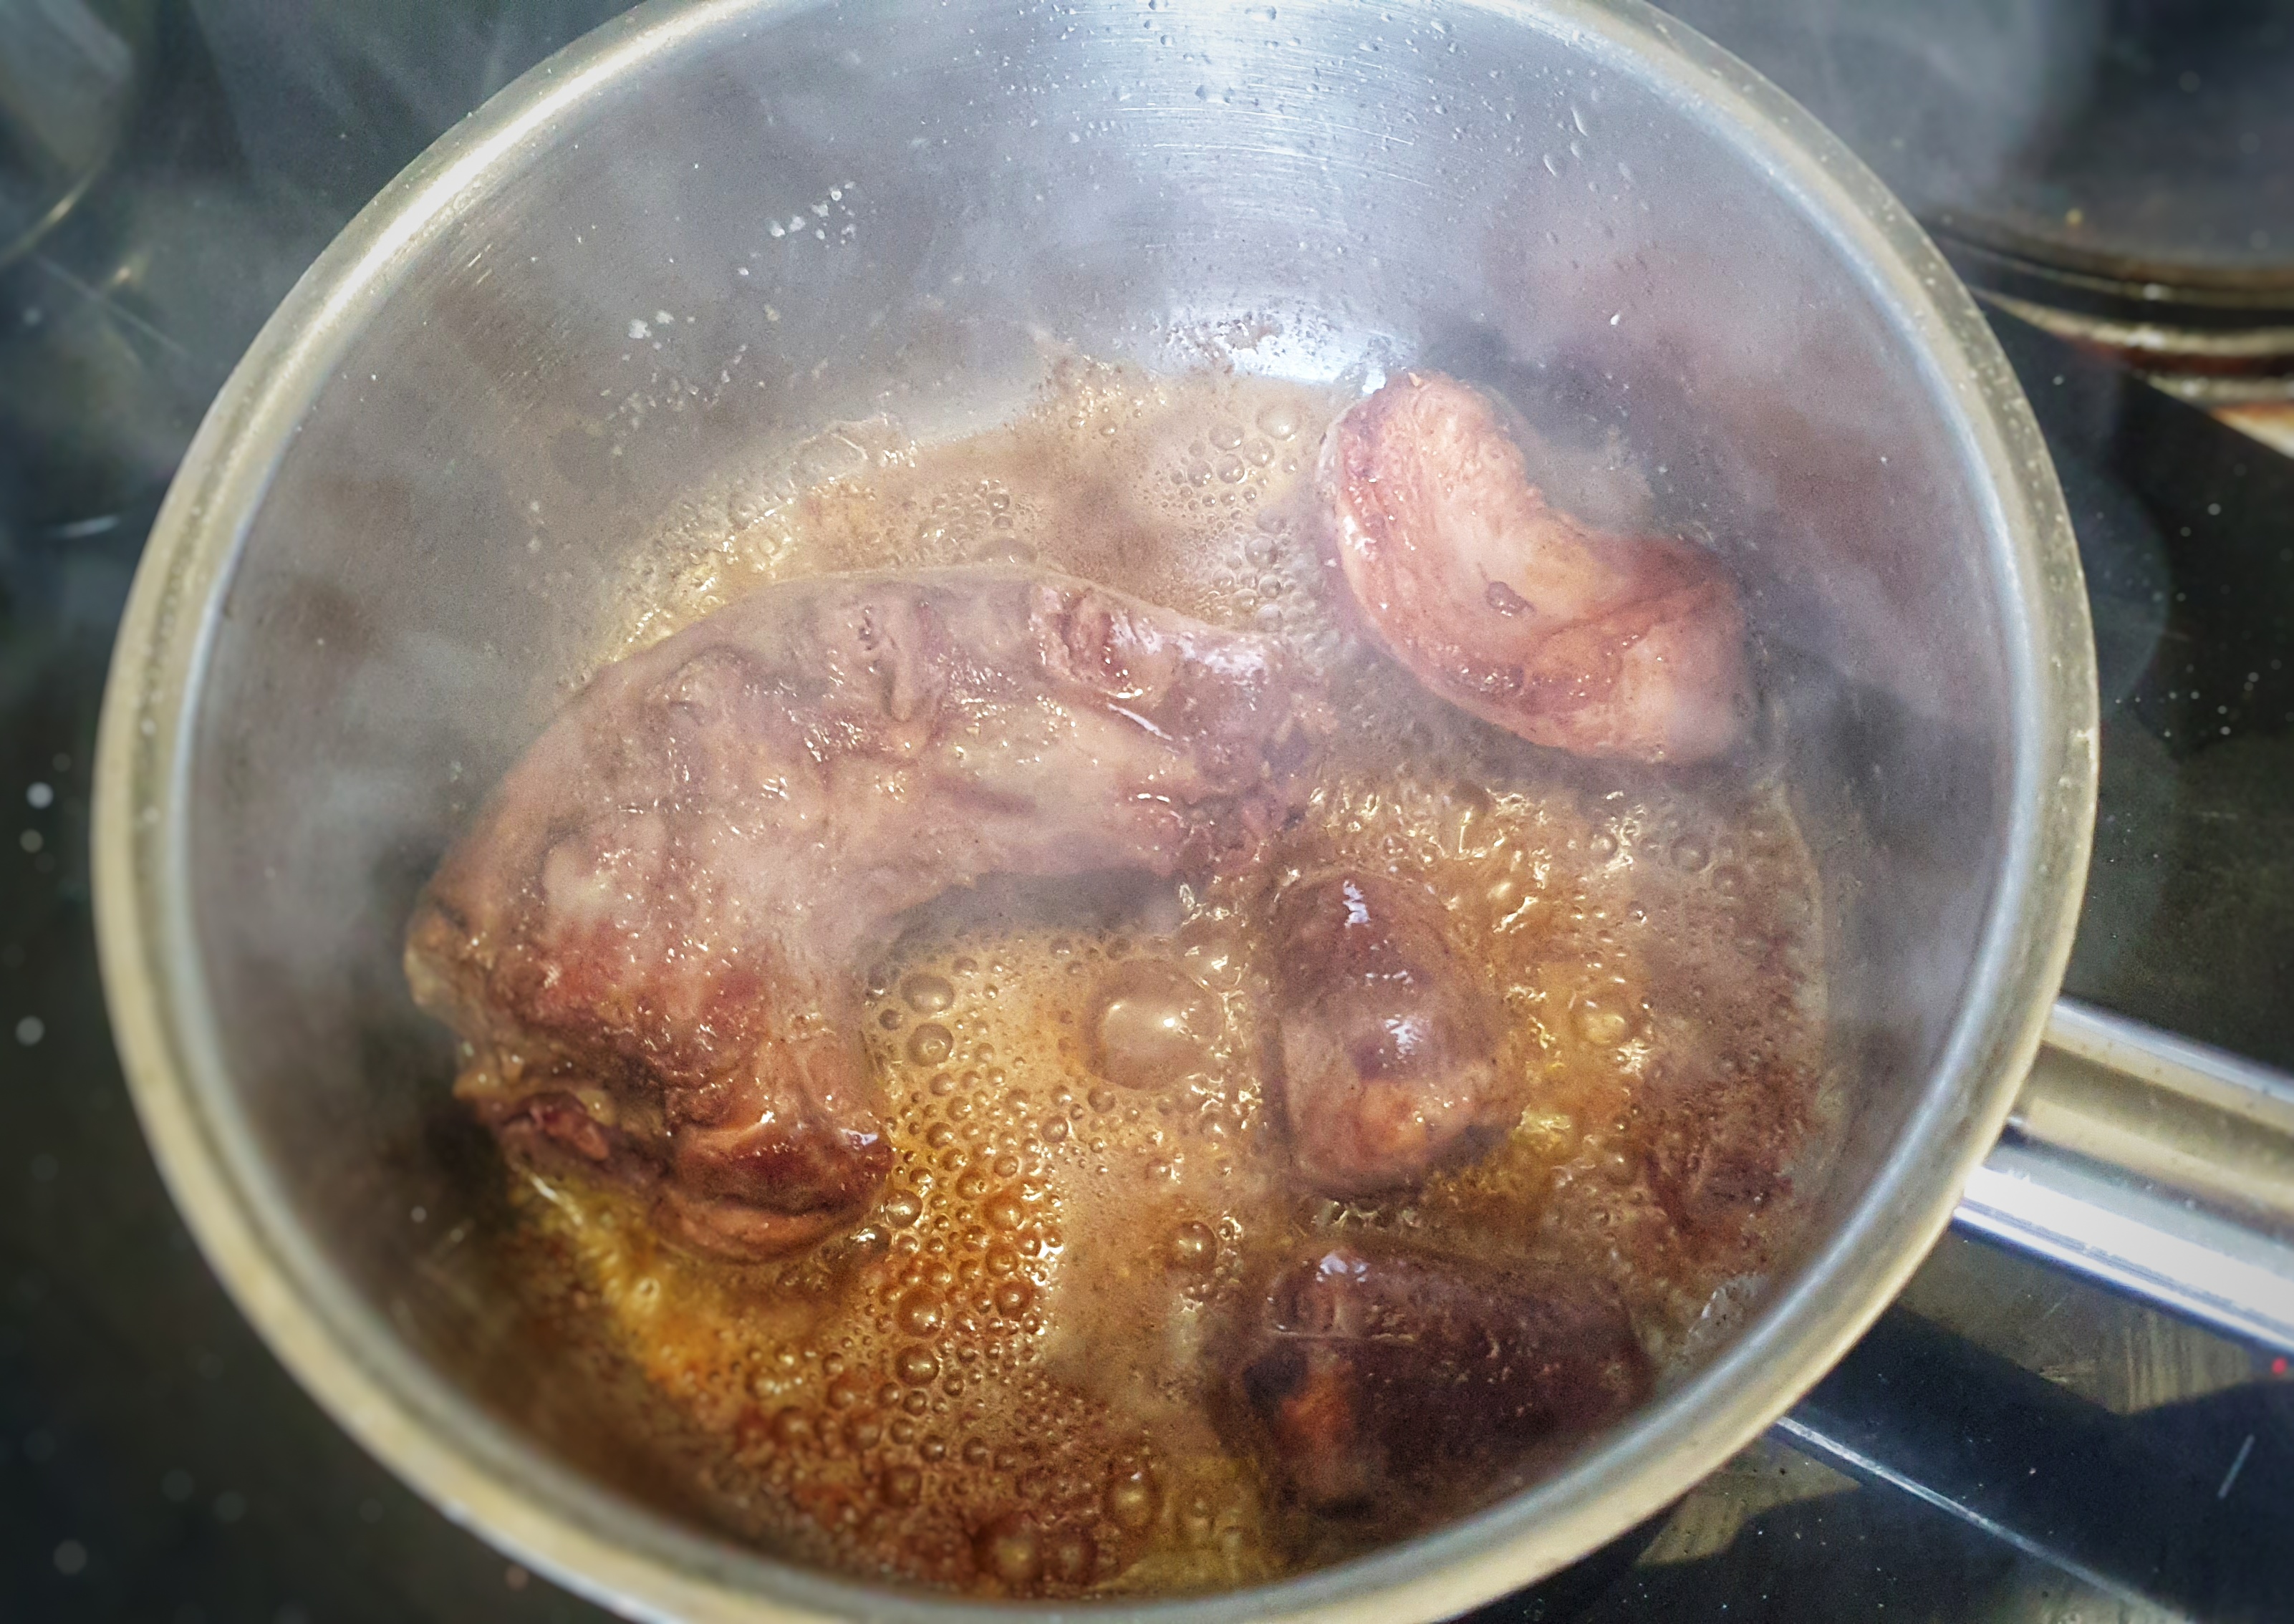
Once all of the mixture is used up, get a large pot of water to a good simmer and gingerly plop them in a few at a time. Three was a good number. Keep the water at a gentle simmer and arm yourself with a pin and pop any bubbles that appear in the cooking puds, lest they burst. They will take around 20 minutes to cook, and you must watch them like a hawk, pin poised and ready to pop. You can tell they are done when the liquid that comes out of a freshly-pricked pudding is clear. If using beef casings, they will take 30 to 35 minutes to cook.
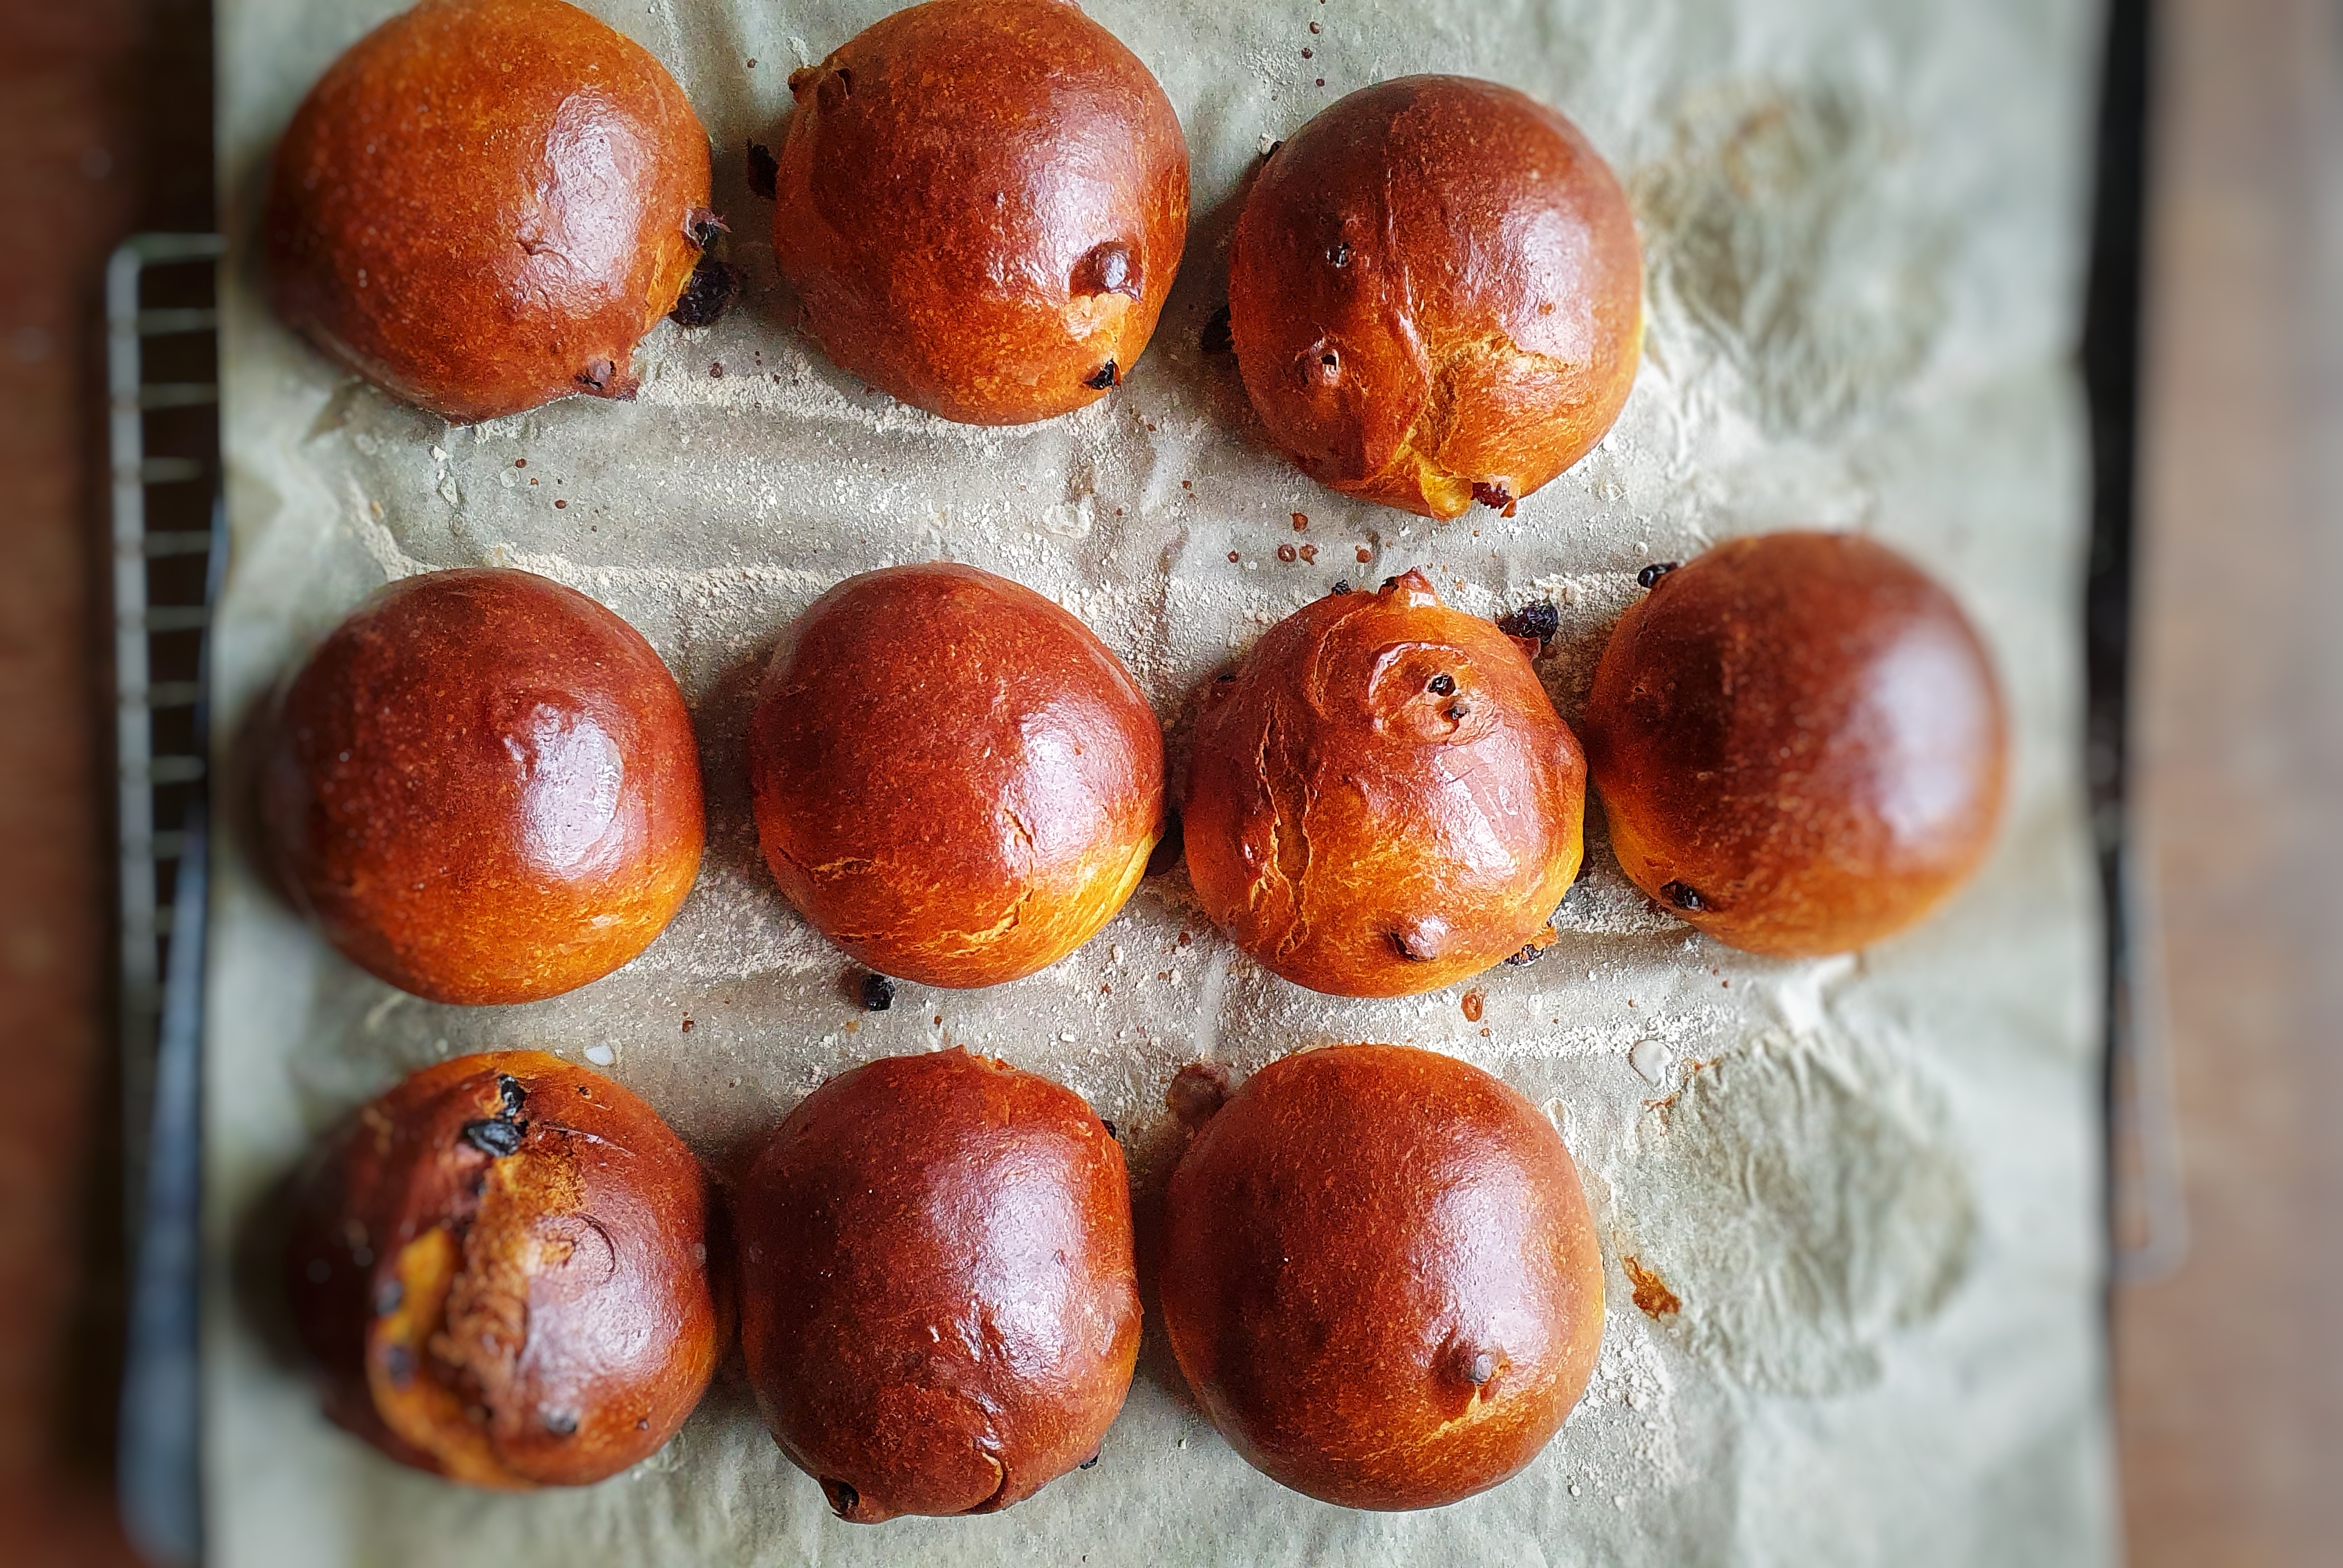
Carefully remove the puddings and either hang them up or lay them on a cooling rack to dry for a few hours before placing them in the refrigerator.
You can avoid all of this faff by baking the mixture in large loaf tins sat in a bain-marie for around 1½ hours at 160°C.[7]
Notes
[1] Dawson, T. (1596). The Good Housewife’s Jewel (1996 Edition). Southover Press.
[2] Digby, K. (1669). The Closet of Sir Kenelm Digby Opened (1997 reprint) (J. Stevenson & P. Davidson, Eds.). Prospect Books.
[3] May, R. (2012). The Accomplisht Cook (1660/85) (A. Davidson, M. Bell, & T. Jaine, Eds.; 1685th ed.). Prospect Books.
[4] Fearnley-Whittingstall, H. (2001). The River Cottage Cookbook. Collins; Henderson, F. (2012). The Complete Nose to Tail: A Kind of British Cooking. Bloomsbury; Ysewijn, R. (2015). Pride and Pudding: The History of British Puddings Savoury and Sweet. Murdoch Books.
[5] Ysewijn (2015)
[6] Note: Looking back on these initial stages, it would have been much better to soak the oats in the blood overnight, mix everything together in the morning, let everything meld and mingle for a couple of hours, and then add enough milk to make a mixture of a spoonable porridge consistency. We live and learn.
[7] Note: I haven’t tested this method; these instructions have been extrapolated from the Fergus Henderson recipe for blood cake in Henderson (2012).