In this episode we look at the history of Lent: When was it enforced? What were the rules? That sort of thing. Neil looks at how the belief in the four humours shaped what we ate in Lent, and how they caused illness and changed our moods throughout the year.
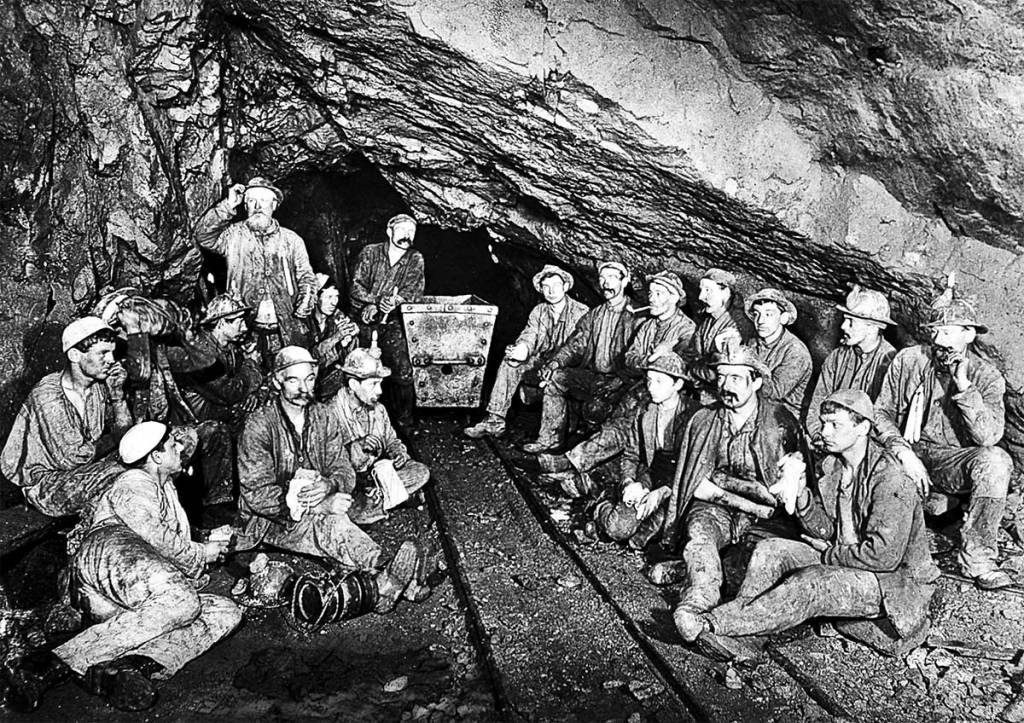
This week – the first full week of fasting – is an Ember Week. There are four Ember Weeks throughout the year – one for each season – and this is the spring one.
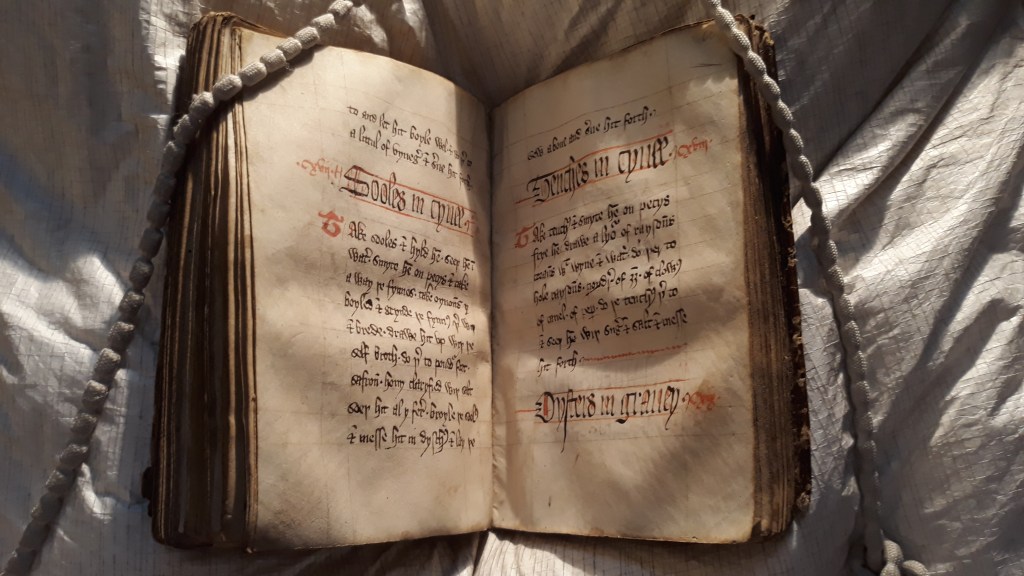
Neil then goes to the beautiful John Ryland’s Library in Manchester to see an early manuscript of the Forme of Cury, the earliest cookbook written in the English language, to find and cook from it ‘a tart for Ember Day’ which he cooks for his friends Kate and Pete with mixed results (recipe below).
A huge thanks to the staff of the John Ryland’s Library, who were very helpful indeed, and to Kate and Pete for letting me assault their taste buds.
Most of all, thanks to you for listening – if you have anything to add about anything you hear, feel free to post a comment, tweet me (@neilbuttery) or email me at neil@britishfoodhistory.com.
Please listen, like and subscribe.
Scroll down to see a list of photos and links all about the things discussed in this episode. See you next week!
If you like the blogs and podcast I produce, please consider treating me to a virtual coffee or pint, or even a £3 monthly subscription: follow this link for more information.
British Food a History: Lent was produced by Beena Khetani and is a Sonder Radio production
Extra bits:
More on the four humours: https://www.nlm.nih.gov/exhibition/shakespeare/fourhumors.html
The story of how King Alfred burnt the cakes: https://fix-quick.today/2018/10/25/king-alfred-burns-the-cakes/%3C/a%3E%3C/p%3E
A blog post all about Forme of Cury: https://fix-quick.today/2018/08/10/favourite-cook-books-no-3-the-forme-of-cury-part-i/%3C/a%3E%3C/p%3E
…and another with some recipes: https://fix-quick.today/2018/08/14/favourite-cook-books-no-3-the-forme-of-cury-part-2-recipes/%3C/a%3E%3C/p%3E
Forme of Cury online: https://archive.org/stream/theformeofcury08102gut/7cury10.txt
The John Ryland’s Library website: https://www.library.manchester.ac.uk/rylands/
Not a tart! A biog of Eleanor of Aquitaine: https://www.britannica.com/biography/Eleanor-of-Aquitaine
The mediaeval cinnamon bird: http://bestiary.ca/beasts/beast242.htm
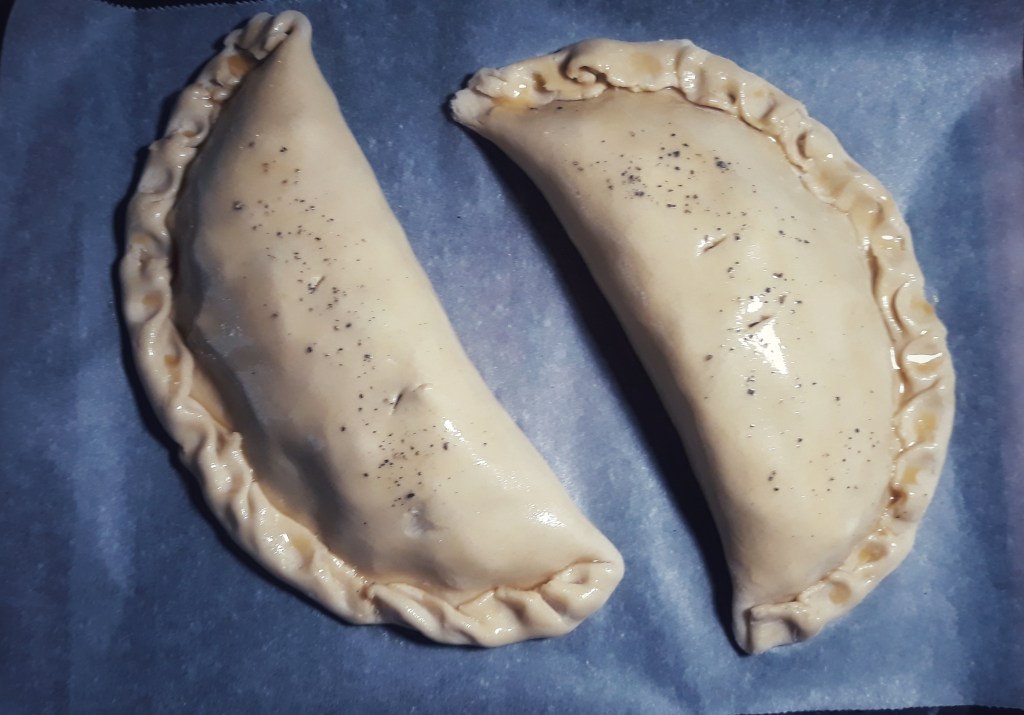
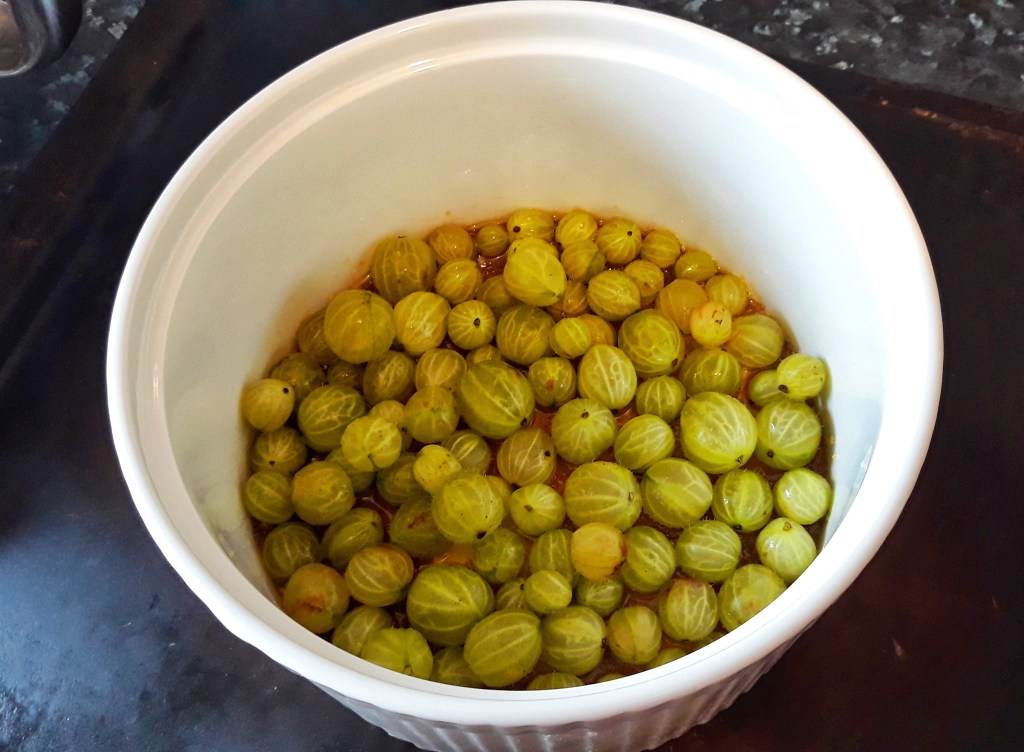
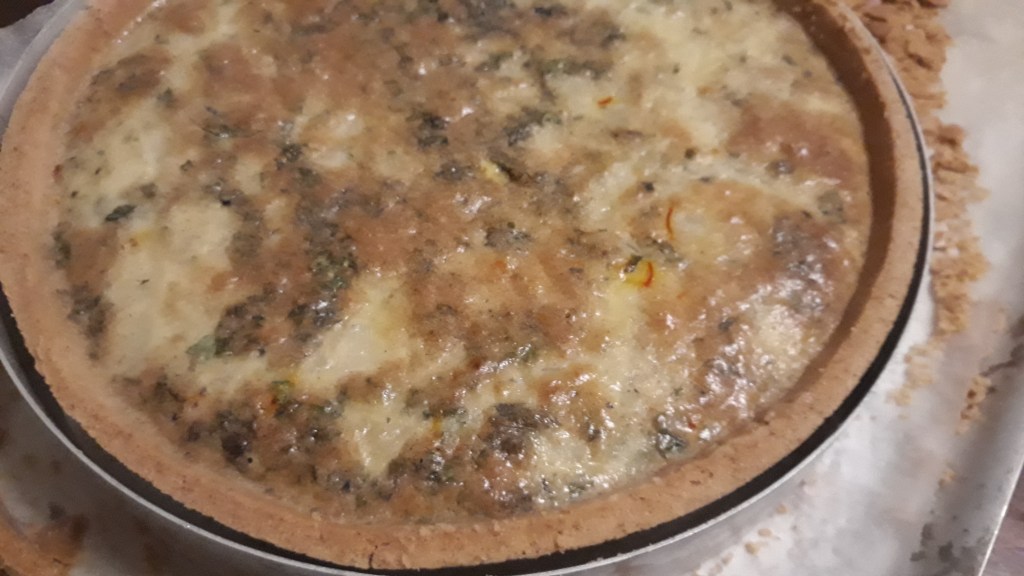
A recipe for ‘a tart for Ember Day’:
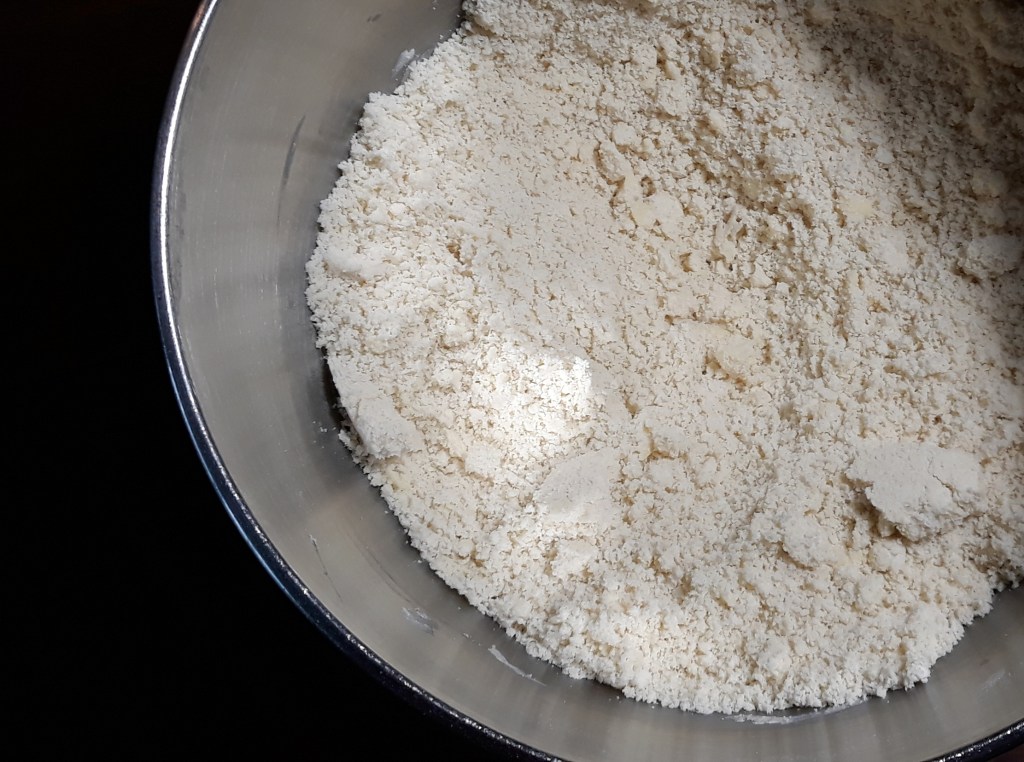
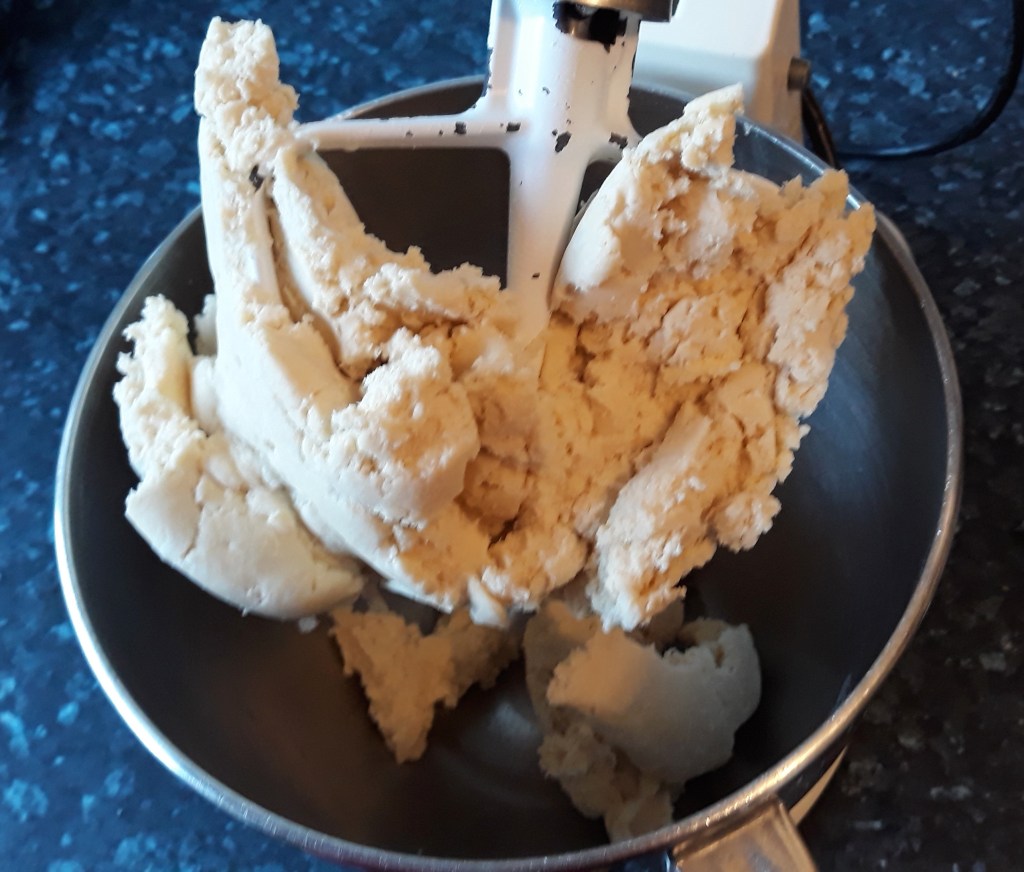
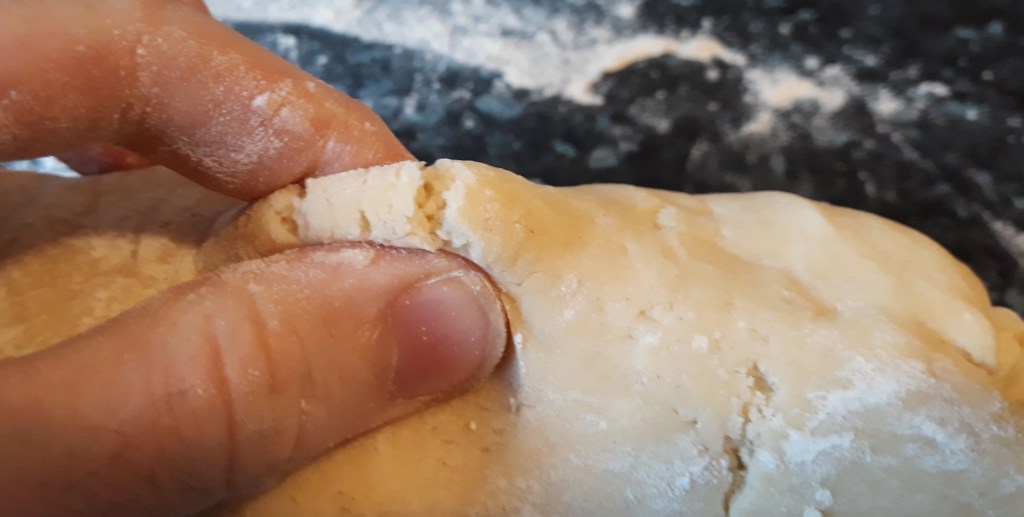
Shortcrust pastry made with 400 g flour
1 medium onion
2 tbs parsley, chopped
1 tbs mint, chopped
1 tsp sage, chopped
A handful of raisins
150 g blue cheese, grated
Pinch of saffron
2 tbs hot milk
10 eggs
75 g melted butter
1/2 tsp salt
1 tsp sugar
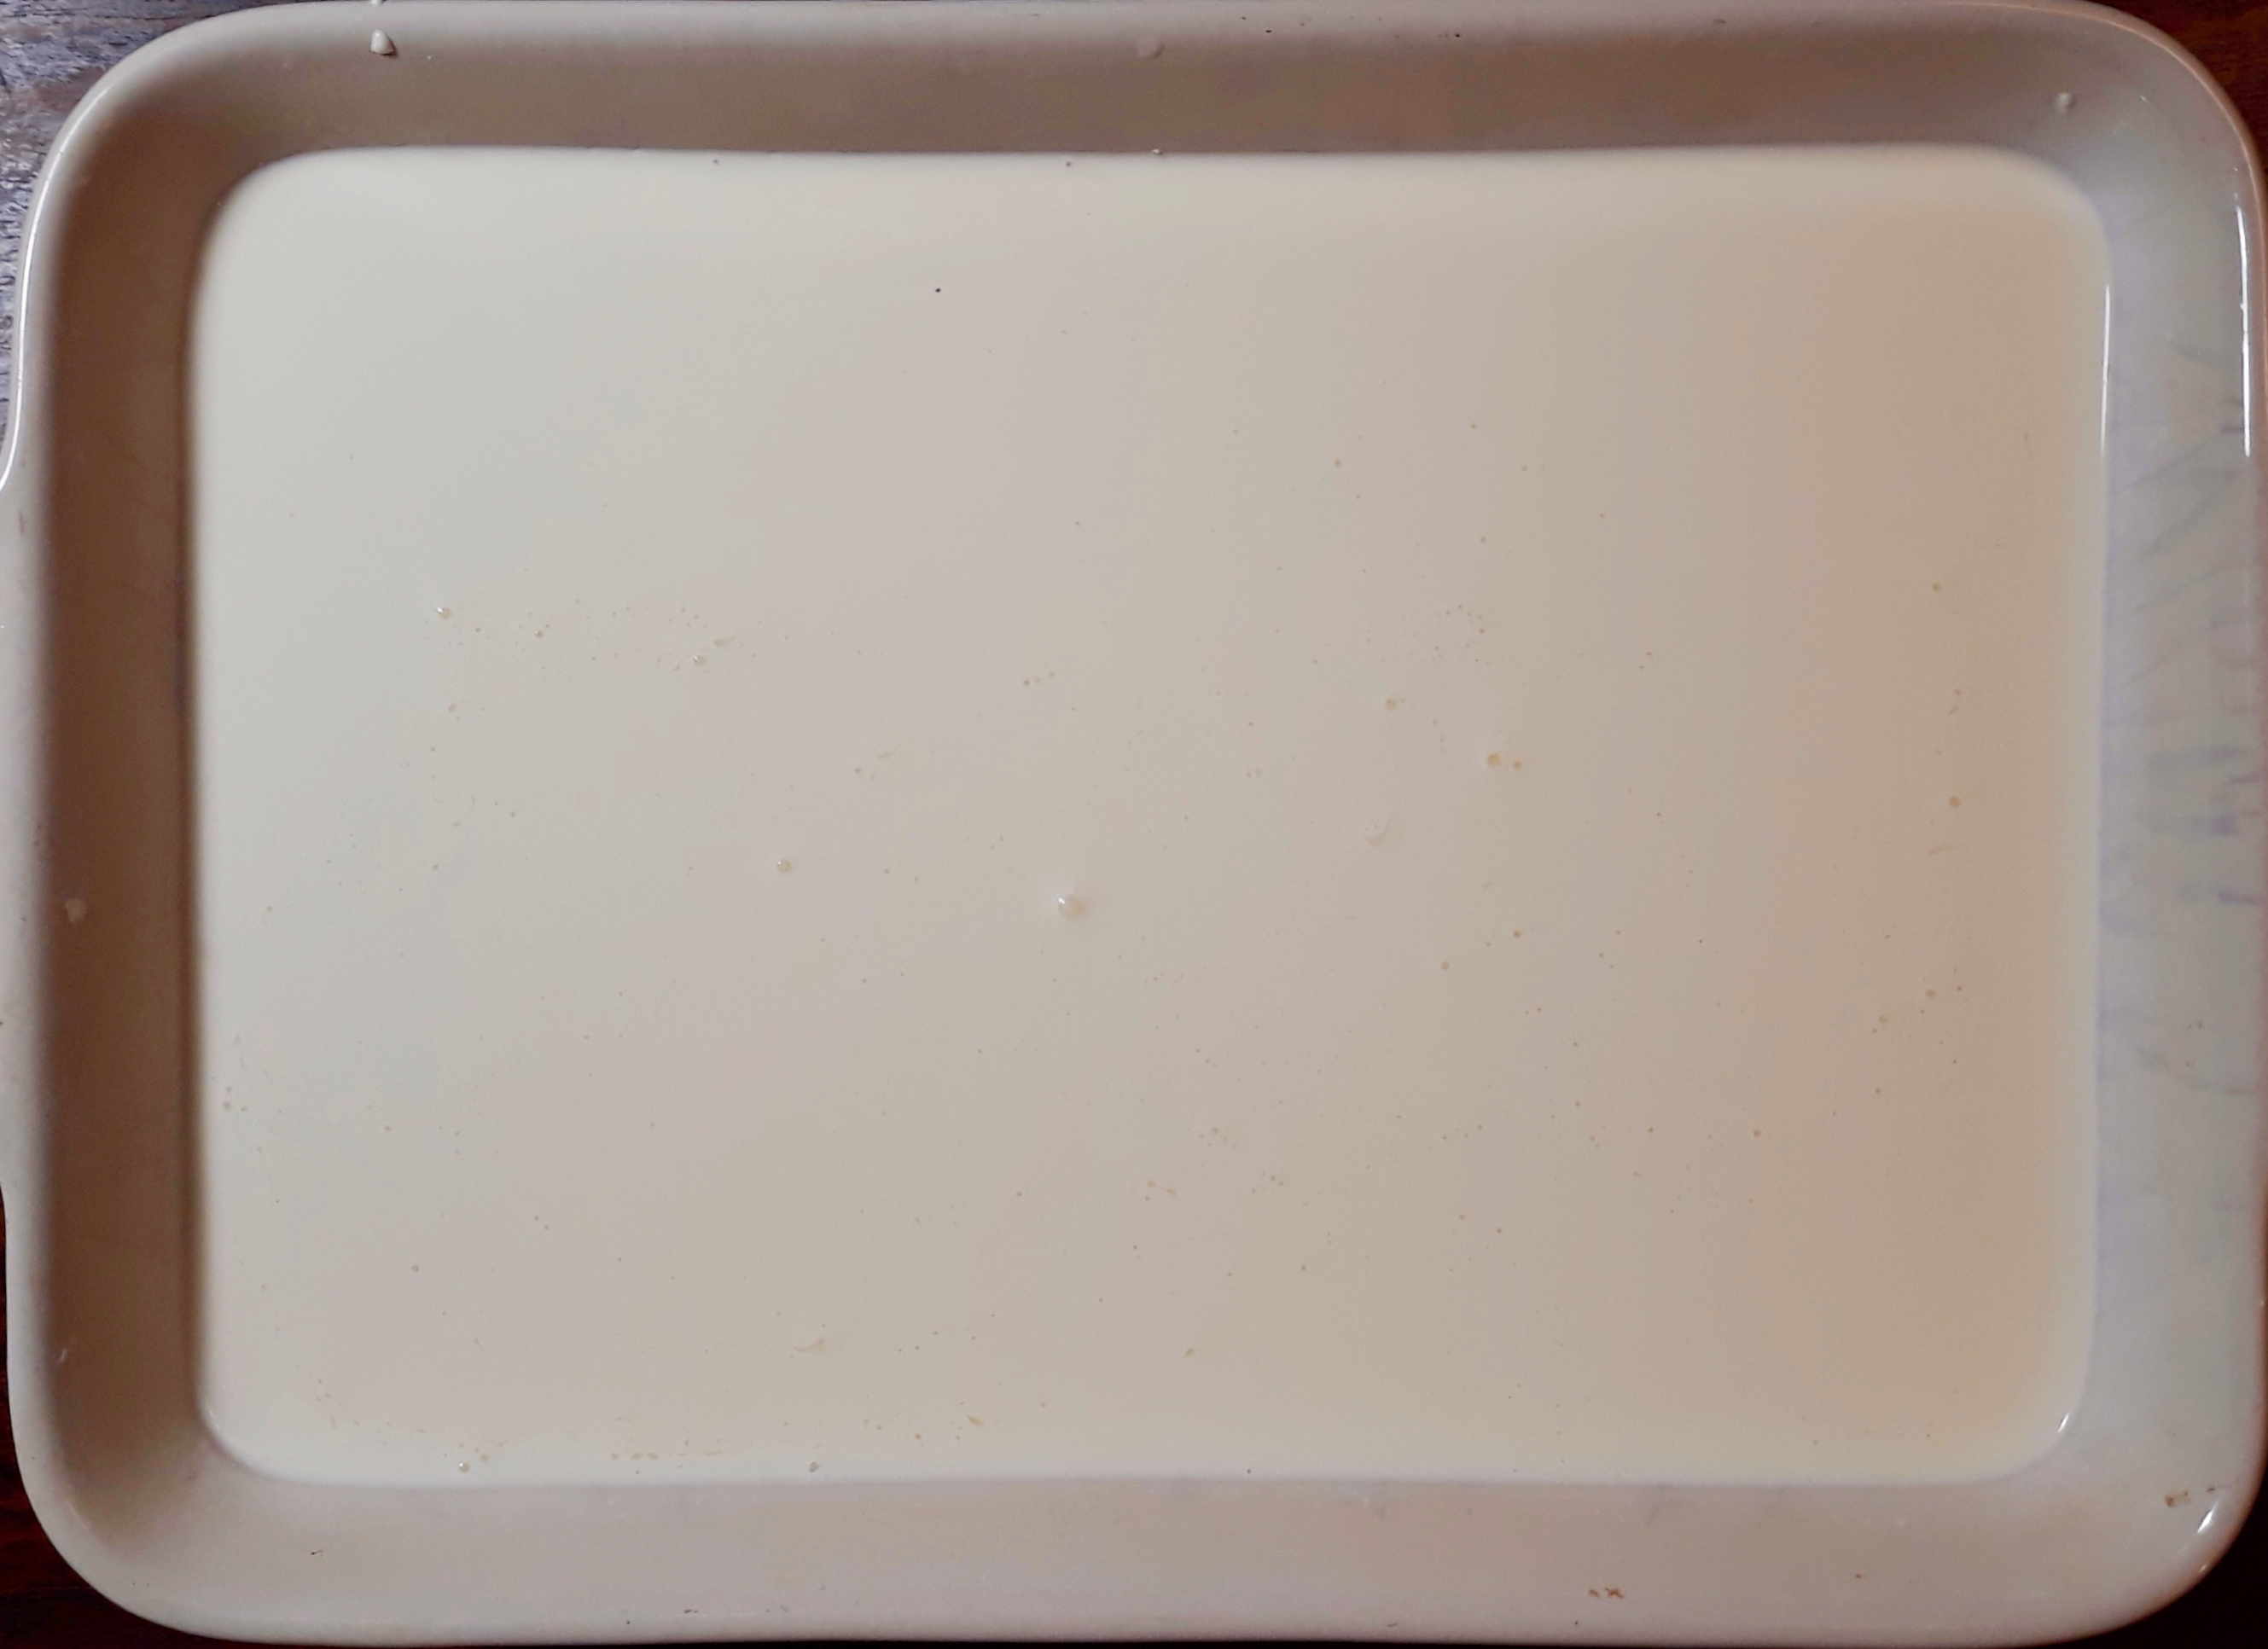
- Roll out the pastry and use it to line a 10-inch flan ring. Prick the base and place in the fridge to firm up
- Preheat the oven to 220°C and bake the case lined with greaseproof paper and filled with baking beans for 30 minutes.
- Meanwhile, peel the onion and simmer in salted water for 20 minutes, then drain.
- Remove the beans and paper and return the pastry case to the oven for 7 or 8 minutes to crisp the base.
- Turn down the oven to 160°C
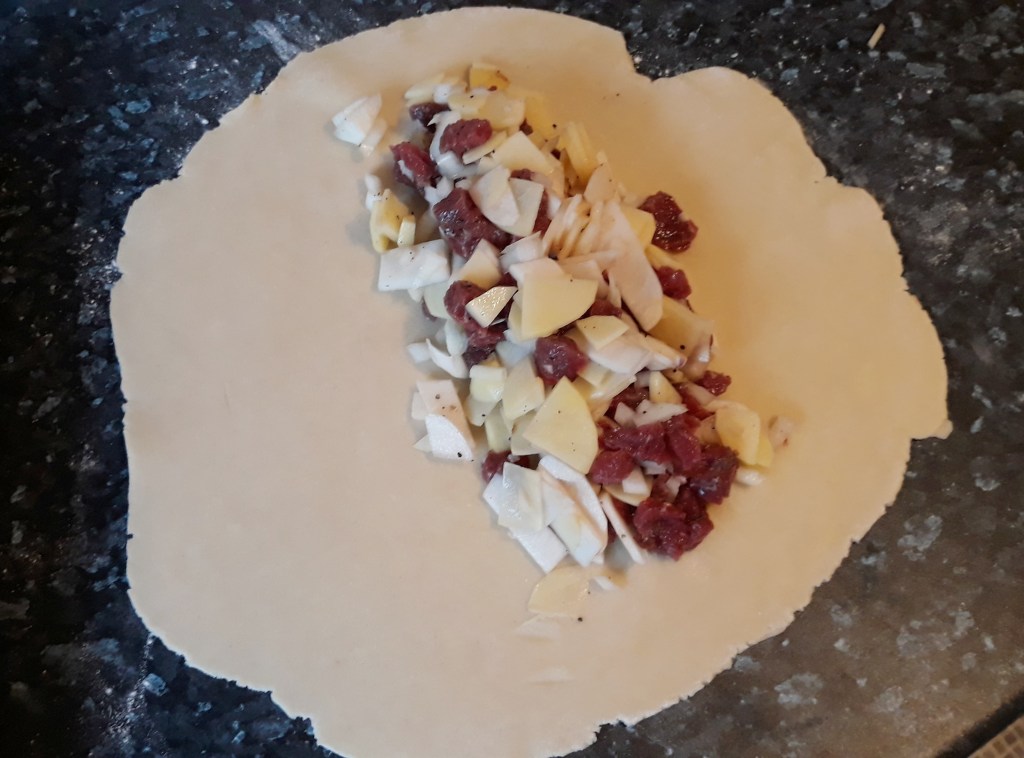
- Sprinkle over the base the herbs, raisins and cheese, chop up the onions and scatter those too.
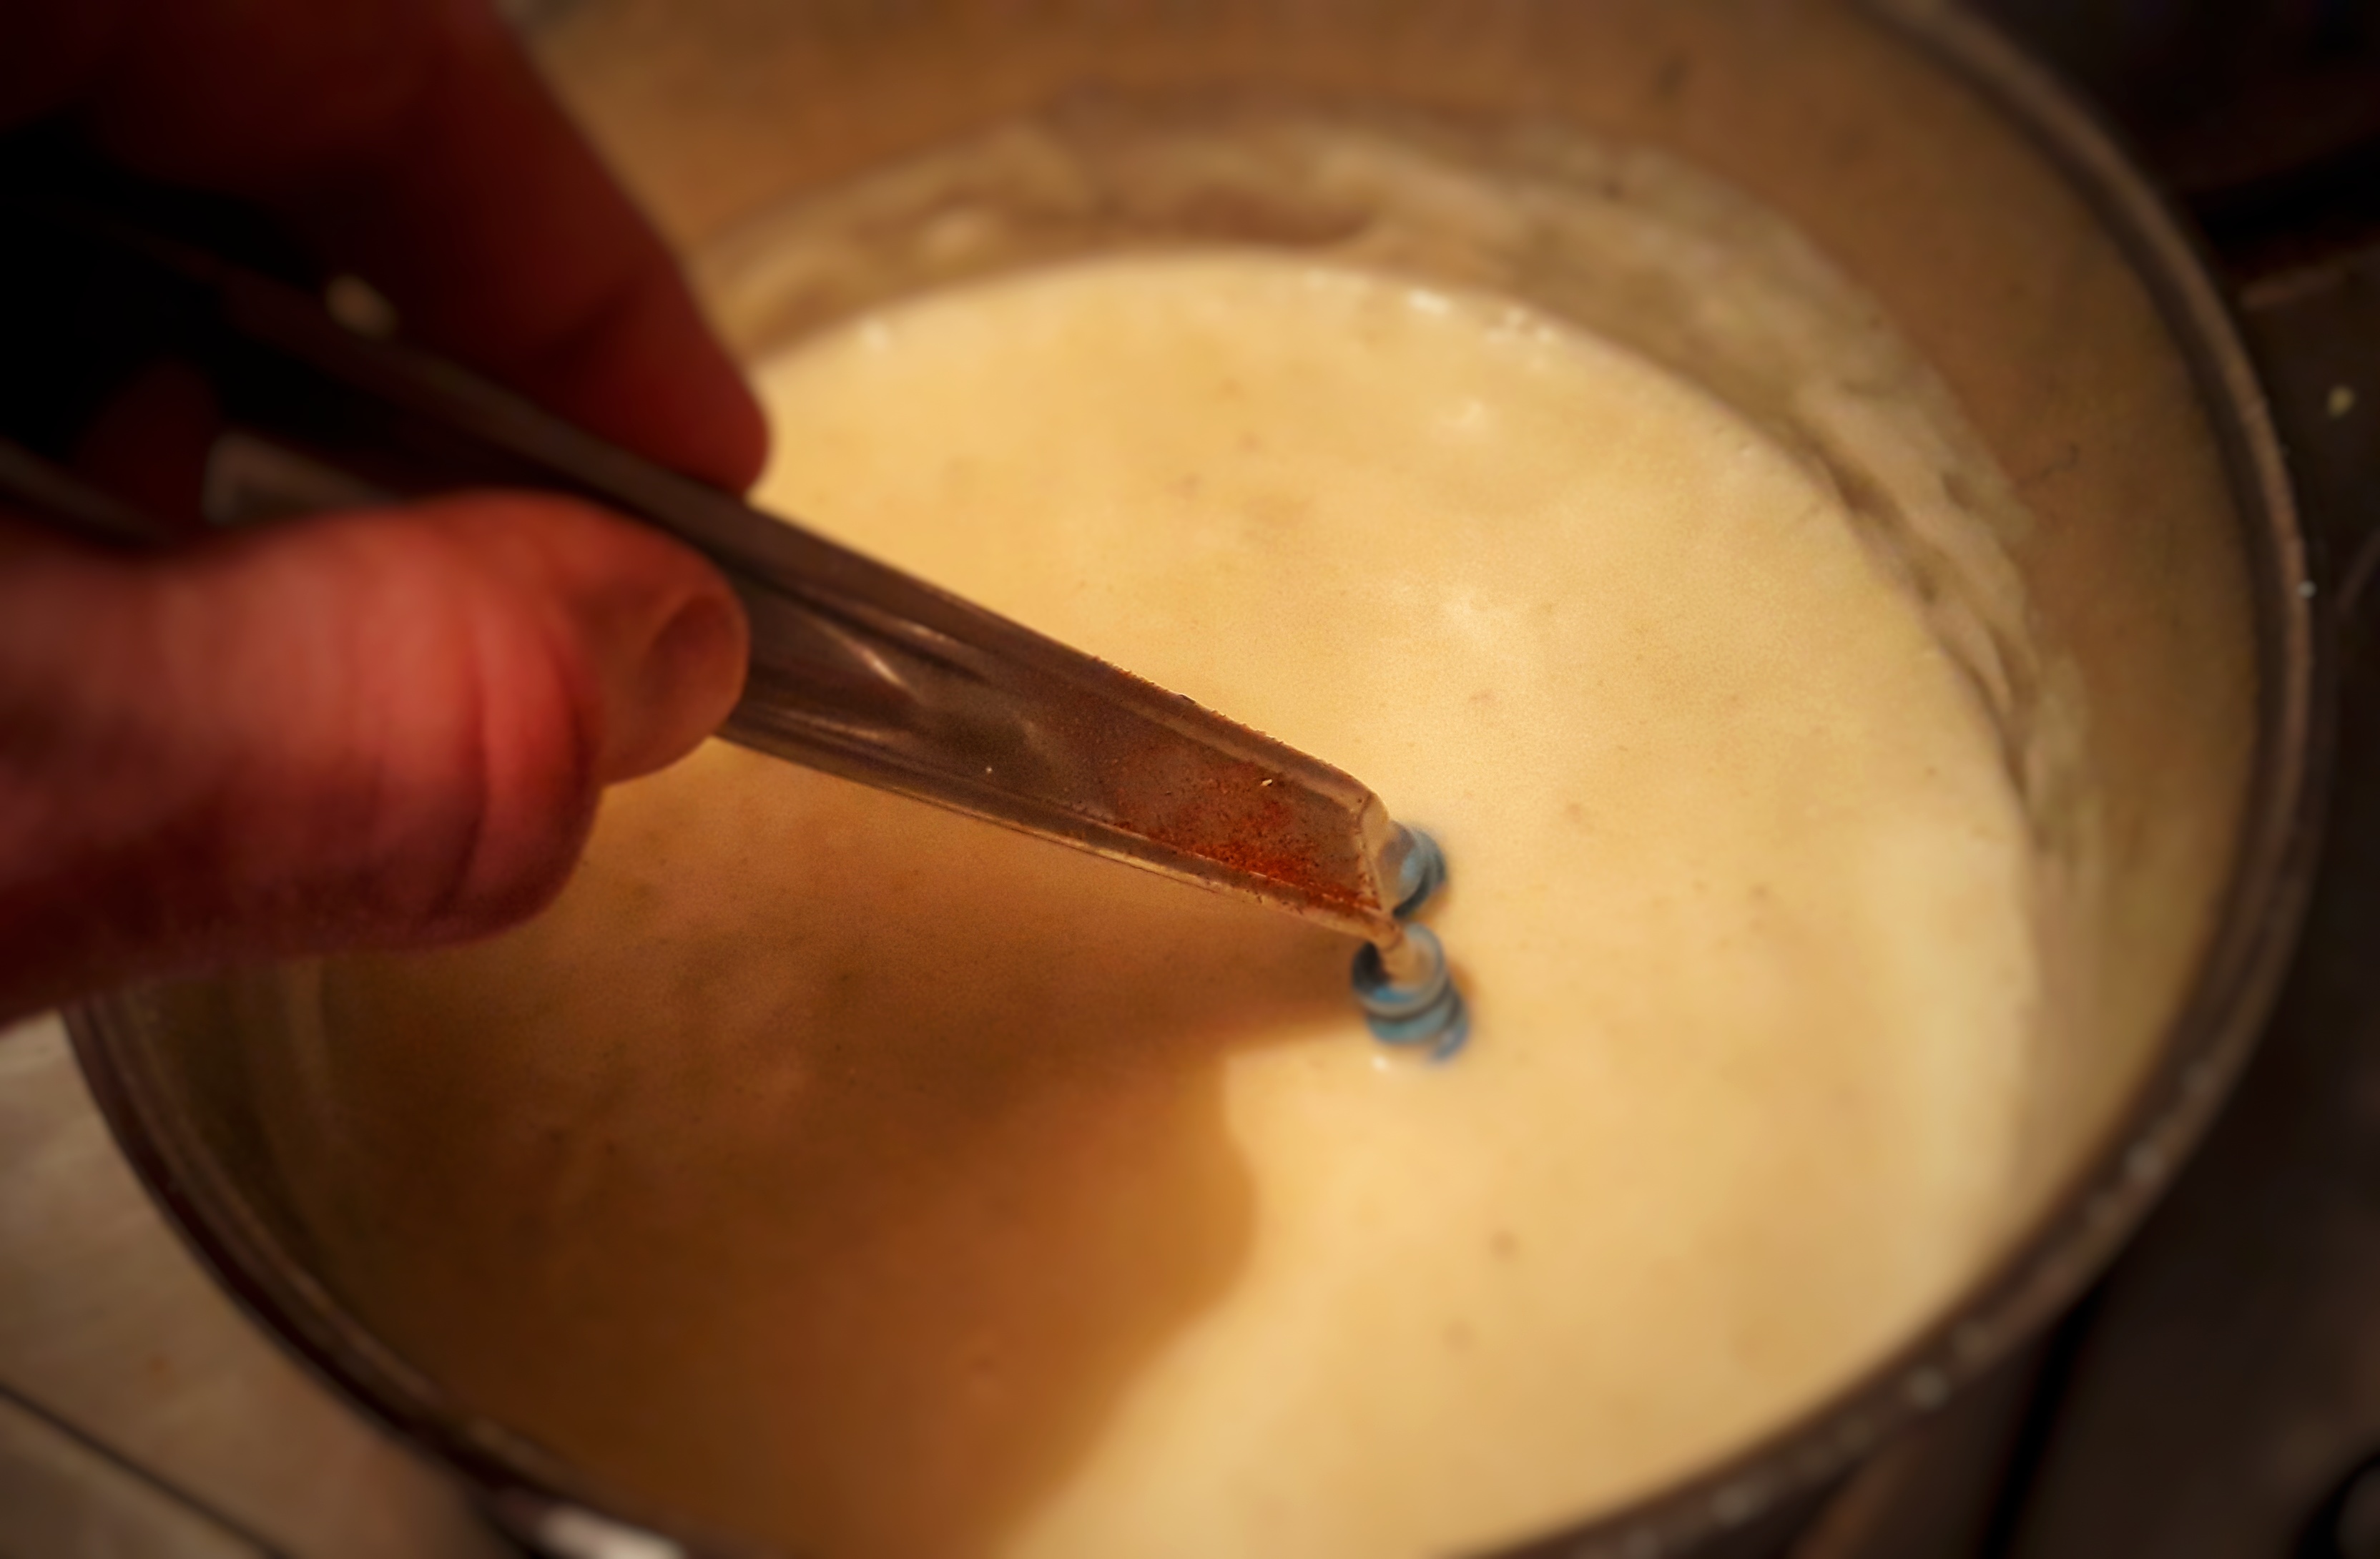
- Steep the saffron in the hot milk for five minutes, then beat with the eggs, butter, salt and sugar
- Pour the eggs over and bake until set, around 45 minutes.
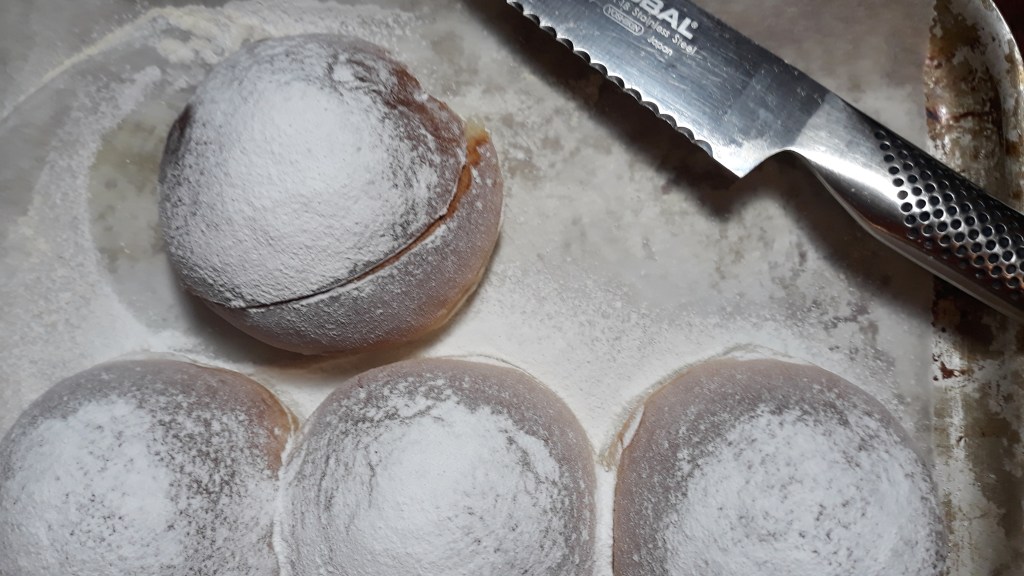
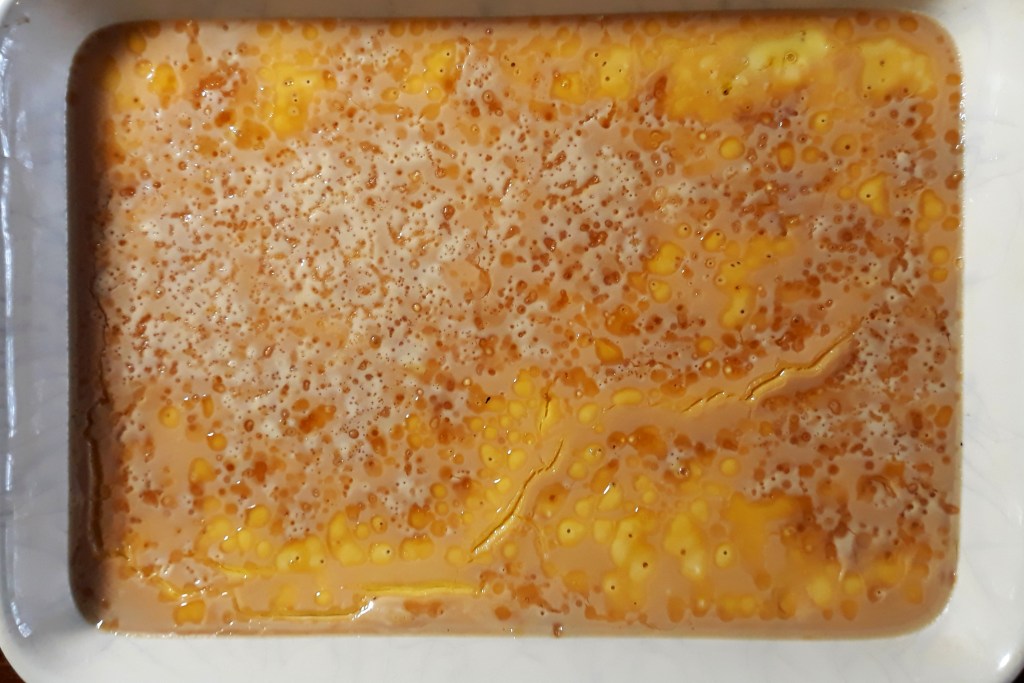
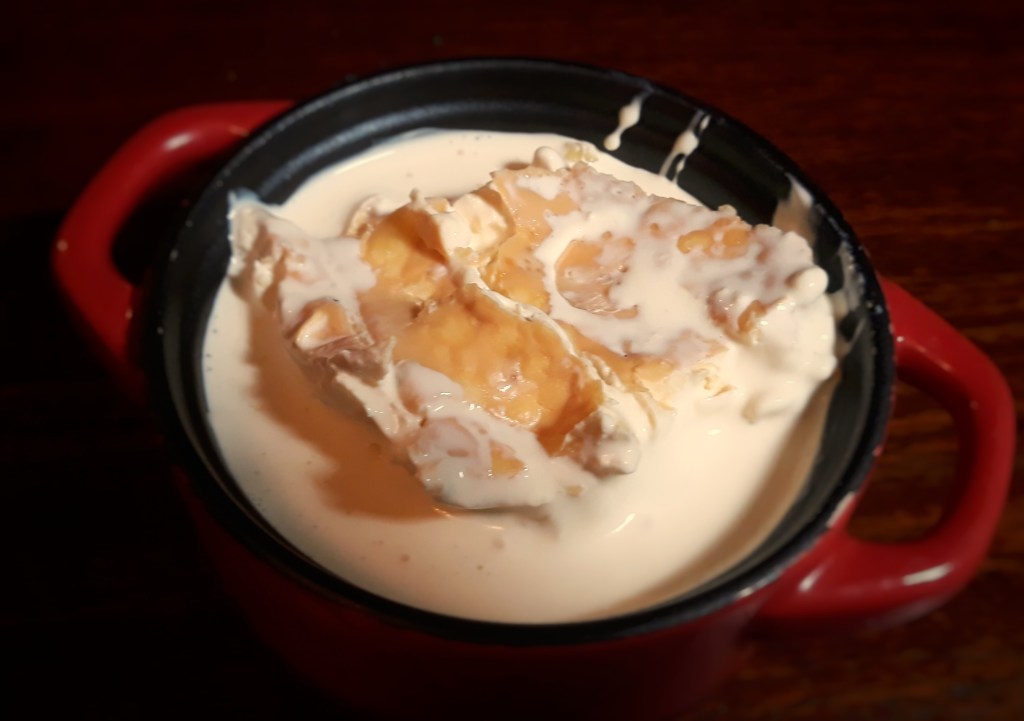
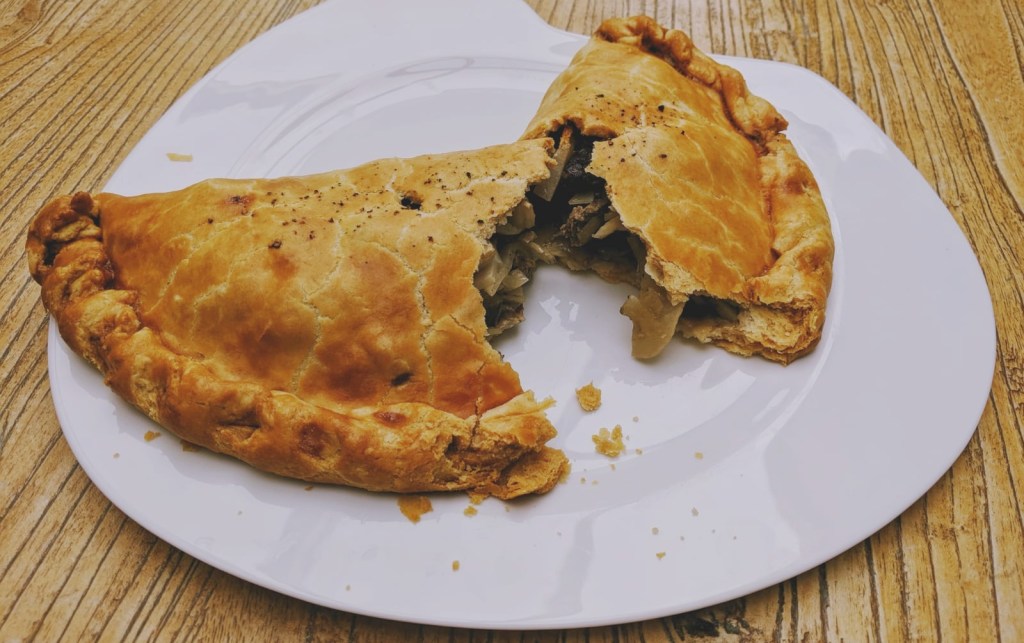
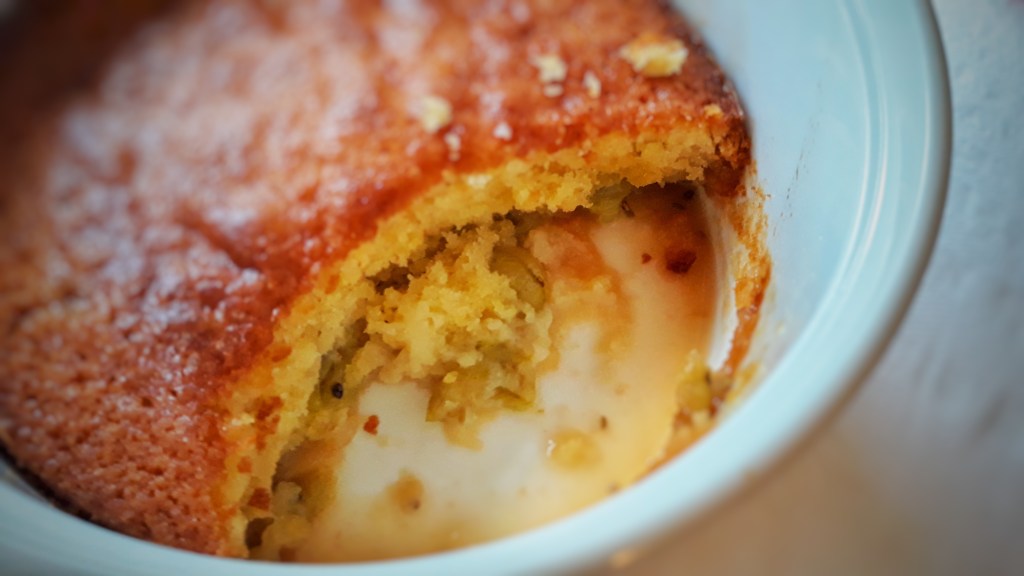
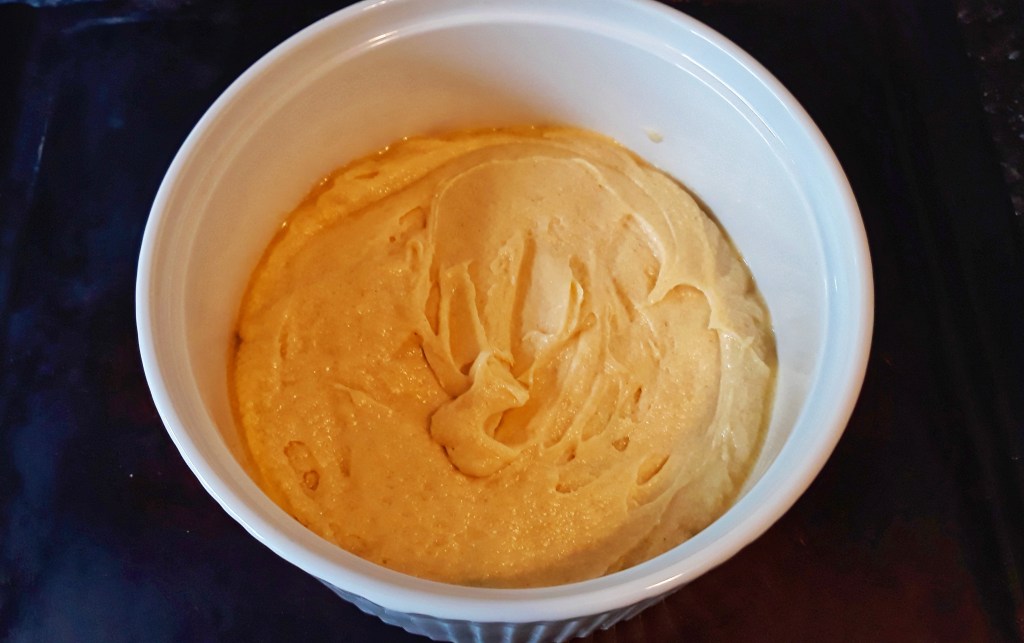
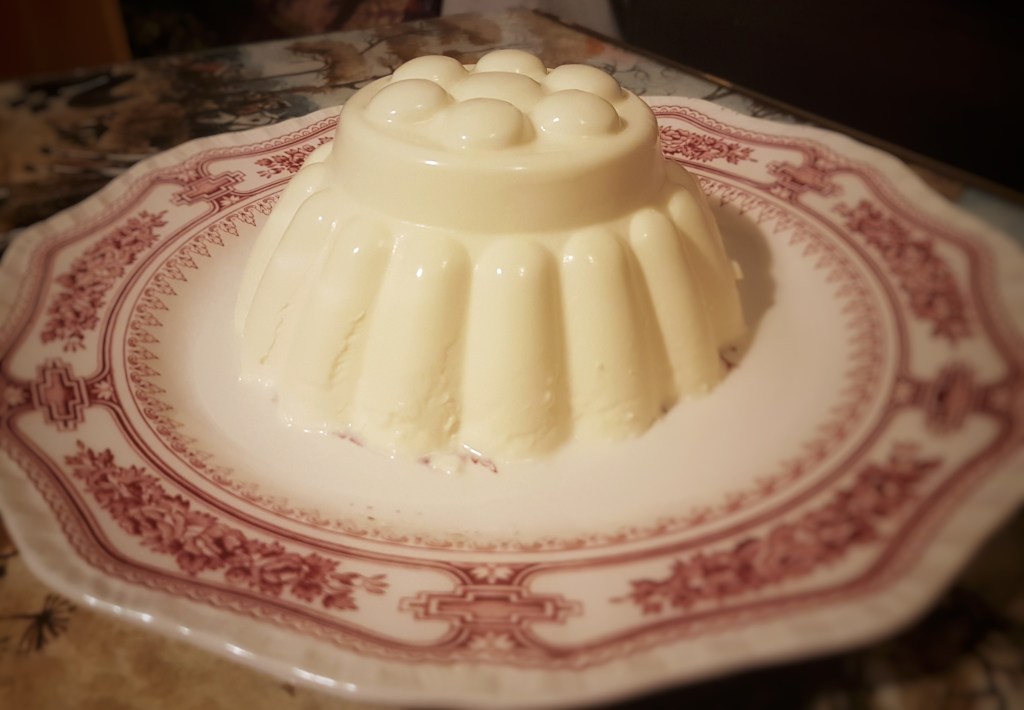
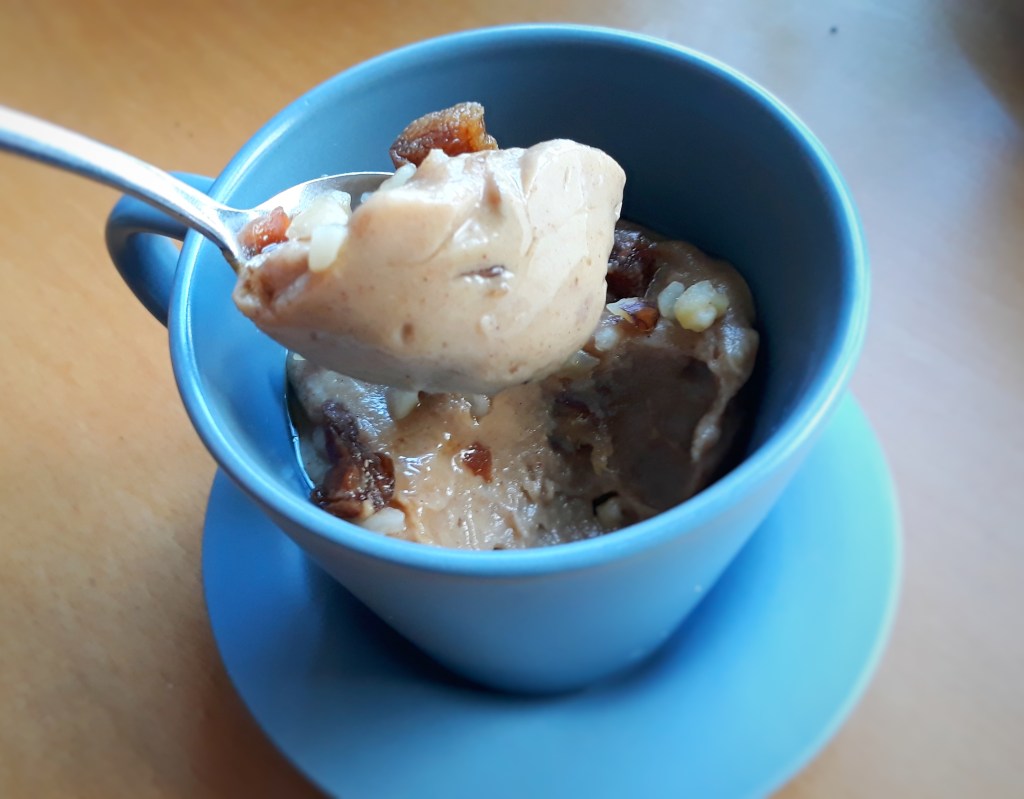
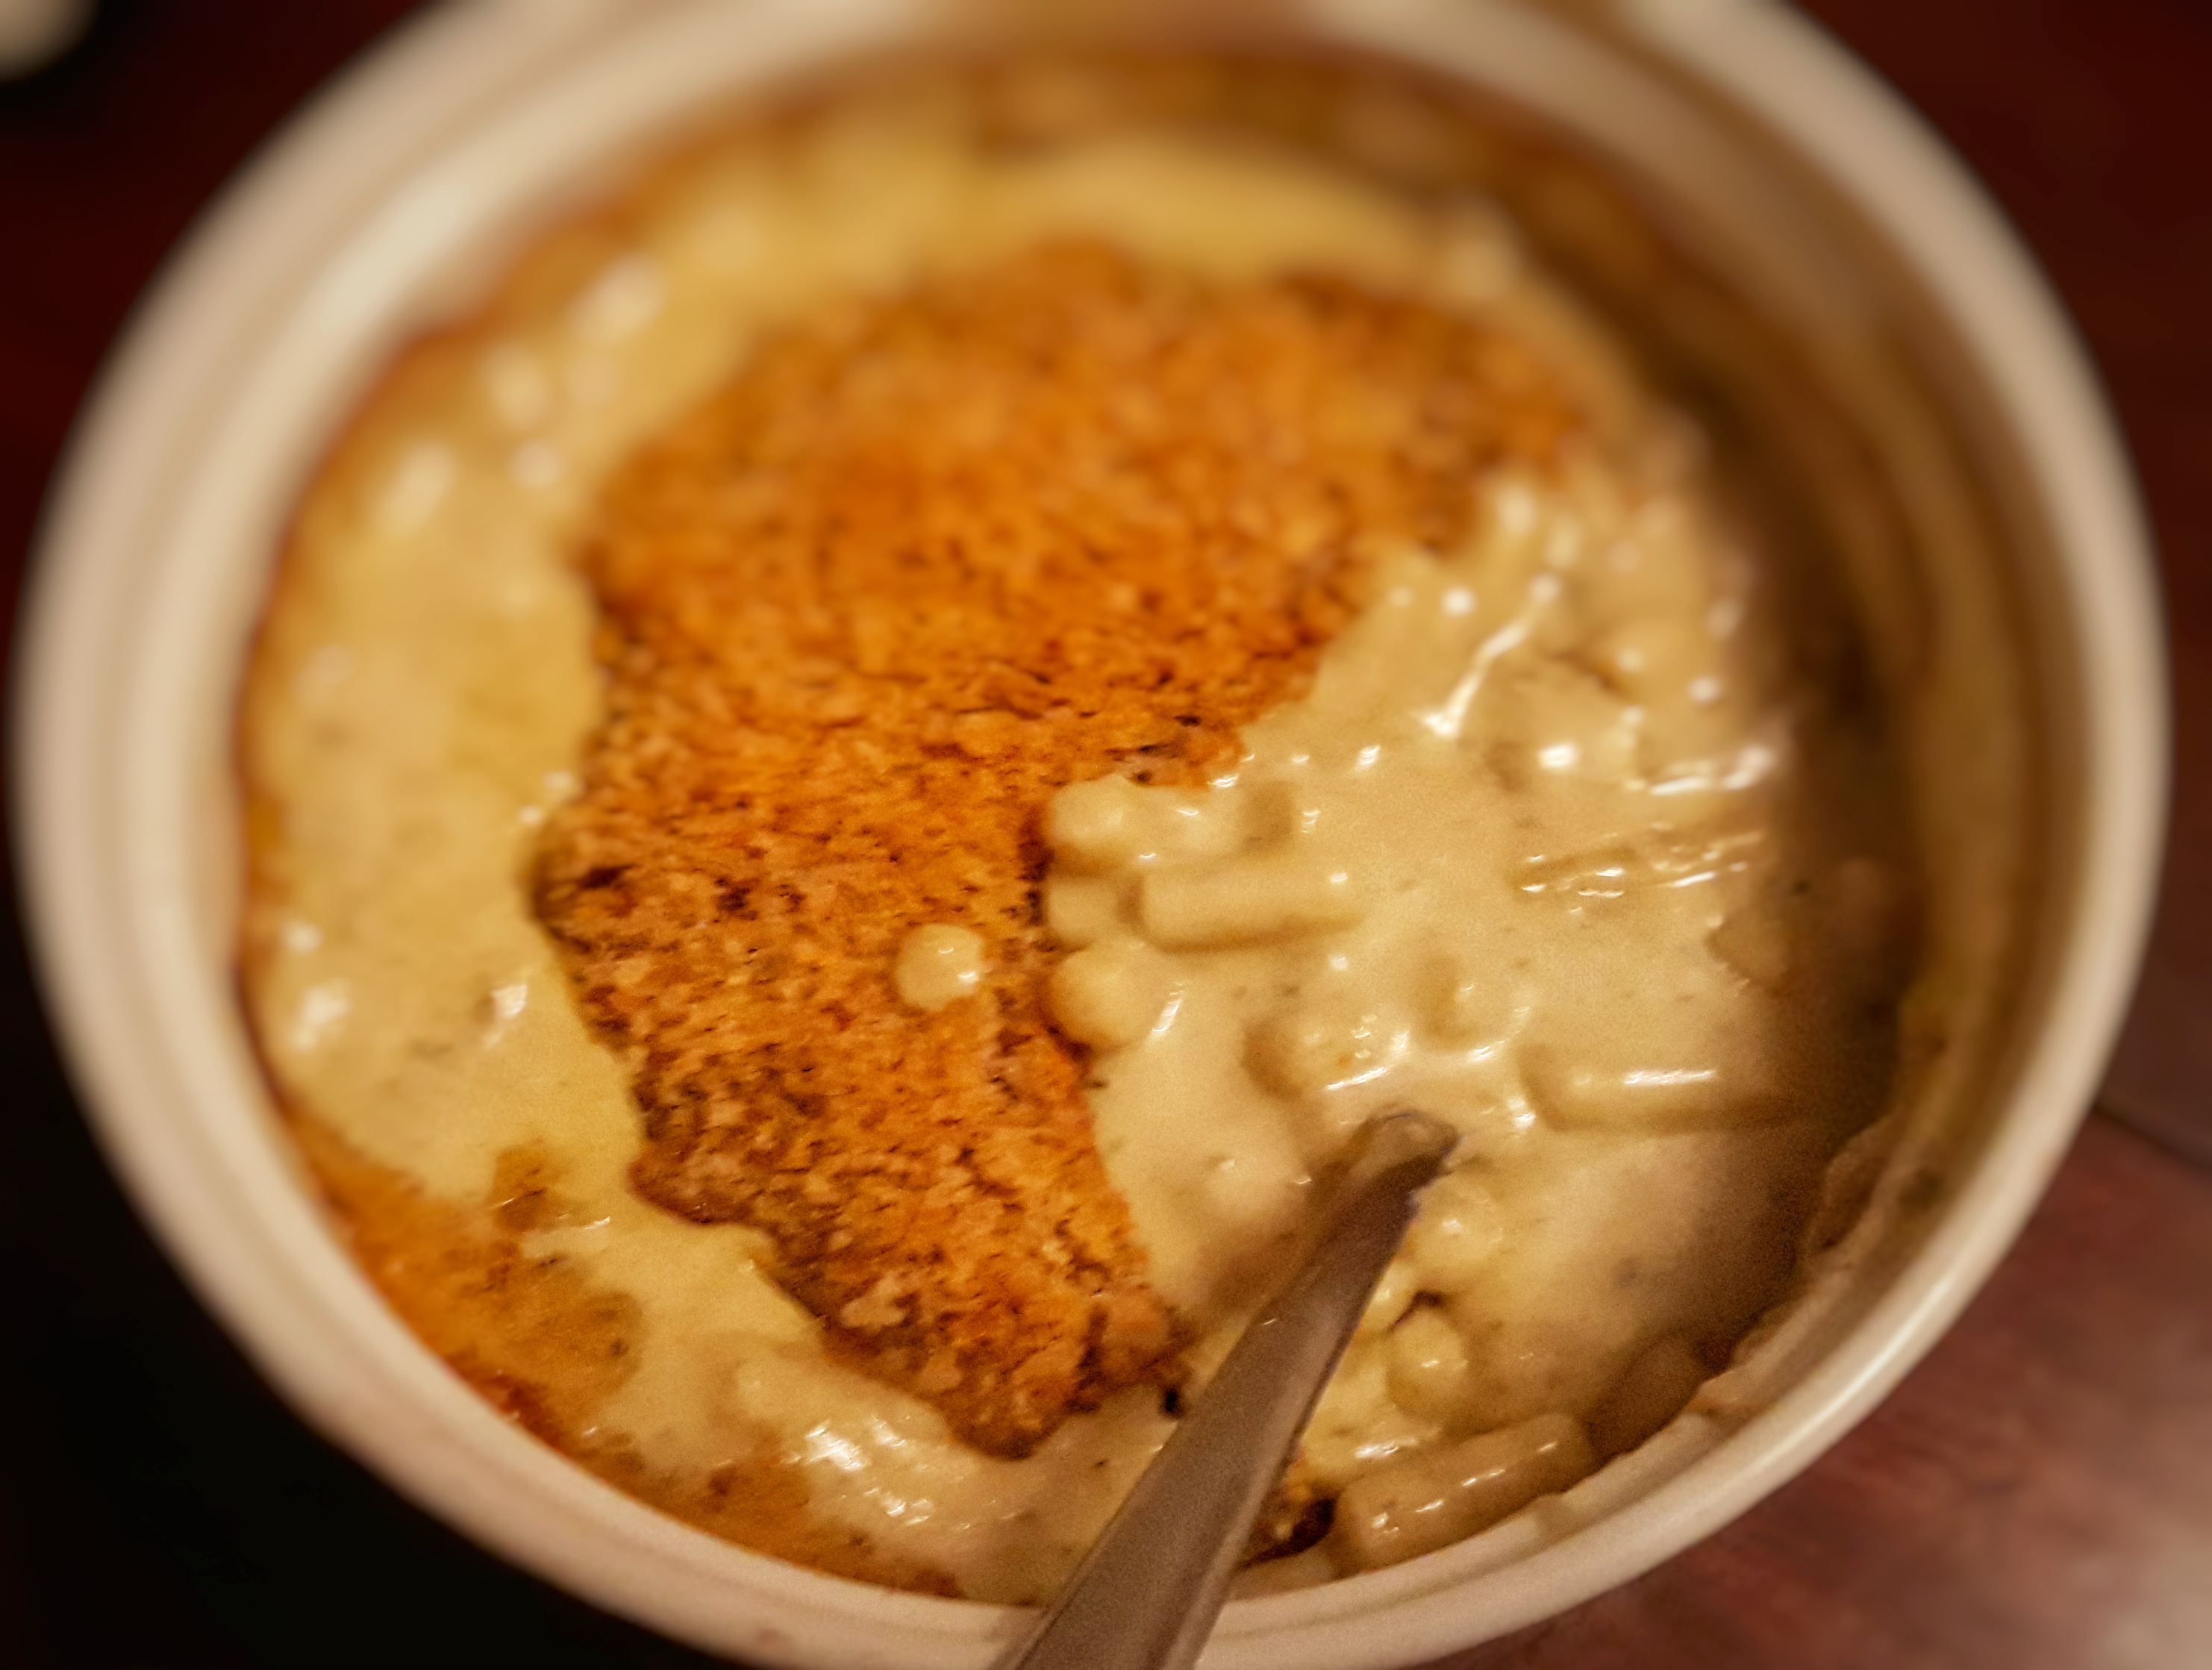
The Ember Tart 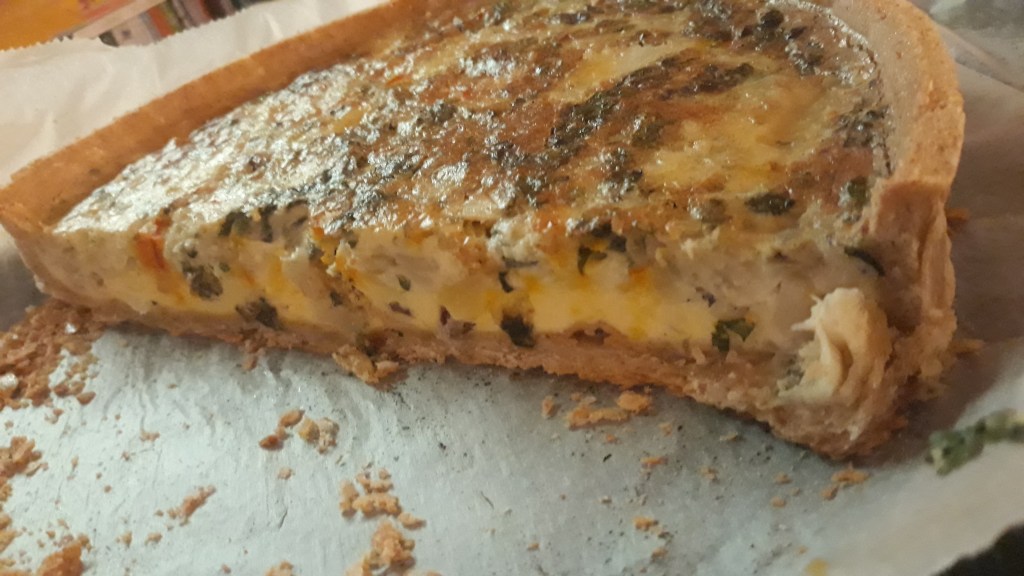
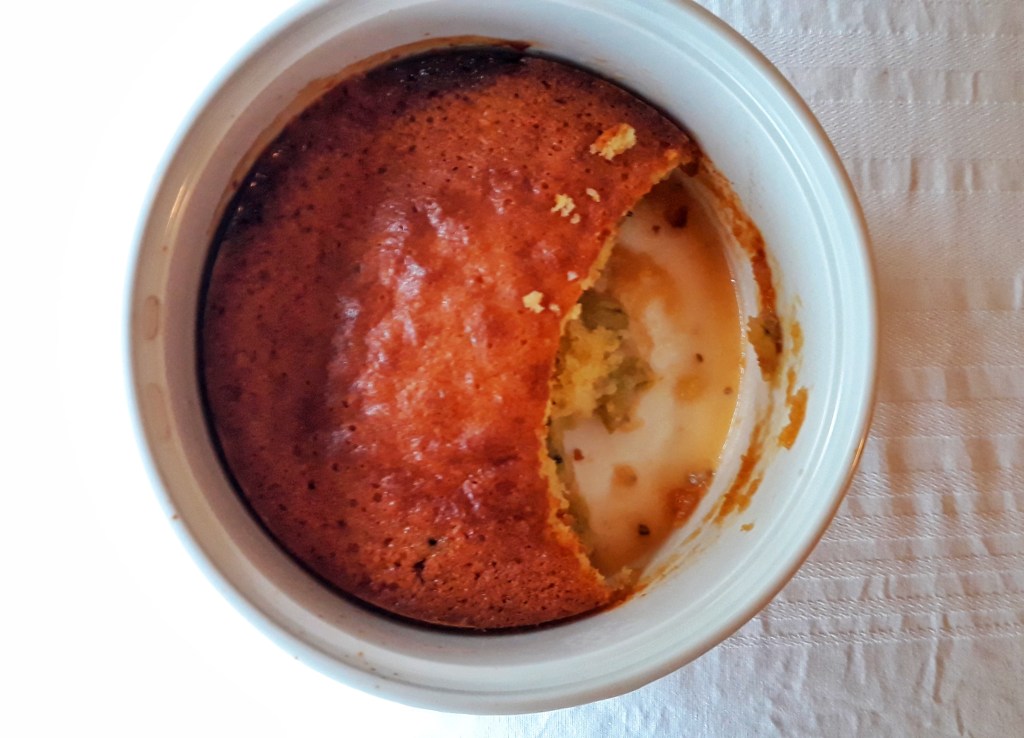
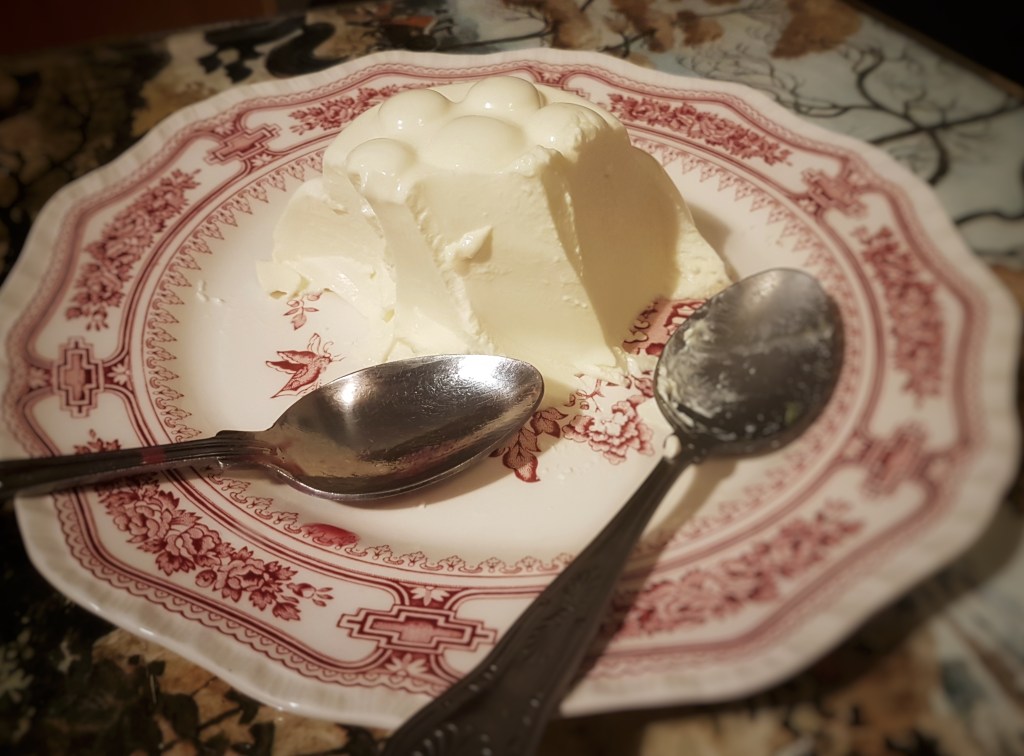
The Ember Tart, cut 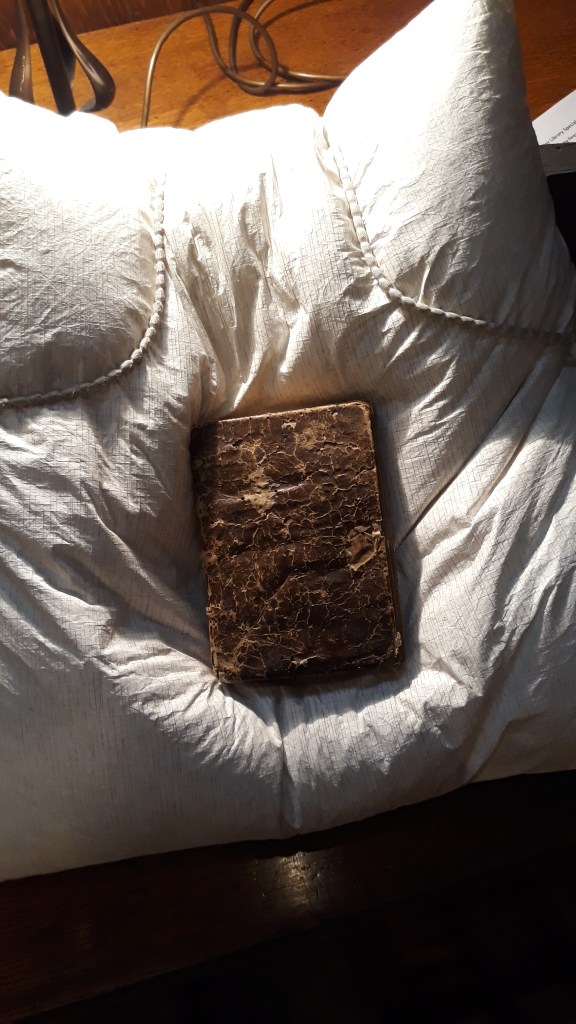
The Forme of Cury 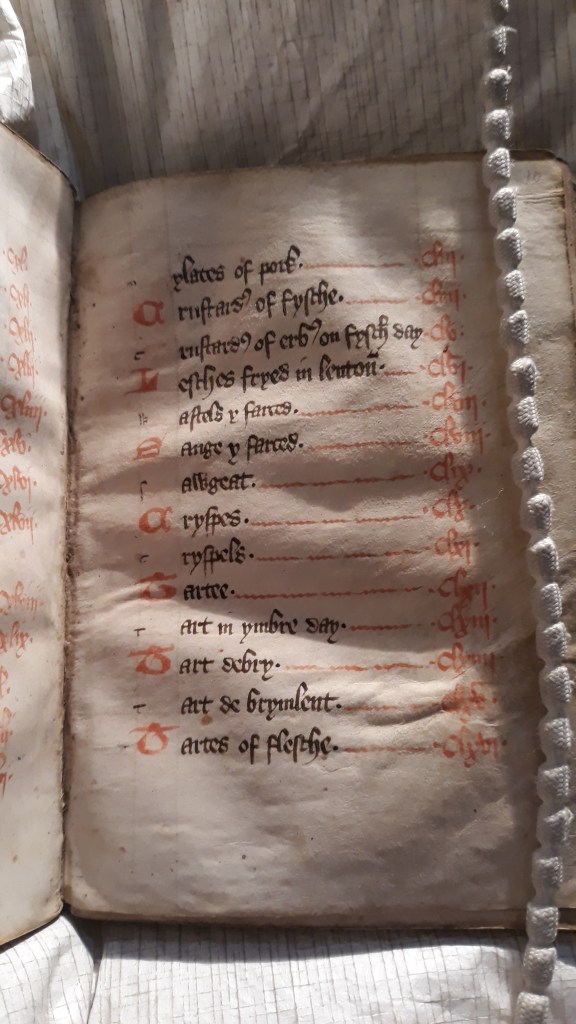
Part of the contents page 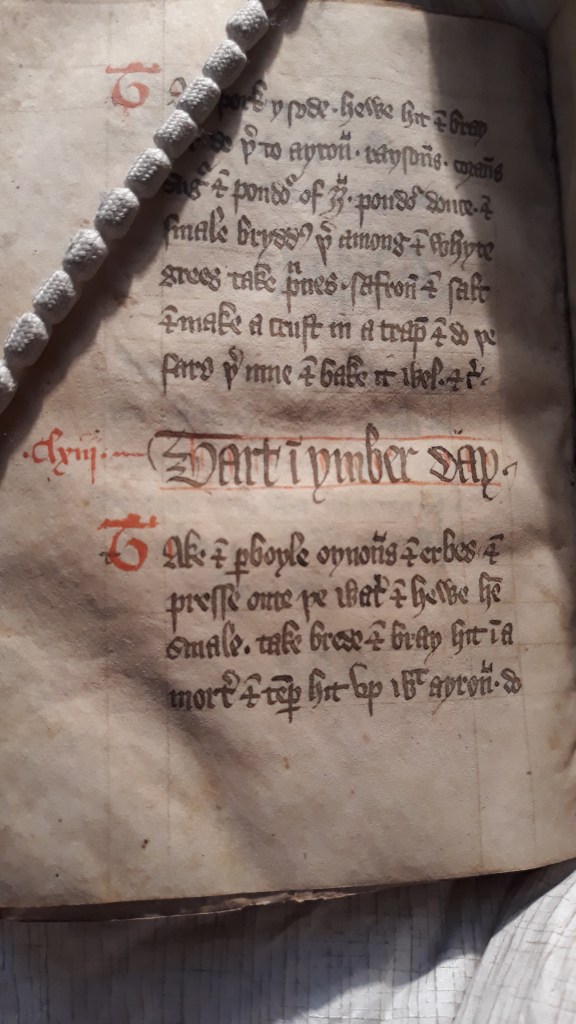
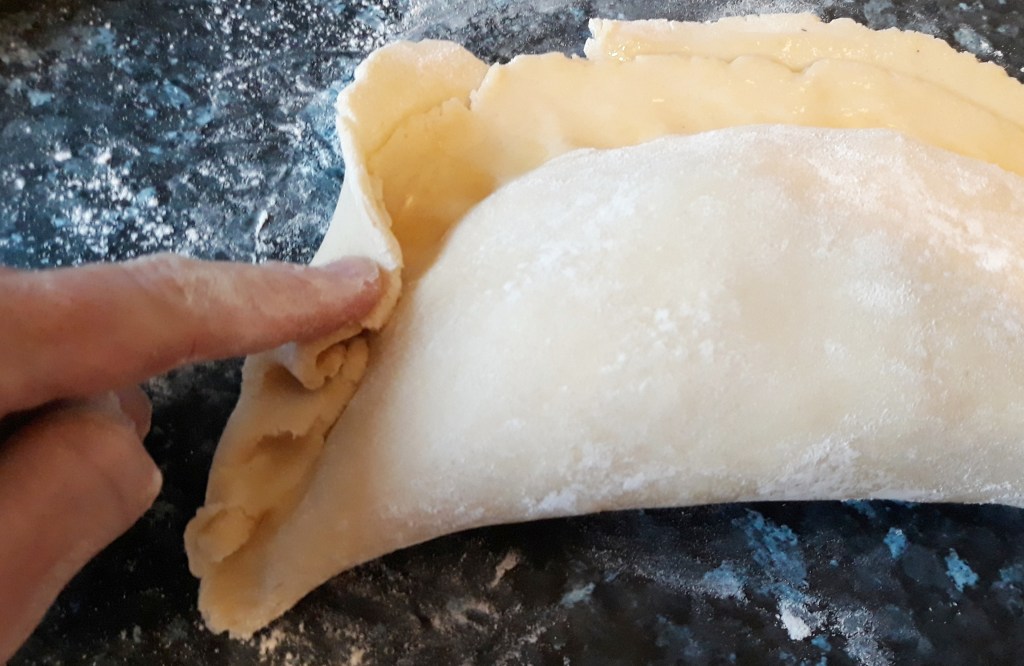
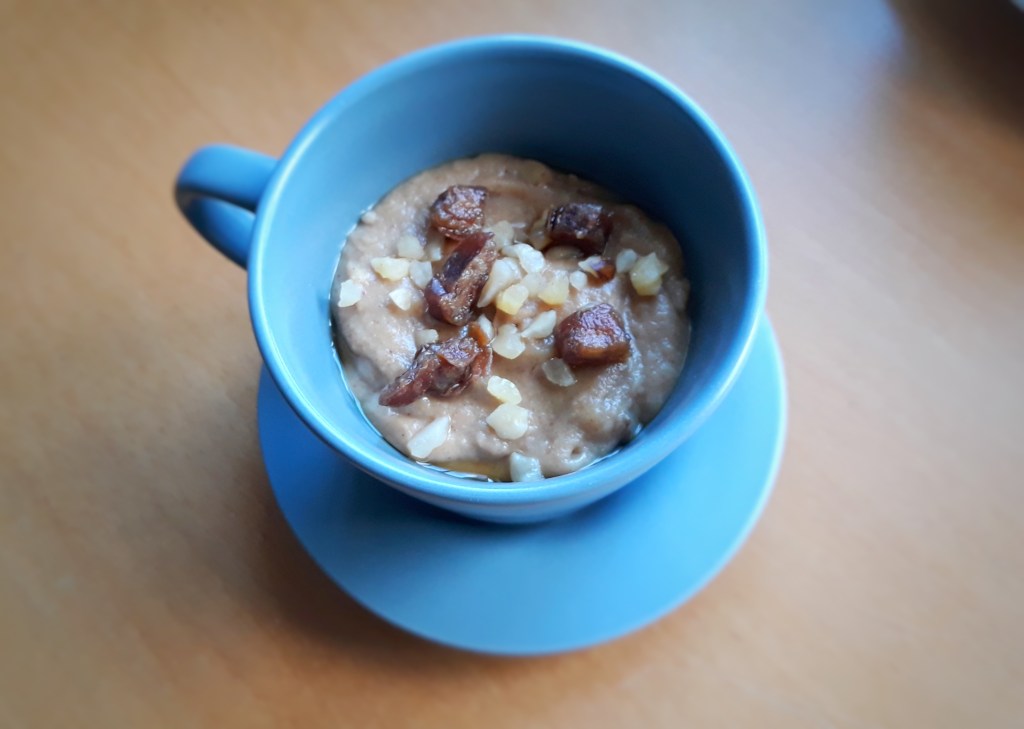
A Tart for Ember Day 
That Buttery bloke 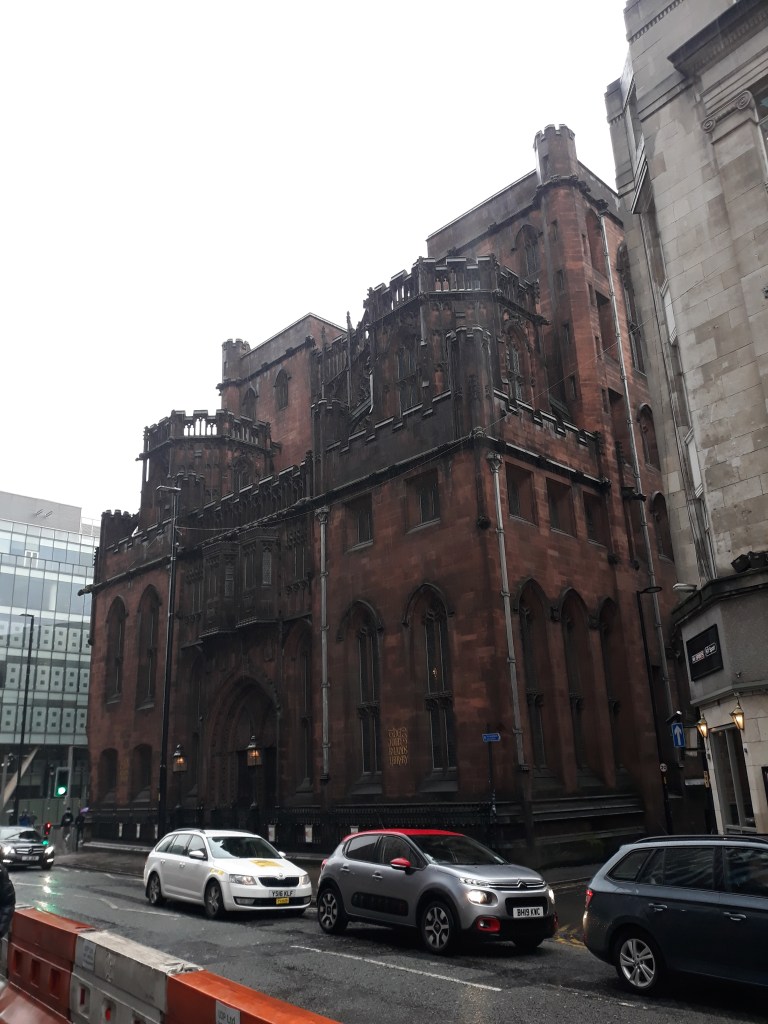
John Ryland’s Library 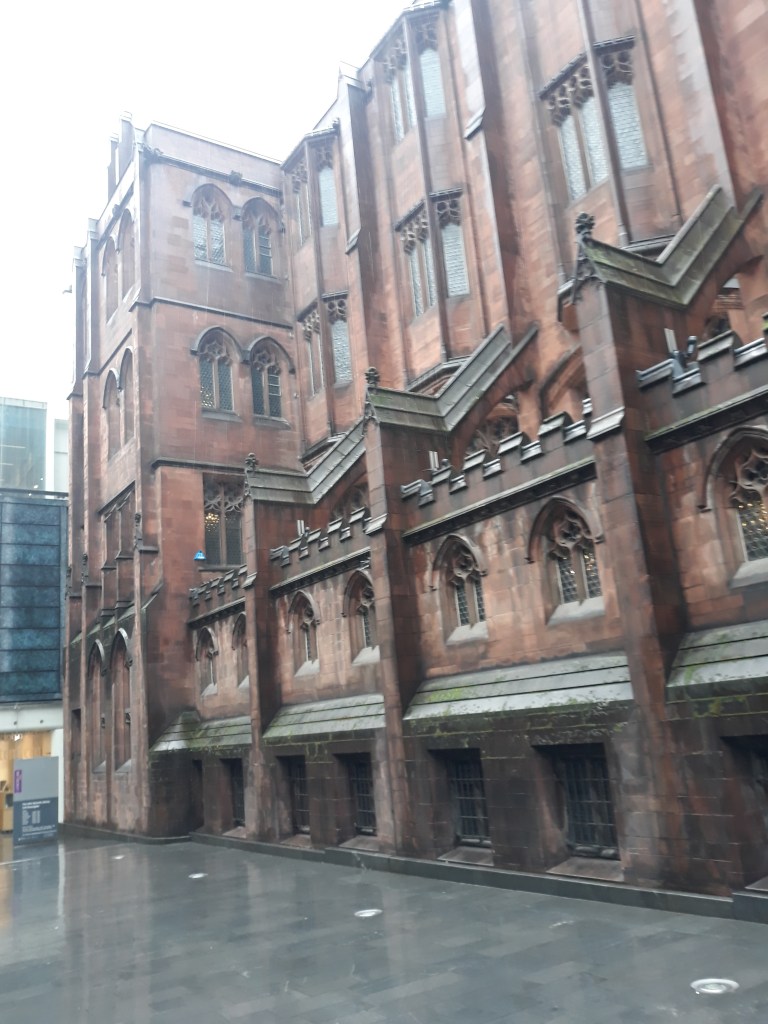
John Ryland’s Library