Fine oranges well roasted with sugar and wine in a cup, they’ll make a sweet Bishop when gentlefolk sup.
Jonathan Swift (1667-1745)
I spent part of the week in London this week and made sure I had a wander around the Tower Bridge area, my favourite part of the great city. The tiny roads are still so very evocative of Dickens with many of the street names and yards appearing in his writings. Much of Little Dorrit takes place in this area of London, but it was such a bitingly-cold day that it put me more in mind of the winter scenes described in Dickens’ novella A Christmas Carol.
At the very end of the story, when it dawns upon the old miser Ebenezer Scrooge that it’s nice to be nice, he offers his long-suffering clerk a well-deserved pay rise and some delicious steaming-hot smoking bishop:
“A merry Christmas, Bob!” said Scrooge, with an earnestness that could not be mistaken, as he clapped him on the back. “A merrier Christmas Bob, my good fellow, than I have given you, for many a year! I’ll raise your salary, and endeavour to assist your struggling family, and we will discuss your affairs this very afternoon, over a Christmas bowl of smoking bishop, Bob! Make up the fires, and buy another coal-scuttle before you dot another i, Bob Cratchit!”
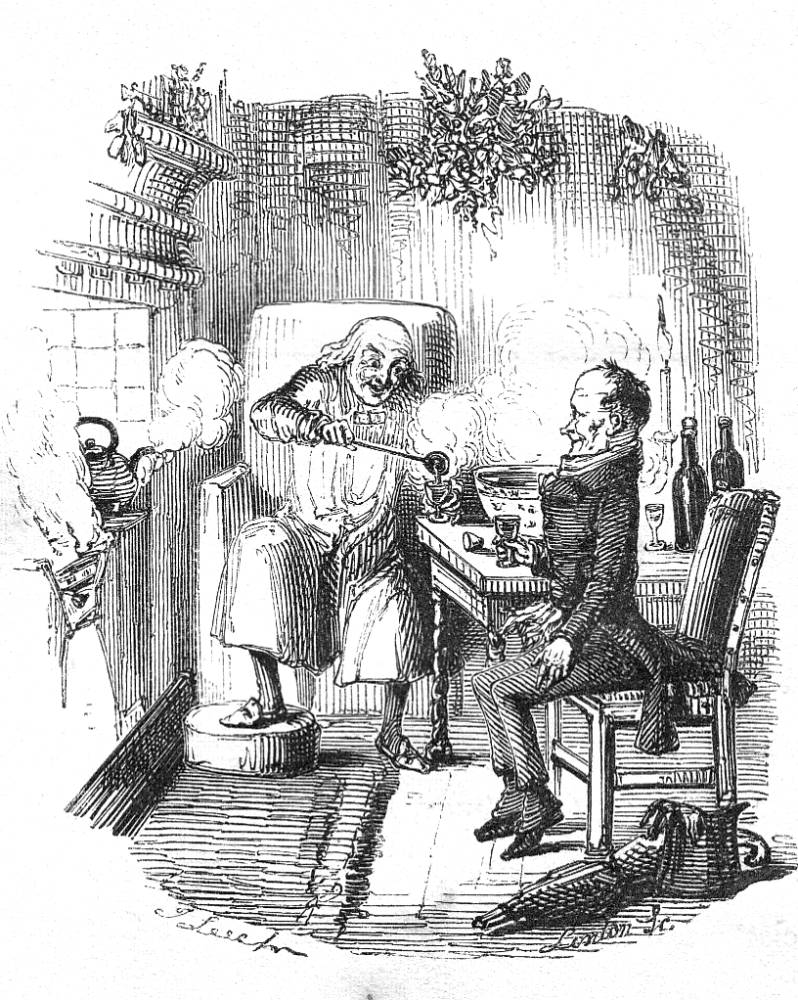
The Christmas Bowl:
Original illustration from A Christmas Carol by John Leech
Christmas wouldn’t be Christmas without a heady hot boozy snifter and smoking bishop is the best of all, in my opinion. Everyone is sick of mulled wine these days – or at least I am – this is the way to go; a marvellous mixture of port, oranges and spices.
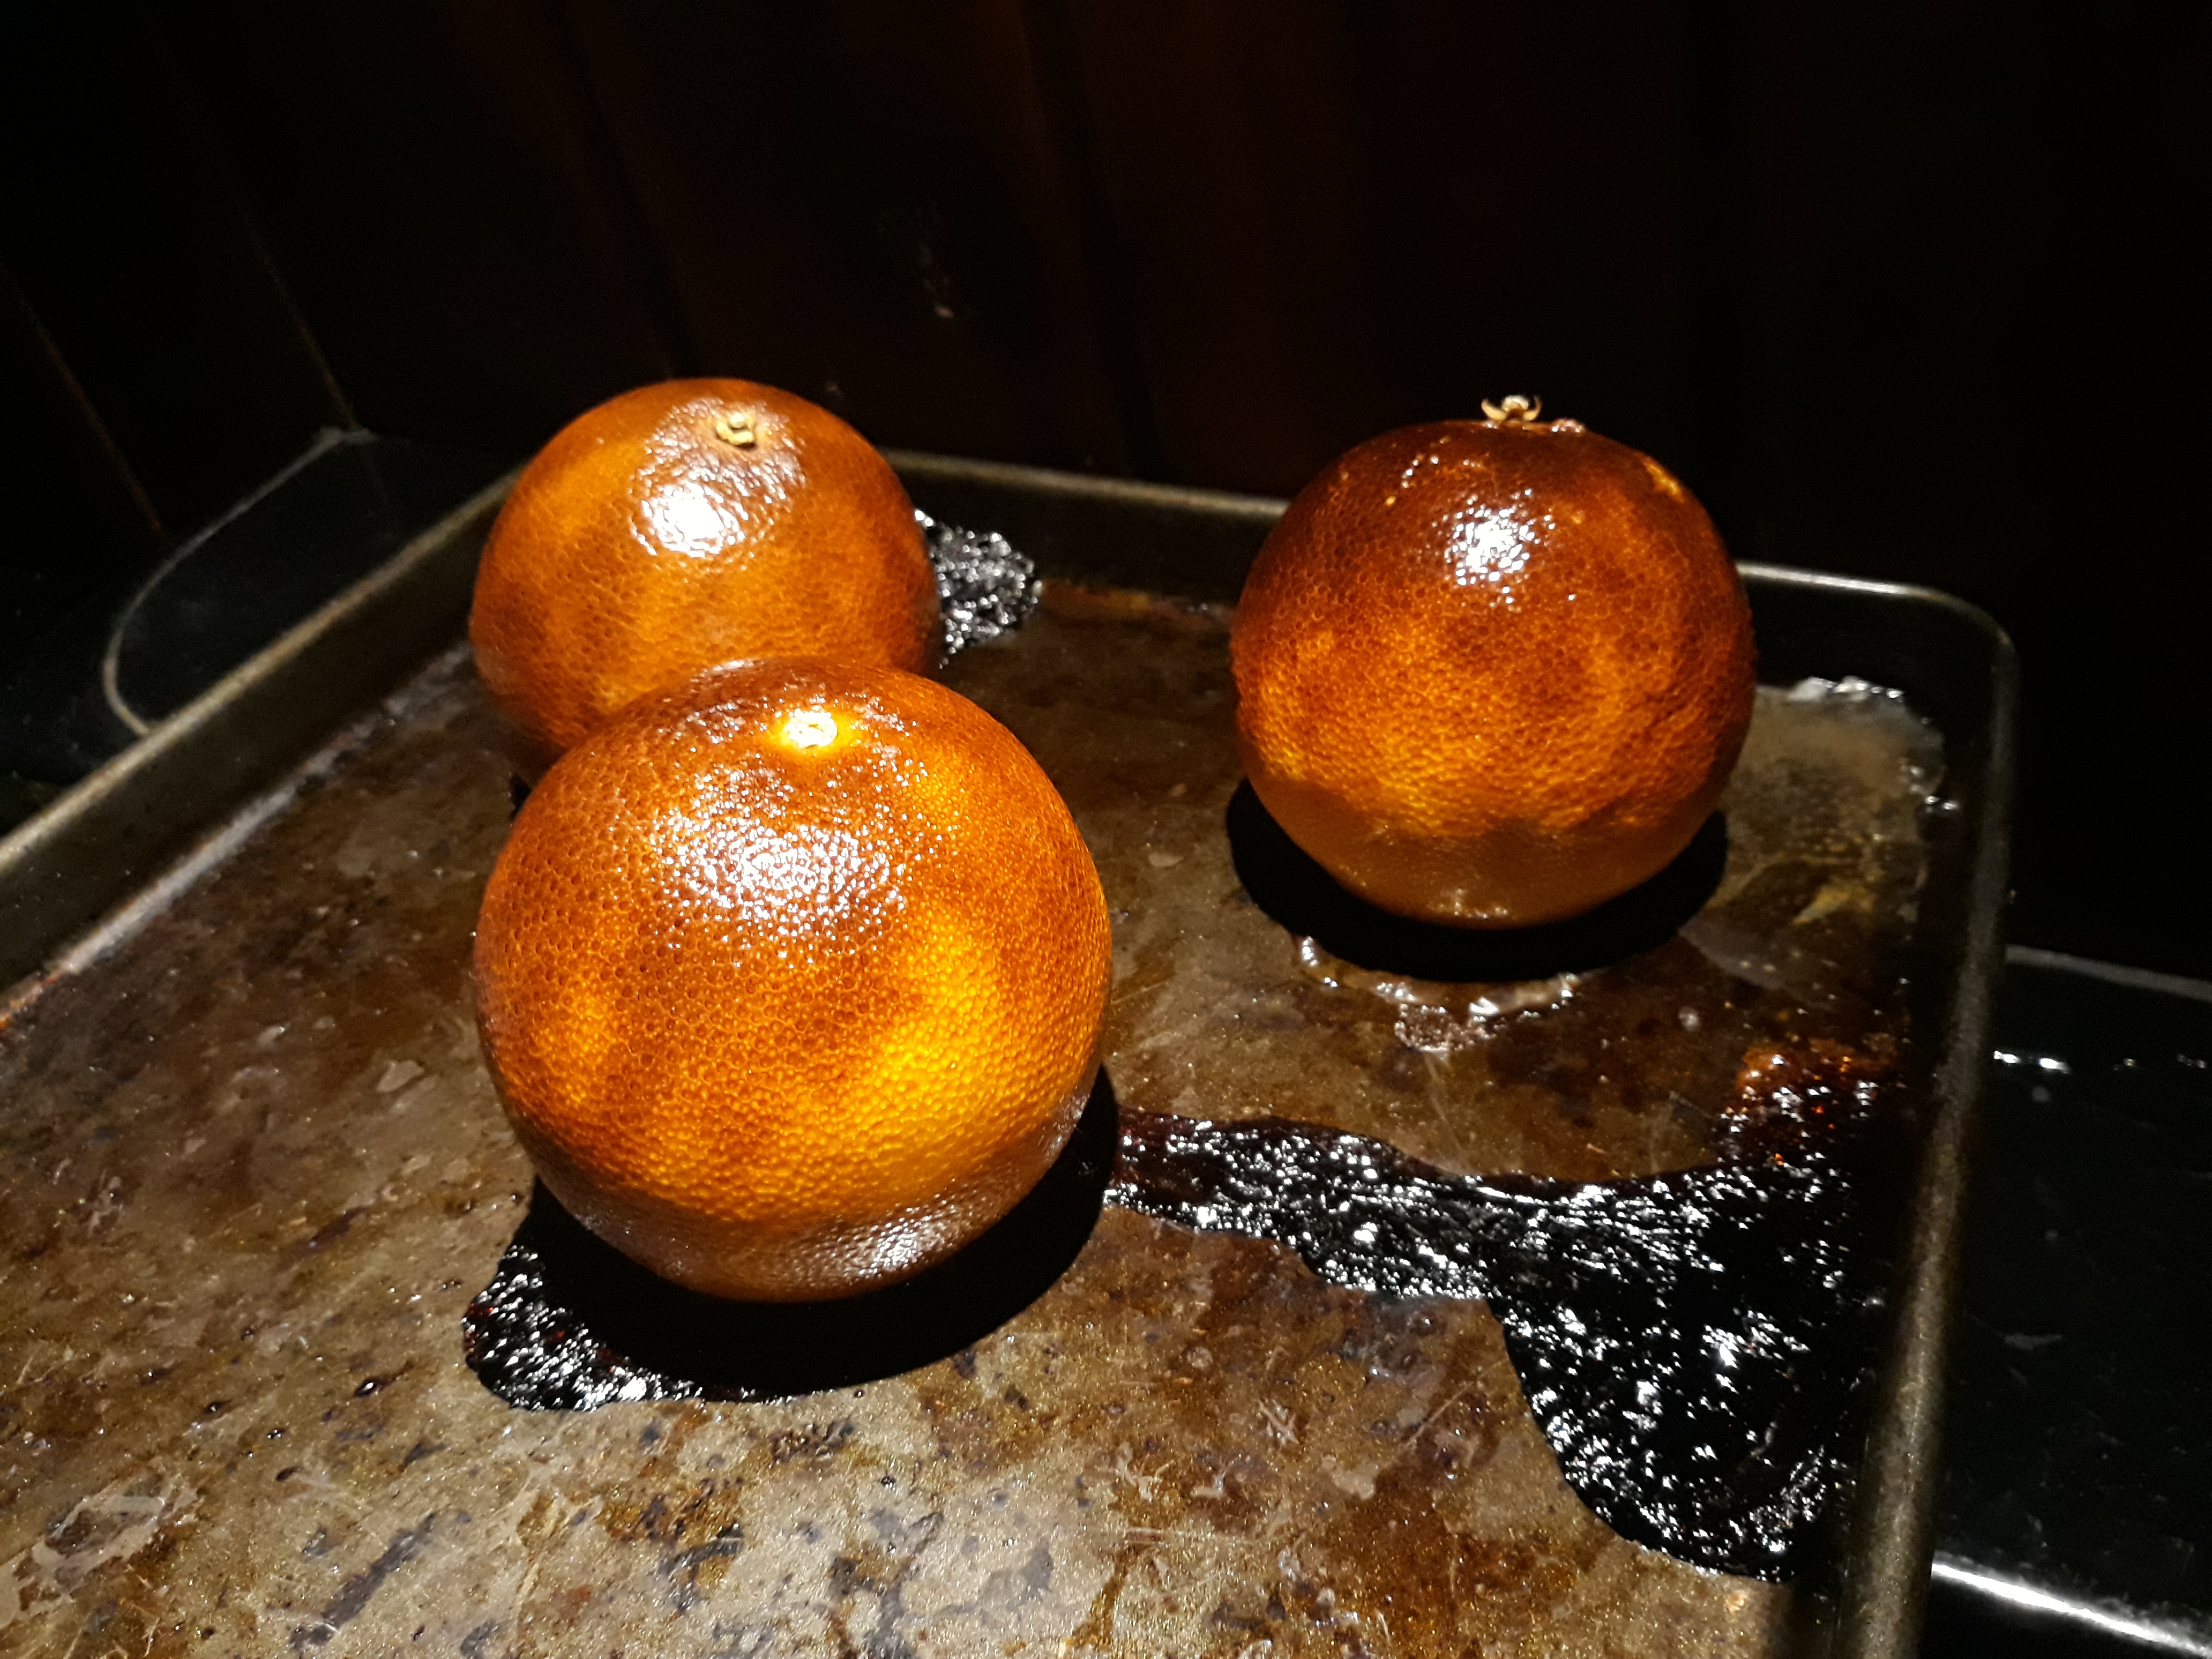
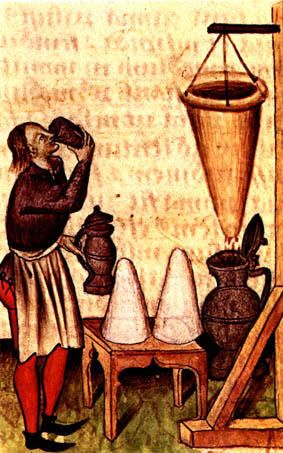
The drink is smoking because the oranges – preferably bitter Seville oranges – are roasted until blackened. The drink is a bishop because it is one of several drinks once known as ‘ecclesiasticals’; drinks named after various orders within the Catholic church. Indeed, if you substitute the port for claret, you have a smoking cardinal; better still, use champagne and you’ve got yourself a smoking pope! I have never tried these, but I think I might give smoking pope a go but using Prosecco instead. There was a spate of these somewhat anti-Catholic snifters during the 17th and 18th centuries, but it was just a wry dig, compared to what had happened in the past (e.g. this post). If you look up the recipe for a smoking bishop in Eliza Action’s classic 1845 book Modern Cookery for Private Families, inset is an illustration of a mitre-shaped punch bowl into which it should be served!
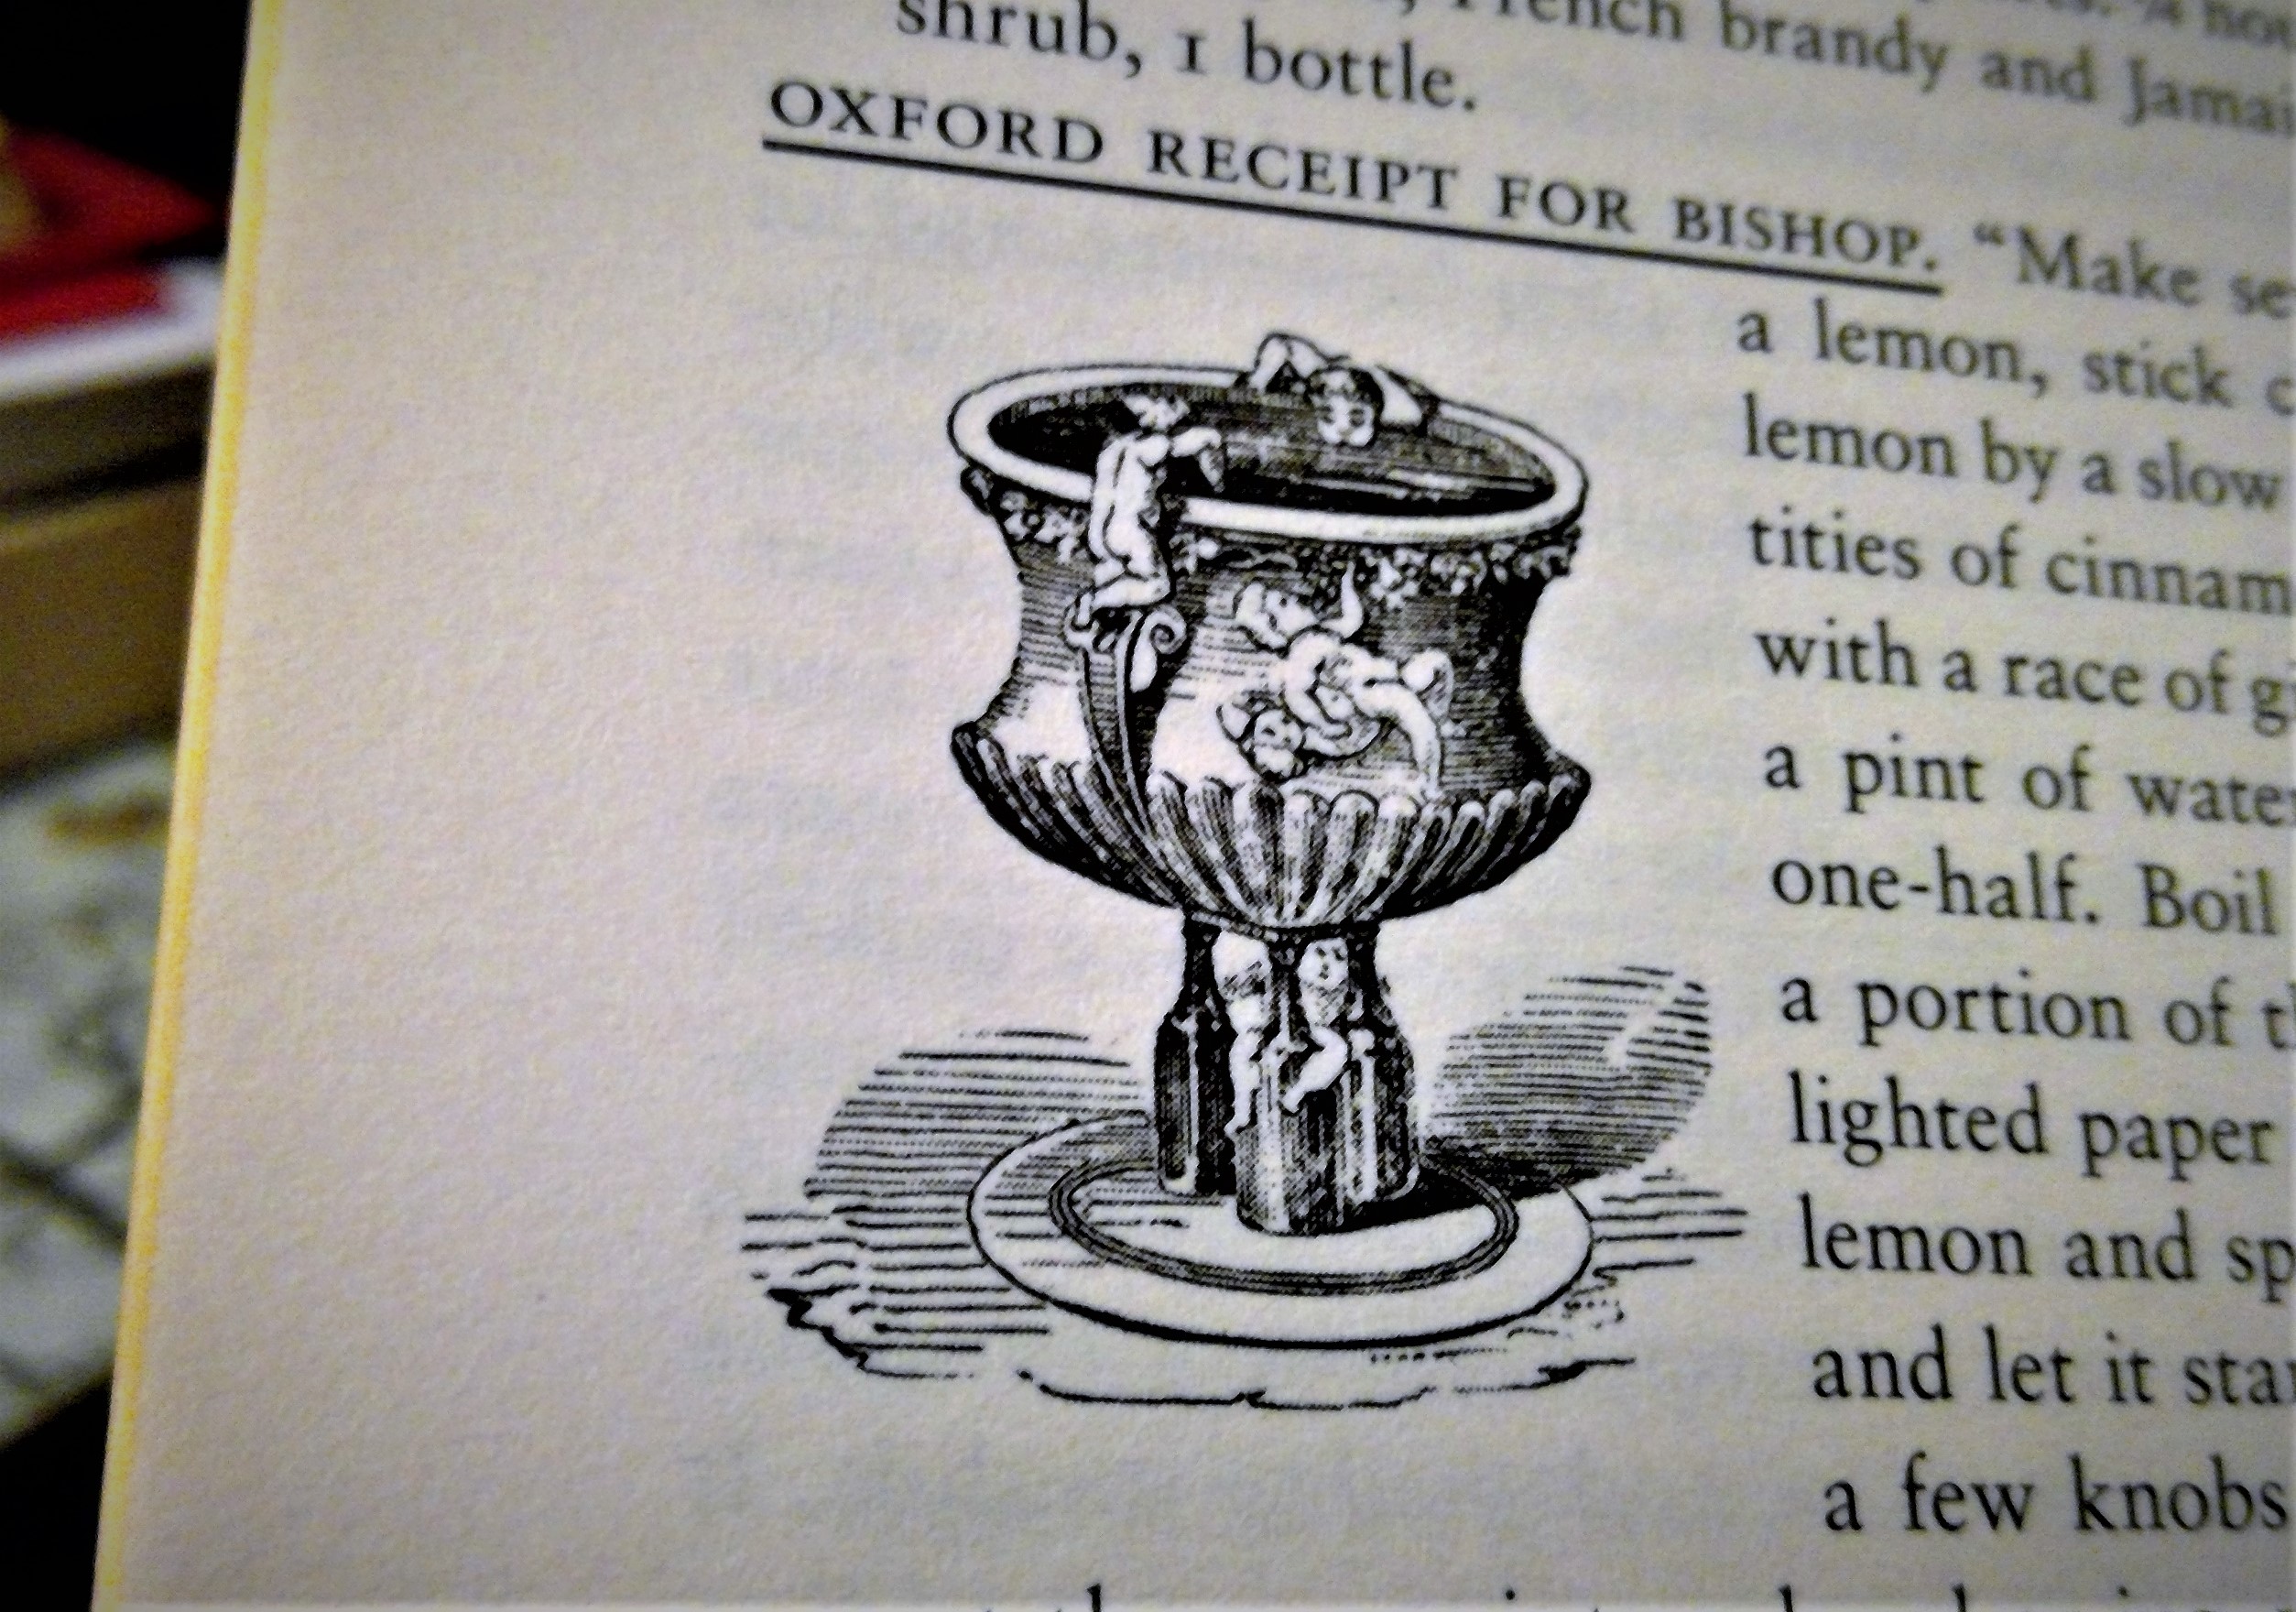
A mitre-shaped punchbowl, from Modern Cookery for Private Families, 1845
Many port drinks were created around this time too because France and England were tied into an out-of-control tit-for-tat game with tariffs for exports between the two countries, making French wine – the preferred drink at the time – too expensive for most people, and so eyes moved to Spain and it was soon Cheerio! Chateau Neuf de Pape and Hello! lovely port wine.
One of the reasons I don’t always like mulled wine is that it can be a little heavy on the spices. A smoking bishop uses fewer spices, in fact my recipe uses only one: cloves. The only other aromatics being the oils released from the burnt bitter orange rinds. Aside from that, just a little water and some dark brown sugar are added to taste.
It’s a delicious and easy drink to make, and you will never go back to mulled red wine again once you’ve tried it, so please give it a go; you won’t be disappointed!
Smoking bishop can be made ahead of time, strained, and reheated with great success.
One 750 ml bottle of port
3 oranges (Seville, if possible)
8 cloves
250ml water
Dark brown sugar to taste
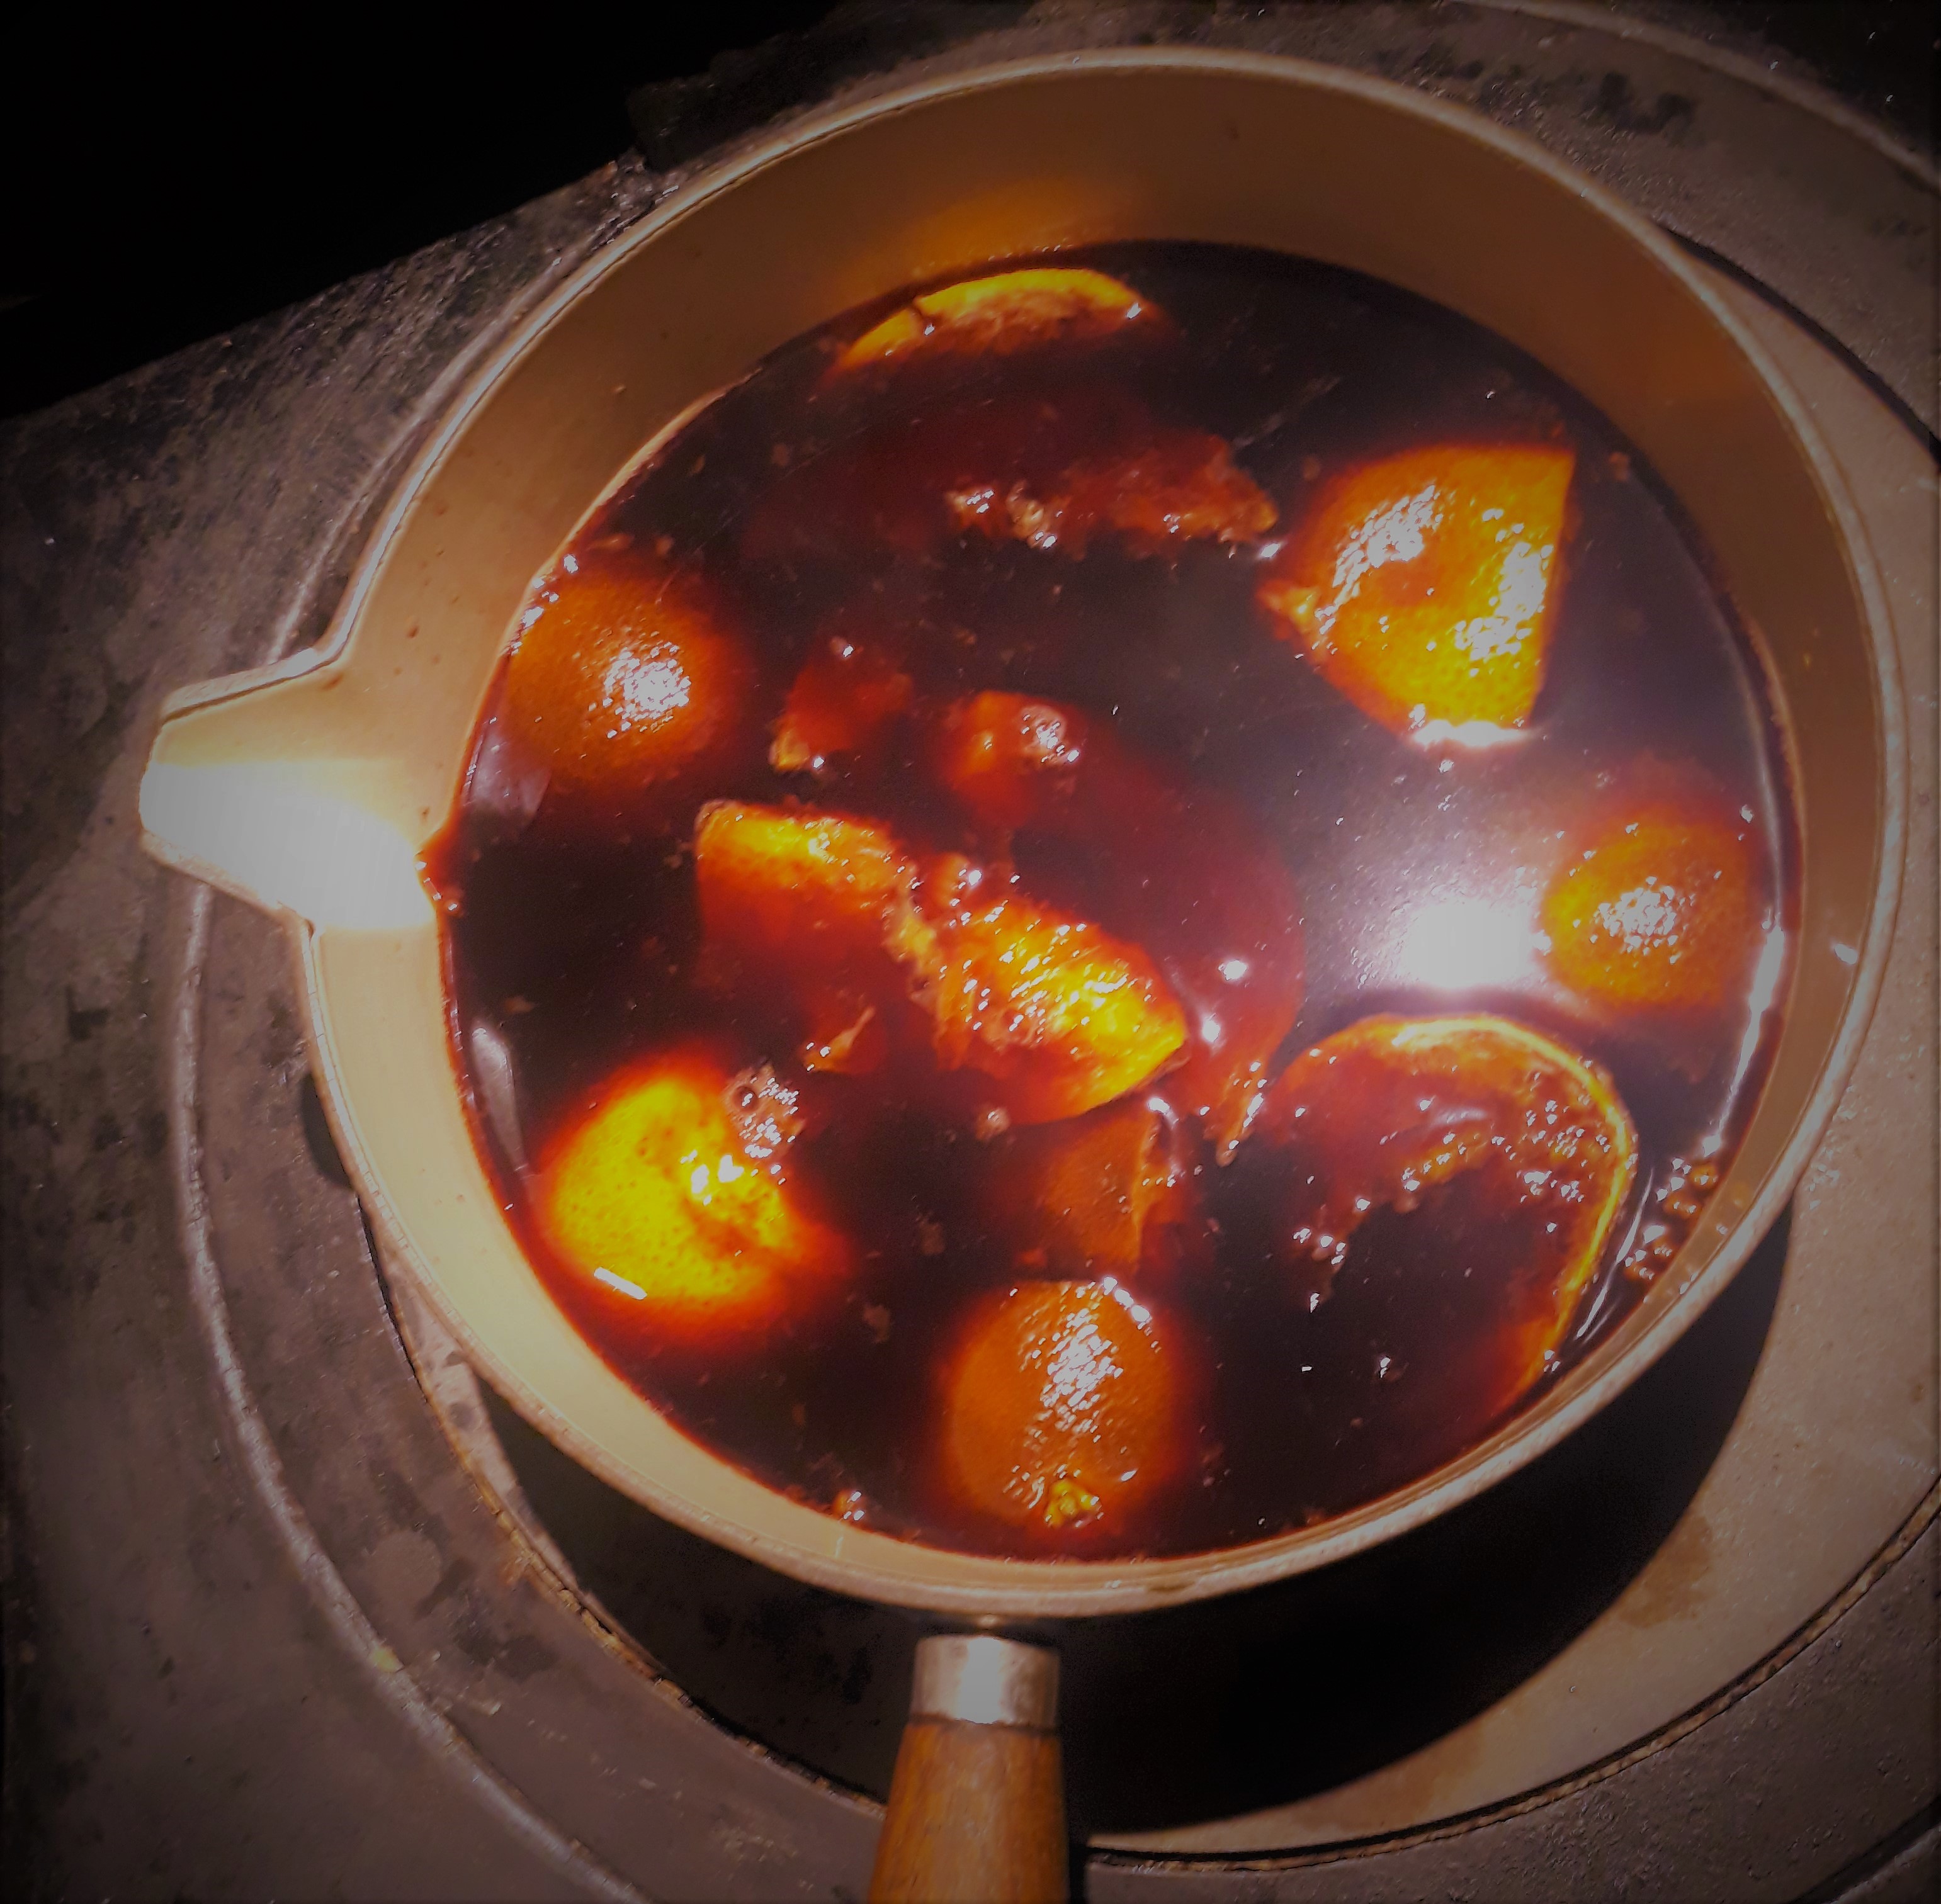
Place the oranges on a tray and bake at 200°C for around 25 minutes until they have started to blacken and give off their delicious burnt aroma. Remove from the oven and allow to cool a little before slicing them up.
Next, pour the full bottle of port into a saucepan (very satisfying to do) along with the oranges and any orange juicy bits, as well as the cloves and water.
Bring to a bare simmer – don’t let it boil! – and let it gently tick away at a scalding temperature (around 80°C) for around 20 minutes.
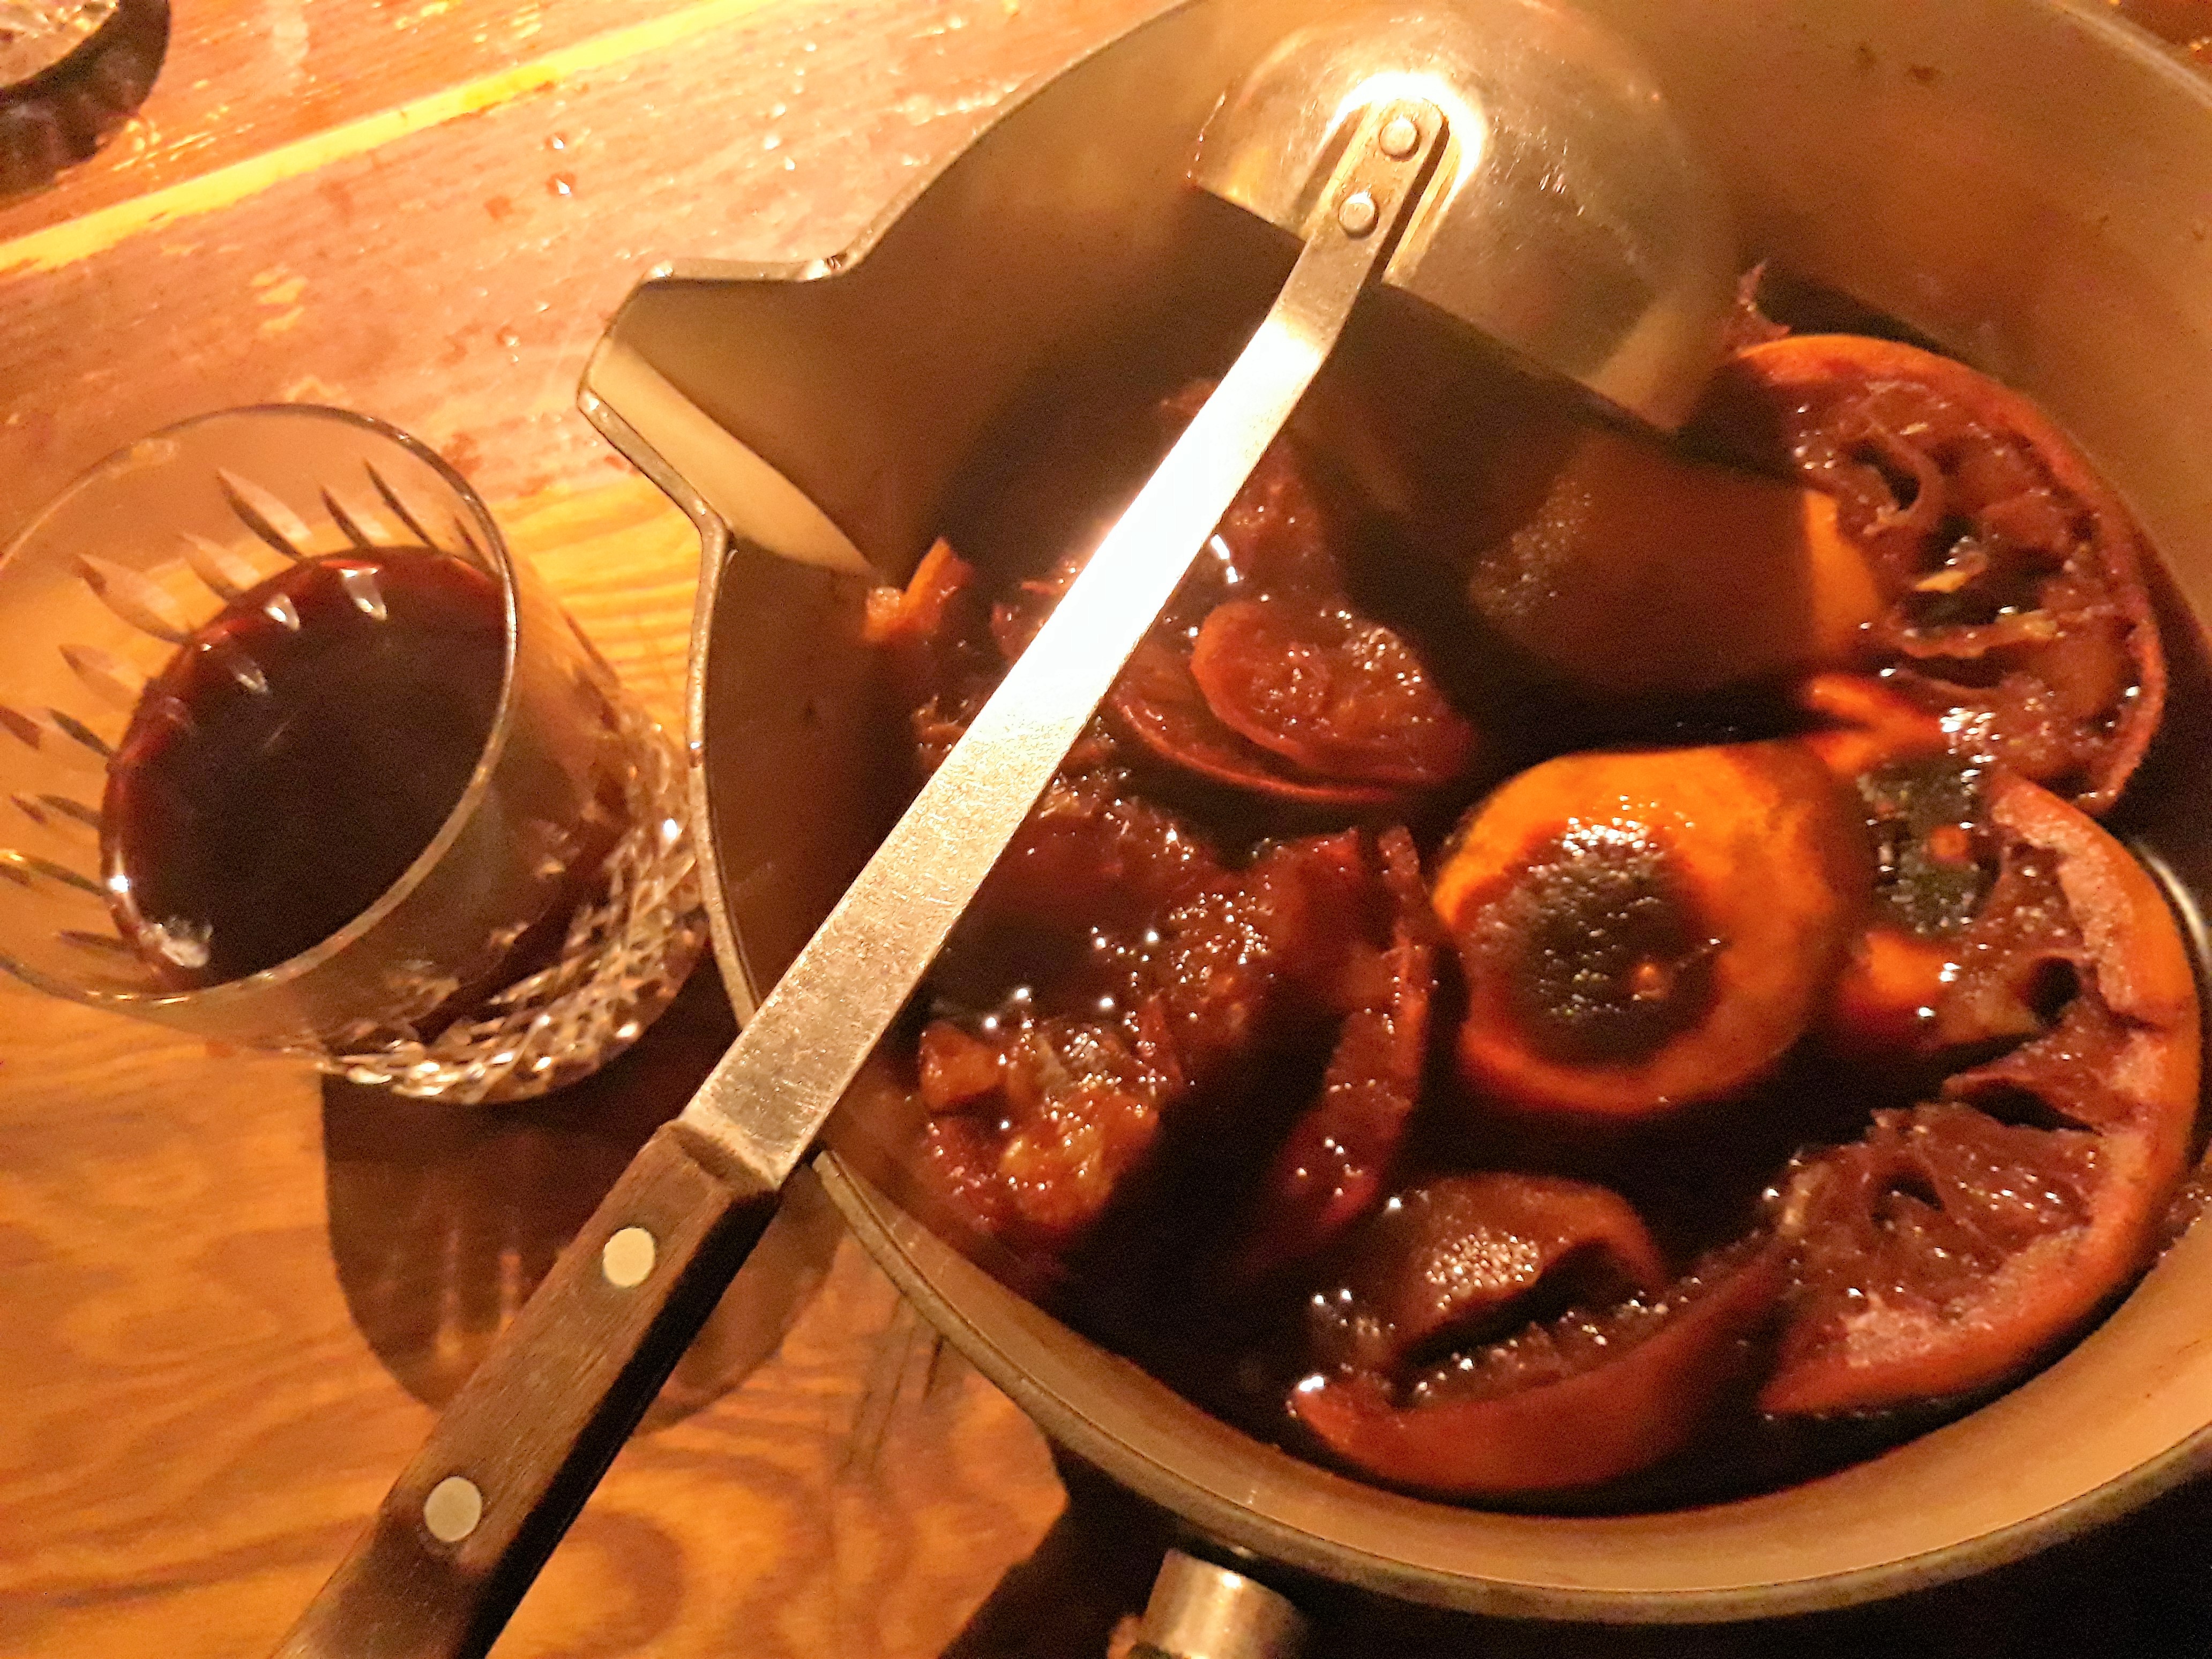
Add sugar to taste – if the oranges are very bitter and black, you might need quite a bit. If you don’t want bits of orange pulp and clove floating about in the drink, strain into a clean pan before adding the sugar.
If, in the unlikely event, you do not have a mitre-shaped punch bowl, you can simply ladle straight from the saucepan into punch glasses or small mugs.
If you like the blogs and podcast I produce, please consider treating me to a virtual coffee or pint, or even a £3 monthly subscription: follow this link for more information.

![IMG-20160804-WA0002[1]](https://fix-quick.today/wp-content/uploads/2016/08/img-20160804-wa00021.jpg)