It is very simple to enter: All you need to do is go to the foot of this post, “like” it and leave a comment declaring your favourite Christmastime dessert.
I will select one person at random on 2 December at 7pm GMT. That’s your deadline. Good luck!
If you like the blogs and podcast I produce and would to start a £3 monthly subscription, or would like to treat me to virtual coffee or pint: follow this link for more information.Thank you.
In my book Knead to Know: A History of Baking, I made sure that there was a full chapter focussing on griddlecakes: food baked on hearthstones, bakestones and iron griddles. Of course, when writing the chapter, I took much inspiration from Jane Grigson’s baking recipes in English Food. I was surprised by the great variety. These days the English barely think beyond the crêpe.
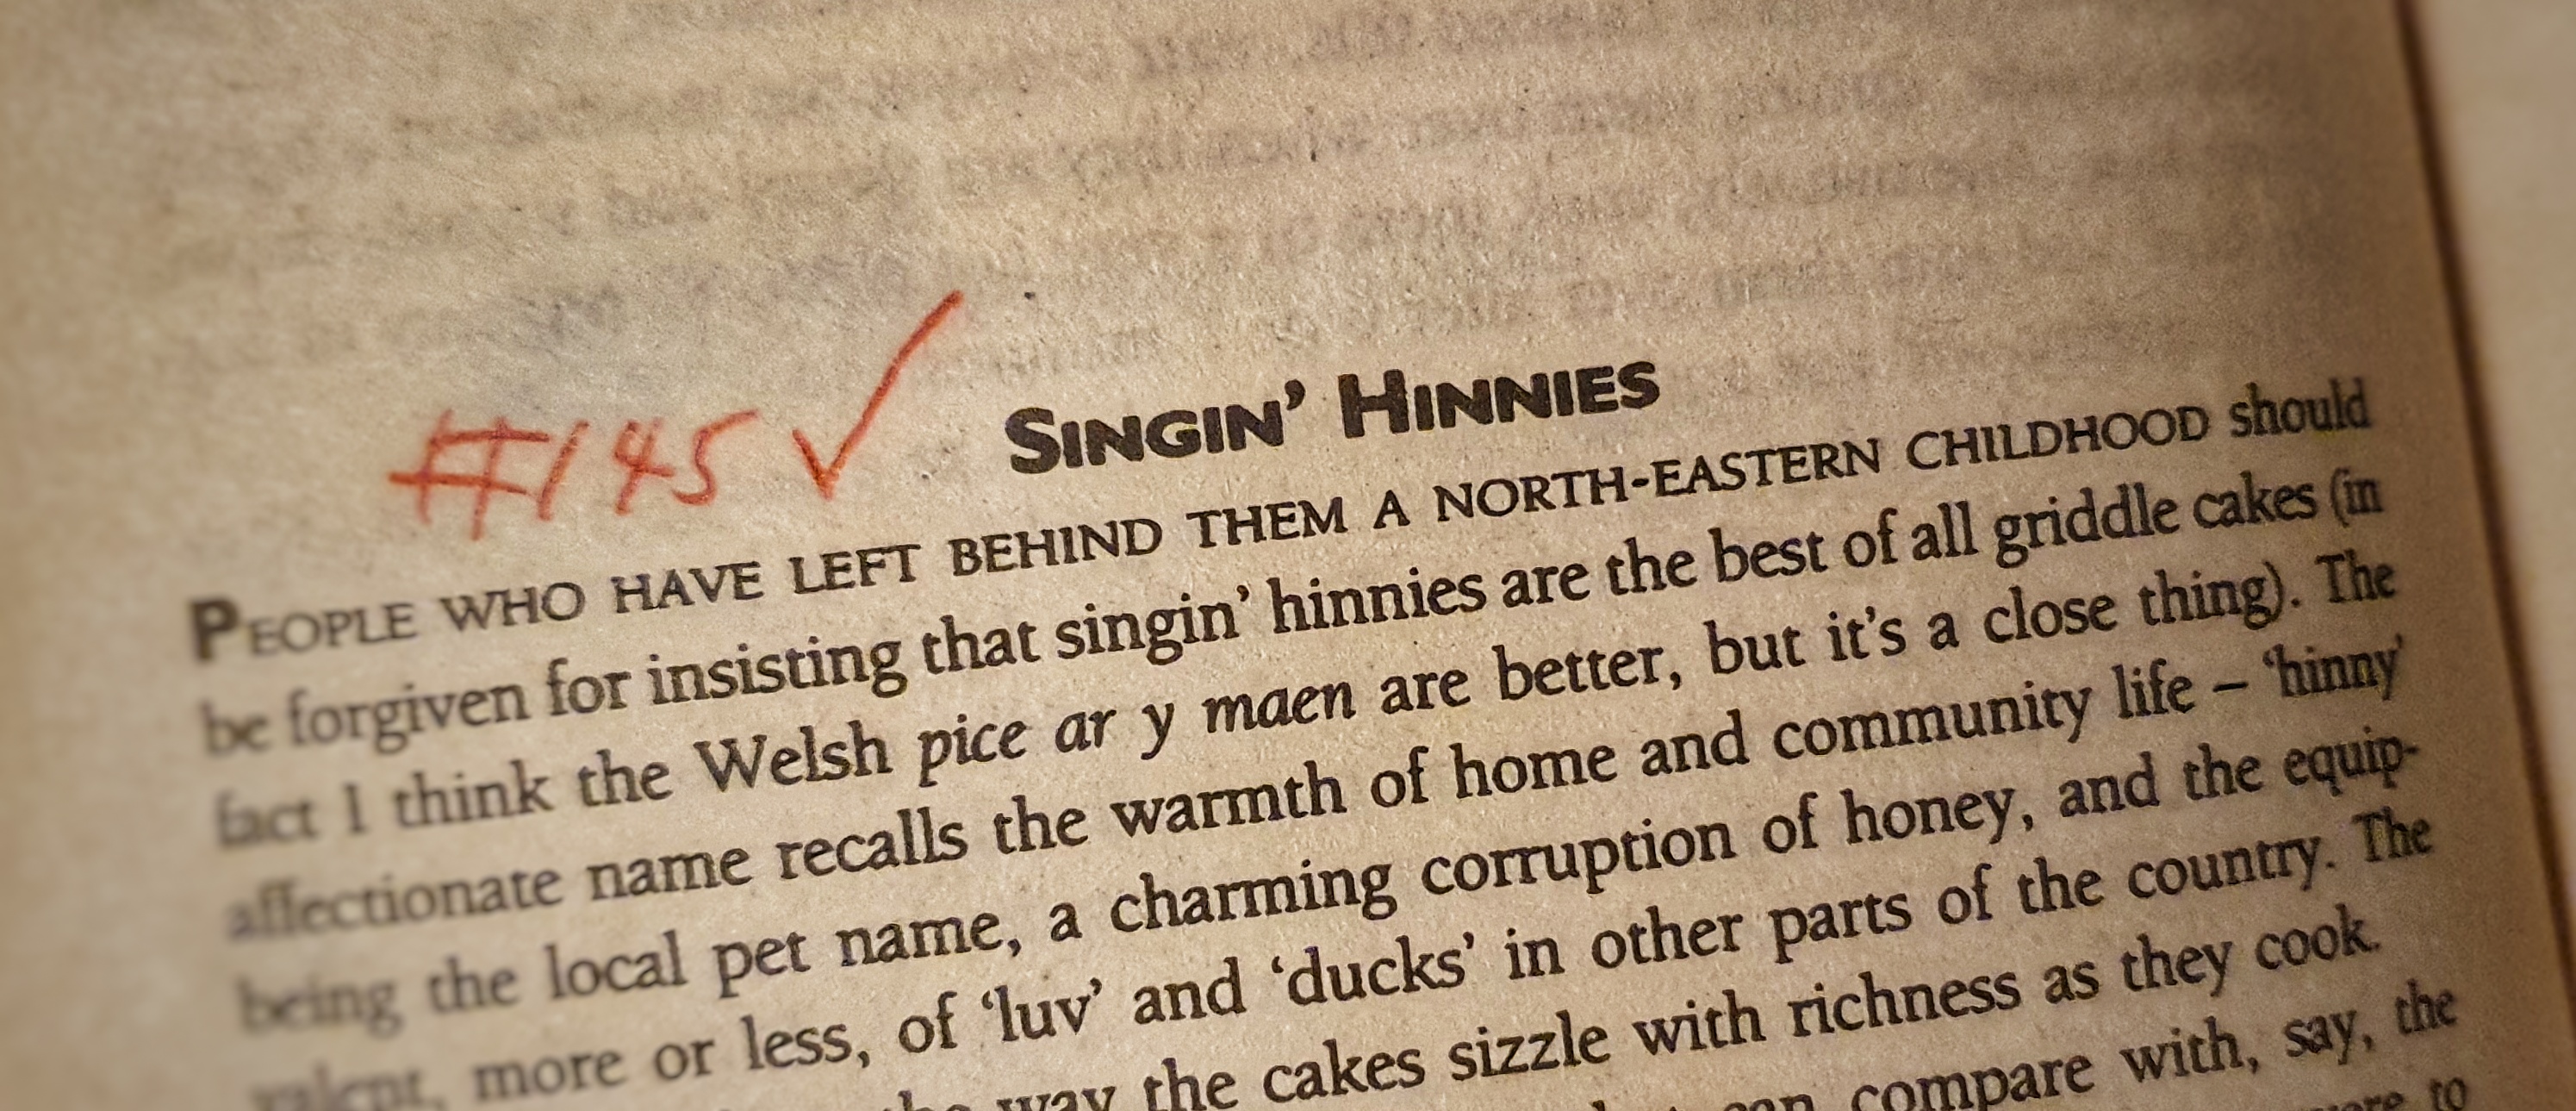
It’s been a while since I posted a recipe for a griddlecake, and I have had this one, for singin’ hinnies, waiting in the wings for a while. These little cakes are a rather forgotten speciality of Northumberland. I first made these for the Neil Cooks Grigson project in its very early days and I didn’t do a great job of interpreting Jane’s recipe.[1] I have improved greatly since then. The real prompt to get this recipe out there was my conversation with Sophie Grigson, Jane’s daughter, for a recent episode of The British Food History Podcast all about Jane’s work. The topic of singin’ hinnies cropped up because Jane’s entry for it in English Food is particularly evocative. Listen to the episode here:
These griddlecakes, enriched with lard and butter and sweetened only by dried fruit, were eaten by all, and were especially at children’s parties where tuppeny and thruppenny pieces were hidden inside.[2] These once ubiquitous cakes were, for many families, sadly the ‘substitutes for the birthday cake [they] could not afford.’ The word ‘hinnie’ is a dialect one for honey, a term of endearment, and the ‘singin’’ refers to the comforting sizzle of the butter and lard from the cooking griddlecakes, although Jane does point out that ‘the singin’ hinnies made less of a song for many people as they could not afford the full complement of butter and lard.’[3]
I have found other mentions of singin’ hinnies elsewhere but recipes and descriptions are very vague. I did find two nineteenth-century descriptions that really emphasised their importance at the dinner tables of miners – Northumberland being very much a colliery county. The job required very calorific food, so these griddlecakes served an important function. One stated that ‘miner’s food consisted of plum pudding, roast beef and “singing hinnies”.’[4] Another, written by J.G. Kohl, a German travel writer, informs us that ‘[the colliers] even have dishes and cakes of their own; and among these I was particularly told of their “singing hinnies”, a kind of cake that owes its epithet “singing” to the custom of serving it hissing hot upon the table…They are very buttery, and must never be absent on a holiday from the table of a genuine pitman.’[5]
Jane reckons they are the second-best British griddlecake; for her, Welsh cakes take the top spot.
If you like the blogs and podcast I produce and would to start a £3 monthly subscription, or would like to treat me to virtual coffee or pint: follow this link for more information.Thank you.
Recipe
I give you my interpretation of Jane’s recipe with more precise ingredients and method. I have found all other recipes to be either too vague in the amount of liquid that should be added, or, when specific, far too dry. I do hope you find this recipe clear; I know it must work because the hinnies sing loud and true as they cook on the griddle.
A proper singin’ hinnie should be made with equal amounts of butter and lard. If you are vegetarian, avoid using shortening such as Trex, instead go posh and use all butter.
Makes 24 to 28 griddlecakes
500 g plain flour, plus extra for rolling
1 tsp baking powder
¾ tsp salt
125 g lard, diced
125 g butter, diced
180 g dried mixed fruit
220-240 ml milk
Extra lard for frying
Extra butter for buttering the insides of the singin’ hinnies
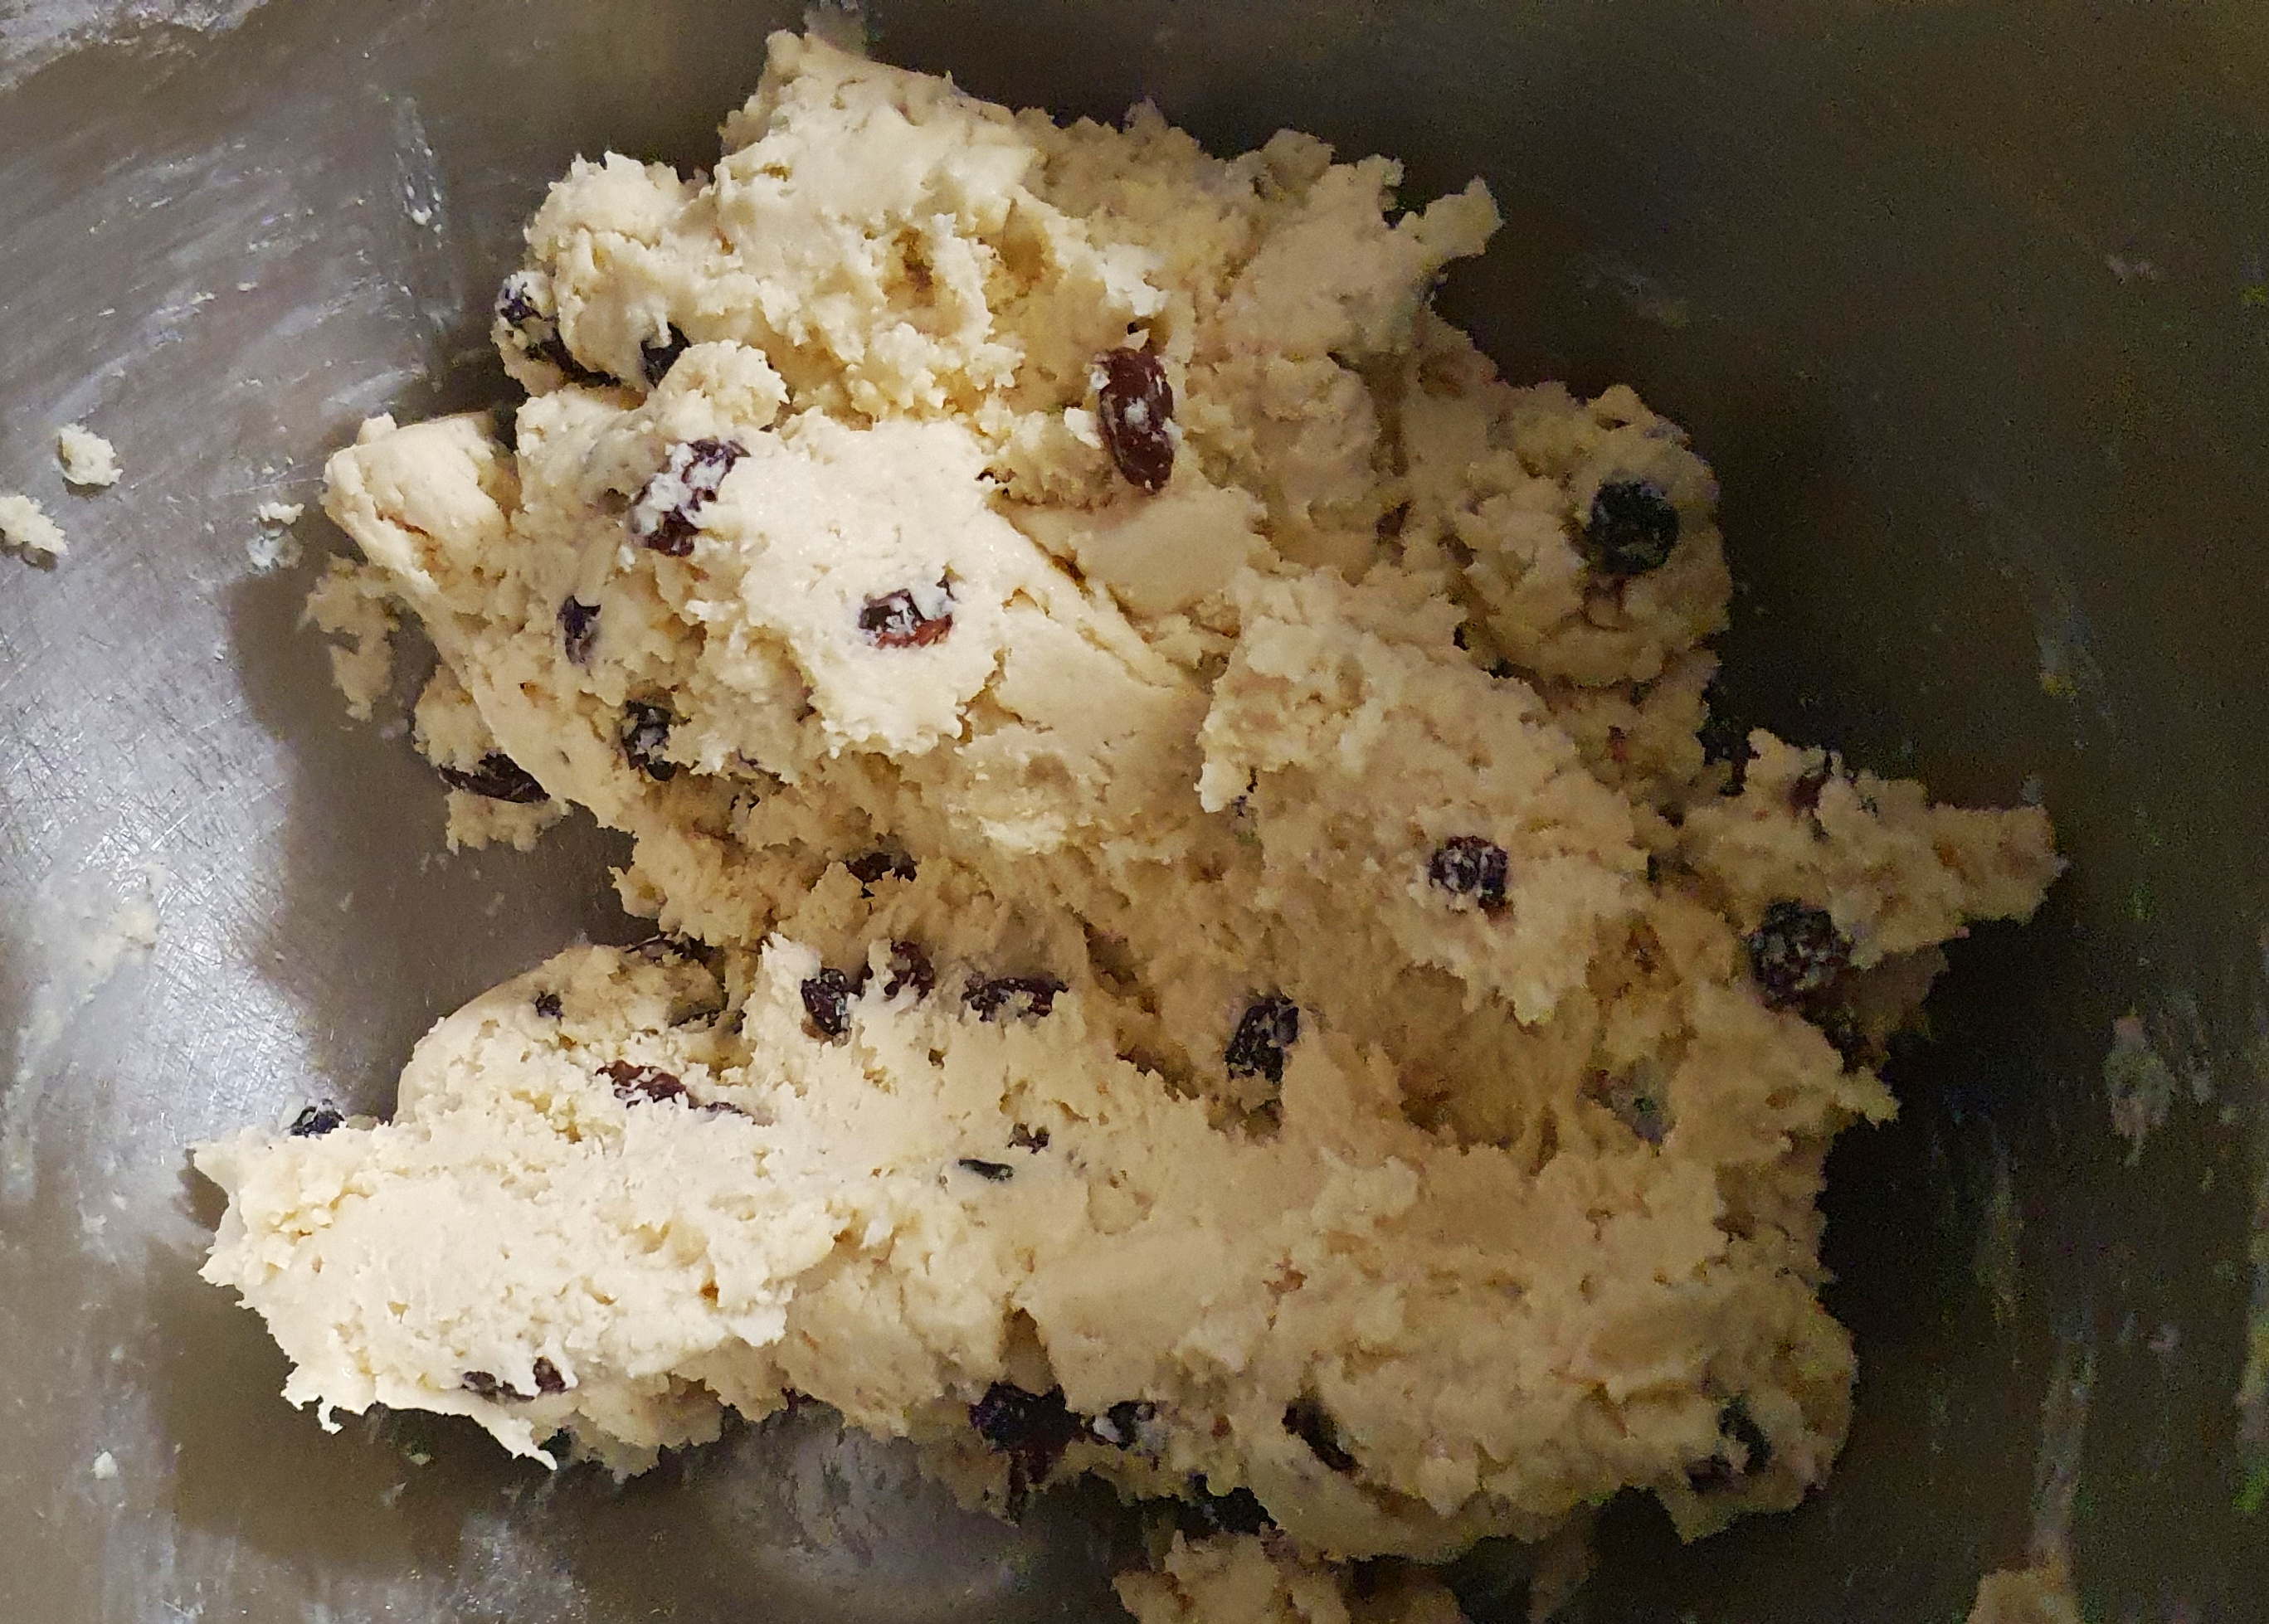
Mix the flour, baking powder and salt in a bowl, then rub in the lard and butter until the mixture resembles breadcrumbs, then add the dried fruit and mix again.
Make a well in the centre, add most of the milk and mix to make a nice soft dough – it’s a good idea to use the old-fashioned method of combining everything using a cutting motion with a butter knife; that way you ensure the liquid is combined with the other ingredients without overworking the gluten in the flour. Add the remaining milk should there be any dry patches.
Lightly flour your worktop and knead the dough briefly so that it becomes nice and smooth. Let it rest as you get your bakestone, griddle or pan ready.
Place the bakestone on a medium heat and allow to get to a good heat; because there is no sugar in the mixture, the cakes don’t burn easily.
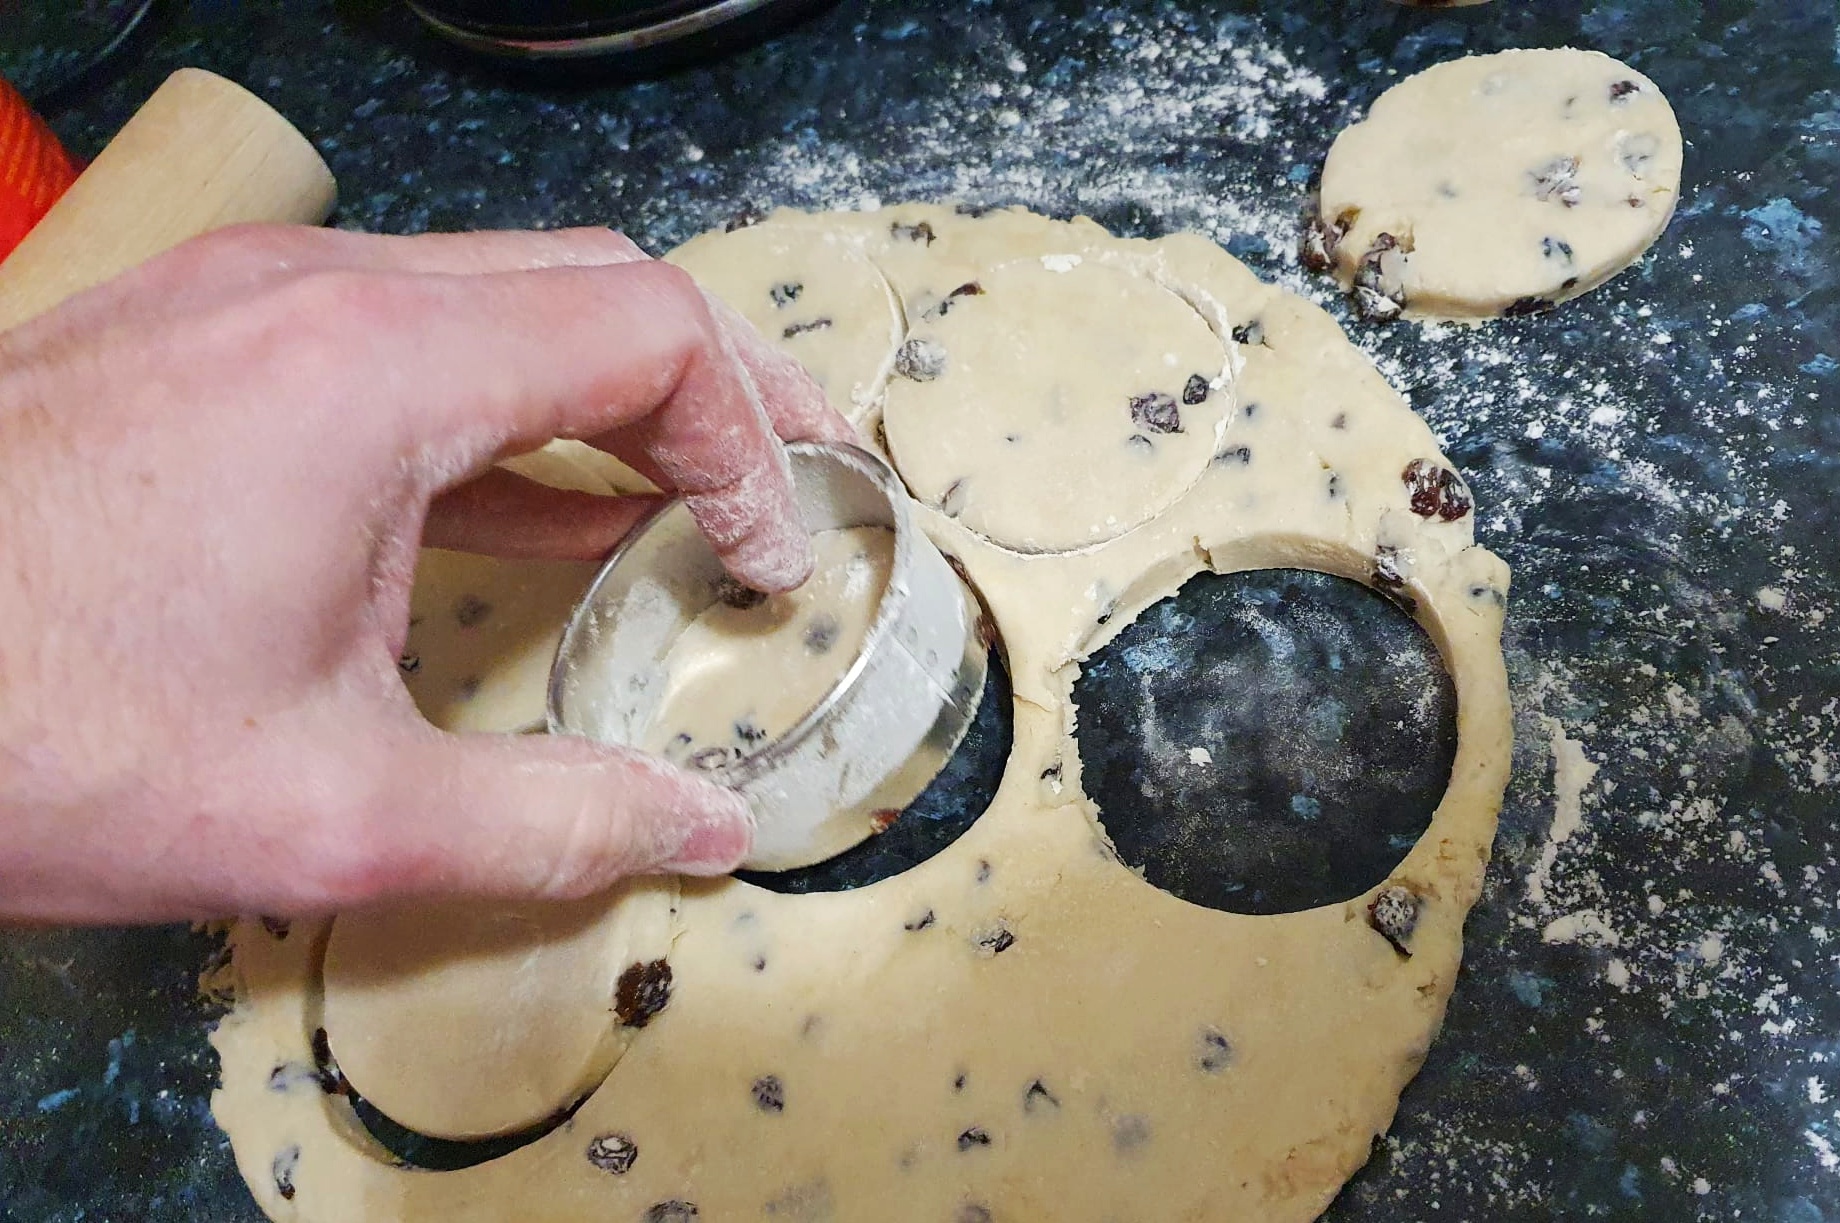
As you wait for it to heat up, roll the dough on a lightly floured surface to a thickness of around ¾ centimetre and cut out rounds. I used a 7-centimetre cutter, but 6- or 8-centimetre cutters will be fine. You might find it easier to cut them out if you dip your cutter in flour and tap away any excess. Reroll the pastry and cut out more.
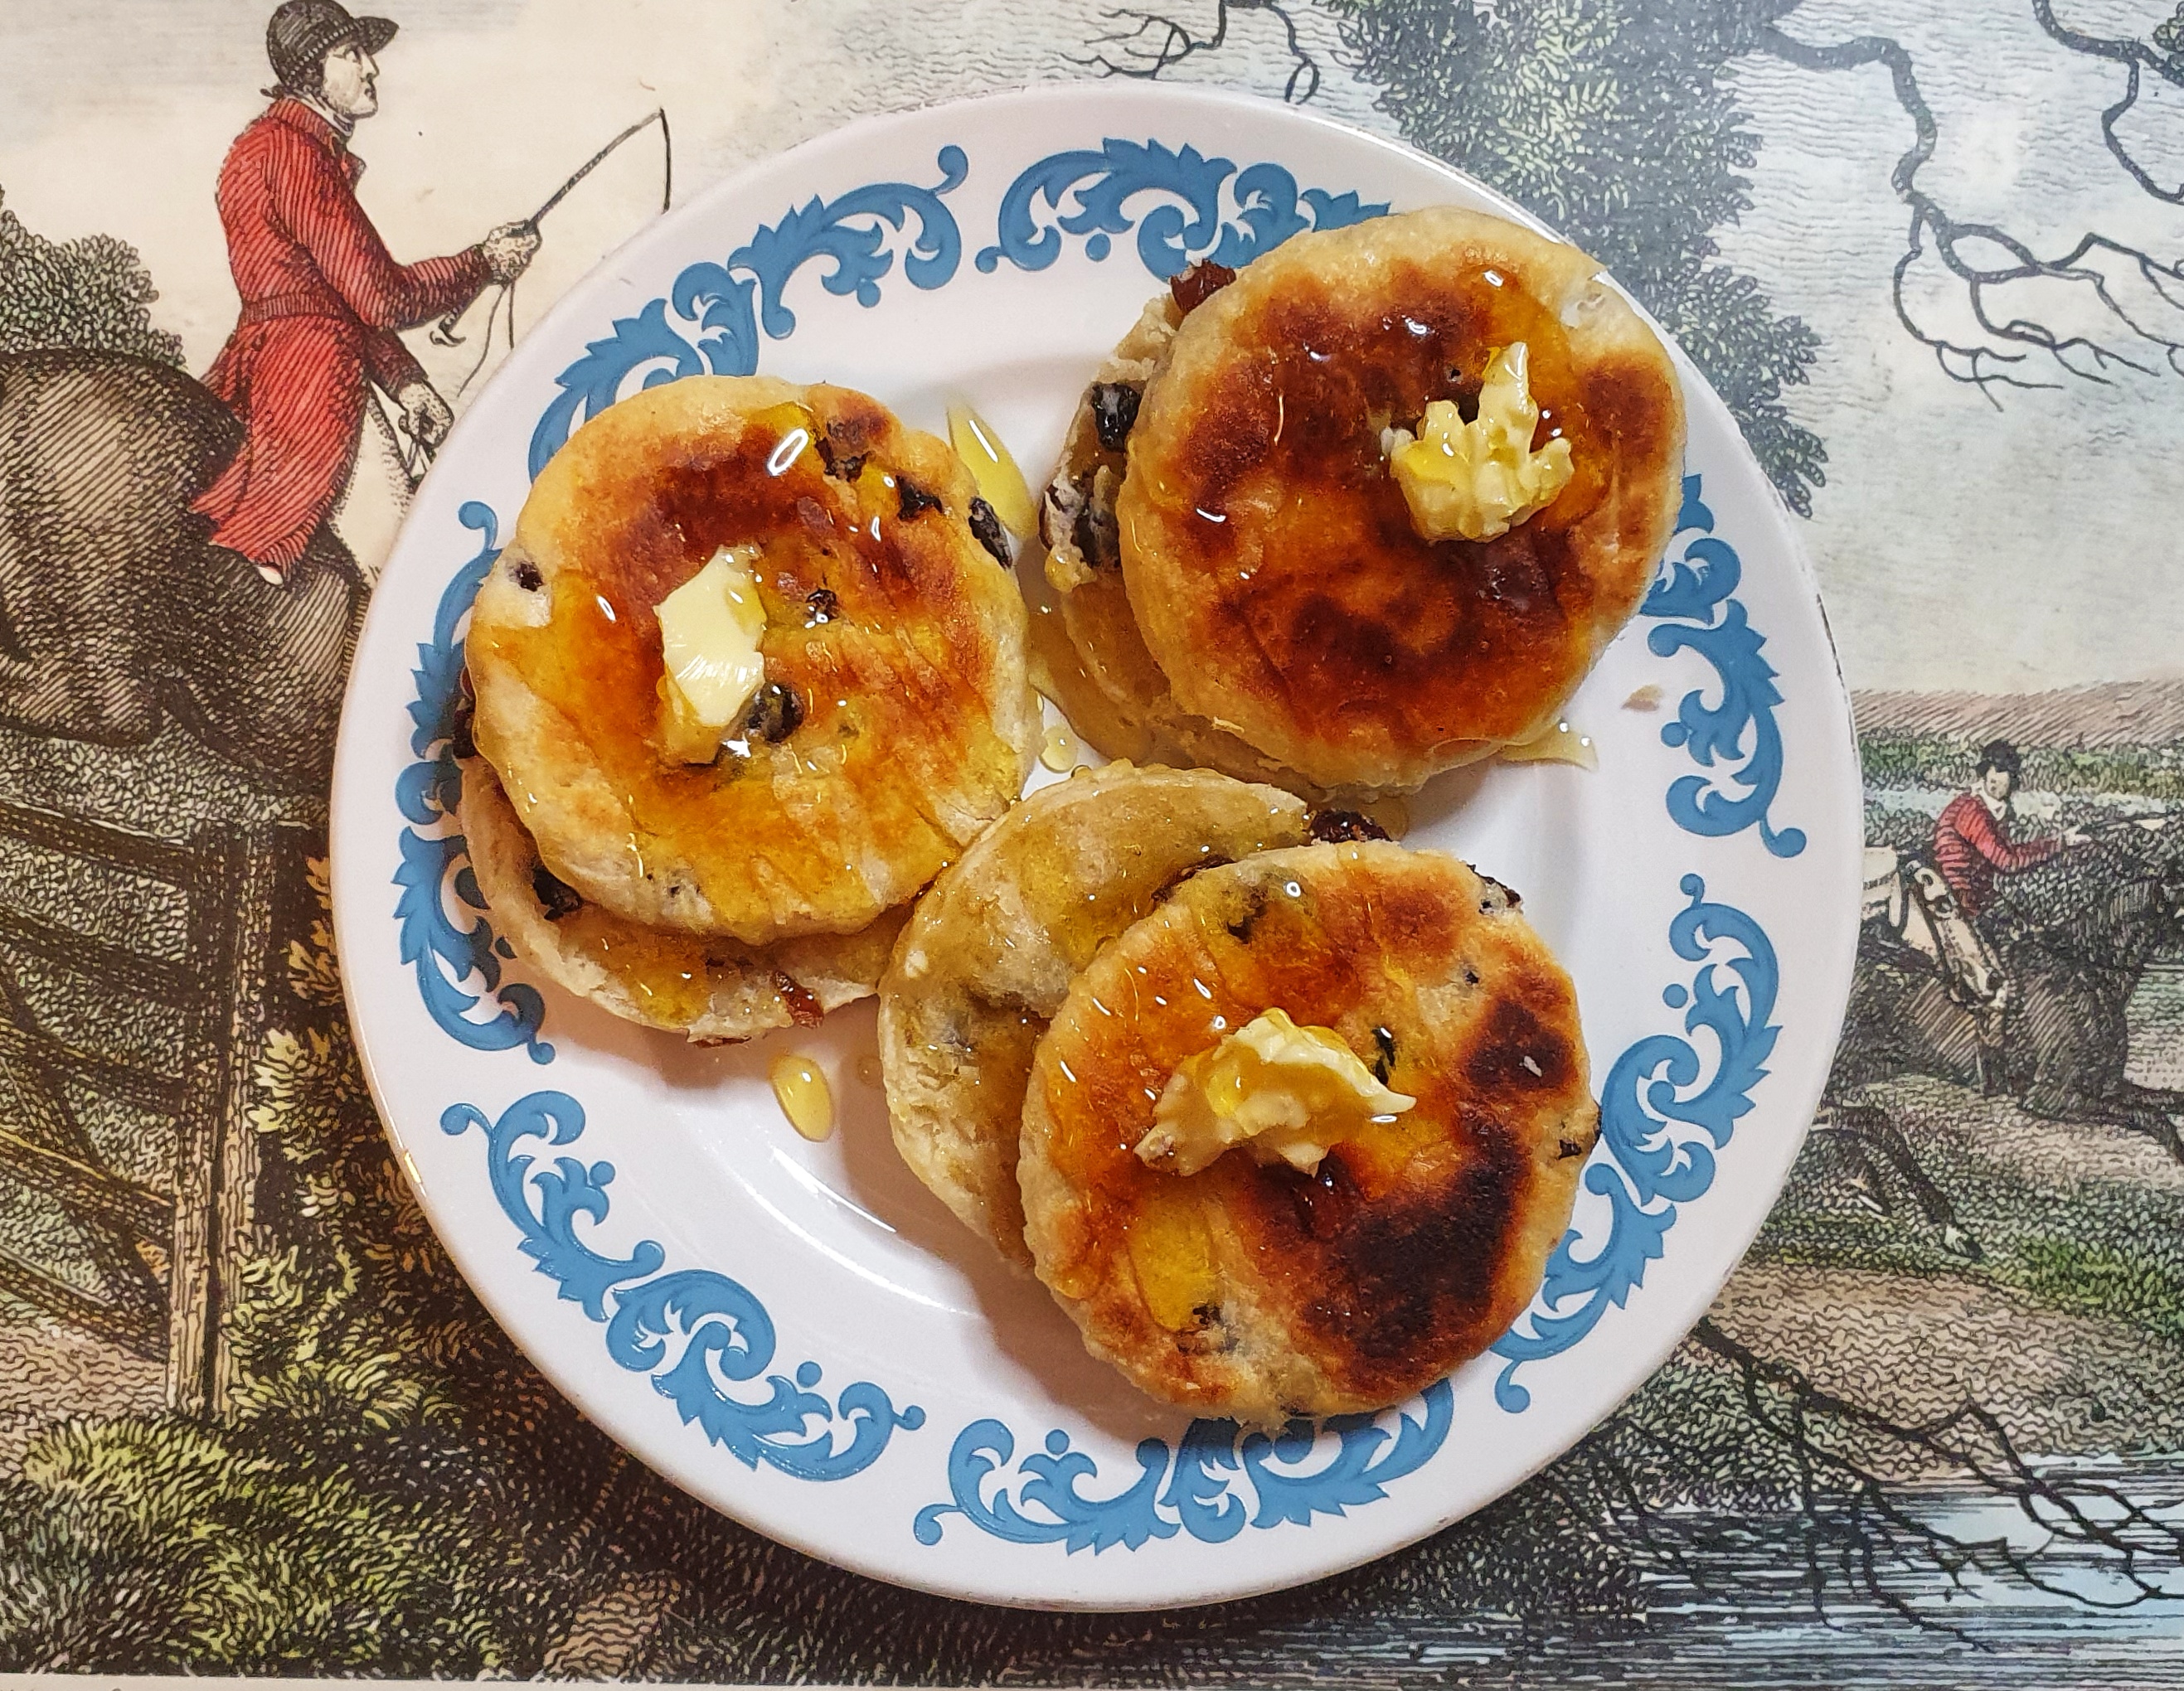
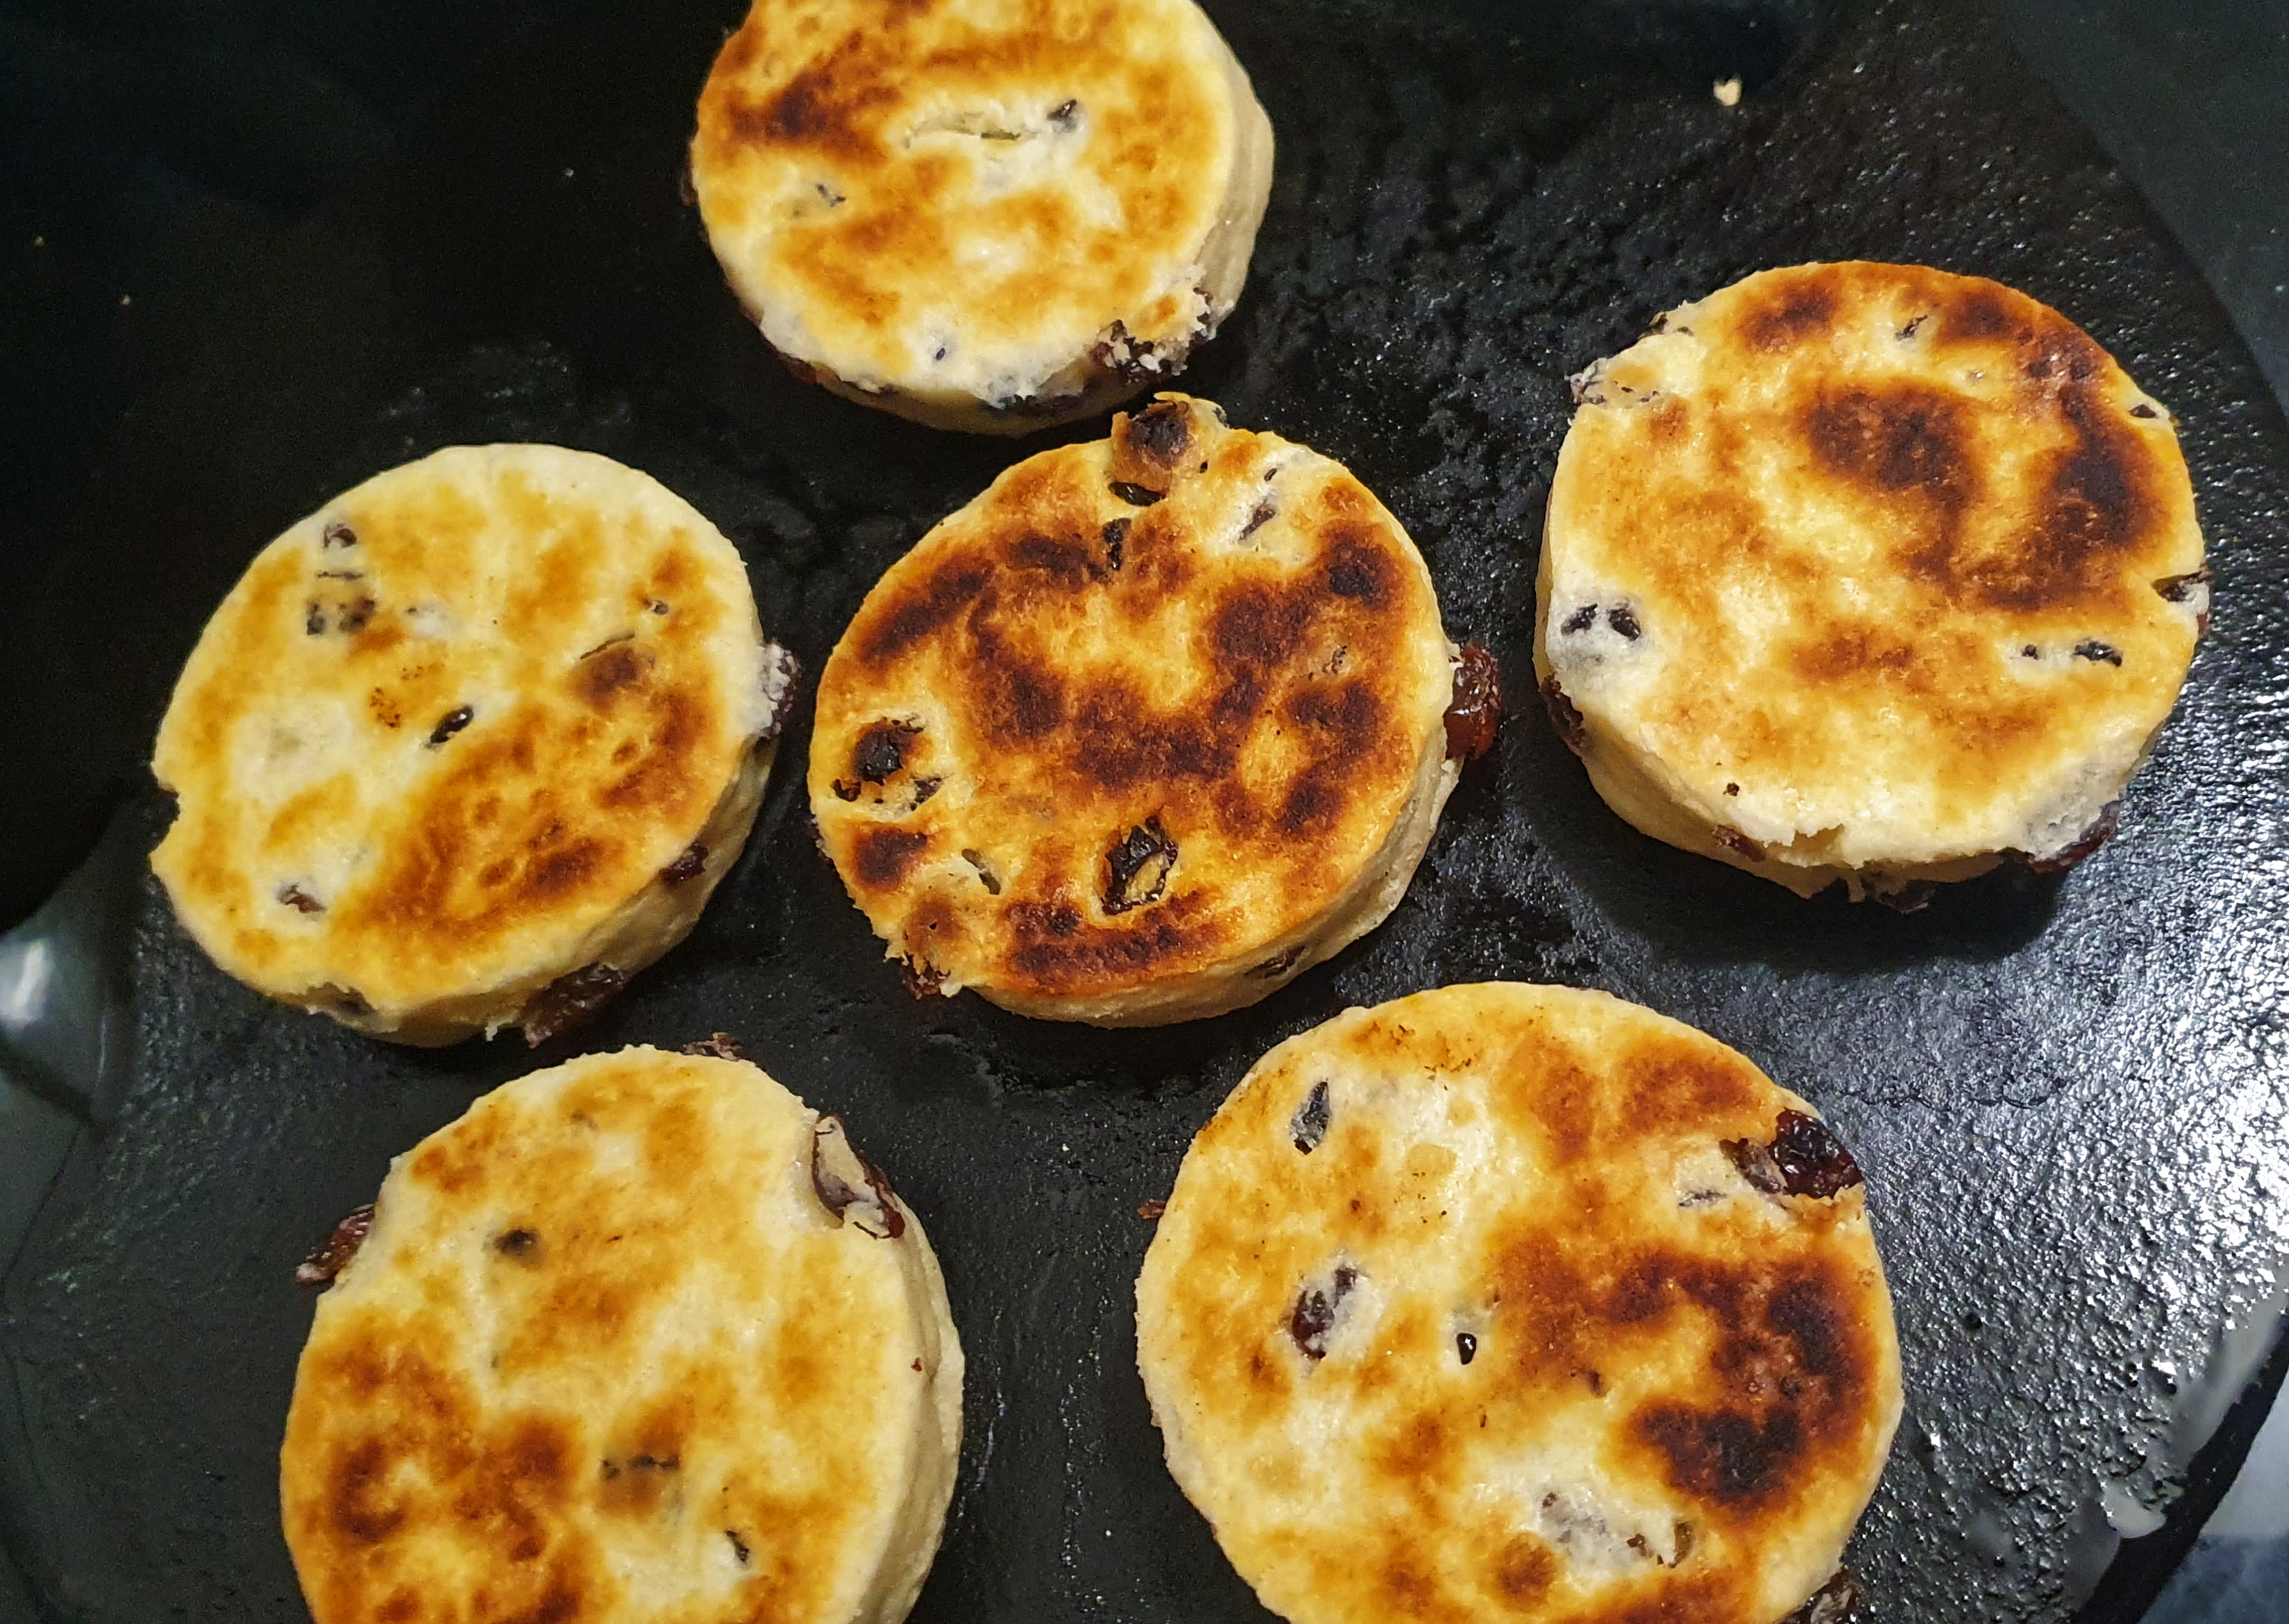
Take a small piece of lard, quickly rub it over the surface of the bakestone and cook your first batch: mine took 5 to 6 minutes on each side to achieve a nice golden brown colour on the outside and a fluffy interior (I sacrificed one to check inside). Split each one with a knife and add a small pat of butter, close and keep them warm in the oven on a serving plate as you cook the rest.
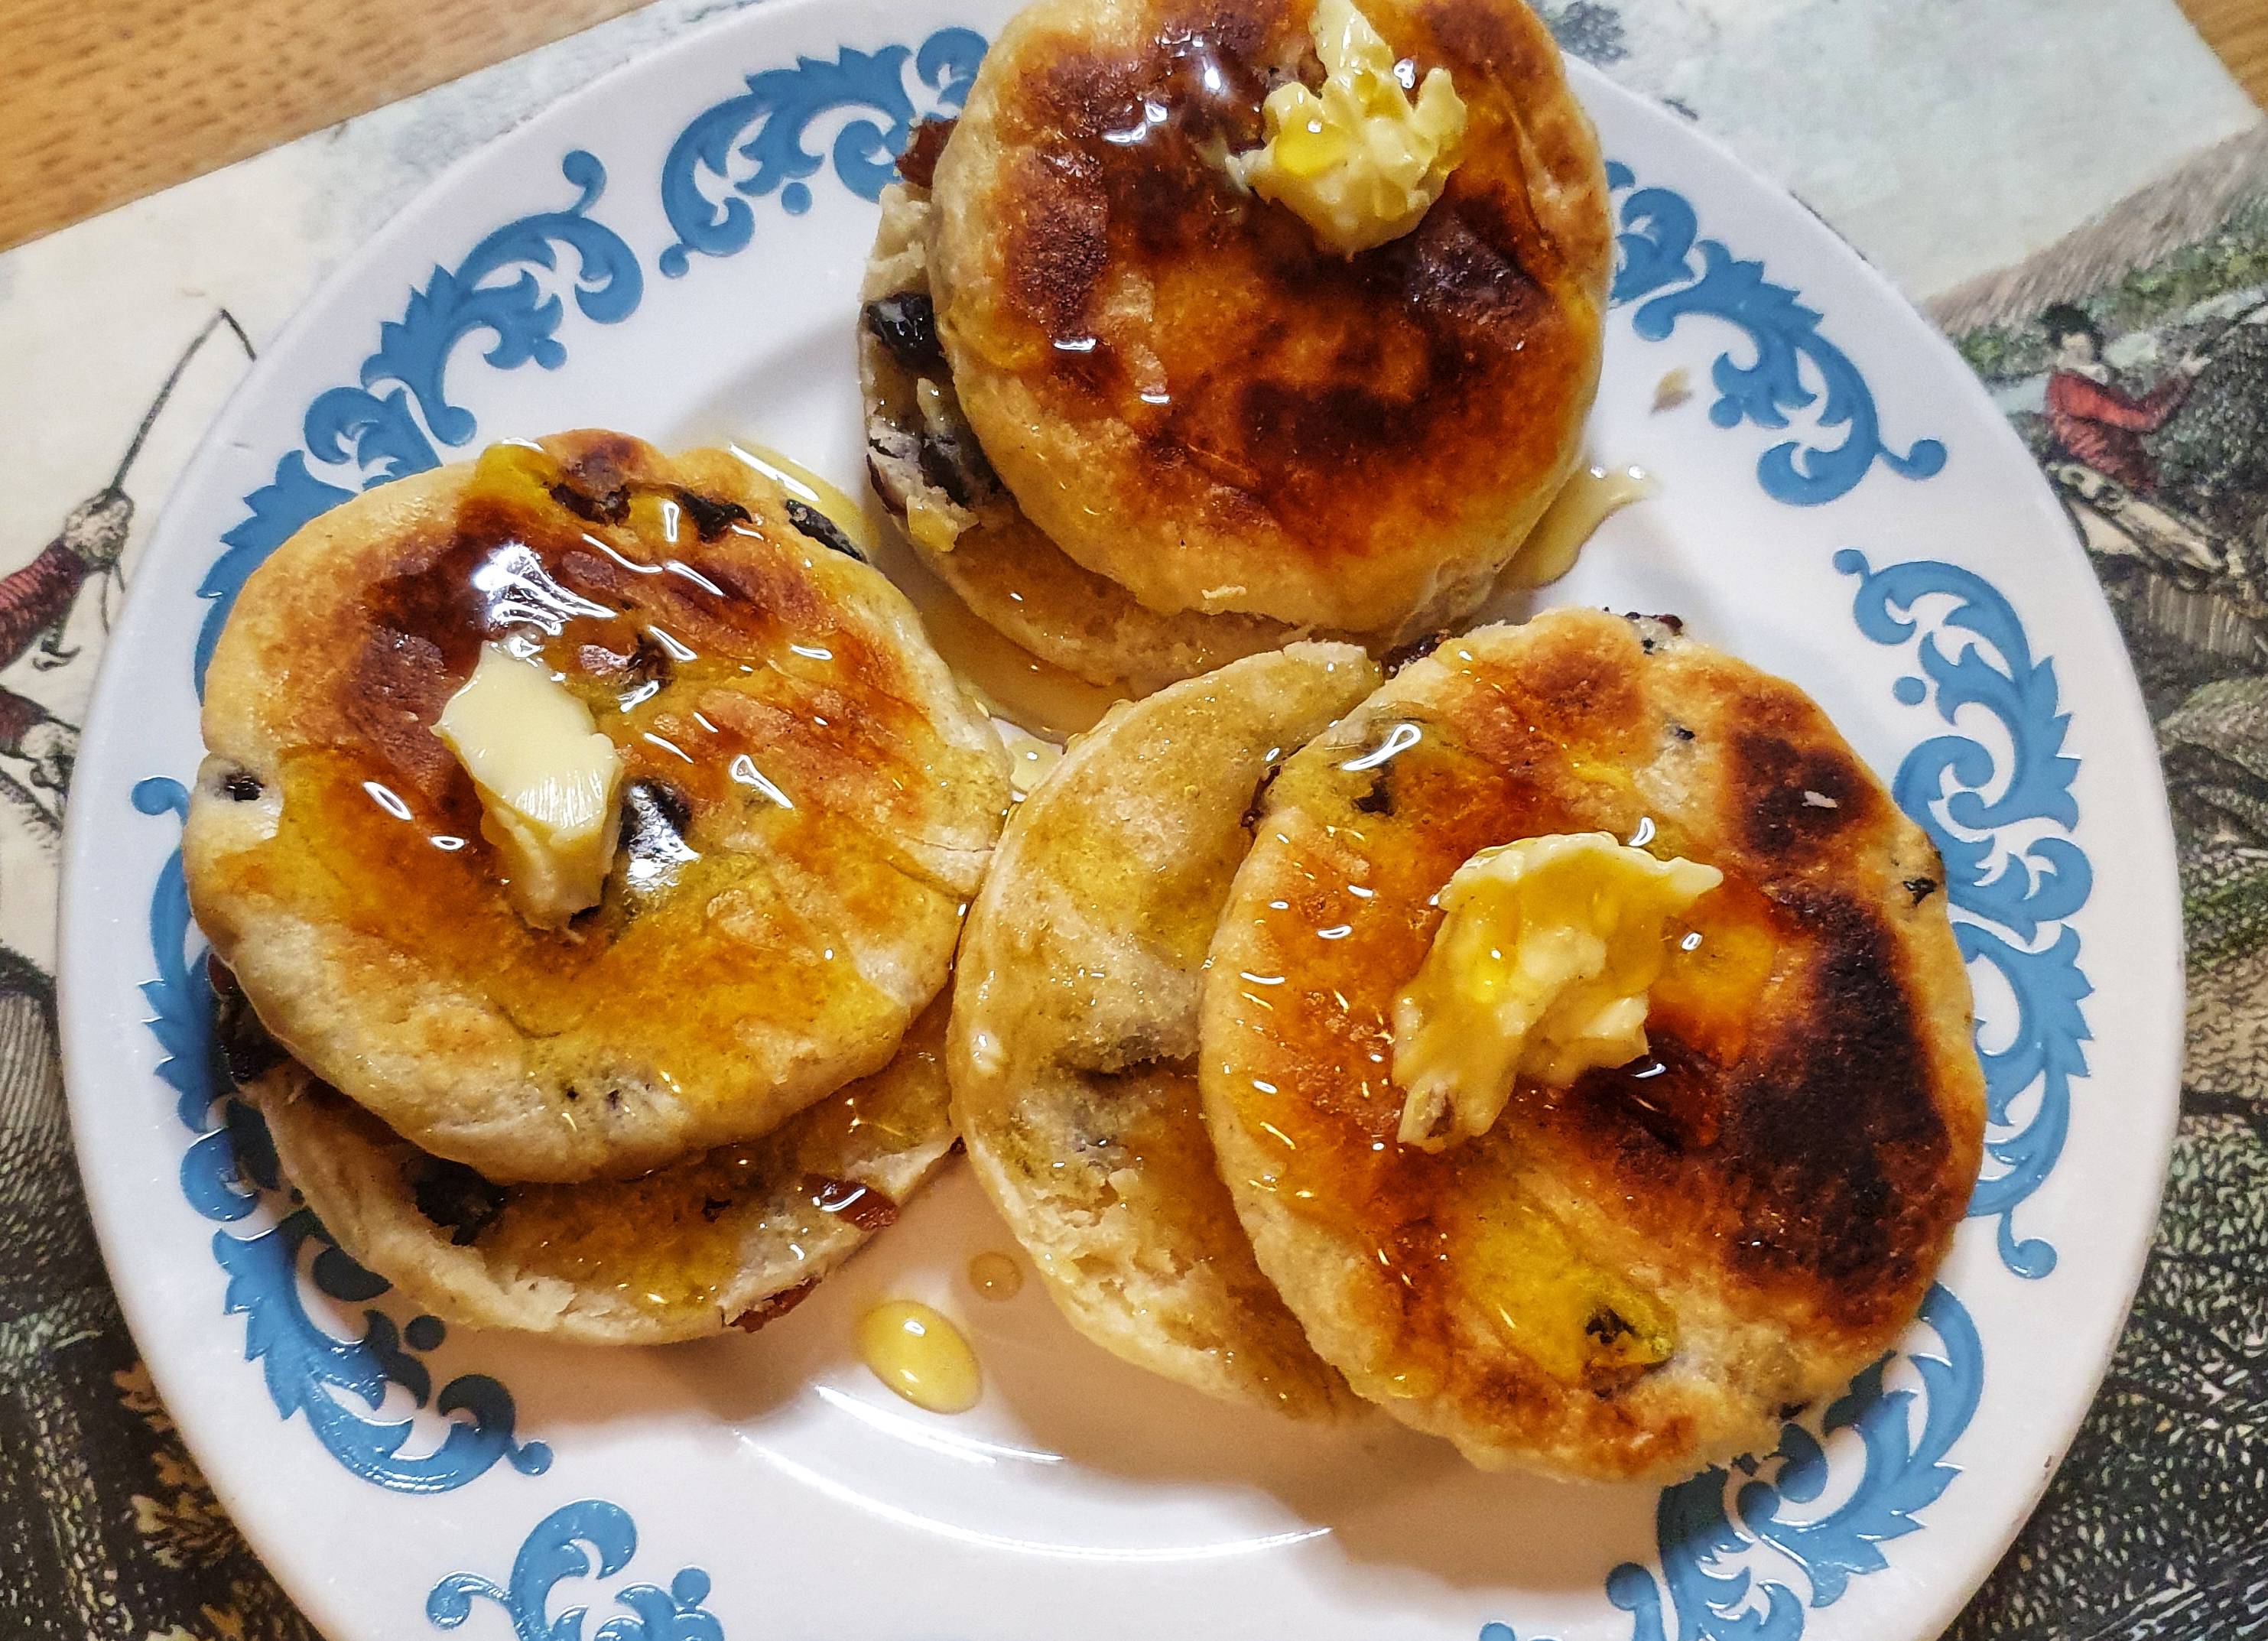
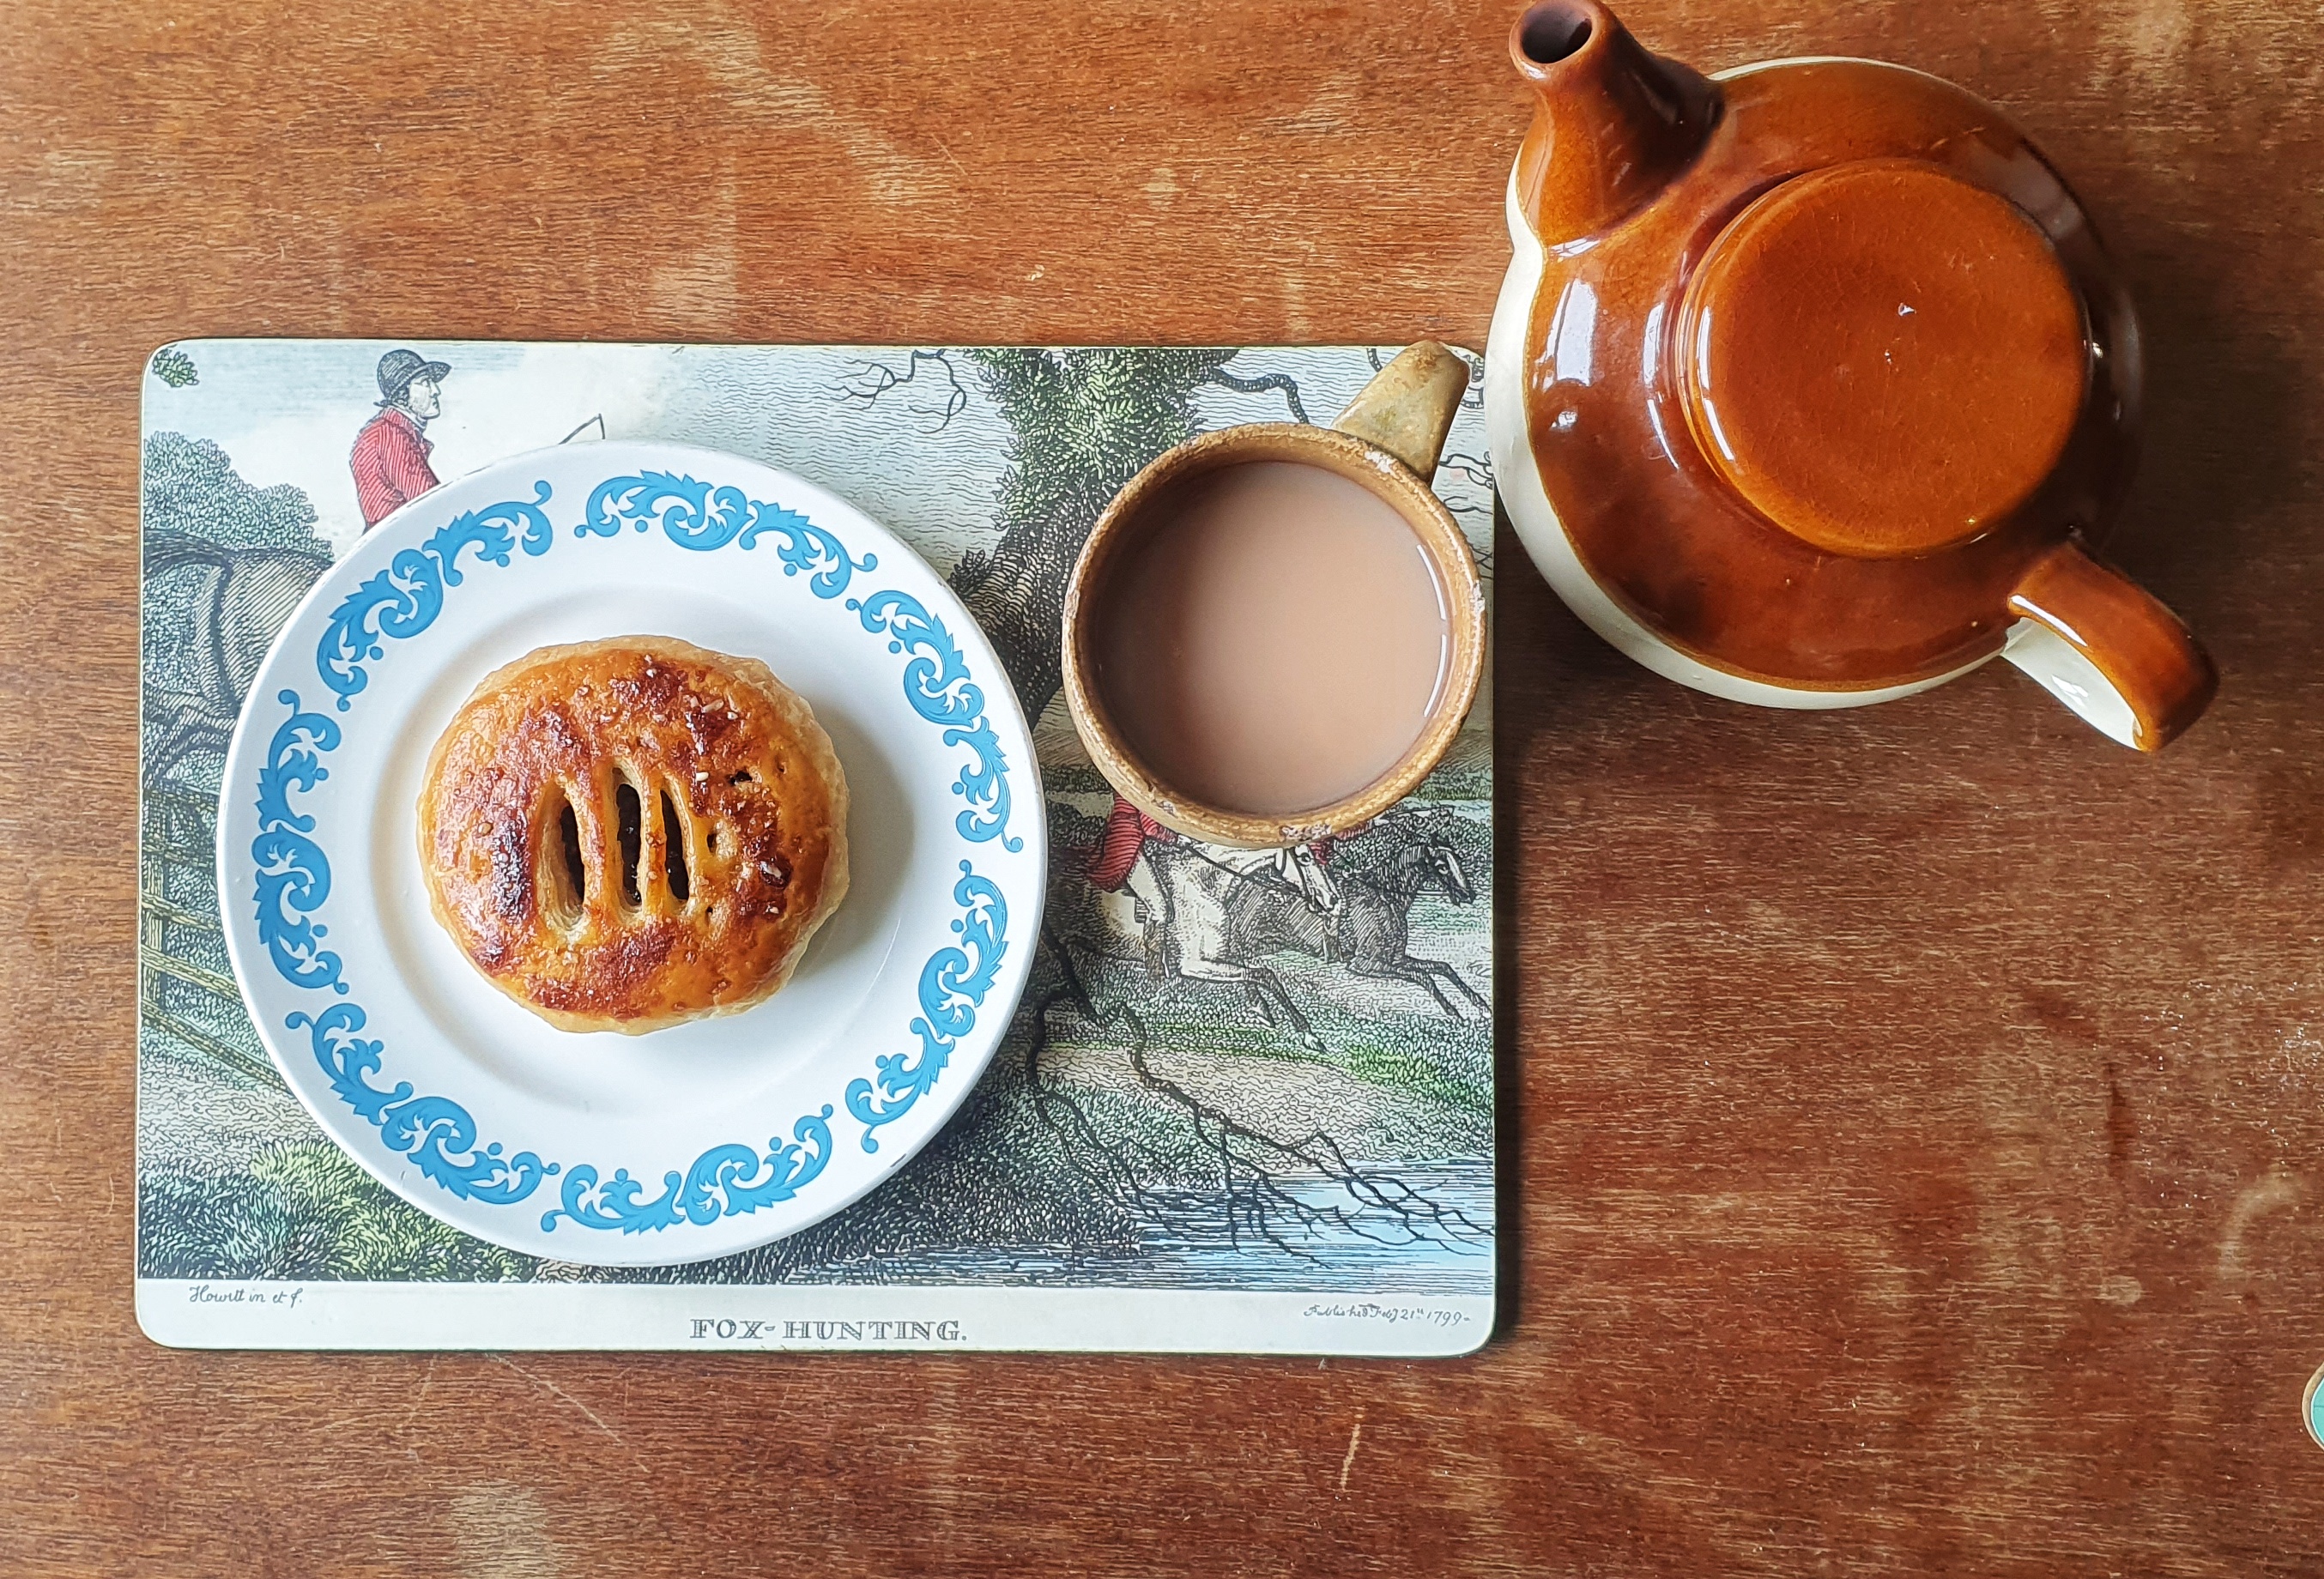
Serve warm with your favourite toppings. I went with good old golden syrup (and an extra knob of butter).
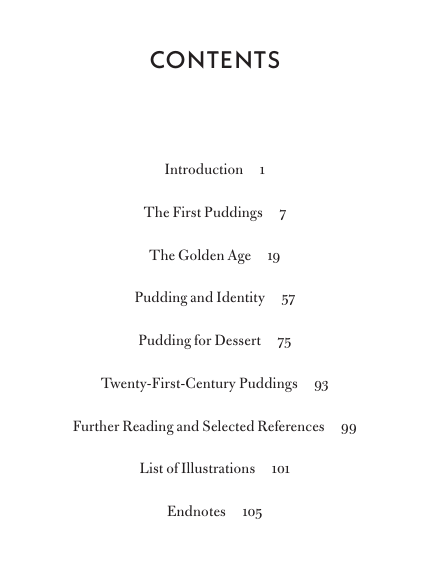
I’m very excited to announce that my next book The Philosophy of Puddings with be published on 24 October 2024, published by the British Library – part of their excellent The Philosophy of… series.
The word ‘pudding’ is a confusing one if you are not from the British Isles because so many things can be a pudding: steamed sponge, Christmas pud, sticky toffee pudding, plus black and white pudding AND haggis. Add to this the fact that pudding can also be a byword for any dessert. Convoluted craziness.
I have tried to tackle the tricky etymology of the word before – puddings change and morph into so many different things across time that it’s pretty mind-boggling, and I’m so glad to have the opportunity to really study it in depth: a dream come true really. As far as I know there isn’t a book that tracks the word right through history, focussing not just on trends and fashions but also why puddings are so important in British identity.
To pique your curiosity: The contents page and a couple of the fantastic illustrations from the British Library’s collections
Here’s what the blurb says:
Just what is a pudding? We all have our favourites, whether it is a school-dinner jam roly-poly with custard, or a Yorkshire with onion gravy, a Burns’ Night haggis or the Christmas plum pudding. The humble pudding started out as a meat boiled in either animal intestine or in a cloth. With the advent of pudding bowls and moulds, the pudding assumed a myriad of identities. Neil Buttery traces the long history of pudding and its importance in British culture and language. He has tried and tested many recipes from across the centuries in his ‘Pud Club’ and shares his extensive knowledge and expertise.
The Philosophy of Puddings features stunning images and photographs from the Library’s collections.
I will present some of my research an online talk in December – the date is to be announced, so make sure you keep an eye out on social media or the ‘Upcoming Events’ page on the blog.
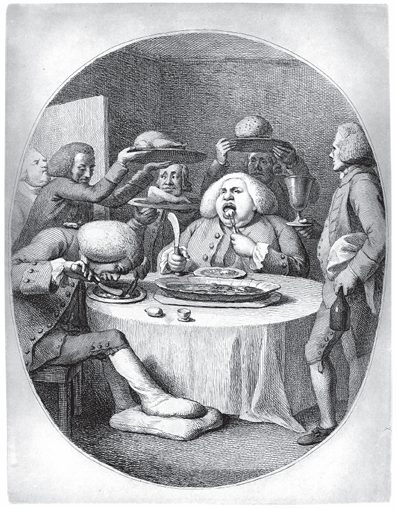
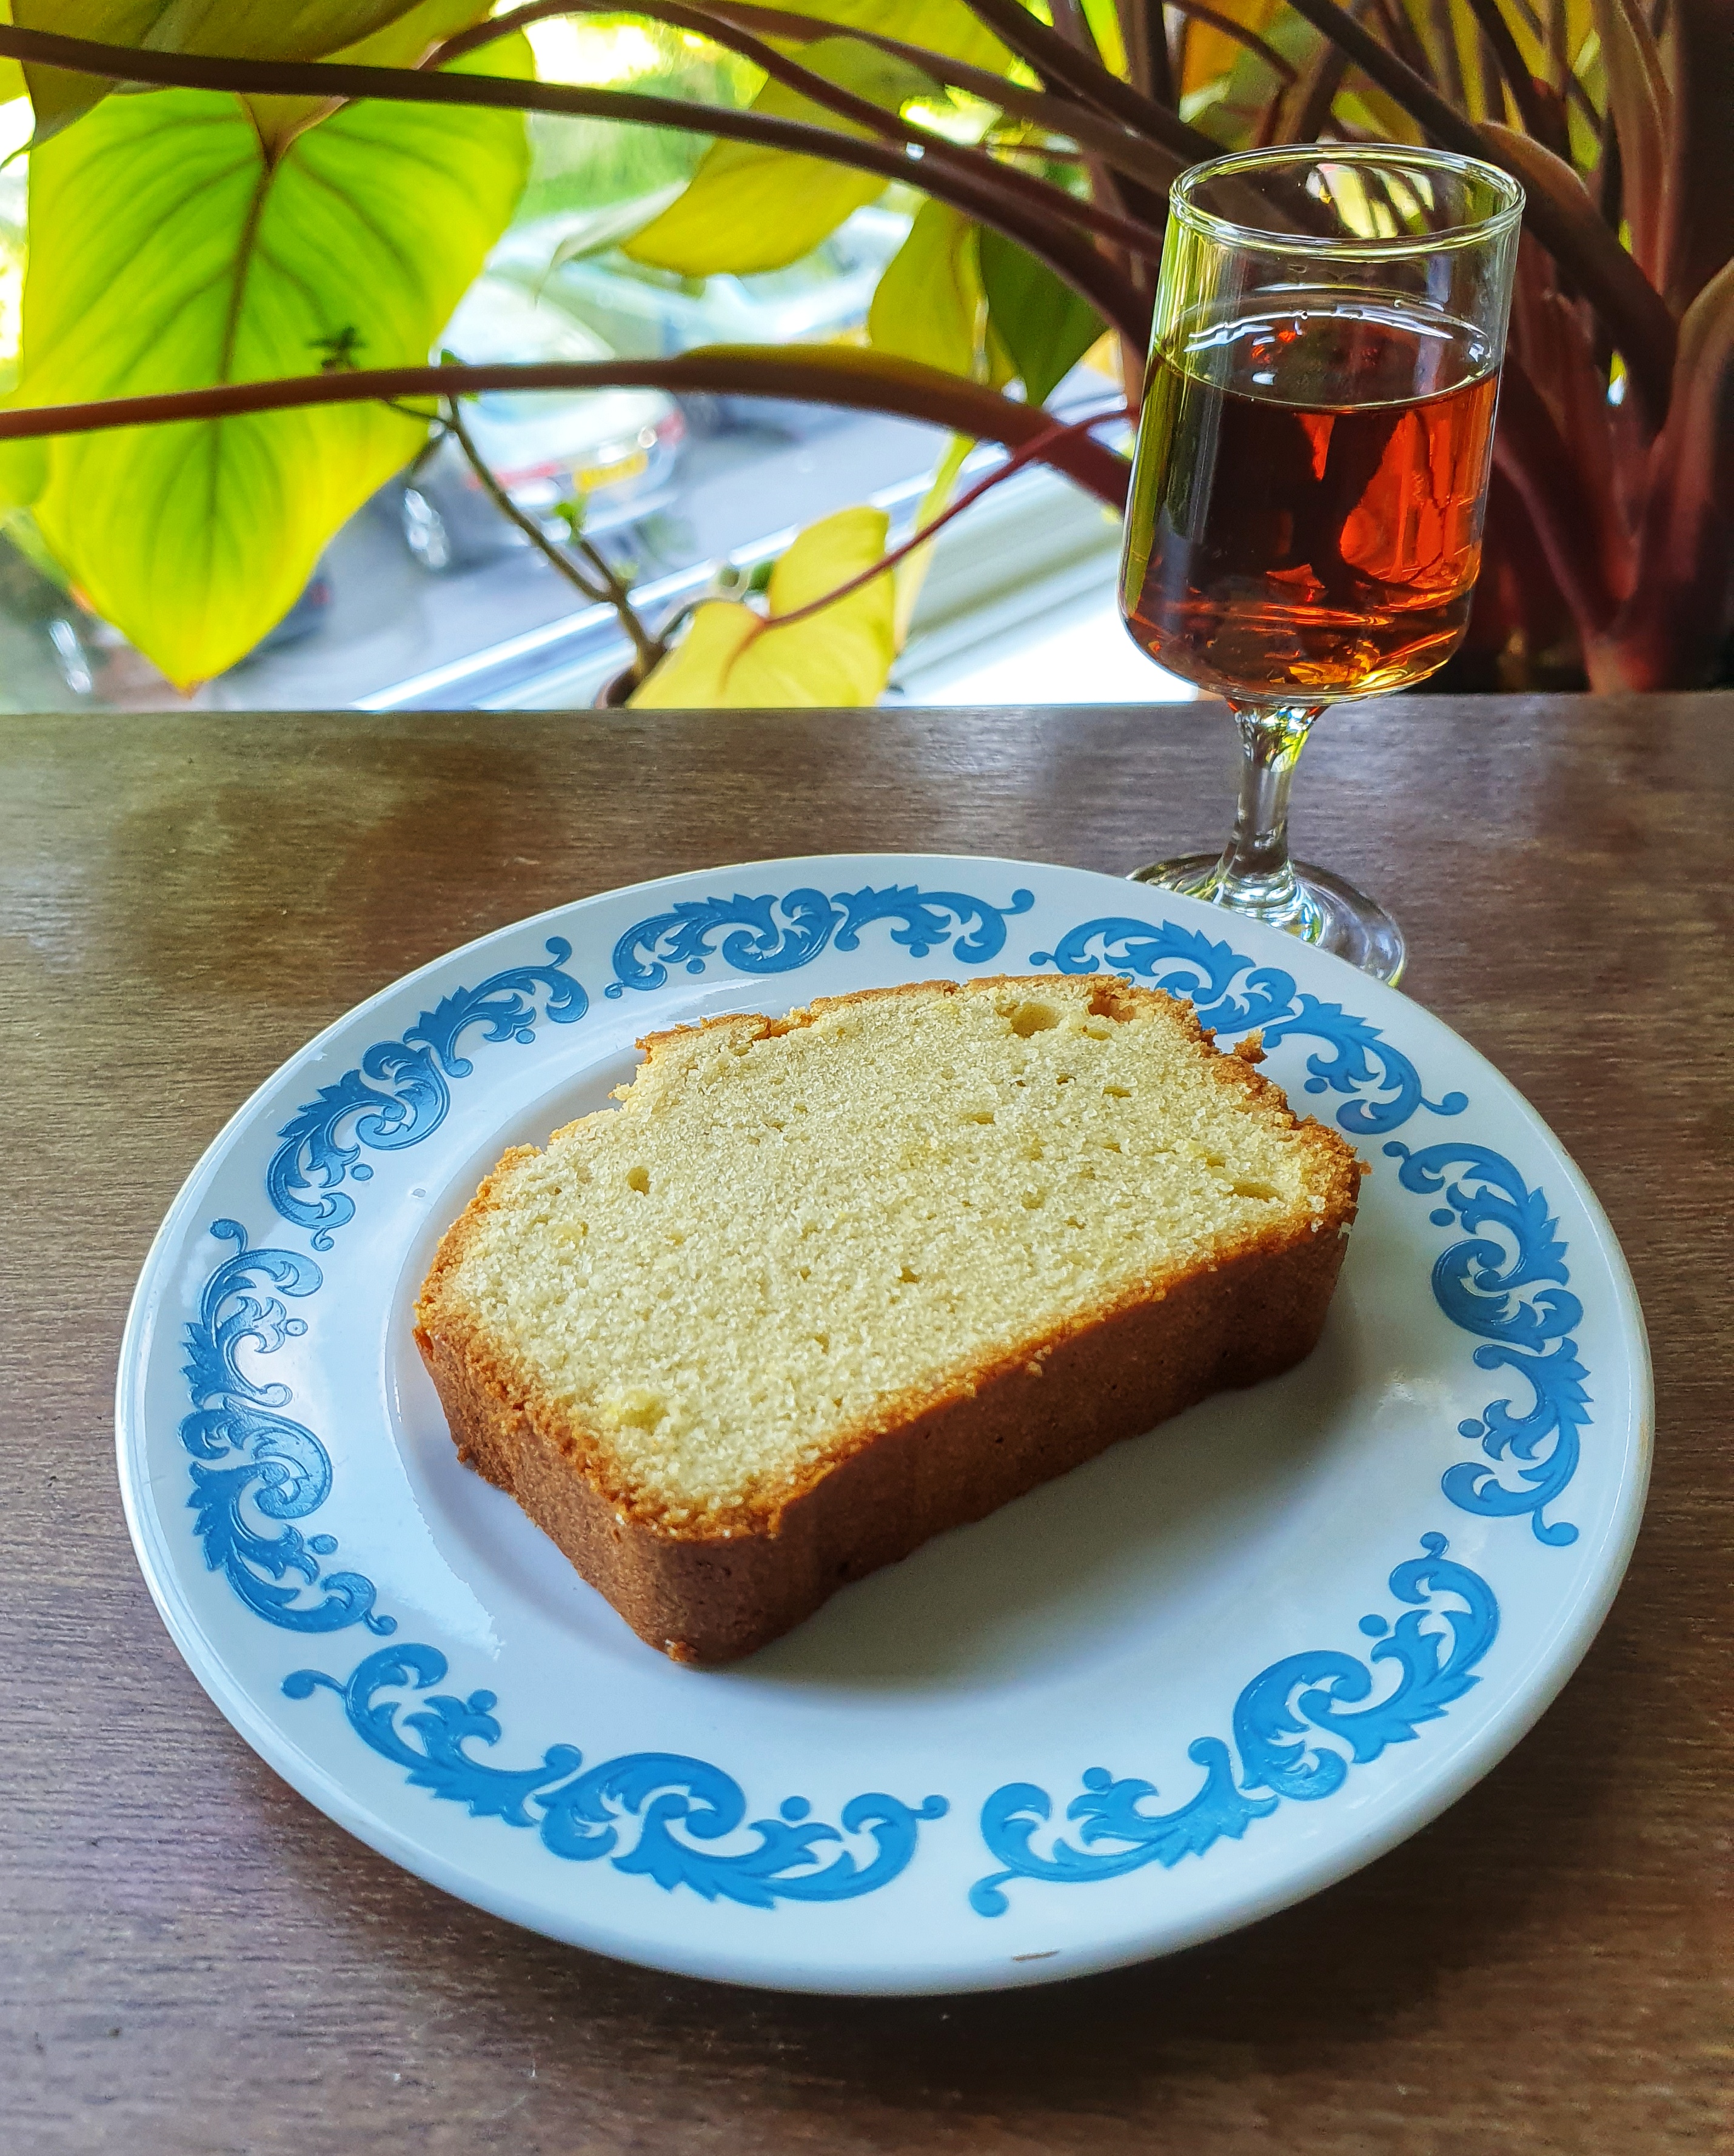
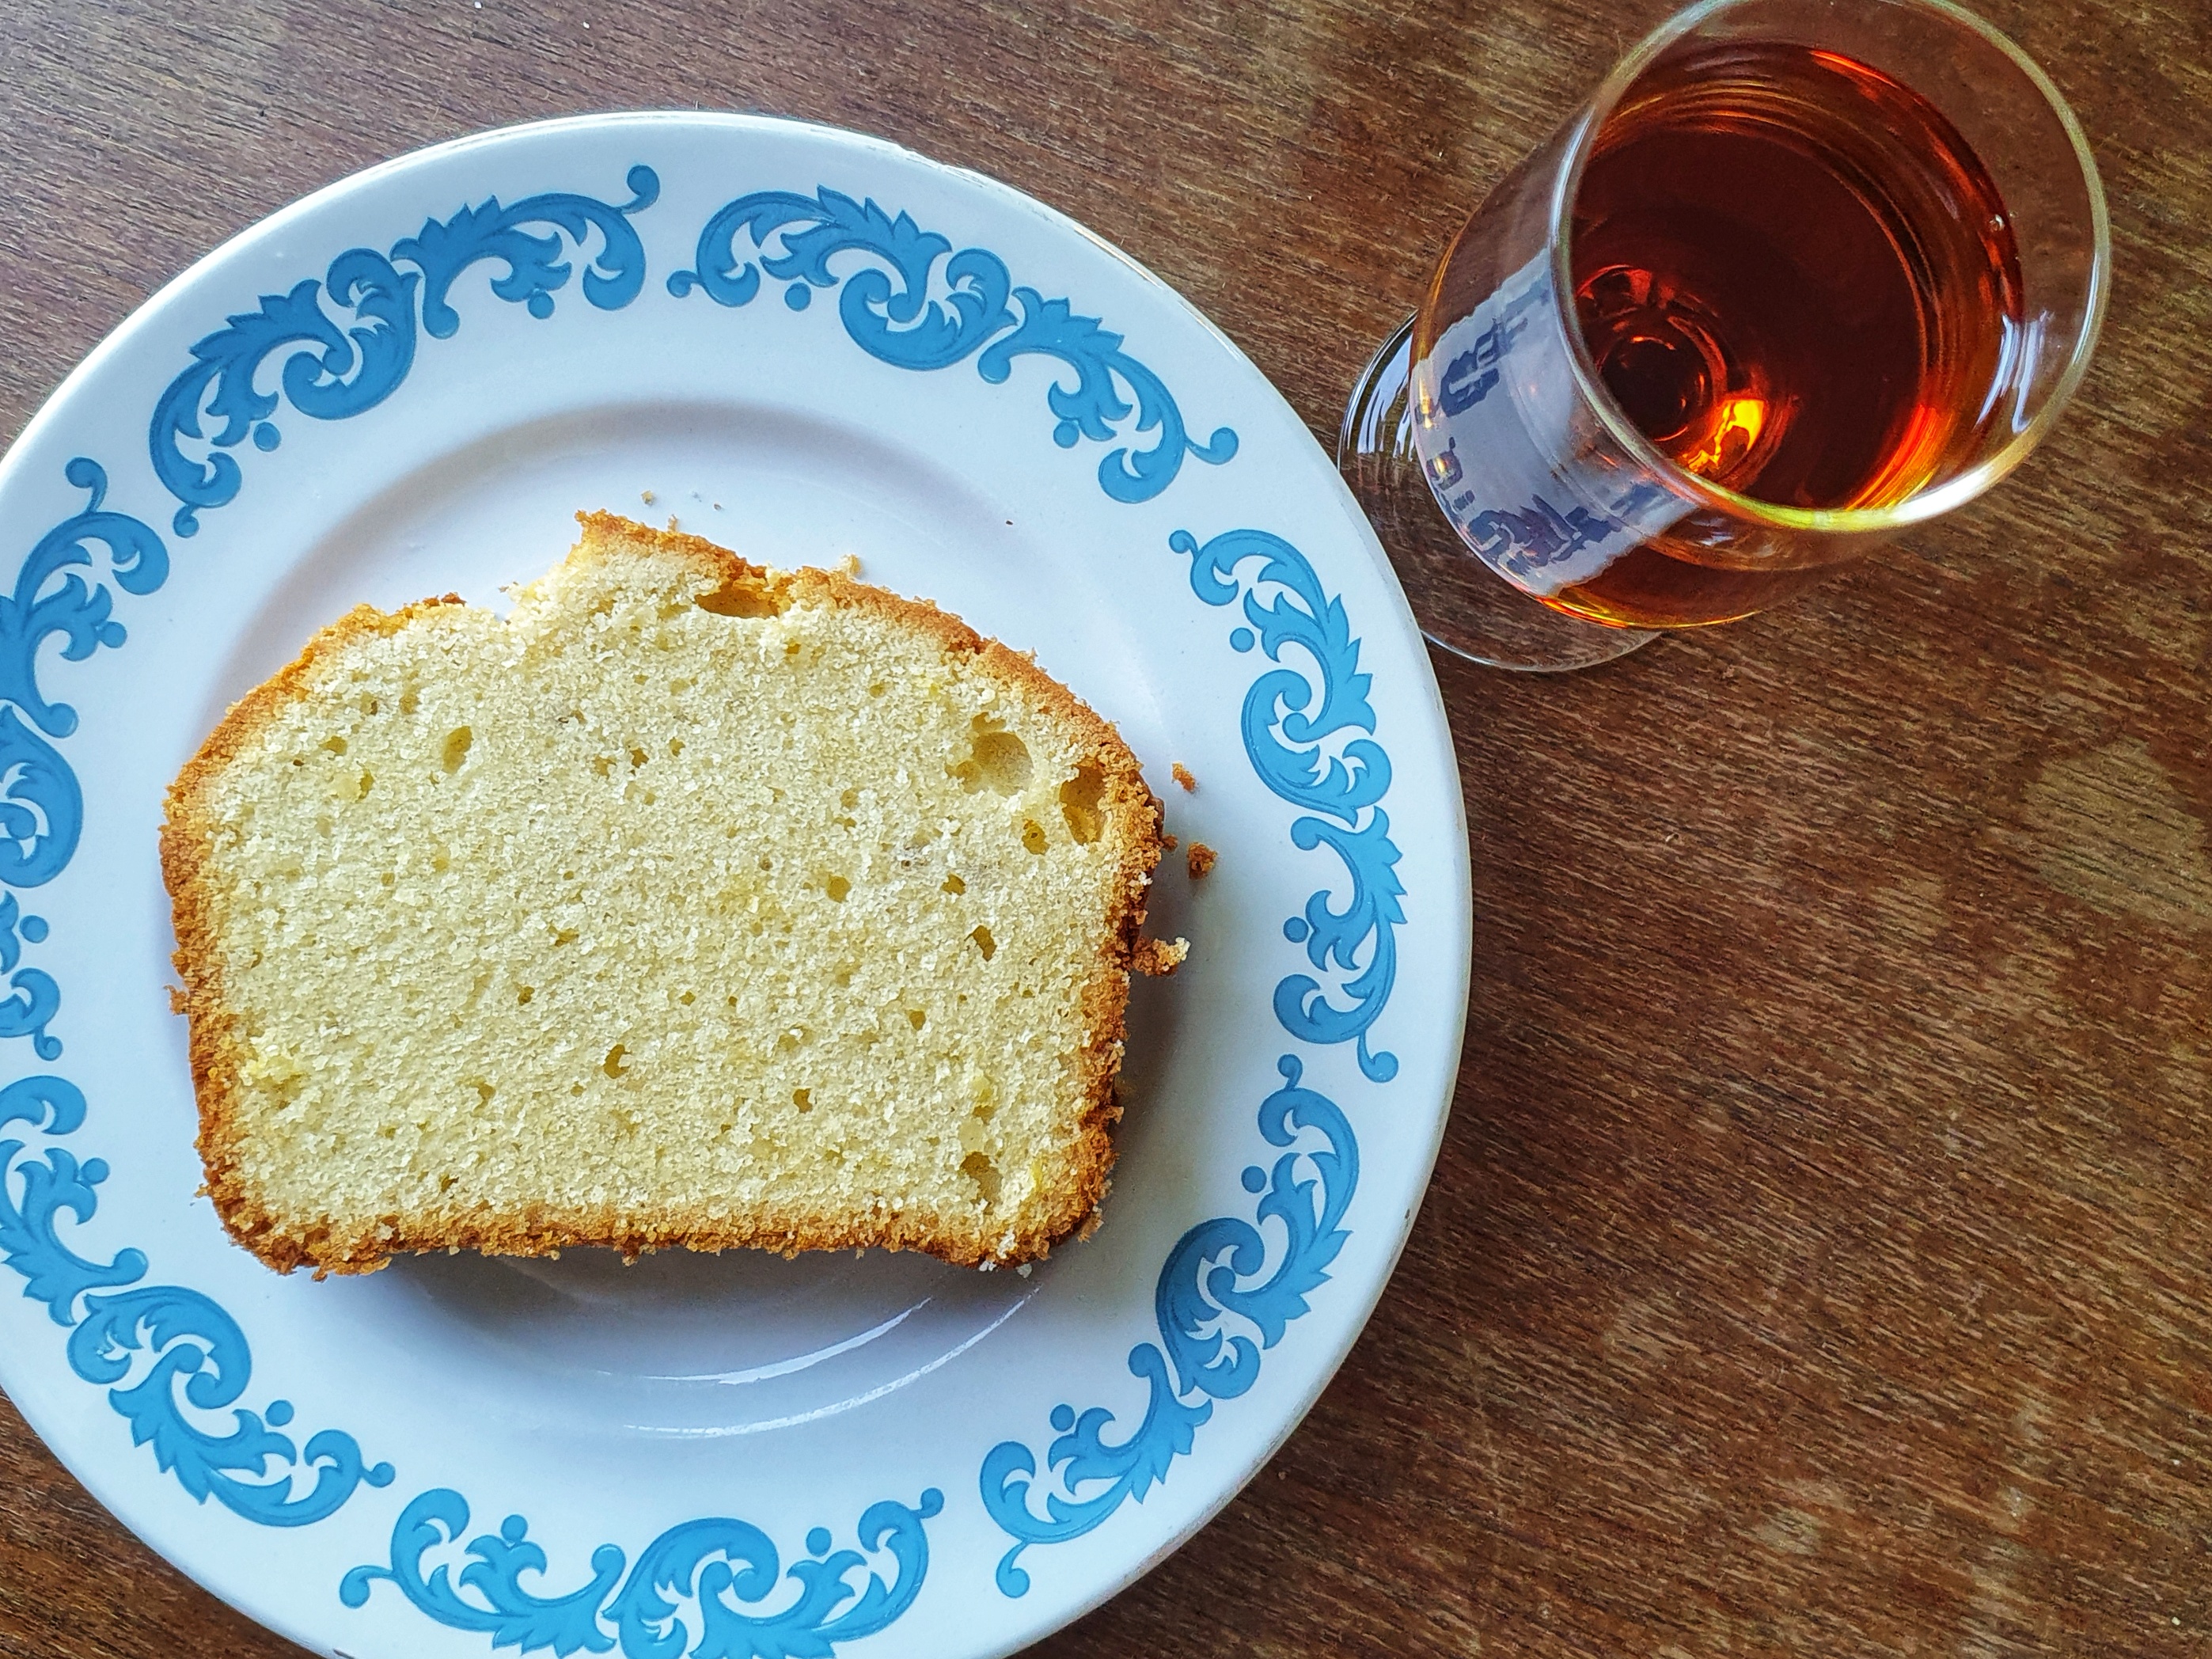
I have been thinking and reading about baked goods rather a lot this year, having written Knead to Know: A History of Baking (out 12 September, preorder here). One thing I mention in the book is the activity we in Britain no longer partake in: dipping little sponge cakes in sweet alcoholic drinks. The closest we get to this is when we soak them in booze for a trifle, but fewer and fewer of us are making traditional trifles these days, I’d say.[1] Cakes made especially for dipping are well known: financiers, madeleines, boudoir biscuits (which are actually dry cakes). We used to dunk cake in wine though, and even came up with one of our own (the ones listed above are all French in origin); the now rather passe Madeira cake. It’s dismissed as a rather dry, plain sponge cake,[2] and perhaps it is, but that’s because we are no longer consuming it in the way it was designed to be, as Jane Grigson tells us in English Food, ‘this cake was served with Madeira and other sweet wines in the nineteenth century.’[3]
Madeira is a sweet wine made on the island of the same name (sugar was made there in the early modern period[4]), and it was a popular export to Britain from the seventeenth century.[5] The first time recipes for cakes specifically made for dipping in wine pop up in handwritten manuscripts from the eighteenth century, and the first printed recipe for Madeira cake (according to Laura Mason and Catherine Brown) appears in Eliza Acton’s 1845 classic Modern Cookery for Private Families.[6]
To produce a cake that can be successfully dipped without breaking up, it must be made on the dry side compared to, say, a pound cake or Victoria sponge: more flour is used, and no extra liquid is added (there’s no dropping consistency here). Whilst searching the internet for recipes, I spotted that people commonly search for ‘moist Madeira cake’ recipes. Well there is no such thing, it isn’t supposed to be moist. Yes, there are recipes to be found on the internet for apparently moist Madeira cakes that include additional ground almonds, milk and/or a reduced amount of flour. Well, you can do that, of course – be my guest, it will be delicious I’m sure – but it will no longer be a Madeira cake.
Creating lift is very important when it comes to sponge cake-making, and in Eliza Acton’s recipe, it is achieved by whisking eggs and sugar until frothy, before folding in flour mixed with a little ‘carbonate of soda’, and then cold, melted butter.[7] We’d call this a genoise-style cake these days. Recipes today use the more familiar creaming method and more raising agent, but don’t be tempted to use self-raising flour – that would give the mixture too much of a boost; we’re aiming for small, densely packed, bubbles here, so a more restrained amount of baking powder is required.
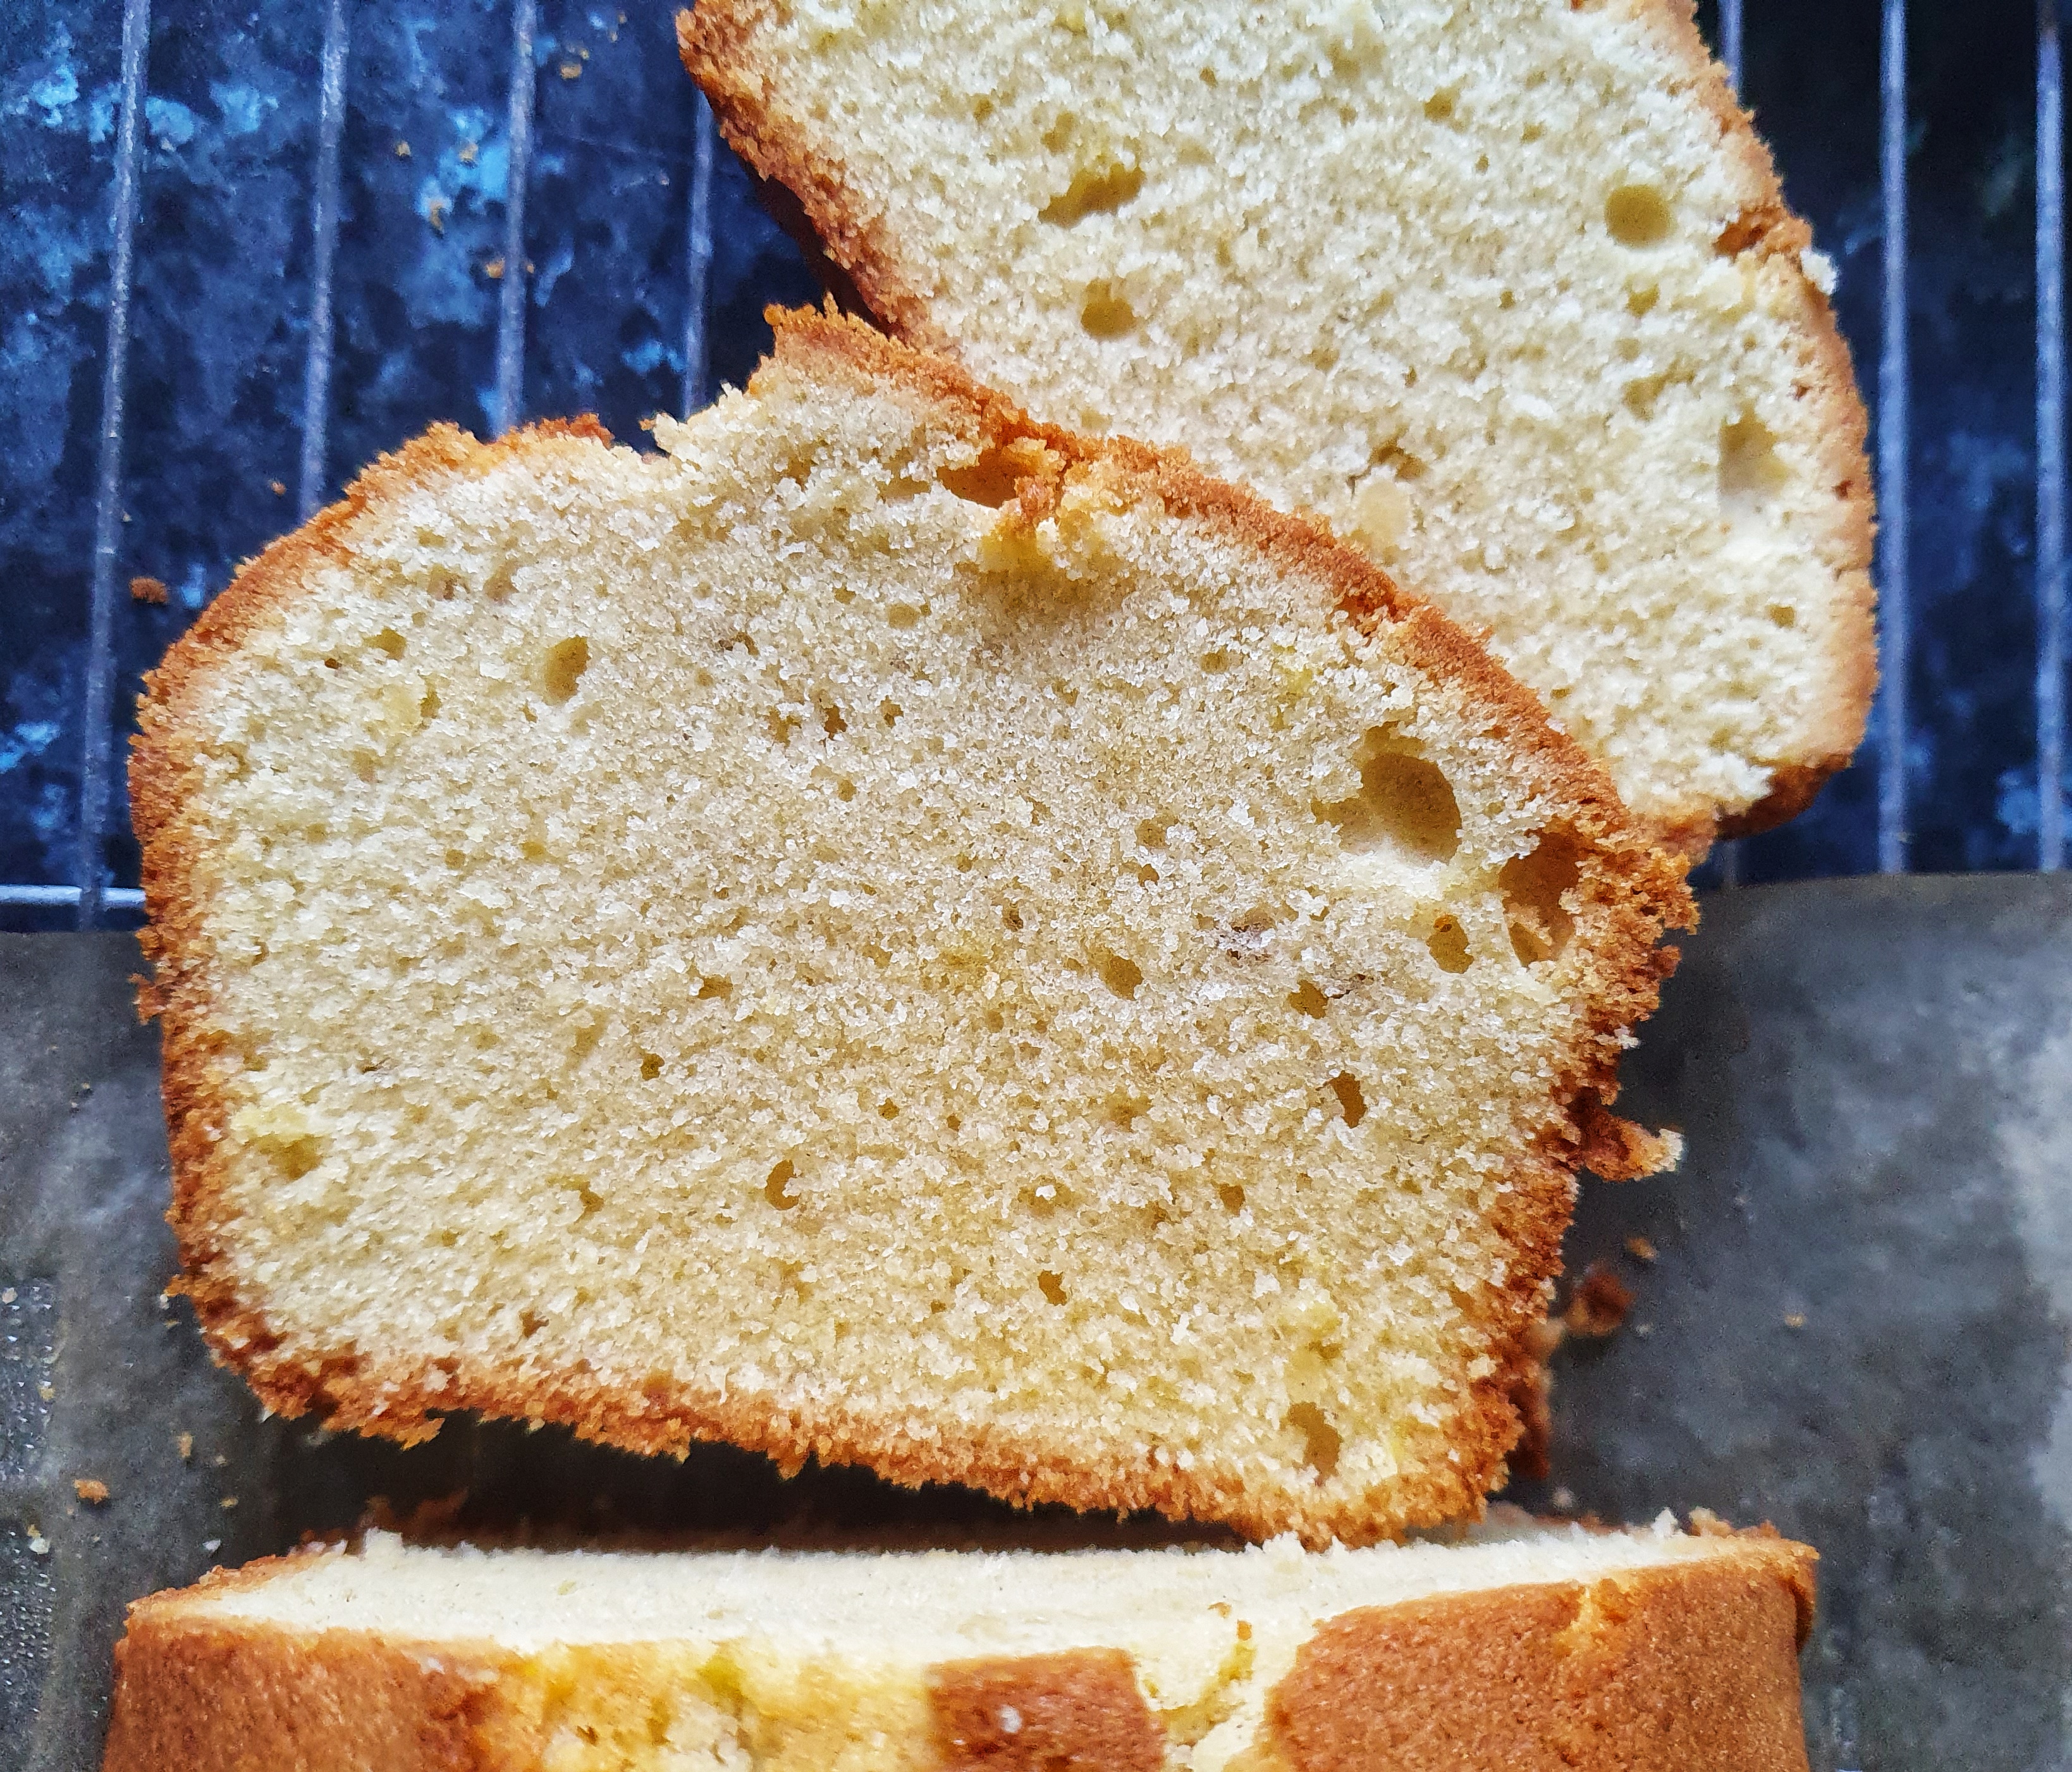
The characteristic crack of a loaf-shaped Madeira cake is most pleasing, but only achieved because a dry mixture is used.
Older recipes ask for Madeira cake to be cooked in a round tin (or hoop), but I prefer baking mine in a 900 g (2 lb) loaf tin.[8] I like the characteristic crack you get that runs down the length of the baked cake. Very pleasing. When it comes to flavouring, just a little lemon zest is traditional. Some ask for a decoration of candied citron strips, but I don’t think it’s necessary.
This recipe is adapted from the one given by Jane Grigson in her classic tome English Food,[9] first published in 1974, making it 50 years old this year!
If you like the blogs and podcast I produce and would to start a £3 monthly subscription, or would like to treat me to virtual coffee or pint: follow this link for more information.Thank you.
175 g softened, salted butter
175 g caster sugar
275 g plain flour
1 level tsp baking powder
4 large eggs (or 4 medium eggs + 1 tbs milk)
Grated zest of a lemon
Preheat your oven to 160°C, then line a 900 g (2 lb) loaf tin with baking paper.
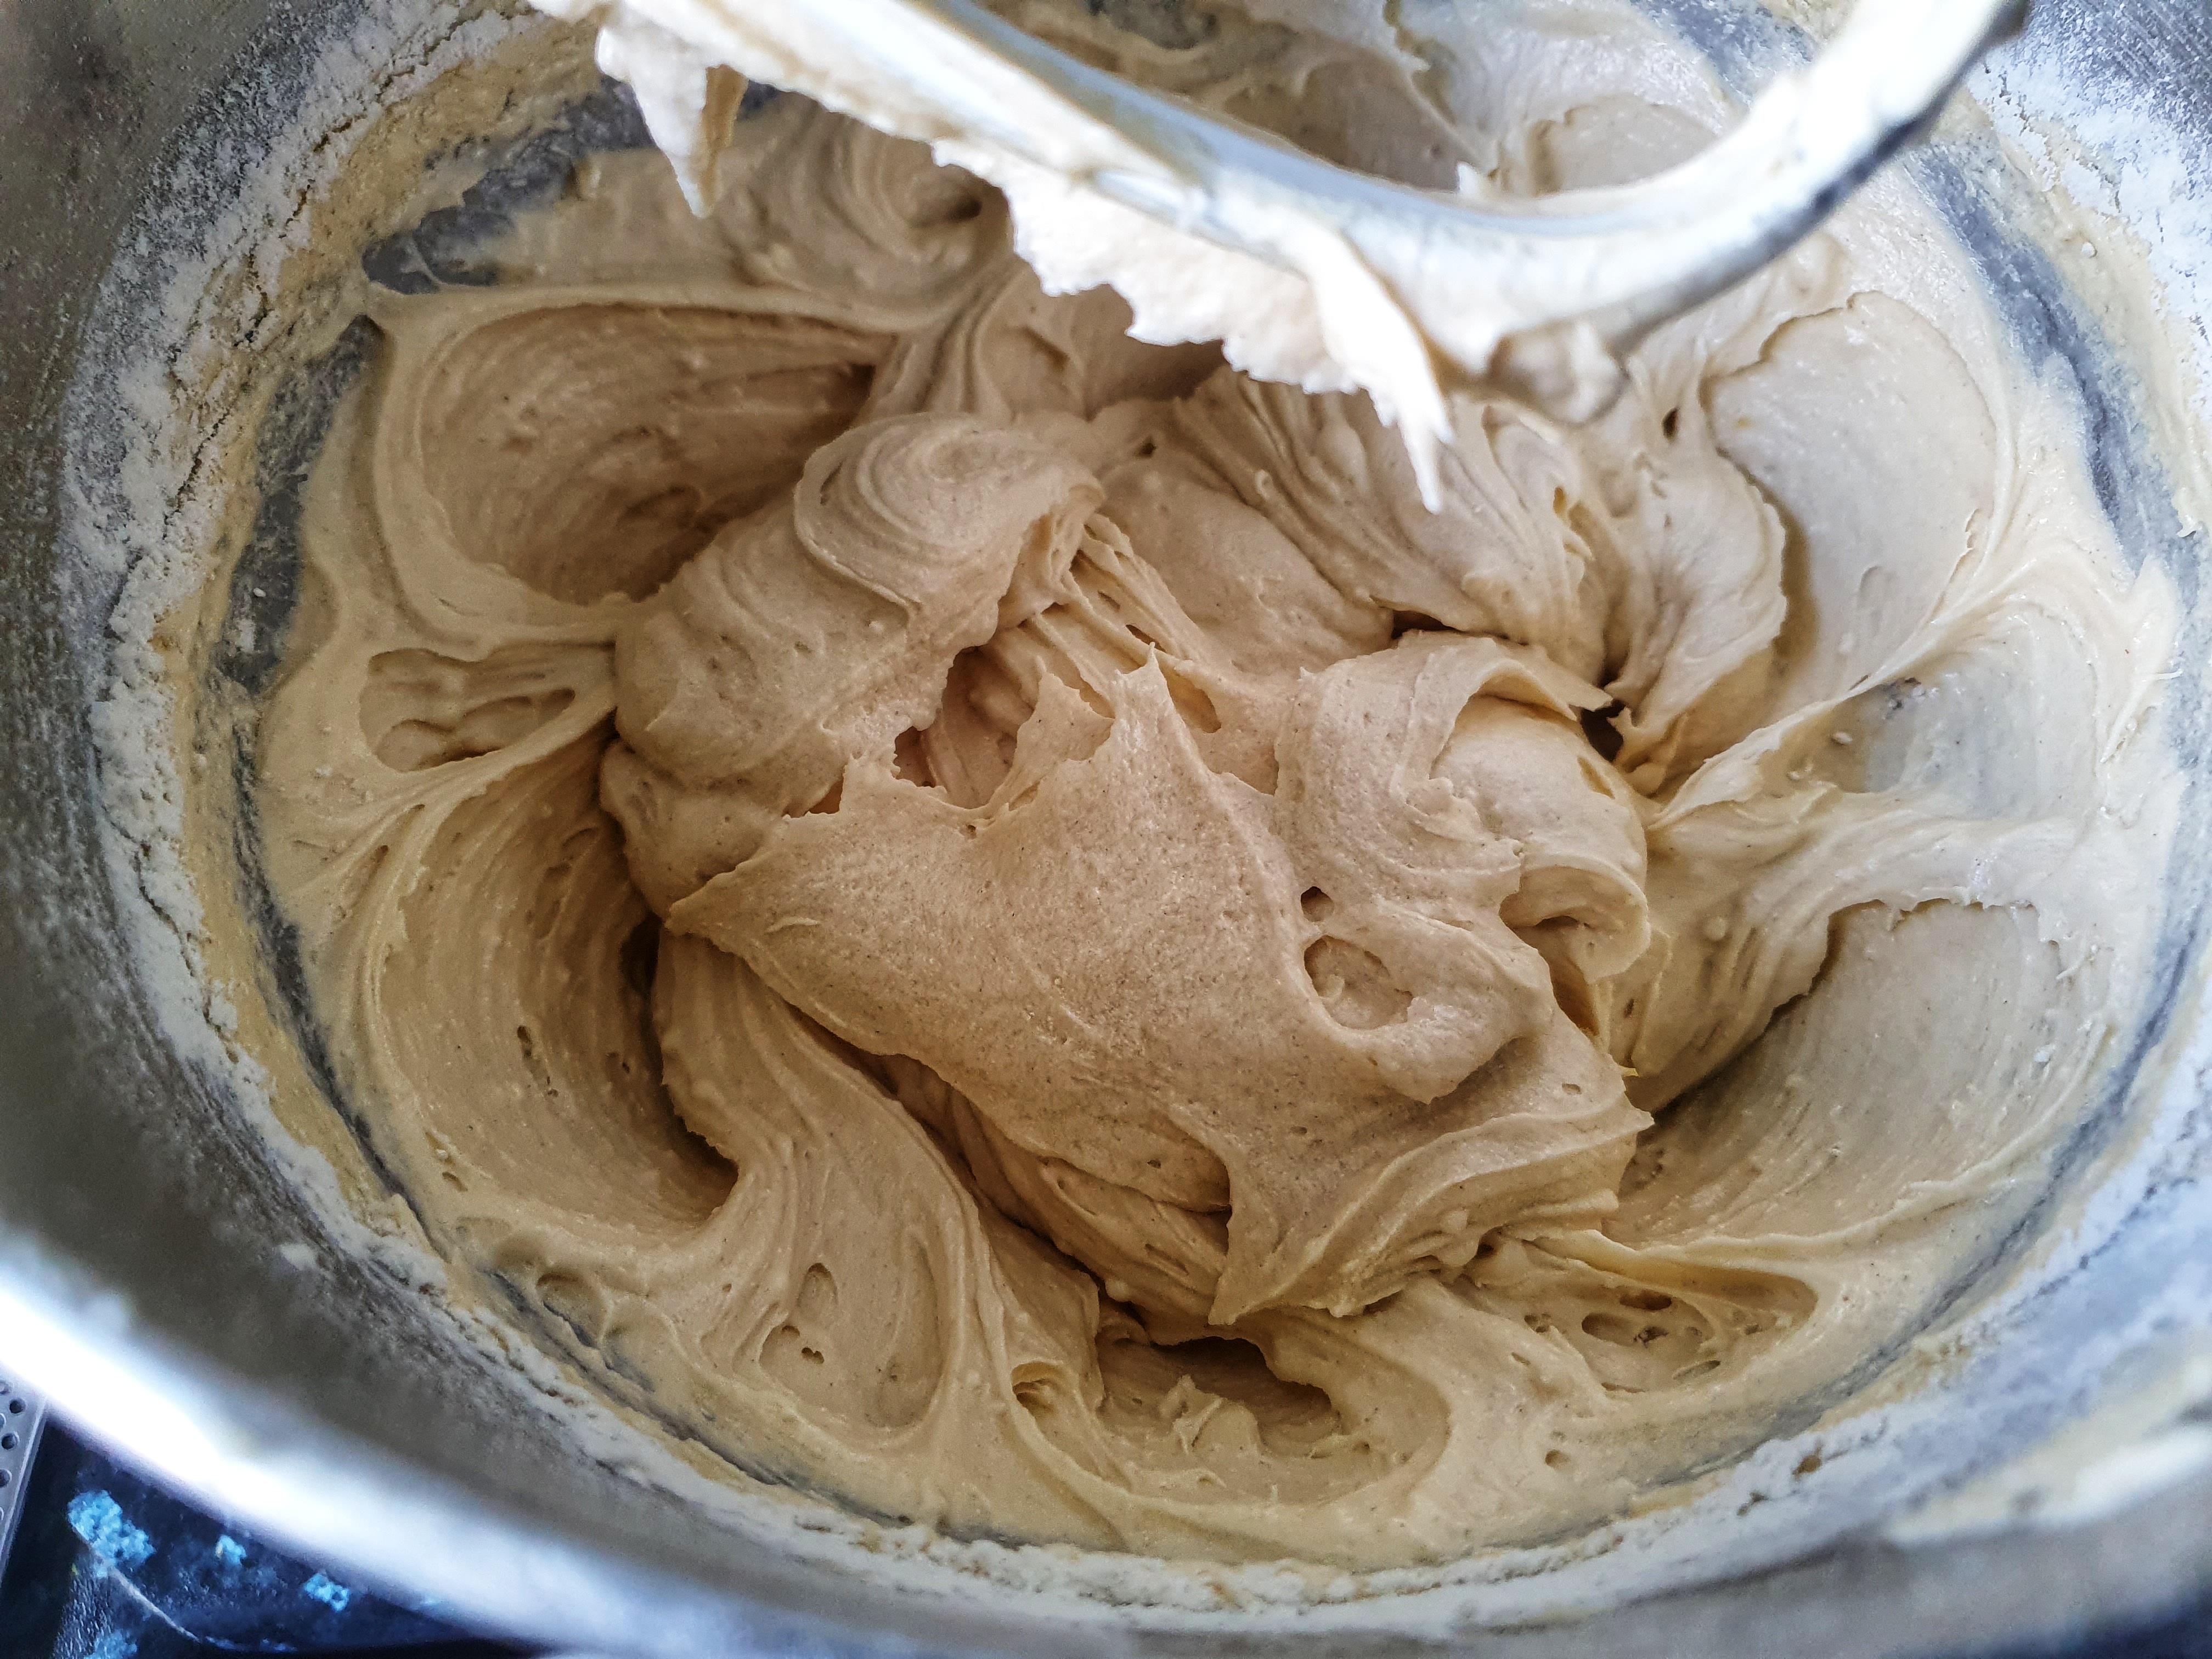
Beat the butter and sugar until light and fluffy with your beaters, a most important stage as it seeds lots of air bubbles in the batter, making for a lighter cake. Now crack the eggs into the mixture one at a time: put the beater on a medium speed, add your first one, and when fully combined, add the next. If the egg and butter mixture begins to curdle (and it probably will after egg number two), add a spoonful of flour and beat on a medium-high speed until incorporated fully, then continue until all of the eggs are used up.
Mix the flour and baking powder, and tip into the mixture along with the lemon zest. Stir on a slow speed until the mixture is smooth. If your beater’s slow speed isn’t that slow, it is better to mix in the flour by hand. If you used medium eggs, add the milk at this point and mix into the batter.
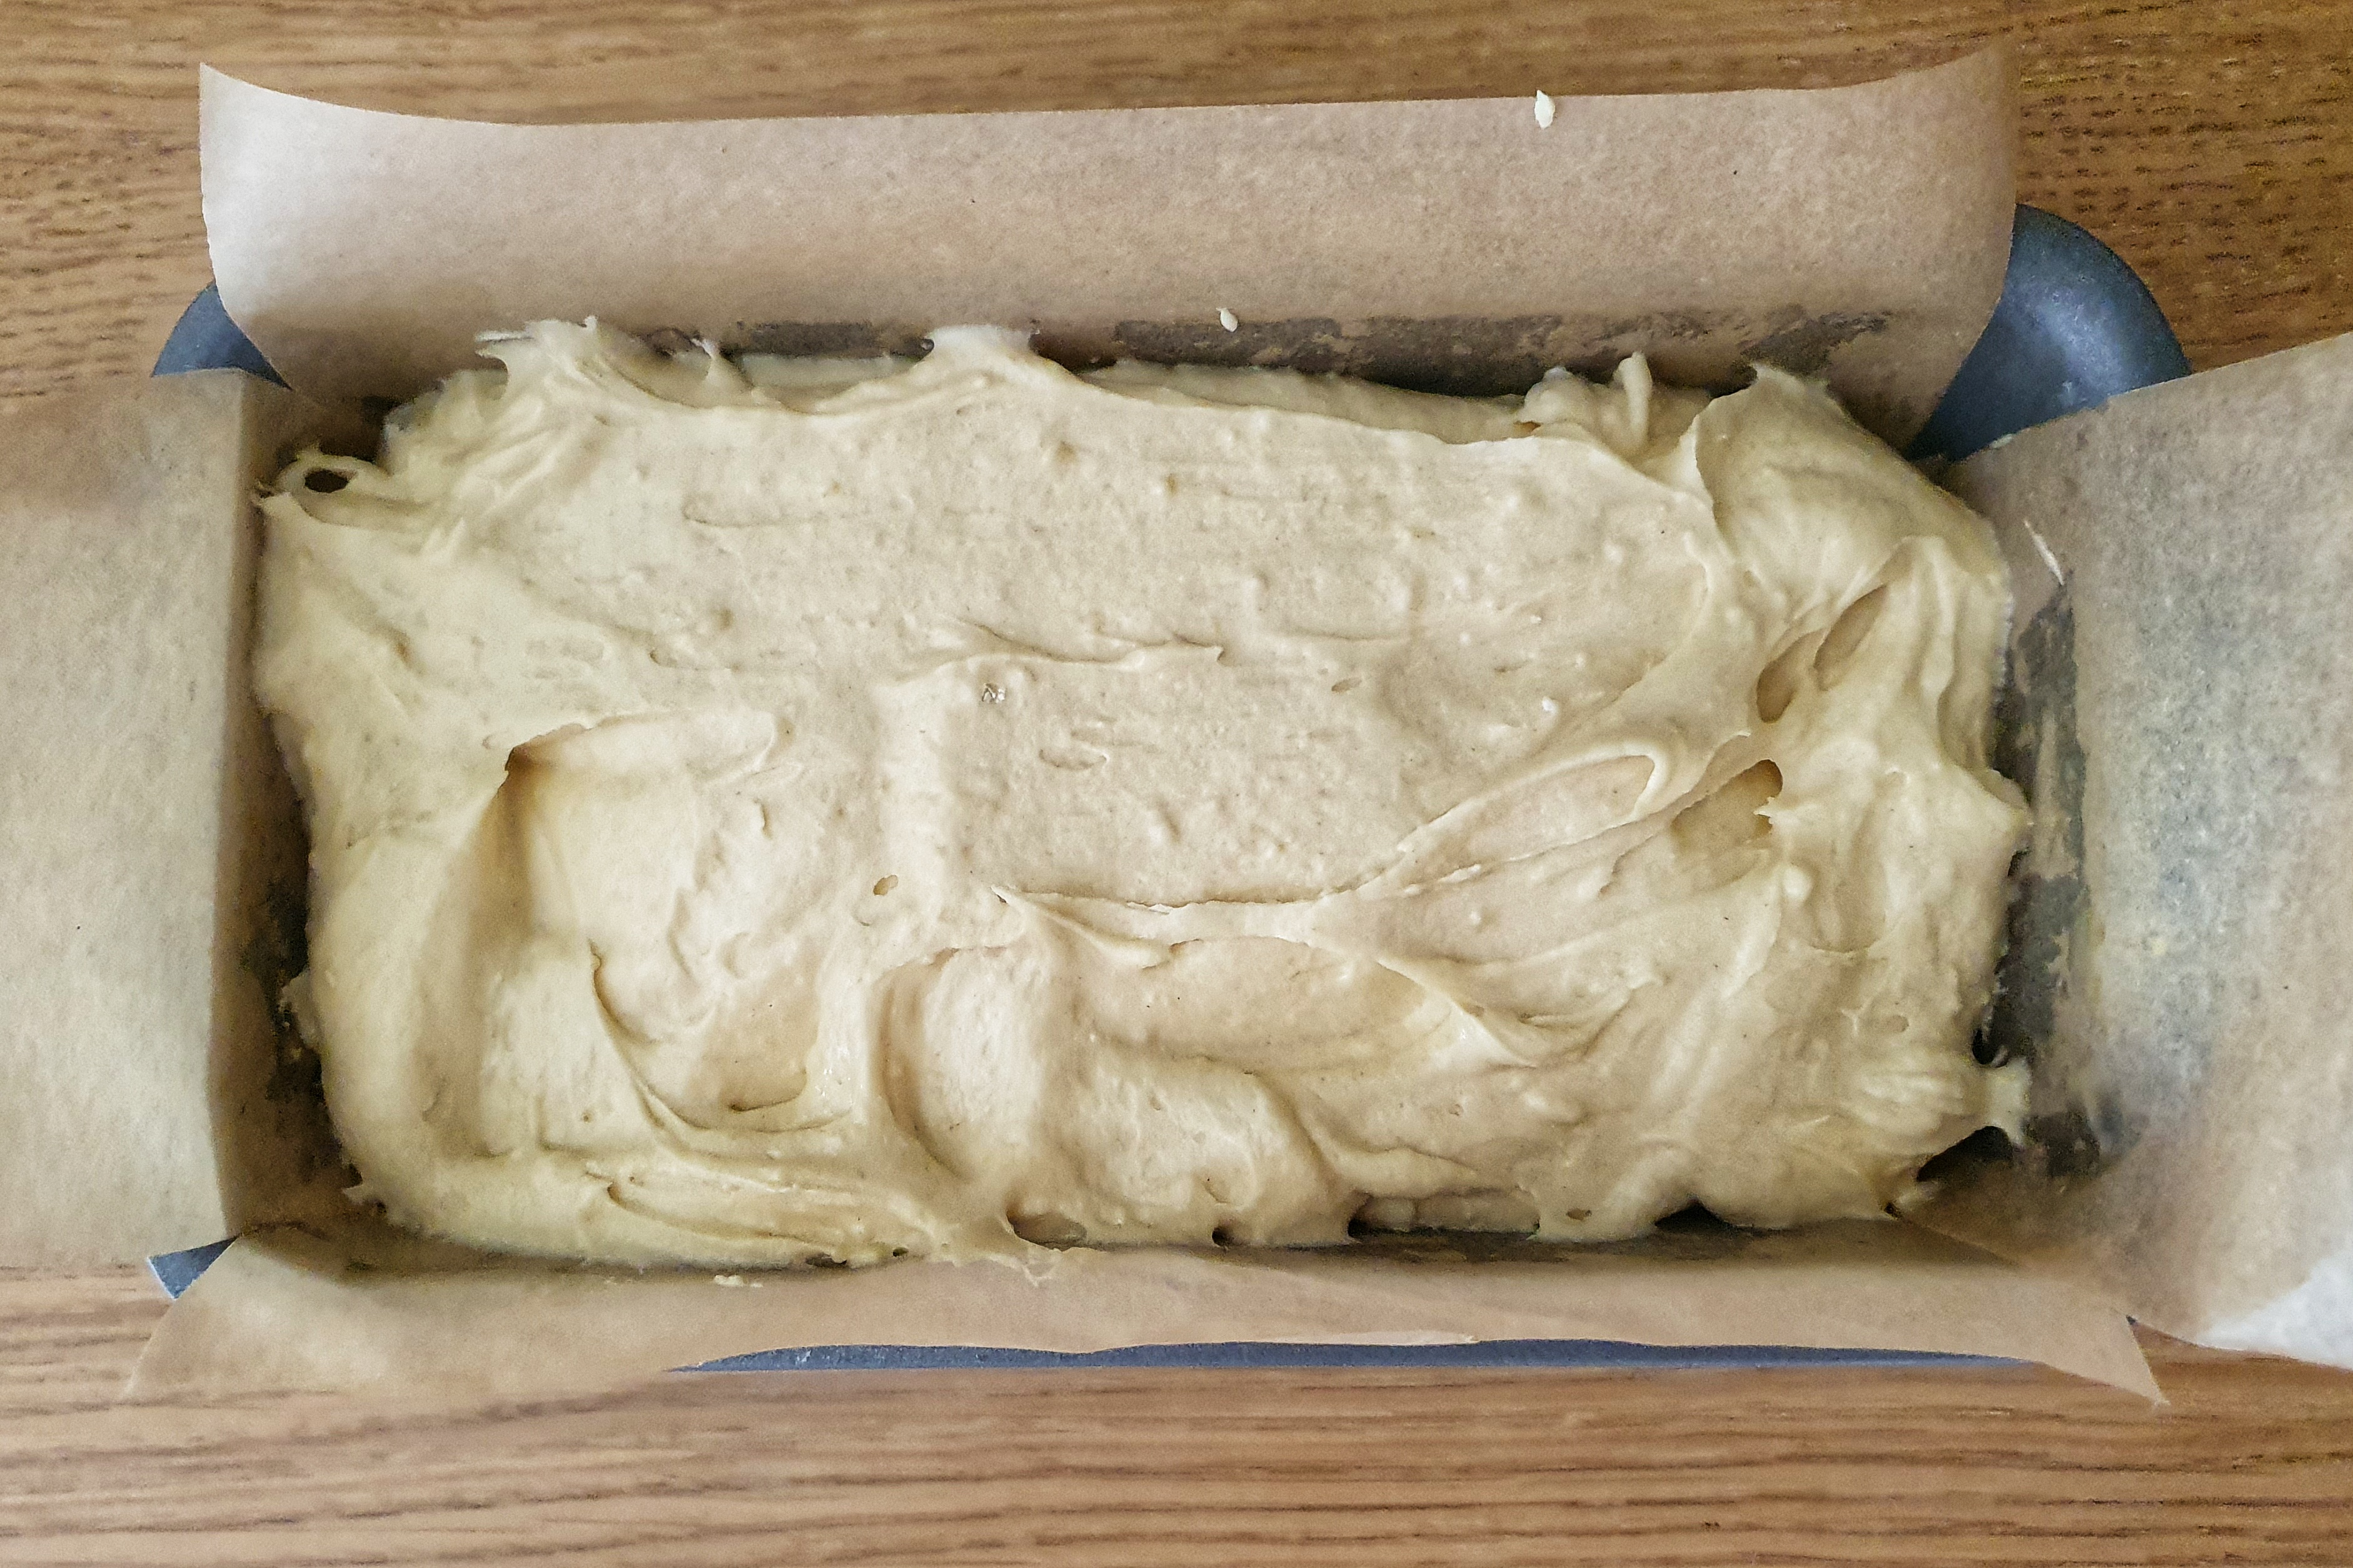
Spoon the mixture into the lined loaf tin and level off. Bake for 1 hour (though check after 50 minutes) until cooked through. Do the good old test of pressing the cake with a finger: if it springs back, it is ready. You can always skewer the cake with a wooden toothpick to see if it comes out clear of any uncooked batter.
When ready, cool in the tin on a wire rack. Best eaten within the first 24 hours of baking.
Notes
[1] In Britain, the only thing we’re dunking is our biscuits in our tea.
[3] Grigson, J. (1992). English Food (Third Edit). Penguin.
[4] This is covered in Buttery, N. (2022). A Dark History of Sugar. Pen and Sword History.
[5] Mason, L., & Brown, C. (1999). The Taste of Britain. Harper Press.
[6]Ibid. I searched too and could not find an earlier example.
[7] Acton, E. (1845). Modern Cookery For Private Families. Quadrille.
[8] Most recipes, even modern ones, describe loaf tins by the weight of bread dough they are designed to bake: 450g (1 lb) or 900g (2 lb). Exact dimensions vary, but in the case of a 900g (2lb) tin, the dimensions are around 21 cm long x 11 cm wide x 7 cm high.
I am very pleased to announce that I have a new book out next month. It’s called Knead to Know: A History of Baking, published by Icon Books and out in the shops on 12 September 2024.
Notice it’s A history, not THE history of baking. I’ve taken what I think are the most important parts, or thing I have found the most interesting with respect to the history of this huge sprawling subject. I’ve broken it up into five broad chapters: Griddlecakes & Pancakes; Biscuits & Cakes; Bread; Pies & Puddings; and Patisserie. Really, I could have written a whole chapter on each of these subjects!
It’s in a different format to my previous books in that the chapters are broken up into short pieces, the length of a blog post. This means that you can dip in and out of it like a coffee table book, or read it cover to cover.
It’s not a recipe book, but there are lots of baking tips and rules of thumb. Of course, recipes for many of the foods that crop up in the book you can find on this blog, and I’ll be adding more as the year goes on, so keep a look out.
It is available to preorder from your favourite bookseller.
There are several upcoming events: online and in-person talks, plus festival appearances, details of which can be found on the Upcoming Events tab of the blog.
Read more of this content when you subscribe today. A monthly subscription costs just £3 (about $3.80 USD). You get access to my premium blog content, my Easter eggs page (with hours of clips to listen to!) and my monthly newsletter.
When we think of the food we eat, we think of it in terms of fuel – this is especially the case with starchy food, those made from flour because they are broken down into sugars and then converted slowly into energy in a form the body can use (unless we eat too much of it, then it is turned into fat). However, workers in factories around the world are very aware of the amount of energy trapped in flour: working with large amounts of it can be a dangerous business. Factory explosions have occurred causing damage, injury and death.
The aftermath of the Tradeston Flour Mill explosion, Glasgow 1872
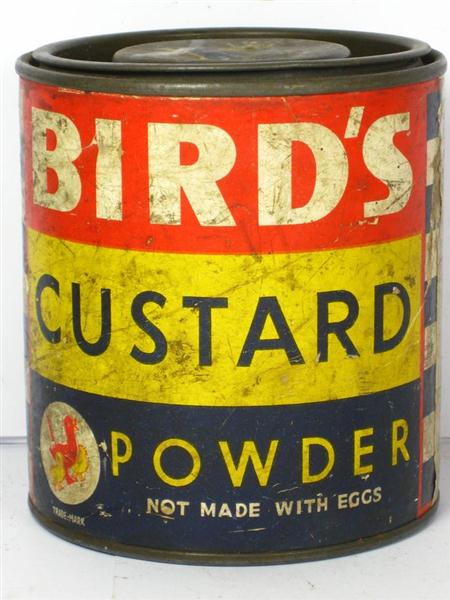
The worst accident in the British Isles caused by flour happened on 9 July 1872 at the Tradeston Flour Mill in Glasgow, a century and a half ago. An explosion ripped through the mill seriously injuring 16 and killing 18, among them a mother of three with her three-month-old baby. What caused it? A report published in the journal Nature reported that the ‘origin [was] conclusively traced to the striking of fire by a pair of millstones caused by the stopping of the “feed” or supply of grain to them, and the consequent friction against each other, the result being the ignition of the mixture of air and fine flour dust surrounding the millstones.’[1] It might have been self-contained were it not for the cloud of flour, the explosion itself created. The mill was set up so that several mills were working together in a row, run by steam power, each explosion setting up another sending a cascade of flour bombs ripping through the building.[2] The most recent flour explosion in the UK occurred on 18 November 1981 in the Bird’s Custard factory in Banbury, Oxfordshire where a cloud of cornflour[3] exploded injuring nine.
Beware the explosive power of Bird’s Custard Powder
It has been theorised that it was a flour explosion that exacerbated the Great Fire of London in 1666 when an oven exploded next to several sacks of flour. The (alleged) bakery on Pudding Lane was owned by King Charles II’s own baker, Thomas Farriner. The blaze would continue for five days, destroying 13,500 houses and many important buildings including St Paul’s Cathedral. It killed just six people.
If you like the blogs and podcast I produce and would to start a £3 monthly subscription, or would like to treat me to virtual coffee or pint: follow this link for more information.Thank you.
[2] Dalgetty, L. (2022) ‘Remembering the Glasgow Flour Mill explosion that killed 18 people’, Glasgow Live, 10 July.
[3] Bird’s Custard isn’t thickened with egg, but with cornflour/starch and it is by far the main component, the others being colouring and a very fake vanilla flavouring. For more on custard click here.
I have to admit something: I have never made proper puff pastry. If a recipe calls for it, I buy some or make rough puff pastry instead, and I tell myself that I have neither the time nor the space to go ‘full-puff’. The truth, I think, is that I don’t have the inclination, otherwise I would have got around to it by now. Modern puff pastry is made by rolling out a rectangle of dough, then sitting atop it a square of butter, thoroughly beaten flat with a rolling pin. The dough is folded around the butter, the dough and butter are then rolled out, rotated 90 degrees, folded, then rested and chilled. This single ‘turn’ is repeated six more times to produce a laminated pastry dough containing 729 layers of butter.
Rough puff pastry, on the other hand, is not made with a single layer of folded butter, instead very cold diced or grated butter is used, a non-continuous layer of butter means that those great sheets of crispy pastry are not made, hence rough puff, or flaky, pastry. The process of making it is similar to puff, except there are fewer turns, though it still needs to be rested in the fridge between them. My method (see below) is much easier than this, however.
The differences and semantics break down if we hit the historical cookbooks because at one point all ‘puff pastes’ were what we would call ‘rough puff’ today. There are many stories and theories regarding who invented puff pastry and when, and they are either apocryphal or impossible to confirm. When it comes to British cookery books, the earliest example I can find is the late Tudor classic The Good Houswifes Jewel by Thomas Dawson (1596). Here, a dough made from flour, water, egg yolks and some rubbed-in butter, is rolled out, peppered with diced butter, folded and rolled. More butter is added after each turn. This basic method seems to remain the same for the next two-and-a-half centuries: Sarah Harrison (1751), Elizabeth Raffald (1769) and Eliza Acton (1845) all have puff pastry recipes just like it.[1] The first time I find a puff pastry recipe that uses a single layer of bashed-out butter is in Alexis Soyer’s classic A Shilling Cookery for the People (1855 edition).
Sarah Harrison’s 1751 recipe for Puff Paste: it would be considered rough puff today.
I admit that my search was not a comprehensive one, but I think it’s safe to say that in recipes older than c.1850 if puff pastry is asked for, what we should be making is a rough puff.
If you like the blogs and podcast I produce and would to start a £3 monthly subscription, or would like to treat me to virtual coffee or pint: follow this link for more information.Thank you.
Recipe
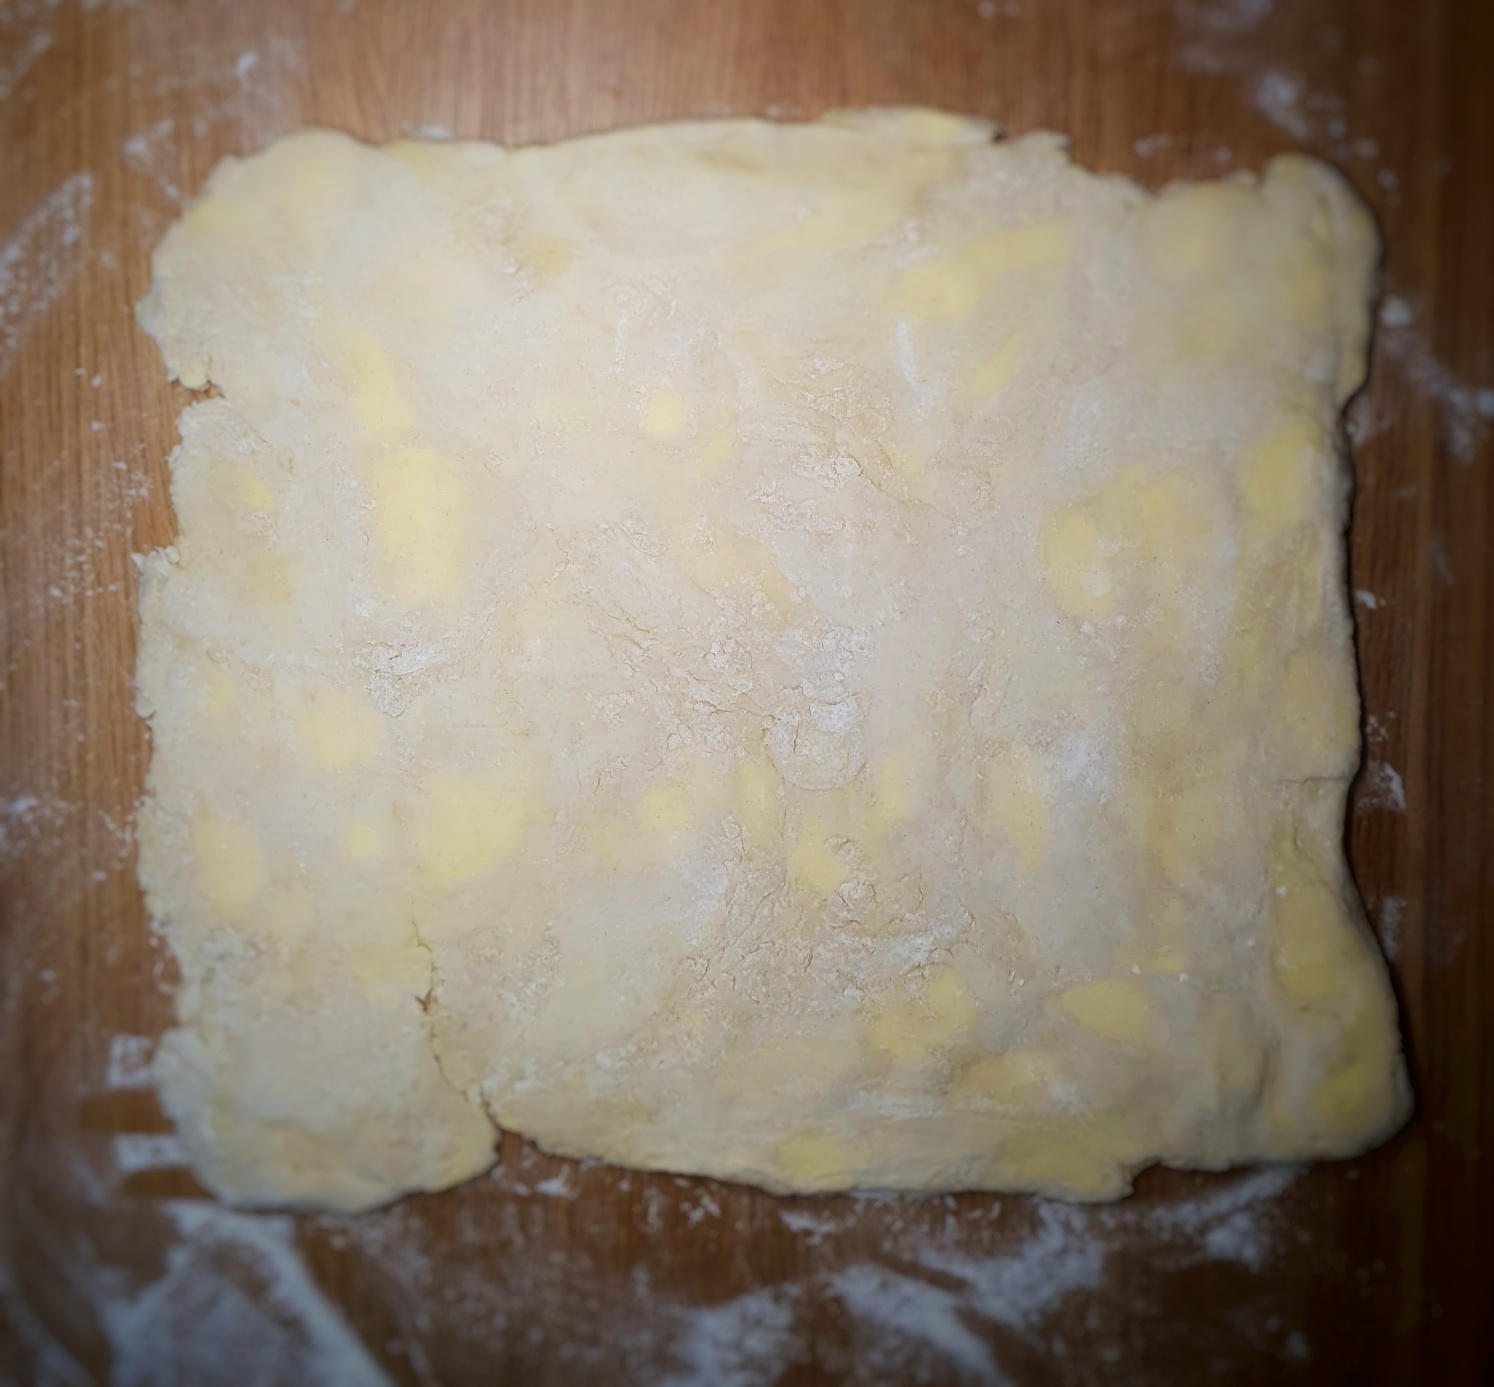
My recipe is based on a Jane Grigson’s for Quick, Foolproof Puff or Flaky Pastry, from her book English Food,[2] which is, in turn, adapted from a recipe by New York pastry chef Nicholas Malgieri. I’m not sure if it is foolproof, but it is by far the easiest method I know. The reason for this is that the cubes of very cold butter are mixed into the dough. As you roll and fold, you can see the cubes of butter eventually turn into large, flat discs within the dough. Very satisfying. Mixing the butter into the dough itself also means that the butter is evenly distributed and doesn’t end up leaching out of the sides.
I have given instructions to make this dough by hand, but you can use a machine. However, you must mix the ingredients very slowly and add liquid in a steady stream, so the lumps of butter don’t turn into breadcrumbs.
This type of rough puff pastry doesn’t need to be rested between rolling and folding unless it is very hot where you are, then you may need to pop it in the fridge for 15 minutes or so between turns.
This pastry only needs two ‘turns’ before it is ready for rolling and use, however, if you want a pastry that is just flaky, then do a third turn before rolling it out for use.
250 g strong white flour, plus extra for dusting
½ tsp salt
250 g very cold, unsalted butter, cut into 1 cm dice (approx.)
Juice of half a lemon
Water (see recipe)
Mix the flour and salt and add the butter, squashing the pieces between your thumb and forefinger, without rubbing them in or breaking them up.
Next, place a jug on a weighing scale add the juice from the lemon and then top up to a weight of 125 grams.
Stir in most of the liquid to form a ball of dough, using the remainder to pour on any dry-looking patches of flour.
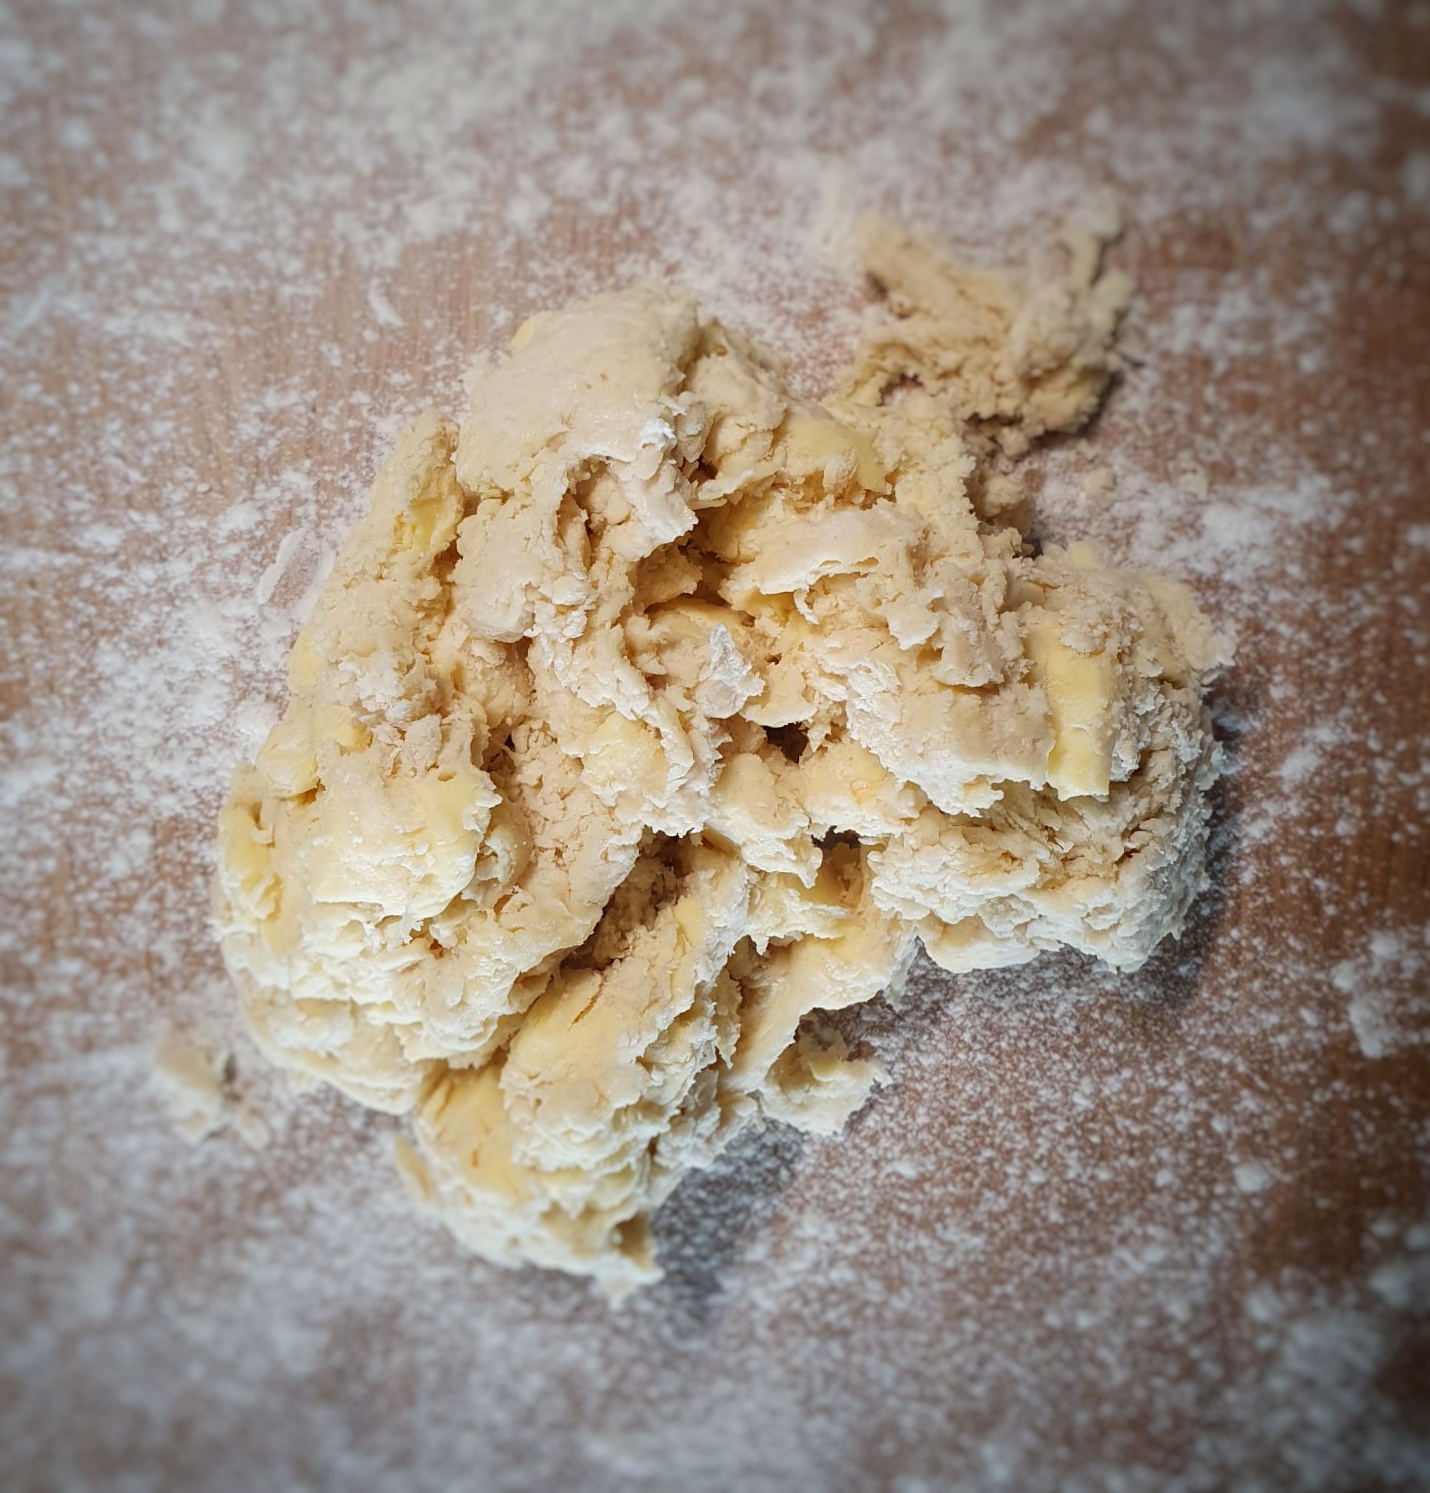
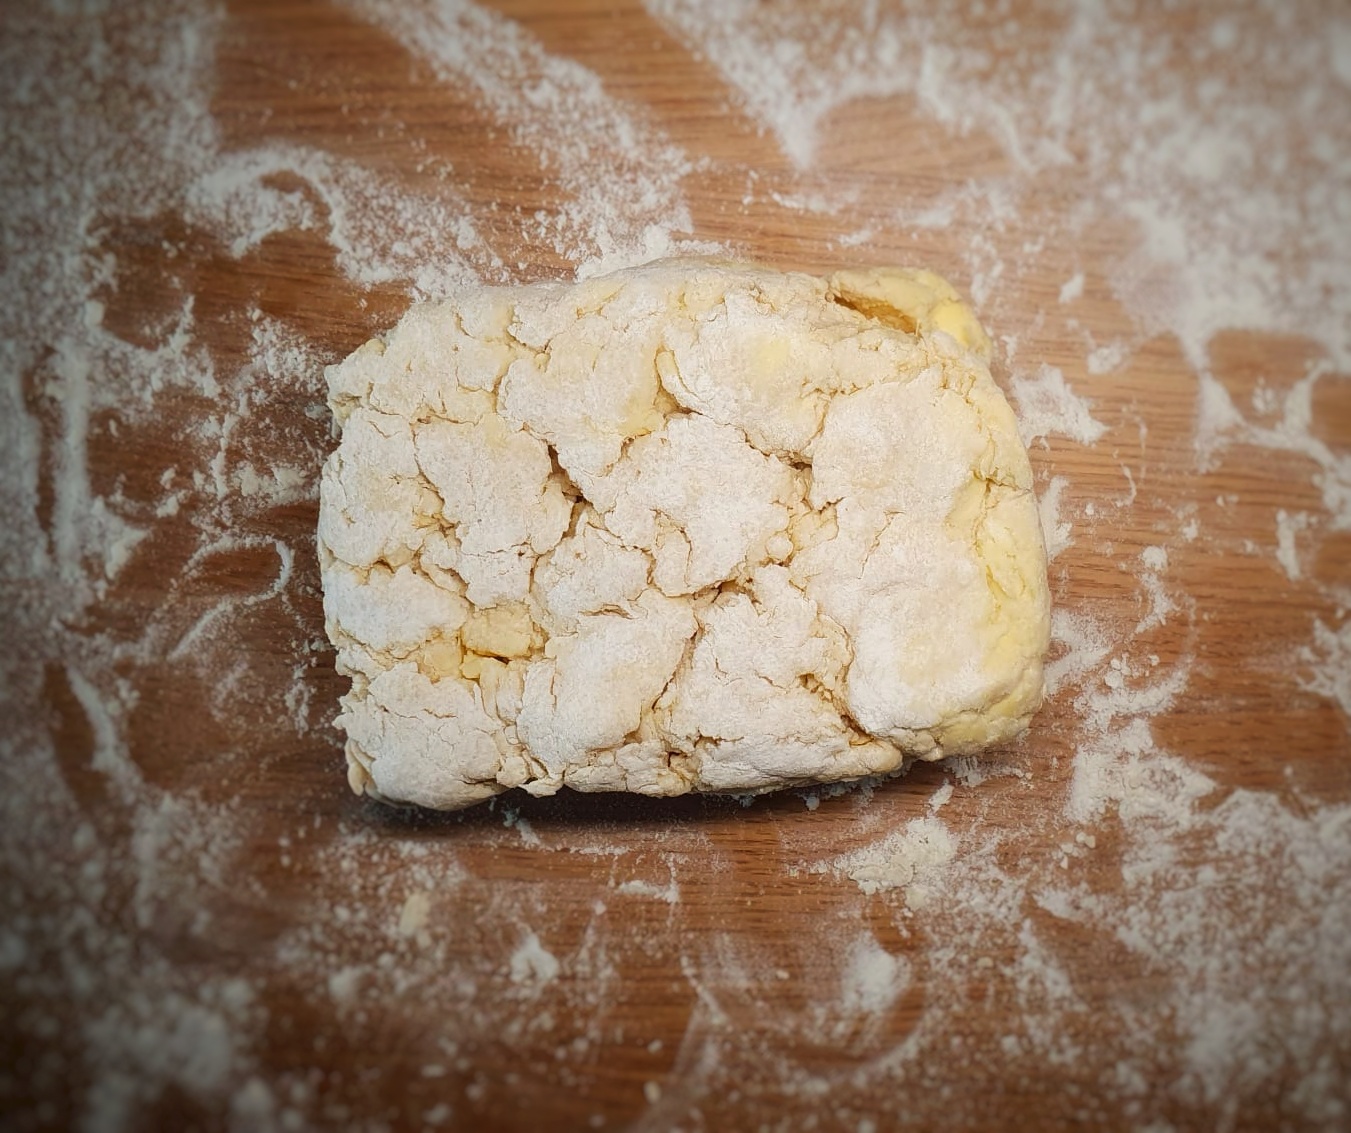
Bring the dough together into a single mass and place on a well-floured worktop. It will look a right mess, but do not worry, it will neaten up in the rolling and folding stage.
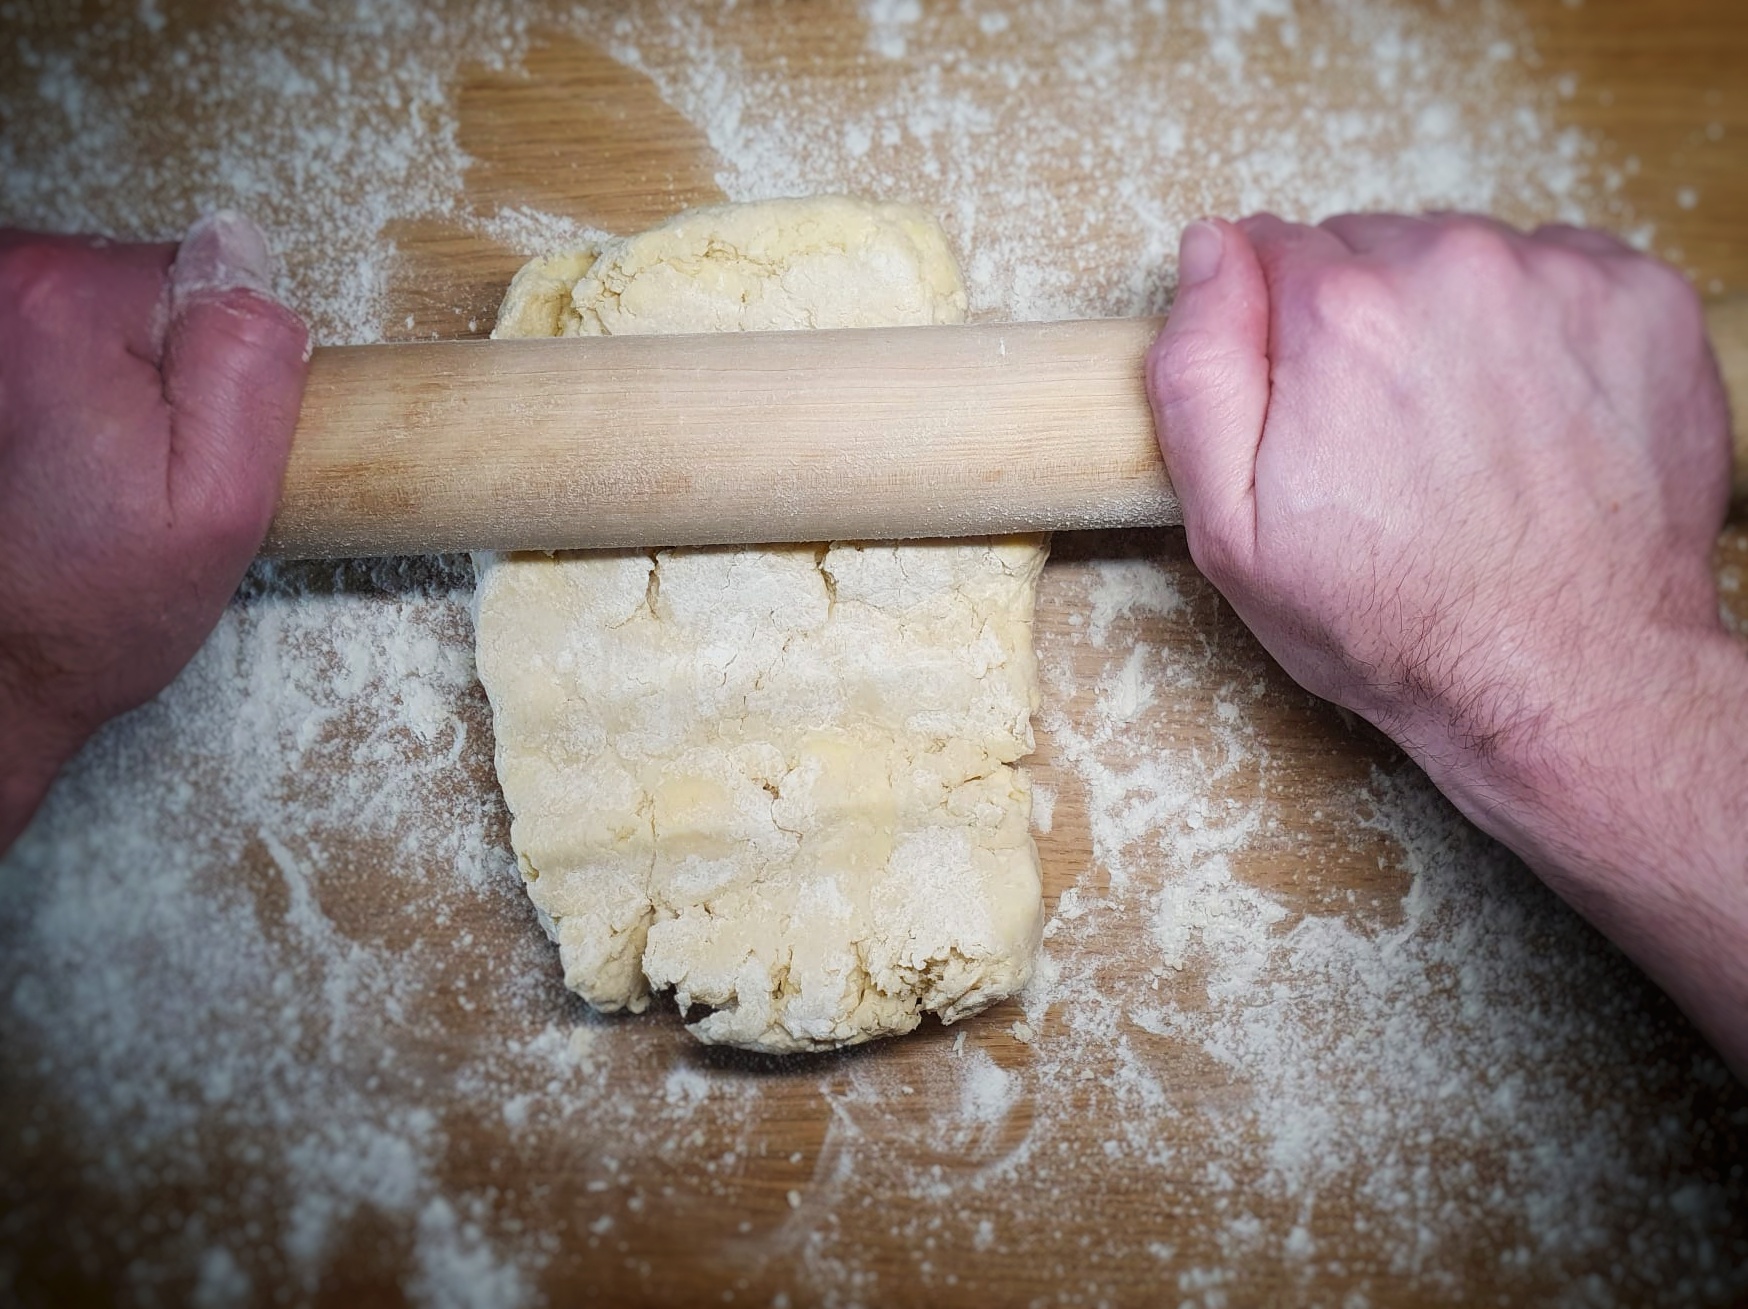
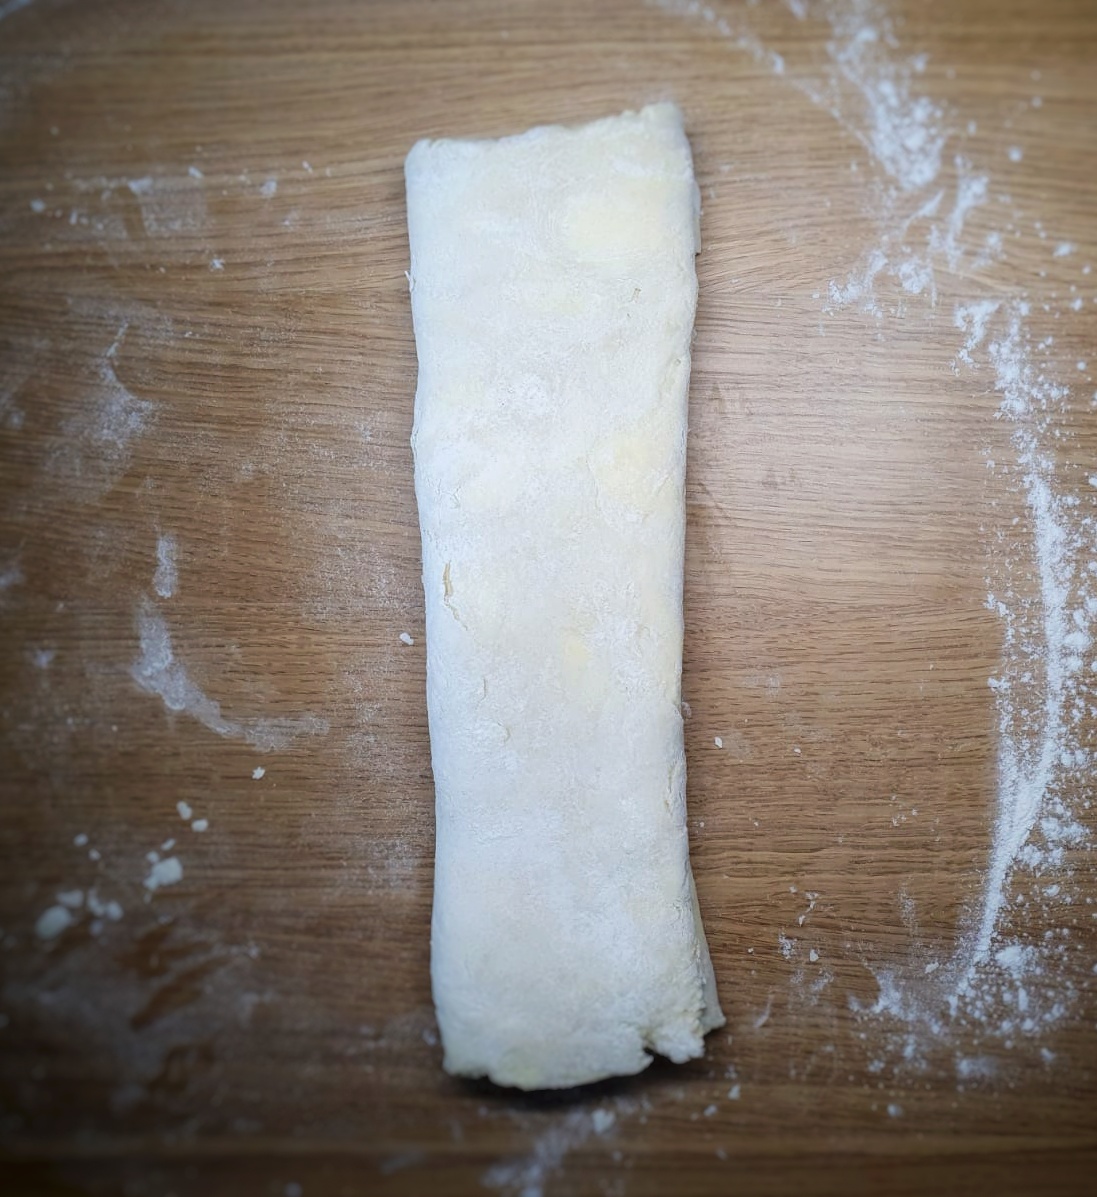
Shape it into an approximate rectangle, then use a rolling pin to roll it into a large rectangle around 30 cm wide and 20 cm deep. Ensure you keep your work surface well-floured because the dough is quite sticky at first.
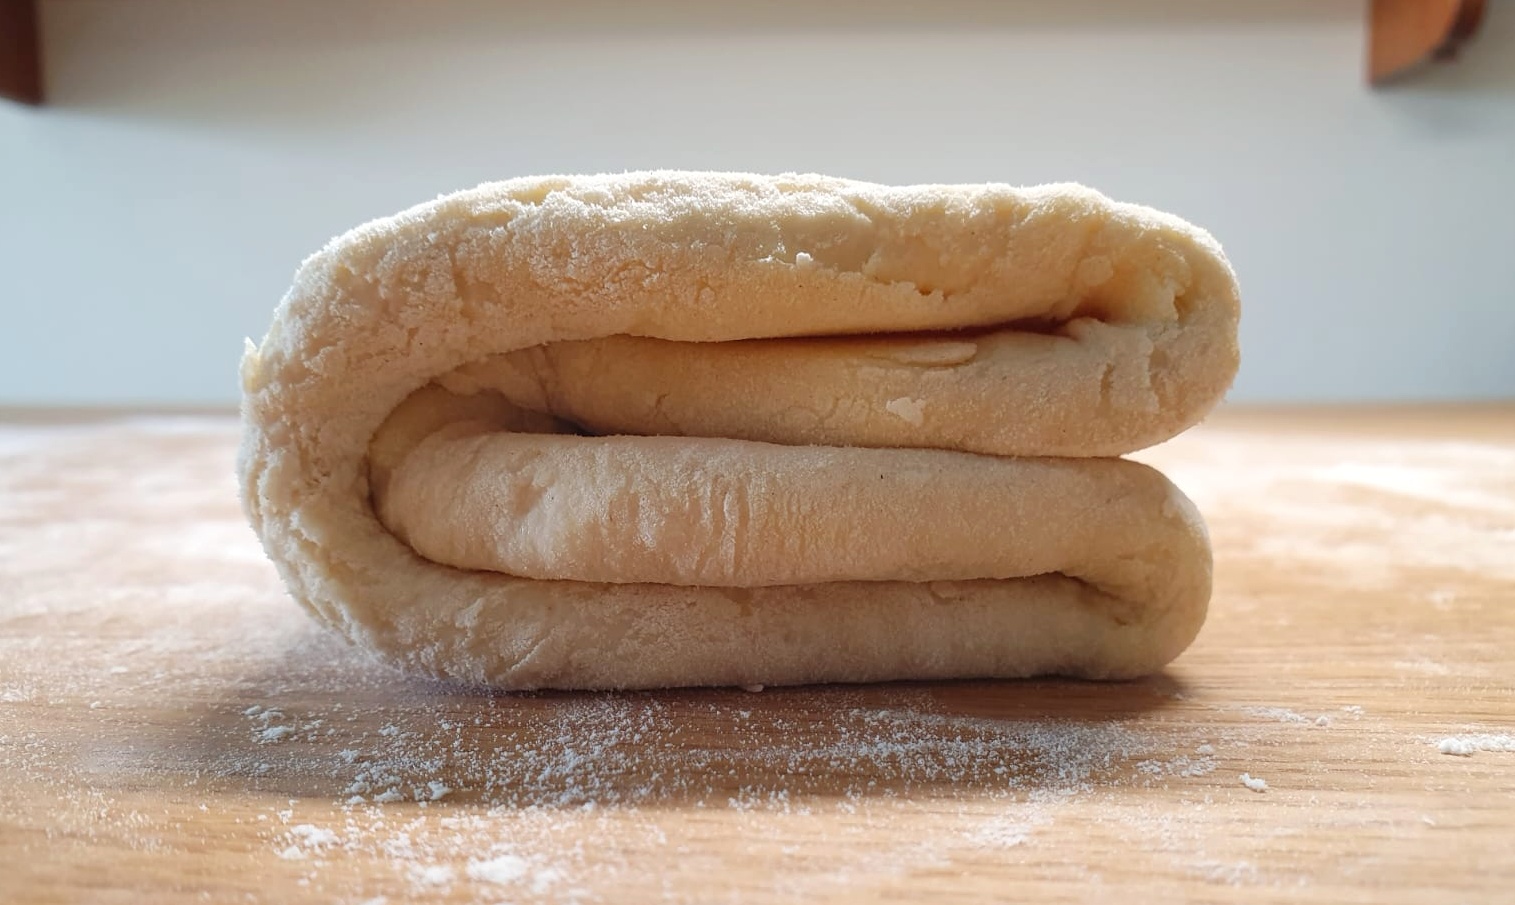
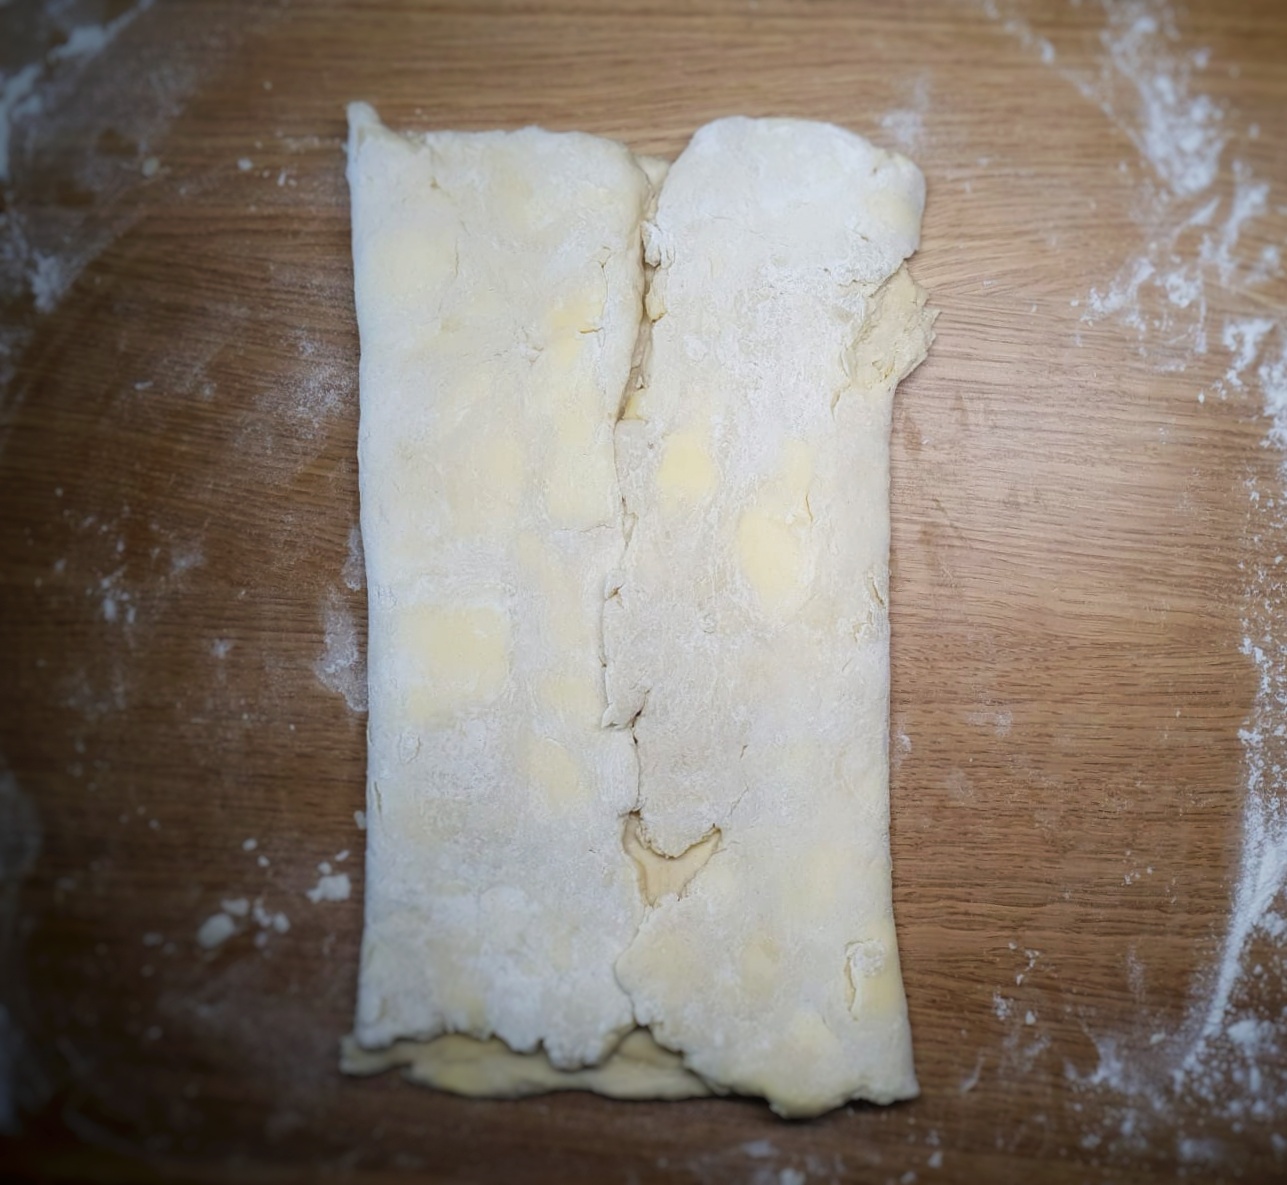
Now fold the sides into the centre of the rectangle and then fold it in half, so it looks a little like a book. Allow it to rest for 2 minutes.
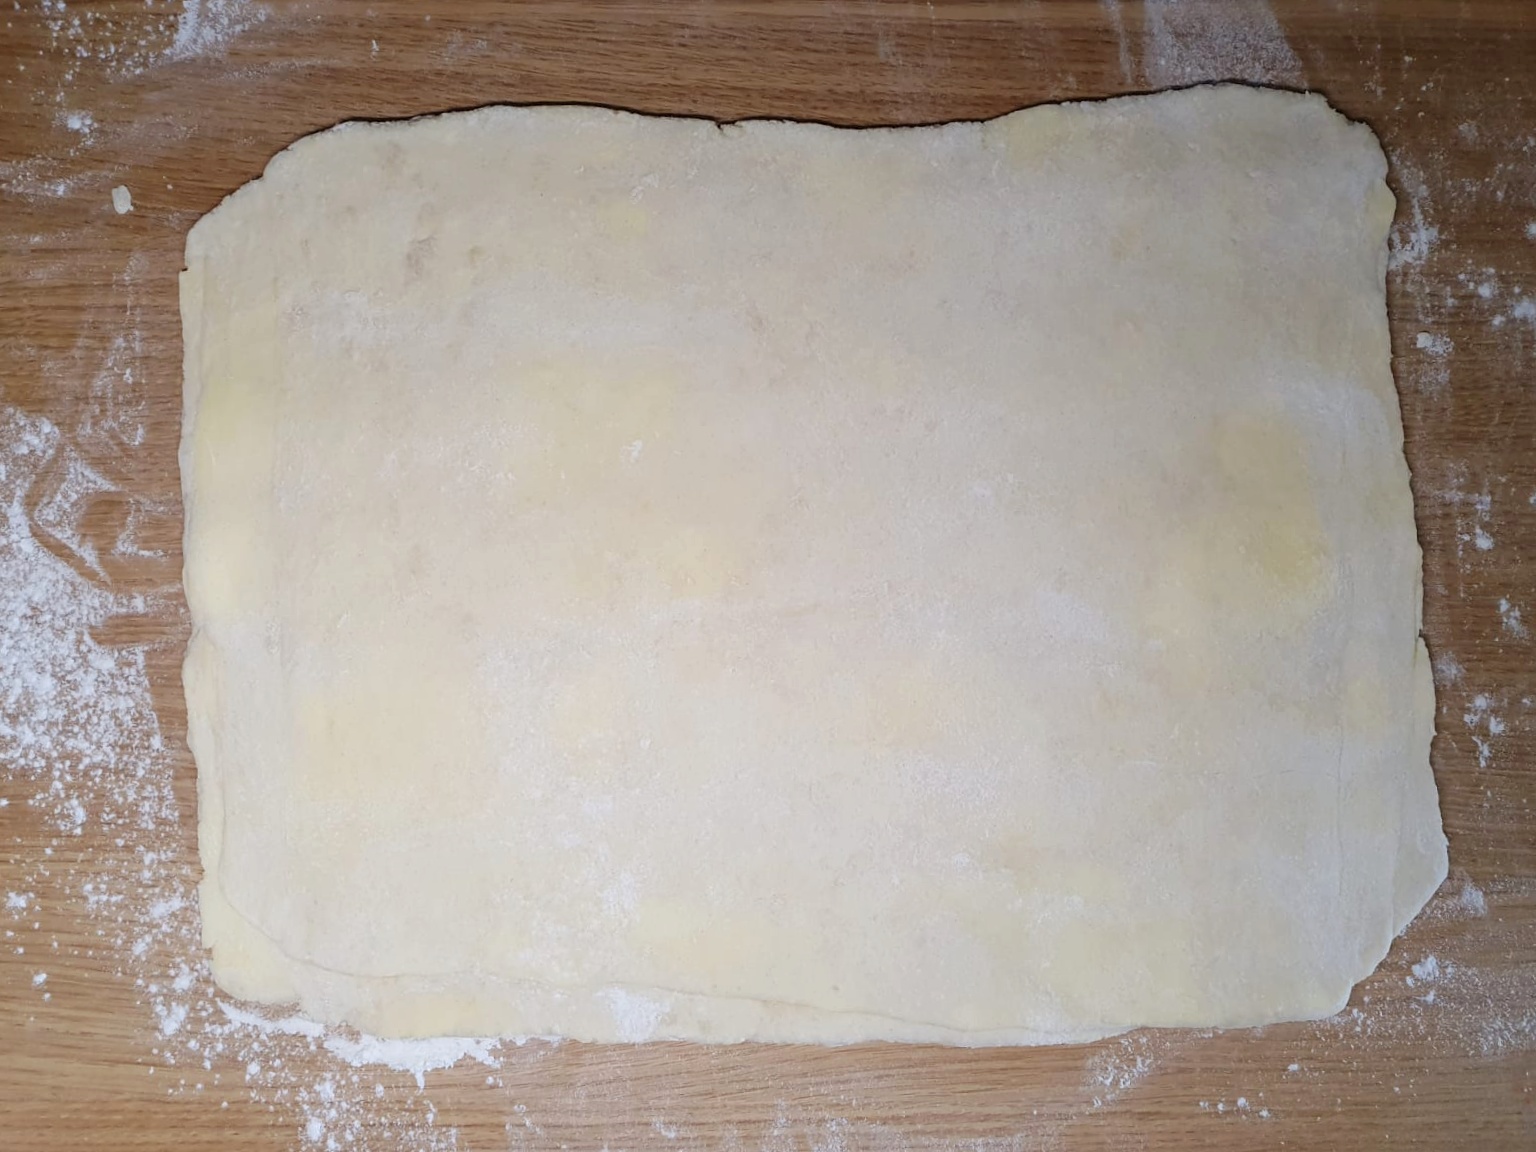
Turn it 90 degrees clockwise and then roll it out again, roll it out thin enough to flatten the cubes of butter.
Fold up and roll out one more time, before wrapping in cling film and allowing it to rest in the fridge for 30 minutes, and roll out as required.
After the first turn the pastry looks a little untidyThe pads of flattened butter are obvious on the second rolling-outThe pastry is much neater and smoother after the second turn
Notes:
[1] i.e., Harrison, S. (1751) The House-keeper’s Pocket-book And Compleat Family Cook. 5th edn. R. Ware; Raffald, E. (1769) The Experienced English Housekeeper. First Edit. J. Harrop; Acton, E. (1845) Modern Cookery For Private Families. Quadrille.
[2] This is the third edition: Grigson, J. (1992) English Food. Third Edit. Penguin.
Well hello! Sorry for the long quiet spell, I have been hard at work writing not one, but two books. The manuscripts have been handed in and the usual service can resume. I did keep the podcast going though, so if you’ve not heard the new episodes, listen below:
The books are about baking and puddings, and I’ll tell you more about them later in the year. As I was researching and writing them, I realised that there are recipes I have been meaning to write for you, but, for one reason or another, I have never got around to. Well, I aim to rectify this over the next few months. Top of my pile is the very delicious Chelsea bun, my favourite of the sticky bun tribe.
I recently asked Twitter[1] which was better, cinnamon or Chelsea buns. In my hubris, I expected the Chelsea bun to win easily. It did not, and the main reason it wasn’t picked was that folk didn’t know what one was. Well, today I give you my recipe which I have been working on and I think perfected (I hope you agree).
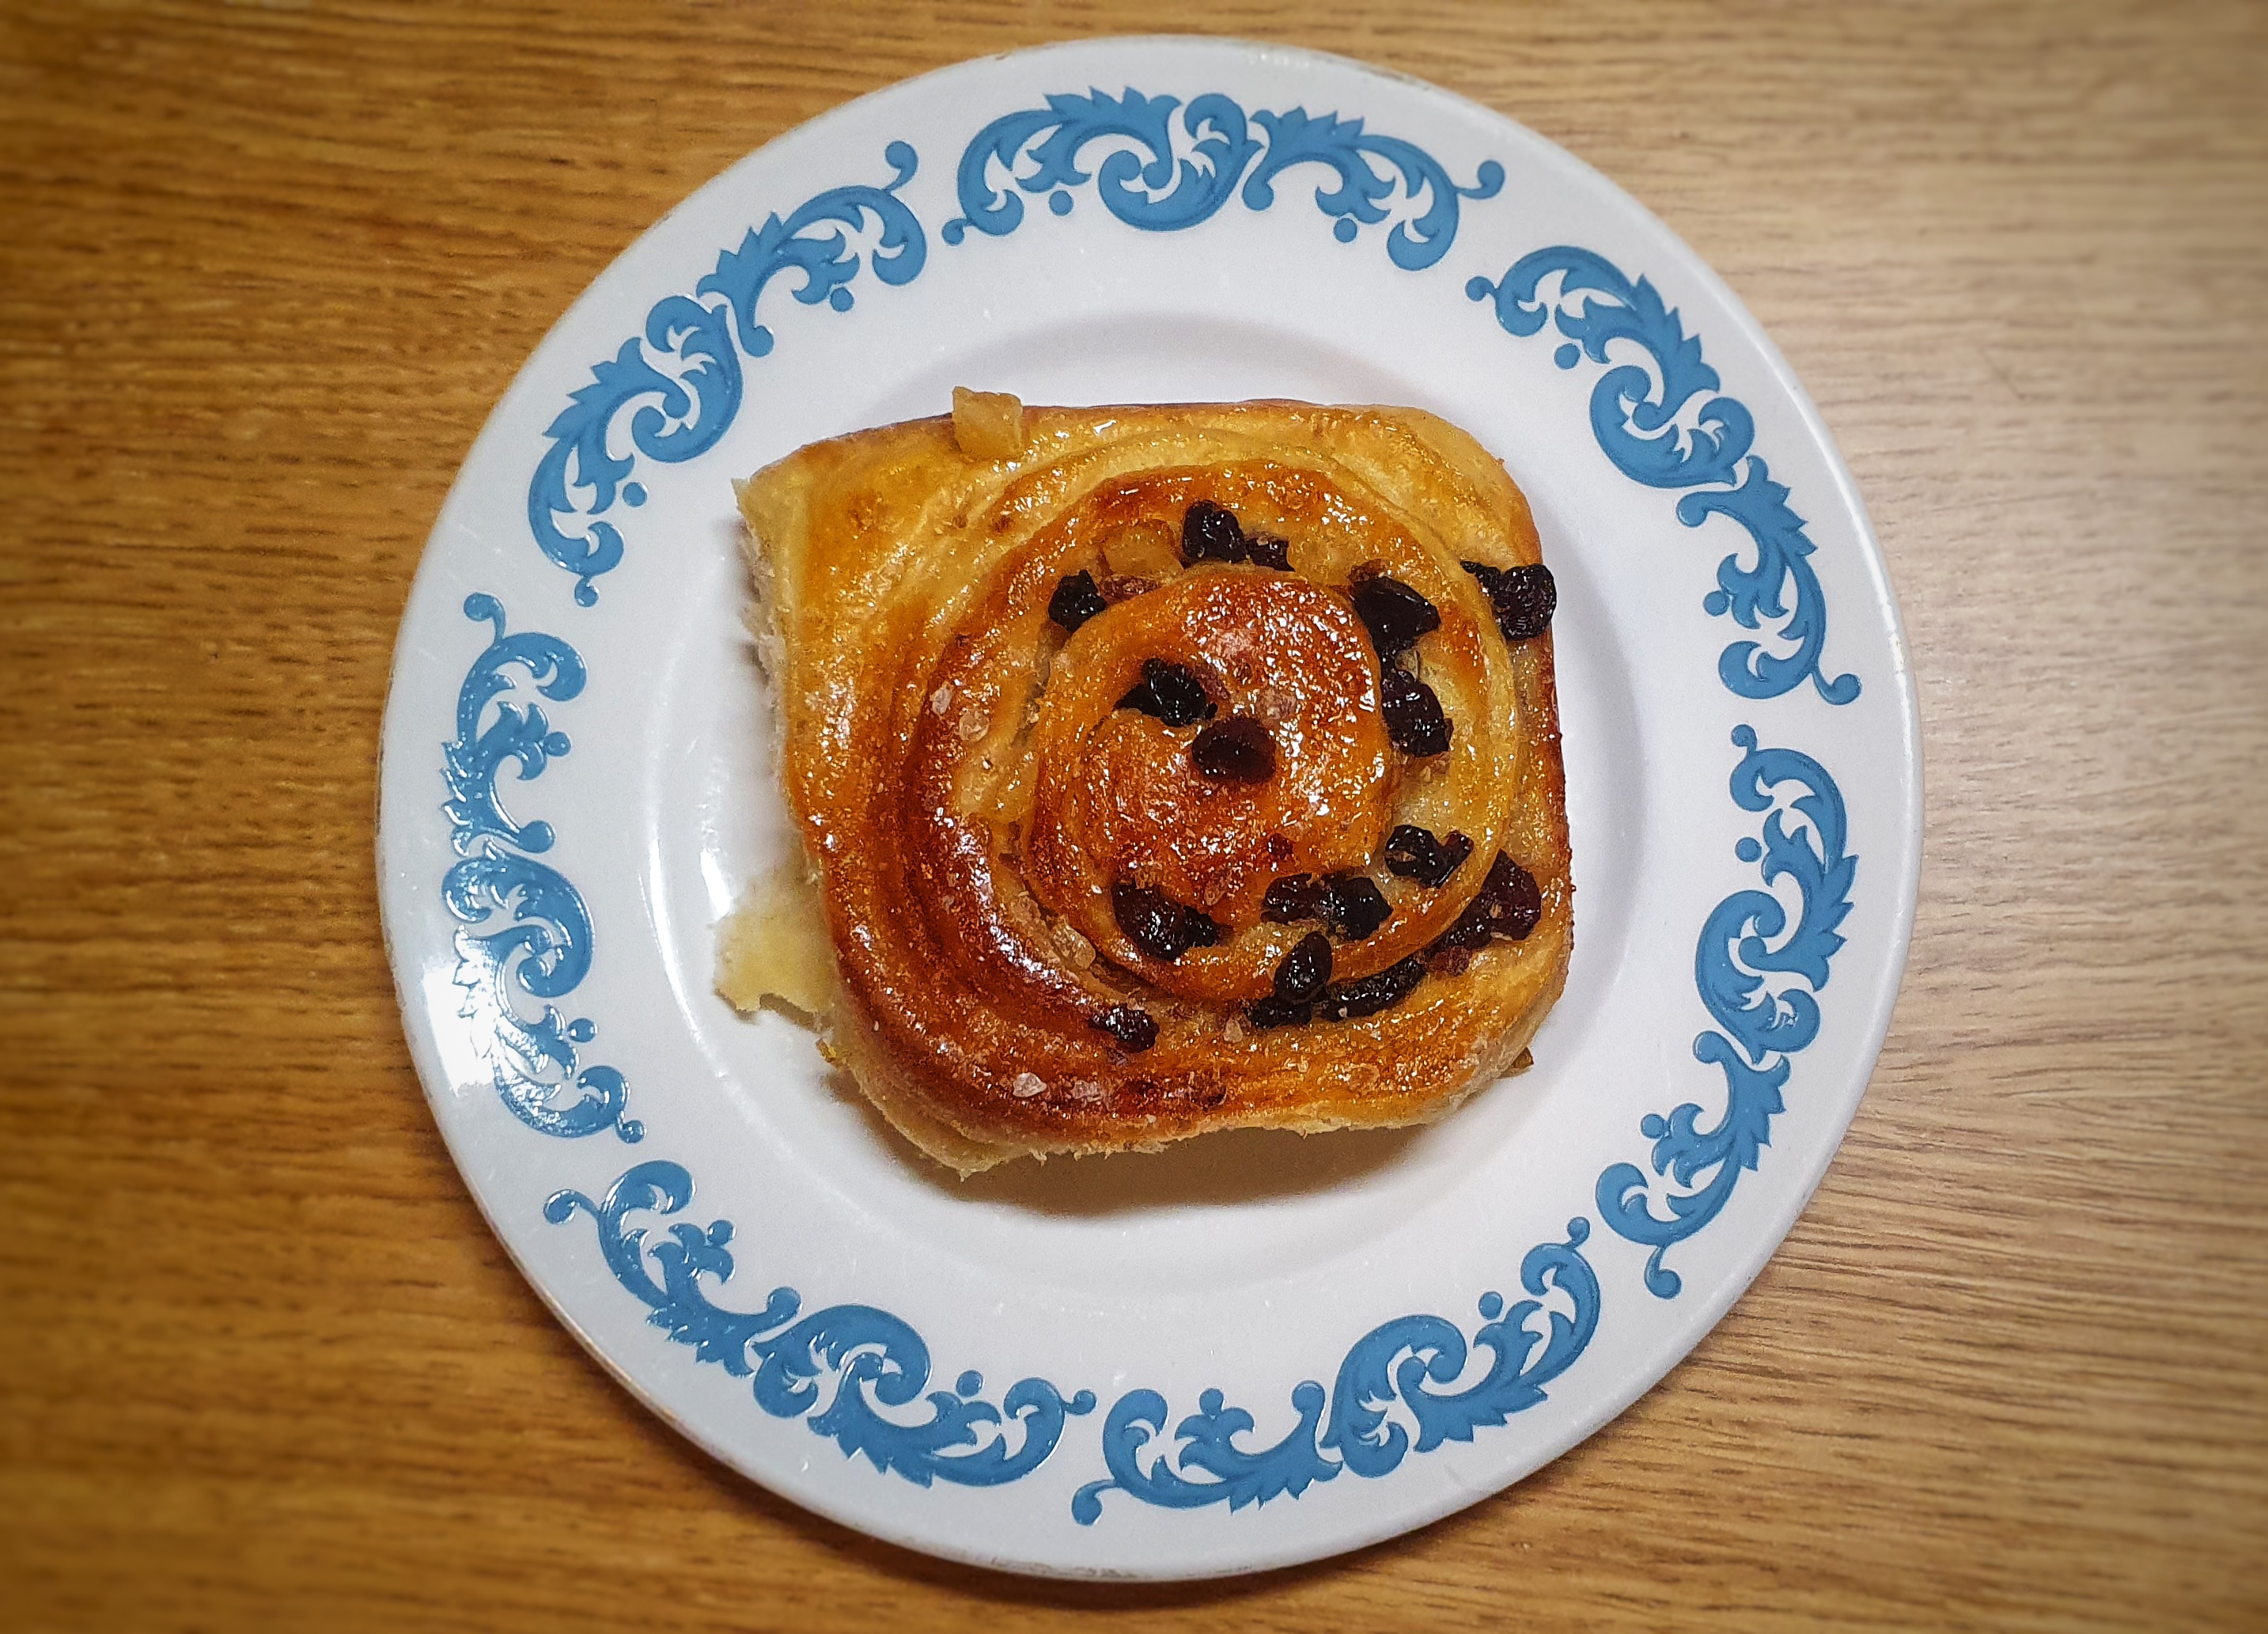
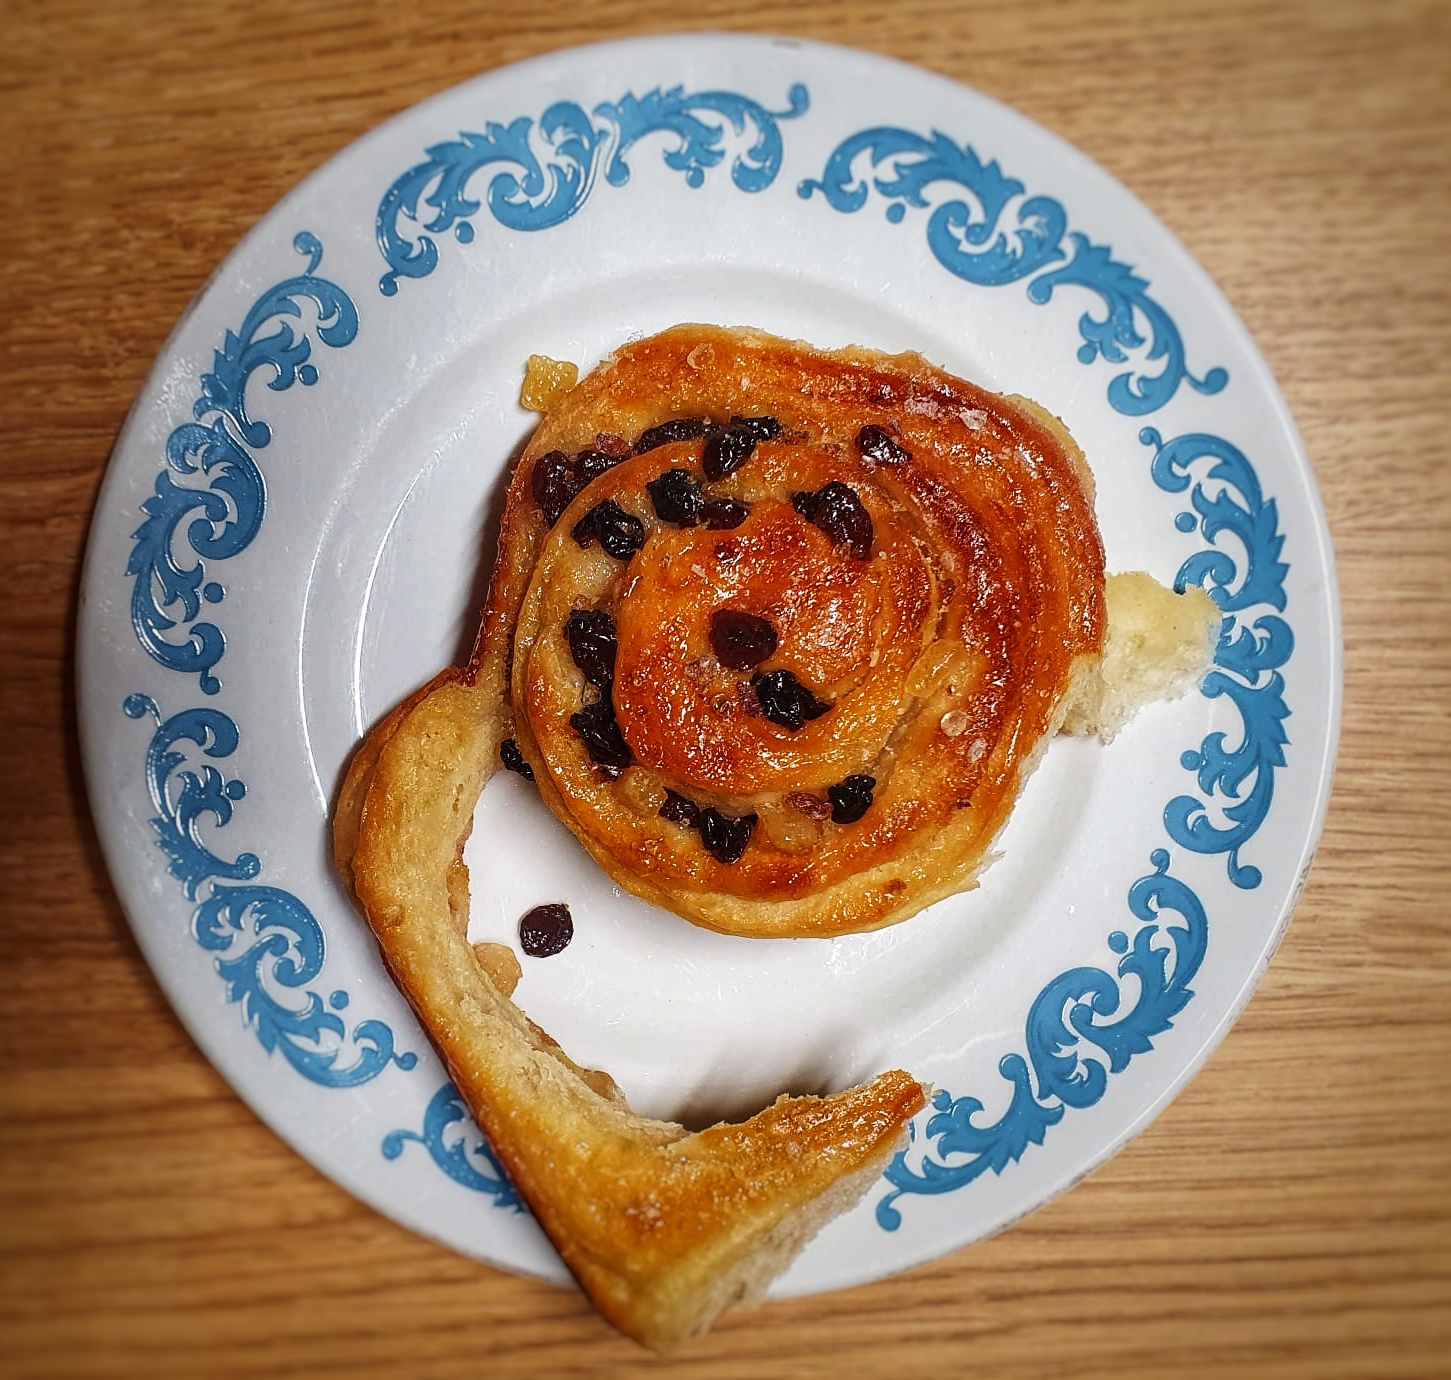
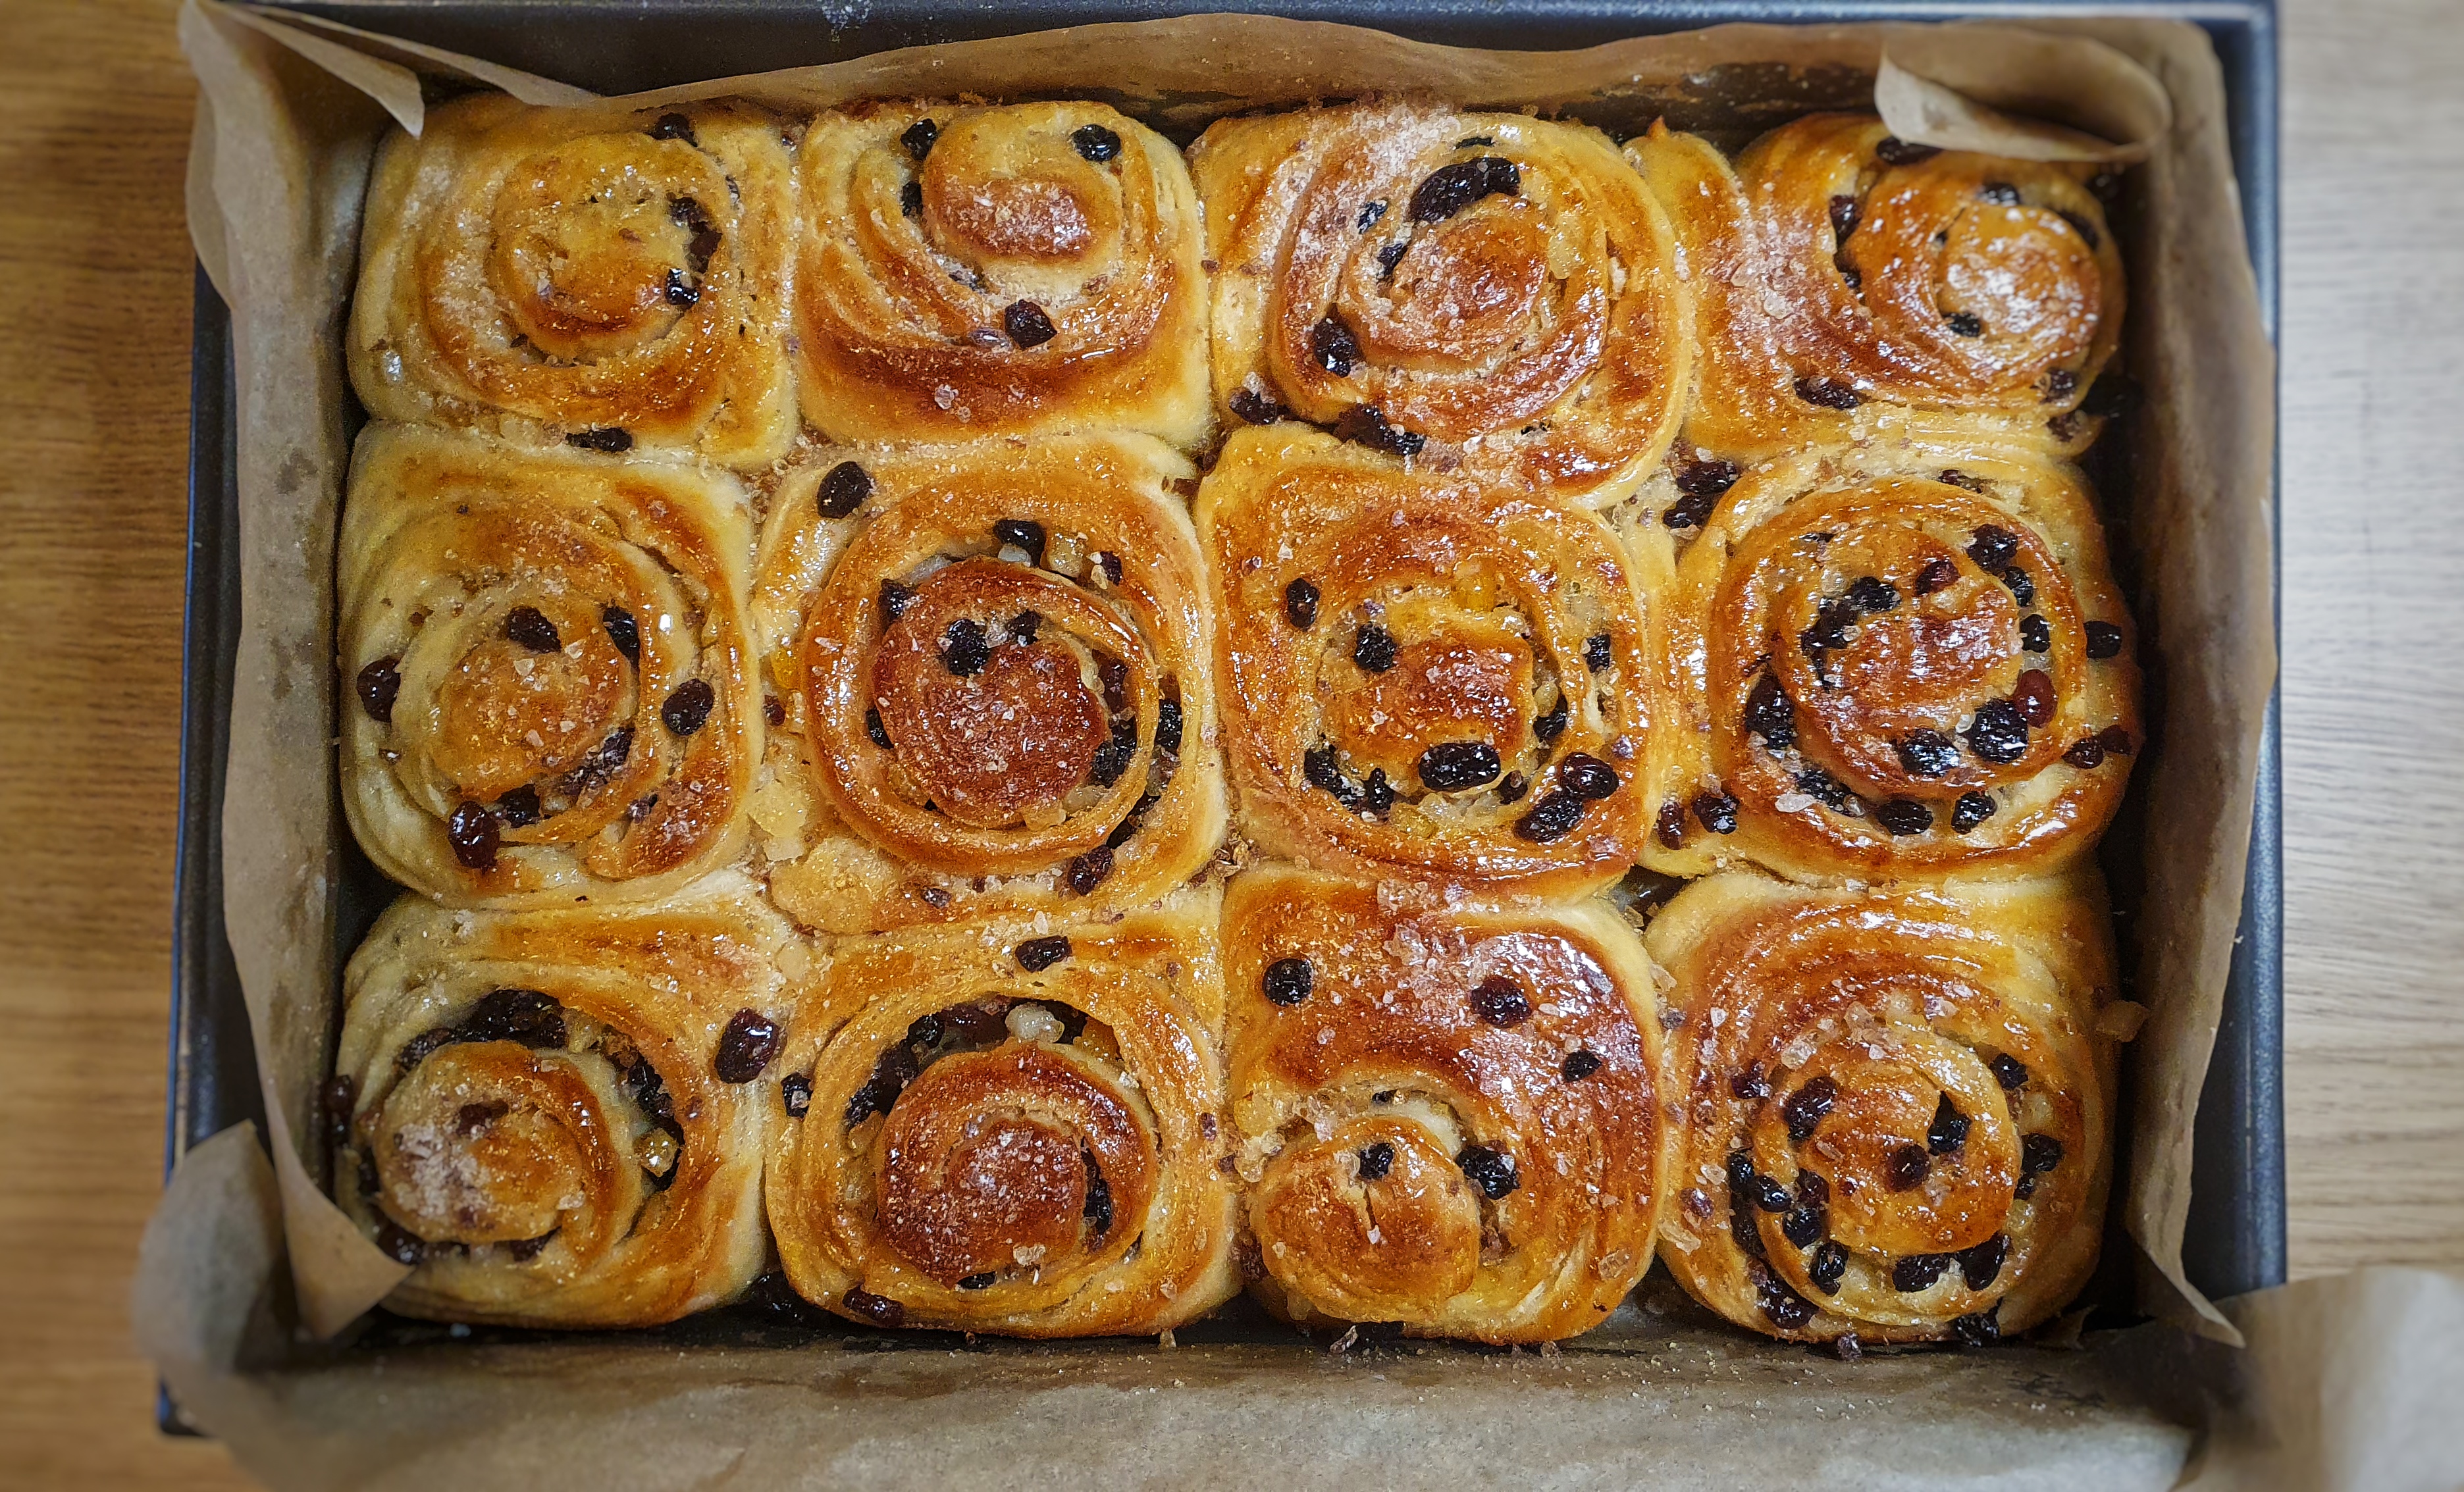
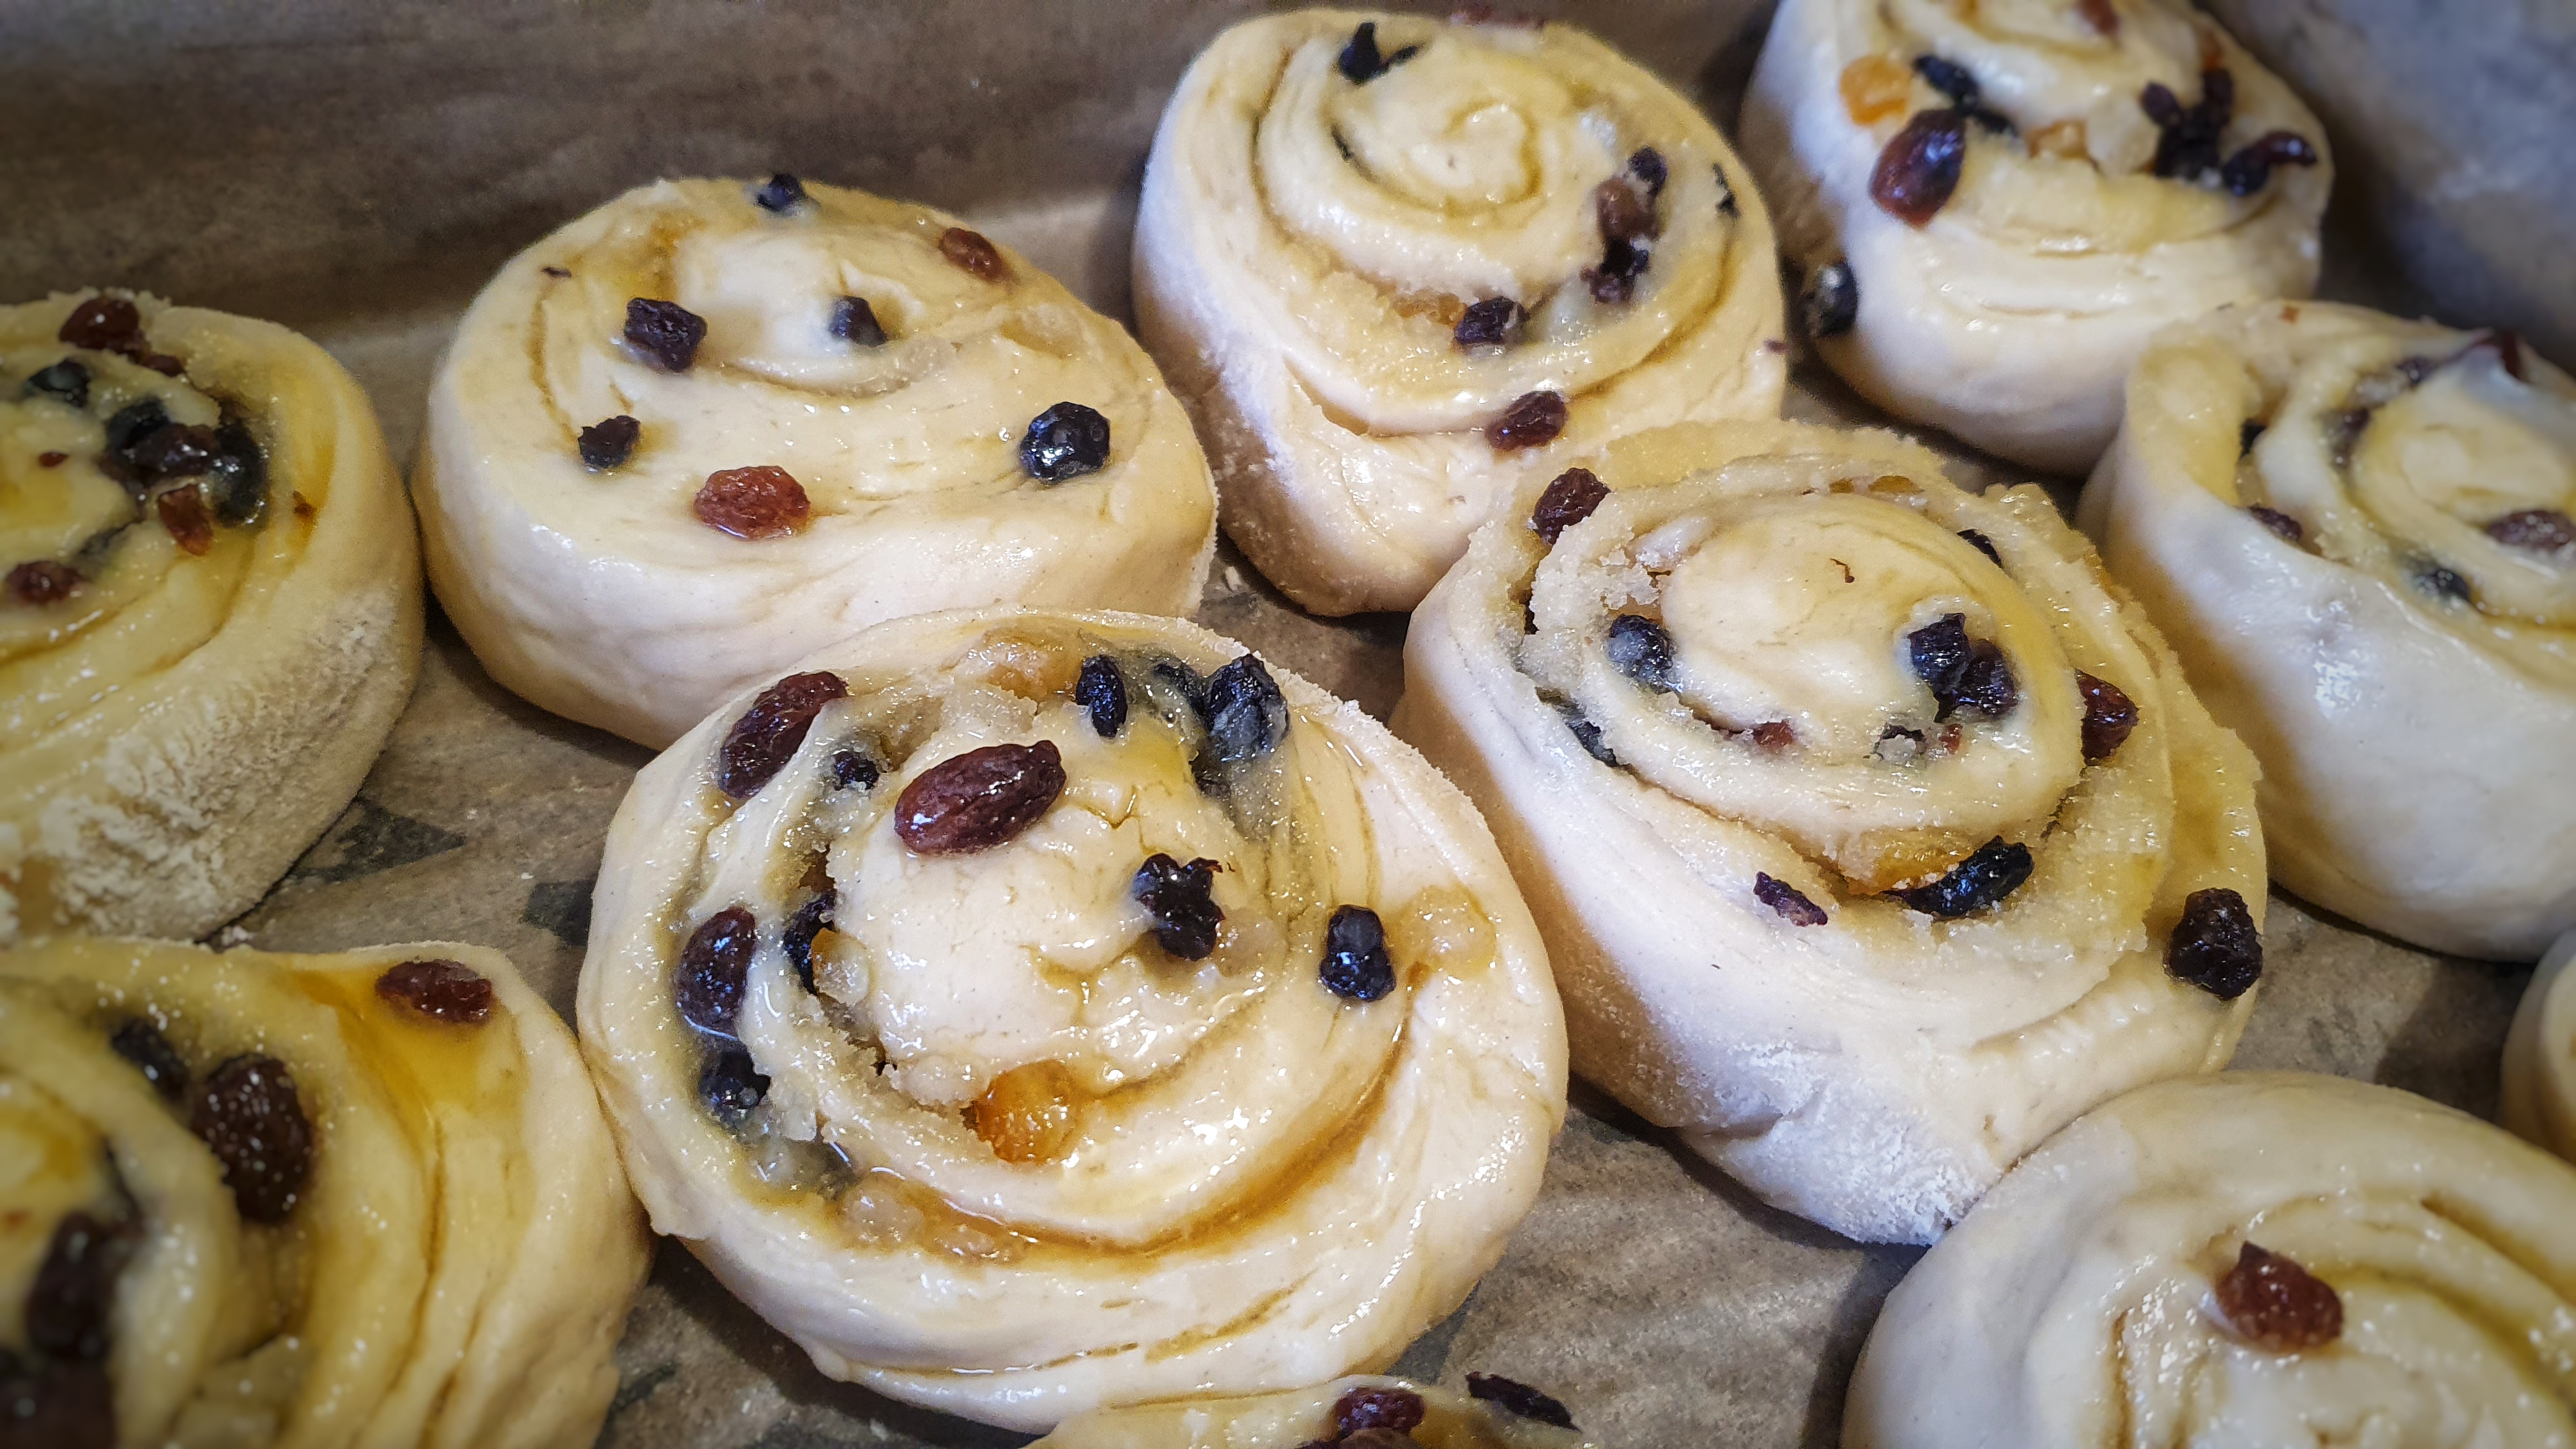
For those not in the know, a Chelsea bun is a coil of enriched dough filled with butter, sugar and dried fruit. They are batch-cooked together so as they grow, they touch, filling the tin, producing buns that are soft on the sides, gooey at the bottom and brown on the top. They are finished with a sticky glaze and adorned with crunchy sugar. Decadent deliciousness. Jane Grigson wrote that they are ‘[t]he best of all the buns, on account of their buttery melting sweetness, and the fun of uncoiling them as you eat them.’[2]
They were first made at the Bun House in Chelsea at the start of the 18th century, the earliest mention of them cropping up in the 1710s.[3] The buns fell out of favour sometime in the early 20th century and are hard to track down, so if you want to try one, you’ll have to make it.[4]
If you like the blogs and podcast I produce and would to start a £3 monthly subscription, or would like to treat me to virtual coffee or pint: follow this link for more information.Thank you.
Recipe
The dough for these buns is sticky and difficult to knead, and I would advise using the dough hook attachment on a stand mixer. Hand-kneading is perfectly possible, it’s just a messy business.
Enriched doughs take longer to prove, so if there is somewhere warm to prove your dough, so much the better.
Makes 12 buns
For the bun dough:
500g strong white flour
5g/1tsp instant yeast
10g/2 level tsp salt
60g sugar (caster or brown)
90g softened butter
250ml warm milk, or half-milk-half-water
1 beaten egg
For the filling:
60g melted butter
90g sugar (caster or brown)
90g raisins and/or currants
40g candied peel
Egg wash
For the glaze:
50ml water
50g caster sugar
Crushed lump sugar (optional)
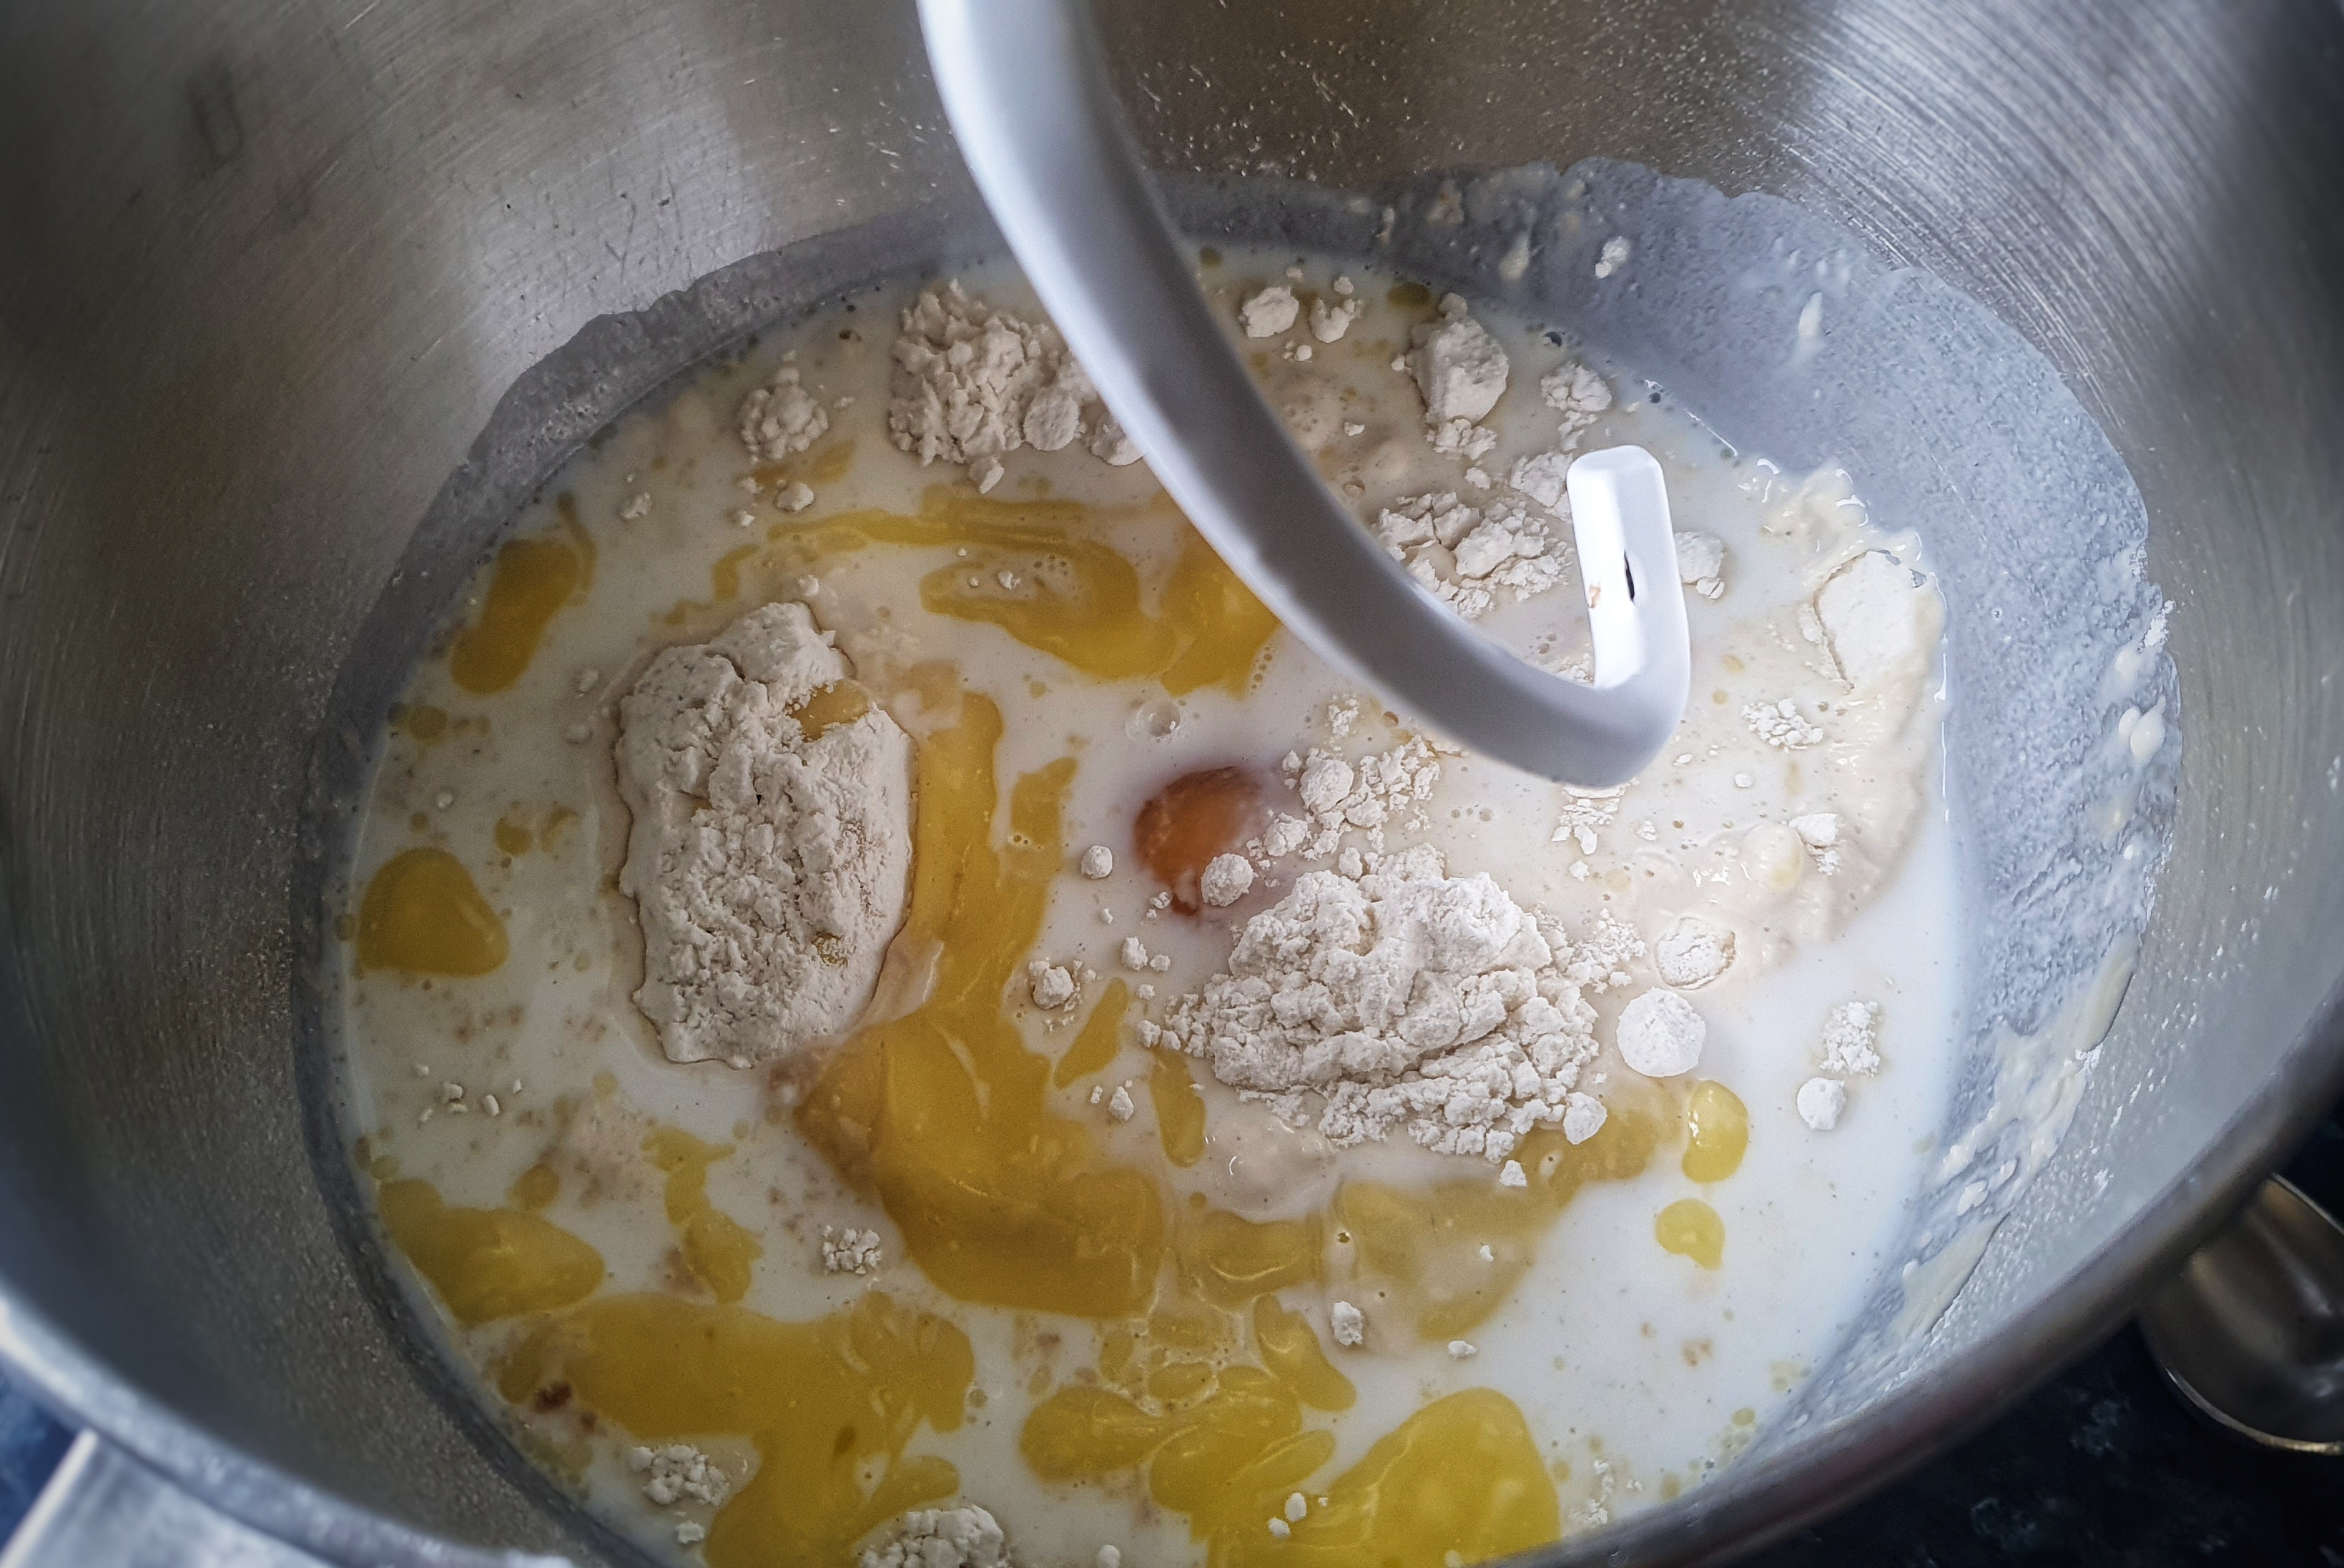
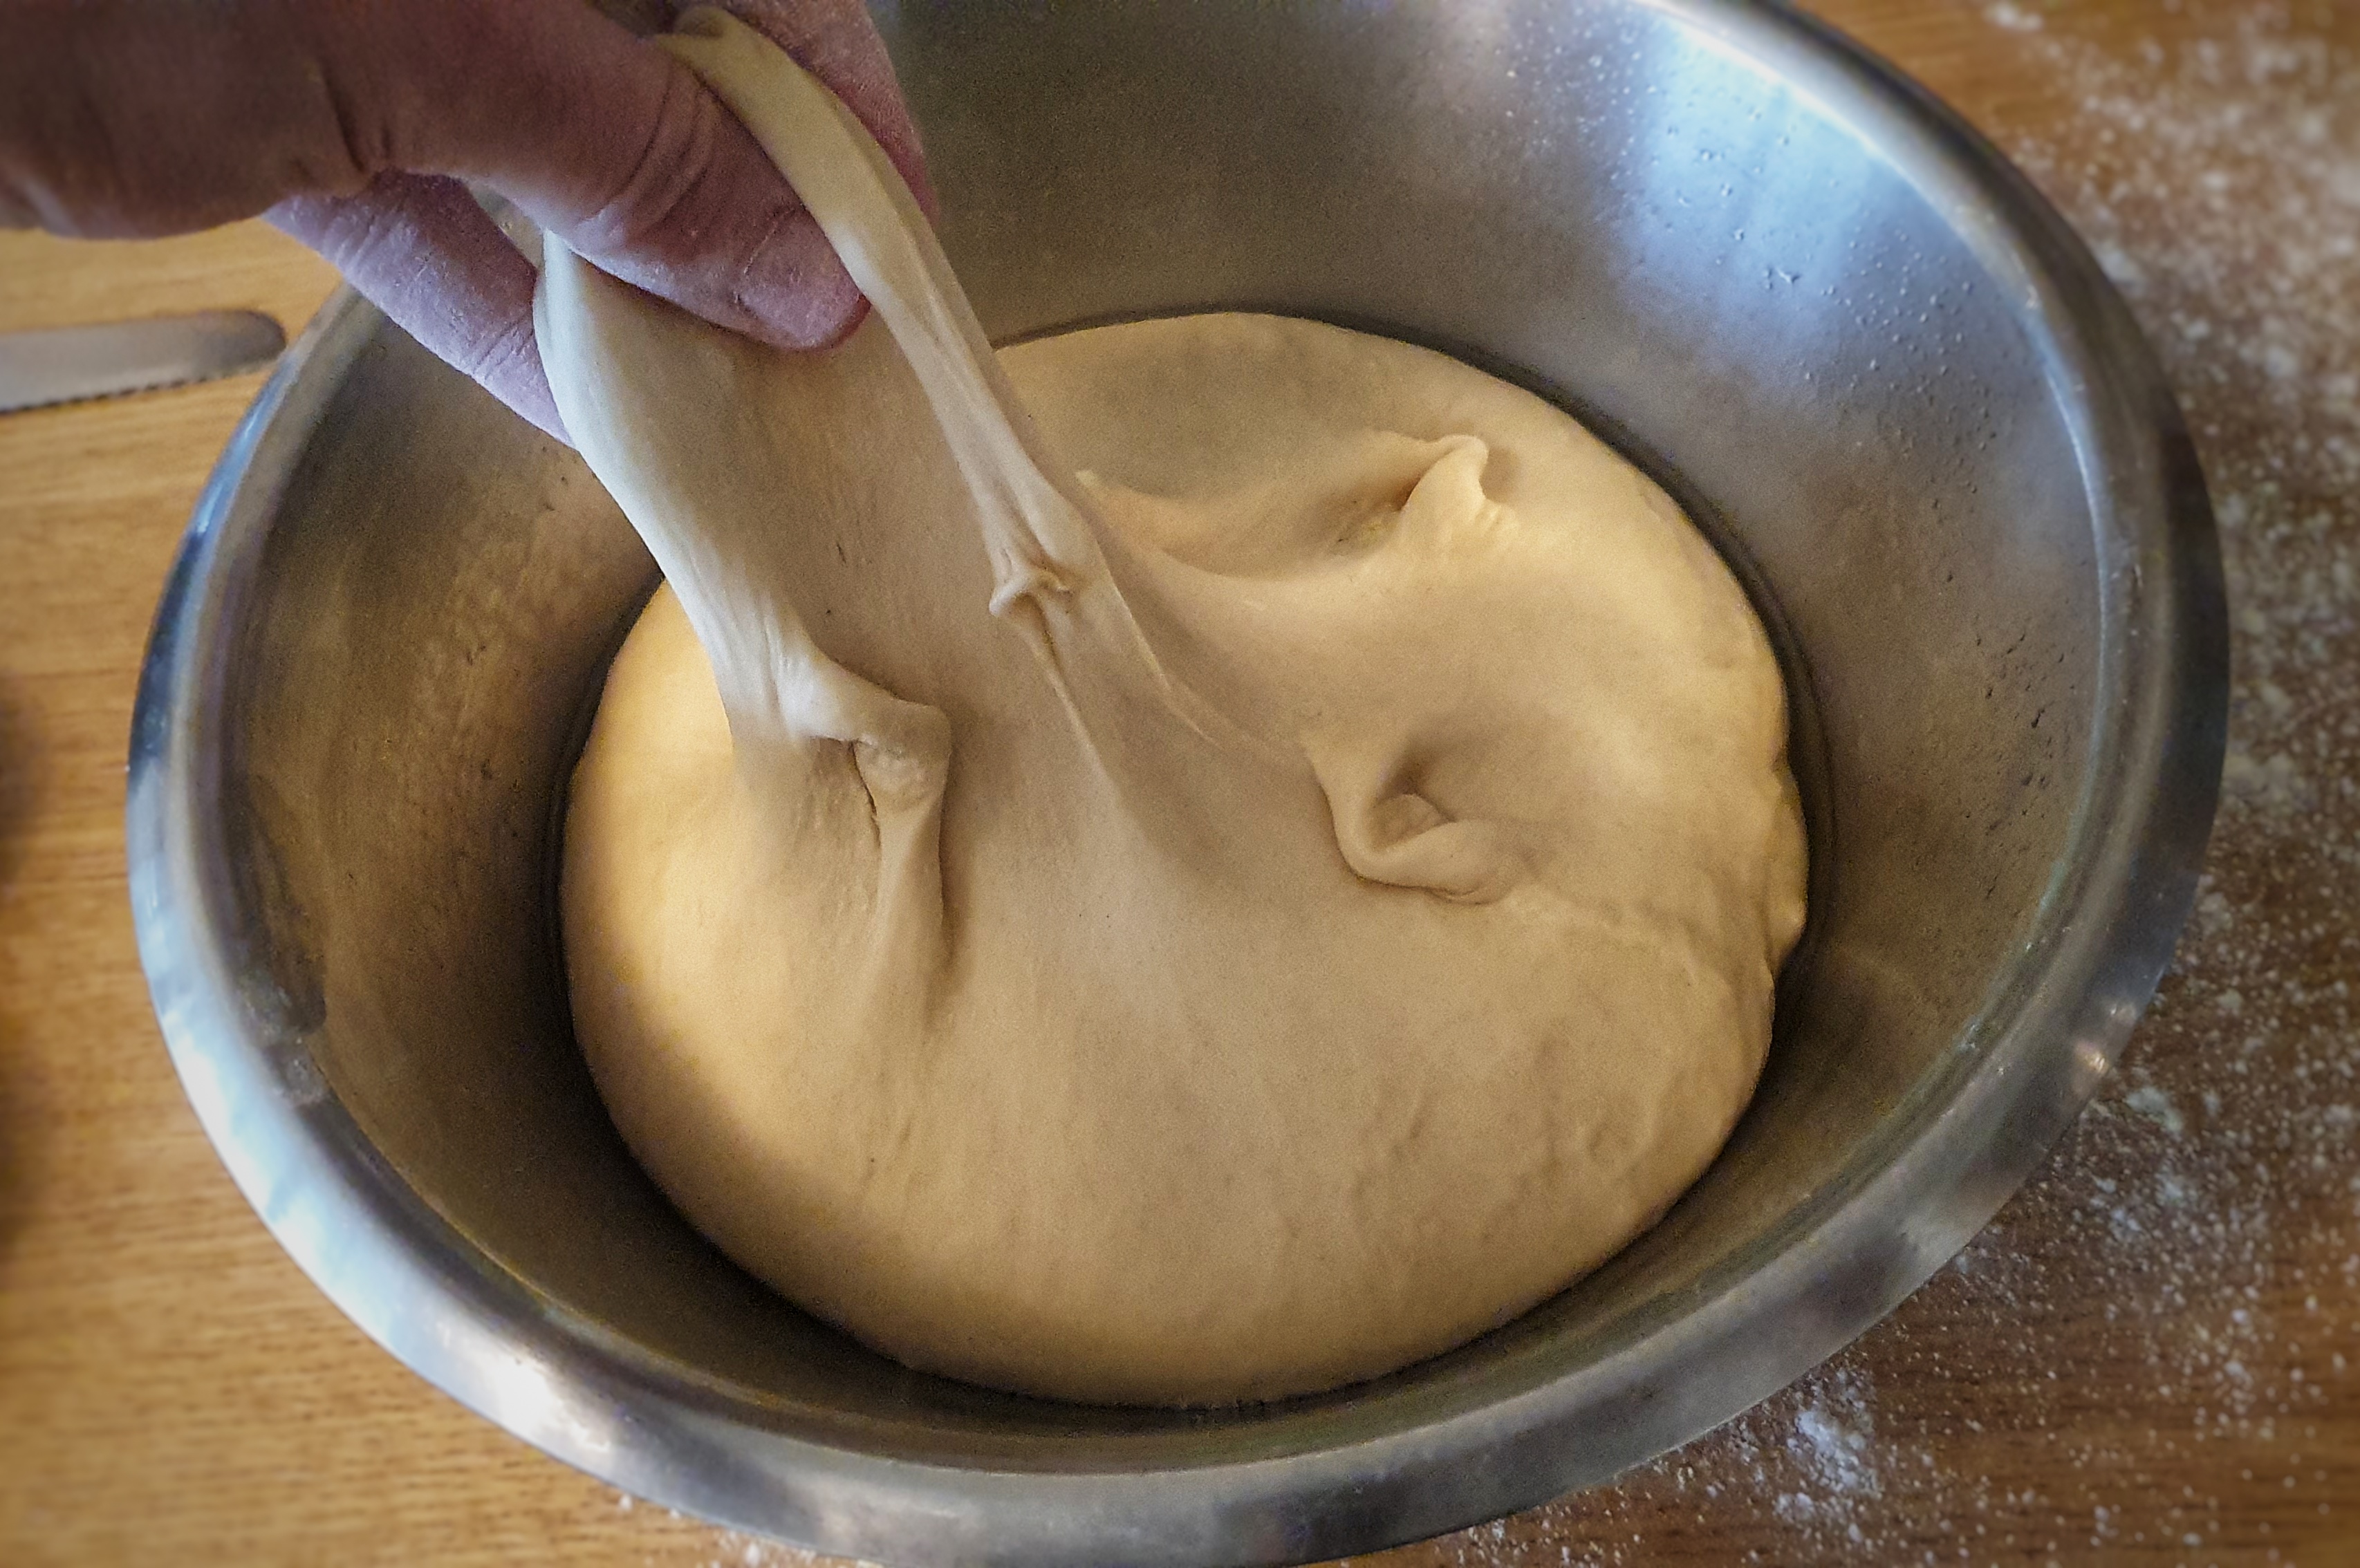
Make the dough using a stand mixer, if possible: first, mix all of the dry ingredients in a mixing bowl. Next, make a well in the centre and add the butter, liquid and egg. Mix to combine the ingredients and then knead with a dough hook on a slow-medium speed for around 10 minutes until smooth and the stickiness of the mixture has much reduced. Lightly oil another bowl (and your hands) and turn out the dough, tightening it up into a ball. Cover and prove until at least double in size. I proved mine at room temperature and it took 90 minutes.
As you wait, line a 24 x 34 cm deep-side tray with greaseproof paper, fixing it in place with dots of oil or butter.
Fix the side closest to you by pressing and spreading the doughy edge to the worktop.
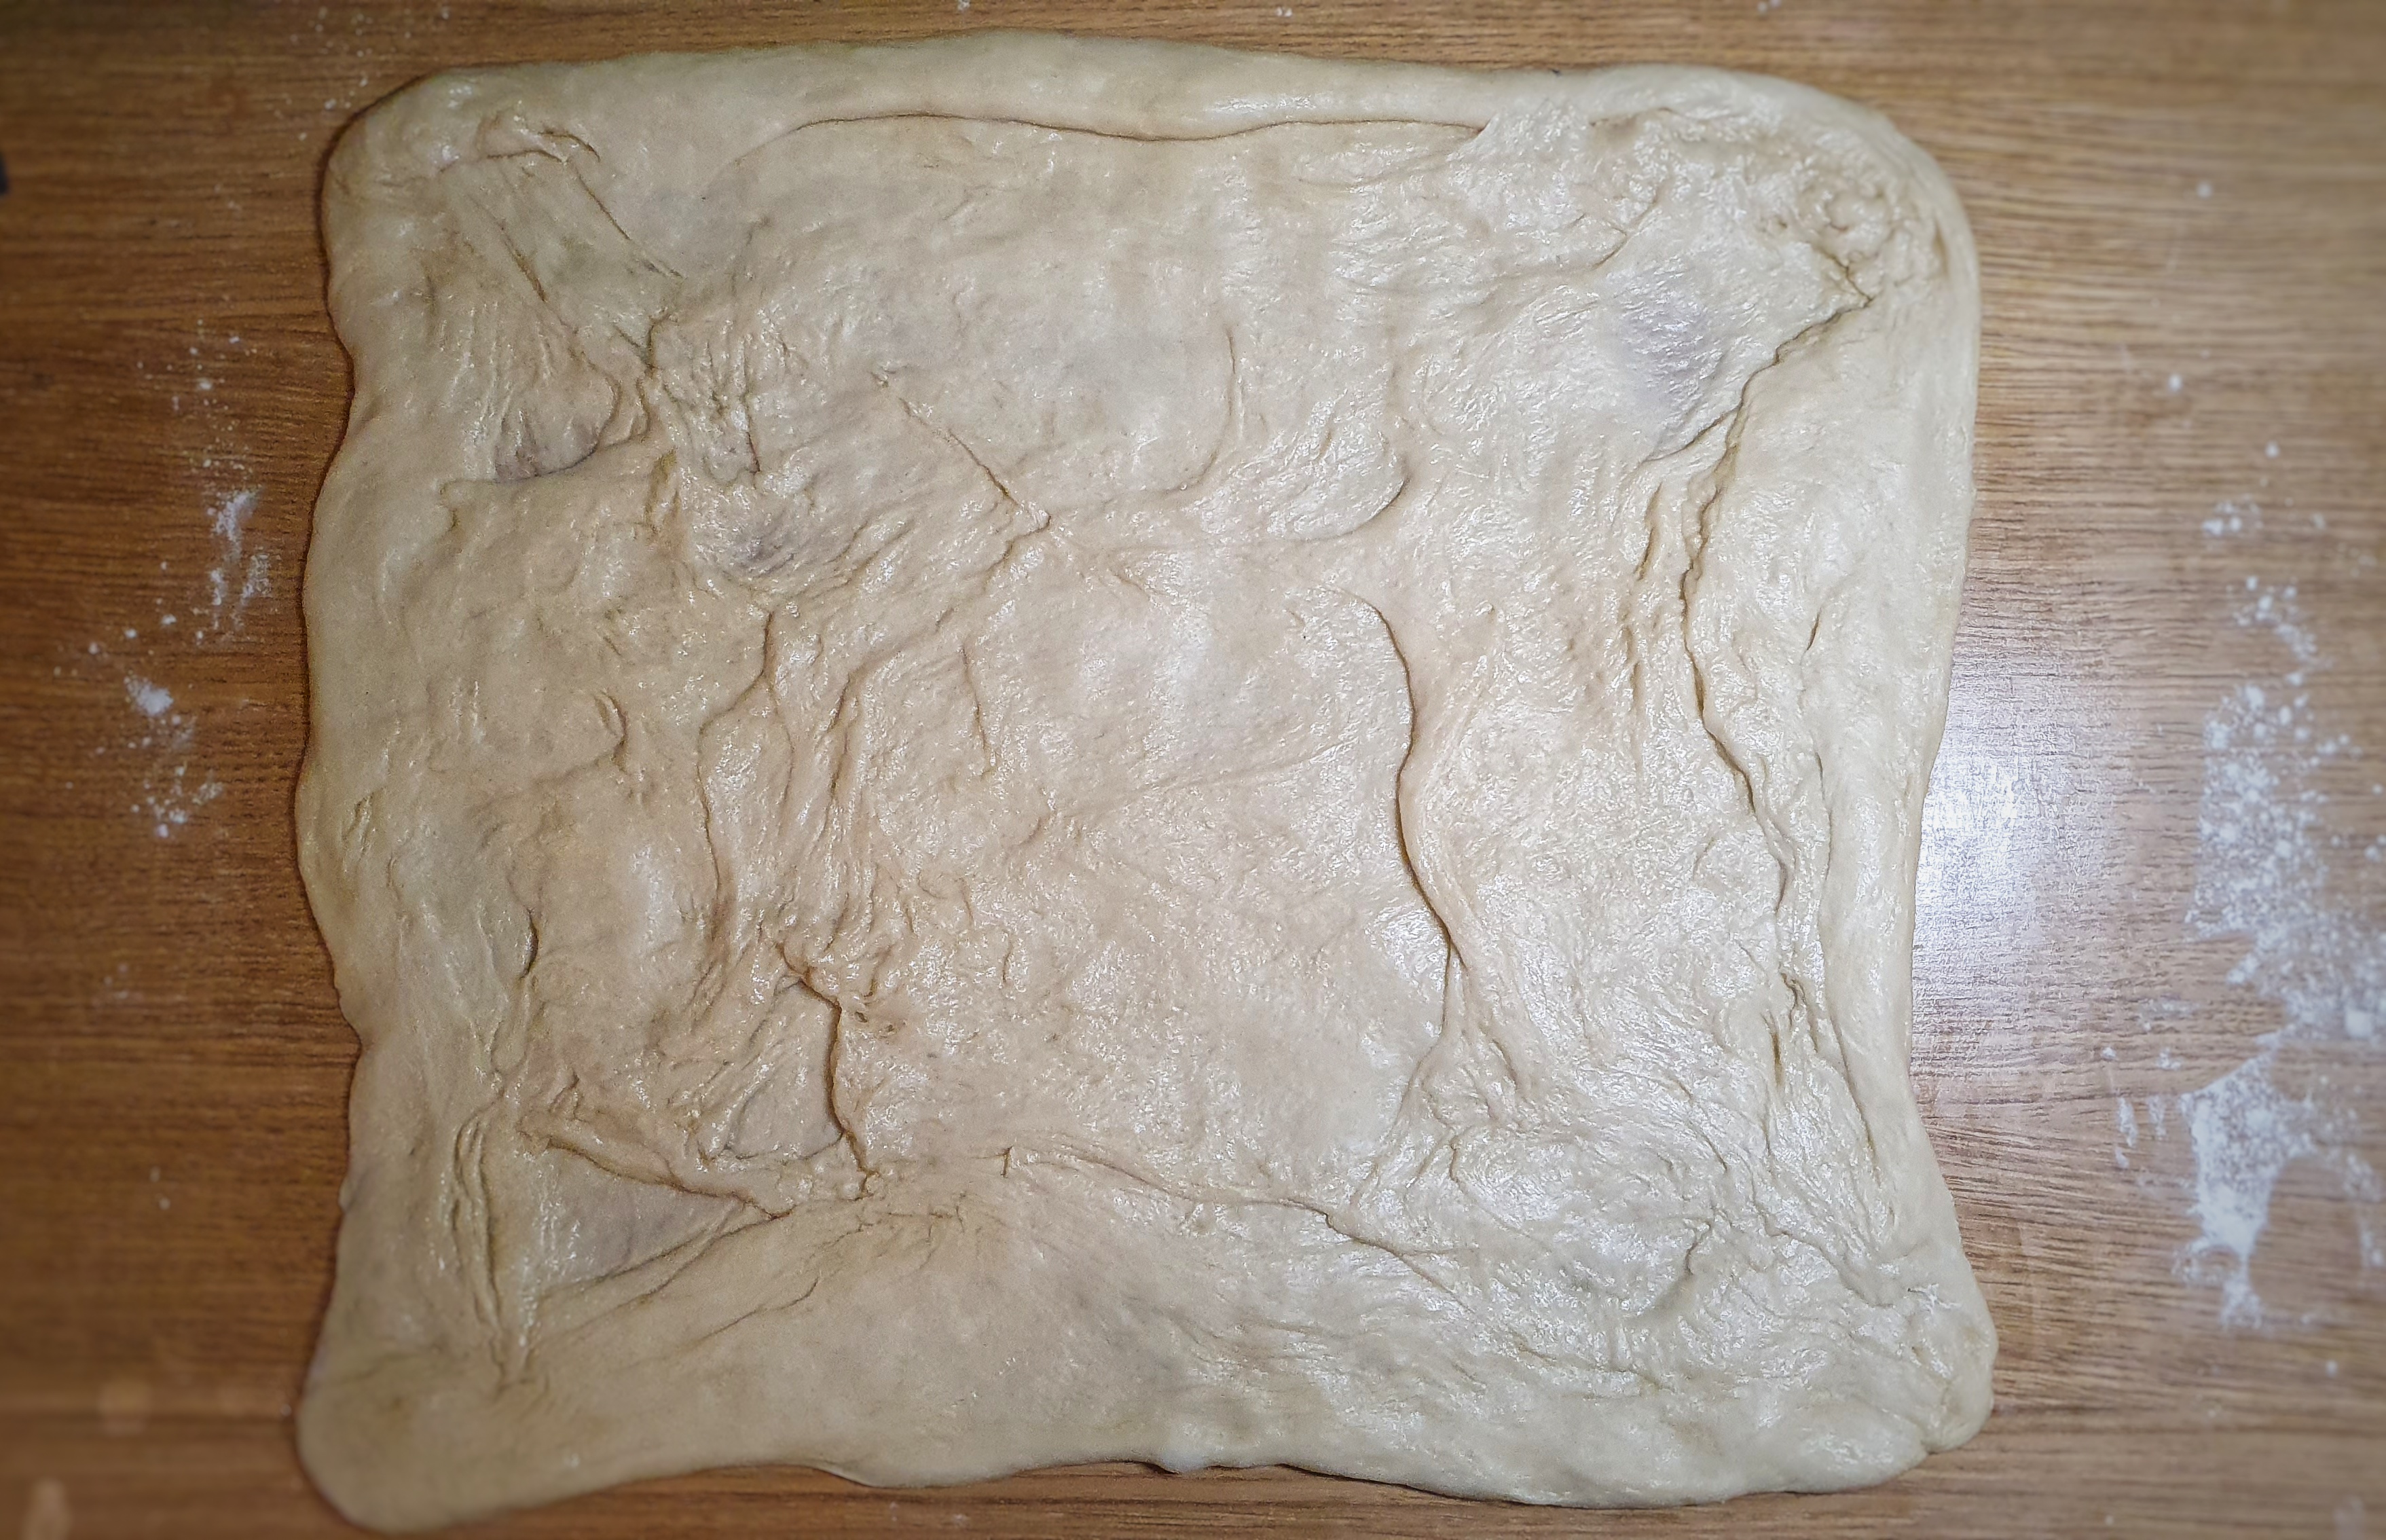
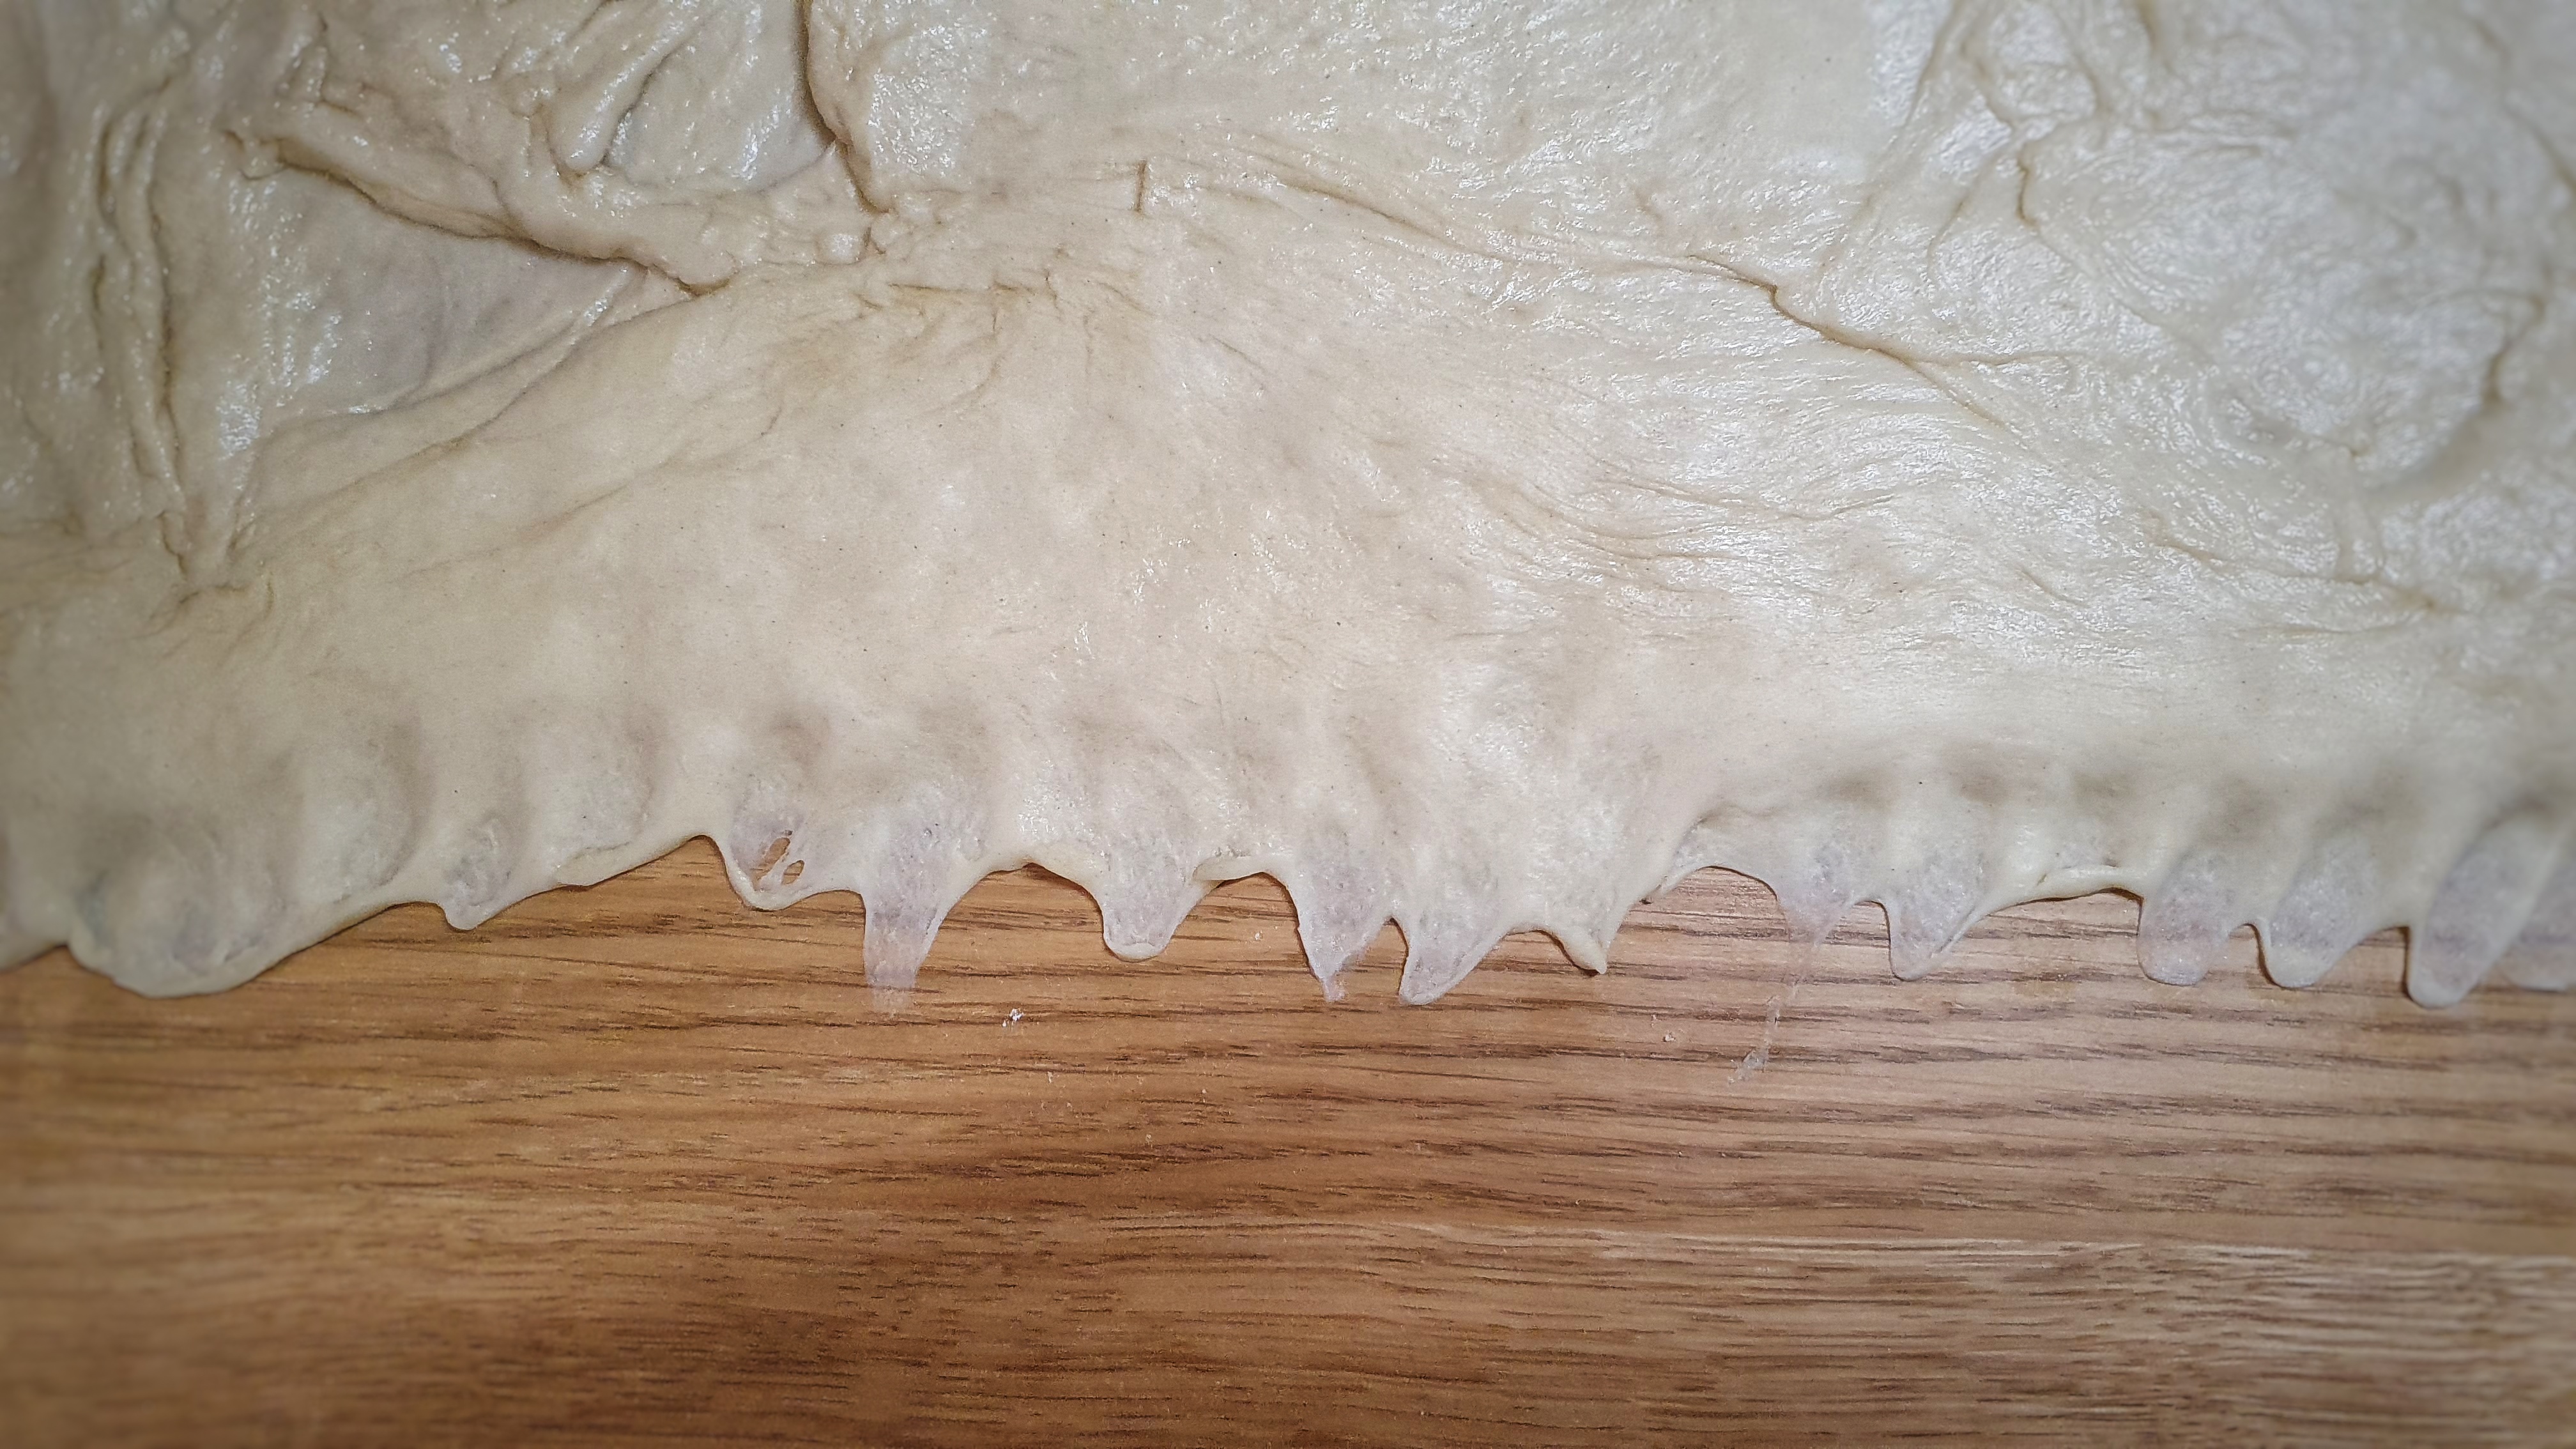
When doubled in size, roll or press out the dough out on a lightly-floured surface – it’s still sticky so make sure you reapply flour to your worktop regularly – until you make a rectangle measuring approximately 40 x 60 cm, the dough with its long side facing you. Have patience and try to make the dough of even thickness.
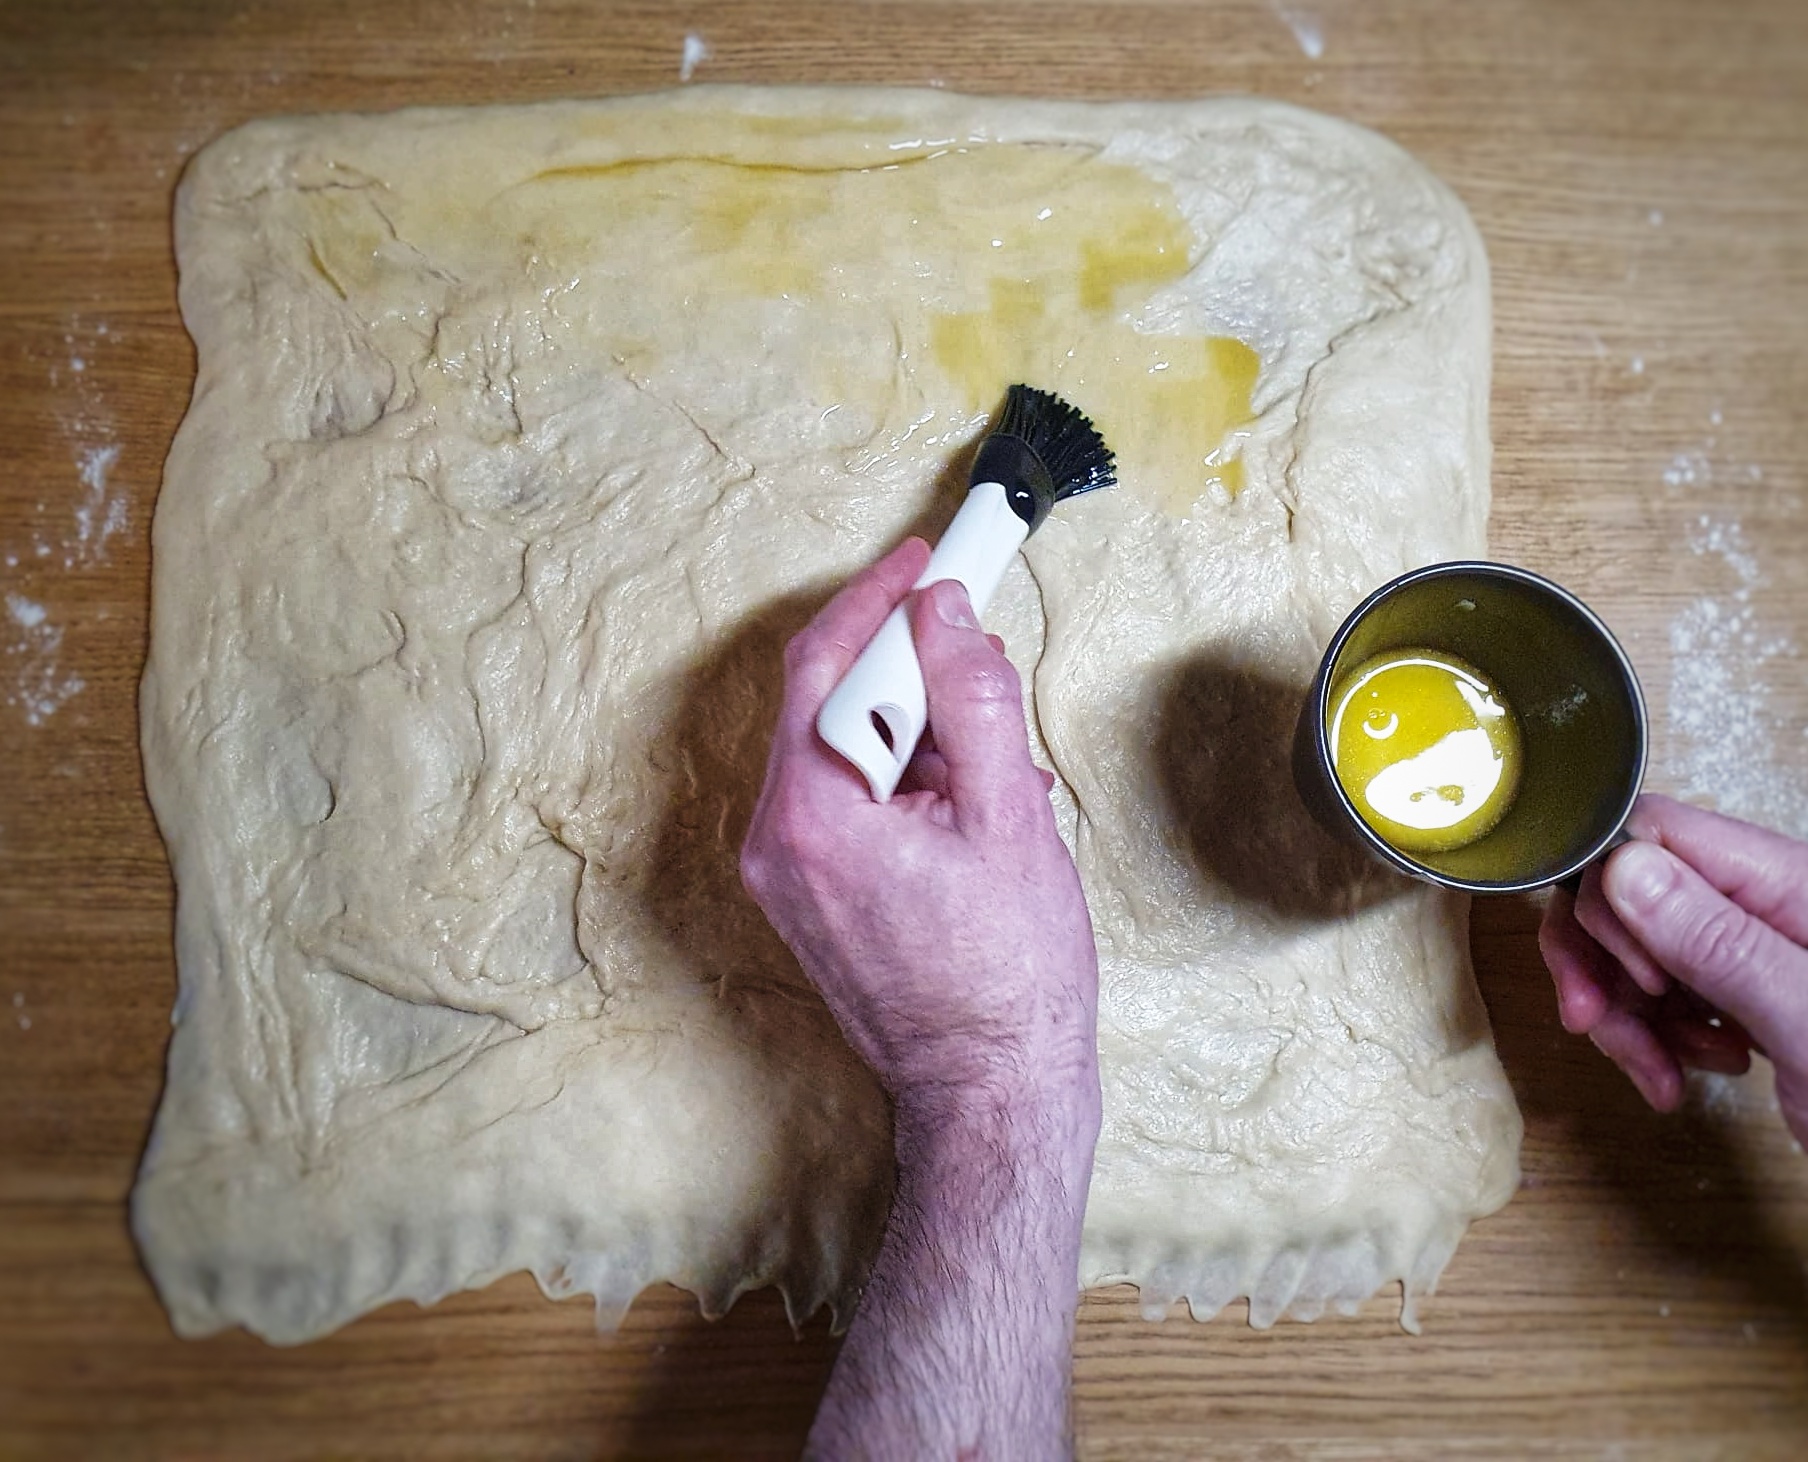
Now apply the filling: lavishly brush the dough with the melted butter, go right up to the back edge, but leave a 1-cm gap on the side edges and 2-cm on the edge facing you.
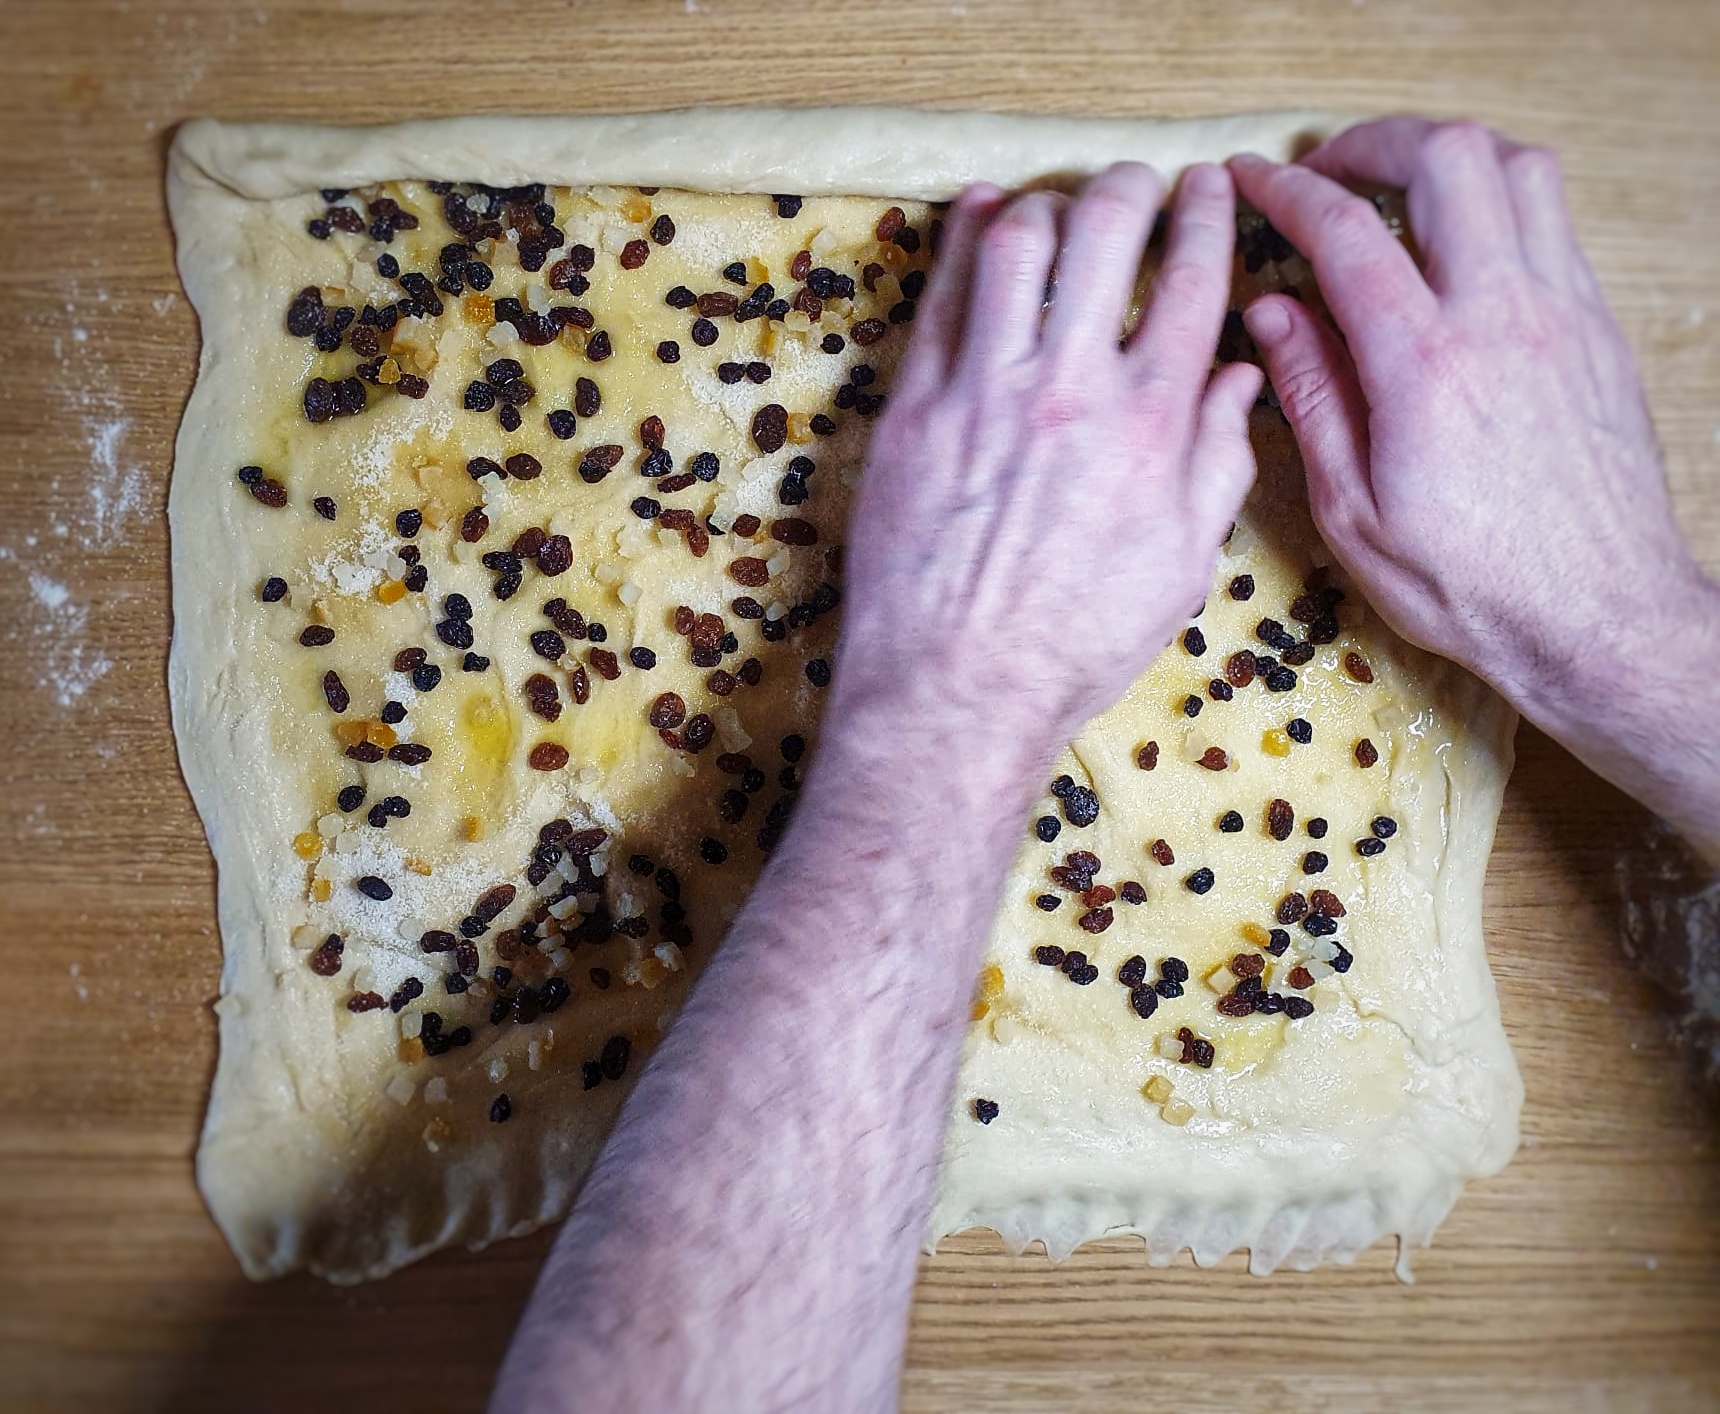
Next, sprinkle the sugar evenly, then the dried fruit and candied peel.
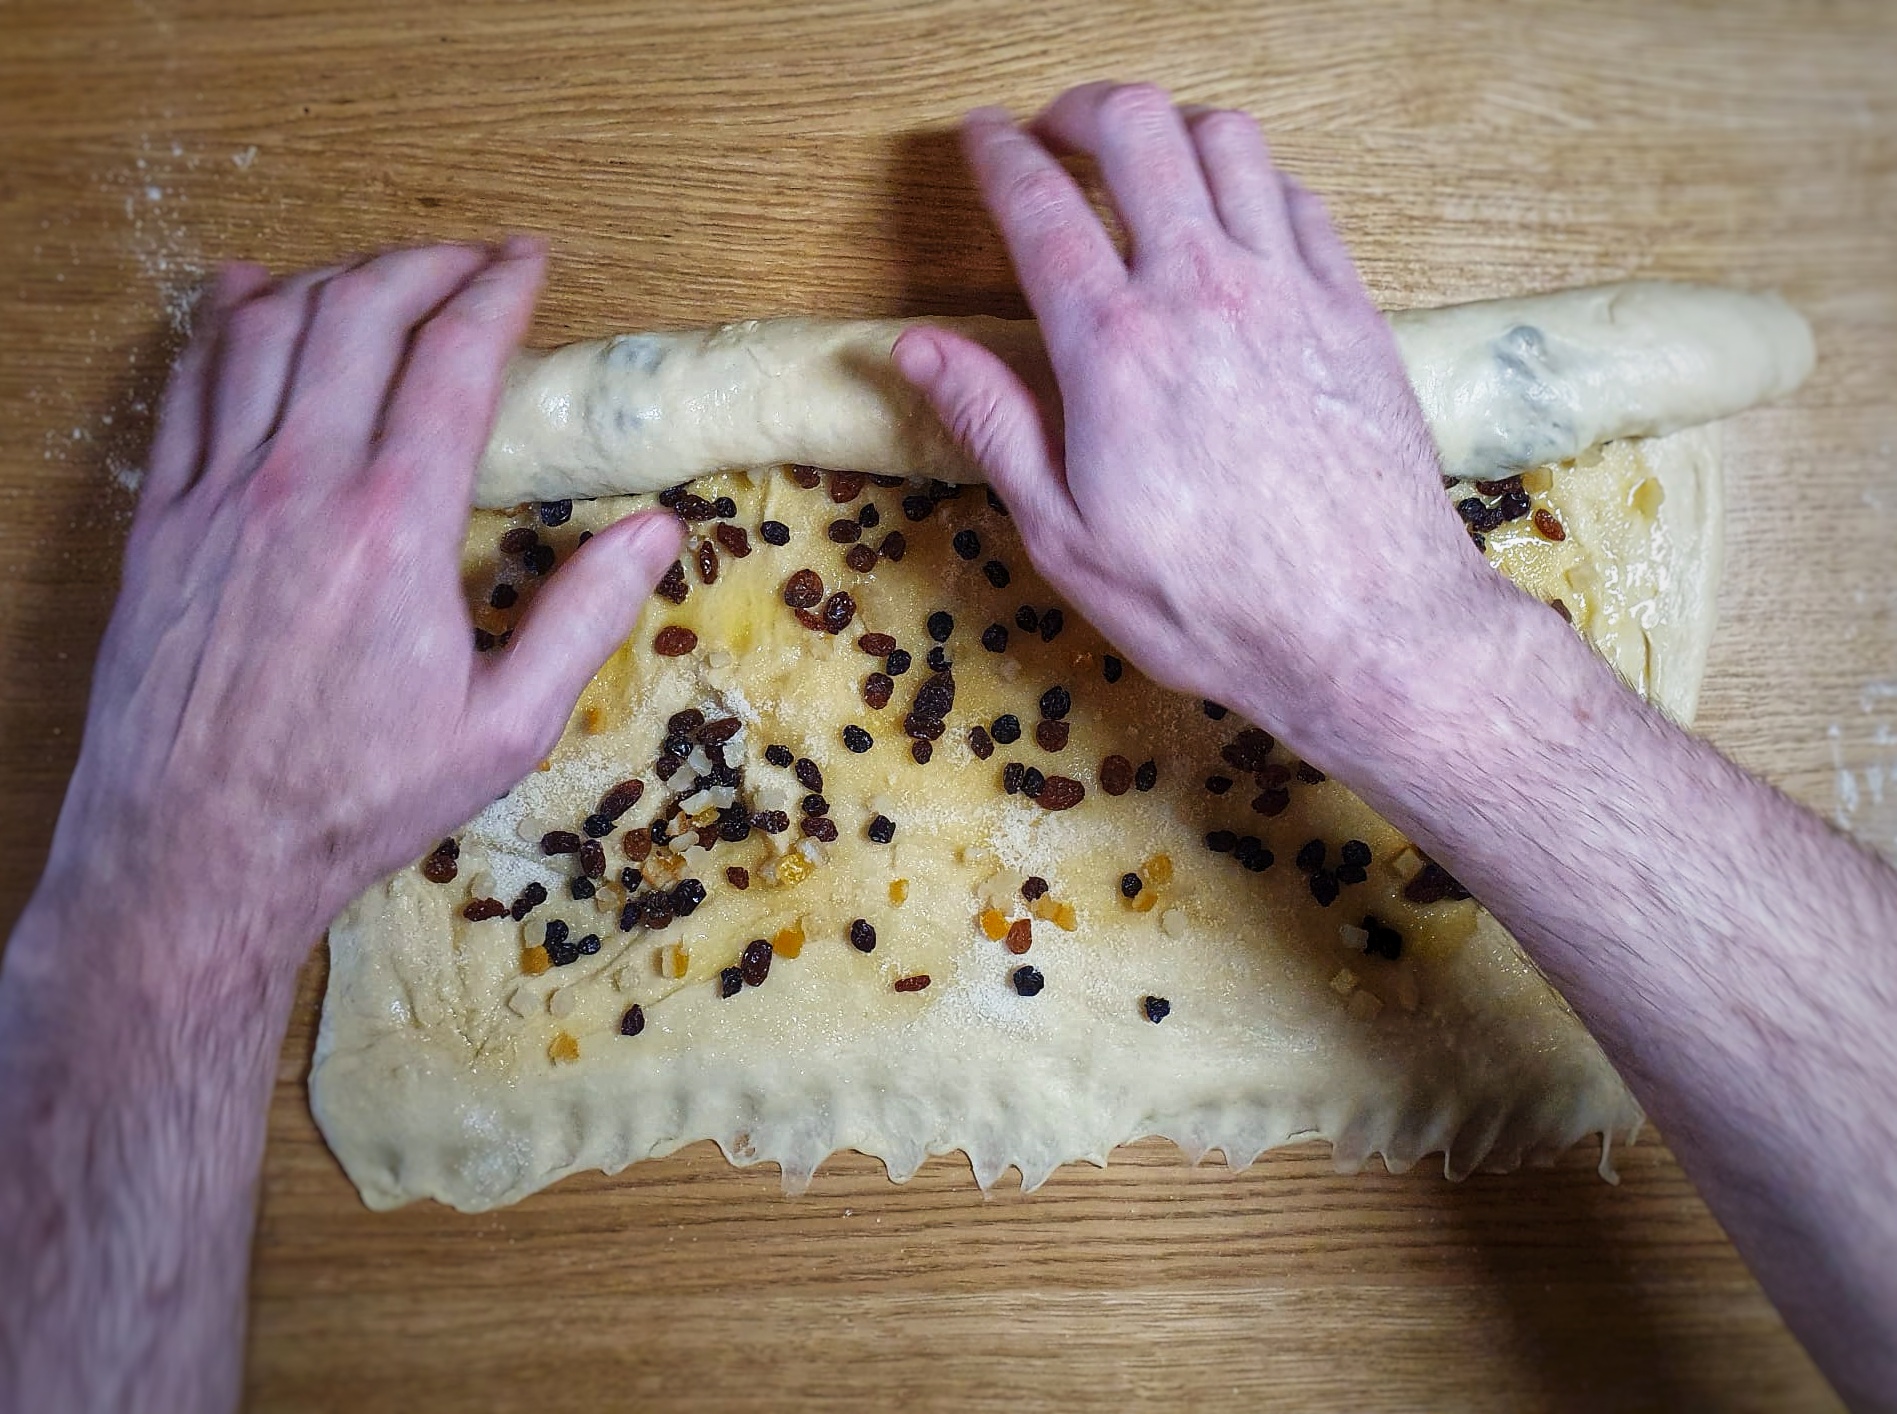
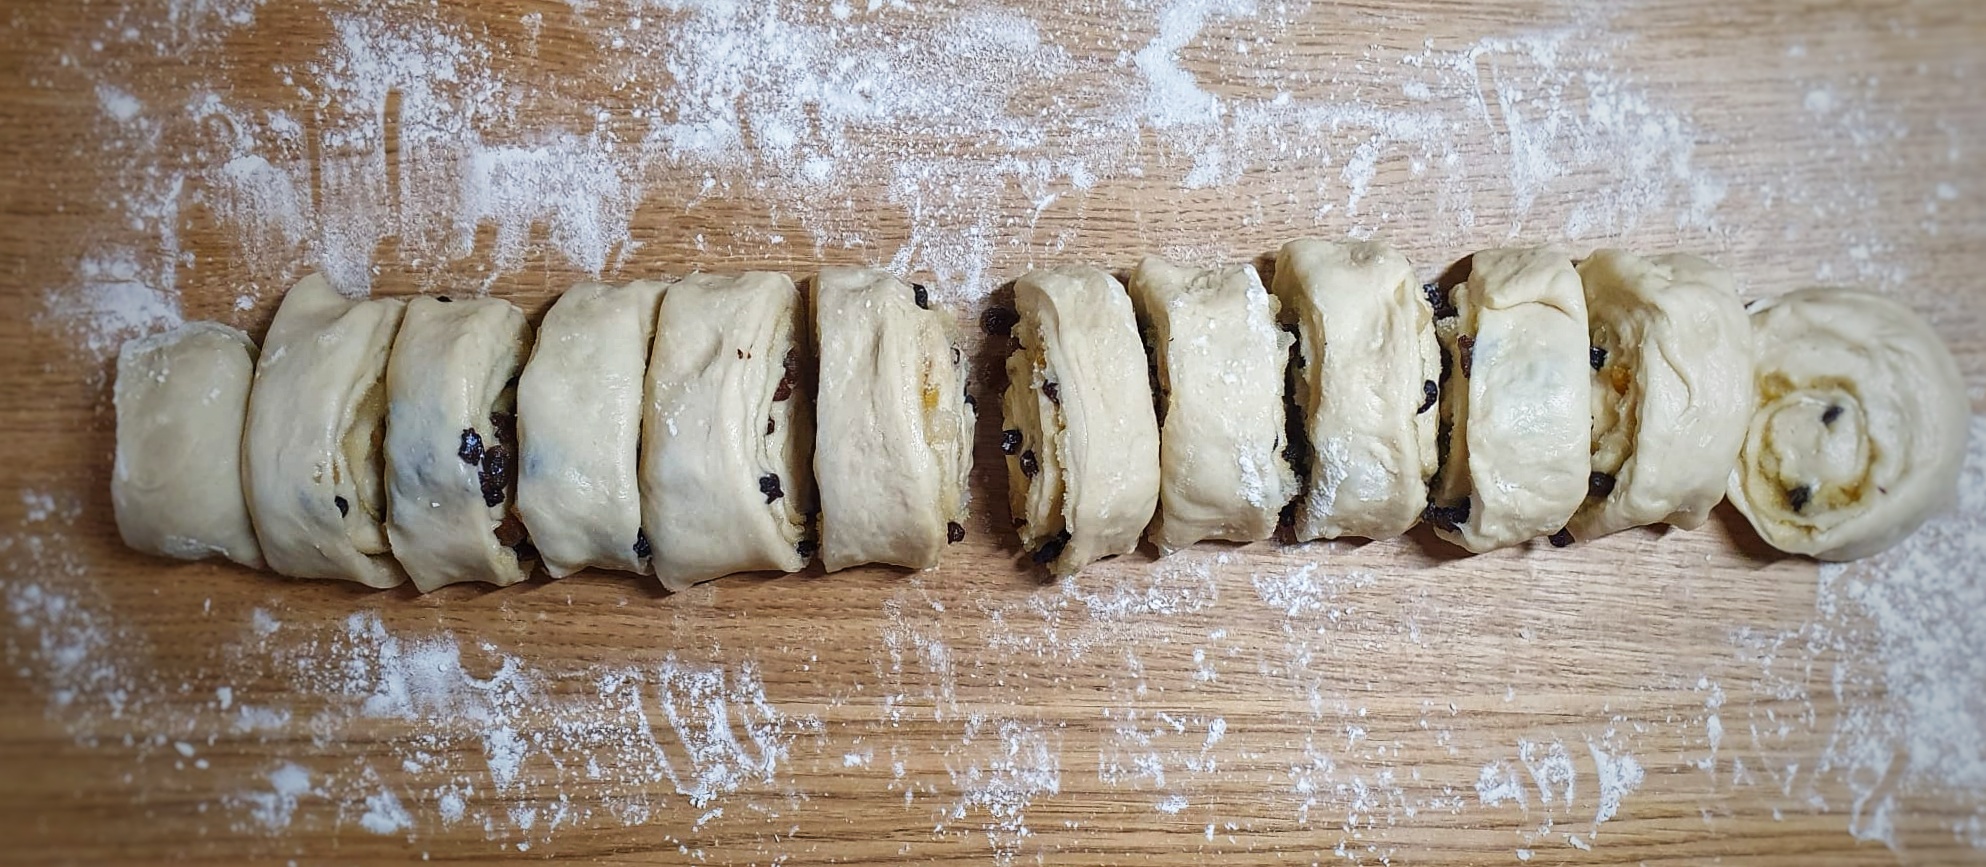
Now the fun bit: fold the further edge over and start to roll up the dough by lifting and stretching gently before rolling, keeping the coil tight. It is easiest to do this in sections. Keep going until the dough is almost rolled up, then lightly brush the facing edge with a little water.
Using a sharp knife, cut off the two ends[5] – I like a serrated knife for this job – then cut the dough into 9 or 12 pieces. If the knife presses the edges a bit and flattens the coils, don’t worry, they can be easily reshaped by hand.
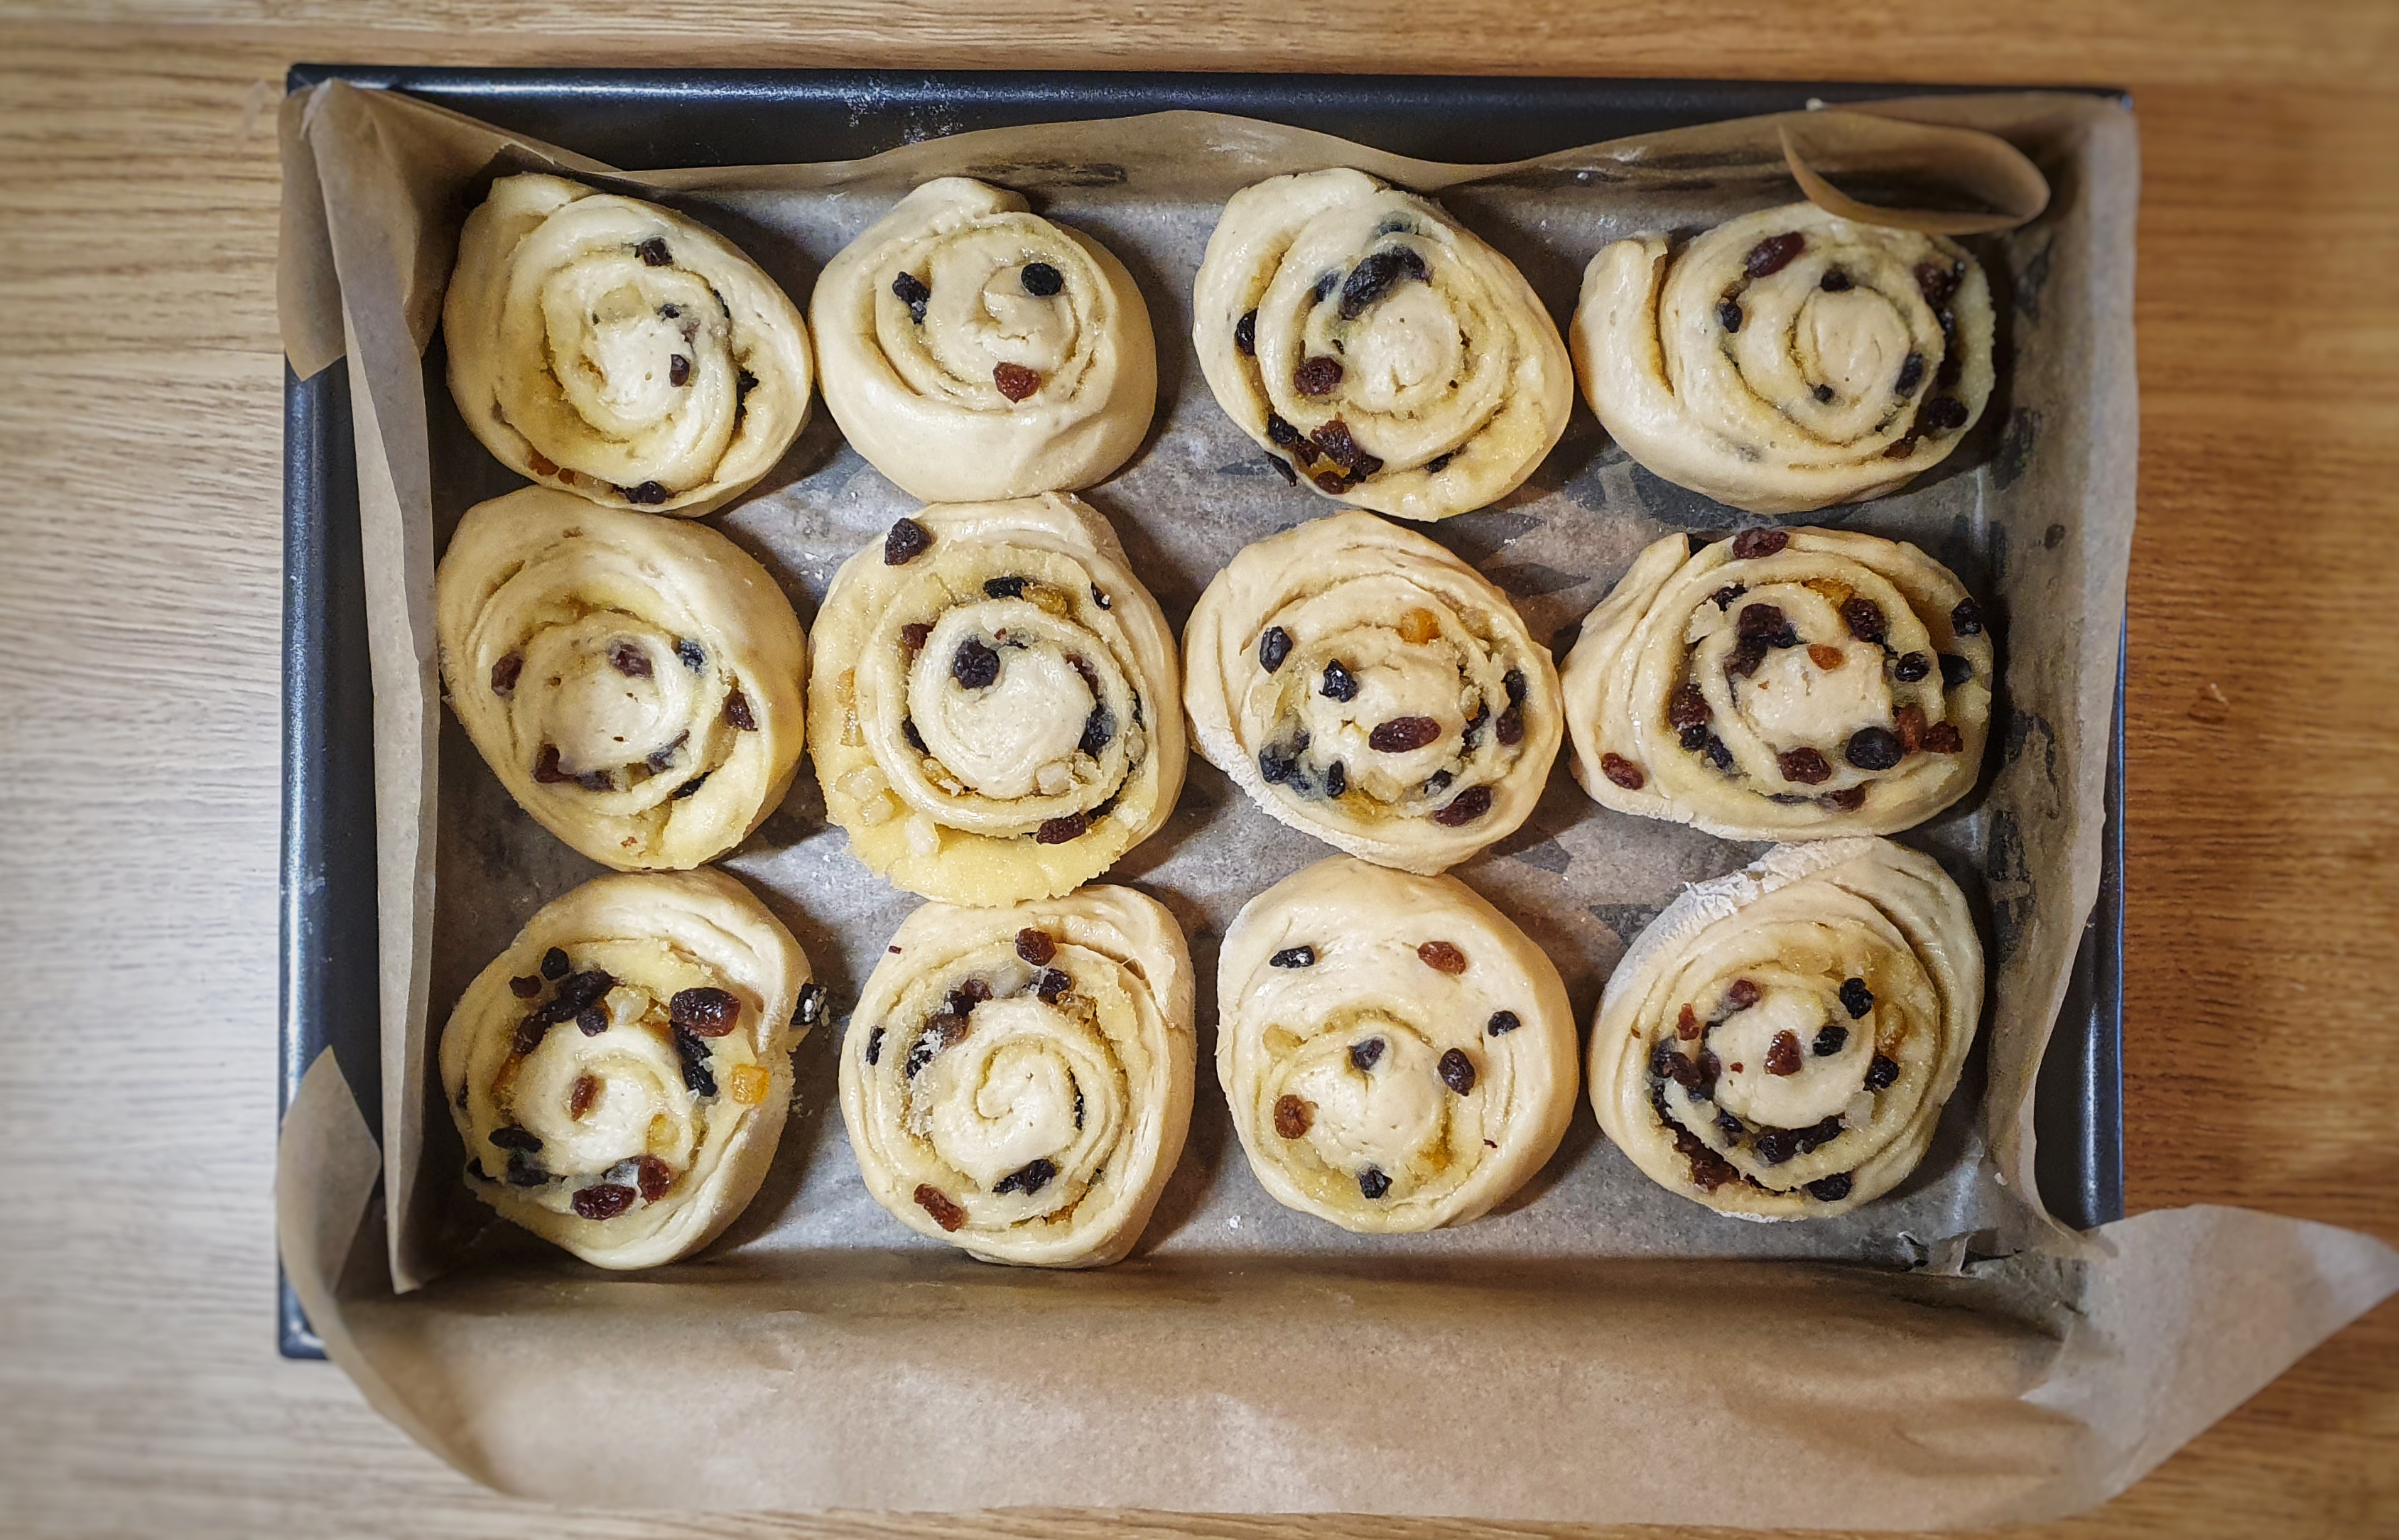
Arrange your buns in your prepared tin, leaving a good and even gap between them. Cover and allow to prove again: for me, this took 60 minutes.
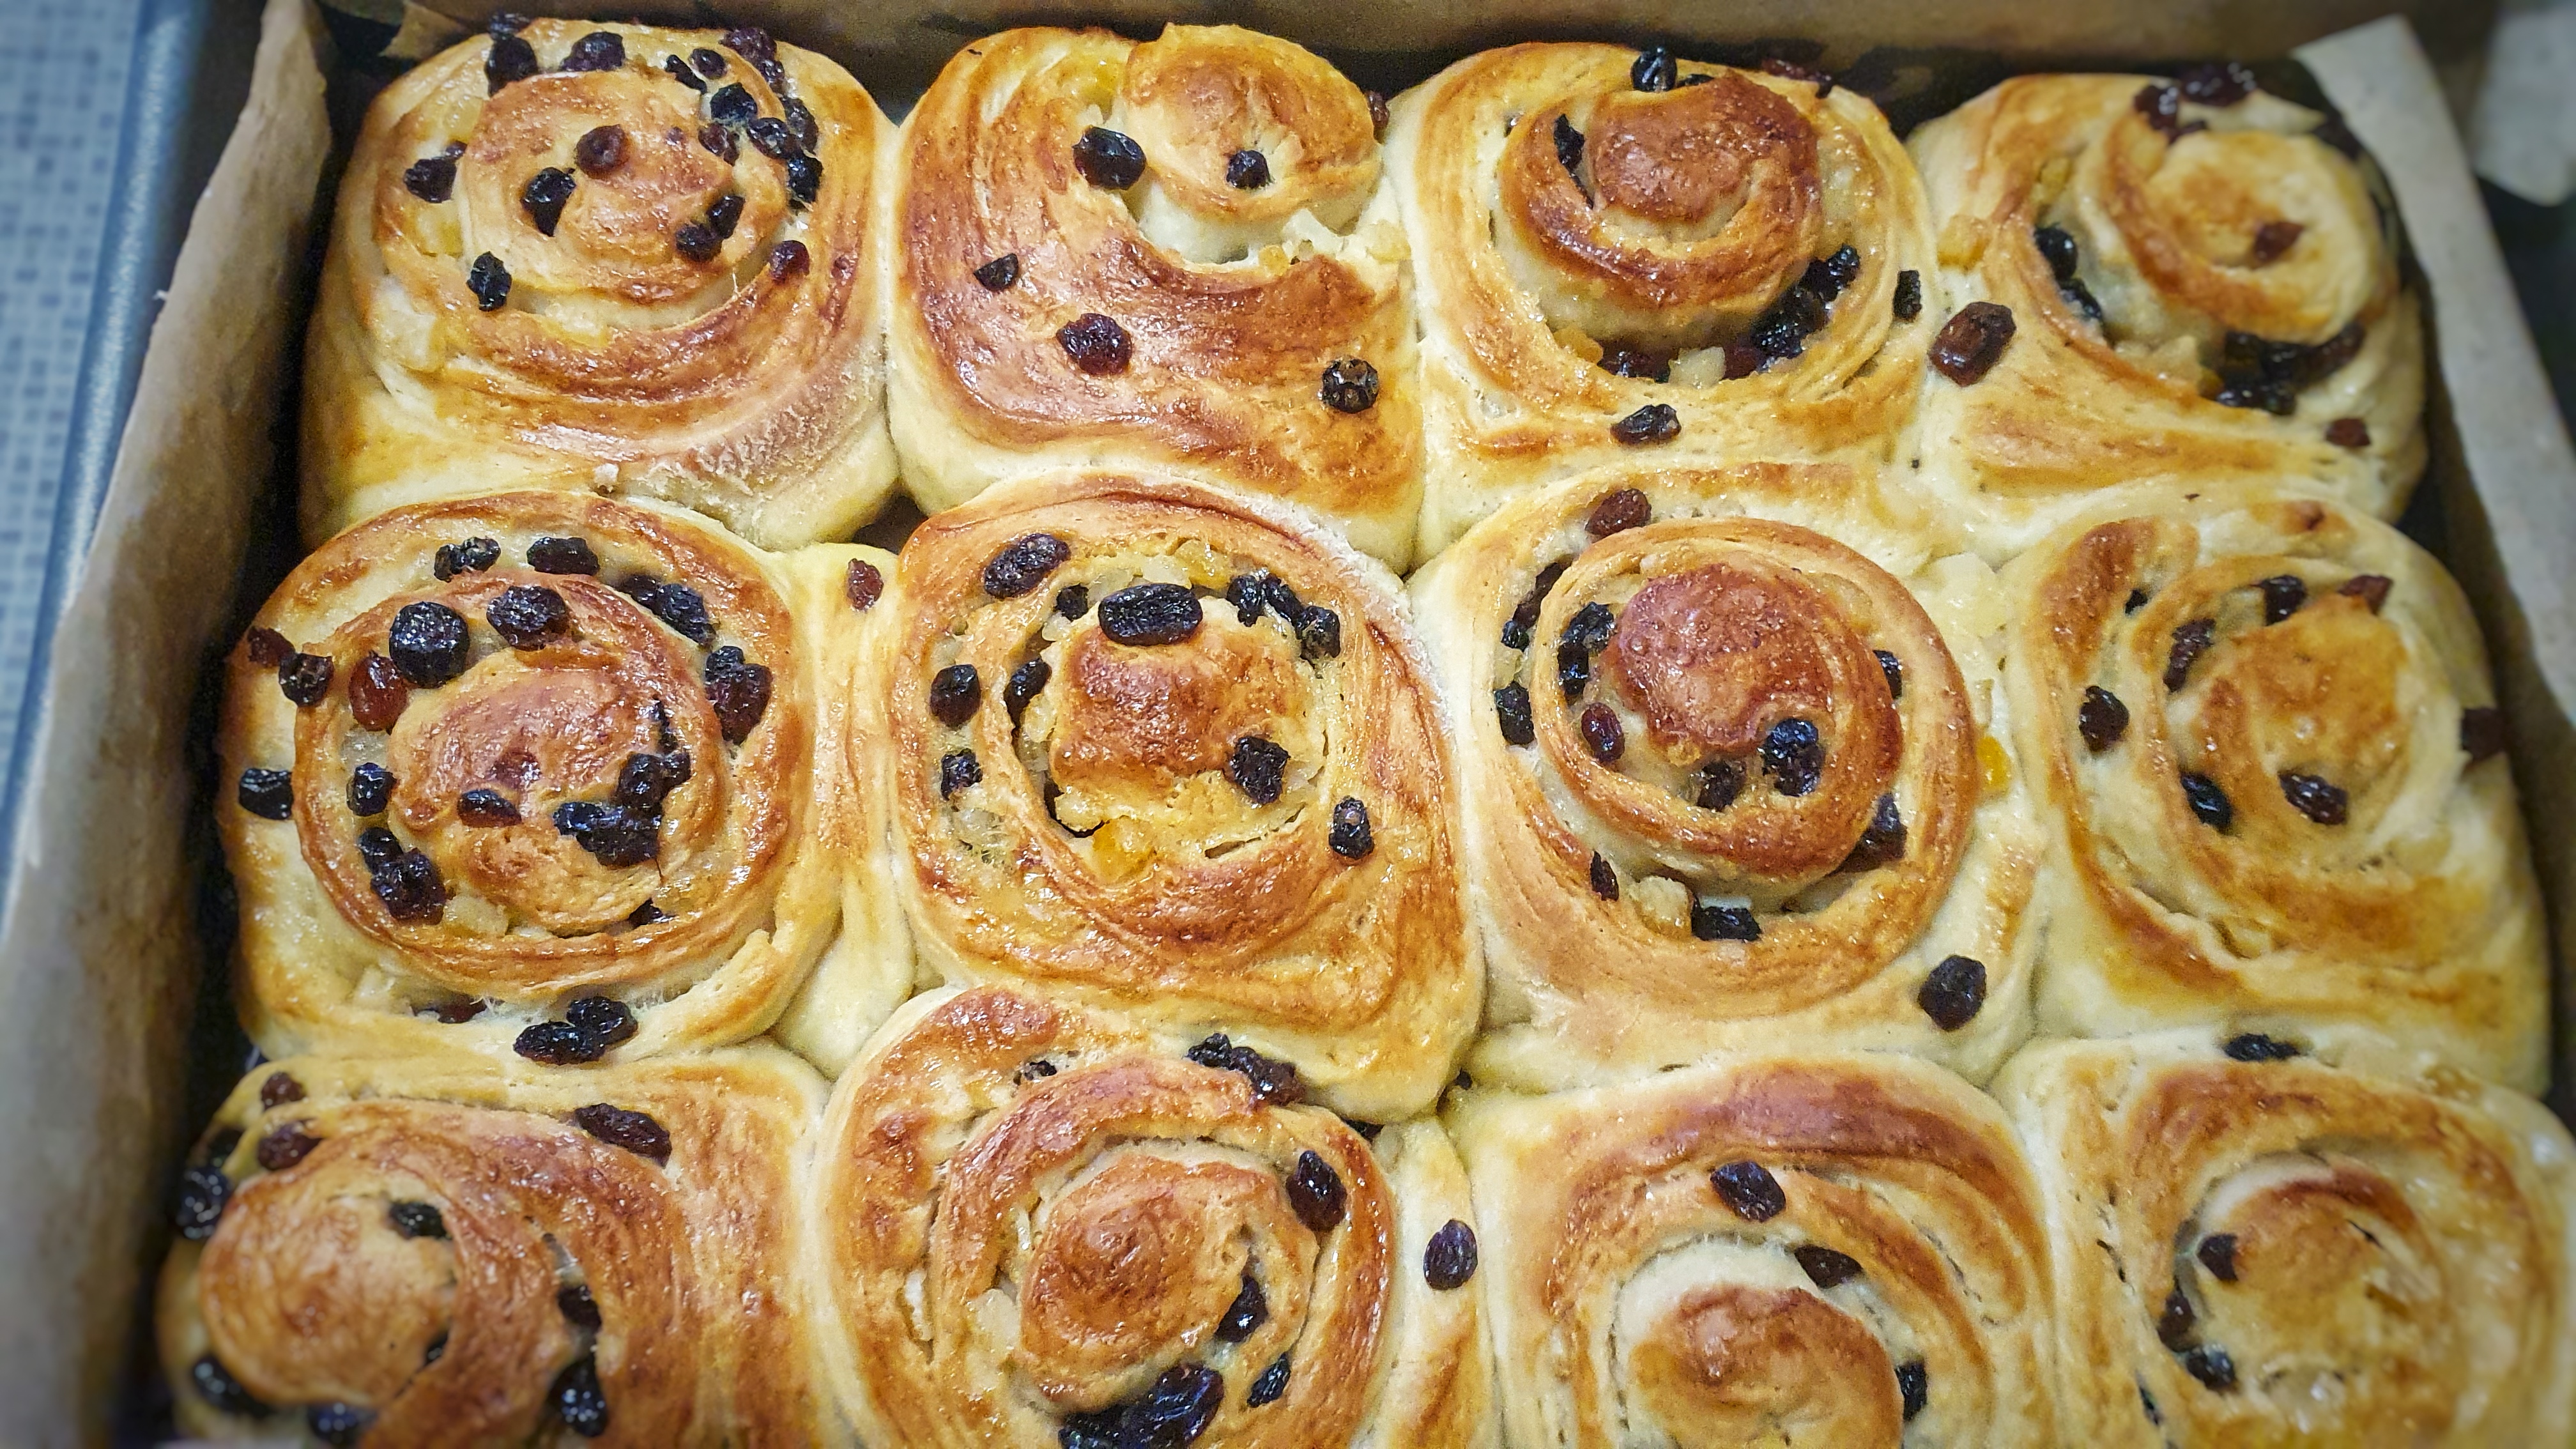
When they are almost proved, preheat your oven to 200°C. When ready, brush each bun with beaten egg. Slide into the oven and bake for 25 to 3- minutes if baking 12 buns. It’s worth investigating them to check they have baked all the way through.
When they come out of the oven, sit them on a cooling rack in their tin.
Make the glaze by mixing the sugar and water in a pan over a medium heat. Stir to dissolve, increase the heat and bring to a boil, and let it bubble away for 30 seconds. Take off the heat and brush the buns: be lavish. It might take a couple of coats to use up all the glaze. If you like, sprinkle with crushed lump sugar.
This post complements the 2023 Christmas special of The British Food History Podcast called ‘Mince Pies’:
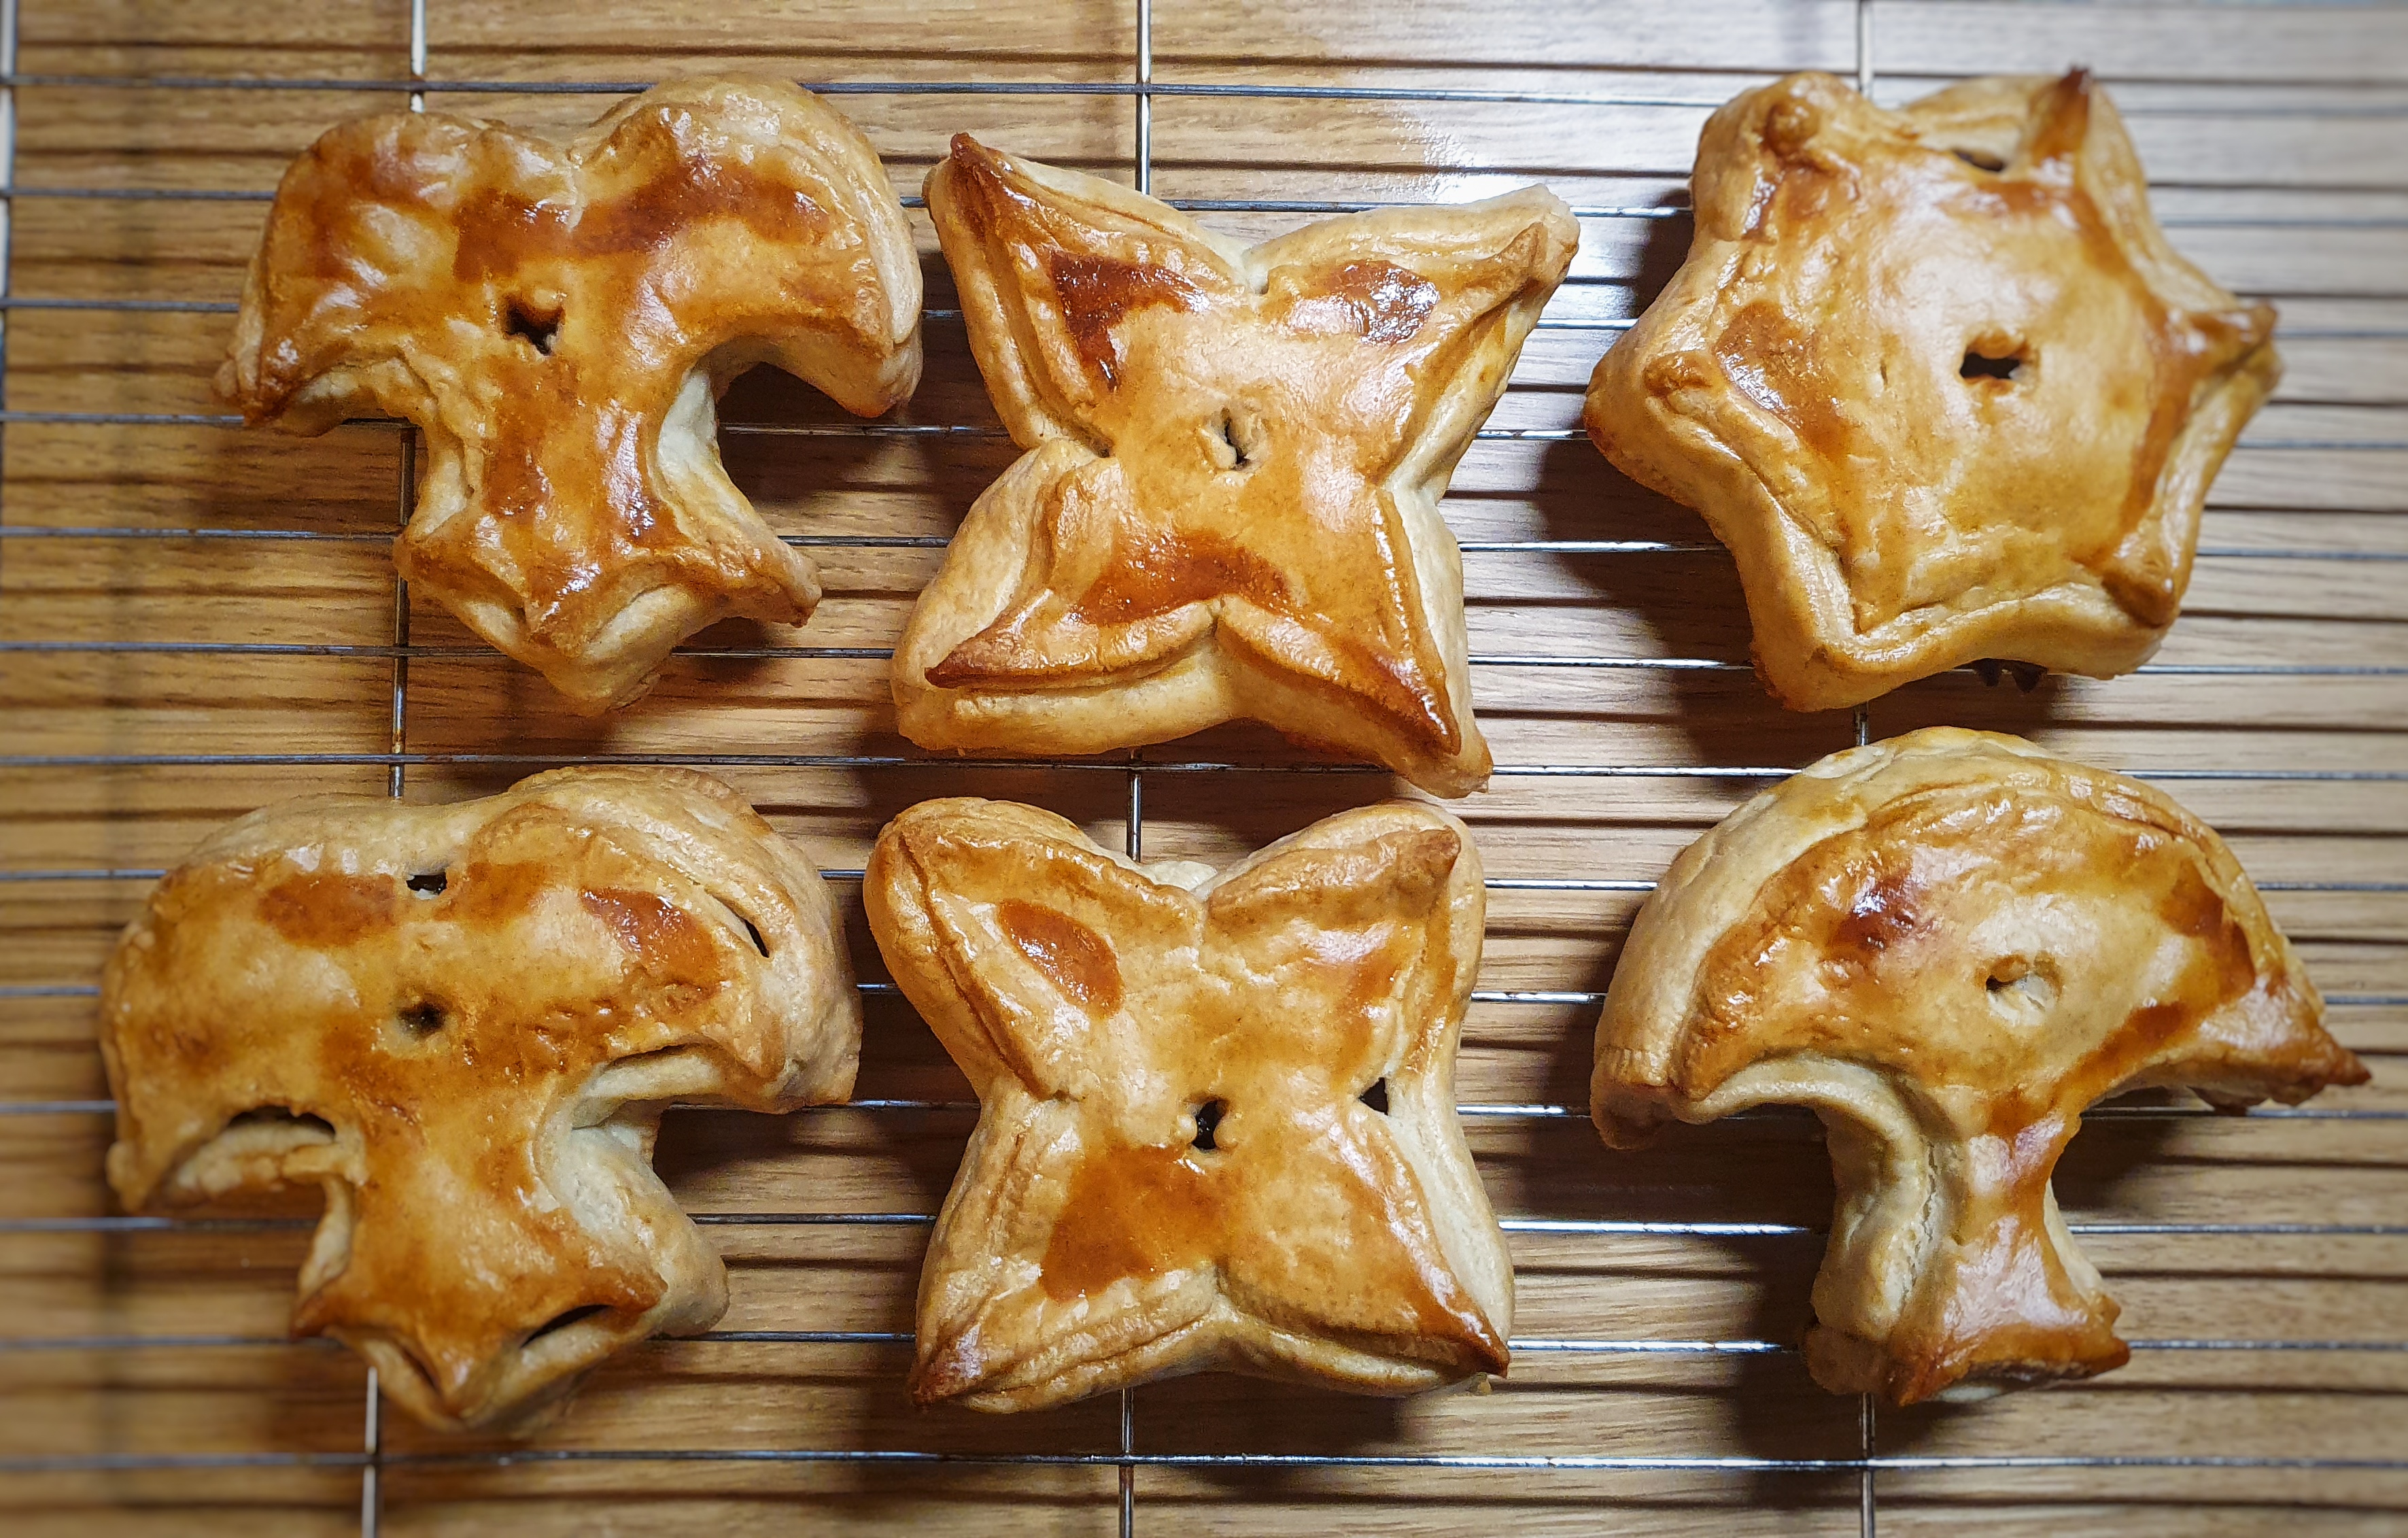
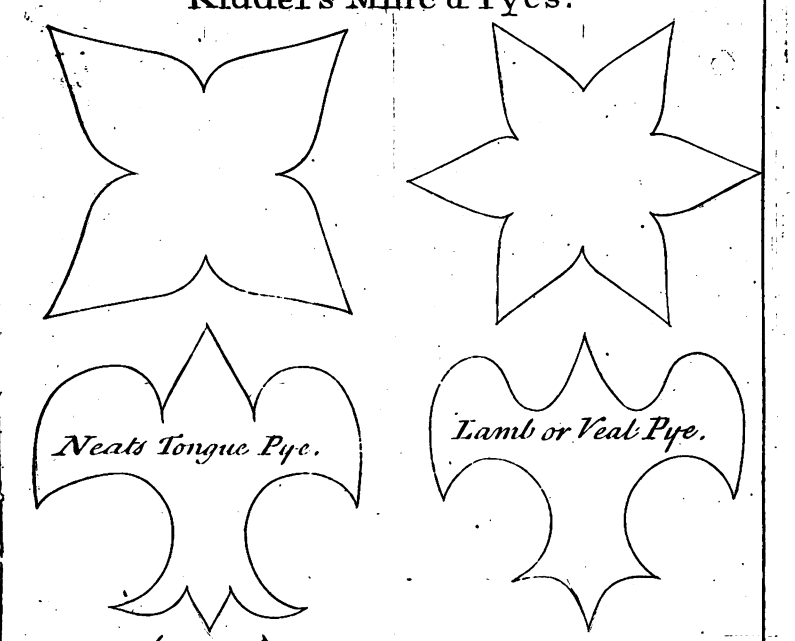
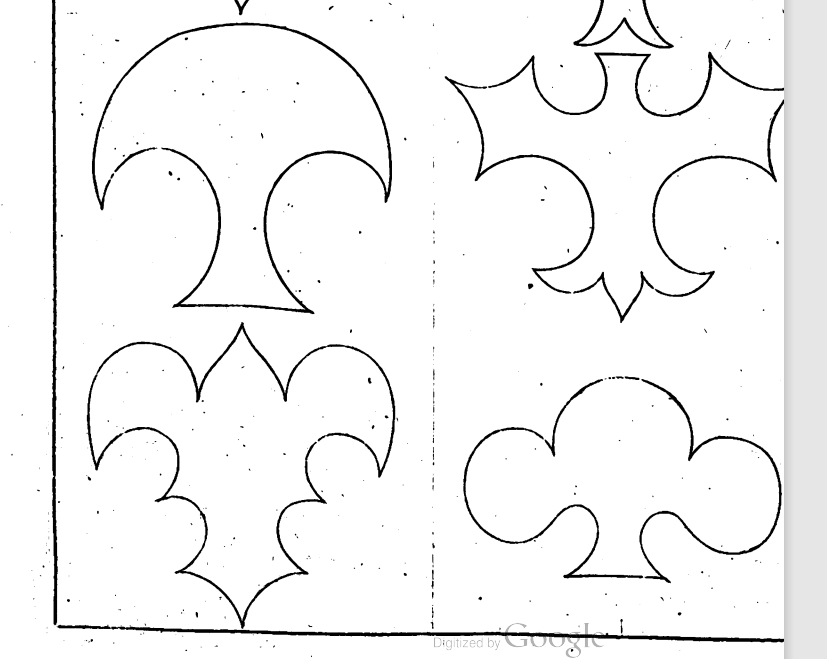
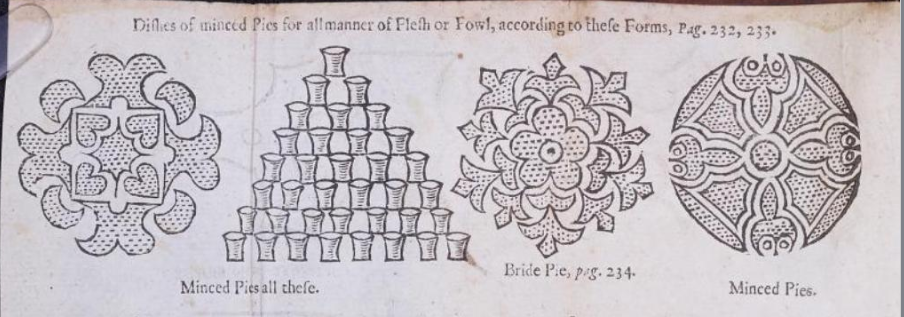
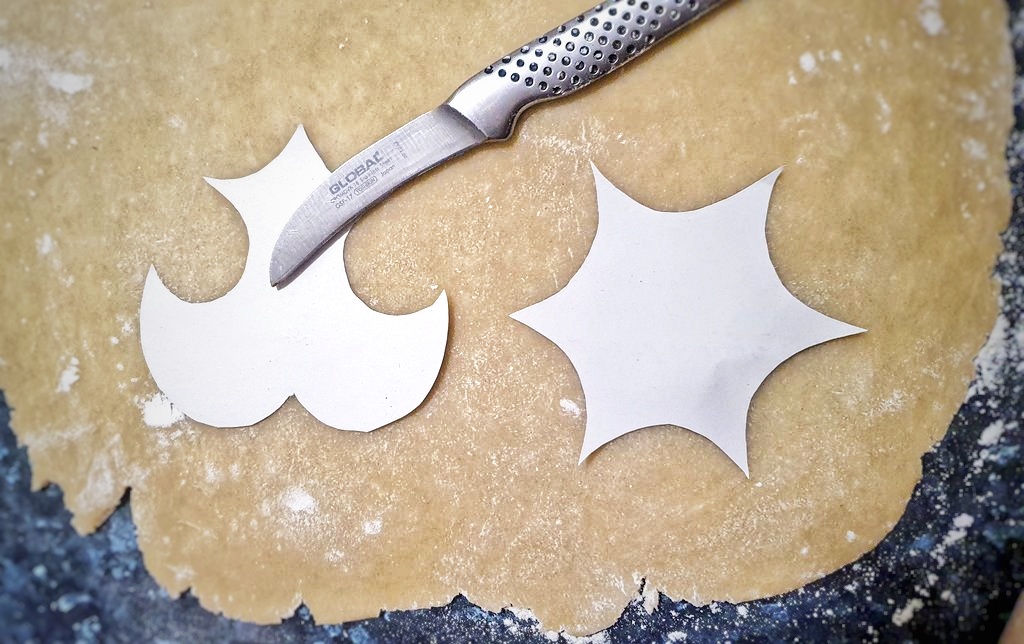
As promised on this year’s Christmas episode of the podcast, all about mince pies, here is my pastry recipe and method for making the shaped-mince pies in E. Kidder’s Receipts of Pastry and Cookery. It was originally published in 1721, but I used the 1740 edition of the book (here’s a link to the document). If you go to the end of the book, you will see lots of different minced pie templates, just like the ones below. The idea was that you rolled out your pastry and cut a shape out, then made pastry walls, filled them with mincemeat, placed on lid on top and baked it. Really beautiful, but fiddly-looking shapes, I’m sure you’ll agree.
I felt a little nervous making them, so let me at this point, say a massive thank you to Ivan Day for the advice he gave me on shaping these pies. Ivan has an excellent blog with a fascinating article about mince pies (click this link to read it).
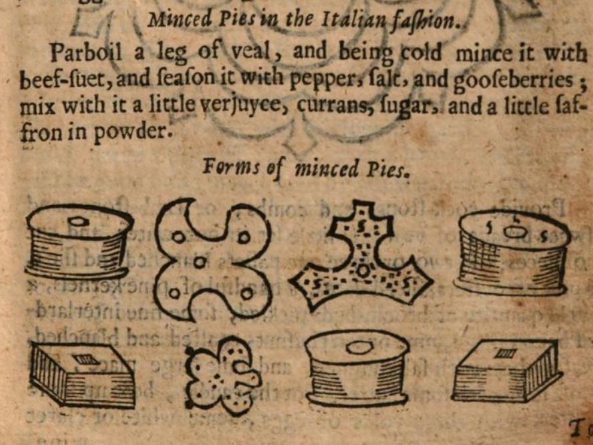
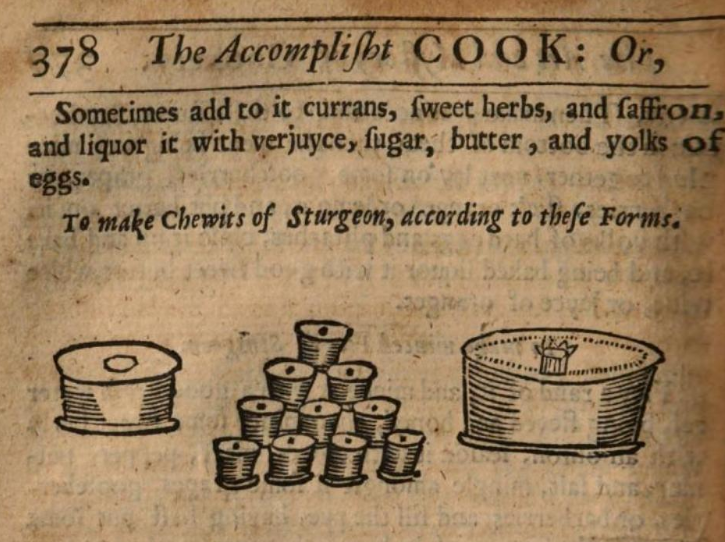
In the Christmas episode, I considered making some of the pie designs in Robert May’s The Accomplisht Cook (first published in 1660), but I found Edward’s designs much easier to extrapolate into three-dimensional pies! However, here are a few from May’s book to give you an idea of the sorts of minced pies he was making:
The Materials
The first thing you need to do is get organised with your templates. I simply took screenshots of the book, printed them out and cut them out. You can make them any size you like. My shapes were around 10cm wide, and I went for the ones that looked the easiest!
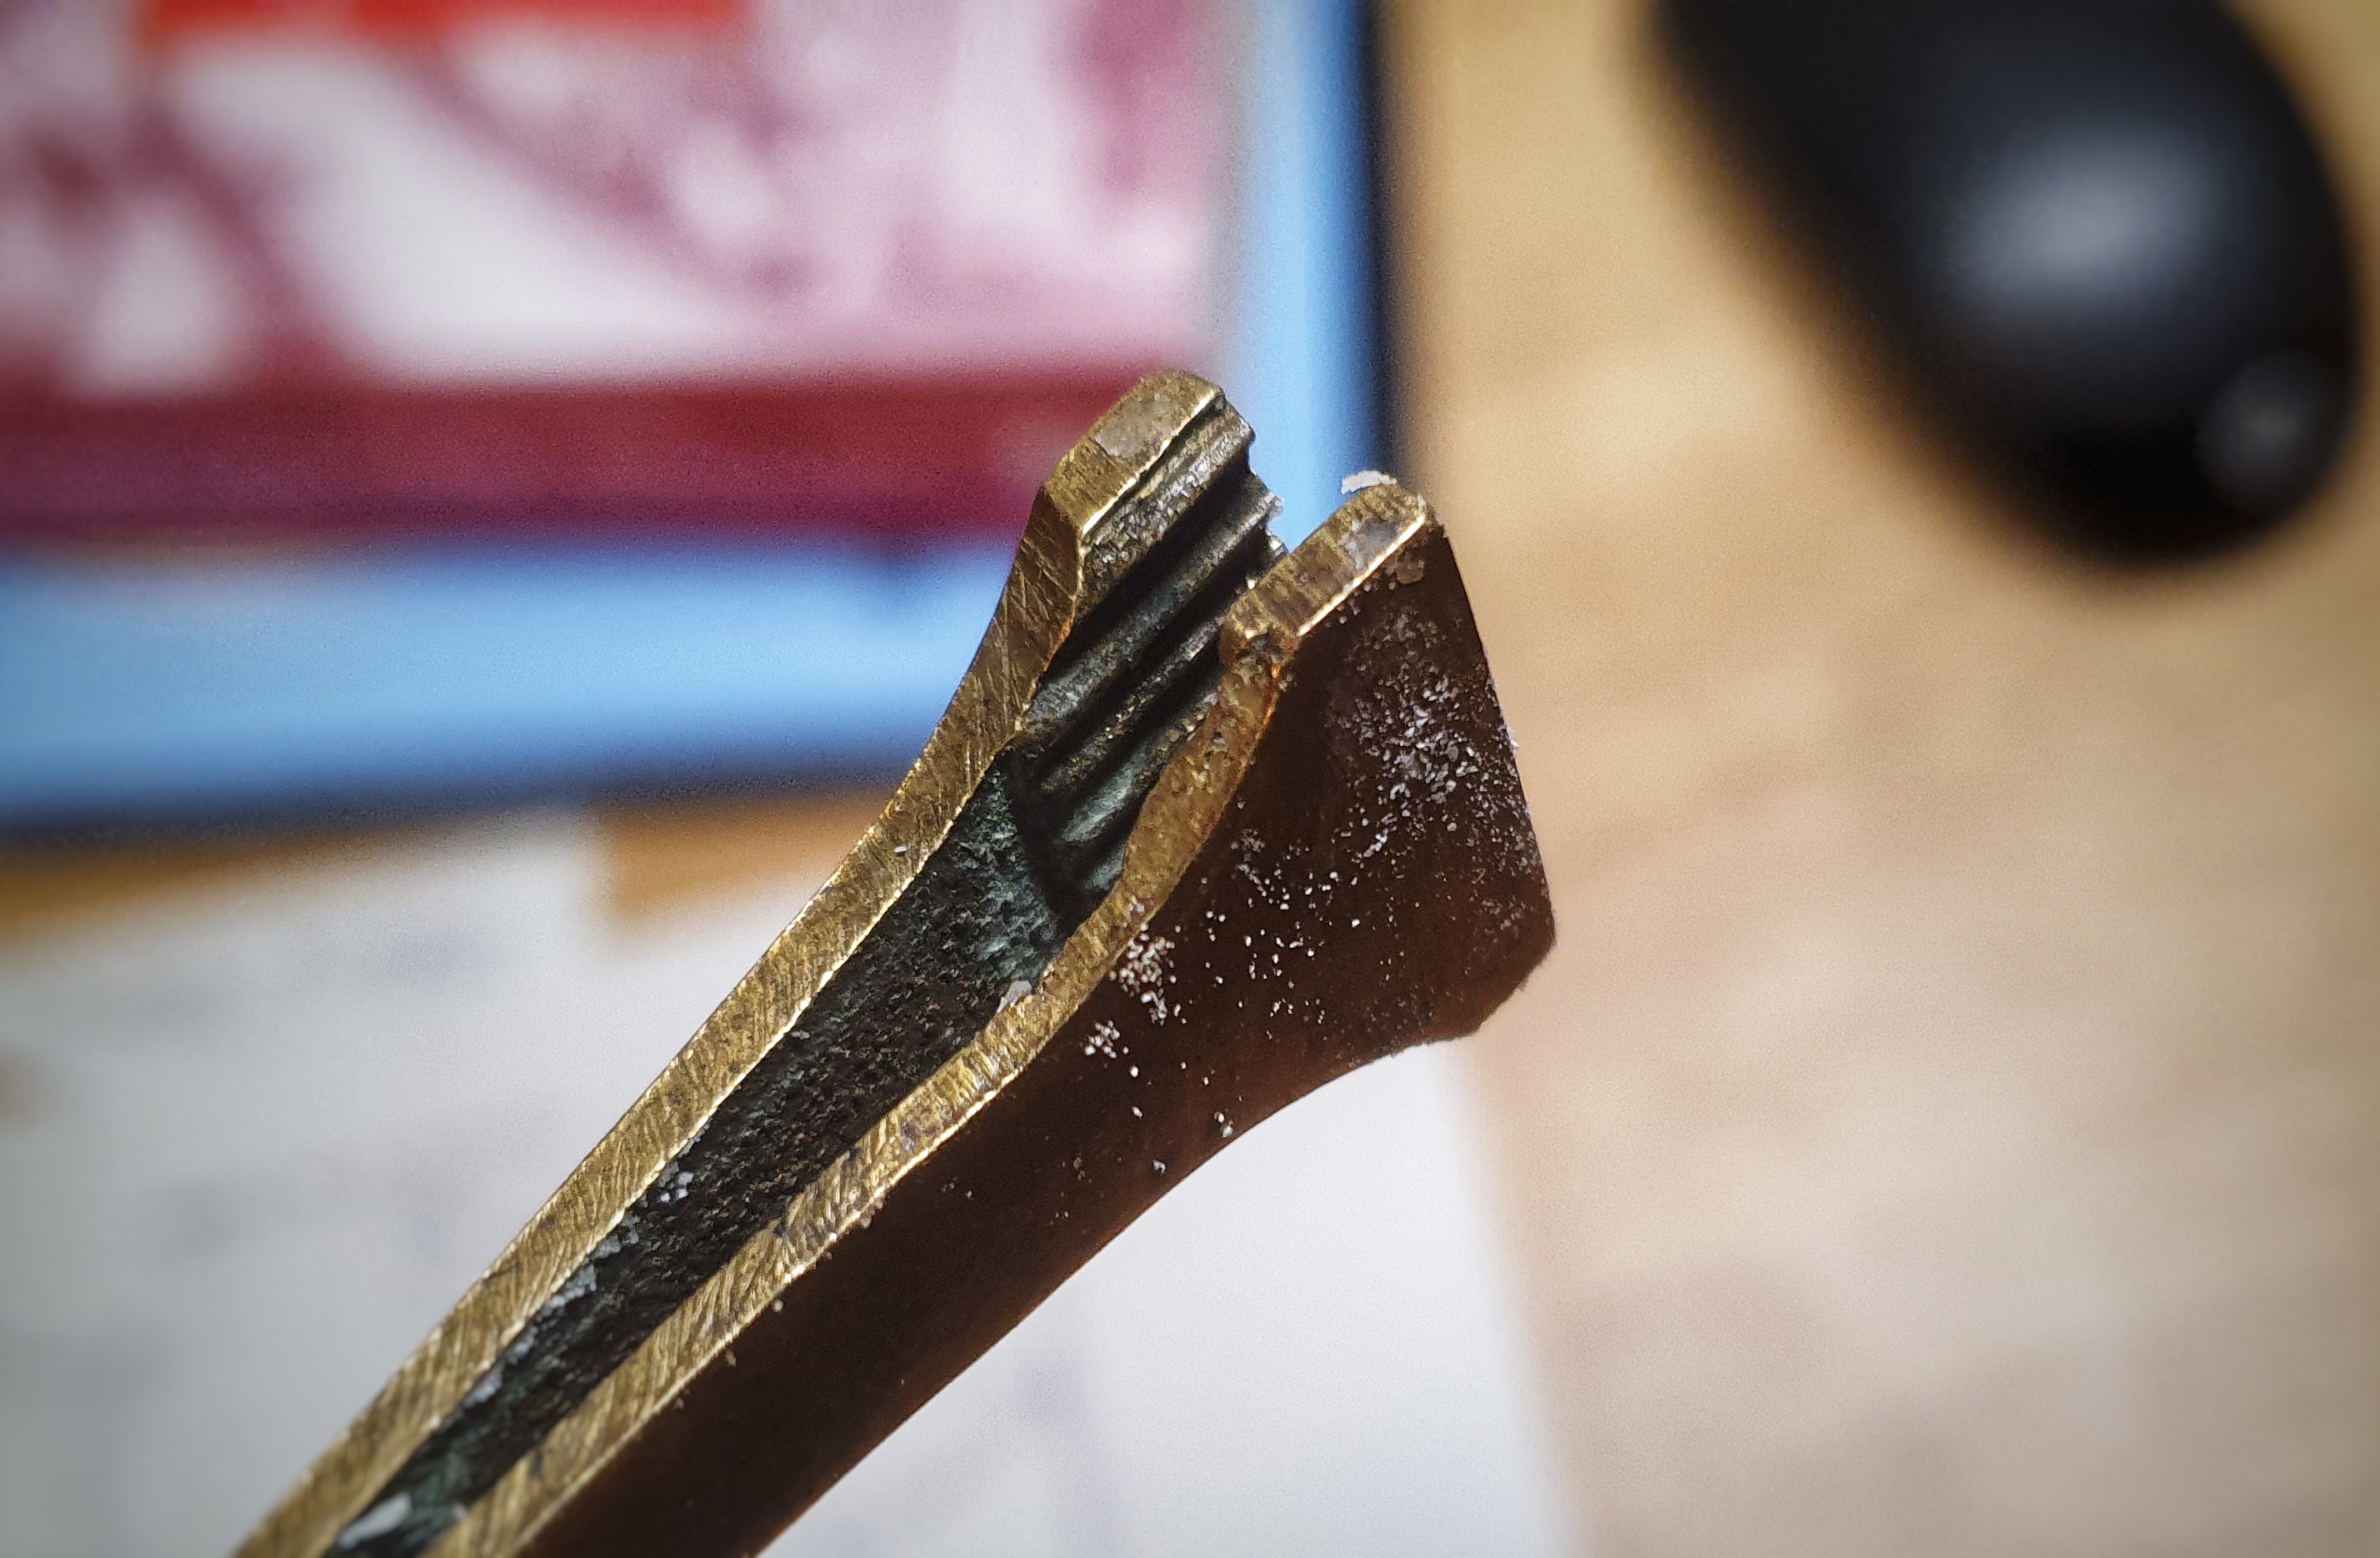
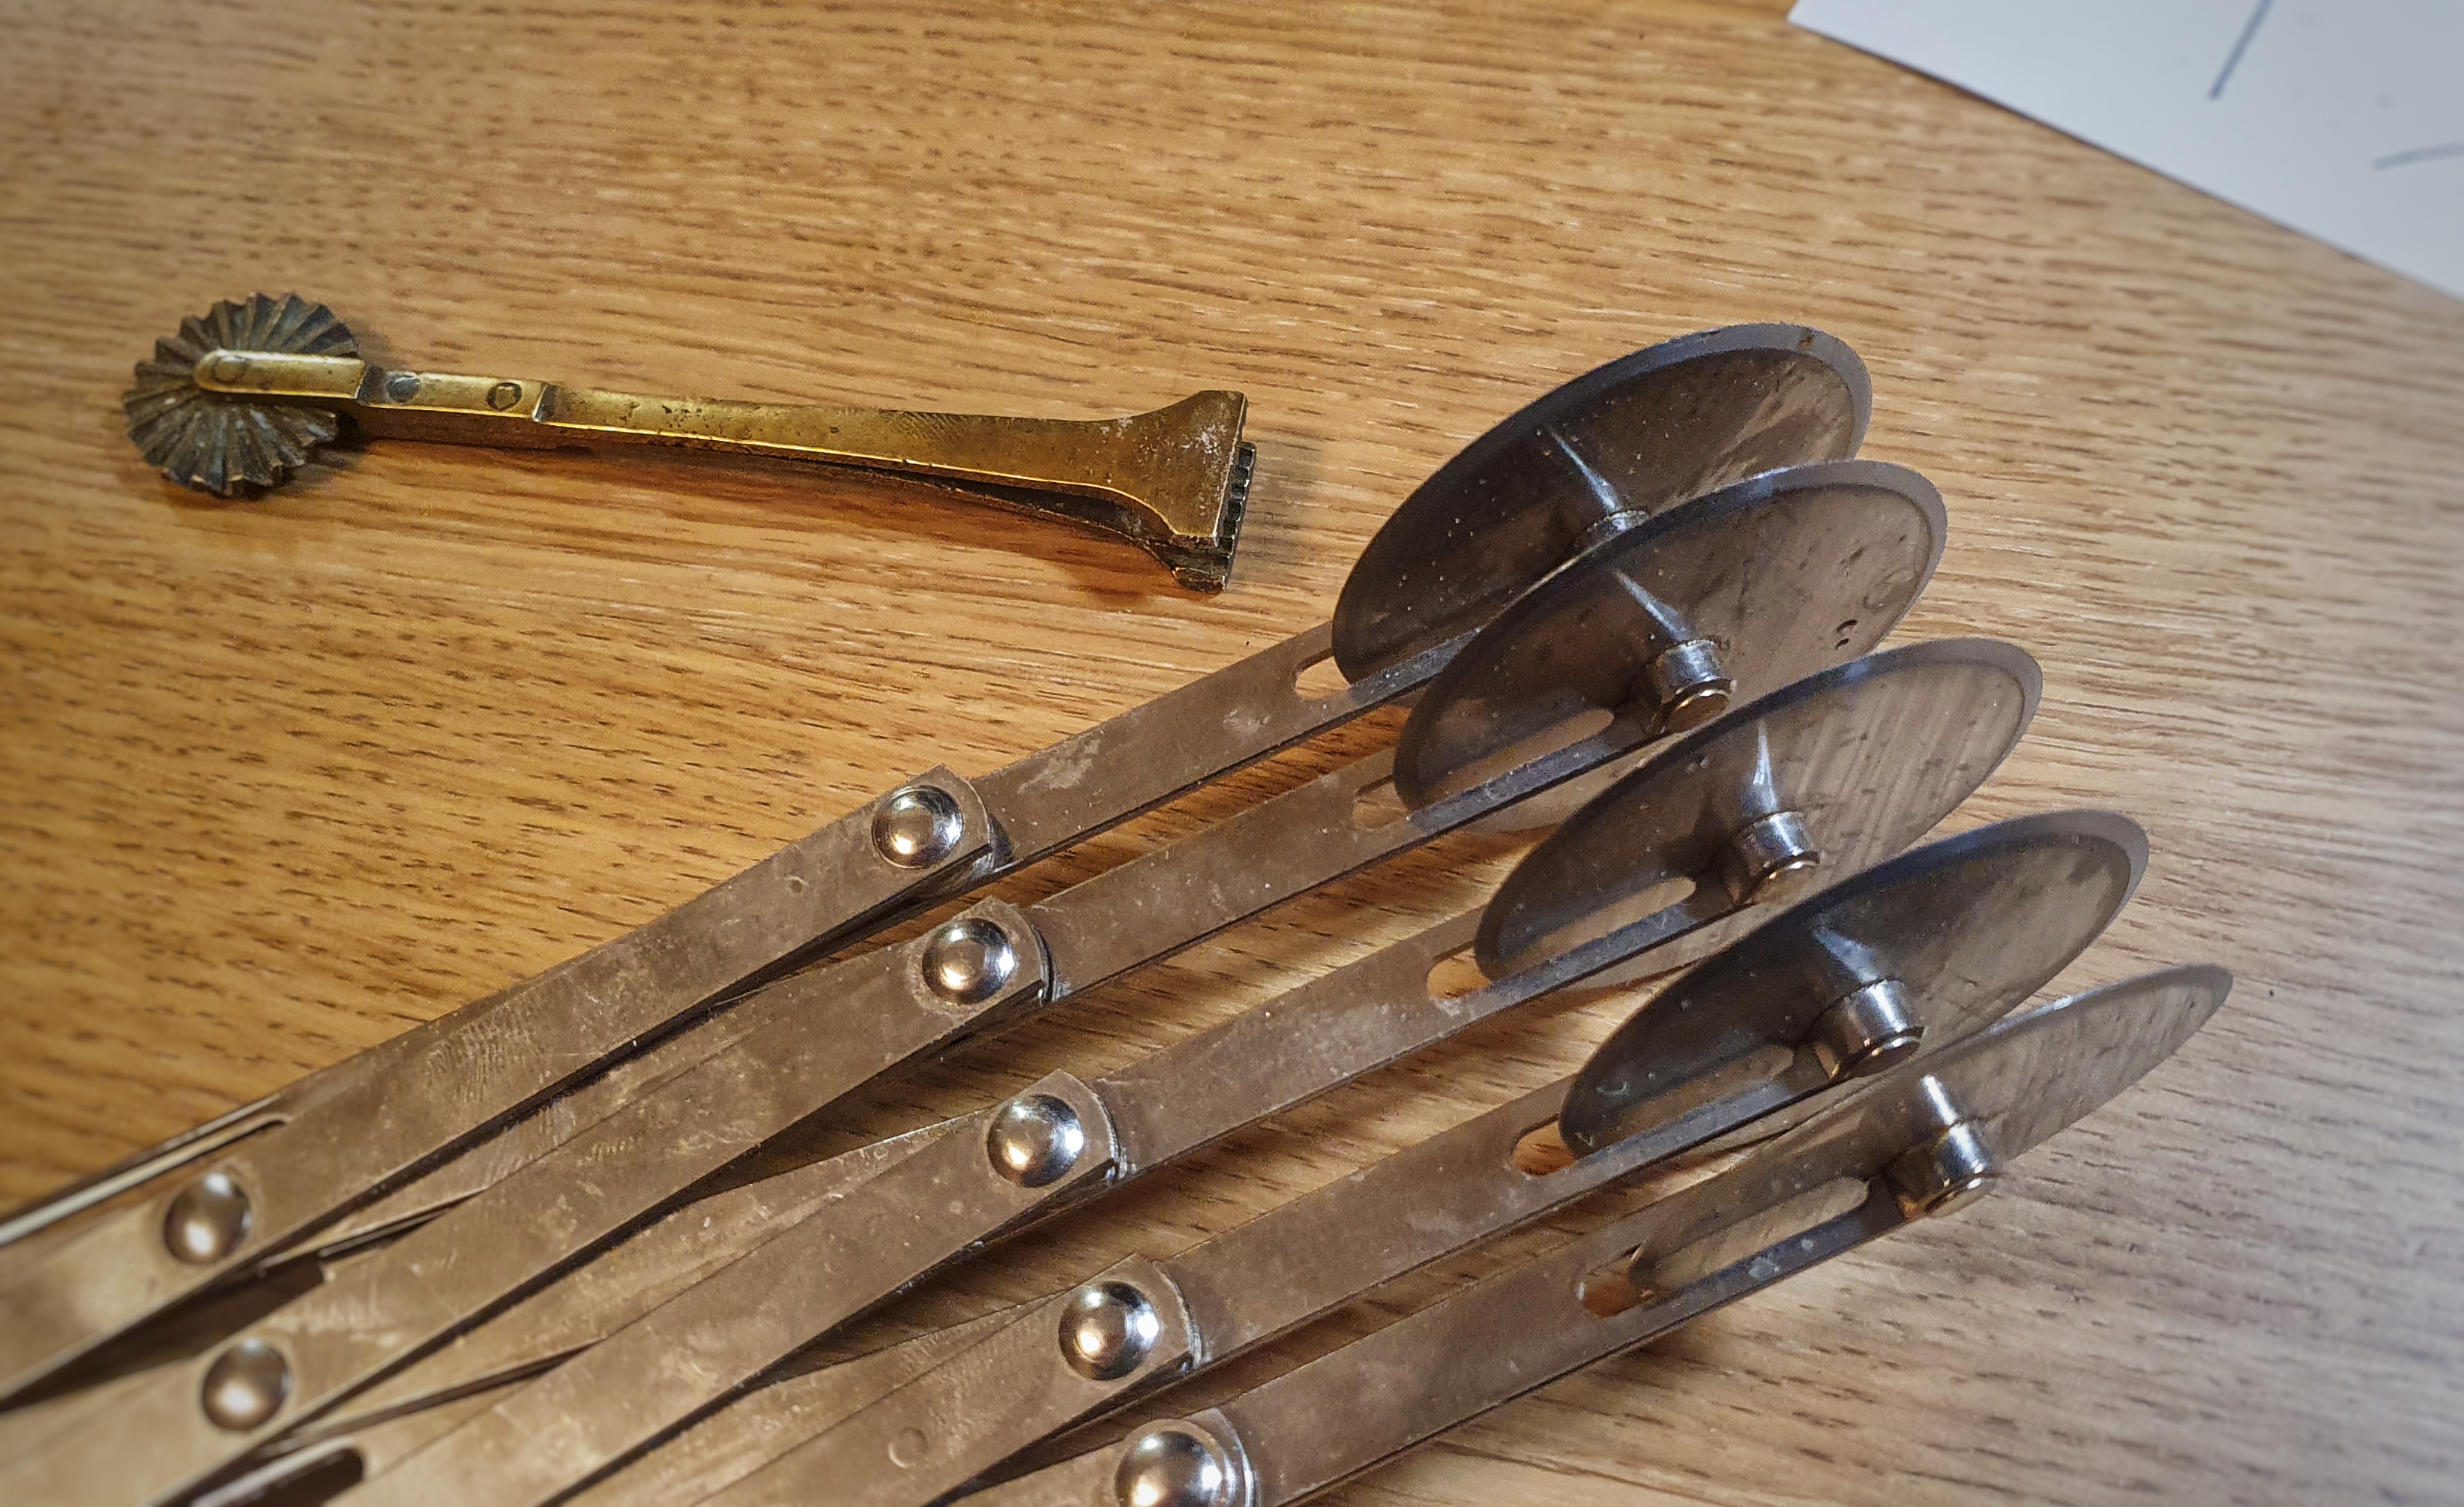
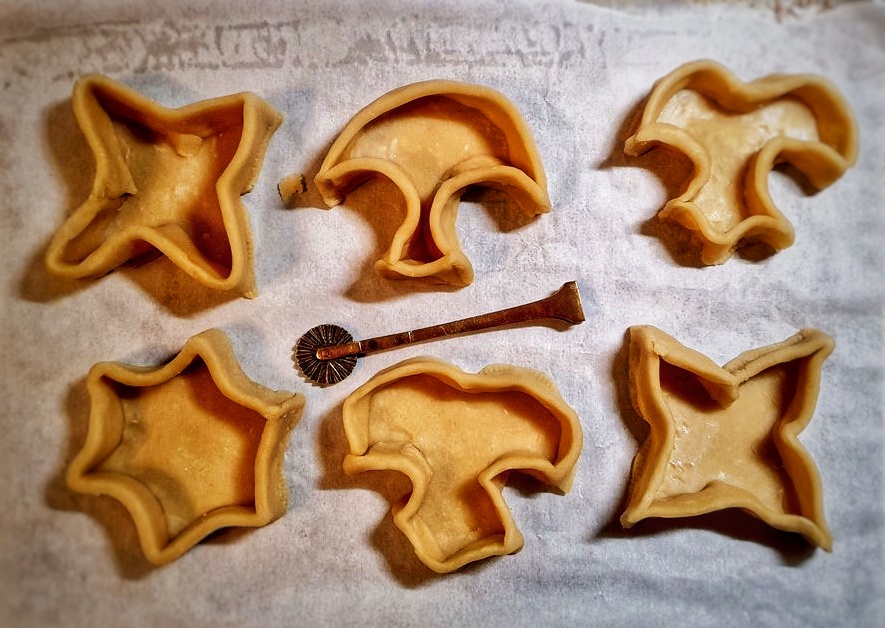
Then you need the correct tools for the job. I have collected over the years various pastry tools, both antique and modern. The wheels are called jiggers, which are used for cutting pastry. The antique ones usually come with a crimping tool attached, and these are used to fuse two pieces of pastry. The one I own with what looks like a flat pair of tweezers was particularly helpful for the pies I made here. I used a paring knife to cut out the shapes – the jiggers weren’t appropriate for these smaller pies.
Jiggers do come in handy for cutting out the pastry walls – essentially strips of pastry – I have a tool that’s made up of 5 jiggers on one expandable frame so you can cut several strips of the same thickness in one go.
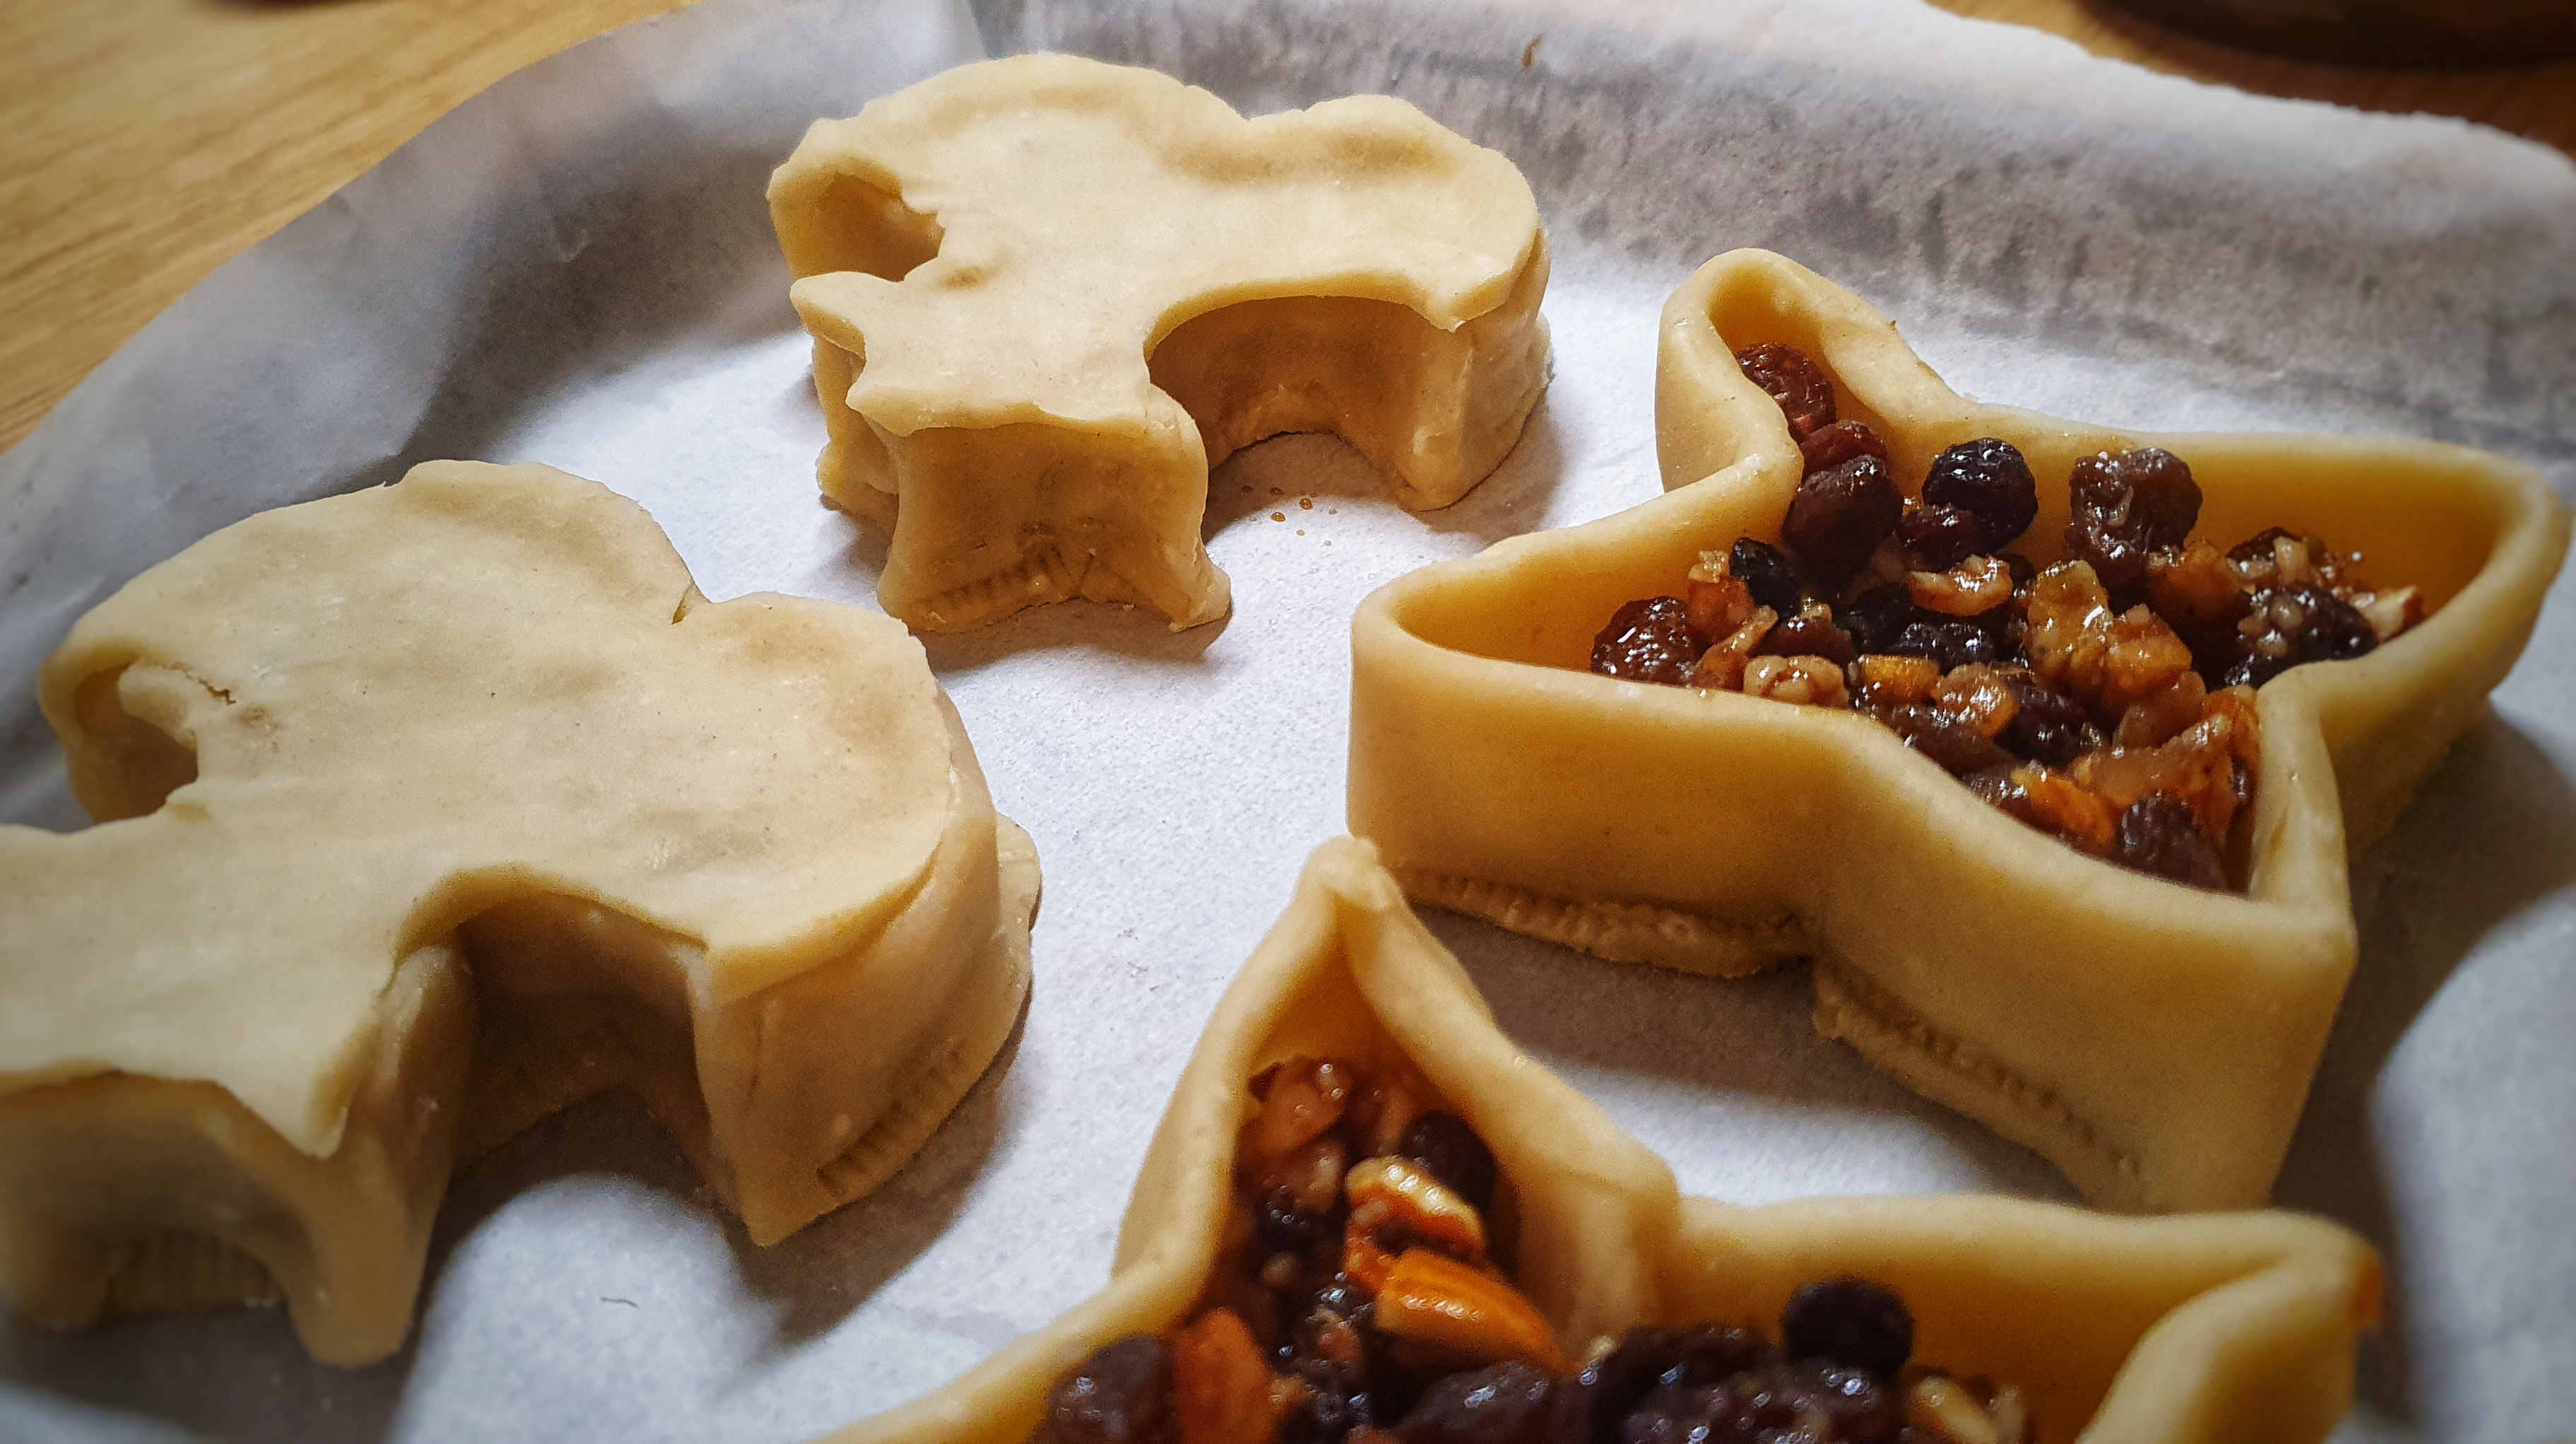
That’s the tools of the trade, but now let’s look at our ingredients: we need mincemeat (I used the lamb mincemeat, recipe here) but you can use any you like.[1] Then we need some pastry that is mouldable (we don’t want the walls collapsing in the oven!) yet edible.
If you like the blogs and podcast I produce and would to start a £3 monthly subscription, or would like to treat me to virtual coffee or pint: follow this link for more information.Thank you.
Mouldable Hot Water Pastry
I came up with the following recipe, based on one given by Jane Grigson in English Food.[2] It’s very good for moulding, but not particularly delicious, I made a few changes and I think it’s pretty good. It is simple to make, and this was enough for 8 to 10 pies, depending upon how large your templates are (you could, of course, make one large one!)
500 g plain flour
125 g salted butter, diced
125 g lard, diced
75 ml hot water
2 tbs icing sugar
First, rub the butter into the flour until it resembles breadcrumbs. Put the lard in a saucepan and pour the hot water over it. Heat gently, but be careful – you don’t want it to boil and splutter. Stir in the icing sugar and when it is dissolved, make a well in the centre of the flour-butter mixture and pour into it three-quarters of the hot liquid. Cut the liquid in with a knife, then pour the remaining hot liquid to pour over any dry patches that remain. Once all of the water has been added, give the pastry a knead (leave it to cool a little if you need to). It should be smooth, pliable and waxy. Cover with cling film and allow to cool completely, but do not refrigerate.
Constructing the Pies
Now you can roll out a third of the pastry thinly – aim for the thickness of a pound coin, 2 to 3 millimetres – and cut out your bases. Now roll out another third into a long strip, long enough to go around the perimeter of your shapes. To do this, use a piece of string to trace around the shape. When the appropriate length, use a ruler to cut your strips at your desired thickness. I went for 2 cm, but I could have gone thicker than that, I think.
Now the fiddly bit: brush the edges of the bases with plain water and glue the sides on. Use your finger and thumb to pinch them together, and then crimp them with a crimper tool if you have one. Repeat with all of your shapes and place in the fridge for a few hours to firm up. When firm, roll out the final third of the pastry and cut out your lids.
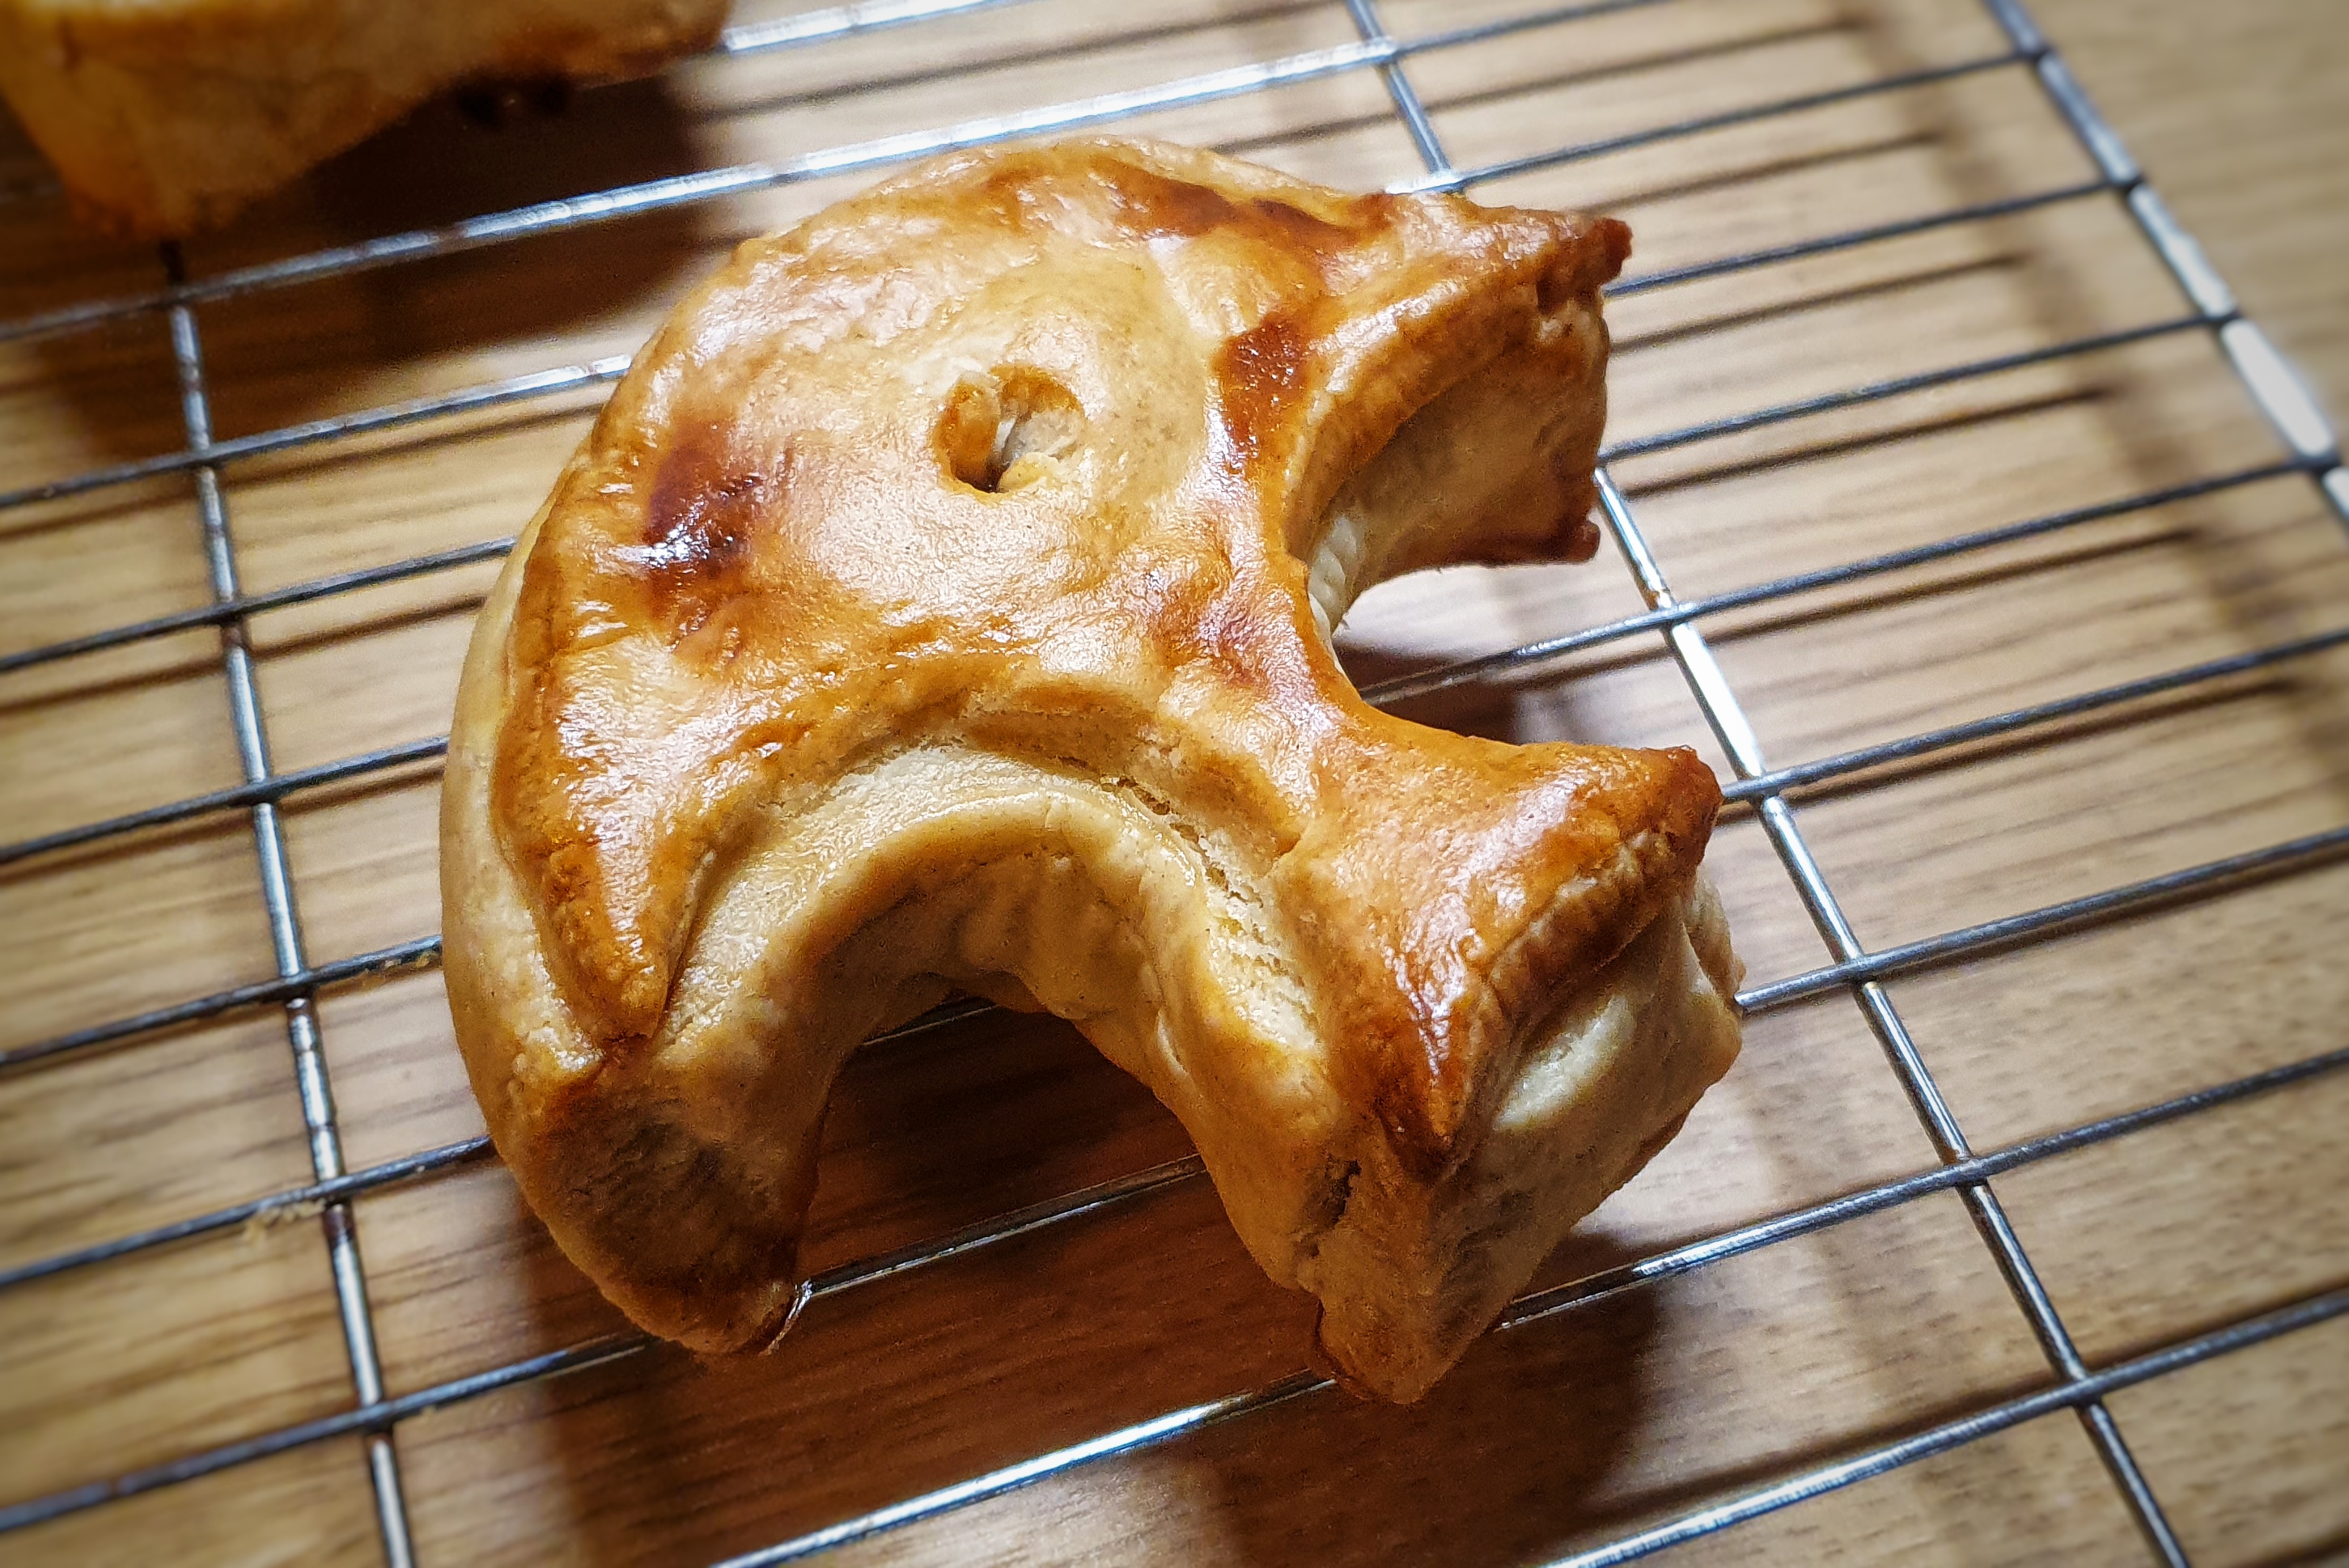
Fill your pies with your chosen mincemeat, brush the rims of your pies with water and fix on the lids in the same way as you did the bases. Make a steam hole and place back in the fridge for 30 minutes to firm up again. Meanwhile, preheat your oven to 200°C.
If you like, brush your pies with an egg wash before you bake them for 25 minutes, or until a good golden-brown colour. If you are making large pies, turn the heat down to 175°C and cook longer: you should see or hear the filling bubbling, telling you it is ready!