Category Archives: baking

Clotted Cream

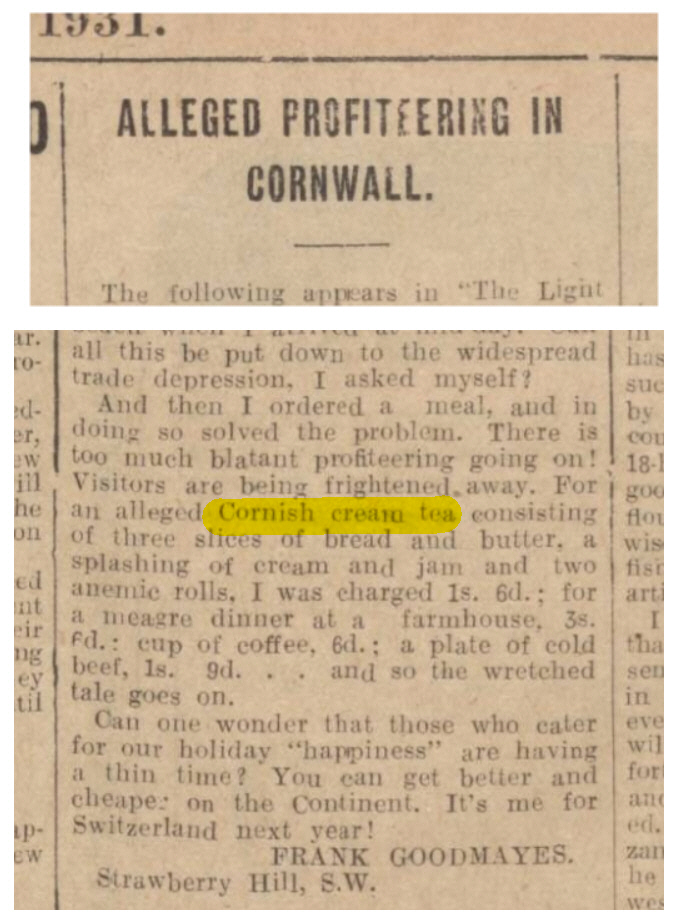
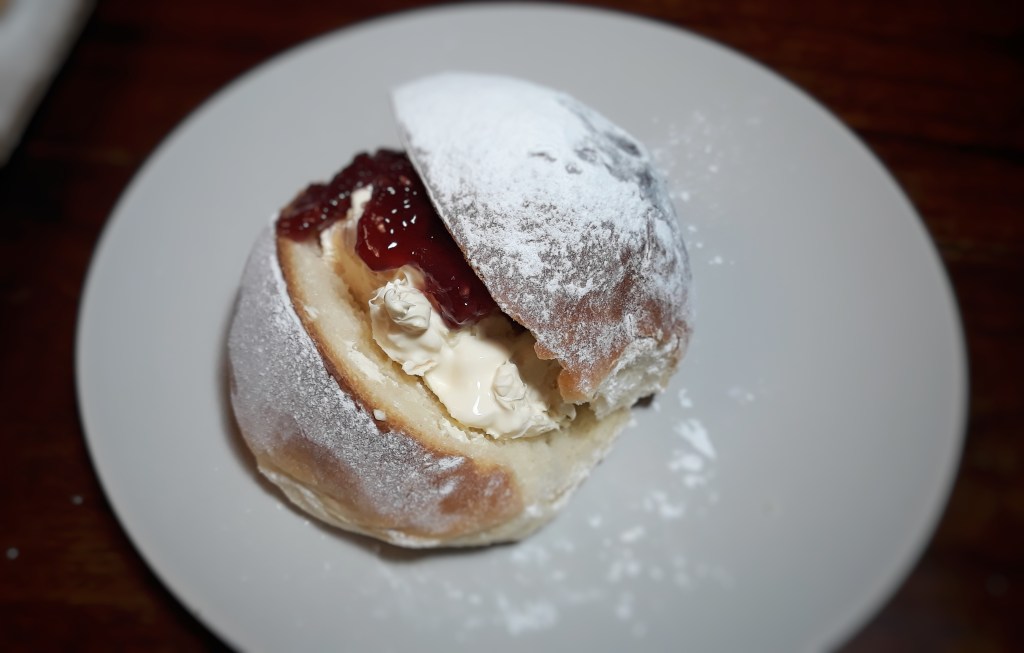
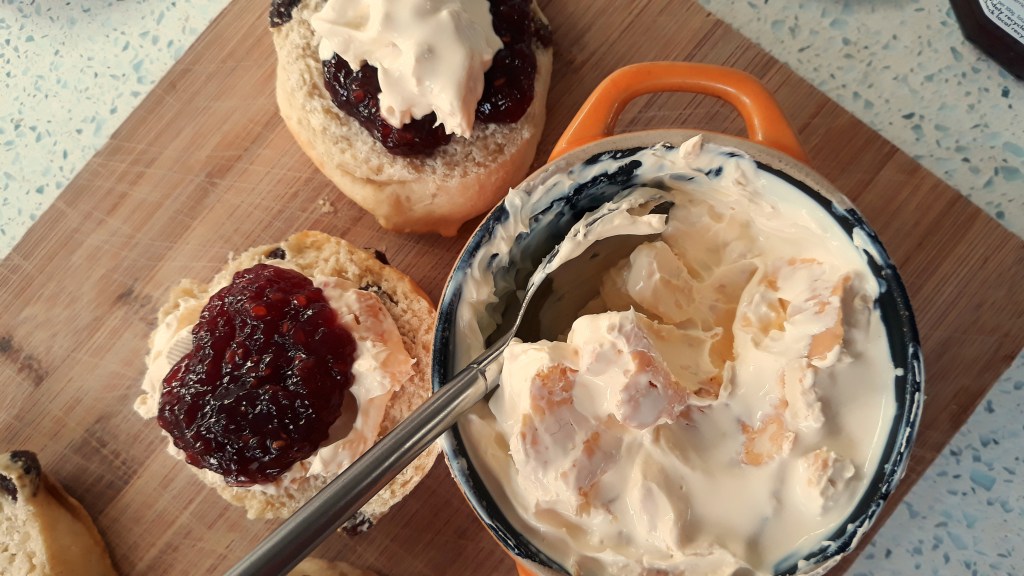
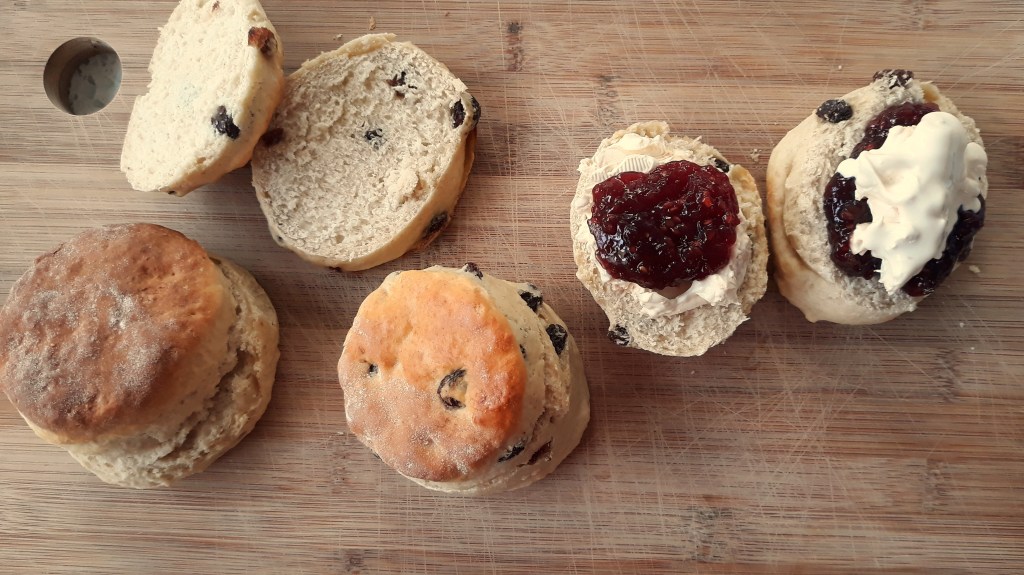
There’s nothing more Cornish than a good blob of clotted cream on a lovely cream tea. Unless you are from Devon of course, then there’s nothing more Devonian than a good blob of clotted cream on a lovely cream tea.

For those not in the know, clotted cream is a very thick cream with a much higher butterfat content than double (heavy) cream; weighing in at 64% and 48% respectively (for comparison, single cream is 18% fat, and full-fat milk is around 4%).

Clotted cream has a long history in Devon and Cornwall, and it is reckoned that it was first introduced to England by Phoenician settlers around 2000 years ago. Phoenicia was on the eastern Mediterranean coast in, what is now Syria, Lebanon and northern Isreal. The clotting of cream was a way of preserving buffalo milk. By removing the watery liquid, leaving mainly butterfat, the growth of spoilage organisms is retarded. The folk of Devonshire knew of its efficacy in this area; it was said that not even a witch’s breath could turn it sour.

If you have ever tried it, you will know that clotted cream – aka clouted cream or scalded cream in older books – is absolutely delicious and is well worth buying. It is possible to make your own and there is a recipe at the end of the post of you would to try your hand at it.

The best thing about it is the buttery, nutty crust that forms on the top as part of the manufacturing process. It is made by gently heating rich milk or cream in large shallow pans to a temperature of 80 to 90°C, the heat traditionally coming from cinders or charcoal. Once the buttery crust had formed, it was carefully but quickly moved to a cool place and sat upon some slate so make the cooling process as rapid as possible; the cold shocking the thin skimmed milk into sinking quickly and making a layer underneath the thick cream. These days, it’s all done with centrifuges, which is rather less romantic.

Once completely cooled, the clotted cream was lifted away with cold, wet hands and mixed in cold, wet wooden bowls to remove the last of the watery milk. It was then layered up in pots. I found a 1755 home recipe from an Elizabeth Cleland who recommended sprinkling rose water and sugar between the layers – the result must have been delicious!

The left-over skimmed milk, by the way, was taken away and either drank or used to make scones or Devonshire splits.

From the point of view of butterfat extraction, clotted cream is a much more efficient method than basic skimming techniques. The reason it is not the standard technique, I assume, is that double skimming requires no heating or centrifuges, tipping the balance of economy in double cream’s favour. Couple this with the fact that modern refrigeration and pasteurisation is doing the lion’s share of the preserving today means that the process of clotting cream is no longer required for that purpose. We eat it for the sheer love of it (ditto smoked fish and meat).

Mrs Beeton’s Book of Household Management says that there are two types of clotted cream: Devonshire and Dutch. She goes on to explain the difference – Dutch clotted cream is thick enough to stand a spoon up in. Now, in my (humble) opinion, it ain’t clotted cream unless you can stand a spoon up in it, so I can only conclude that English clotted cream – at least from a Victorian Londoner’s point of view – was relatively runny compared to that of today’s

Clotted cream is used to make ice cream, some biscuits and as a topping to the old-fashioned pudding Devonshire junket, a sweetened milk dessert set with rennet, producing curds and whey. It can be used to enrich sauces and soups too but use with caution – things can end up too rich.

Rodda’s is the largest producer of clotted cream and is based in Cornwall. There is much debate between the folk of Devon and Cornwall as to whether the cream should be added before or after the jam. Nick Rodda reckons his grandfather knew why:

We always put our cream on top because we are proud of it, Devonians are slightly ashamed of theirs, so they cover it up with their jam.

I must confess to siding with the Devonians on this one. It’s all down to what you think the buttery cream’s role is. The argument goes something like this:

The Cornish: it is the cream, and you wouldn’t put cream under your fruit salad/trifle/fruit tart etc, now would you?

The Devonians: it is the butter, and you wouldn’t spread butter over the jam on your toast/crumpet/muffin etc, now would you?

Your choice.


If you like the blogs and podcast I produce, please consider treating me to a virtual coffee or pint, or even a £3 monthly subscription: follow this link for more information.


Home-Made Clotted Cream

All you need to make your own is some double cream, an oven and patience.

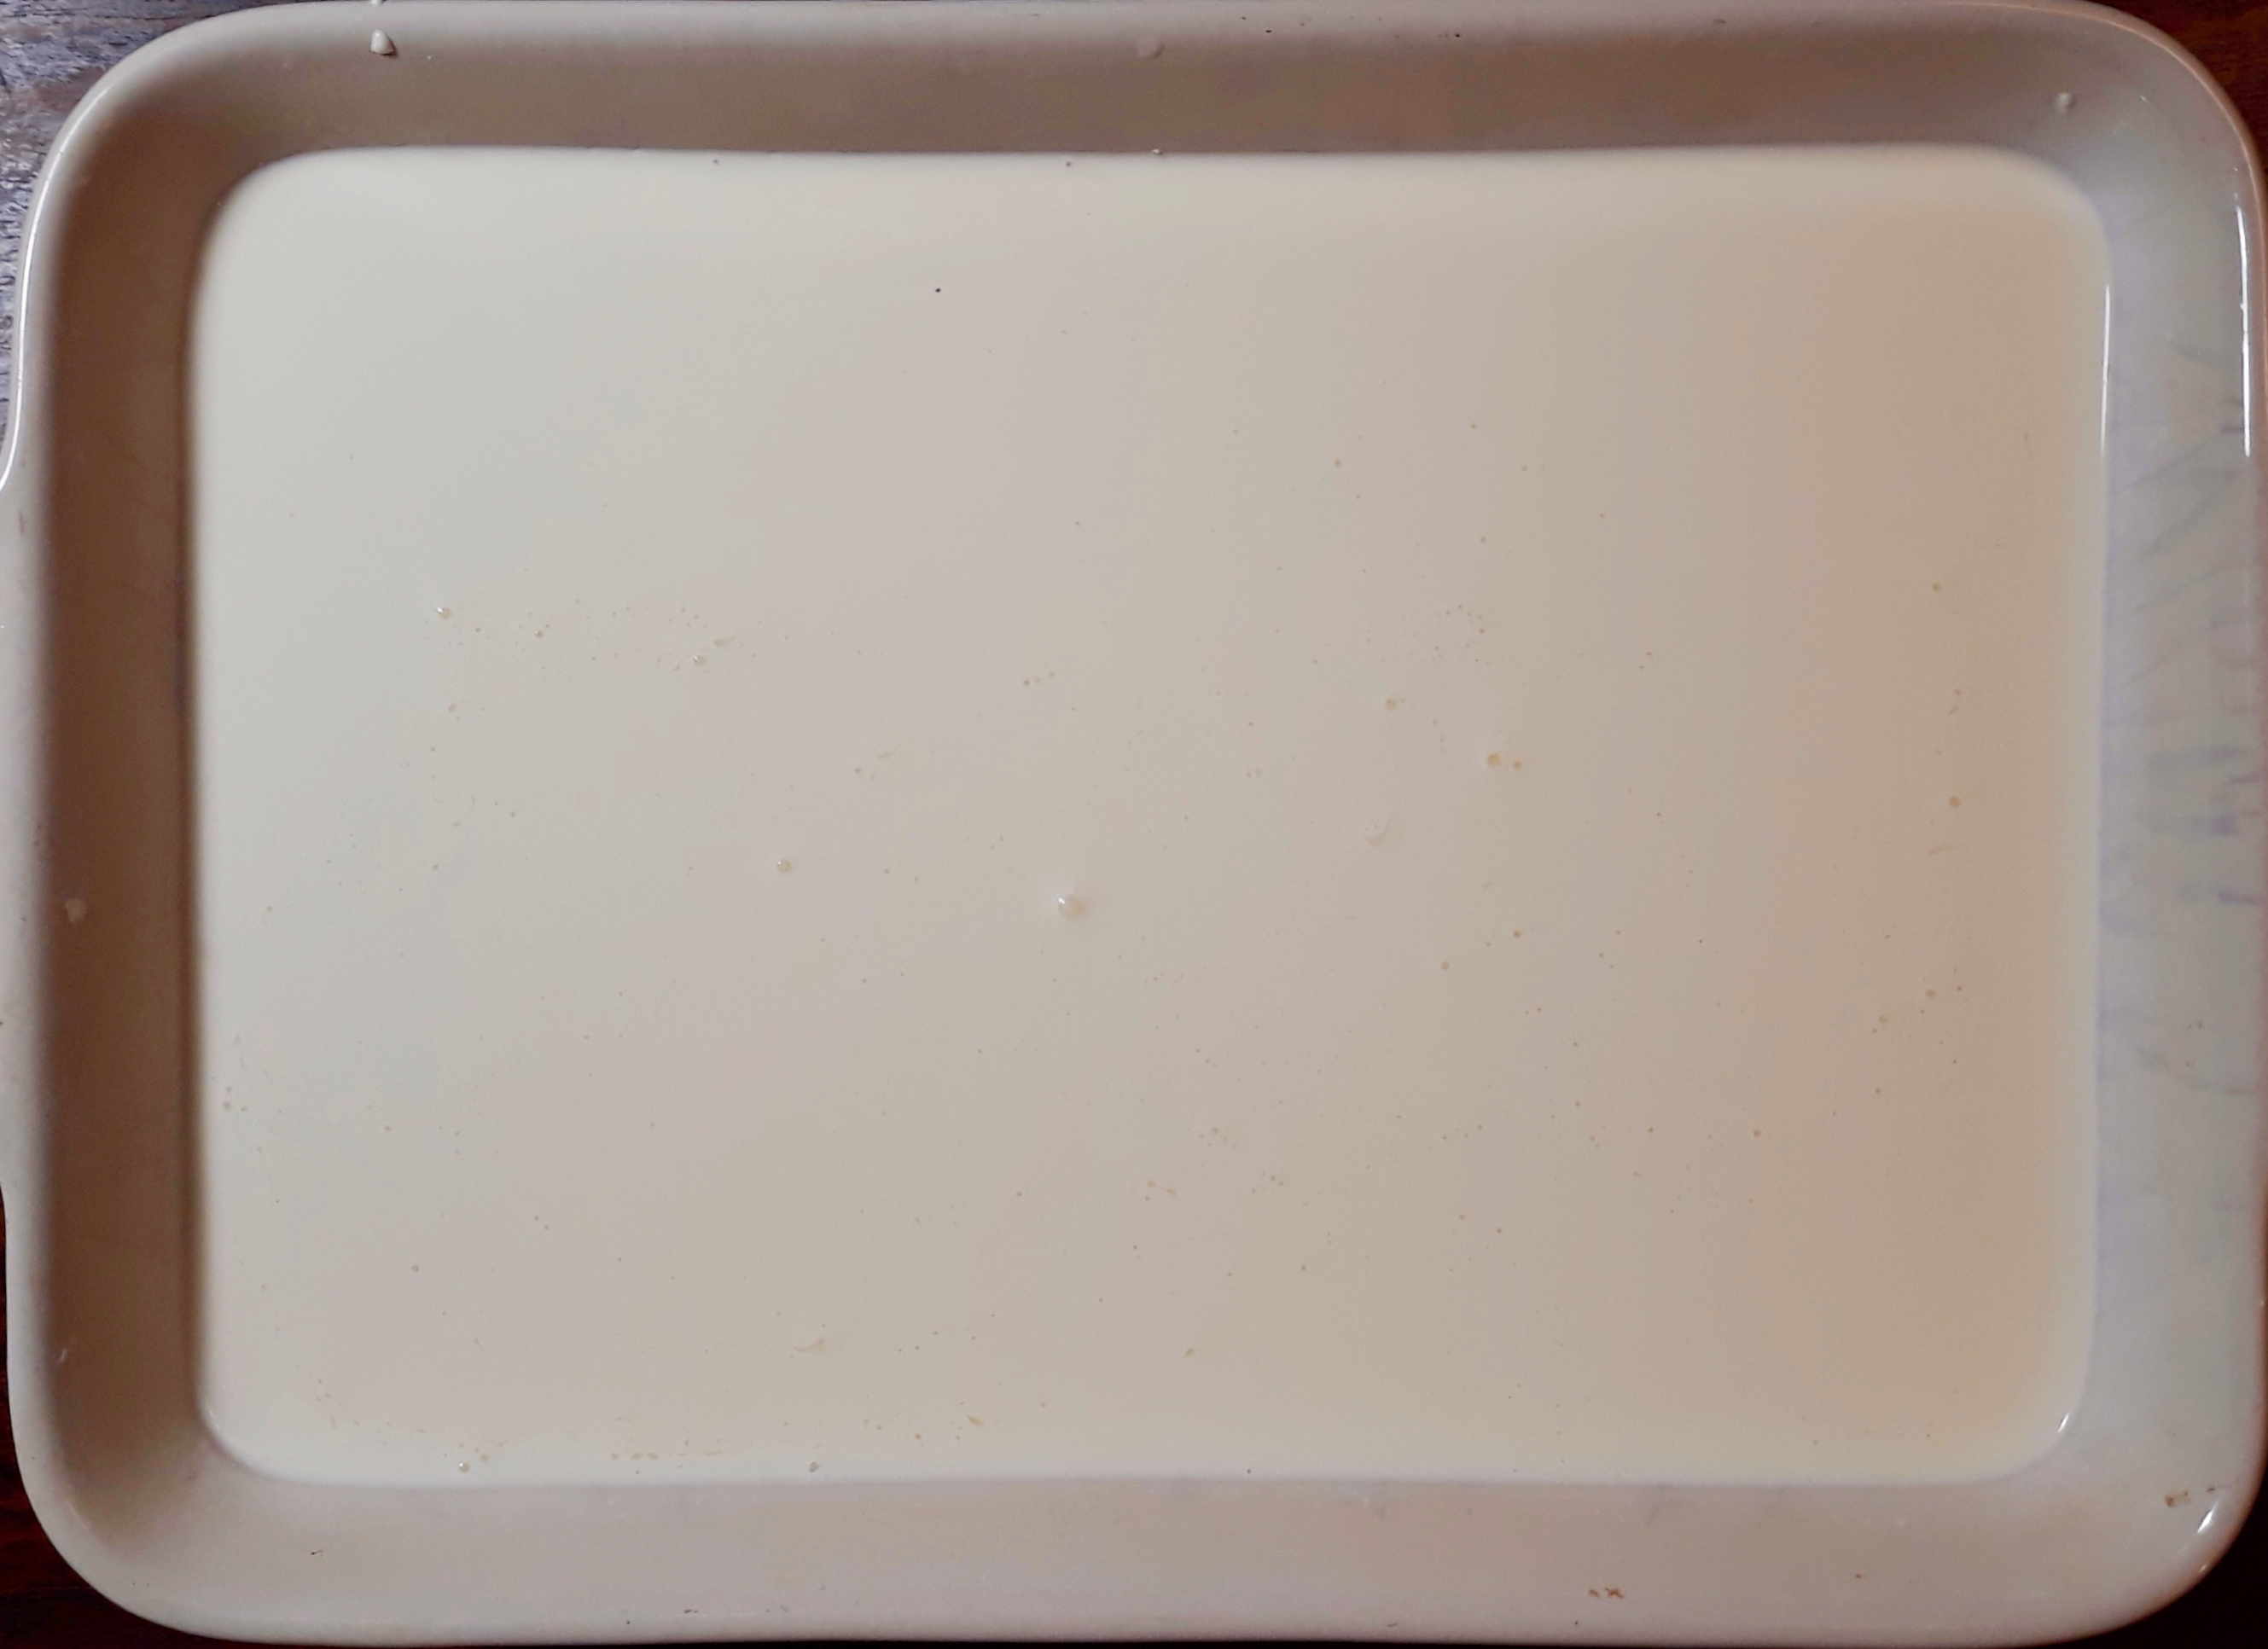
Before…

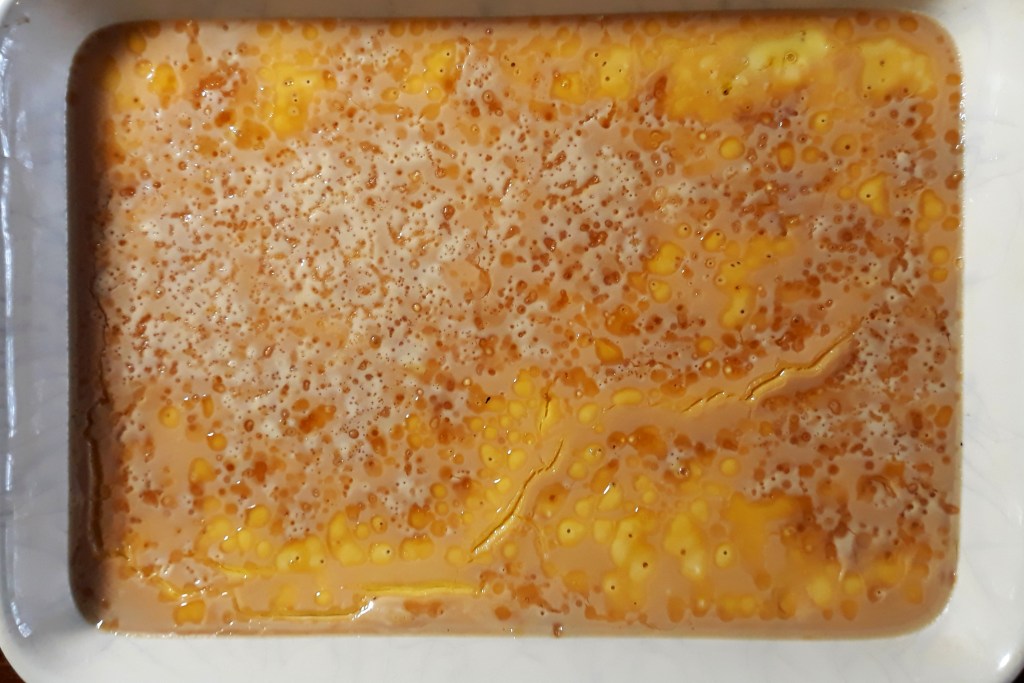
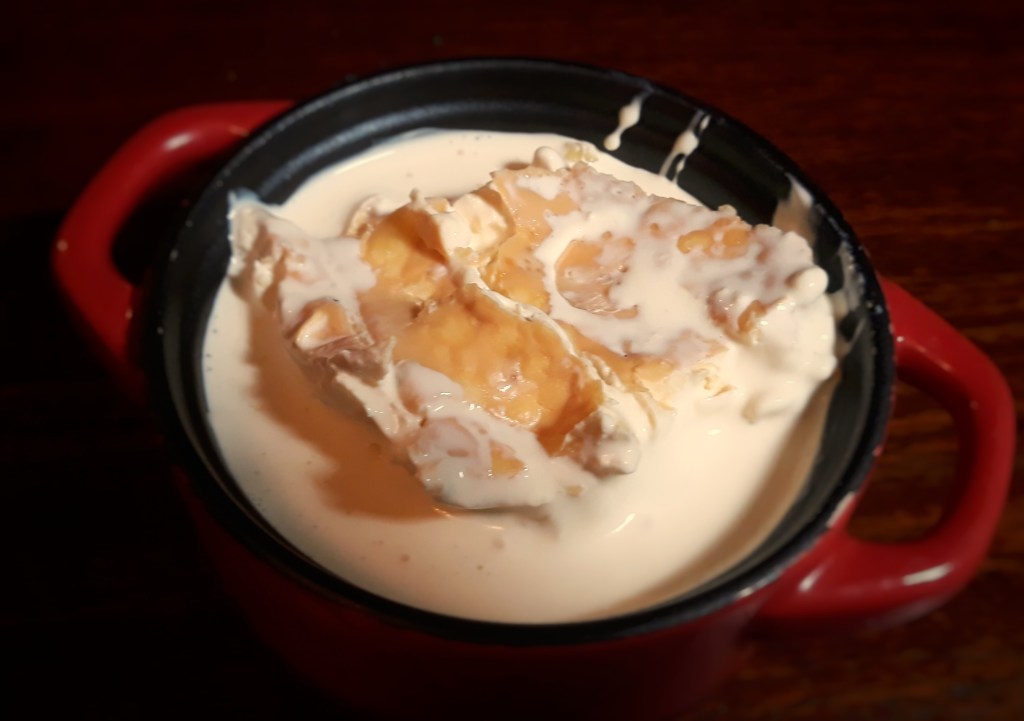
Preheat your oven to 80°C. Pour around 1 litre of double cream into a wide, shallow ovenproof dish, place it in the oven and leave in there for 12 hours. If you are really patient, leave for 18 hours to achieve a darker, more delicious caramel-flavoured crust.

…after

Carefully remove from the oven, cover with kitchen foil and pop straight into the fridge to cool quickly and undisturbed.

Once fully chilled, lift the clotted cream from the dish and layer up in pots. I filled three good-sized ramekins with mine. The amount of skimmed milk at the bottom will vary depending upon how long you left the cream in the oven for.

The cream keeps for 7 days in the fridge.

References:

Clotted Cream, RS Chavan, A Kumar & S Bhatt, 2016, In Encyclopedia of Food and Health

The Complete Housewife, Elizabeth Cleland, 1755

How do you take your cream tea?, BBC Cornwall website, 2010 http://news.bbc.co.uk/local/cornwall/low/people_and_places/newsid_8694000/8694384.stm

Mrs Beeton’s Book of Household Management, Isabella Beeton, 1861

My Devonshire Book, Henry Harris, 1907

William’s Practical Butter Book, Xerxes Addison Willard, 1875

20 Comments

Filed under baking, Britain, cooking, Desserts, food, General, history, Preserving, Puddings, Recipes, Teatime

Cornish Pasties

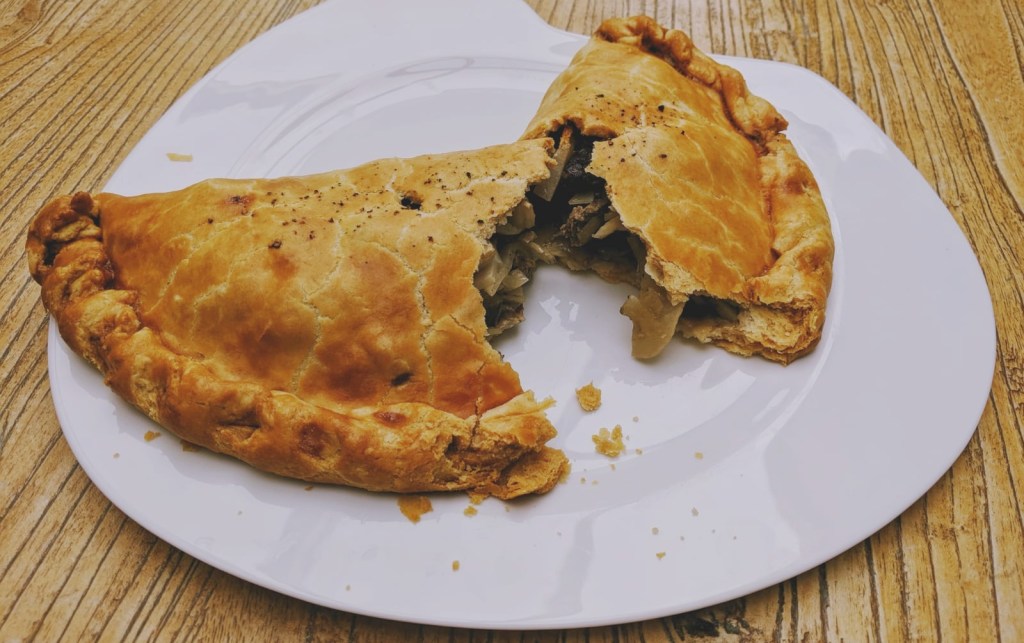
As promised, some Cornish recipes and I start with a classic. Cornish pasties are a simple combination of chopped (not minced) beef, potatoes, turnips and onions. It’s seasoned well – especially with black pepper and baked in shortcrust pastry. You can moisten it with a bit beef stock and season it further with some thyme leaves if there’s some hanging around, but you really don’t need to. Sometimes you may find some carrot in your pasty, if you do, thrown it back the face of the person who gave you it, because there is no place for carrot a Cornish pasty.

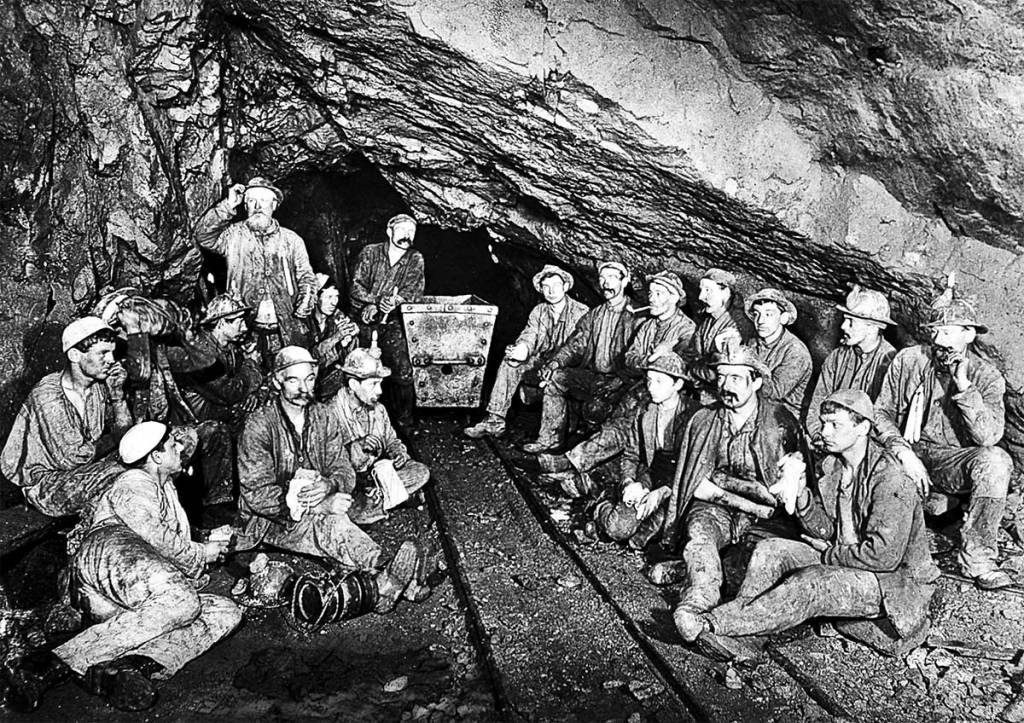
Cornish pasties were given to Cornish tin miners or field-workers so they could slip one into their pockets and eat them for lunch, the thick crimp being a useful handle protecting it from dirty fingers. The meat-to-vegetable ratio varied depending upon what folk could afford at the time. It don’t think it should be too meaty, but if you disagree simply alter my proportions in the recipe below.

Cornish tin miners, pasties in hand

Also, for a Cornish pasty the crimp must go down the side, not over the top, as you might see in some bakeries. That is a Devonshire pasty, I believe.

As discussed in the comments in my previous post, these pasties did not have a sweet filling at one end and a savoury one at the other. What you have there is Bedfordshire clanger, but I’m sure you knew that.

One final thing, some advice from Jane Grigson: “Cornish pasties are pronounced with a long a”. We use a short a Up North, and I refuse to change.

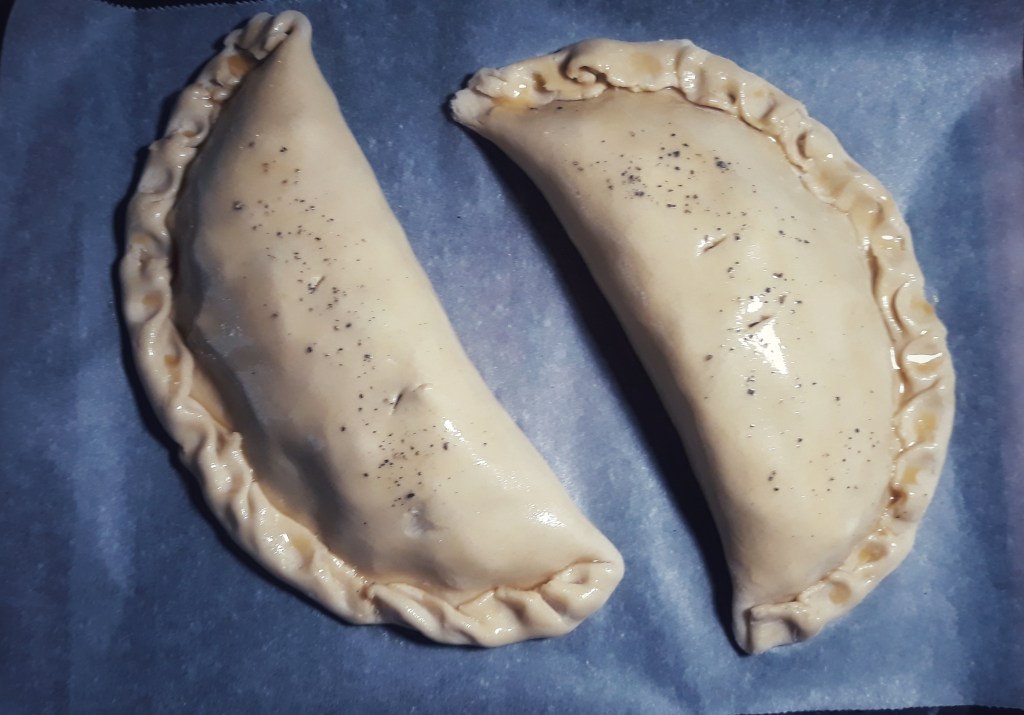
Pasties ready for the oven

If you’ve never made a pasty in your life, this is the one to start with; the ingredients are raw so there is no messy gravy and juices getting everywhere and making things difficult. It seems too simple to be delicious, but it is. The secret is in the seasoning. I use a rounded teaspoon of salt, but you can use less; be warned though, use no or little salt, and you will have a bland stodge-fest before you, my friend.

On the subject of salt, notice the crazy amount of salt in the egg wash – a good half-teaspoon of salt in your beaten egg provides a strong and appetising shine to the final product. I believe that is, as the kids say, a kitchen hack.

For 2 large or 4 medium-sized pasties:

For the shortcrust pastry:

400g plain flour

100g each salted butter and lard, diced

around 80g water

For the filling:

300g chuck, skirt or braising steak, gristle and fat removed

125g onion (a medium-sized one), chopped

125g turnip, peeled and thinly sliced

250g potato, peeled and thinly sliced

salt and freshy-ground black pepper

thyme, fresh or dried (optional)

4 tbs beef stock or water

Egg wash:

1 egg beaten with ½ tsp salt

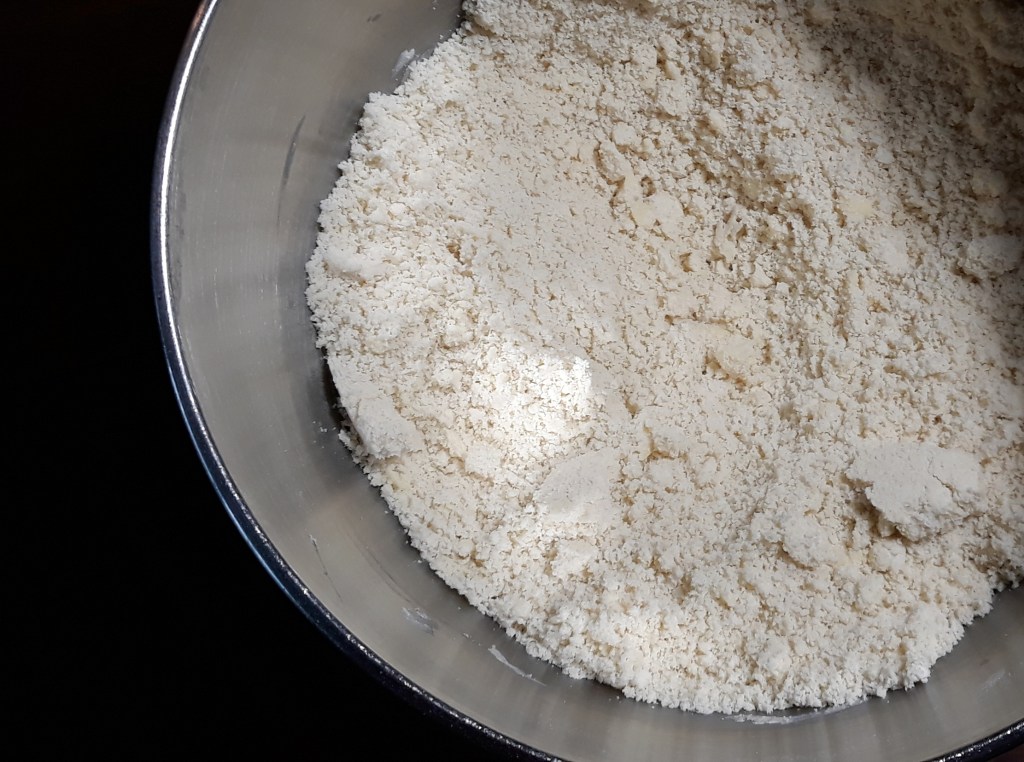
Begin with the pastry. Place the flour, butter and lard in a mixing bowl. If you have an electric mixer, use the flat beater and turn on to a low speed until the mixture resembles breadcrumbs. If you are doing this by hand, rub the fat into the flour with the tips of fingers. It shouldn’t take longer than five minutes.

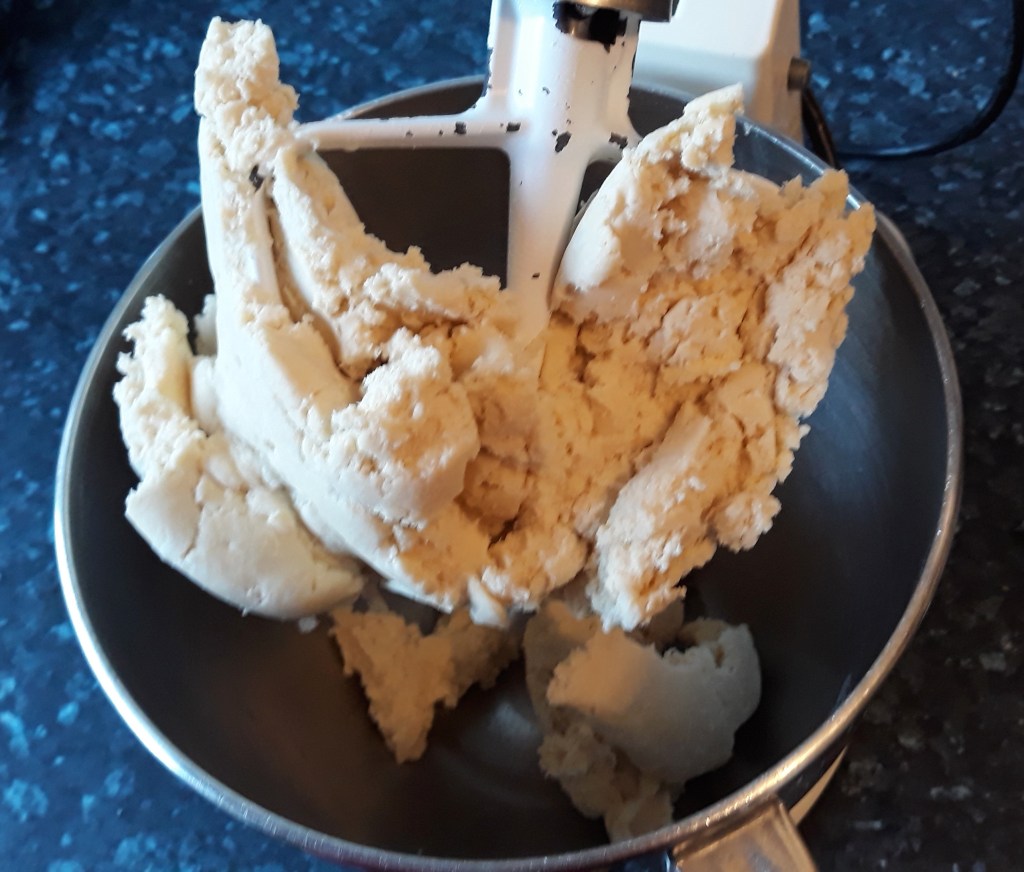
Trickle in the water with the mixer on its slowest speed and stop it as soon as the dough comes together. If doing by hand, add half the water and mix in with one hand, trickling in the rest of the water as you mix.

Either way the dough should some together and not feel sticky – it shouldn’t stick to your worktop, but it will feel a little tacky.

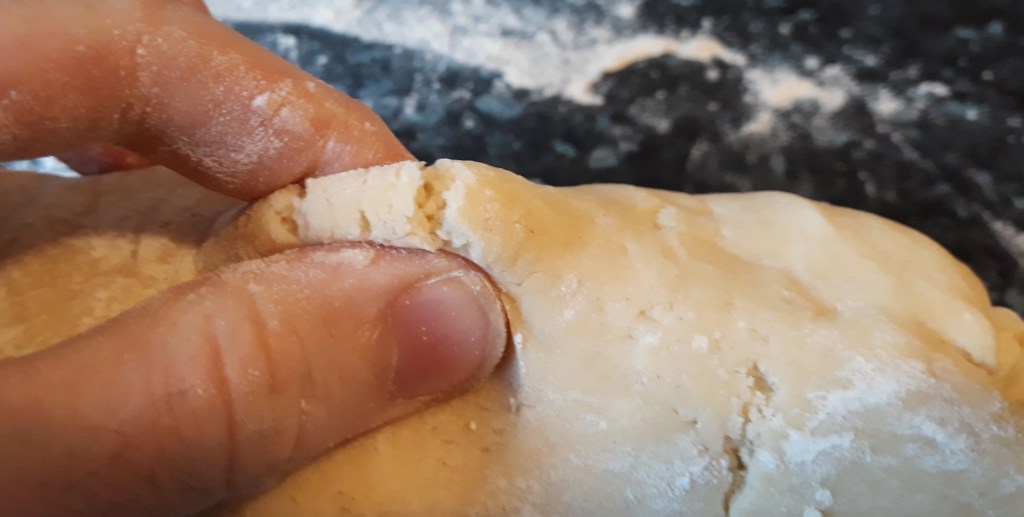
Lightly flour your work surface and knead the pastry briefly. This is where you may go wrong – over-kneading results in tough, shrinking pastry. The way to tell you are done kneading is to pinch some of the dough between your thumb and forefinger – it should just split around the edges when you pinch it hard (see pic).

Cover the dough and pop in the fridge to rest for 30 minutes.*

Meanwhile, get the filling ready. Place all the vegetables and a good pinch of thyme if using in a large mixing bowl. Season and mix with your hand, then add the meat, season that and then mix in. Remember to be generous with the black pepper – add what you think is sufficient, then do a couple more twists of the milk.

Remove the pastry from the fridge and split into two or four equal pieces. Form into balls and roll each out on a lightly floured surface, using a lightly floured rolling pin. I rolled out two large dinner plate sized circles of dough to around 3mm thickness – that of a pound coin. Don’t worry if they are a little wonky, they get tidied up as we go. That said, if it’s looking more like a map of the Isle of Wight than a circle, you might want to neaten up a little.

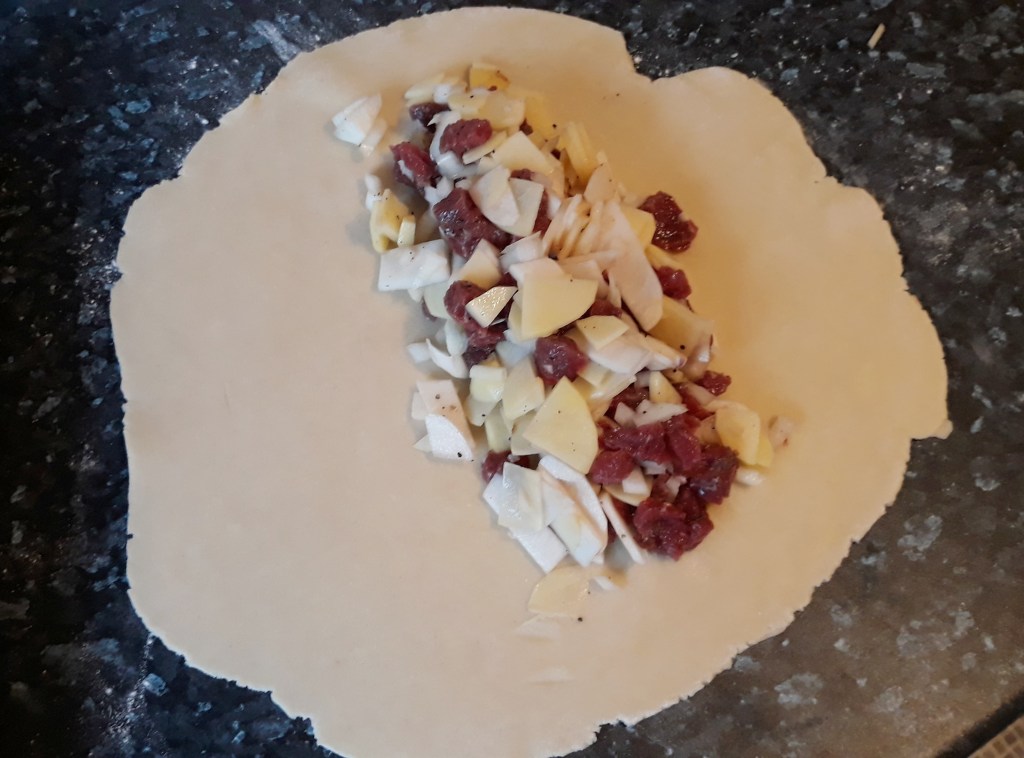
Now heap up the filling in a line just slightly off centre, dividing equally between the circles of dough. Sprinkle with the beef stock or water. Brush a semi-circle of egg wash down the edge nearest to the filling and then fold the dough over leaving the dough beneath poking out by 5 or 10mm.

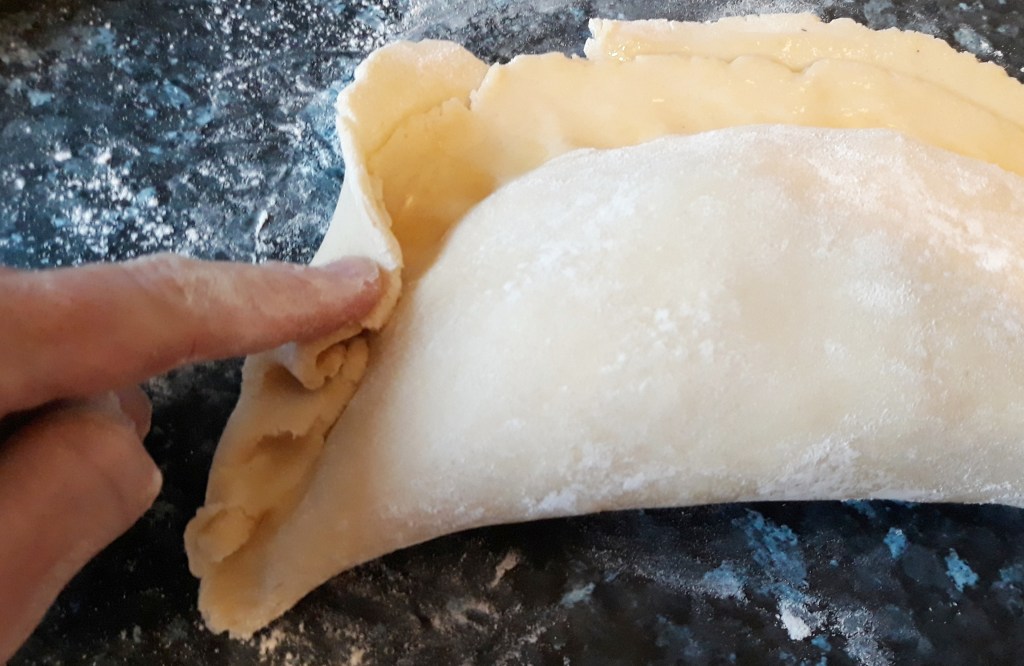
Next egg wash the side again and crimp down the edge –  this makes things extra-secure as the filling expands in the oven. To crimp, fold over one corner inwards with a finger, squidge down the next section of pastry and repeat until you have worked all your way around the pasty.

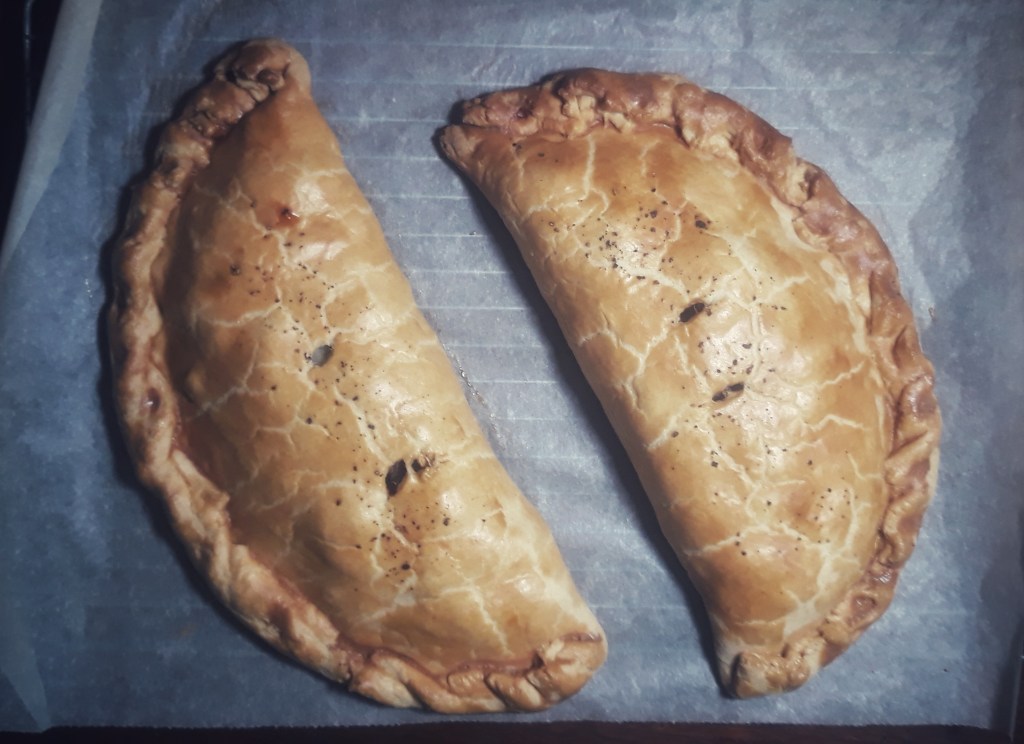
Place on a lined baking tray, egg wash the tops and poke in a couple of holes with a sharp knife. Bake for 1 hour at 200°C, turning down the temperature to 180°C once the pastry is golden brown, around 20-30 minutes into the bake.

Remove and eat hot or cold.

*I will write a more in-depth method for pastry at some point, honest!


If you like the blogs and podcast I produce, please consider treating me to a virtual coffee or pint, or even a £3 monthly subscription: follow this link for more information.


17 Comments

Filed under baking, Britain, cooking, food, General, history, Meat, Recipes, Uncategorized

Baked Gooseberry Pudding

The last in a quartet of gooseberry posts – I promise I will change the subject next post.

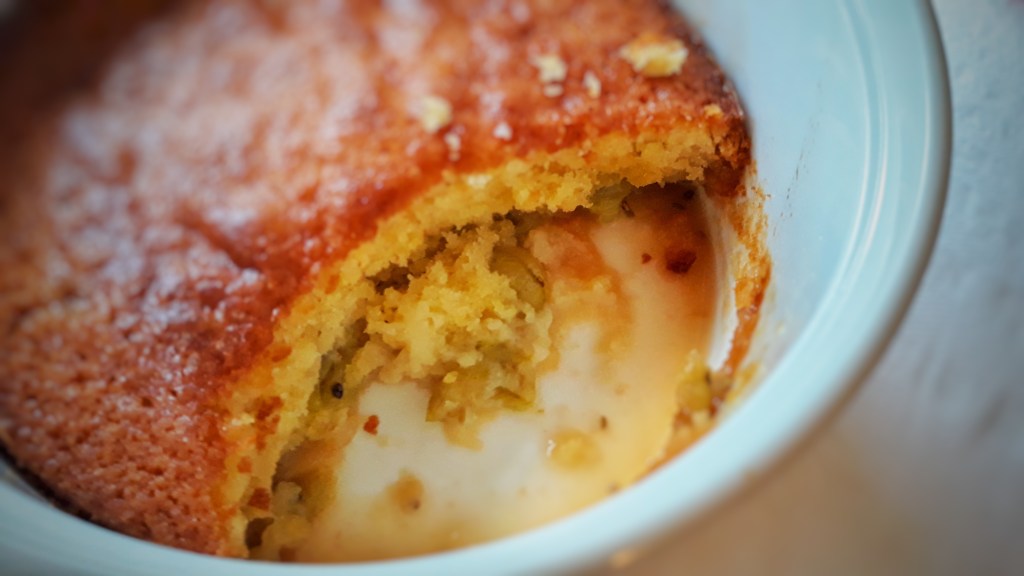
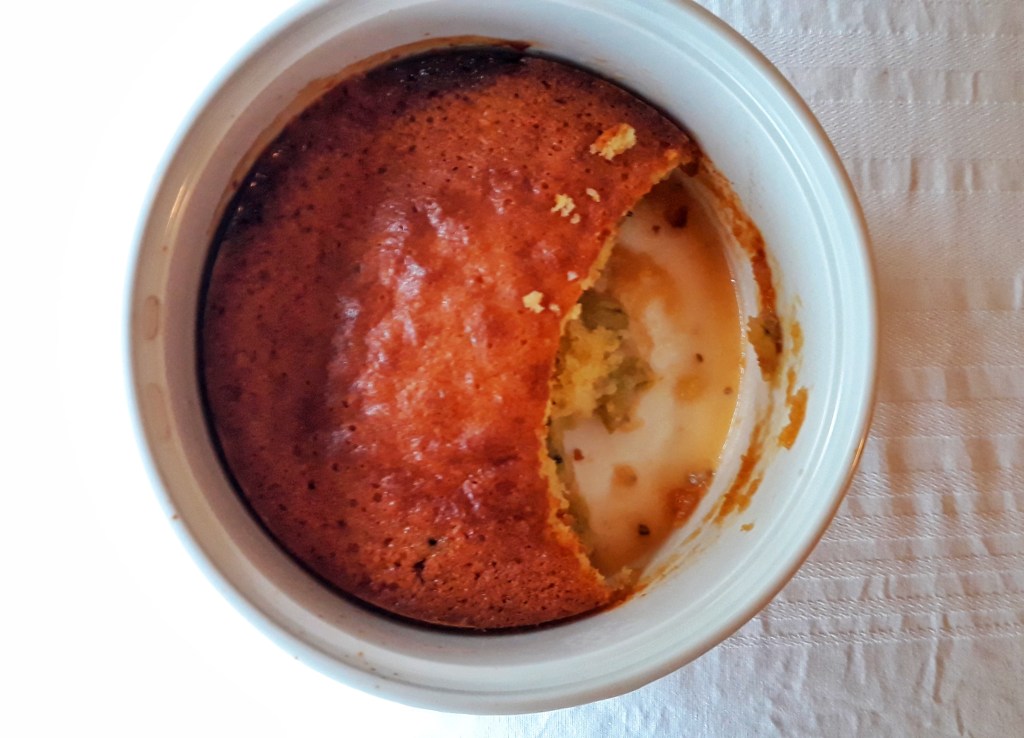
In my honest, humble opinion this is the best gooseberry dessert recipe. It’s old-fashioned and simple to make – gooseberries are baked with a little brown sugar and a knob or two of butter, all covered in cake sponge. The berries are still very sharp and are perfectly balanced with the warm, sweet sponge. This is much more superior to the better-known Eve’s pudding – stewed cooking apples covered in sponge cake. I suspect this would work excellently with blackcurrants.

This recipe crops up in my traditional English or British cookery books, but I first heard of it from Jane Grigson (as I have many dishes) in her book English Food.

For the pudding, you can make any amount of topping, it’s dependent upon whether you like a thin or thick layer of sponge and the dimensions of your baking dish. I used a soufflé dish of diameter around 7 inches/18 centimetres. I think this is a good amount for this size, and for most family-sized dishes.

The sponge is made using the all-in-one method, so make sure your butter is extremely soft to ensure a light topping.

2 tbs Demerara or soft light brown sugar

a couple of knobs of salted butter

gooseberries, topped and tailed

100 g very soft, salted butter

100g self-raising flour

100g caster sugar

2 eggs

Set your oven to 180°C.

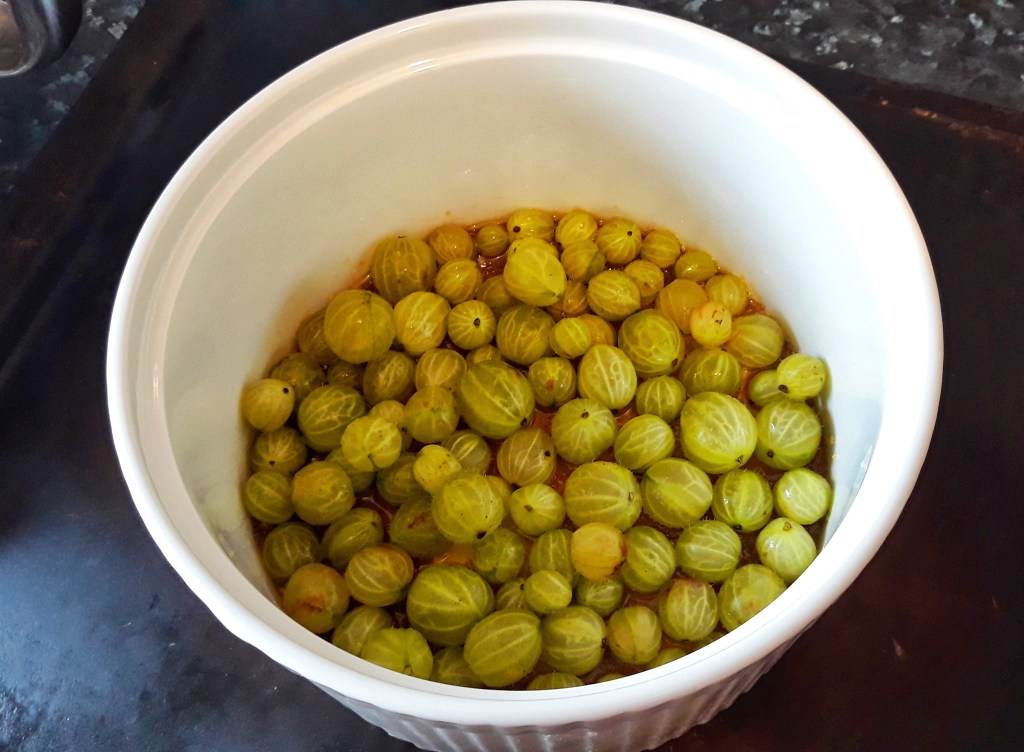
Scatter the sugar and dot the butter on the bottom of your baking dish and cover with the gooseberries; you are aiming for a generous single layer of them.

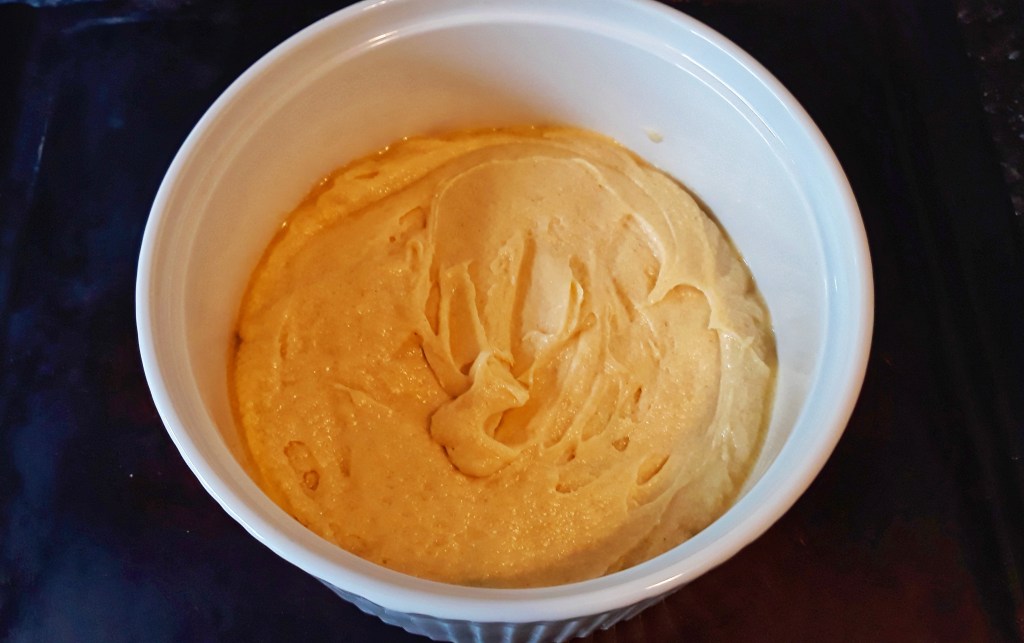
Place the butter, flour, caster sugar and eggs in a bowl and beat together with an electric mixer until the mixture is smooth and well-combined. Using a large spoon or spatula, add the cake batter in big spoonfuls over the gooseberries and level it, you don’t have to be very neat here, the baking batter will flatted itself out.

Place in the oven and bake for around an hour until the top is a deep golden-brown colour.

Serve immediately with custard or lightly-whipped cream sweetened with a little icing sugar.


If you like the blogs and podcast I produce, please consider treating me to a virtual coffee or pint, or even a £3 monthly subscription: follow this link for more information.


10 Comments

Filed under baking, Britain, cake, cooking, Desserts, food, Fruit, General, Puddings, Recipes

Breadcrumbs – a Beginner’s Guide

Many traditional recipes require fresh or dry breadcrumbs; they are an integral part of many puddings and savoury dishes. They are present in small amounts in sausagemeat, terrines and other early meat puddings absorbing the fats, or may be the main constituent in the stuffing for a roast bird. They are also sometimes used in dumplings instead of wheat flour. In sweet puddings they provide body and structure to custards such as Queen of Puddings, or the cheese and egg mixture in a Yorkshire Curd Tart.

Dried breadcumbs can be sprinkled over the tops of dishes (such as my Macaroni Cheese) or used to coat something ready for deep or shallow-frying. I have memories of my mum buying those oddly-orange coloured packs of dried breadcrumbs to coat her fish before frying it. Well, needless to say, making your own will not result in everything it touches look like a Findus Crispy Pancake.

Making Fresh Breadcrumbs

Fresh breadcrumbs require stale bread, and I think that only real bread – i.e. a loaf made at home or in a real traditional or artisan bakery – makes decent breadcrumbs. Factory-made supermarket bread and tends to go mouldy before it goes stale due to its high-water content.

The type of bread is typically white bread, but you can use any you want, especially if there is only a small amount required, but wholemeal and sourdough breads will impart their own flavours if the main constituent. White bread and brioche are best for sweet puddings.

Unless the bread is very well-coloured, I don’t usually remove the crusts, even if the recipe says I should. Feel free to remove them yourself, I don’t mind the odd brown speckle in the final dish.

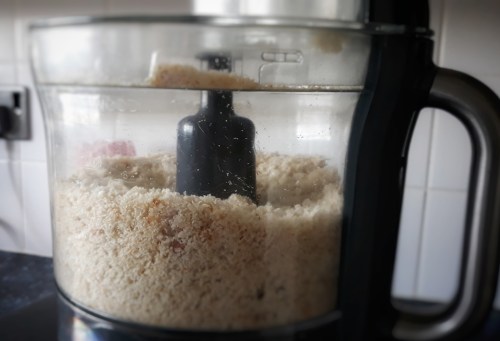
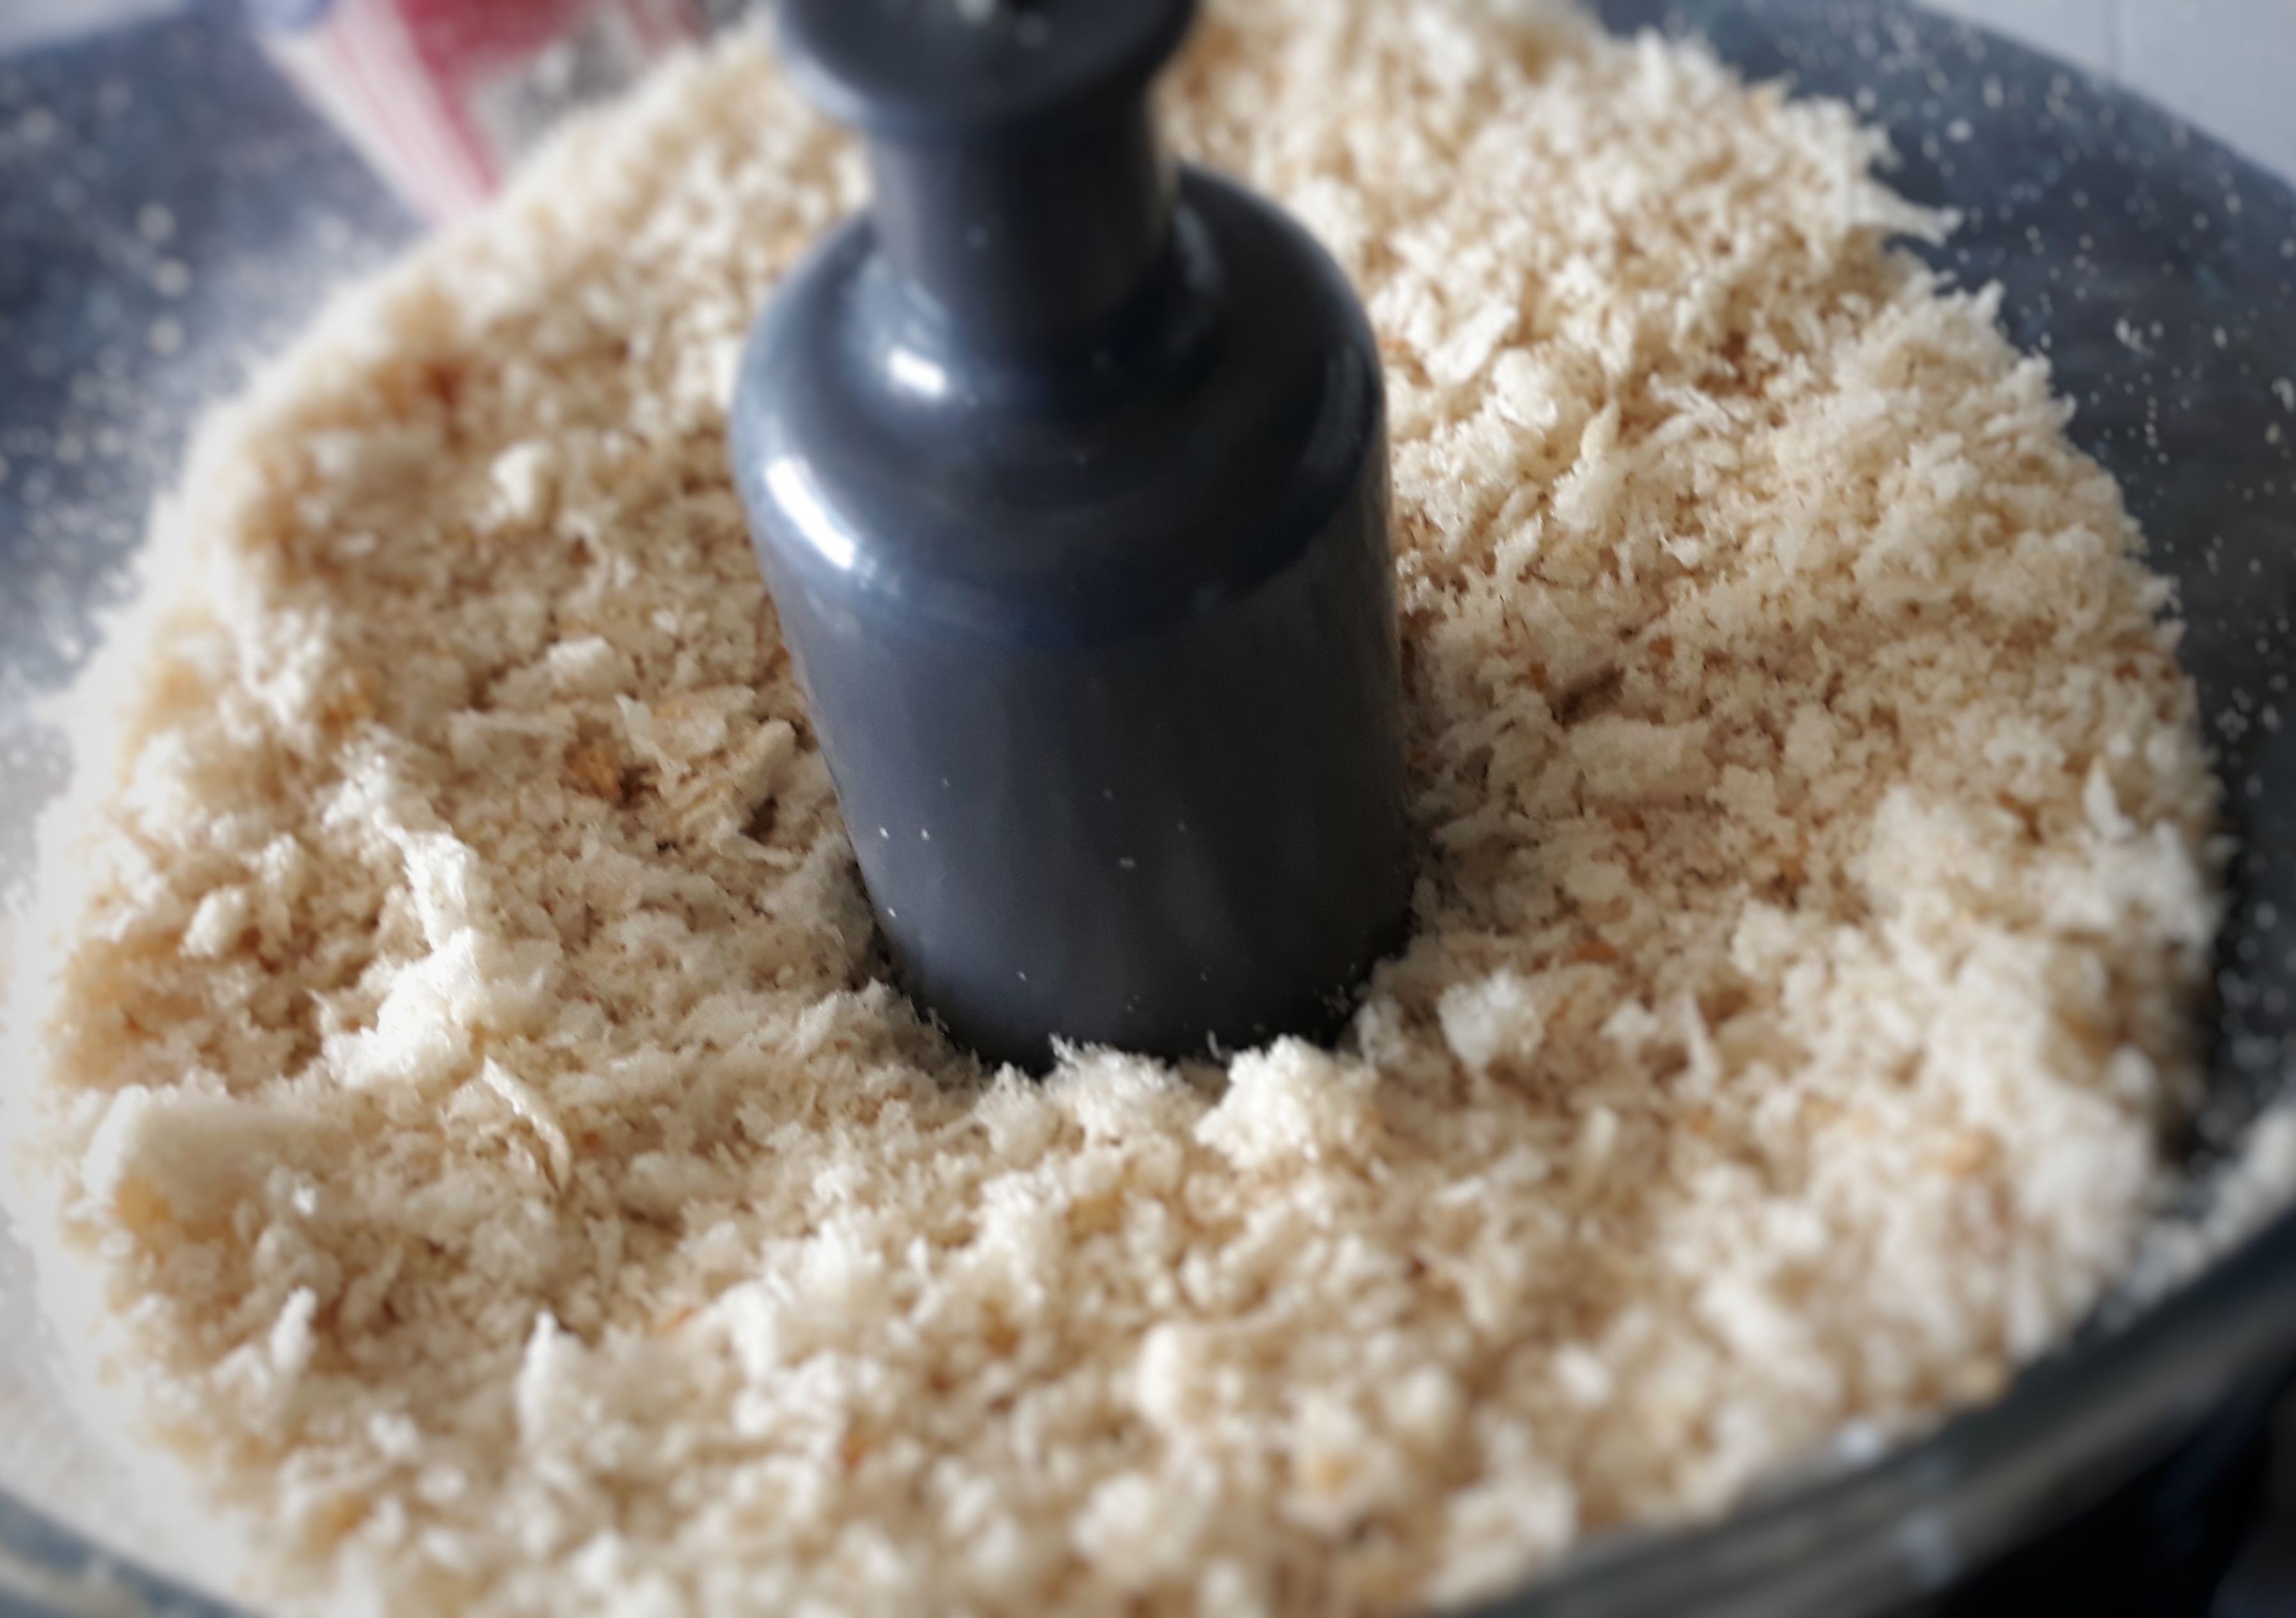
Making them couldn’t be easier. If you have a blender or food processor, simply tear the bread in small chunks and blitz. Usually slower speeds work best. Regular blenders can be a little tricky because they taper at the blades; however, dust off that Nutri-Bullet; they work excellently for breadcrumbing.

If you don’t have a food processor or blender, you can go old-school and grate the bread by hand with a large cheese grater with a good grip on it. Good quality bread will crumb easily, so it isn’t the chore you might expect it to be.

Your breadcrumbs can be used straight away or frozen for later. Whenever you have stale bread in the house, crumb it and freeze it and it’s there waiting for you the next time you have the uncontrollable urge to make a Treacle Tart!

Making Dry Breadcrumbs

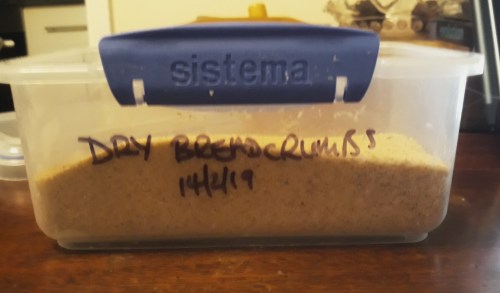
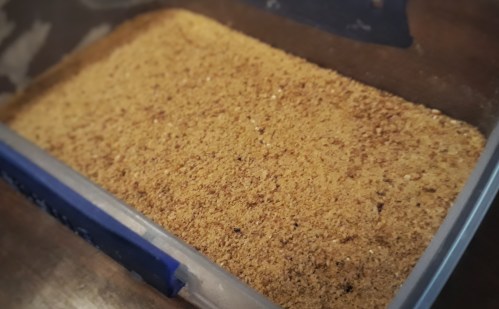
If dry breadcrumbs are what you are after, just take your fresh crumbs and spread them on a dry baking tray and pop them in the oven set to around 110°C. Check them after 20 minutes and give them a mix around. Keep baking in bouts of 20 minutes until you are satisfied that they are completely dry. Let them cool and place in an airtight box. They will keep happily for several weeks.

If the crumbs are not fine enough, blitz in a clean but bone-dry food processor until they are as fine as you desire, and great for a posh Scotch Egg.


If you like the blogs and podcast I produce, please consider treating me to a virtual coffee or pint, or even a £3 monthly subscription: follow this link for more information.


8 Comments

Filed under baking, bread, food, Recipes

Suet – A Beginners’ Guide

Suet is the essential fat in many British puddings, both sweet and savoury, as well as stuffings and dumplings, mincemeat at Christmastime and – of – course suet pastry. It makes some of my most favourite British foods. It’s role is to enrich and lubricate mixtures, producing a good crust in steamed suet puddings.

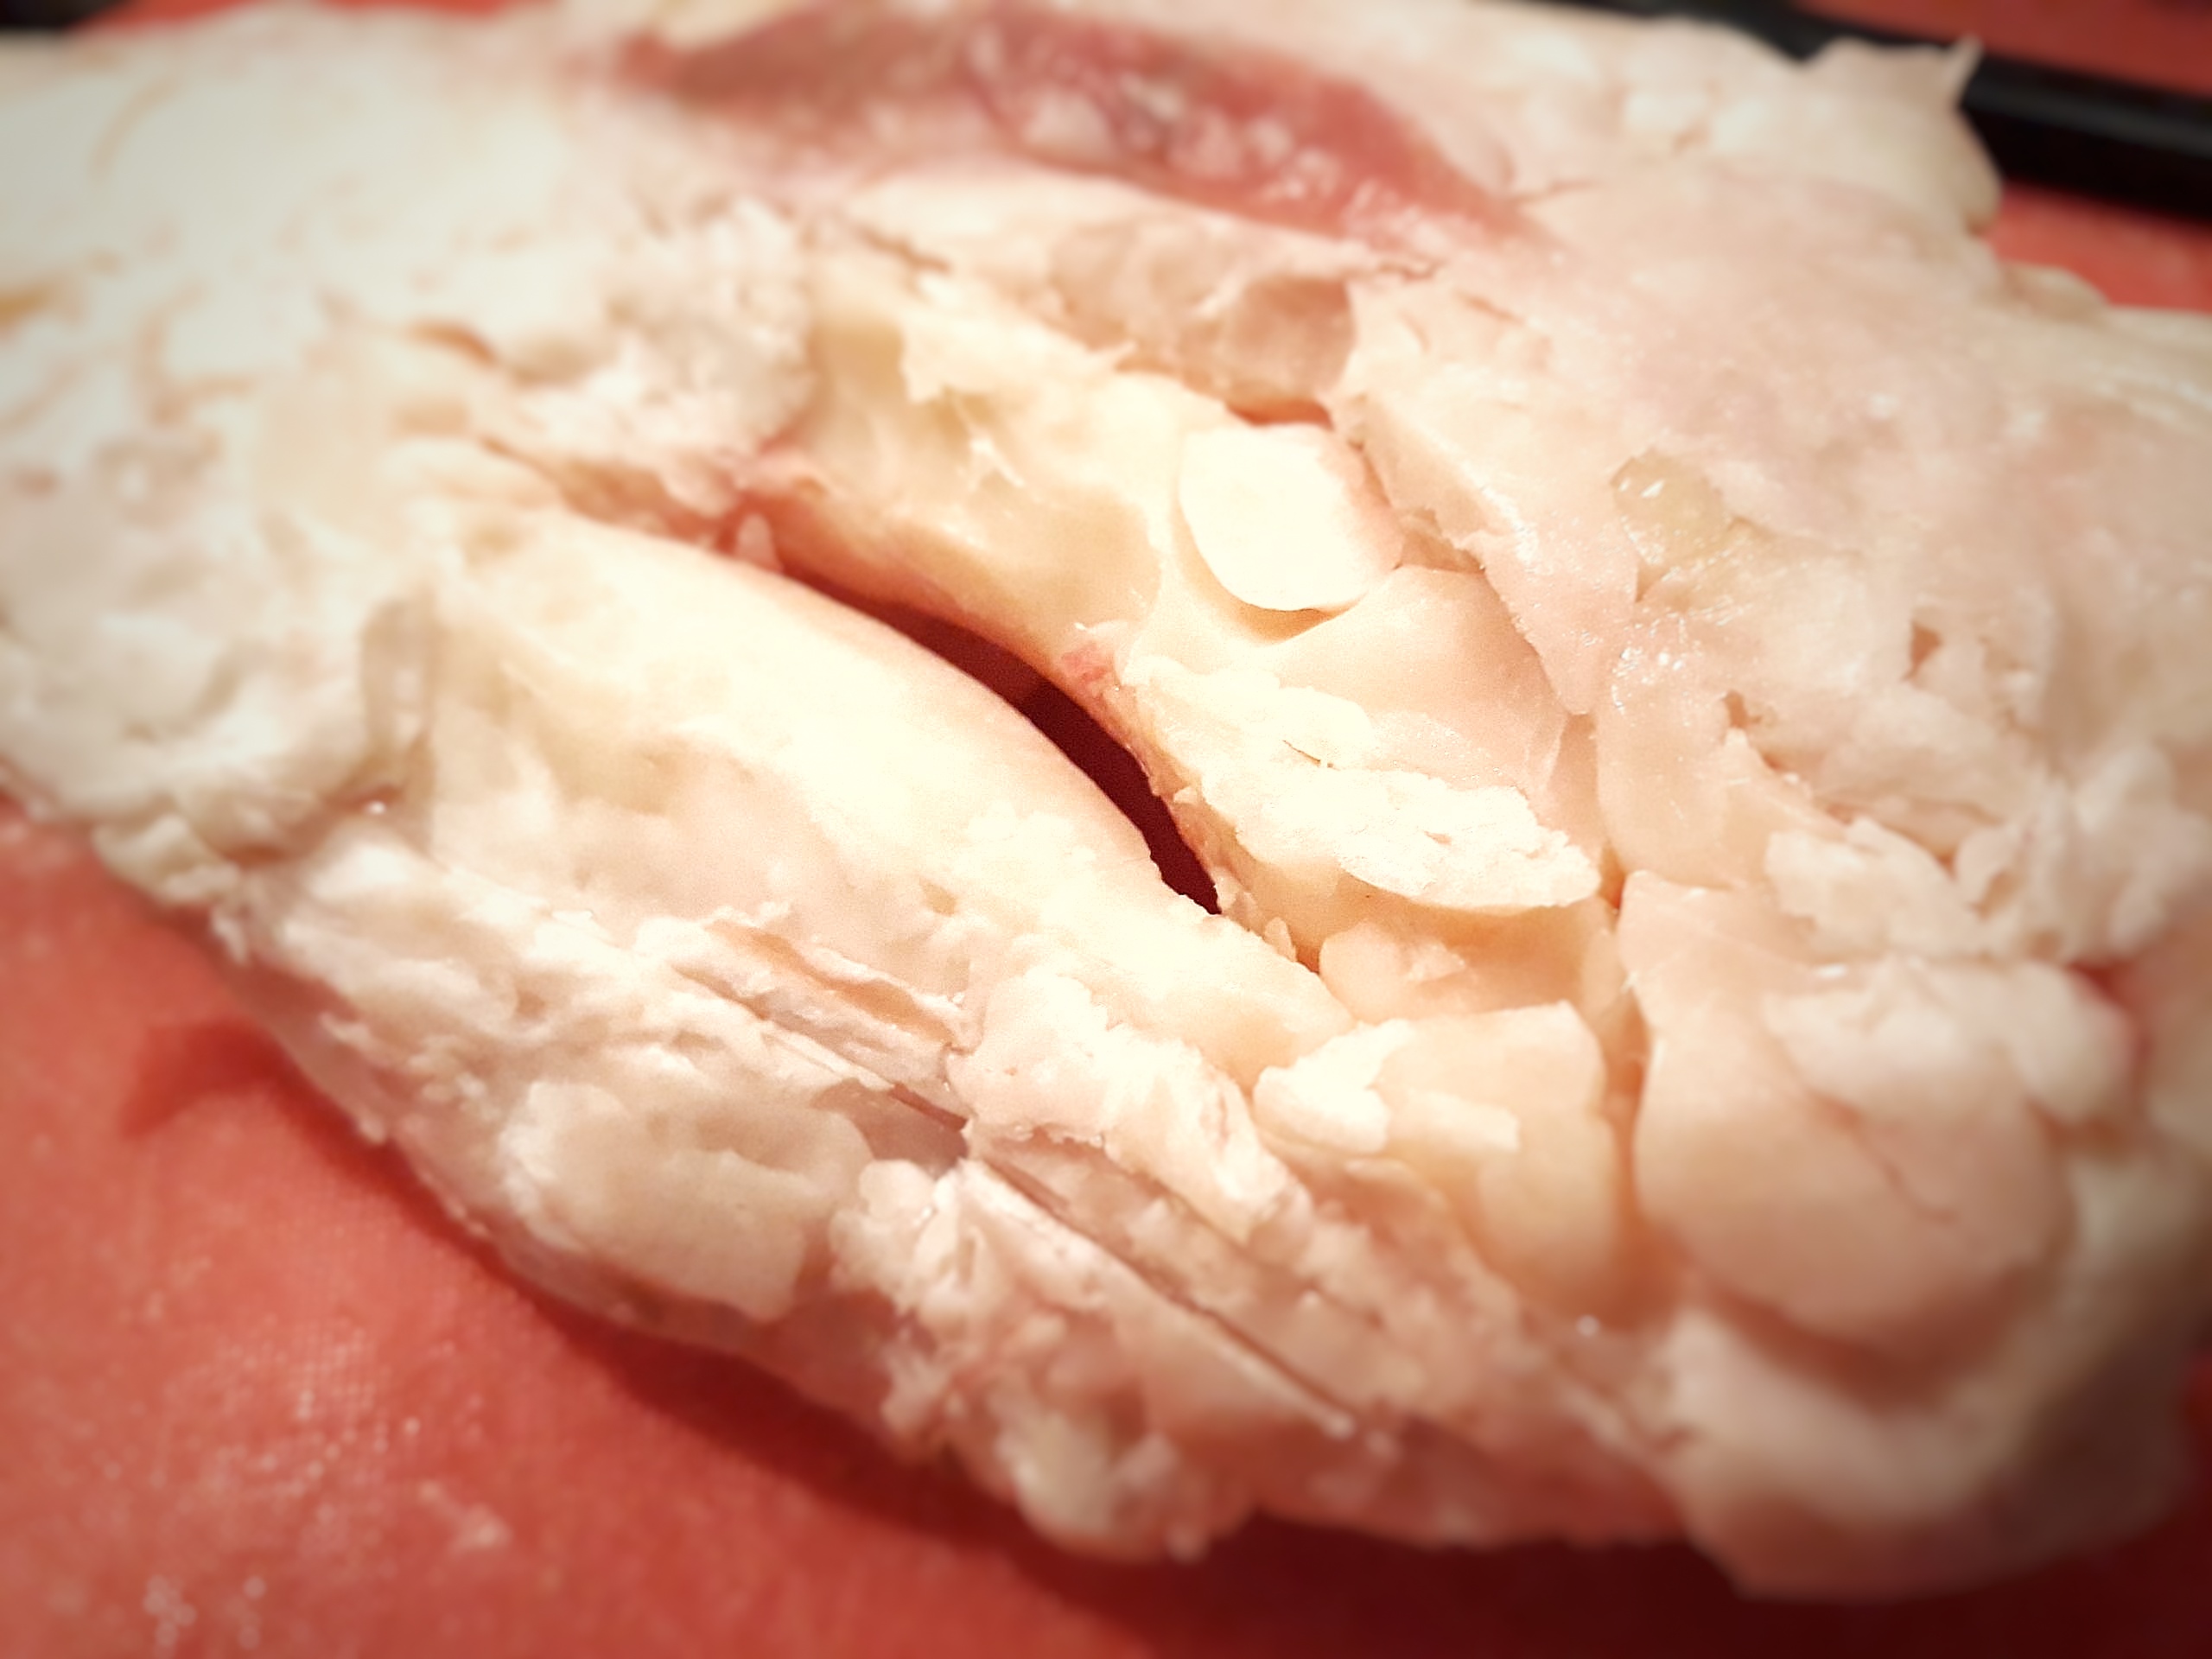
Suet is the compacted, flaky and fairly homogenous fat that is found around animals’ kidneys, protecting them from damage. Here’s a very quick little guide to buying and using it in recipes.

snapseed-02Flaky fresh beef suet

Don’t be put off by suet – I served up Jam Roly-Poly to a group of 18 American undergraduates recently, and they’d never heard of a suet pudding before. They all came back for seconds!

Several recipes already on the blog use suet:

Fresh Suet

Fresh suet can be bought from your local butcher at a very low price. Most commonly available is beef suet and it can be used in any recipe in the book. You can also buy lamb and pork suet – and sometime venison – which are all great when using the meat of the same animal in the filling (e.g. Lamb & Mint Suet Pudding). Pork suet is sometimes called flead or flare fat. Sweet suet puddings, however, require beef because it is flavourless, whilst lamb is distinctly lamby; not great in a Jam Roly-Poly.

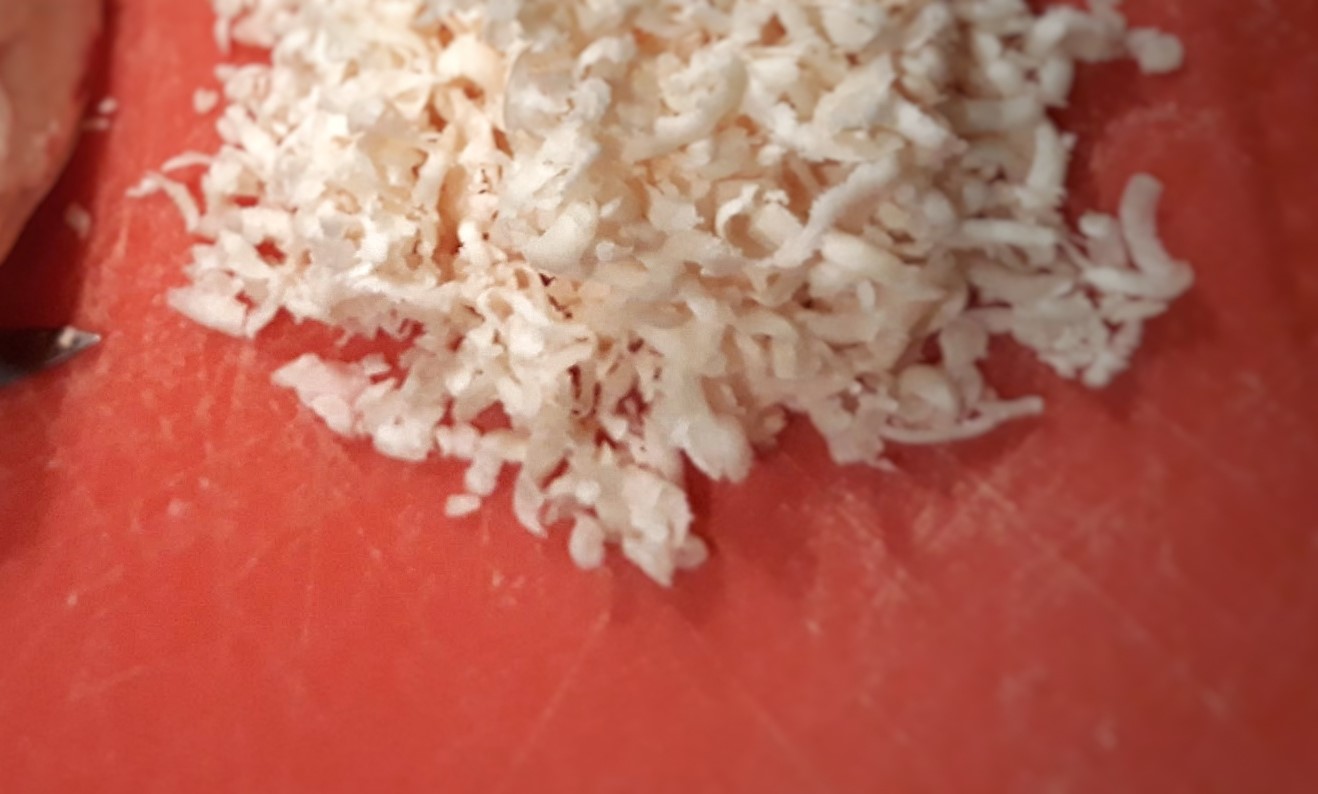
Fresh suet can be minced at home or by your butcher or can be grated. I prefer to do the latter, as it’s quick and easy. You must avoid food processors however, as you end up with a paste. Grater or mincer, you will need to remove any membranes and blood vessels – much easier to do as you grate, hence why it’s my preferred method.

snapseed-01Freshly-grated beef suet

I find it best to buy enough suet for several puddings, grate it and then freeze it. Fresh suet can be kept frozen for up to 3 months.

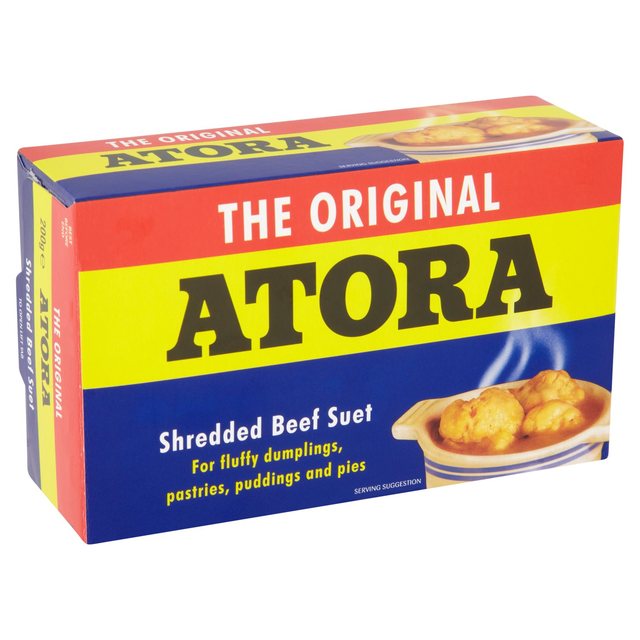
atora

Preparatory Suet

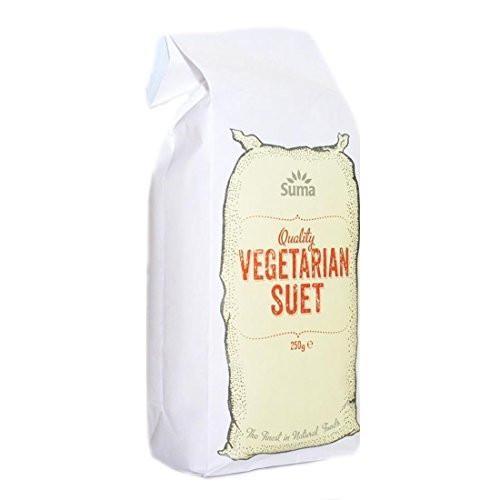
Although not as good as fresh, packet suet bought from a supermarket is a perfectly good product and store cupboard standby. Atora is the iconic brand producing a shredded beef suet as well as a vegan alternative; these vegetable suets are made from palm oil and are therefore somewhat environmentally unfriendly. However, Suma produce one that is made from sustainably sourced palm oil, so keep a look out for that in shops.

suma_vegetarian_suet

Preparatory suet can be switched weight-for-weight in any recipe unless otherwise indicated.

And that’s my very quick beginners’ guide to suet, have a go at cooking with it, you won’t be disappointed.


If you like the blogs and podcast I produce, please consider treating me to a virtual coffee or pint, or even a £3 monthly subscription: follow this link for more information.


24 Comments

Filed under baking, cooking, food, General, Meat, Puddings, Uncategorized

Twelfth Night Cake

Upon the table was an immense dish, and in the dish was the biggest Twelfth-cake that the eyes of childhood had ever beheld. It was a positive monster, and whitened sugar of the most approved kind encrusted it all over.

From Little Grub, E H Knatchbull-Hugesson 1874

Twelfth Night, on the fifth day of January, is on the last day of Christmastide and was once the party highlight of the twelve-day long festival. In fact, Twelfth Night used to be the big day where gifts would be exchanged, and folk would make much merriment, very aware of the austere months ahead of them. All of this, including the cake, has moved to Christmas Day, of course.

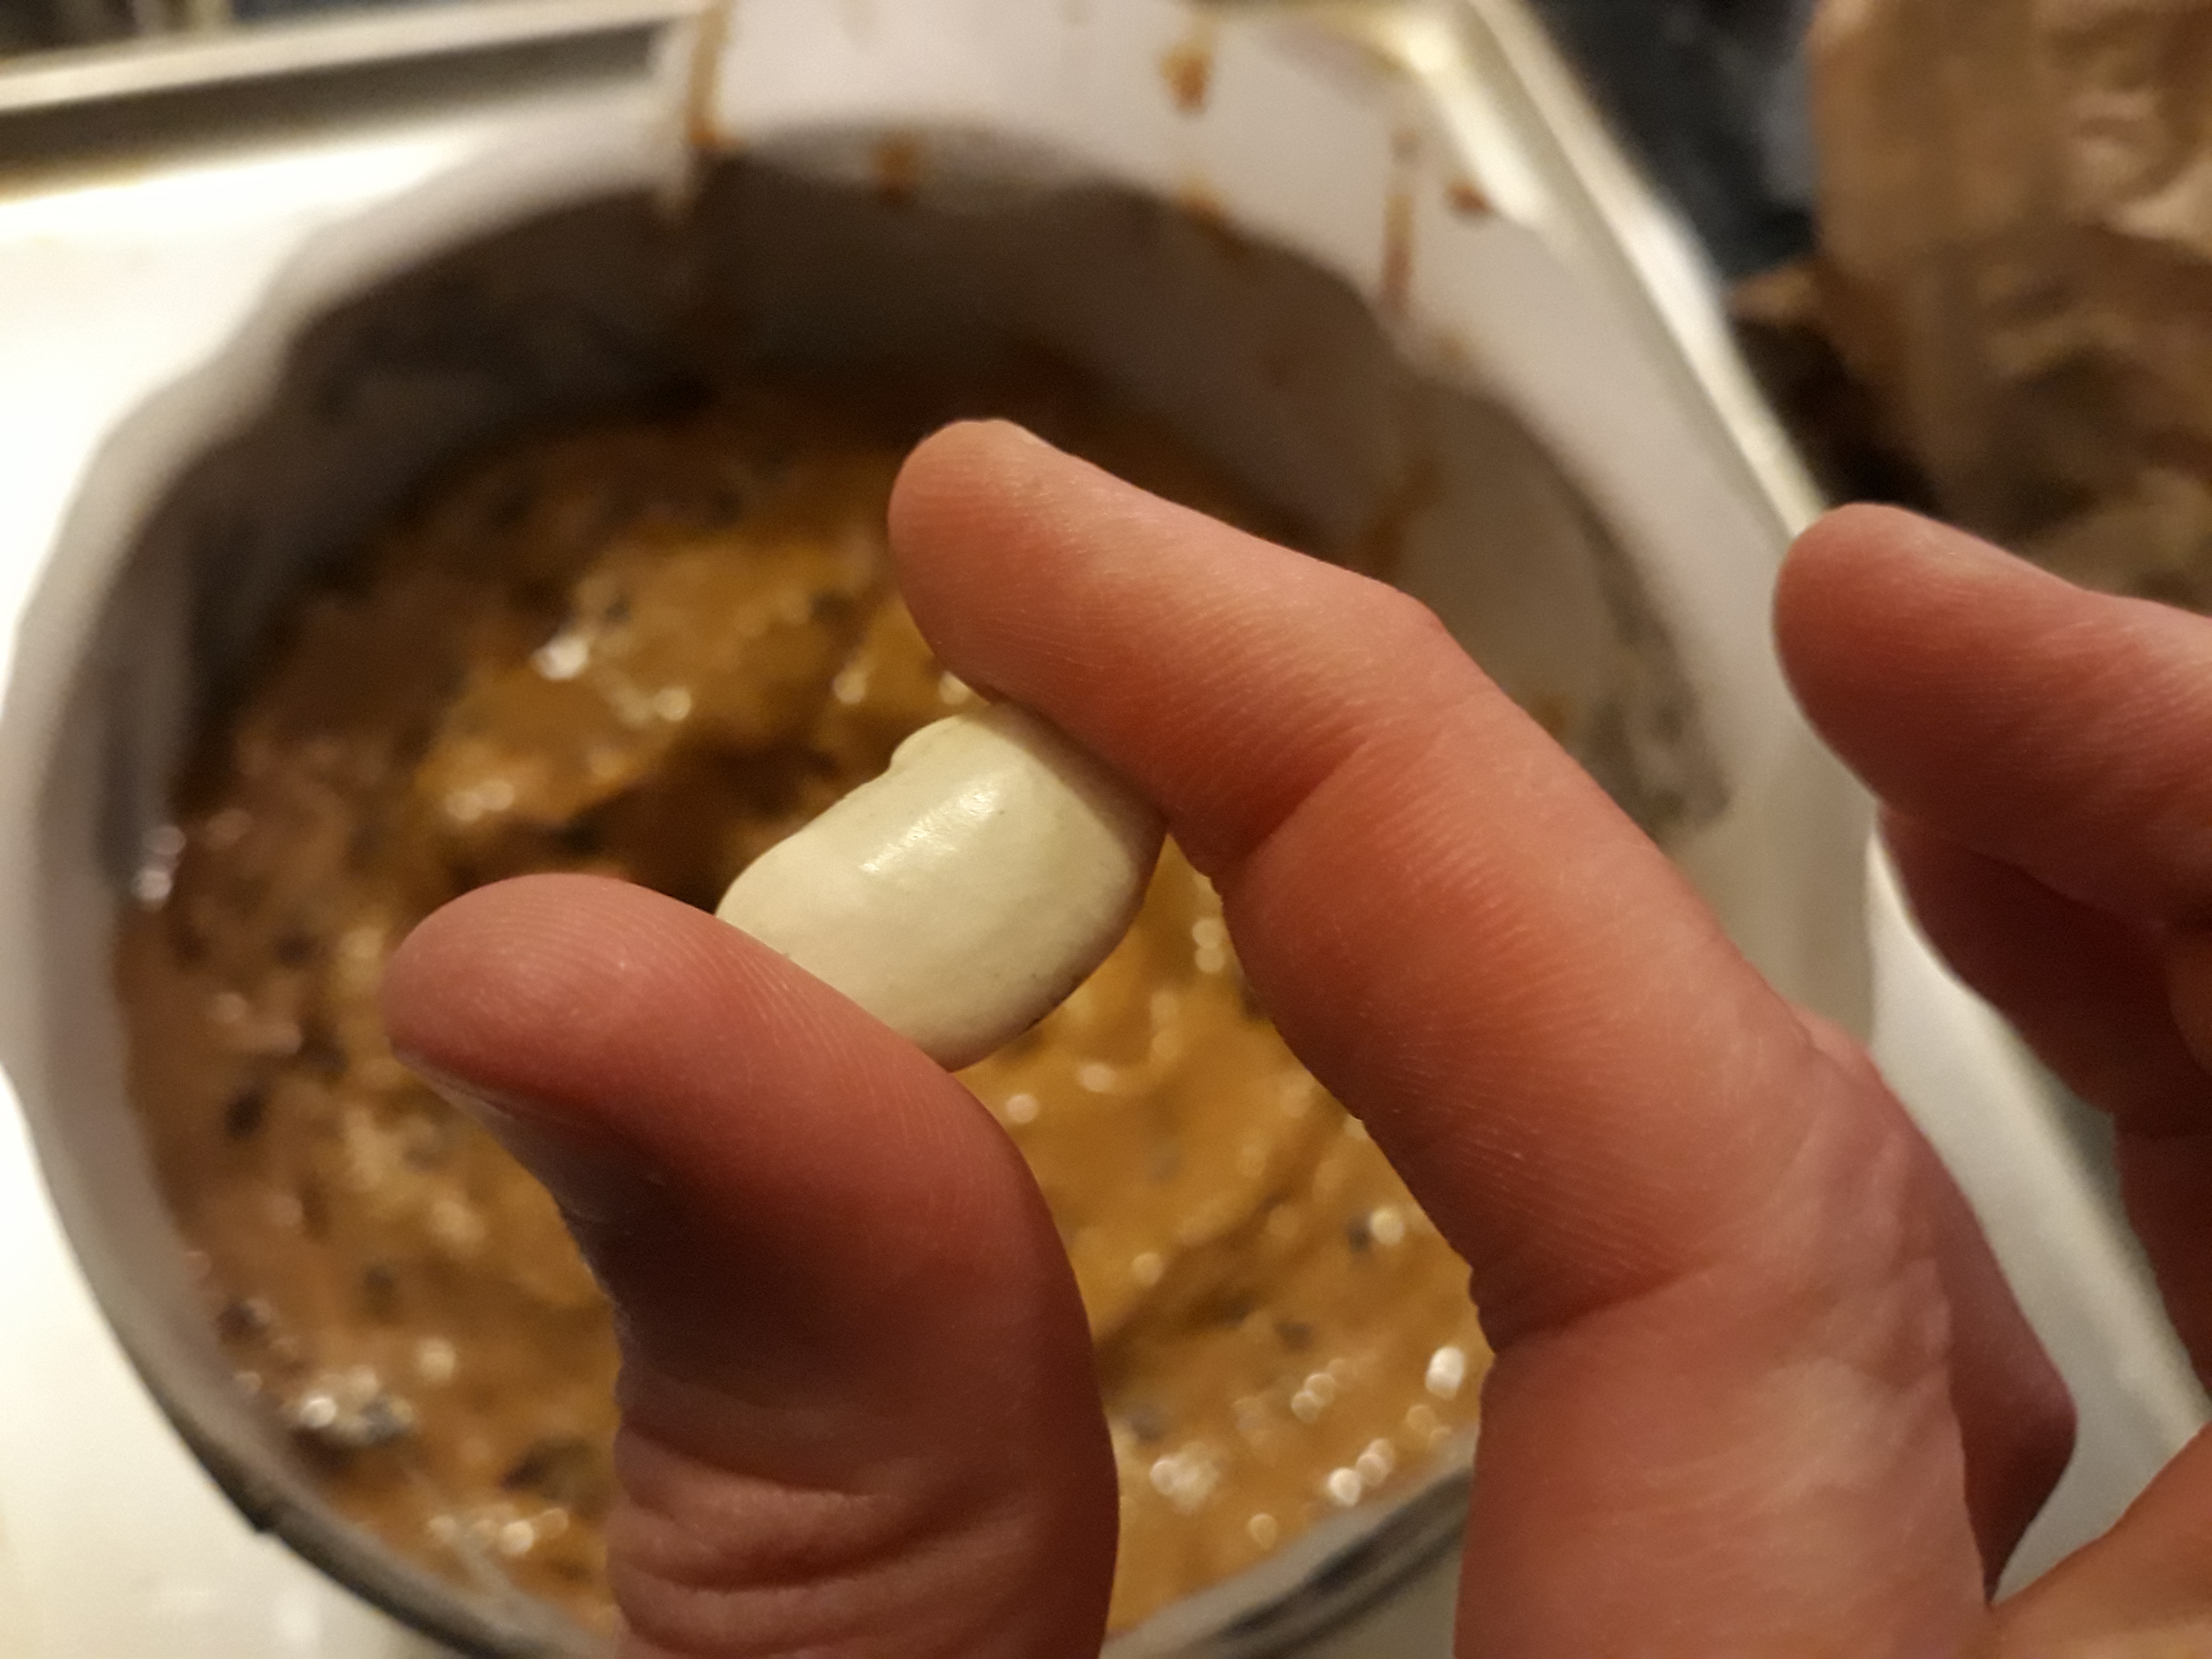
The focal part of the Twelfth Night side-table was the elaborately-decorated Twelfth cake, essentially a rich fruit cake containing brandy, covered in a layer of rock-hard royal icing, the top groaning under the weight of sugar figures and other intricate sculptures and piping. Inside each Twelfth cake a large dried bean or pea would be baked; on the big day those who discovered them would be proclaimed king or queen for the rest of the day.

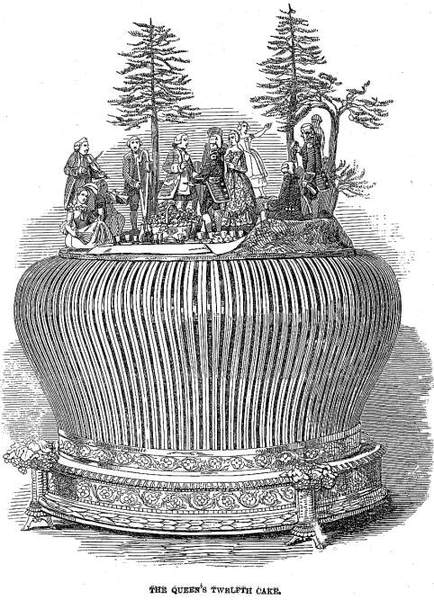
Queen Victoria’s 1849 Twelfth cake


If you like the blogs and podcast I produce, please consider treating me to a virtual coffee or pint, or even a £3 monthly subscription: follow this link for more information.


Some Twelfth cakes were extremely expensive, and every baker or confectioner in the land worth their salt would produce a breath-taking, awe-inspiring shop window filled with cakes of differing sizes, all covered in wonderful sugar-work. There was huge competition between confectioners to produce the best displays; and no wonder, selling any number of these bespoke cakes meant some real money had been made that winter!

Many people, of all ages and conditions, – young and old, gentle and simple, giddy and thoughtful, – stepped every hour to look through the large plate-glass window, and see the grand show of Twelfth-cakes.

From The Queen of the Twelfth-Cakes, Cuthbert Bede 1857

The Twelfth Night cake began life – like many traditional cakes did – as a yeast-leavened bread, enriched with dried fruit and ale (see also Simnel Cake). Over time, the cakes were enriched further with brandy or rum and sugar, giving it a close texture. Eventually, chemical raising agents were used to give the batter a lift.

Here’s a 1604 recipe from a lady called Elinor Fettiplace:

Take a peck of flower, and fower pound of currance, one ounce of Cinamon, half an ounce of ginger, two nutmegs, of cloves and mace two peniworth, of butter one pound, mingle your spice and flower & fruit together, but as much barme [the yeasty froth from the top of fermenting beer barrels] as will make it light, then take good Ale, & put your butter in it, saving a little, which you must put in the milk, & let the milk boyle with the butter, then make a posset with it, & temper the Cakes with the posset drink, & curd & all together, & put some sugar in & so bake it.

I would love to have a go at this recipe at some point.


If you like the blogs and podcast I produce, please consider treating me to a virtual coffee or pint, or even a £3 monthly subscription: follow this post for more information.


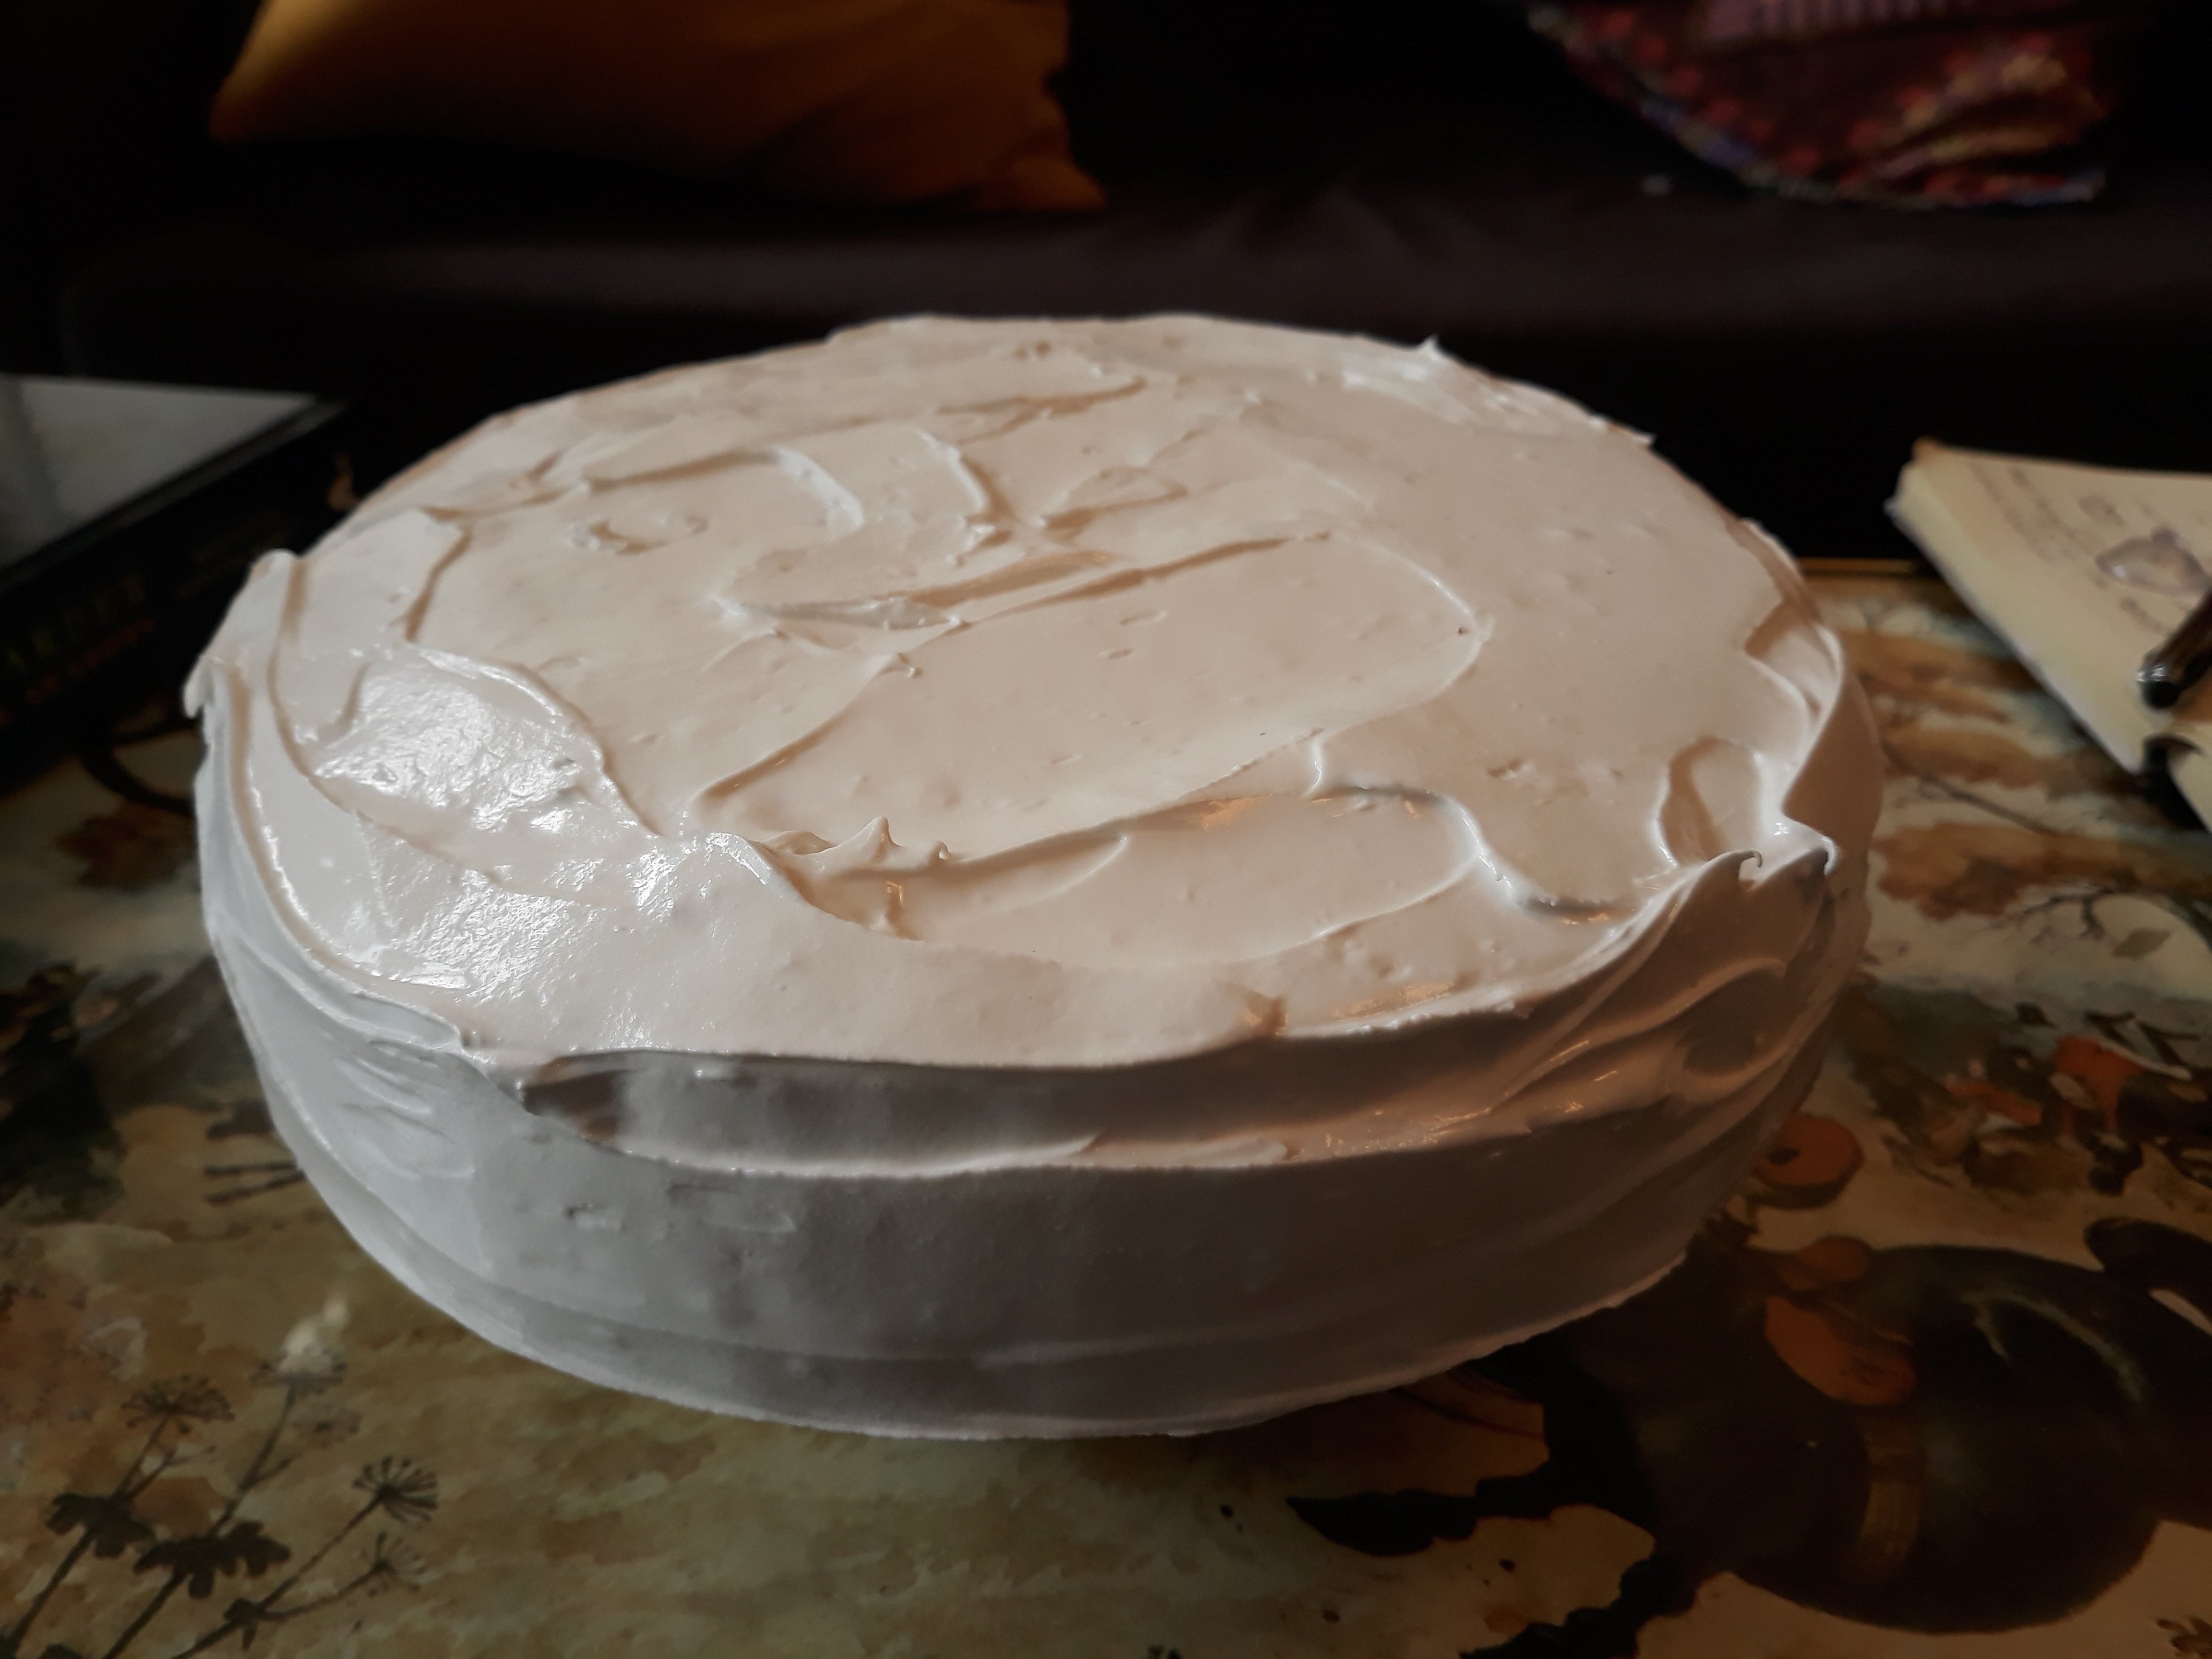
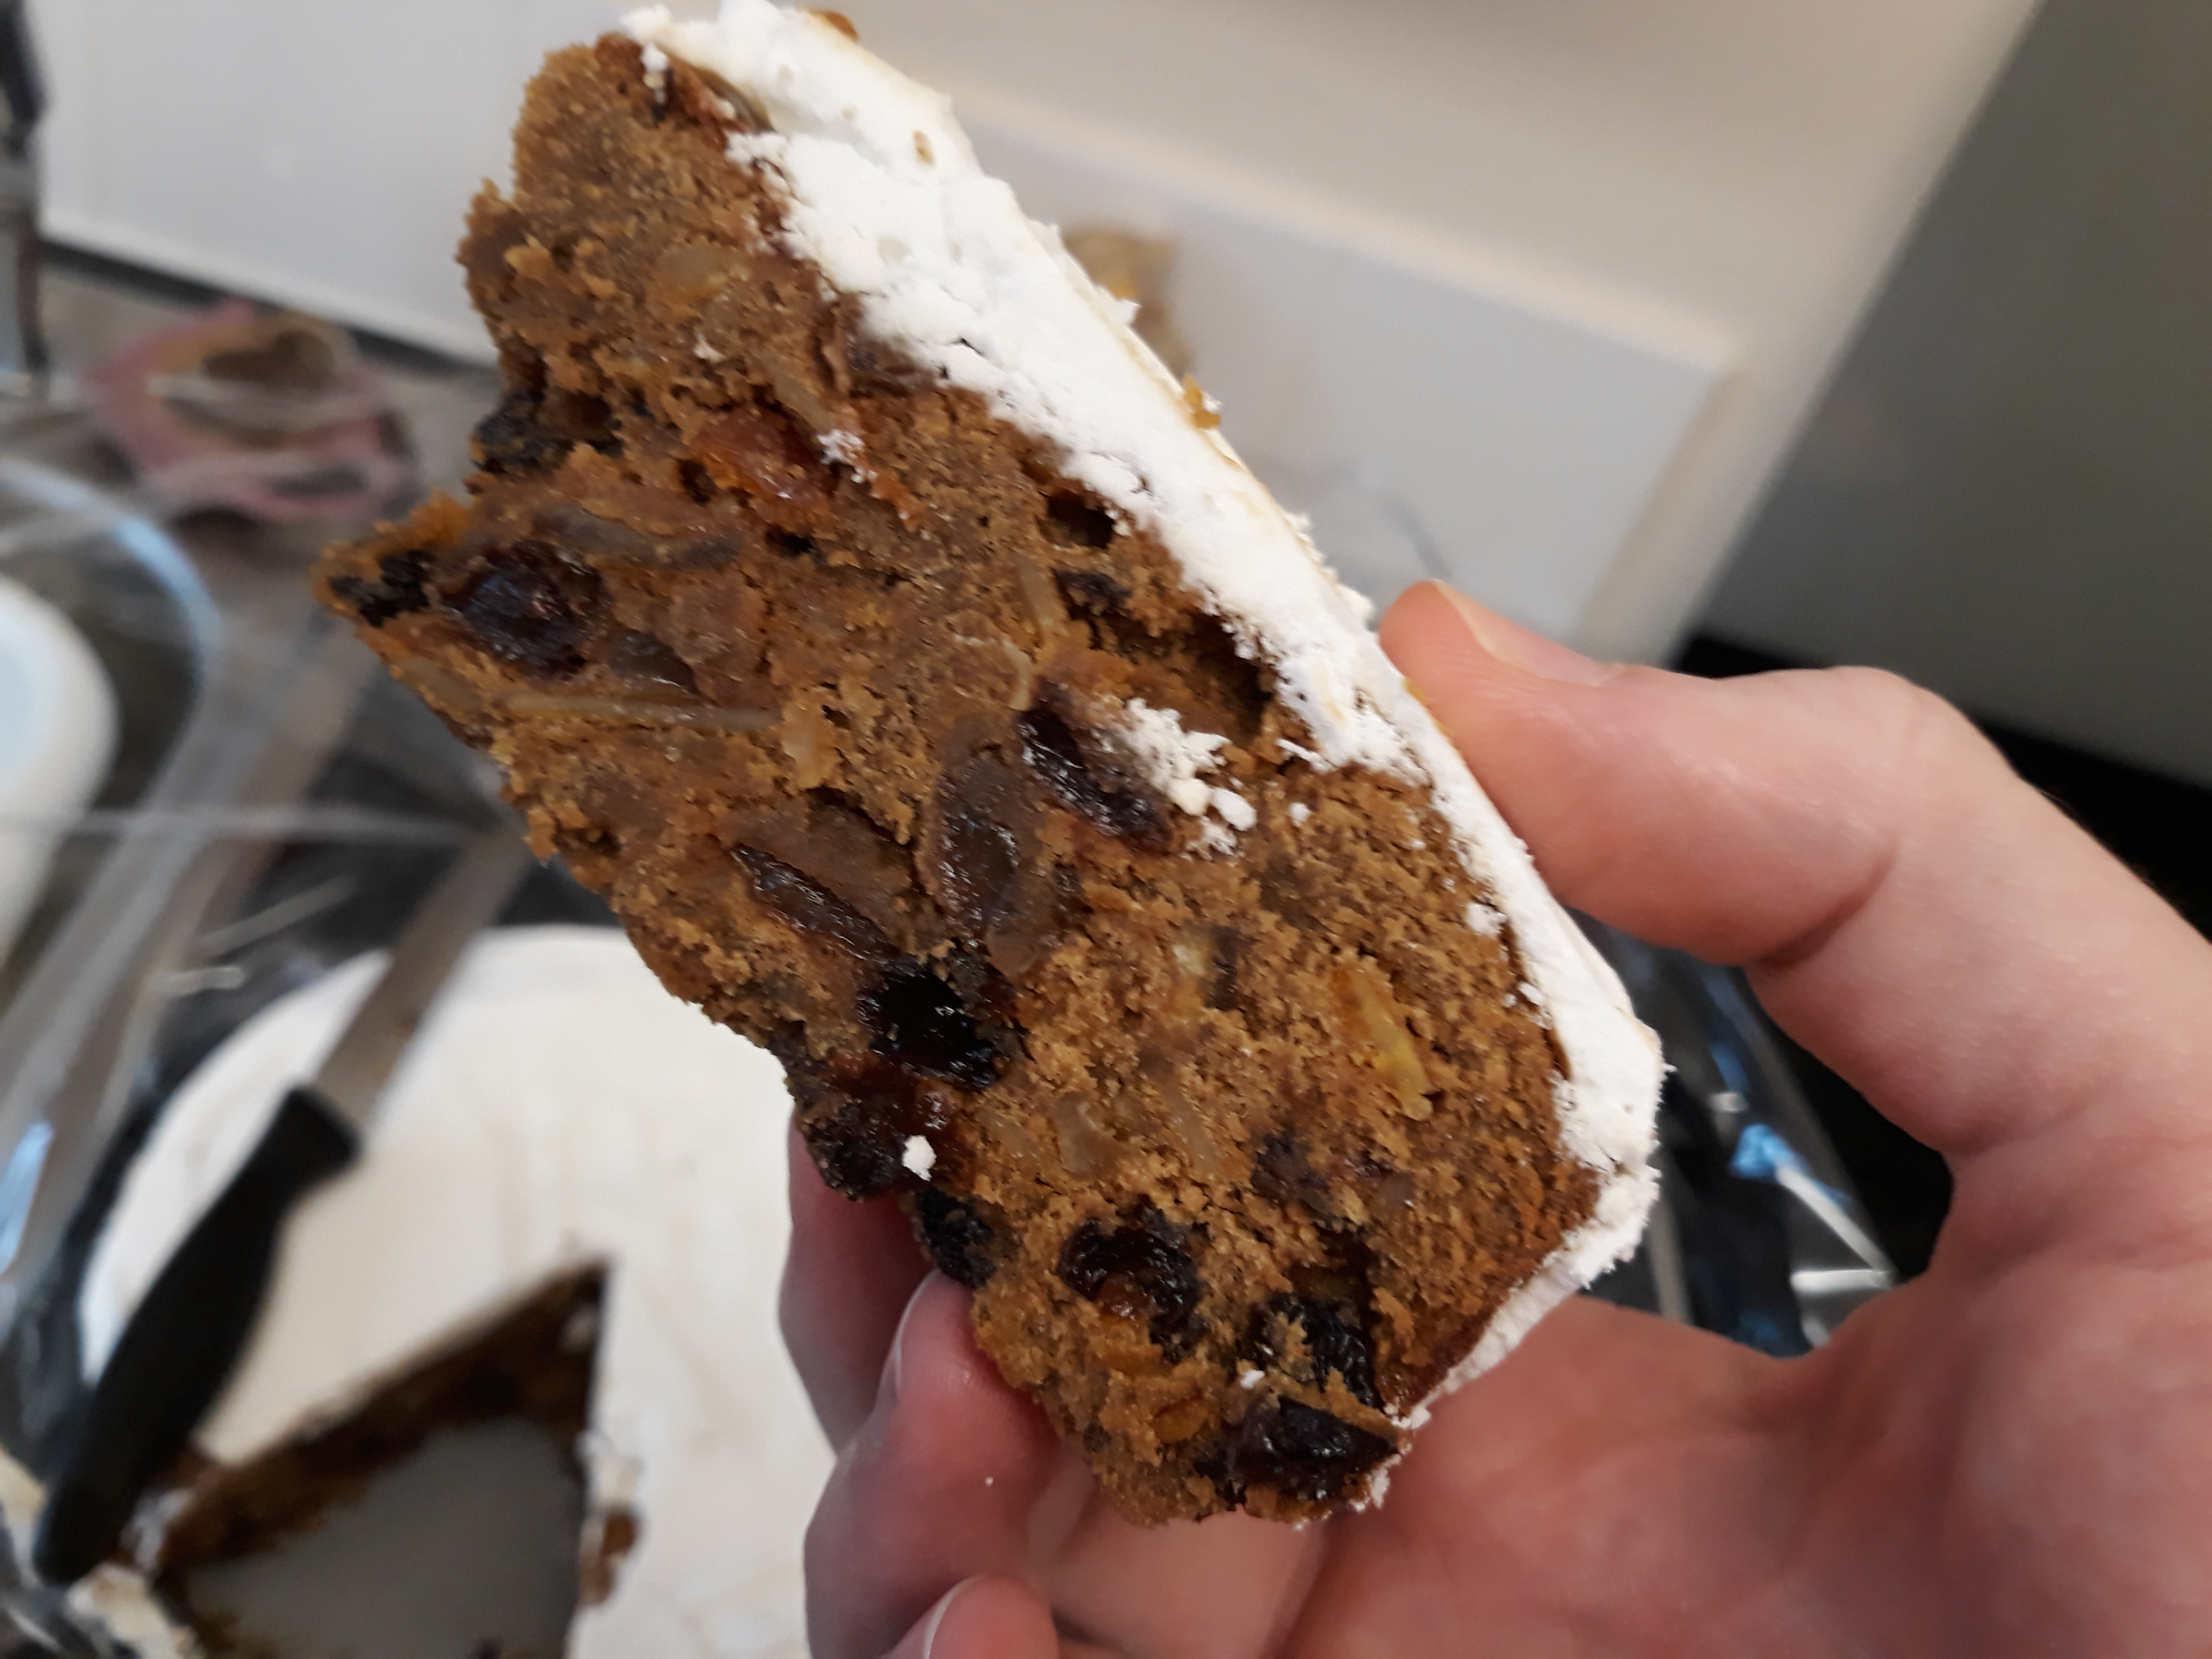
Twelfth Night cake has declined in popularity since the invention of the Christmas cake (which, incidentally, is a hybrid of a Twelfth Night Cake and Simnel Cake). Here’s the recipe that I use, which is slightly different to my Christmas cake. Notice that there are no raising agents used – I like the close-texture it gives, if you disagree, add a teaspoon of bicarbonate of soda to the flour to give it a little lift.

I don’t decorate my cakes elaborately, preferring as thin a layer of icing as possible, so I use half a batch of royal icing, but if it is your thing, you might want to make a little more!

175 g softened salted butter

175 g caster or brown sugar

1 tbs black treacle

3 eggs

175 g plain flour

¼ tsp each ground cinnamon, nutmeg and mace

400 g mixed dried fruit (currants, raisins, sultanas, quartered prunes)

75 g candied peel

50 g slivered almonds

60 ml brandy, rum, strong ale (or milk)

1 dried butter bean (optional)

A half-batch of royal icing

Line and grease an 8-inch cake tin and preheat your oven to 160°C.

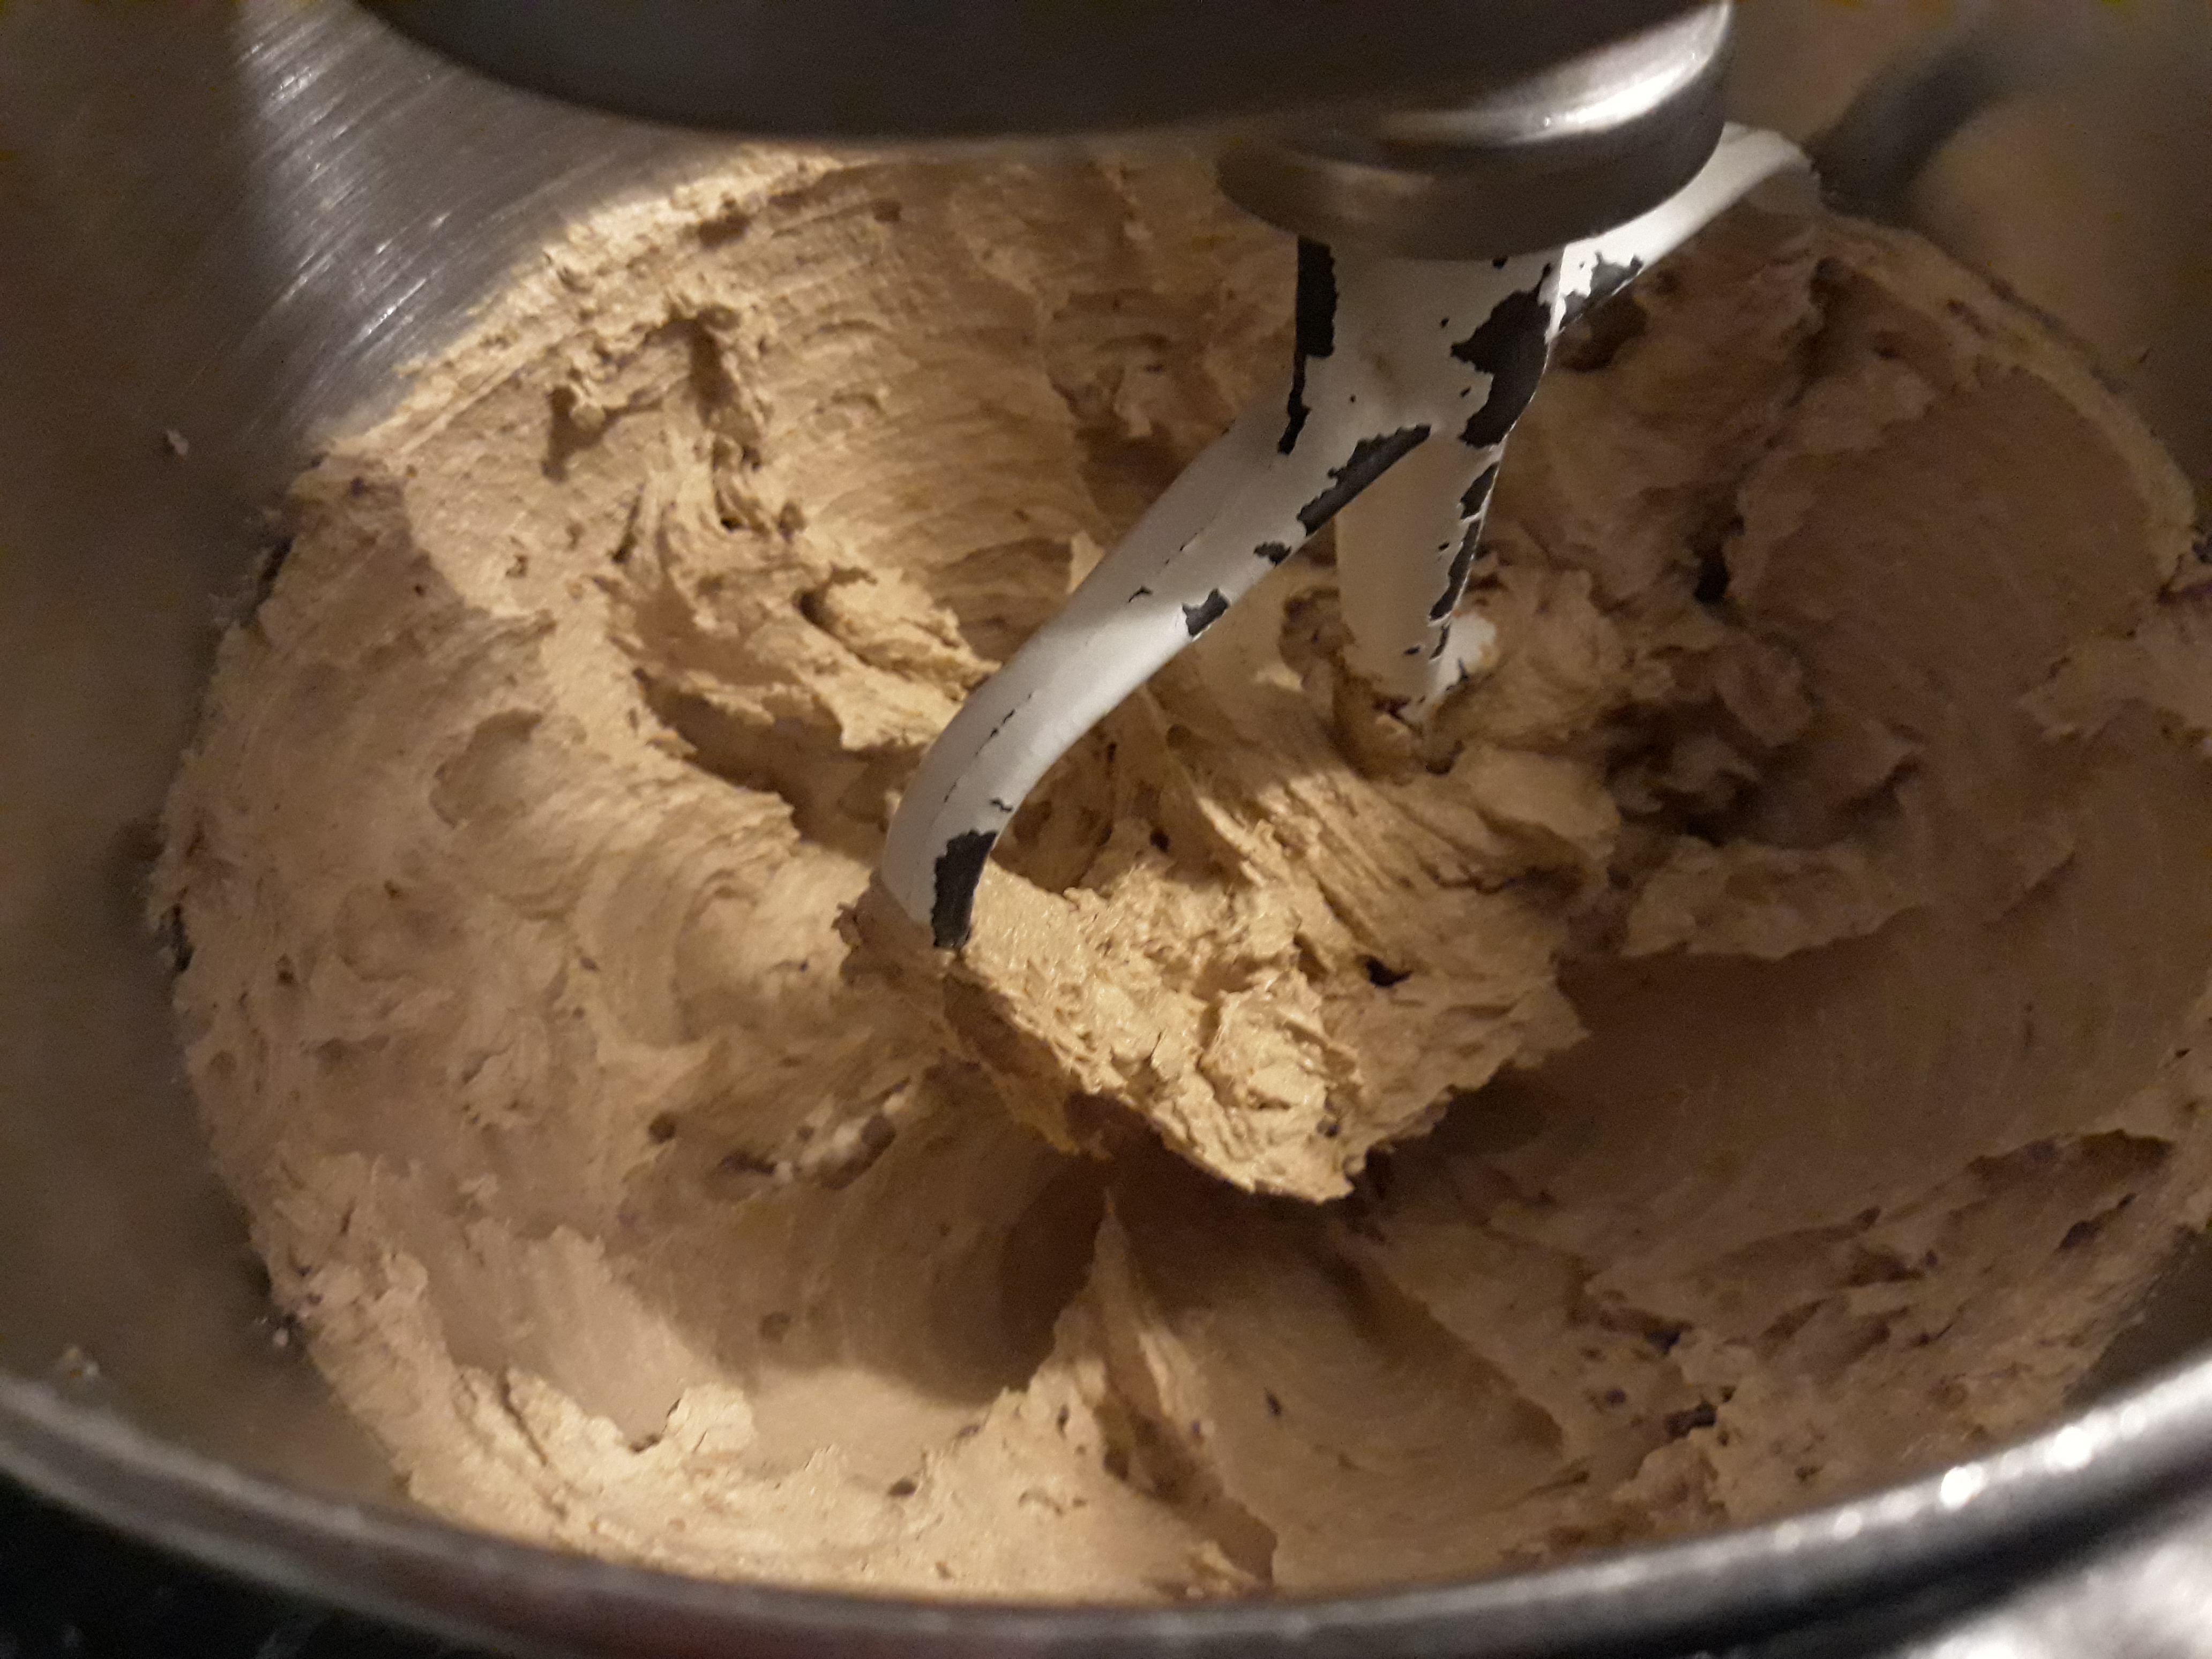
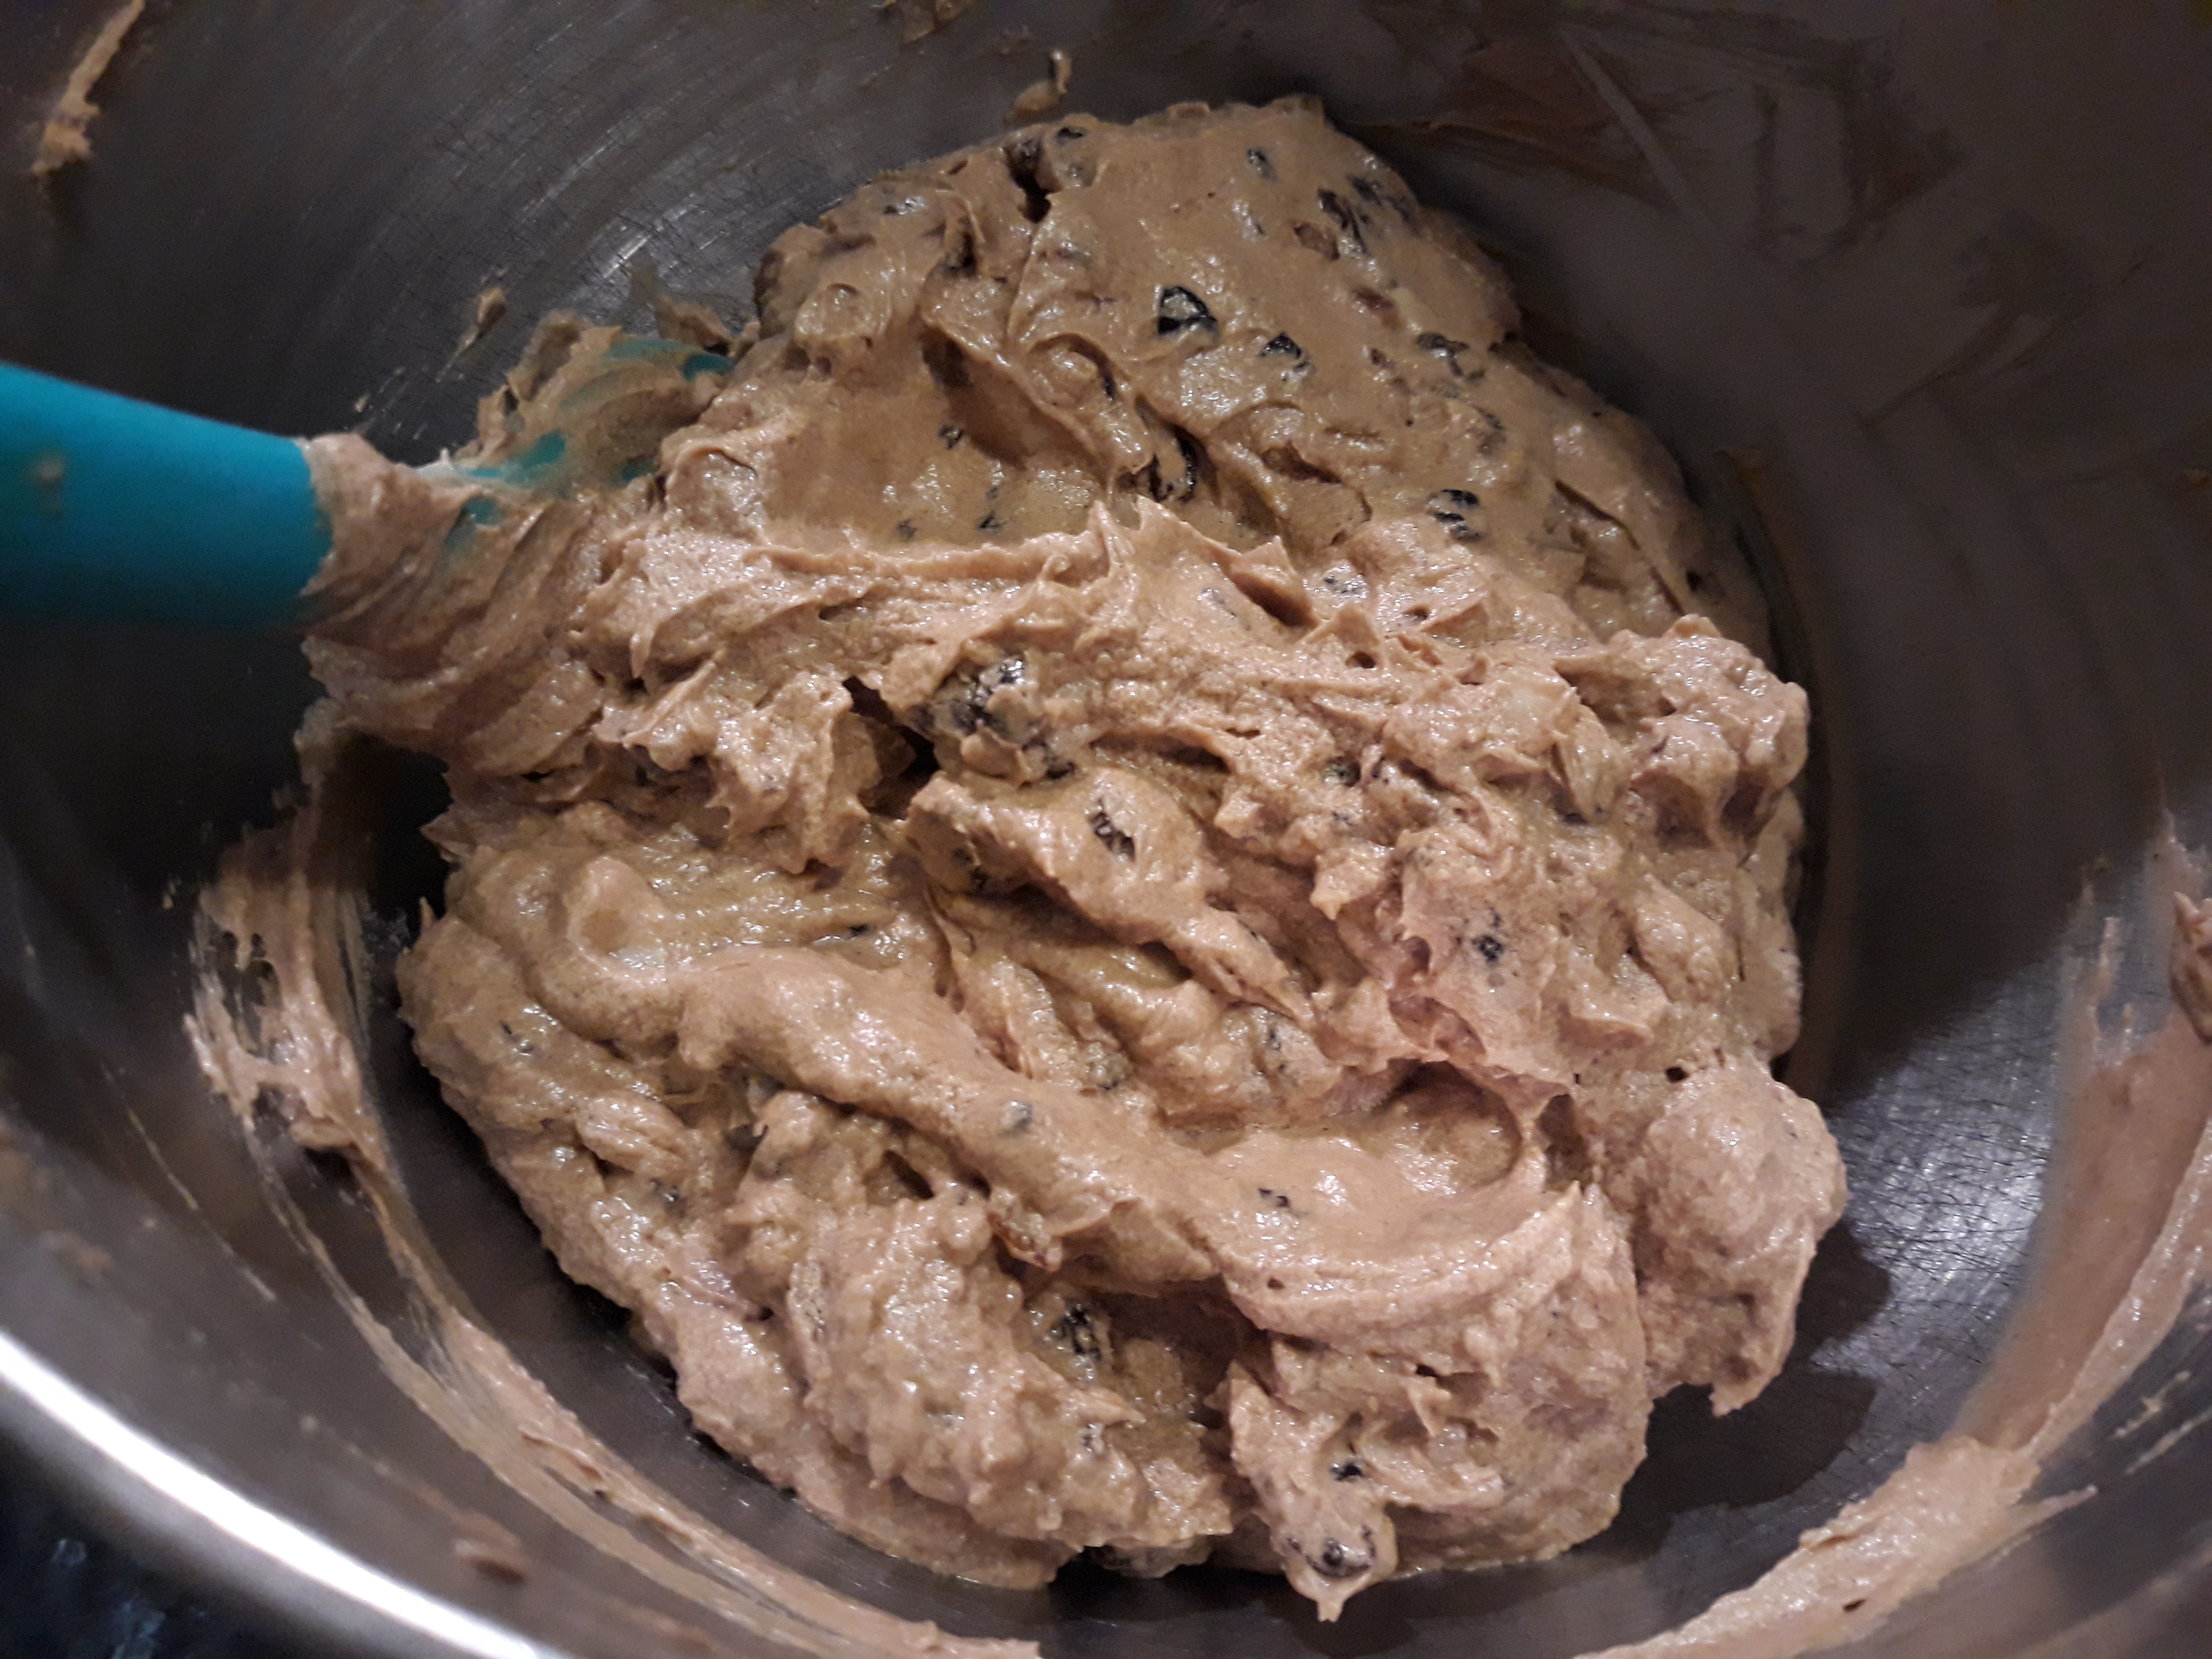
Cream the butter, treacle and sugar until pale and fluffy and beat in the eggs one by one before gently stirring in the flour and spices. Once incorporated, mix in the fruits, peel and nuts and stir in the booze (or milk).

Pour into the cake tin, pop in the king/queen bean, level off the top and bake for an hour. Cool in the tin.

Decorate the cake with the royal icing, being as elaborate as you like.

14 Comments

Filed under baking, Britain, cake, Christmas, Festivals, food, General, history, Recipes

Medlar Tart

It’s medlar (aka openarse) season at the moment, and I thought I would try the recipe I mentioned in the medlar post from last year.

There’s quite little to go on with medlar preparation in books and the internet as people don’t really eat or cook with them these days, beyond medlar jelly, so every year, I learn a little more about eating and cooking them.

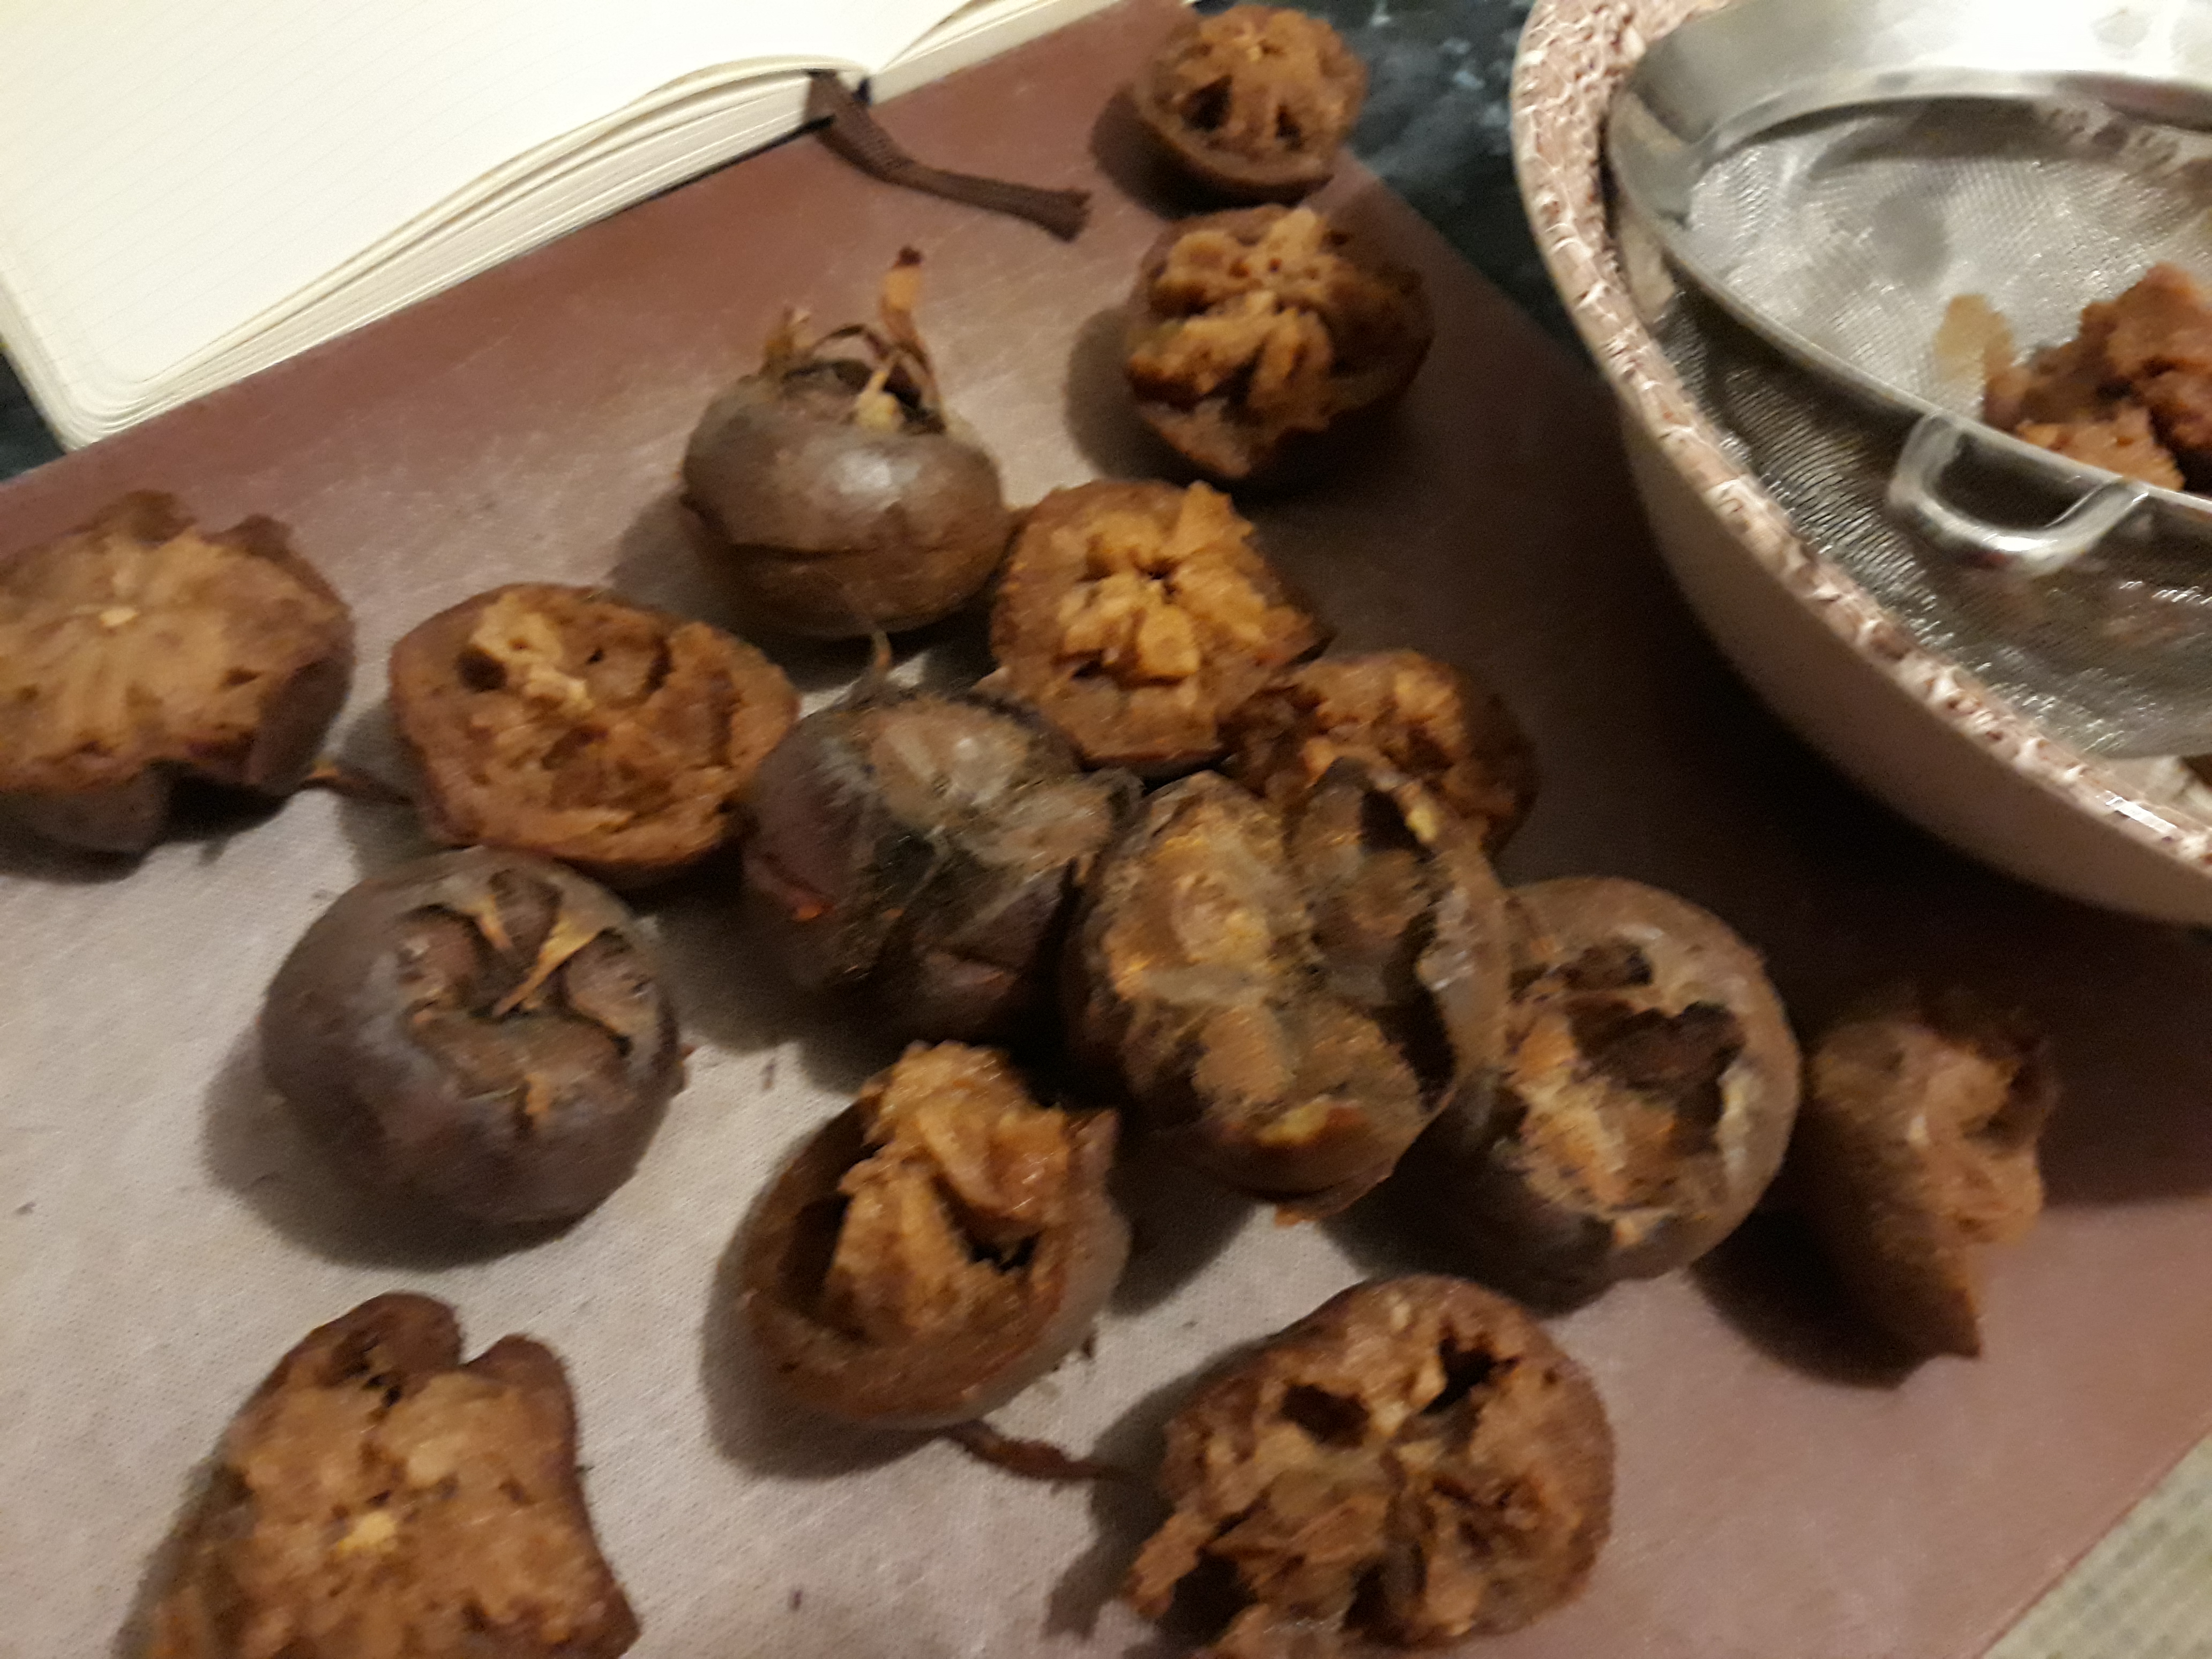
This year I have been more patient and waited for them to get fully-bletted. Medlars are a strange fruit in that they cannot be eaten until they have gone very dark, ripe and soft, a process called bletting. Any other fruit would be thrown away in this state, but medlars are unique because they go from sour and astringent to a tart, soft date-like fruit. They can be sliced in two and the soft flesh can be squeezed or spooned out. Within there are 5 large seeds, so you have watch out for them.

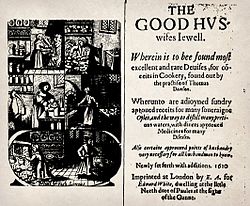
This medlar tart recipe comes from the 1597 book The Good Housewife’s Jewel by Thomas Dawson. It is a very simple paste made from medlar pulp, cinnamon, ginger and sugar baked in a pastry case. Here’s the recipe as it appears in the book:

Take medlars that be rotten and stamp them. Then set them on a chafing dish with coals, and beat in two yolks of eggs, boiling till it be somewhat thick. Then season them with sugar, cinnamon and ginger and lay it in the paste.

Back in Tudor times (Elizabeth I was on the throne when the book was published), sugar was not always as refined as today, so to replicate this I used soft light brown sugar. I decided to use rough-puff pastry as my ‘paste’, as it was often used for the more delicate desserts and posh pies. I changed the method slightly and instead of thickening the medlar mixture in a pan, as you would for pouring custard, I put the uncooked mixture into the case and baked it in the oven.

I did have a look for other recipes and found that things like butter, nutmeg, candied fruit or citron, sweet cider and musk powder (that final one might be a little tricky to source) were all added merrily.

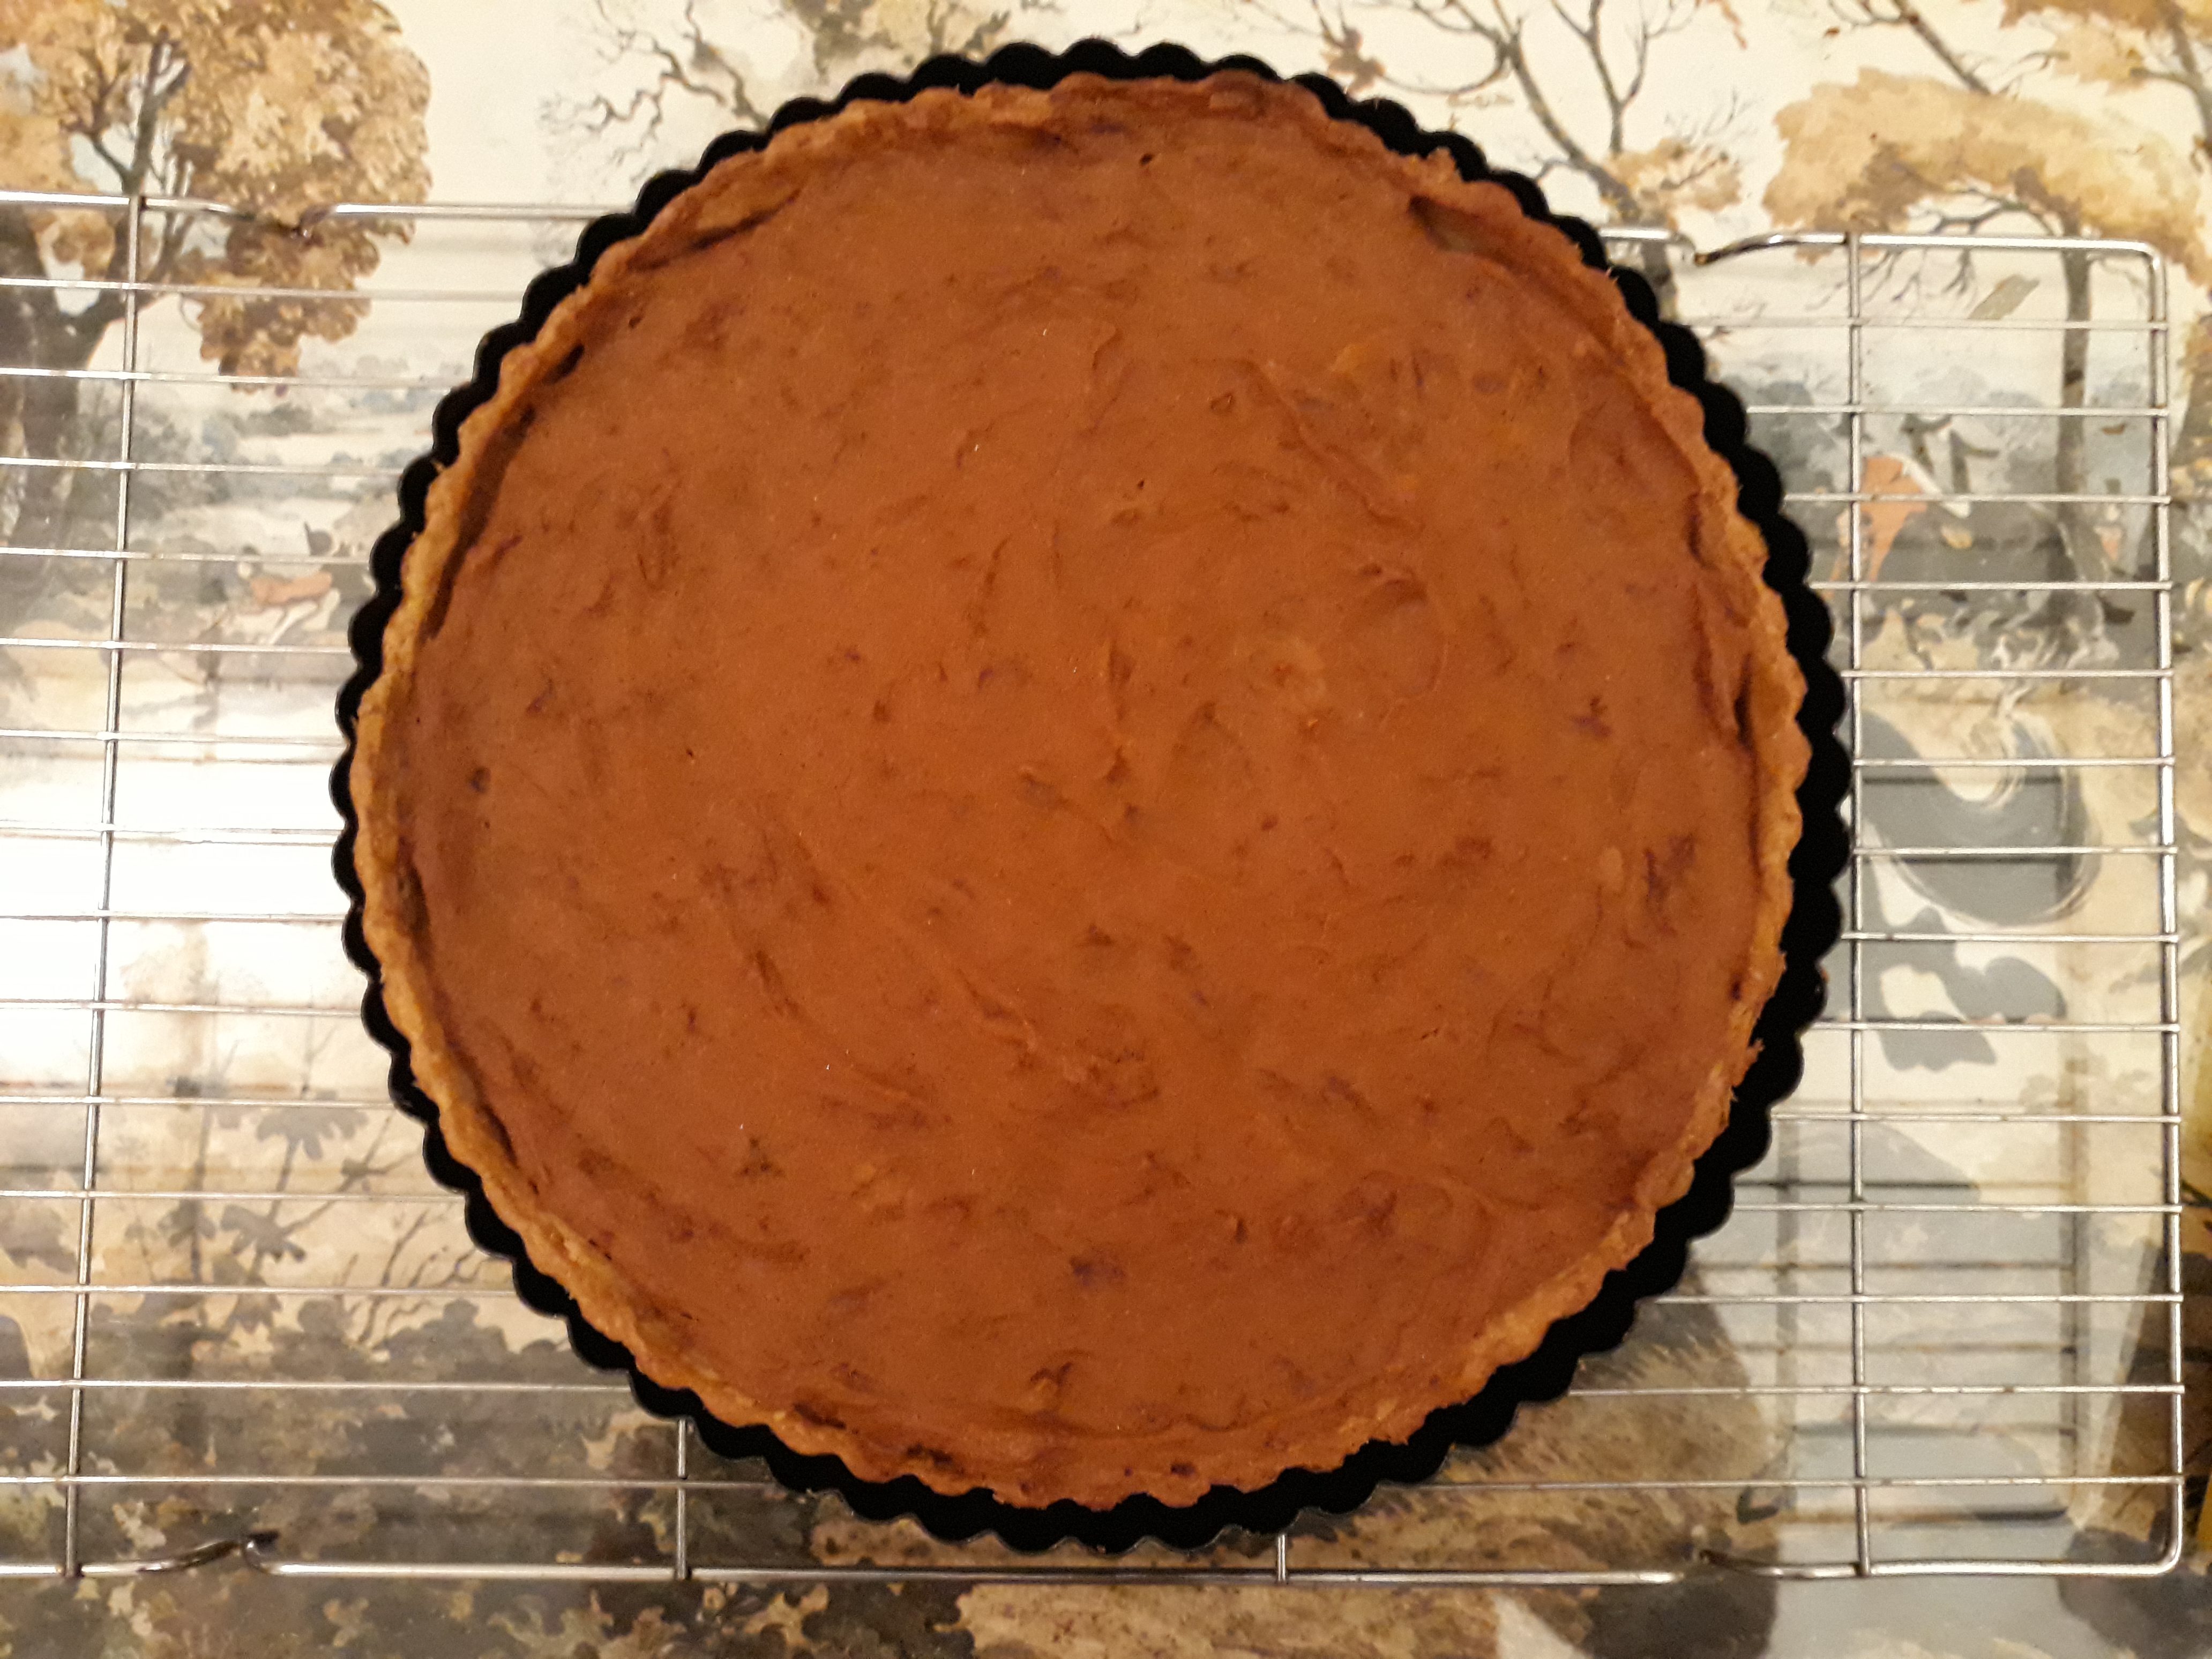
This tart is very good indeed, evocative of the American pumpkin pie. I would certainly give it a go should you happen upon a medlar tree.

For the tart:

Blind-baked shallow 8-inch pastry case

750 g well-bletted medlars

75 g caster or soft light brown sugar

3 egg yolks

1 tsp each ground cinnamon and ginger

Cut the medlars and twist in half widthways, as you might do with an avocado (except there are 5 pips rather than one large one). Scoop or squeeze the soft flesh into a bowl, removing pips as you go. I tried to pass the squeezed flesh through a sieve, which was a little tricky and boring but realised quite quickly that I wasn’t patient enough and decided instead that the flesh was smooth enough straight from the fruit.

Beat in the remaining ingredients and spread the mixture over the pastry case and bake for 20 minutes at 175°C.

Eat warm with thick cream.


If you like the blogs and podcast I produce, please consider treating me to a virtual coffee or pint, or even a £3 monthly subscription: follow this link for more information.


6 Comments

Filed under baking, Britain, cooking, Desserts, food, Fruit, history, Puddings, Recipes

King Alfred Burns the Cakes

It’s a story familiar to most of us:

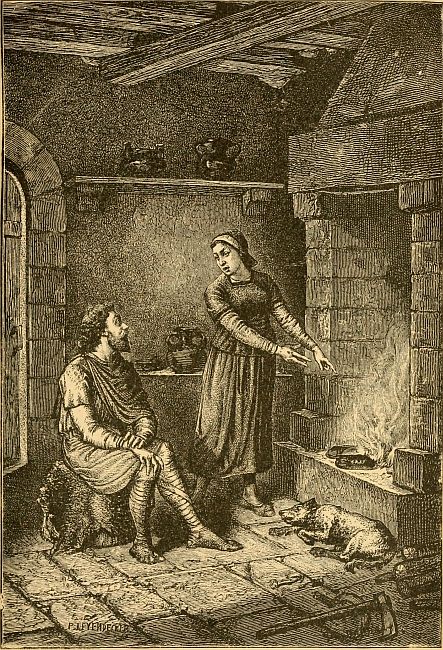
King Alfred, exhausted and lost in the woods after beating the Danes in a vicious pitched battle, stumbles, bedraggled, upon a herdsman’s hut. The huntsman’s wife invites him in, and not recognising him, just assumes he is merely a soldier of Wessex, not the King! She kindly offers him rest and nourishment, as she has just put some cakes in the embers of her fire to bake.

Alfred burns the cakes

Alfred is chastised for burning the cakes

The housewife pops out to collect some more firewood, and instructs the soldier to keep an eye on the cakes whilst she is away lest they burn, but almost as soon as she is leaves, poor Alfred falls asleep. A few minutes later the housewife returns, greeted by the smell of burning cakes and a sleeping soldier:

“What sort of careless man are you, who neglects to attend to burning bread? Never have I seen so negligent a man – one who doesn’t even know how to turn ash-baked bread – and yet when it is put in front of you, you’ll no doubt rush to eat it!”

Well that’s him told!

It is assumed that this story is apocryphal, the earliest written example doesn’t appear until 300 years after the event, but I’m not so sure, it sounds like a story that would be passed down as gossip about the king. If it was made up years after the event, it would be a strange story to select; it’s not tale of derring-do, nor is it a tale of any religious significance. Is it supposed to tell us all how humble a man Alfred the Great was? What’s the moral – don’t bake cakes after pitched battle? It’s a lack of these elements, which usually appear in fantastical stories of early monarchs, that makes me think that it may be true.

Well whatever the source of the tale and the reasons for its retelling, it is a story that is almost taken for granted, but I thought I’d take a closer look at the food in this story – what were these cakes, and how were they made?

As with all food history, one needs to understand the broader historical context behind, serving as a backdrop to the food itself, setting the scene.

Alfred statue

The Statue of Alfred the Great in London (bbc.co.uk)


If you like the blogs and podcast I produce, please consider treating me to a virtual coffee or pint, or even a £3 monthly subscription: follow this link for more information.


King Alfred – who he?

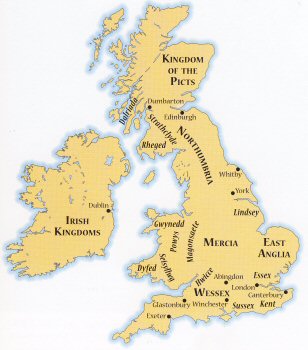
King Alfred was a late 8th Century Anglo-Saxon king, he wasn’t king of England, because England was not yet joined into one united cohesive country, Alfred was king of Wessex. The other kingdoms in England – Mercia, Northumbria and East Anglia and all been occupied and taken by the Danes, or if you prefer, the Vikings!

The security of  theKingdom of Wessex and its King sat on a knife edge, and pressure from the Danes moving into the kingdom had forced Alfred and his household to hide in the marshes of the Somerset Downs. An alternative version of the story of the cakes, says that Alfred, who so lost in thought and worry about his kingdom that he wandered into woods, got rather lost and happened upon the herdsman’s hut.

Alfred plotted and planned and managed to communicate with his allies well enough to form an army. In the year 878 he fought the Danes at Edington, which he eventually won. It was in the aftermath of this battle that he discovered the herdsman’s hut. The Battle of Edington is one of the most important events in Anglo-Saxon history, because in the months afterwards, Alfred made a peace treaty with the Danes and forced them to convert to Christianity.

Alfred had reclaimed Wessex and the Danes began to settle and assimilate with the Anglo-Saxons, making England a more cohesive place, indeed Alfred’s nephew Athelstan was the first King of all the Kingdom within England, uniting the kingdoms until his death.

9th century britain

The British Isles in the late 9th Century (britroyals.com)

Ash-Baked Cakes – what they?

For folk in mediaeval times, a home-baked loaf of bread was usually out of reach, most homes lacked a suitable oven and so relied on the oven (and skills) of local bakers. For those that lived in the futher fringes of the towns – such as herdsmen – it simply wasn’t viable to make the long trek into town, it was much easier to bake cakes on their fire.

Cast iron equipment such as griddles or waffle irons, were expensive, so many had to bake little cakes of ground cereal grain (wheat, rye or oats) directly into the embers of their fires.

Baking these cakes required both an eagle eye and excellent judgement – the outside needed to be just scorched, and the inside fluffy and warm. I must admit that I am not one for making fires or having barbeques, so I’ve not had the chance to have a go at making these devilishly difficult ember cakes. However, as soon as the opportunity arises I will, and I’ll report straight back to you guys!

20 Comments

Filed under baking, bread, Britain, cooking, food, history, Mediaeval Age, Uncategorized

Pease Pancakes

Hello there readers, sorry I’ve been a bit tardy with posts but I’ve gotten somewhat bogged with a post on the history of vegetarianism that currently looks to be about four posts long! I’m ignoring the writers’ block by writing this little easy post instead…

I was having a sort out of the kitchen cupboards and happened upon the bag of pea flour I had bought to write a post on peasebread a while ago. Researching for the post, I found that in the very north of Scotland, people ate a lot of peasemeal until recently, because very little in the way of cereals could be grown up there. These Scottish islanders would make pease pancakes amongst other things, so I thought I might have a go at them myself. Having no recipe, I just adapted my own recipe for American pancakes. They turned out pretty good – much better than the peasebread – and were delicious with some fried mushrooms and black pudding. They had a distinctive fresh pea and roast peanut flavour to them, and were slightly rubbery, but not in an unpleasant way.

Makes 10 to 12 pancakes:

½ cup pea flour

½ cup self-raising flour

1 tsp baking powder

½ teaspoon salt

2 tbs sunflower oil or 25 g melted butter

1 beaten egg

¾ cup milk, or half-milk half-water

sunflower oil for frying


Mix the dry ingredients in a bowl, make a well in the centre and add the oil or butter, egg and around half of the milk. Beat in with a wire whisk until the thick batter is lump-free, then carefully mix in the rest of the liquid.

Put a griddlepan or non-stick pan on a medium heat and allow it to get hot. Add a little oil and spoon in small ladles into the pan. You should be able to fit 3 or 4 pancakes in each pan.

Allow to fry for a couple of minutes before checking that they are golden brown. Once they are, flip and fry the other side.

Pile up and keep warm in a very cool oven. Add a little more oil to the pan if needed and continue to fry in batches.

Serve with typical breakfast things: bacon, sausage, poached egg, mushrooms etc.


If you like the blogs and podcast I produce, please consider treating me to a virtual coffee or pint, or even a £3 monthly subscription: follow this link for more information.


4 Comments

Filed under baking, Britain, cooking, food, General, history, Recipes

Forgotten Foods #6: Pease Bread

I often frequent the excellent vegan cooperatively-run supermarket Unicorn in Chorlton, south Manchester, to fill my food cupboards both at home and at the restaurant. One day, a couple of months ago, I spotted a very mediaeval ingredient: green pea flour. I had come across ‘peasemeal’ in several old books, but didn’t expect to ever see it for sale. (Another popular mediaeval ingredient is almond milk, used particularly on fasting days; it’s funny how these old ingredients are having a comeback as health foods.)

One of the mediaeval small-holder’s most important crops was his pea crop – they were not eaten as young sweet garden peas, but were left in the pods to mature and dry. The peas became starchy and packed with protein; an excellent nutritional source for the winter months. We use those dried peas today for mushy peas or split peas. Then, they were mainly used in pease porridge/pottage.

The pease were often ground to make peasemeal to thicken stews, and to make bread for cattle. People only ate it themselves in times of winter famine, and this peasebread was hated by all.

Peasebread and peasemeal stopped being produced in most of the UK, but it did live on until the mid-20th Century in the very North of Scotland and Orkneys, where very few crops can be grown in abundance (rye and oats are the only others really). Folk enjoyed pease scones, bannocks (flatbreads) and breads, but it was still associated with poverty.

Peasemeal is considered easy to digest, partially due to its lack of gluten, and is high in protein and carbohydrates. I quite like how some of these mediaeval ingredients are being re-examined during a time of vegan and paleo-dieting. It is strange to think how the poor were eating healthy vegetables with little fat, red meat, salt and sugar, considered then to have no nutritional value. Meanwhile, the bunged-up rich were chowing down almost entirely on meat, spice, white bread and sugar, in the belief they were eating properly. I bet their bedchambers sank in the morning.

I had to have a go at the derided peasebread, just to see how bad it was. I did cheat a little bit and mixed the peasemeal with some strong bread flour. It was pretty straight-forward to make, though the dough was very sticky was hard to knead. The resulting bread was dense and a little crumbly, but had a delicious sweet pea flavour, with hints of roasted peanut butter. Probably too dry to eat on its own, it was great toasted, buttered and dunked in soup.


If you like the blogs and podcast I produce, please consider treating me to a virtual coffee or pint, or even a £3 monthly subscription: follow this link for more information.


So, here’s my recipe for peasebread. It made two flattened cobs.

(Notice all my liquid measurements are in grams rather than millilitres; for greater accuracy, it’s much easier to weigh your liquids, a tip from Elizabeth David.)

250g green pea flour

250g strong white bread flour

10g salt

10g instant yeast

30g sunflower or olive oil, or softened butter or lard

330g hand-hot water

In a wide mixing bowl mix together the two flours. To one side of the bowl place the salt, and place the yeast to the opposite side. Make a well in the centre and pour in the oil/fat and the water. Mix with your hands to form a dough. Leave to settle for ten minutes.

Spread a little oil on a work surface and knead until smooth. This is pretty tricky because it is so sticky, so use a dough scraper to help.

Oil a bowl and place in the dough inside and cover. Leave to rise until it has doubled in size, about 2 hours. Knock back the dough, divide into two pieces and form in to two taught, round cobs. To do this, roll into balls with oiled/floured hands, then tuck in the dough underneath whilst turning the ball, tautening the surface. Place on greased baking trays, flour generously and cut a cross in the centre. Cover with large plastic bags and leave to rise again for about an hour.

Place the cobs in a cold oven, then set the temperature to 230⁰C and bake for 40 minutes. Cool on a rack.

21 Comments

Filed under baking, bread, Britain, cooking, food, history, Recipes, Teatime, Uncategorized