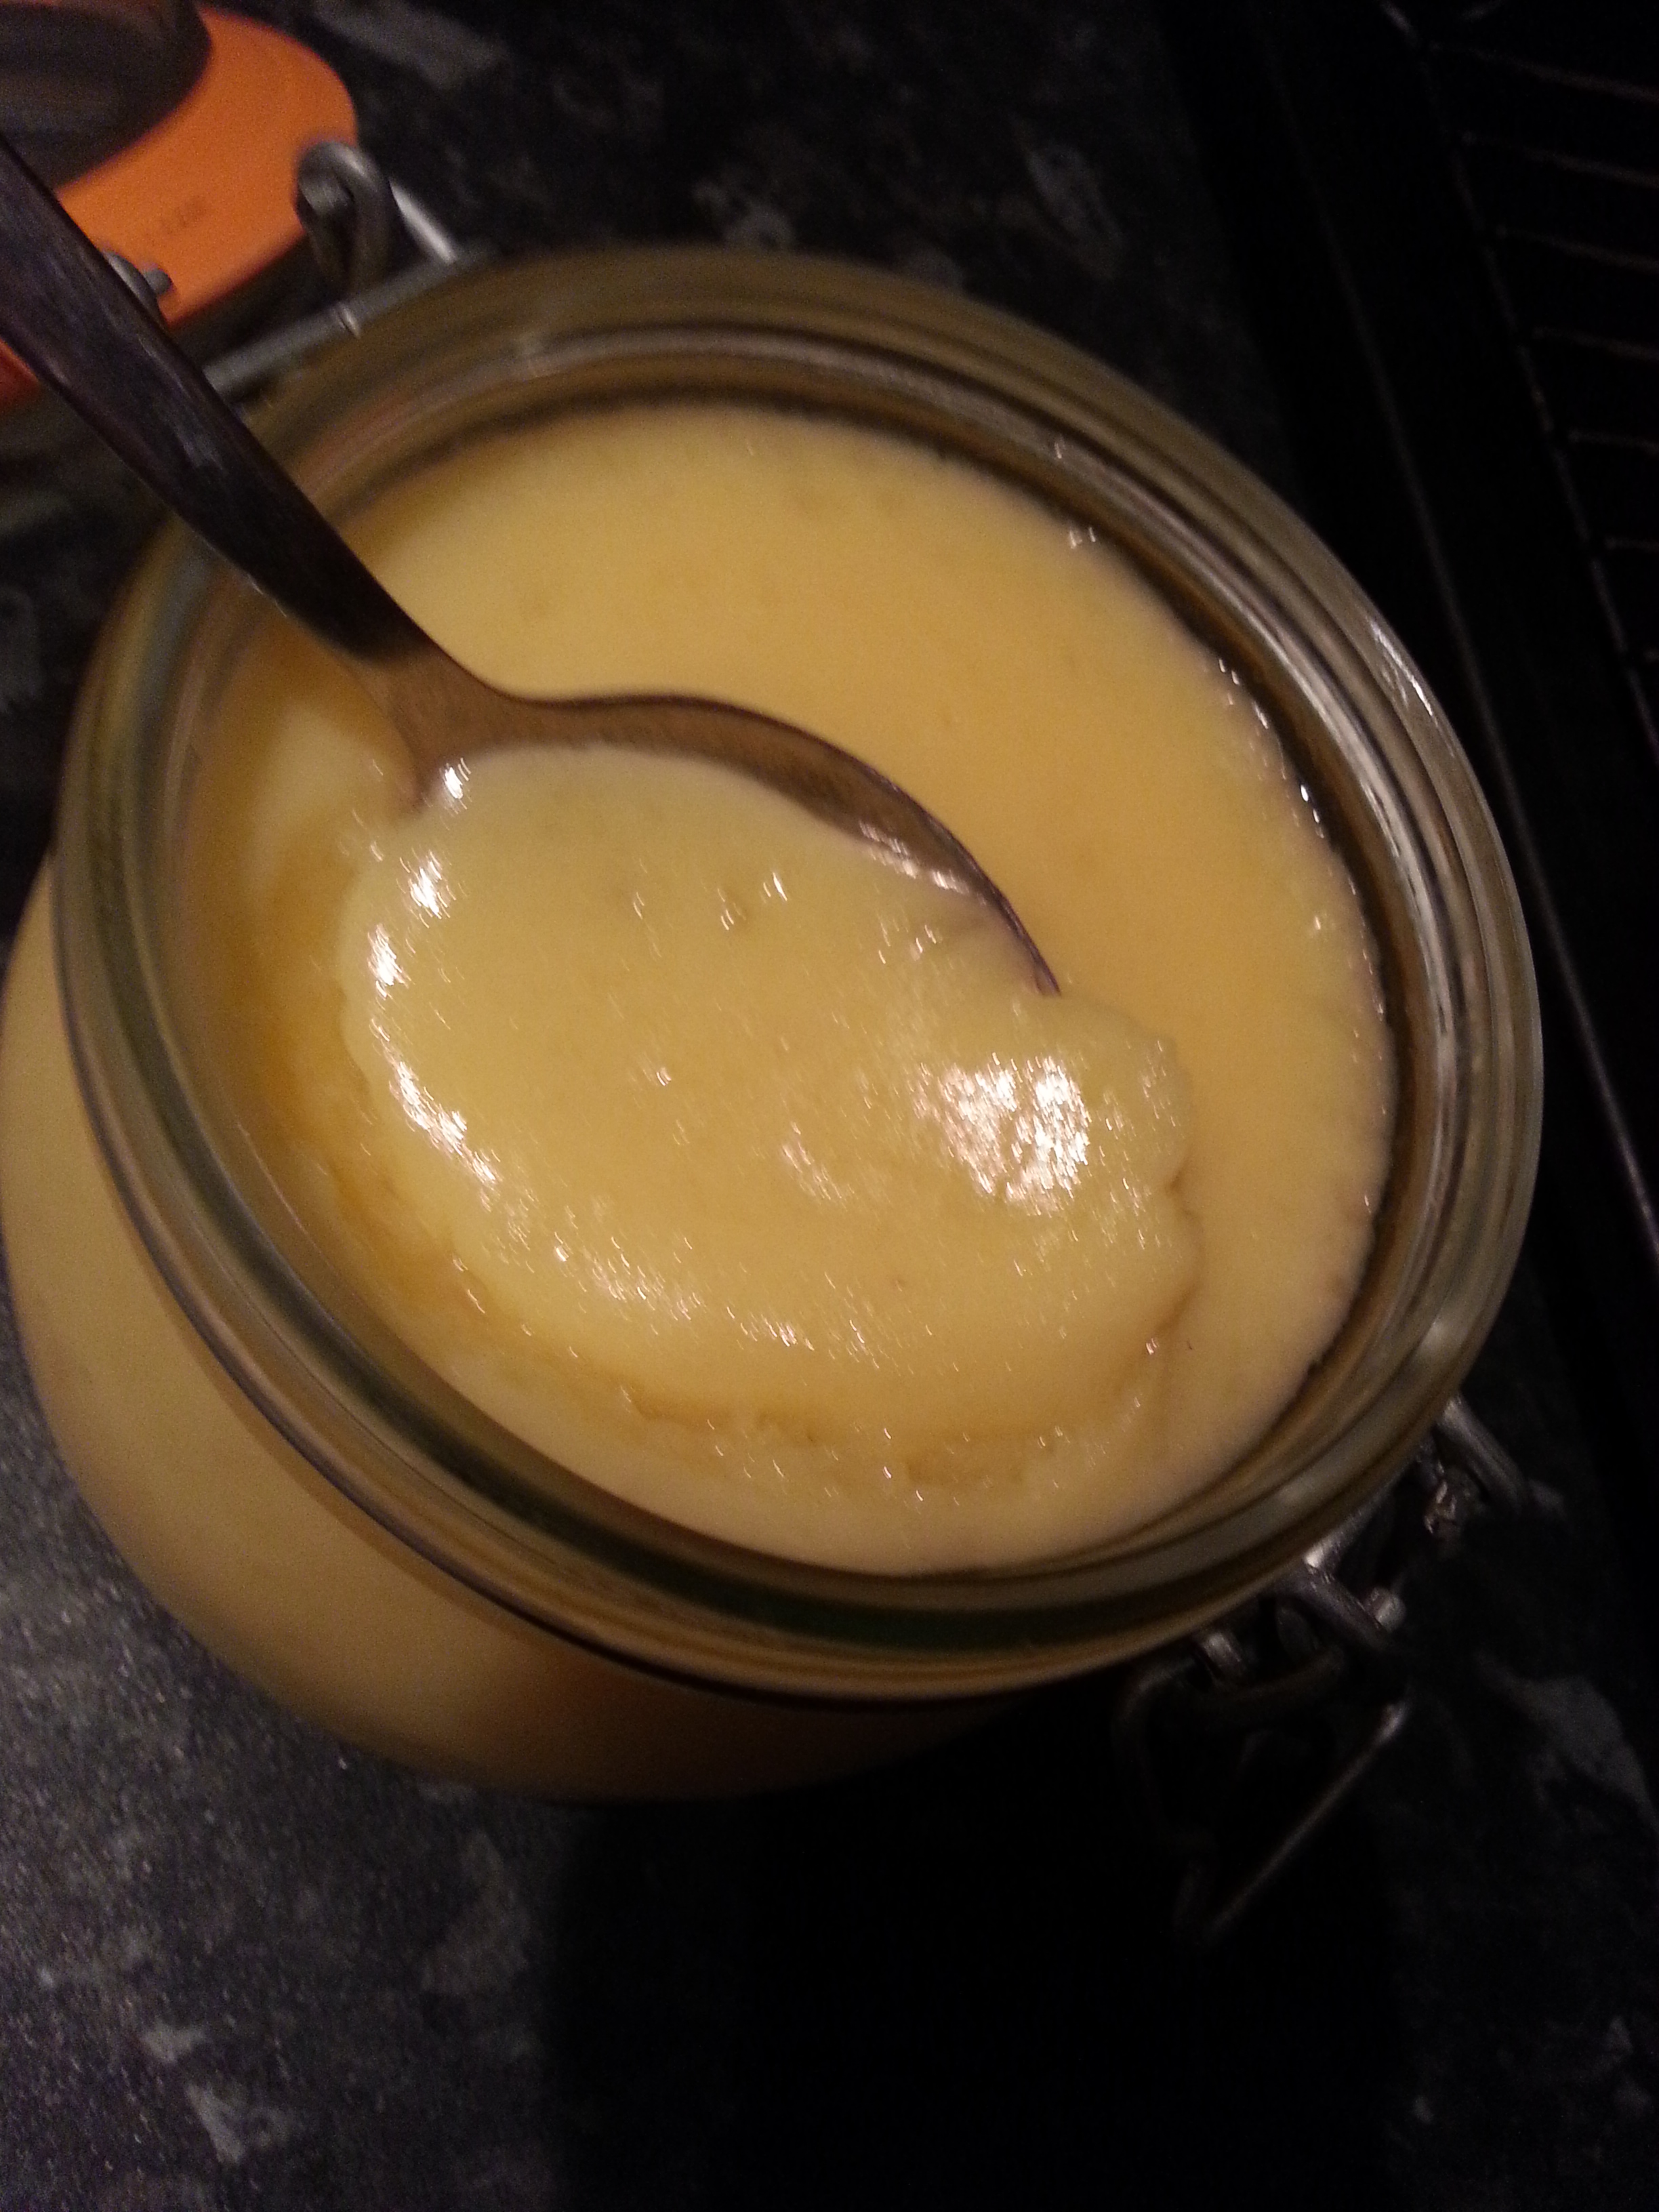
By recent request, I have written another post on fruit curds. I have come up with several more recipes since I wrote the original post and they all originate from a common source; a single recipe that pops up in River Cottage Handbook No.2: Preserves by Pam ‘the Jam’ Corbin. This is a truly excellent book (as are all the RCHandbooks), that deserves a post of its own as part of my rather irregular Favourite Cookbooks series.
Anyway, this recipe is the best I’ve come across, it is for lemon and Bramley apple curd – and it is ripe for modification. Apple purée is used, giving a great texture, making a light nicely-set curd that needs less sugar than your typical lemon curd. Below is the original recipe that I have only very slightly tweaked, and then there is a few more: blood orange, spiced orange and pink grapefruit.
Lemon and Bramley Apple Curd
This recipe makes around 1200ml of curd.
500g Bramley apple curd, peeled, cored and chopped
150ml water
Zest and juice of 2 lemons
125g butter, cubed
350-400g granulated sugar
5 medium eggs
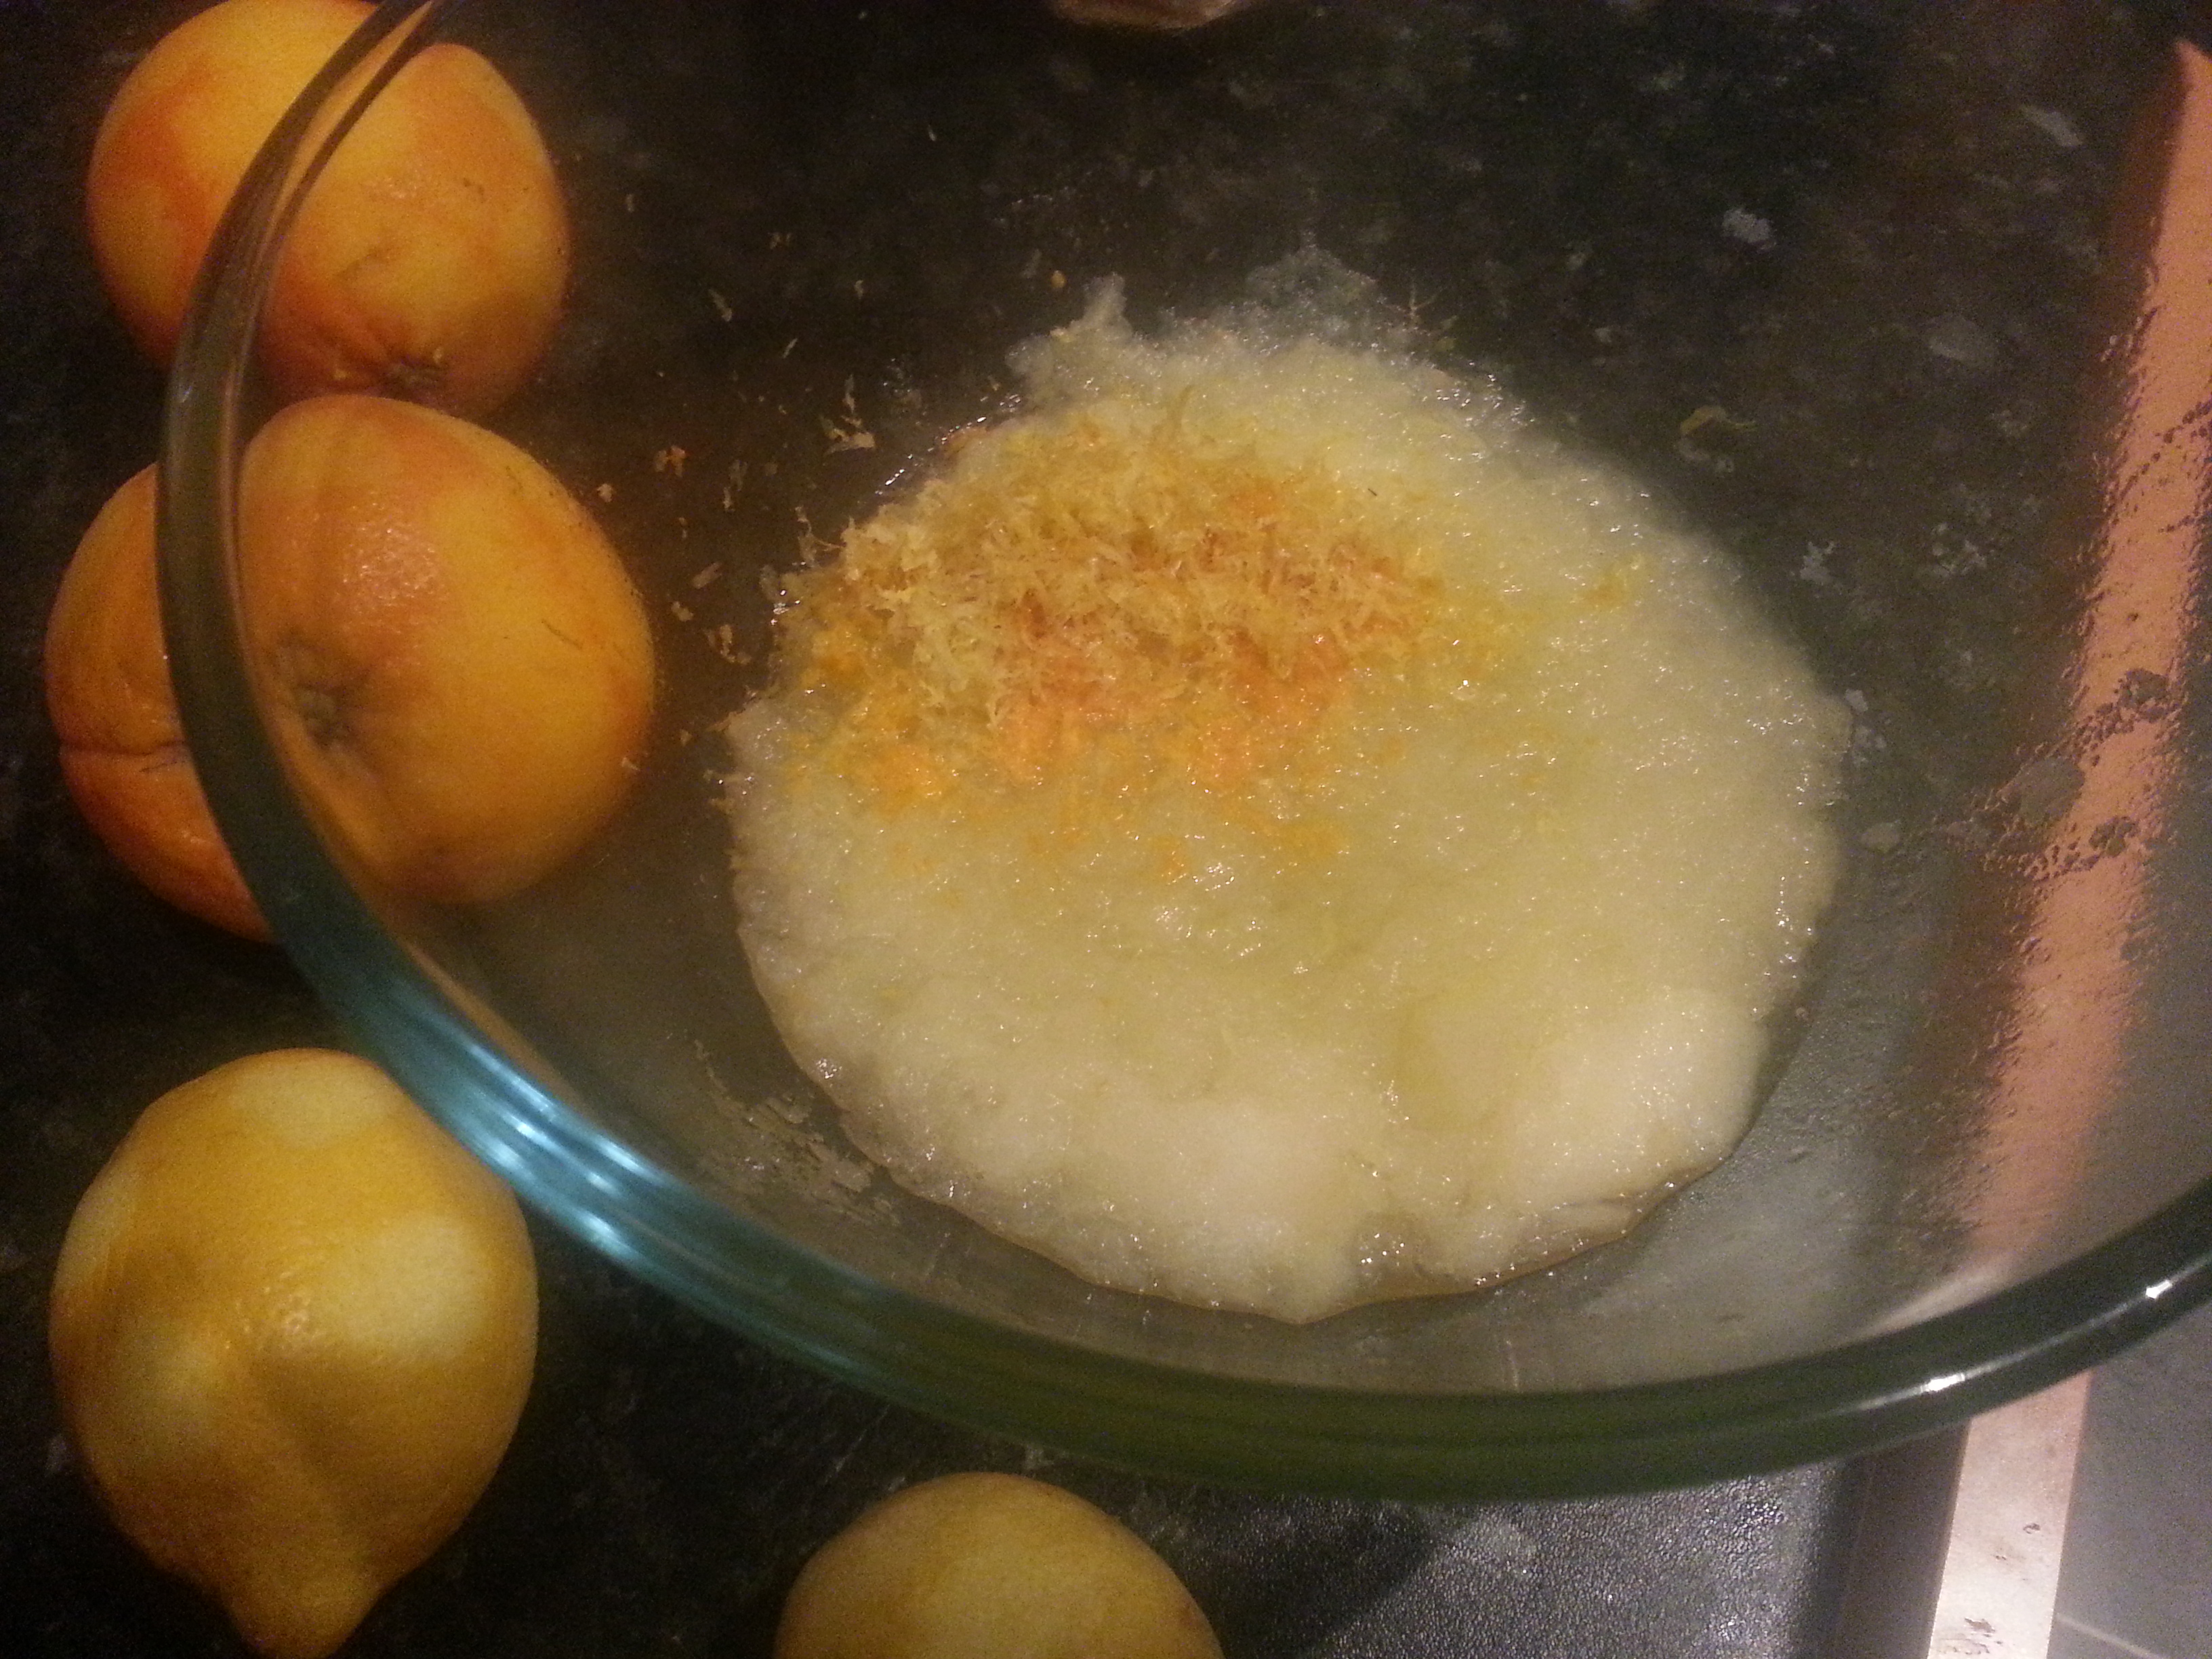
Put the apples and water in a small saucepan, cover and simmer until the apples break down into a purée. When cooked, put them into a large glass mixing bowl with all of the remaining ingredients except the eggs. Mix together – the heat of apples will dissolve the sugar and begin to melt the butter – and place the bowl atop a pan of briskly simmering water, making sure the water doesn’t touch the base of the bowl.
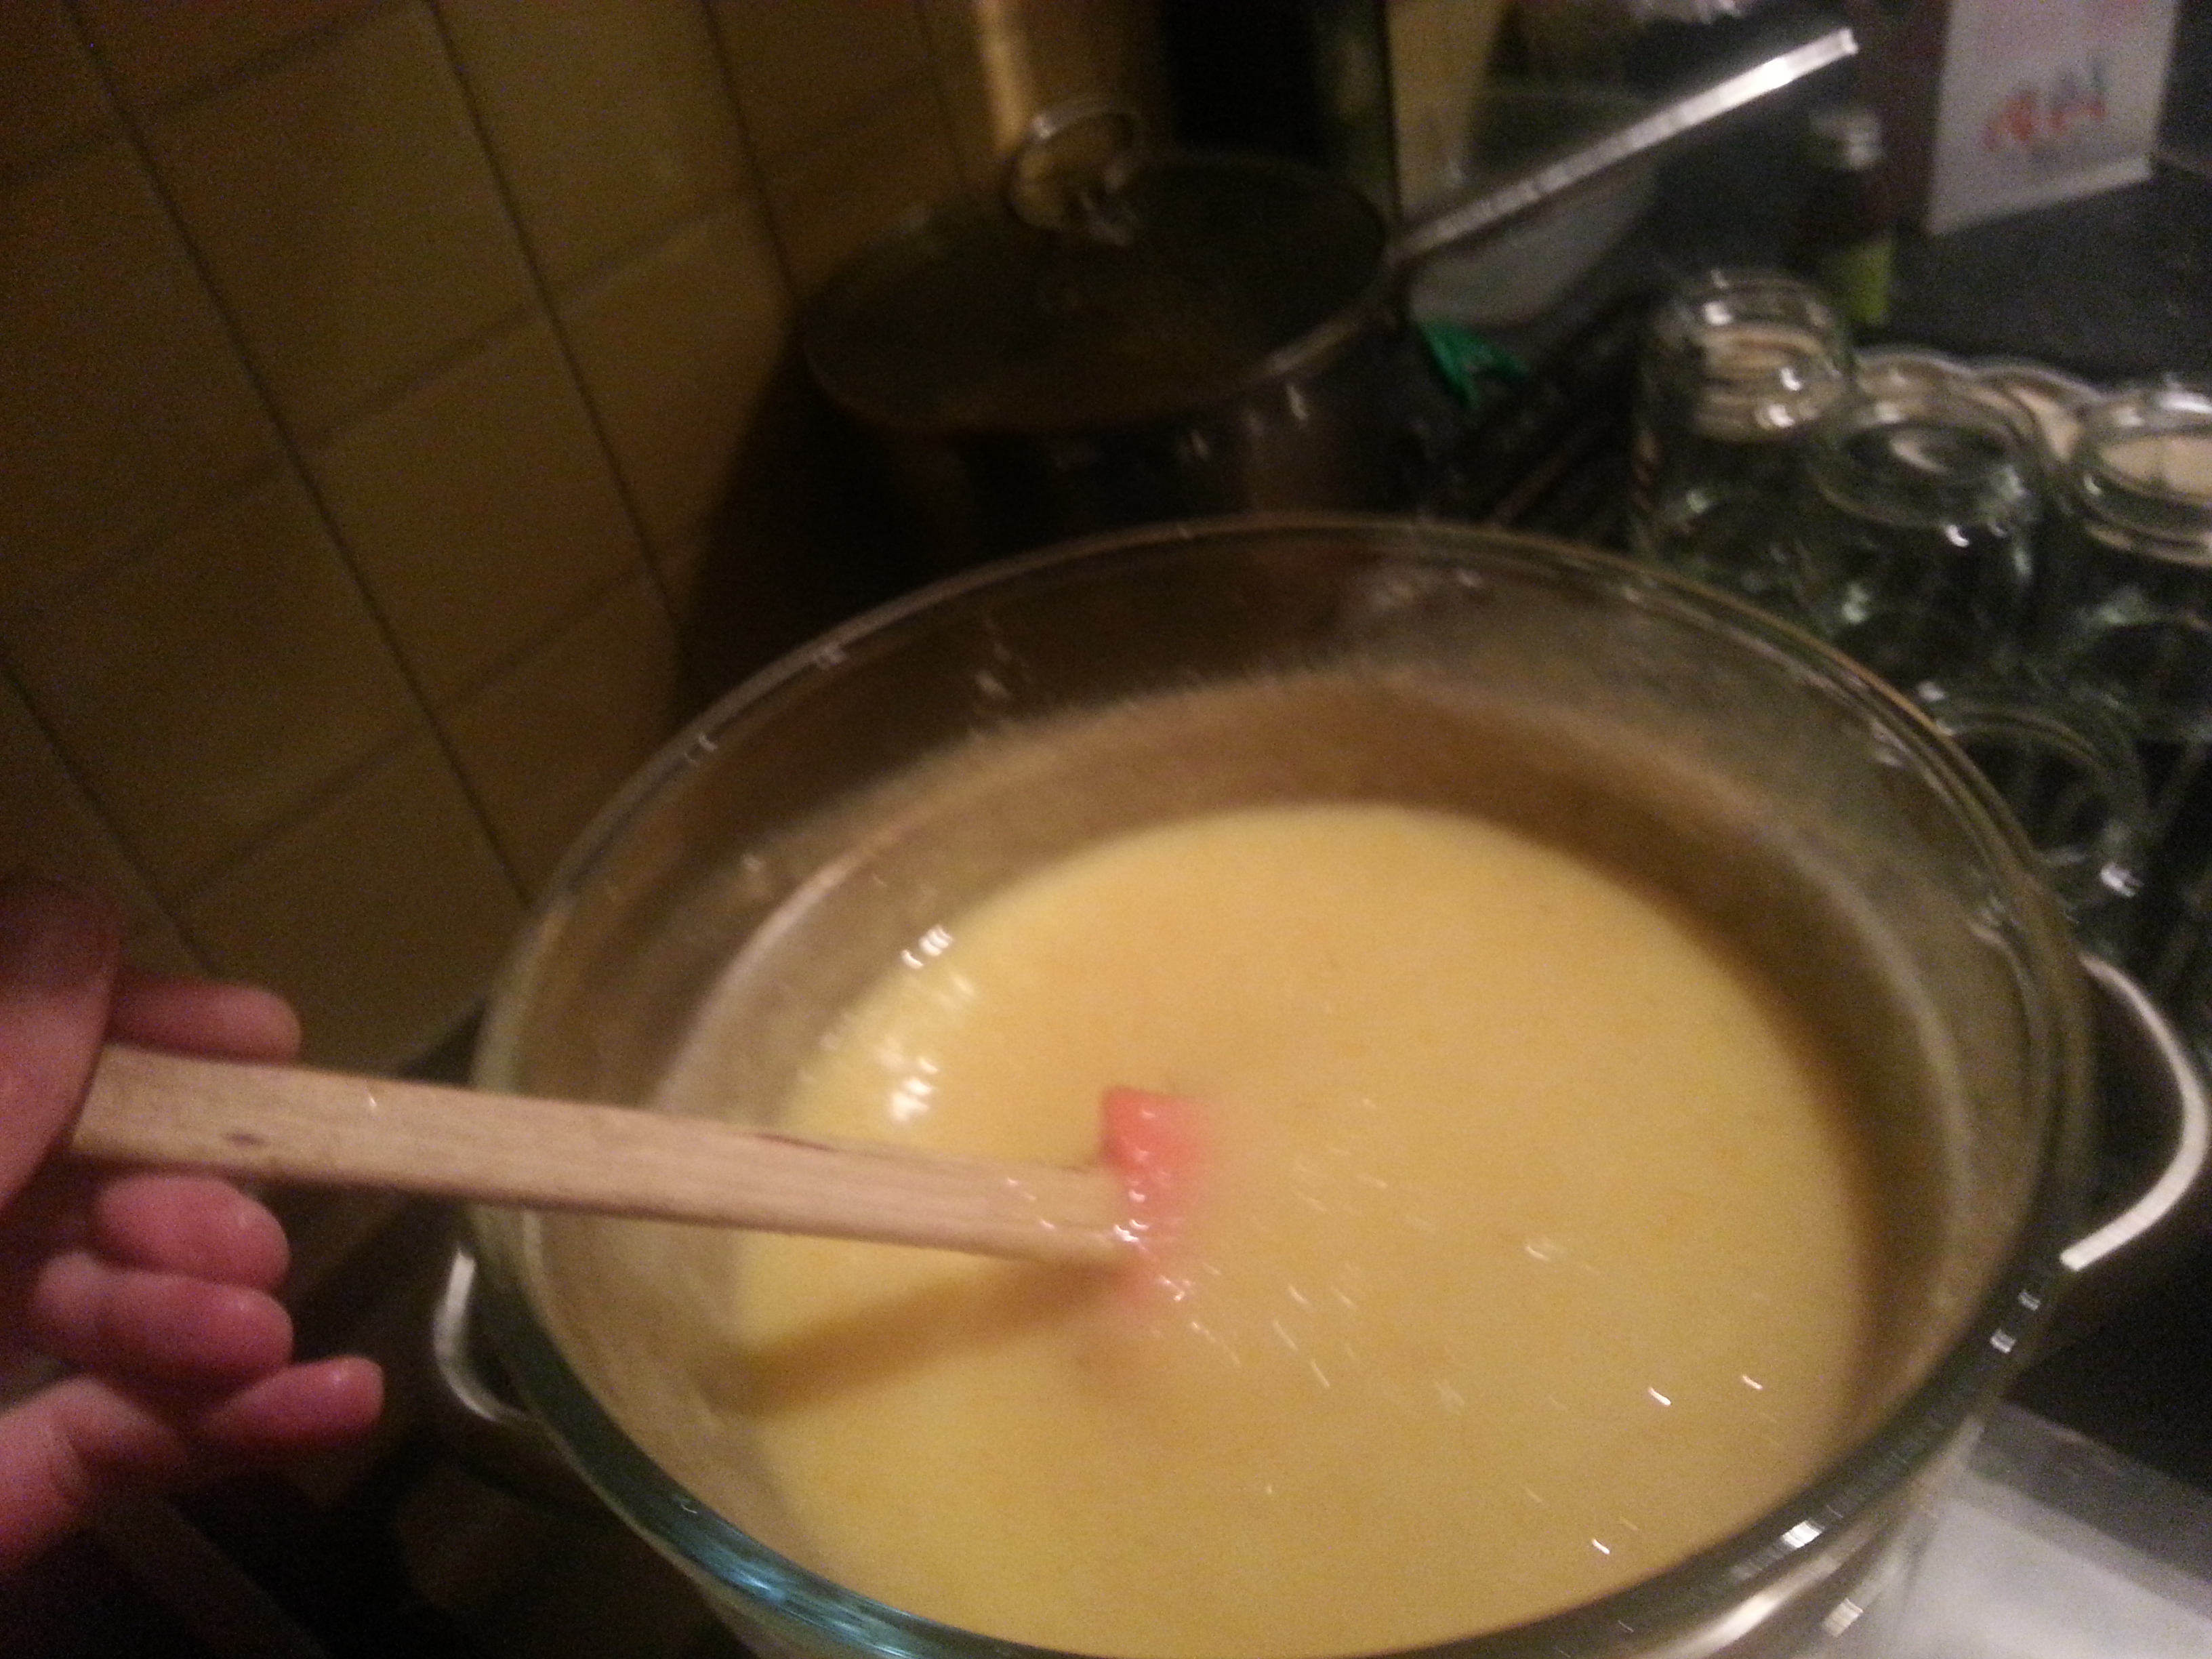
Whisk the eggs well and pass them through a sieve straight into the mixture, stirring them in well. Keep an eye on things and stir the curd frequently until it thickens; it doesn’t require constant stirring, but don’t be going off and dusting the sills. If you want to be scientific about it, eggs thicken at around 80⁰C, but temperatures of 75⁰C and above will thicken the curd sufficiently. Taste and add more sugar if liked – remembering that cold curd will taste much less sweet than hot curd.
Pot in sterilised jars (25 minutes in a 125⁰C oven does the trick), cool and refrigerate. The curd will keep for 5 weeks.
Some variations
You can pretty much use any fruit juice you like, but you always need a little bit of lemon to add bite as well as to take advantage of its flavour enhancing properties.
Blood orange curd: as above but use the juice and zest of one lemon and two blood oranges.
Spiced orange curd: use the juice and zest of two lemons and two oranges, along with half a teaspoon of mixed spice. When the curd has thickened, add two teaspoons of orange flower water.
Pink grapefruit curd: use the juice and zest one lemon and two pink grapefruits.
If you like the blogs and podcast I produce, please consider treating me to a virtual coffee or pint, or even a £3 monthly subscription: follow this link for more information.
I have been writing posts of late on the huge variety of cuts we can get from meat, whether prime cuts or more humble (or should that be umble?) cuts, but I fear I may not be able to cook you all this one!
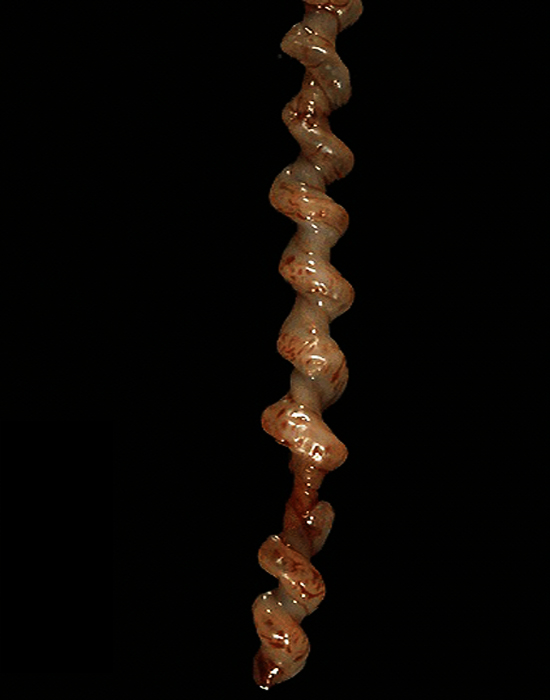
The umbilical cords of calves born on dairy farms were often collected by thrifty farmers and turned into a dish known as ‘muggety pie’ by famers’ wives. There’s a description of it in the excellent book Food in England by Dorothy Hartley; she says:
The umbilical cord of the calf was washed, soaked in salt water, and cut into short lengths which were then split open end to end twice, and cut, so making small oblong pieces. These were then boiled, till soft, with onions and seasoning, chopped again and made into a pie, using the gelatinous stock and some milk to make the filling gravy. The whole white pie was then covered with crust and baked.
Muggety pie was popular in the West Country, particularly in Gloucestershire and Cornwall, “all jelly soft it was…it was the jelly gravy was the best part – some did put taters and a turnip and sech, but ‘twas best plain, and good cold,” told old farm-hand.
Foods like muggety pie are dishes that probably never travelled much further than the dairy or cattle farmers’ houses and quickly forgotten. It was borne out of a necessity that no longer exists, but why kill an animal for meat that can be sold on when there is good protein laying there in the hay?
So, if there are any diary or cattle farmers that have a spare umbilical cord or two hanging around, let me know and I’ll bake you a delicious pie!
Don’t worry though, you don’t have to miss out on muggety pie because it can also be made out of sheep’s intestines or a sheep’s pluck (i.e. lungs, heart and liver) that latter of which should easily be found at butchers given a little notice…
If you like the blogs and podcast I produce, please consider treating me to a virtual coffee or pint, or even a £3 monthly subscription: follow this link for more information.
No, I haven’t died, so cancel the wake. I’ve been a little busy of late and the poor old blog has suffered from scant postings. For that I apologise. I need to catch up with a heck of a lot of food stories, recipes and history with you all; I may not have been blog-writing, but I have been eating!
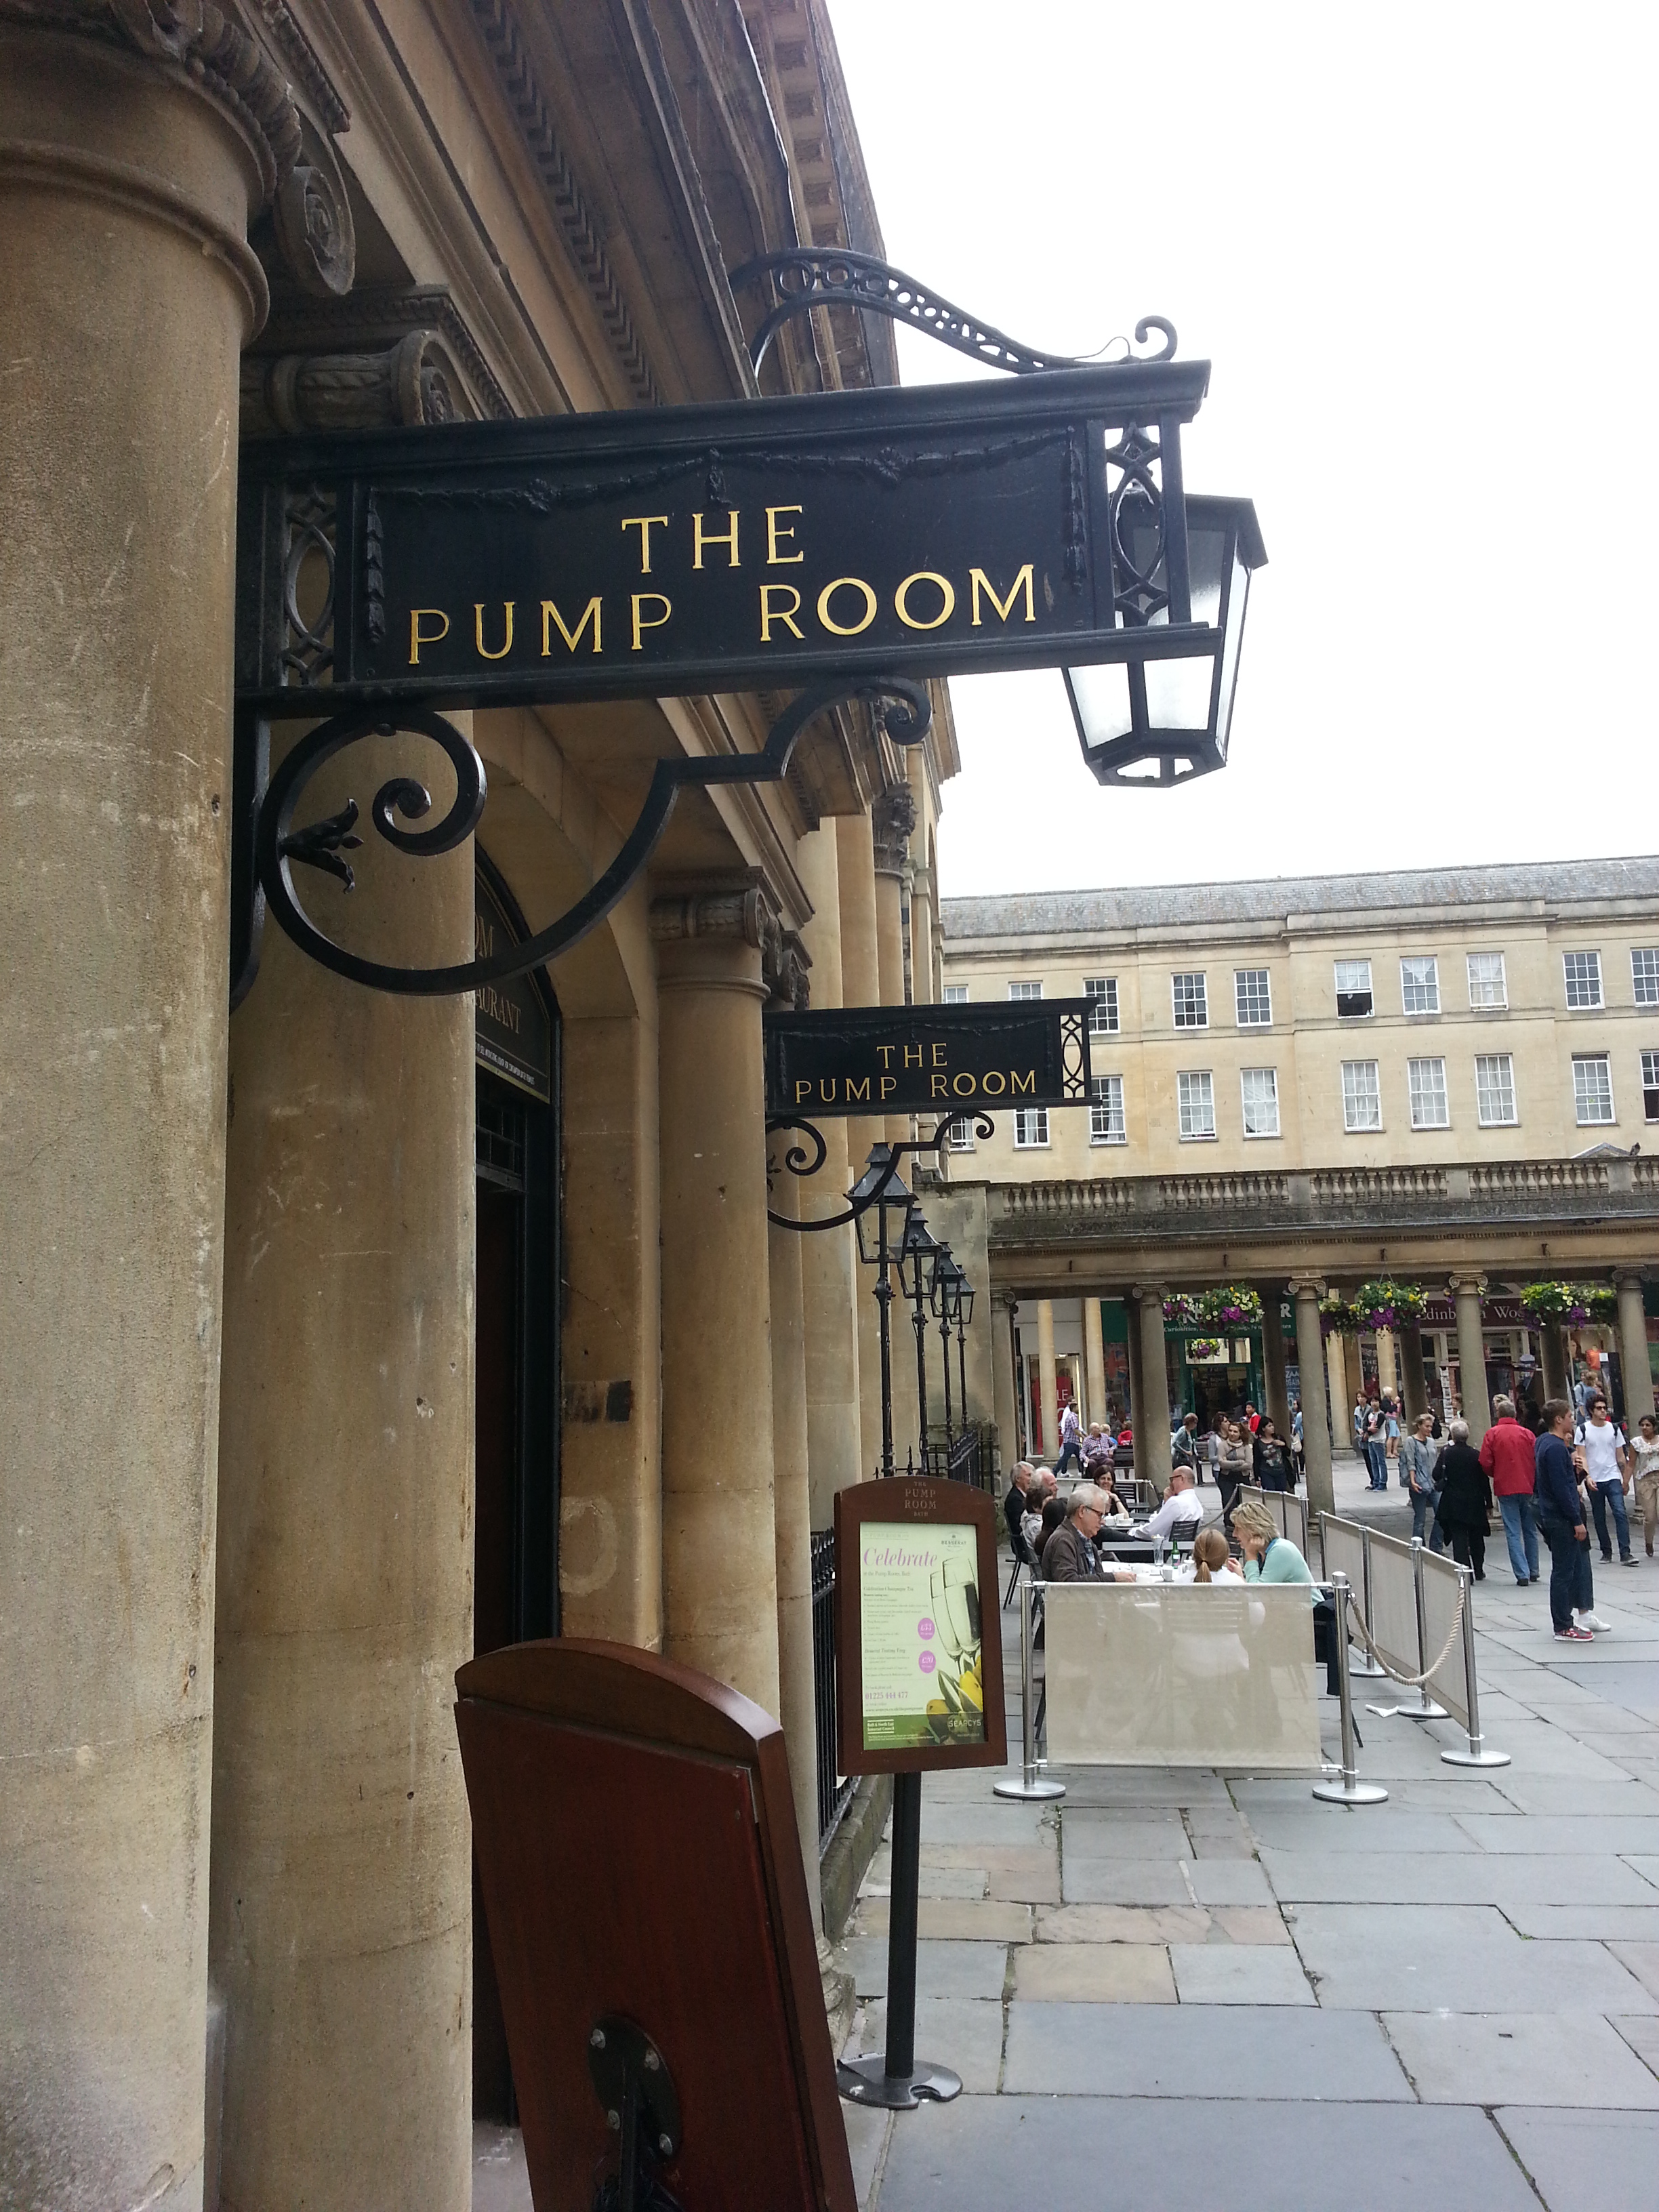
At the end of June, I popped down to the beautiful city of Bath for the weekend to visit friends and had a jolly old time. The great thing about Bath is that it has such history; you cannot help but find something to be amazed by at the turn of every street corner.
Entrance to the Roman Baths
The spa at Bath has attracted people for millennia – there is archaeological evidence of human settlement going back 10 000 years. The city of Bath itself was founded in 863BC by a chap called Bladud. Suffering from leprosy, he had been ostracised from society and found that bathing in the warm, muddy springs, after seeing pigs doing the same, cured him. It must have put him in fine fettle because he later went on to become the ninth King of the Britons and to father King Lear.
Of course it was the Romans that really transformed the place, creating Aqua Sulis with the baths that are still there today in fine working order.
From the point of view of food, however, Bath really came into its own in the eighteenth and nineteenth centuries when it was deluged by the middle classes that wanted to get away. The Roman Baths and Pump Room were restored to their former glories after centuries of neglect, making Bath the best of all the spa towns. This wasn’t just because of its locality to London, or that it was in a lovely part of England; it was because Bath simply had the best of everything. Bath was a trade epicentre: excellent salt marsh lamb from Wales, a seemingly endless supply of fruit and vegetables from Tewkesbury, cider from Glastonbury, apricots, cherries and plums from the Cotswolds, cream and junkets from Devon and Somerset, excellent freshwater fish – especially elvers – from the Severn Valley as well as sea fish from the ports of Cornwall, all came to one place. And that was just British produce! I haven’t mentioned the French brandy, the Spanish wine or the exotic spices from further afield.
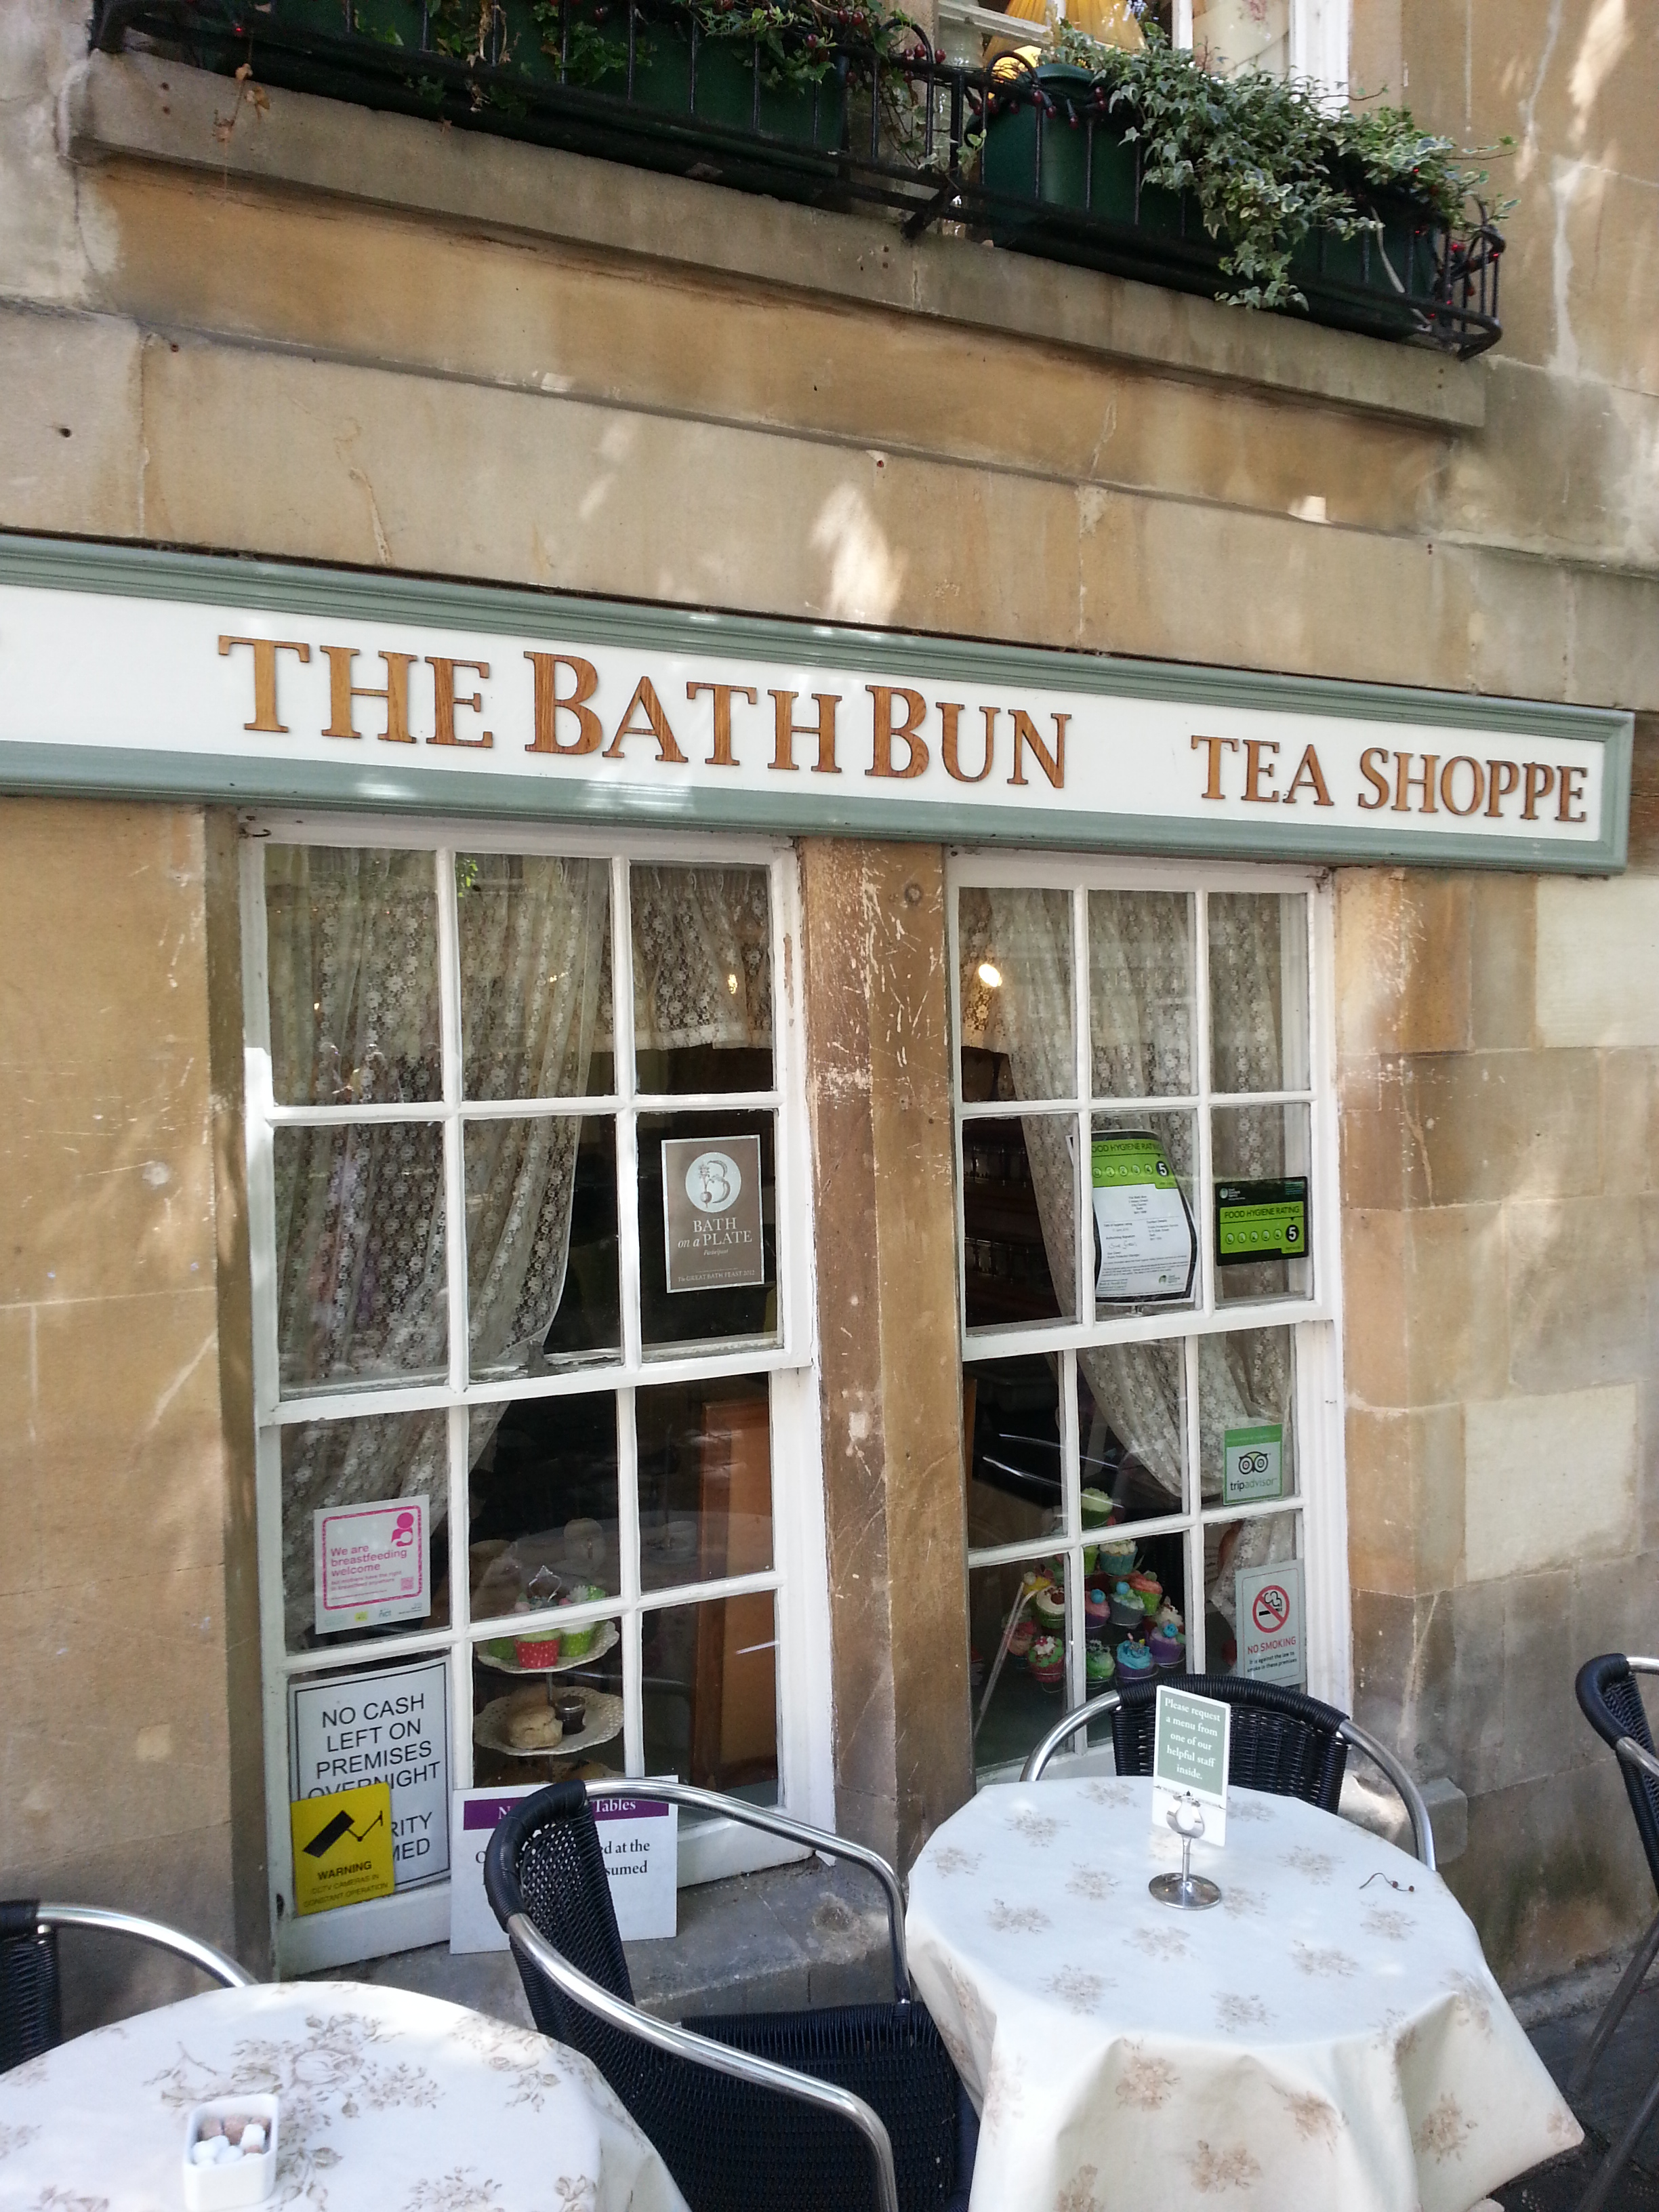
All this has made Bath what it is today. Its food heritage, however, seems to have been boiled down into two things: Bath buns and Sally Lunns.
I’ve never seen either Bath buns or Sally Lunns anywhere other than Bath itself, which just goes to show that we still have regional cooking in an age with a seemingly swirling and mixing population. I like that you don’t see them everywhere; it makes eating one a rare treat to be relished. There are, of course, stories attached to the invention of these enriched breads which should be taken with a huge pinch of salt.
Bath Buns
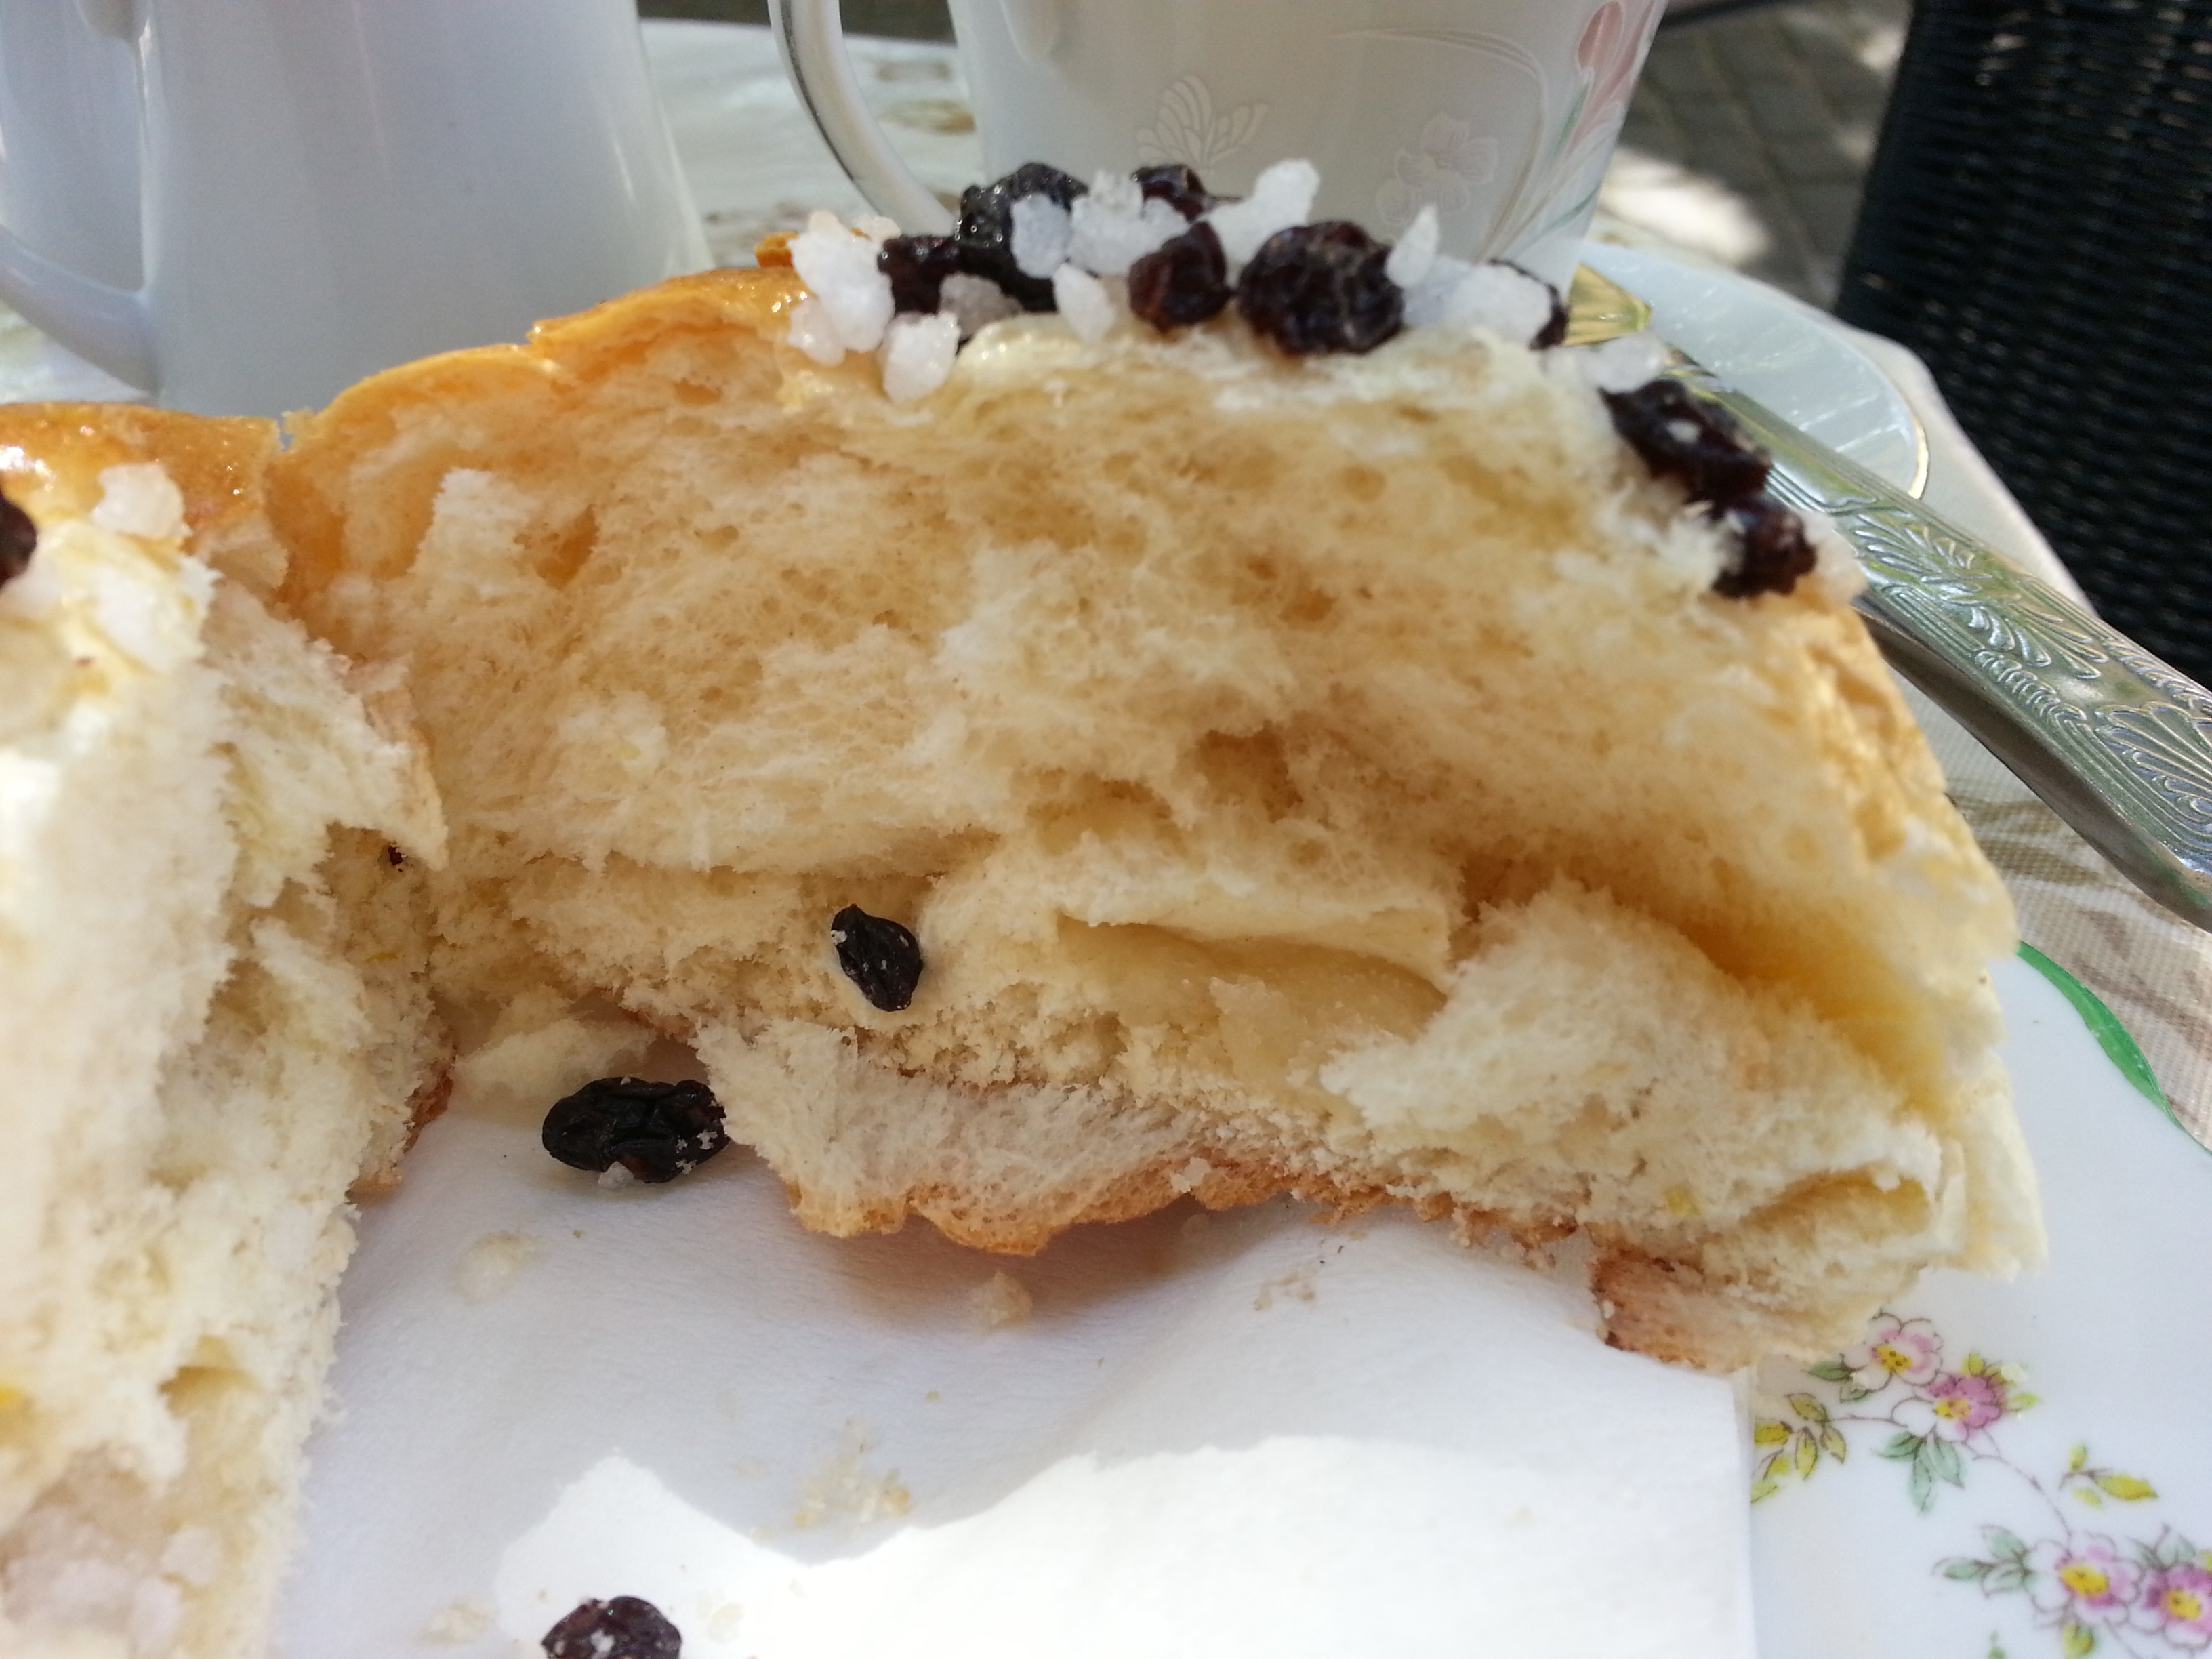
A bath bun is a large fruit bun, made with dough similar to that of a Chelsea bun or hot cross bun. The bread dough is enriched with eggs, sugar and currants. At the bottom of each bun is a lump of sugar and the freshly-baked bun is finished with a sticky wash, extra currants and crushed loaf sugar or sugar nibs.
Anatomy of a Bath bun
The Bath bun is said to have been invented by a doctor called William Oliver in the 18th century. After his patients visited the Roman baths he would give them a nourishing Bath bun. It was soon apparent that his plan was not working as he expected when he realised his patients were getting somewhat portly. He withdrew the buns and replaced them with hard, dry water biscuits.
I must say that I would have become a hypochondriac if I was one of Oliver’s patients! I would have used any excuse to get my hands on one. They are so delicious – sweet and sticky and very bad for you. I can’t put the attractiveness of the Bath bun better than W Chambers, writing in his Edinburgh Journal of 1855:
The Bath-bun is a sturdy and gorgeous usurper – a new potentiate, whose blandishments have won away a great many children, we regret to say, from their lawful allegiance to the plum-bun. The Bath-bun is not only a toothsome dainty, but showy and alluring withal. It was easier for ancient mariners to resist the temptations of the Sirens, than it is for a modern child to turn away from a Bath-bun…Large, solid, and imposing, it challenges attention, and fascinates its little purchasers.
We can see from this quote that the Bath bun was popular, not just in Bath, but England and Scotland, so what happened to it? Enriched breads are still pretty popular in Britain, even with the advent of comparatively modern chemically-aerated sponge cakes. Strange.
If you like the blogs and podcast I produce, please consider treating me to a virtual coffee or pint, or even a £3 monthly subscription: follow this link for more information.
The Sally Lunn
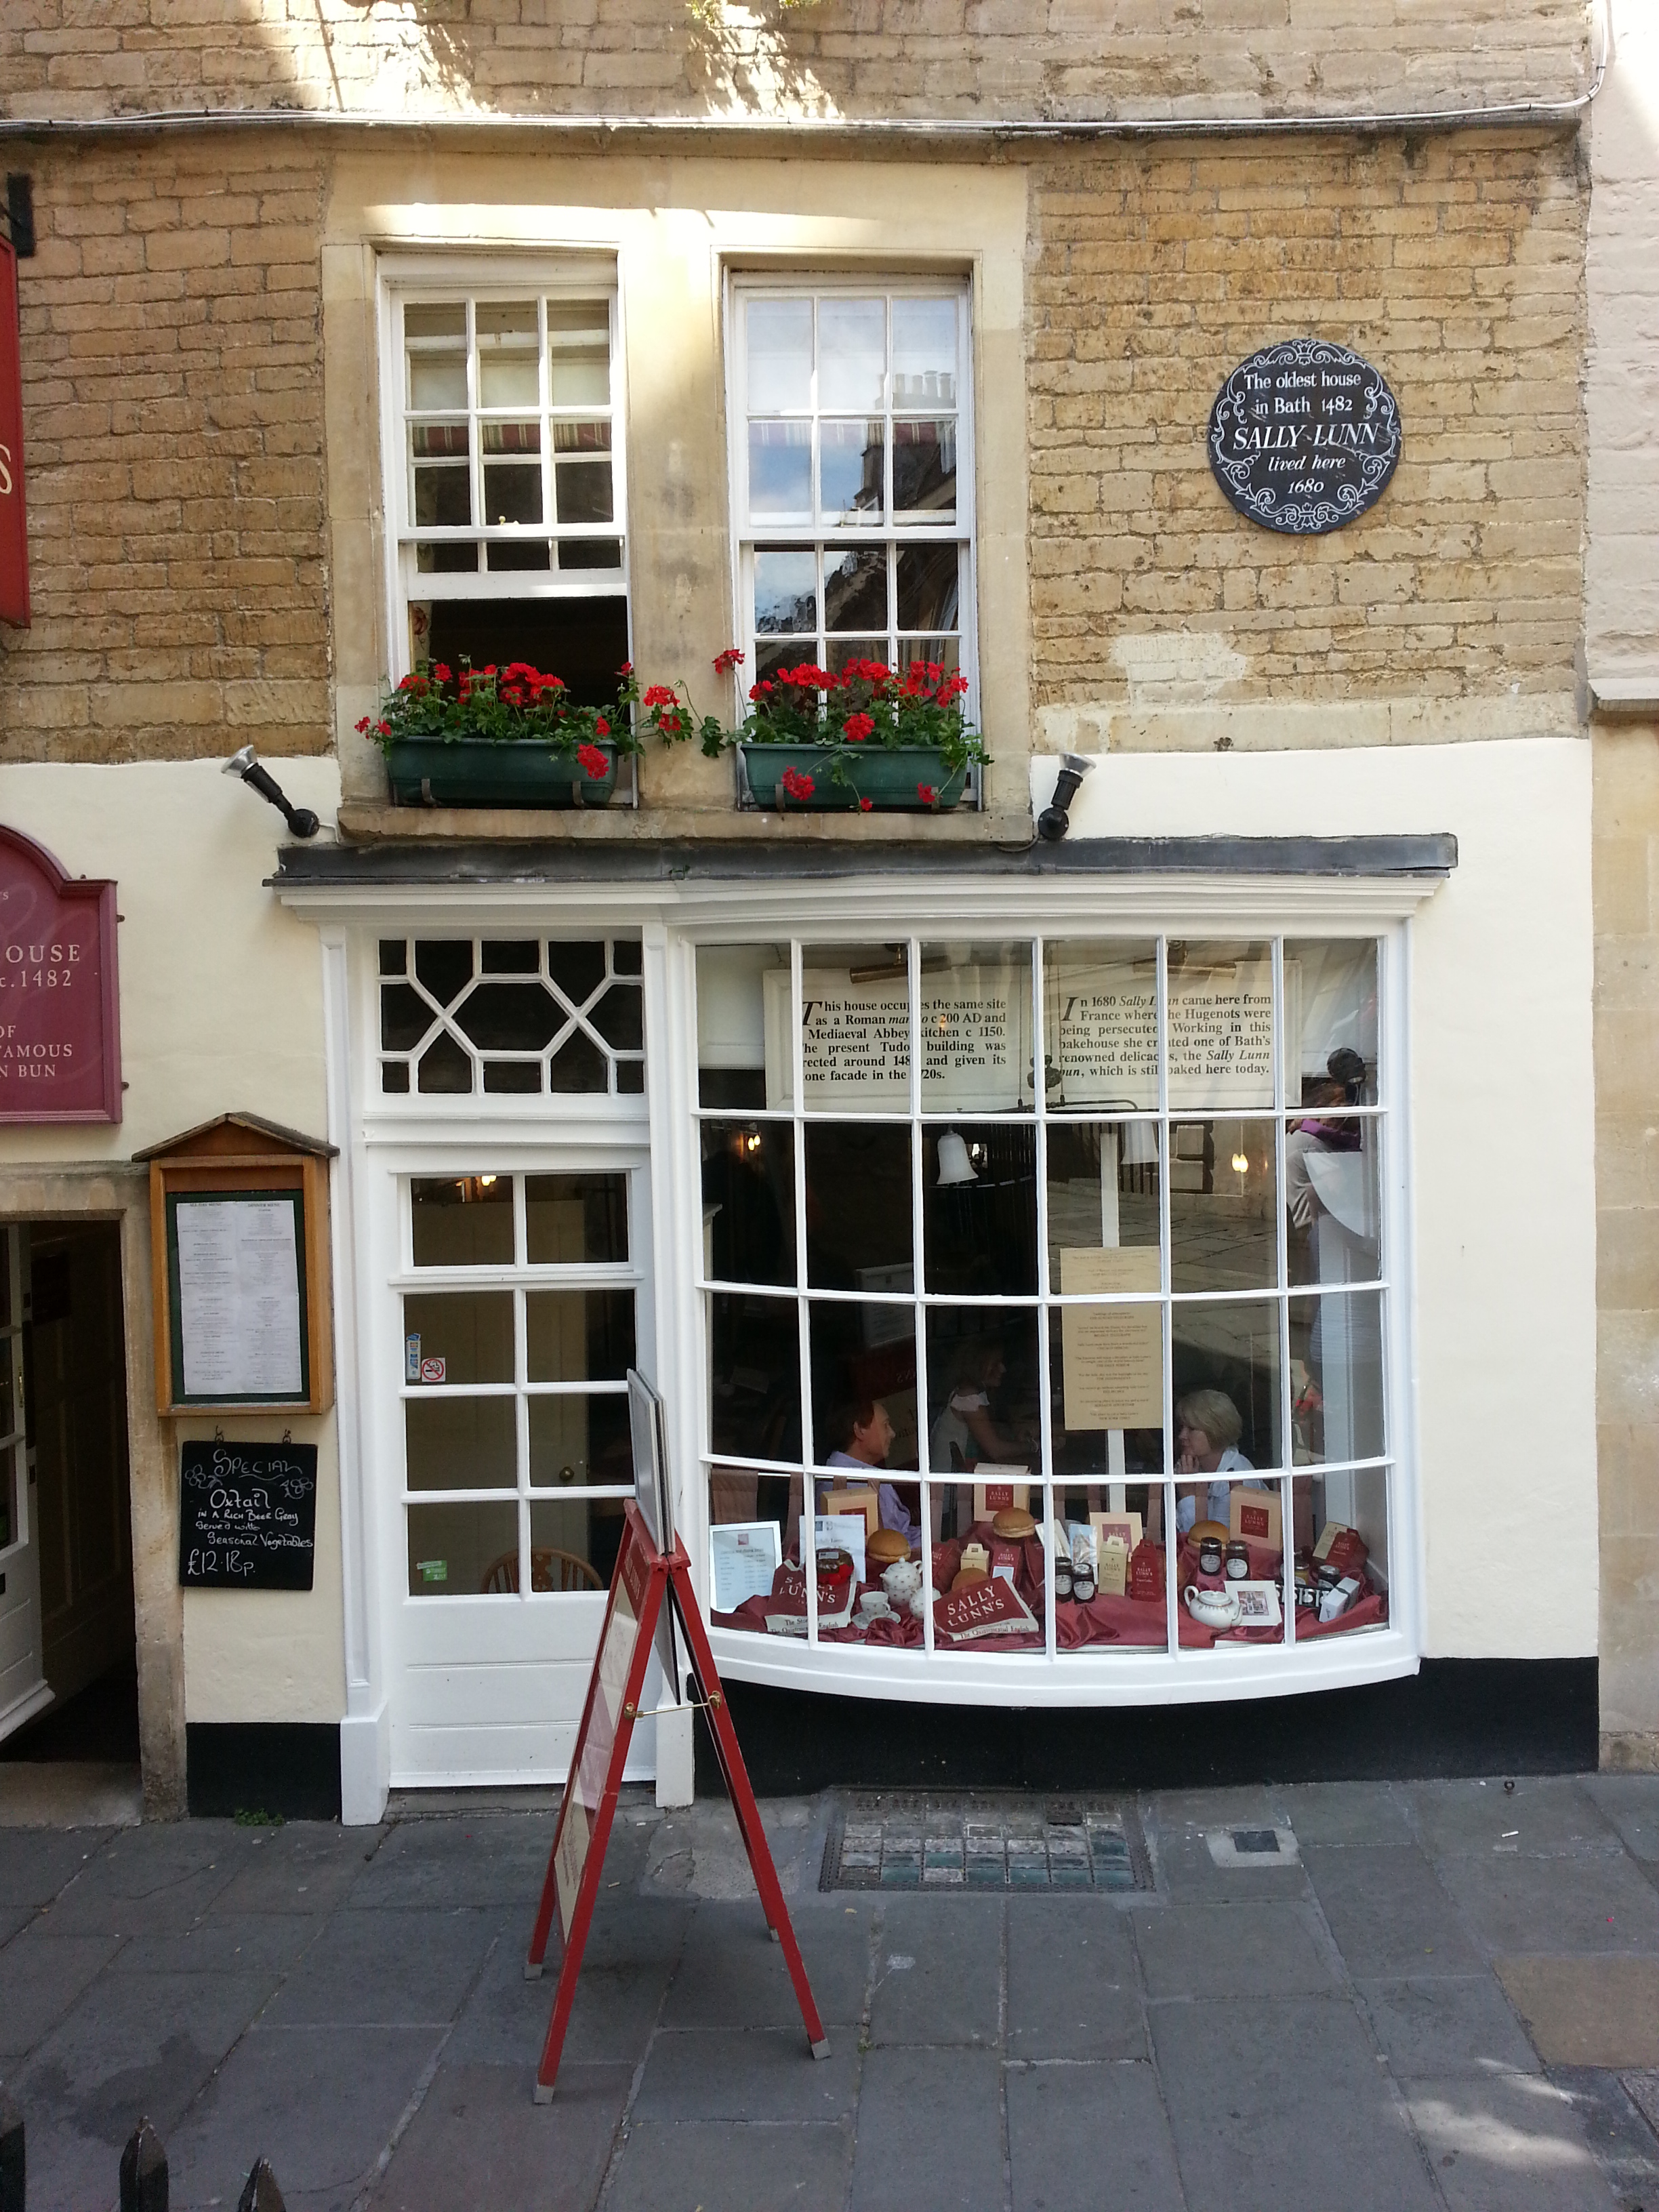
Oh no she didn’t!
A Sally Lunn is a large, round enriched bread, much plainer than a Bath bun, rather like French brioche. The story of its invention goes something like this:
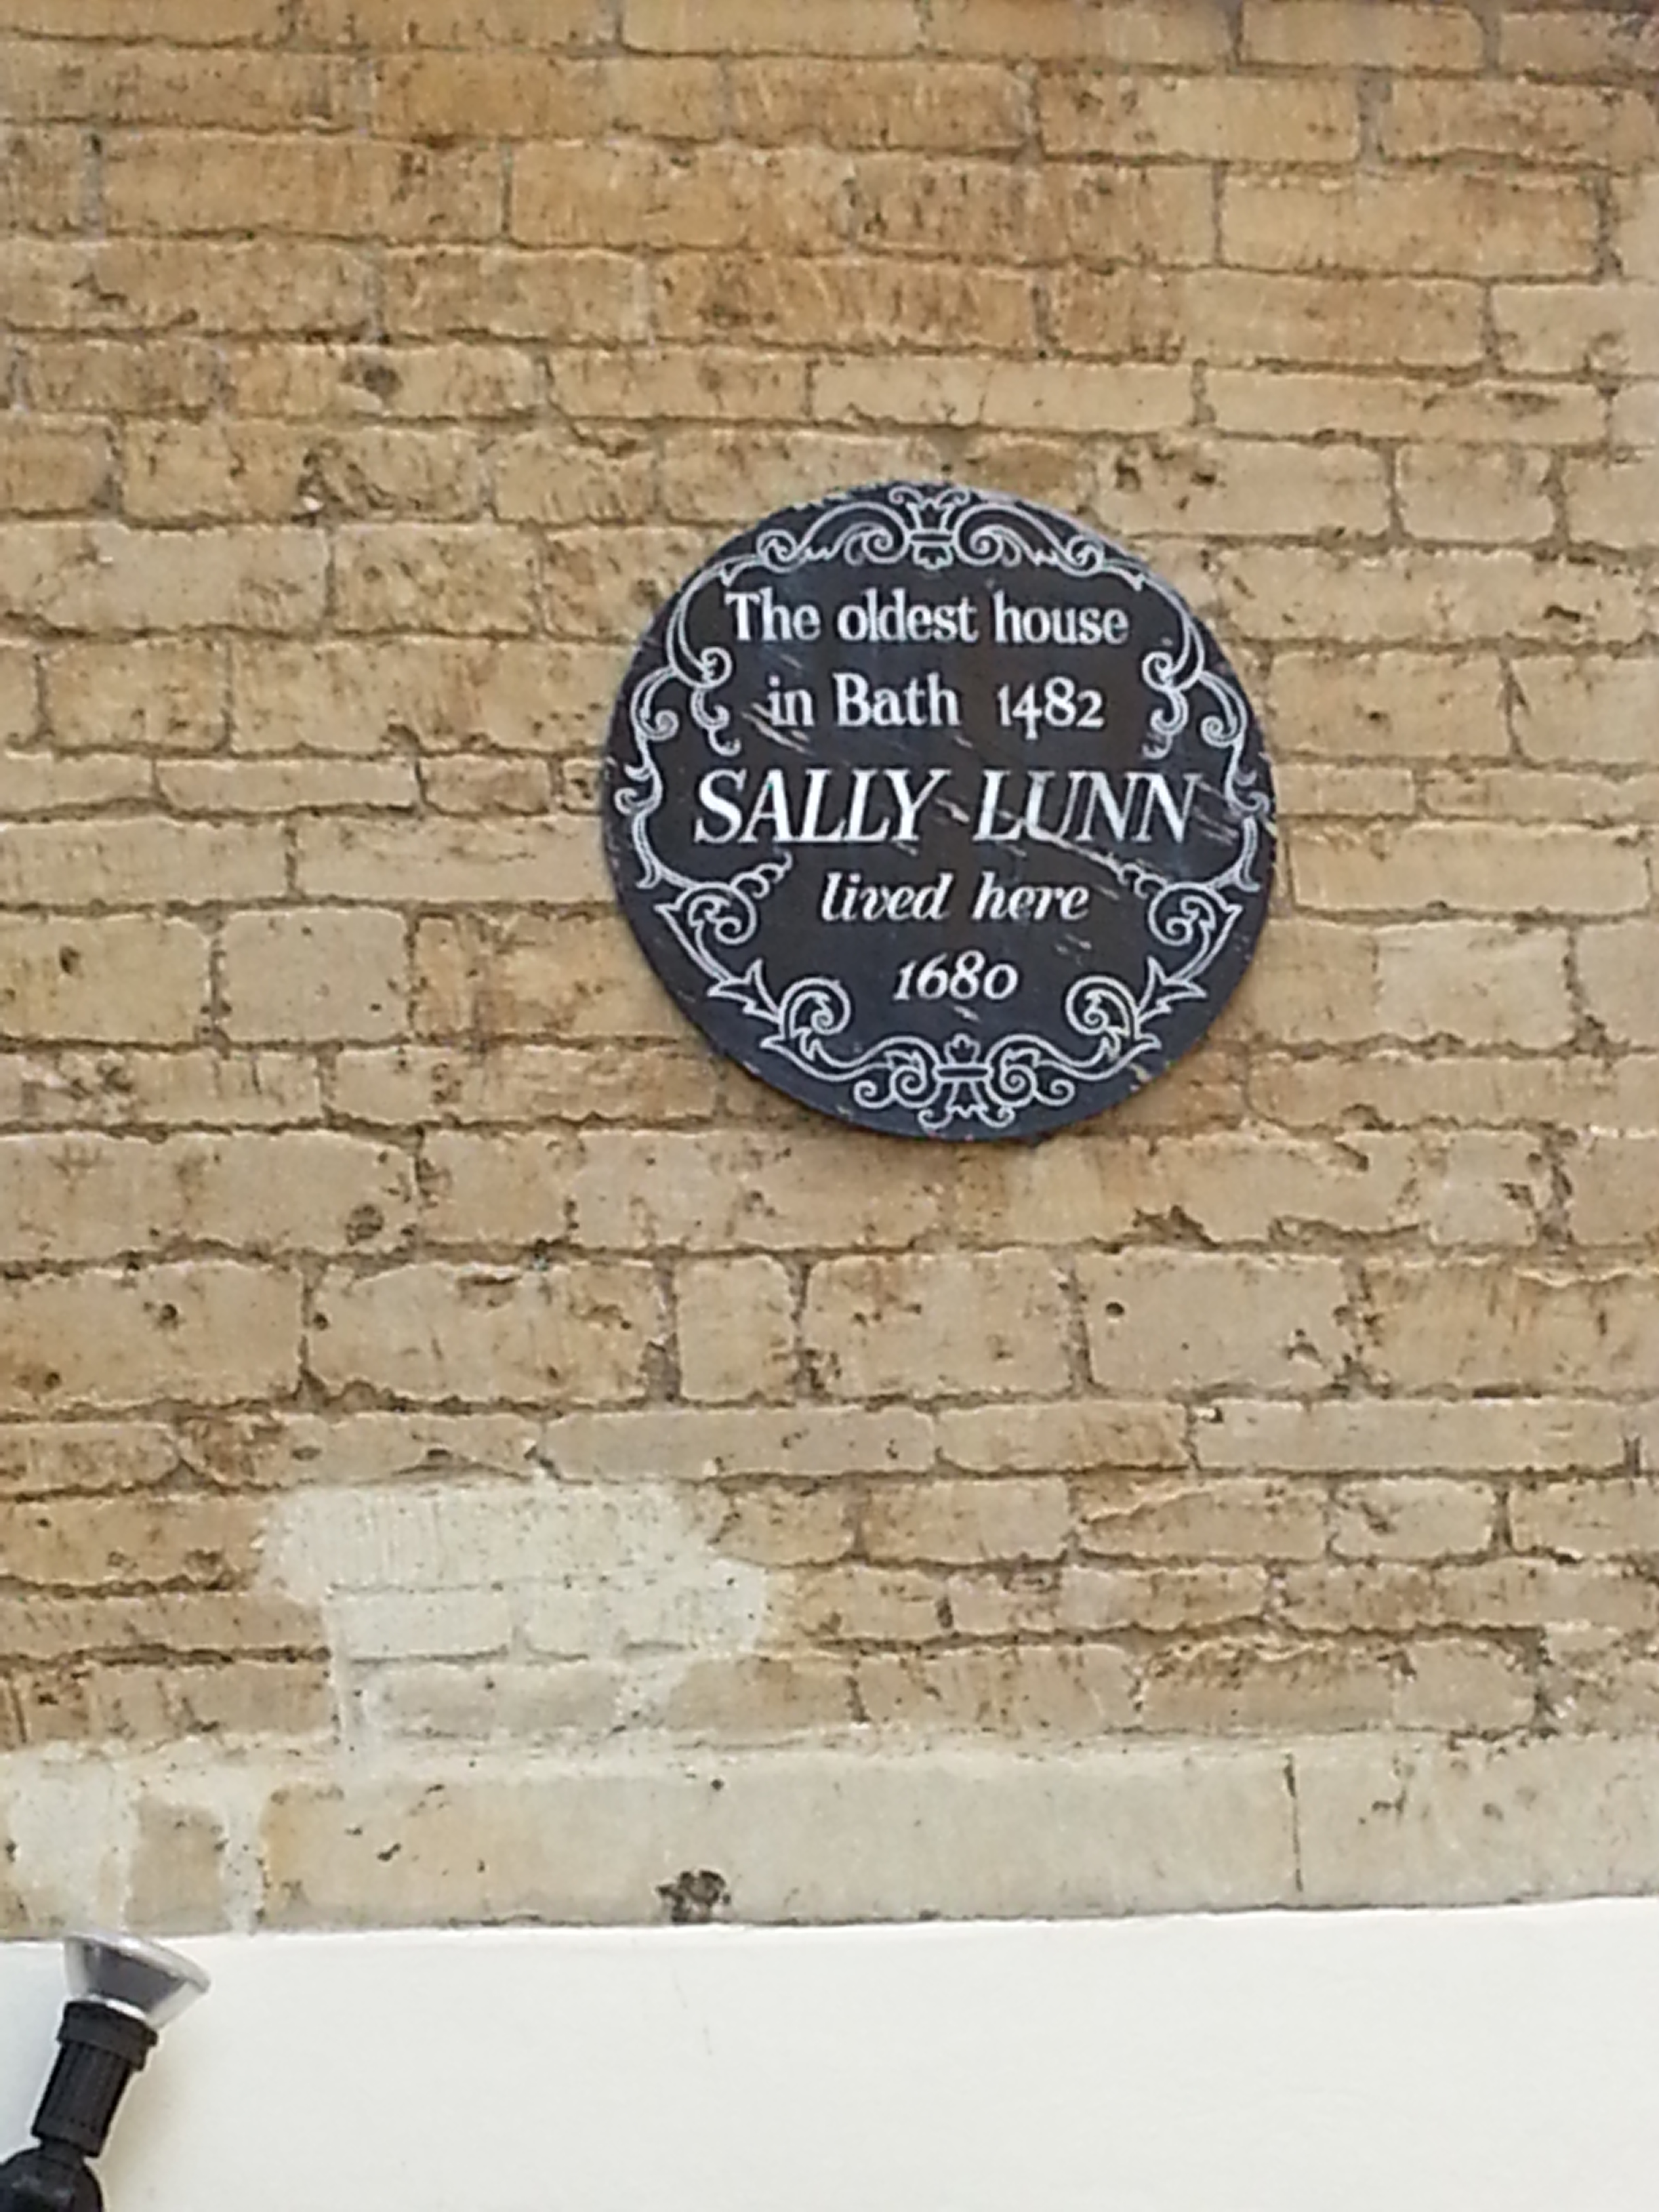
A young French immigrant lands in Bath during the 17th century and gets herself a job in a bakery where she shows off some of her recipes and one in particular becomes very popular indeed. Her name? Solange Luyan.
The recipe went missing in the 1800s, but was apparently found during the 1930s when it was discovered in a ‘secret cupboard’ in her original home. The owner of the house then decided to open up the original Sally Lunn Tea Room.
This is, of course, all complete nonsense. The most likely explanation is that Sally Lunn is a corruption of the French solielune, or sun and moon cake.
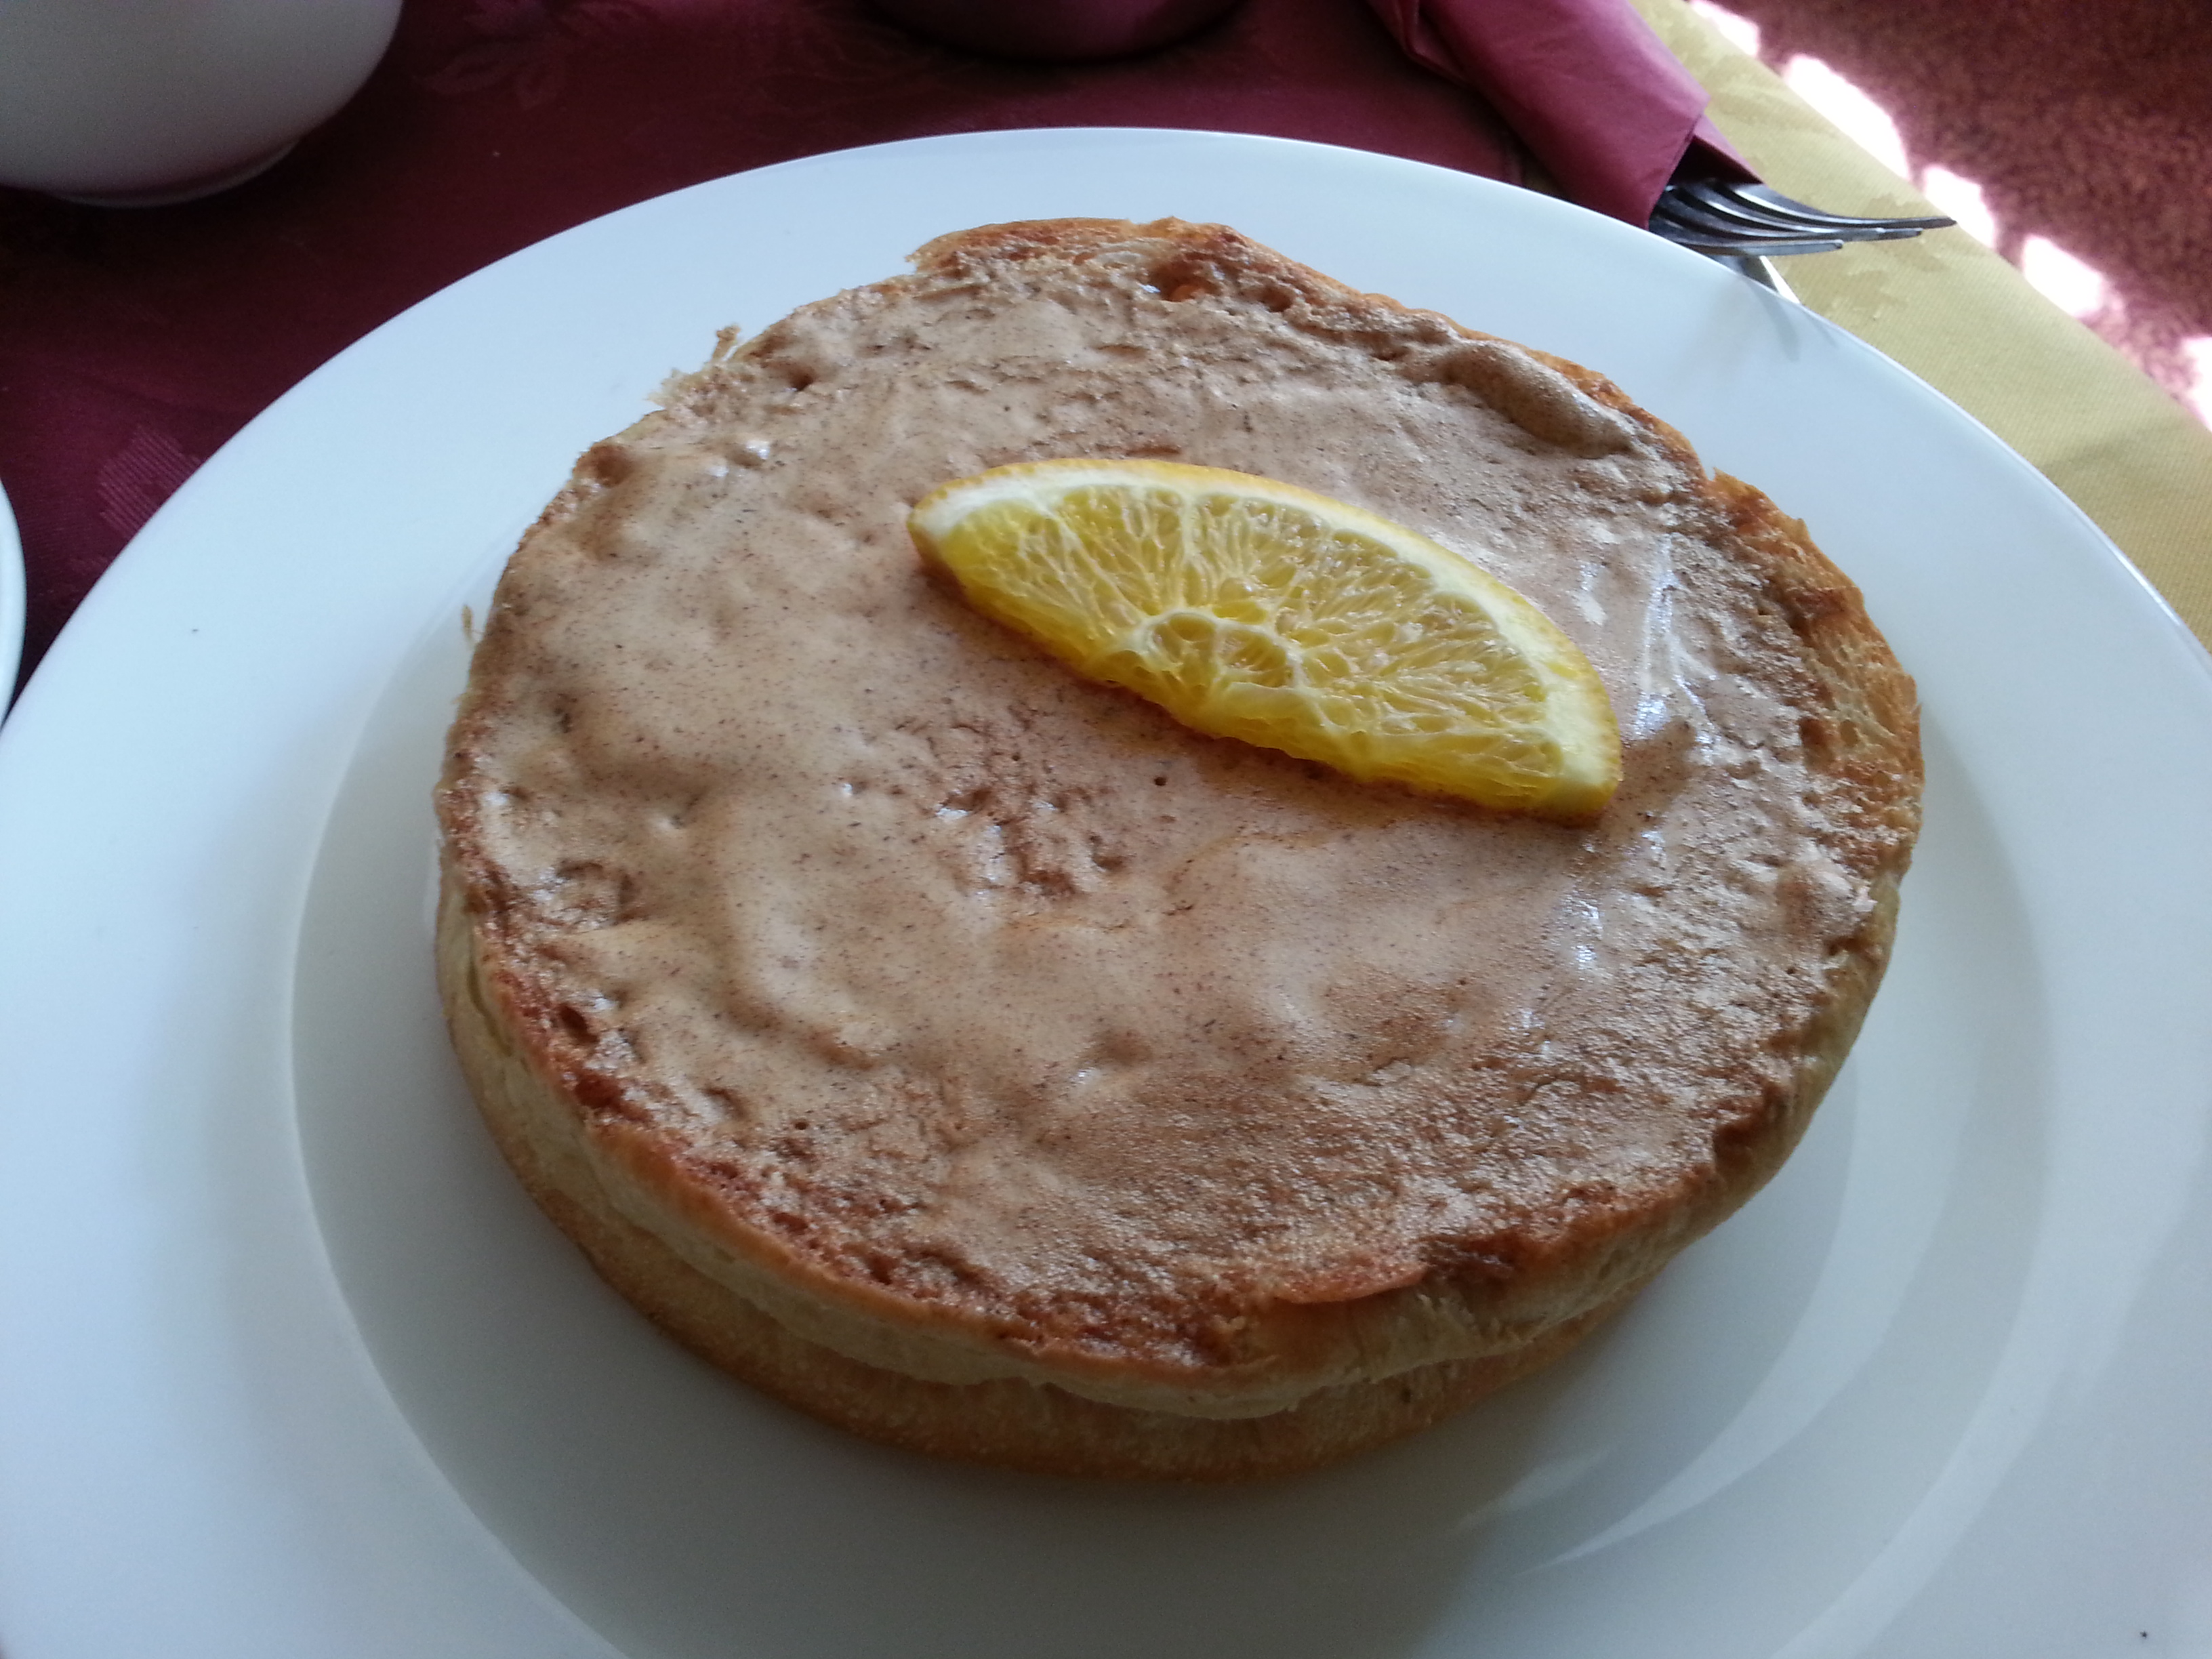
I visited the tea rooms and ate a delicious lightly-toasted Sally Lunn spread with sweet cinnamon butter and it was delicious. Like the Bath bun, its popularity had faded in the rest of the country.
I was recently bequeathed a lovely home-grown organic pumpkin from my good friends Simon and Rachel Wallace – they are slowly but surely building up a small-holding on a farm in the Derbyshire country. They are living the dream, and I am more than a little jealous. Anyway, I wanted to do the lovely pumpkin justice and make some nice meals. I remembered a recipe for pumpkin bread that appears in English Bread and Yeast Cookery by Elizabeth David. She takes it straight from the original manuscript, an 18th century periodical called The Family Magazine. Back then pumpkins were more commonly called pompions, and it is more like some advice rather than a recipe:
Slice a pompion, and boil it in fair water, till the water grows clammy, or somewhat thick; then strain it through a fine cloth, or sieve, and with this make your Bread, well kneading the dough; and it will not only increase the quantity of it, but make it keep moist and sweet a month longer than Bread made with fair water only.
The Family Magazine, 1741
It funny that the British have always had a thing for bread that stays ‘fresh’ for as long as possible; the French, for example, expect the opposite and buy there’s once or twice daily . It goes back to the days when the old brick bread ovens were lit but once a week so the bread – and other goodies – had to last. This love for bread with a long shelf-life is also often blamed for our love of the moist mass-produced packaged breads that go mouldy before they go stale, but I digress.
If you like the blogs and podcast I produce, please consider treating me to a virtual coffee or pint, or even a £3 monthly subscription: follow this link for more information.
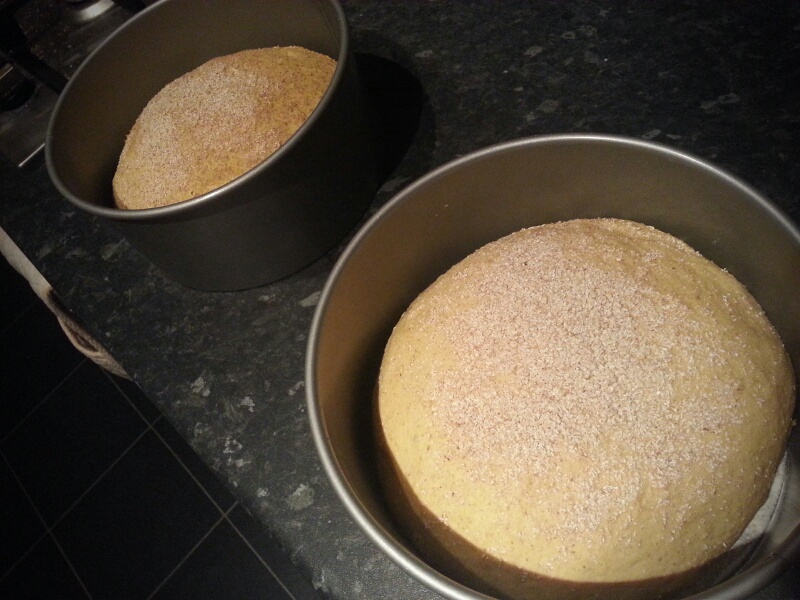
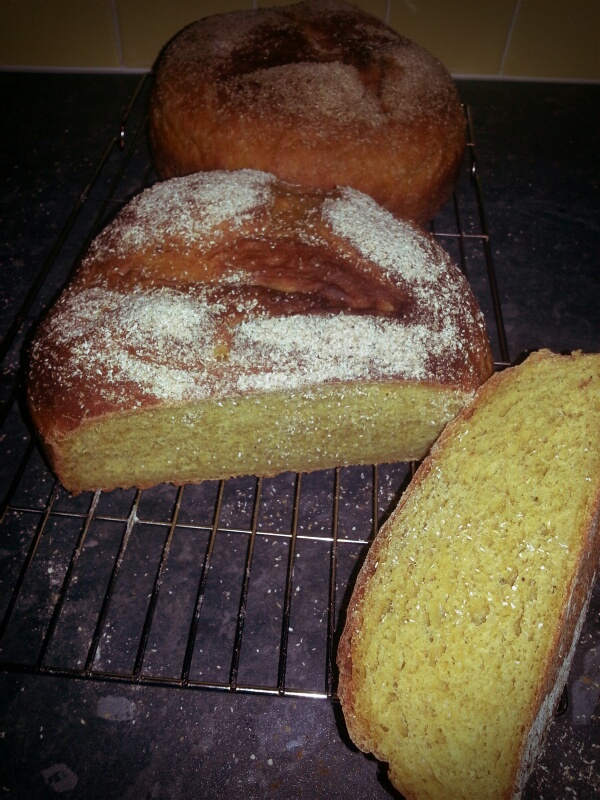
I thought I would give this pompion bread a go, but I felt that boiling the poor thing to death was a bit wasteful, and I wanted the bread to have some pumpkin flavour so I roasted it, mashed it up and added it to a basic bread dough along with a little sugar and some mixed spice. It turned out to be delicious so I thought I’d give you the recipe to try. I don’t think it resembles the original recipe, but it certainly inspired me to make it. By the way, it doesn’t stay fresh for a month, but it is very much moist and edible five days later. It goes great with soup and stews or with jam or just butter spread on it.
This recipe makes 2 good-sized loaves.
What you need:
600g piece of pumpkin or other squash, deseeded weight
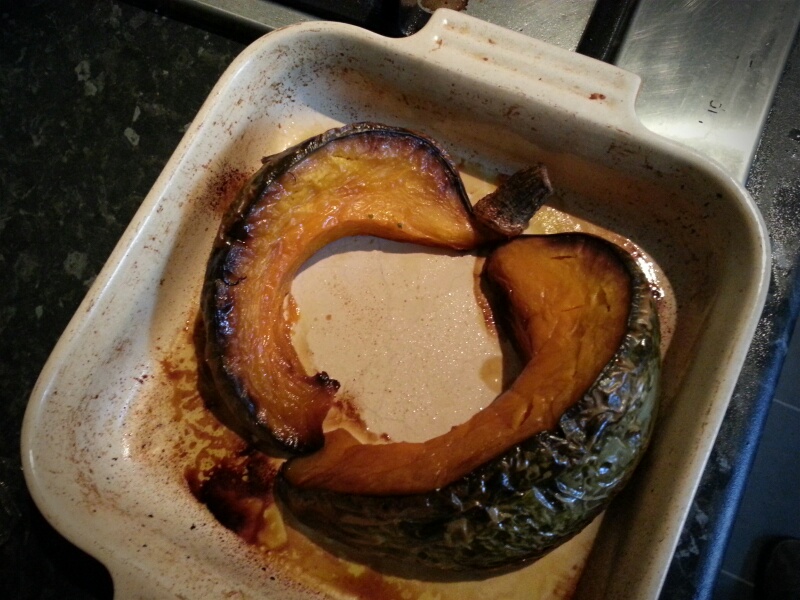
Begin by roasting the pumpkin in a little olive oil until soft – around 30 minutes at 180⁰C (350⁰F). When cooked, remove from the oven, cool, remove skin and mash to a pulp.
Mix the flour, oatmeal, mixed spice and sugar in a bowl, then crumble the fresh yeast on one side of the bowl, and spoon the salt one the opposite side. Make a well in the centre and pour in the water along with the olive oil. Notice that I have given the weights of liquids here – I’ve taken to doing this with all my baking recently; you can be much more accurate that way. (For most water-based liquids one millilitre weighs one gram. You can thank Elizabeth David for that one.) Lastly, add the cool pumpkin.
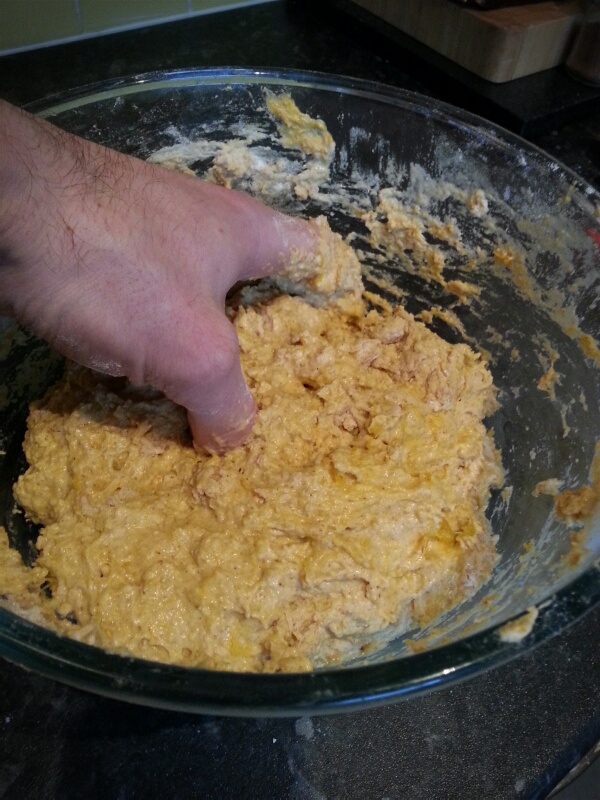
Using you hand, mix everything to a sticky dough – it will be very sticky but don’t worry.
Rub a teaspoon or two of olive oil on your work surface and turn out your dough onto it; the oil makes it easier to knead without it all becoming a hideous sticky mess. Keep kneading and adding more oil if need be. If all this seems like too much effort and mess, use the dough hook on a food mixer instead.
When the dough is smooth, do a final kneading on a little flour, then pop into a clean bowl that has been lightly coated with oil to prevent sticking. Cover with Clingfilm (other plastic wraps are available) and allow to ferment away until it has at least doubled in size.
Knock back the dough and shape into two loaves – you can do round cobs on a greased baking sheet or in greased tins, whichever you prefer. i used two cake tins so that my cobs would keep some shape.
Cover and allow to prove. Make appropriate cuts and dustings of flour or oatmeal. When doubled in size put into a cold oven. Set the temperature to 220⁰C (425⁰F) and leave for 15 minutes. Turn the heat down to 180⁰C (350⁰F) and bake for a further 15 minutes. Allow to cool on a rack completely before breaking into it.
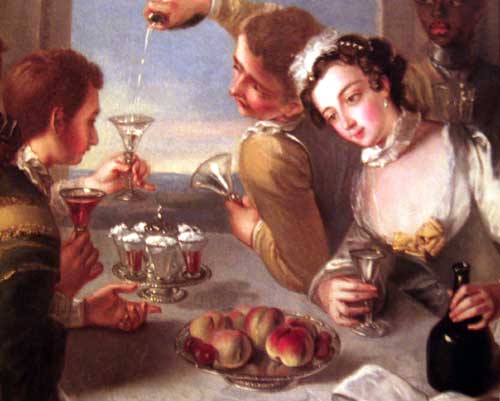
Today the syllabub is rather an unfamiliar dessert but from the 17th and early 20th centuries it was a pudding staple. It has gone through some minor changes along its way but its essence has remained the same. Originally milk was sweetened and mixed with cider sack – a sweet fortified beer not unlike sherry – and left to curdle and treated as a drink served hot or cold. At the same time at more solid version was being made with cream and wine and spirits. More recently less alcohol and more cream was used producing a dessert that could stand in a cool place that would remain delicious, soft and fully whipped – this was known as an ‘everlasting syllabub’.
Detail of The Sense of Taste by Philip Mercier (1680-1760) showing a salver of syllabubs
The word syllabub comes from the name Sille, an area in the Champagne region of France that made the eponymously named wine, and the word bub, an Elizabethan slang word meaning a bubbling drink, hence Sille bub – wine mixed with a frothy cream. In fact it was a case of the frothier the better, and the best way to achieve this is to spray milk straight from the udder (which has a natural froth) into the wine, this kind of syllabub was also called ‘Hatted Kit’ and a recipe appears for it in Elizabeth Raffald’s 1769 book The Experienced English Housewife:
“To make a Syllabub under the cow
Put a bottle of strong beer and a pint of cider into a punch bowl, grate in a small nutmeg and sweeten it to your taste. Then milk as much milk from the cow as will make a strong froth and the ale look clear. Let it stand an hour, then strew over it a few currants well washed, picked, and plumped before the fire. Then send it to the table.”
Elizabeth Raffald
Charles II found this sort of syllabub so delicious that he kept cows at the palace in case he got a hankering for some Hatted Kit – he would walk up to one and squirt some milk into his flagon of wine, sack or cider.
If you are a tee-totaller, don’t worry because Sir Kenholm Digby, writing in 1669, gives recipes for syllabubs flavoured with plum juice, cherry syrups and Seville orange.
By the 19th century, the syllabub was generally made from whipping cream together with sweetened wine. The wine was flavoured with lemon and fortified with a little brandy, and it is a recipe for one of these everlasting syllabubs that I give below. It comes from Elizabeth David’s 1969 pamphlet Syllabubs and Fruit Fools (which can be found in her book An Omelette and a Glass of Wine).
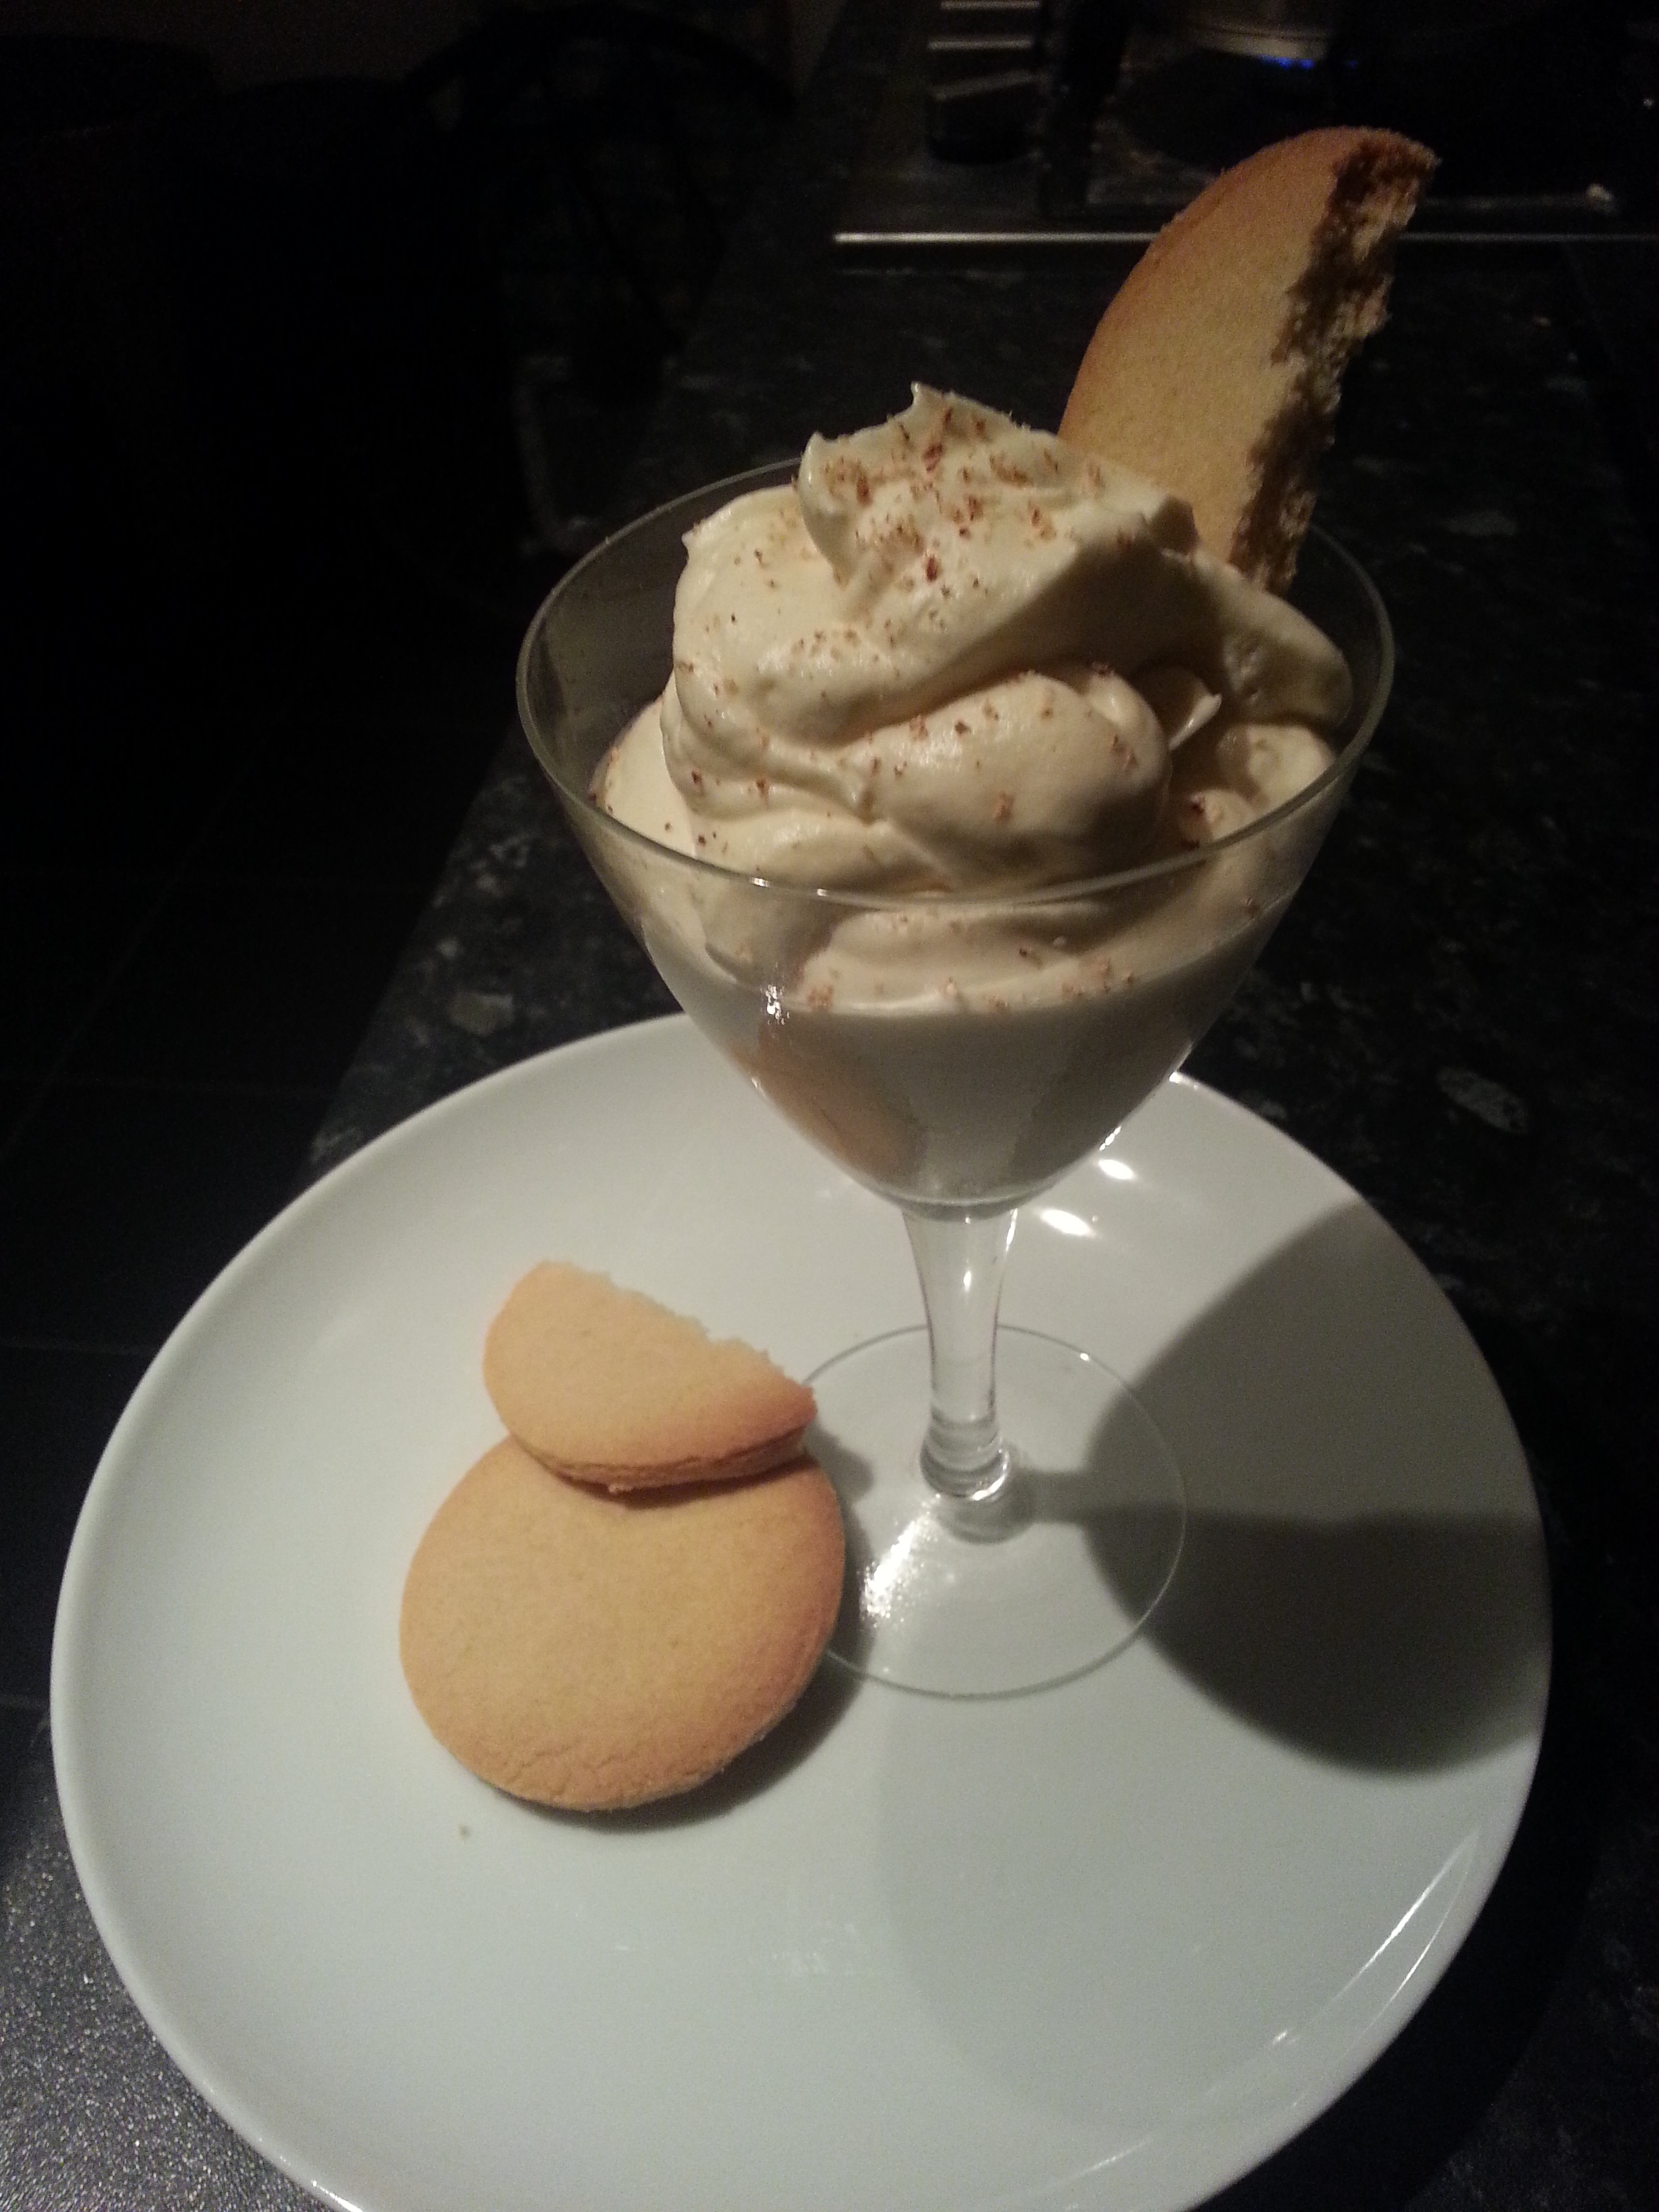
Elizabeth David’s Everlasting Syllabub with Almond Biscuits
The ingredients of a syllabub, we find, are simple and sumptuous. The skill demanded for its confection is minimal, the presentation is basic and elegant.
Elizabeth David
If you like the blogs and podcast I produce, please consider treating me to a virtual coffee or pint, or even a £3 monthly subscription: follow this link for more information.
These syllabubs were the original topping to trifles before plain whipped cream took over. They are often served with jellies or with sweet biscuits so I’ve given a recipe for some simple crisp almond biscuits too.
The most important ingredient here is the wine; you can use any sweet or dessert wine, by personal favourite being a nice Muscat. I managed to get hold of an excellent and very reasonably-priced organic free-trade one from Case Solved Wines in Manchester.
This recipe makes between 4 and 6 servings
Ingredients for the syllabub
8 tbs sweet or dessert wine
2 tbs brandy
pared rind of one lemon
60g (2 oz) sugar
300ml (½ pint) double cream
freshly grated nutmeg
The day before you want to serve the syllabub, mix the wine and brandy in a bowl, add the lemon peel and steep overnight.
Next day, strain the wine into a large bowl and stir in the sugar until dissolved. Pour in the cream and whisk until thick. Be careful not to over-whip the cream. Spoon into glasses and scatter a few raspings of nutmeg over them.
For the biscuits:
100g (4oz) butter
50g (2oz) caster sugar
150g (6 oz) plain flour
50g (2 oz) ground almonds
Cream the butter and sugar together and then mix in the flour, and finally the almonds. Bring the mixture together with your hand to form a dough – it’ll be very ‘short’, i.e. crumbly, but it will come together – don’t be tempted to add any water or milk because it will result in a biscuit that is not crisp, and you don’t want that. Roll out the mixture to the thickness of a pound coin (about 3mm) and cut into rounds.
Bake for 8-10 minutes at 200⁰C (400⁰F) until tinged with golden brown. Cool on a wire rack and store in an airtight tub.
It’s just occurred to me that I haven’t put on a Christmas recipe and it is only just over two weeks until the special day. This month has flown by at a scarily quick pace.
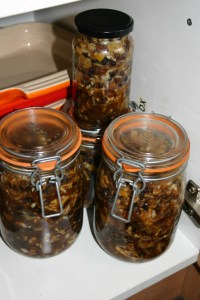
Luckily two weeks is just enough time to make this delicious orange flavoured mincemeat. Last year I gave you Mrs Beeton’s recipe, but this one comes from the wonderful Jane Grigson. It is very moist and because of the brandy, orange juice and orange liqueur. It is also vegetarian if you want it to be; the suet can be the vegetable-based sort, or you can leave it out altogether. Give it a go.
Jane Grigson
It is extremely easy to make: there is no cooking required so all you need to be able to do is chop, grate, mix and weigh. When you pot the mincemeat, it is very important you sterilise your jars. To do this first wash them in soapy water, then rinse and allow them to dry. Place the jars on a tray, with their lids sat beside them, facing upwards and pop them in the oven for 30 minutes at around 130⁰C. Let them cool a little before potting. If this seems a lot to make in one go, you can easily reduce the amounts as you see fit.
If you like the blogs and podcast I produce, please consider treating me to a virtual coffee or pint, or even a £3 monthly subscription: follow this link for more information.
Click here for the recipe I use for making mince pies.
Ingredients
250 g (8 oz) chopped candied peel
1 kg (2 lb) peeled, cored and grated apples
500 g (1 lb) suet (fresh or packed is fine, but fresh is best)
500 g (1 lb) currants
500 g (1 lb) raisins
500 g (1 lb) sultanas
500 g (1 lb) soft dark brown sugar
1 freshly grated nutmeg
125 g (4 oz) slivered almonds
Juice and zest of 2 oranges
4 tbs brandy
6-8 tbs orange liqueur
Mix all the ingredients together in a huge mixing bowl, then pot into sterilised jars. Store somewhere dark and cool, but not the fridge! Leave the mincemeat to mature for at least together before using it.
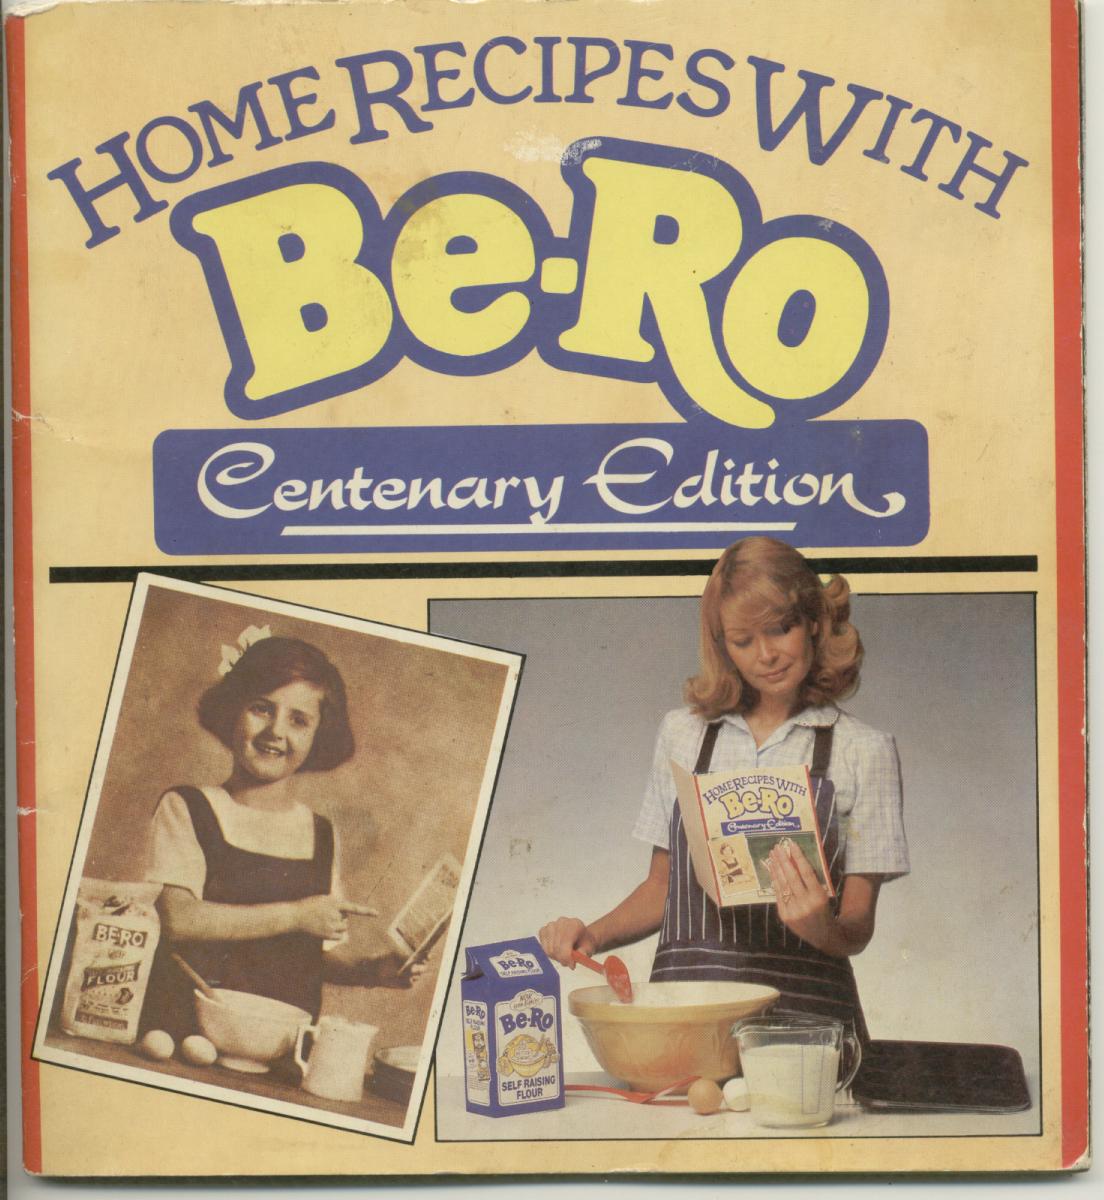
I thought I would start a series of posts on the cook books – and books of cookery writing – that I think are the best out there. I end the post with my favourite recipe from the book – Butter Tarts.
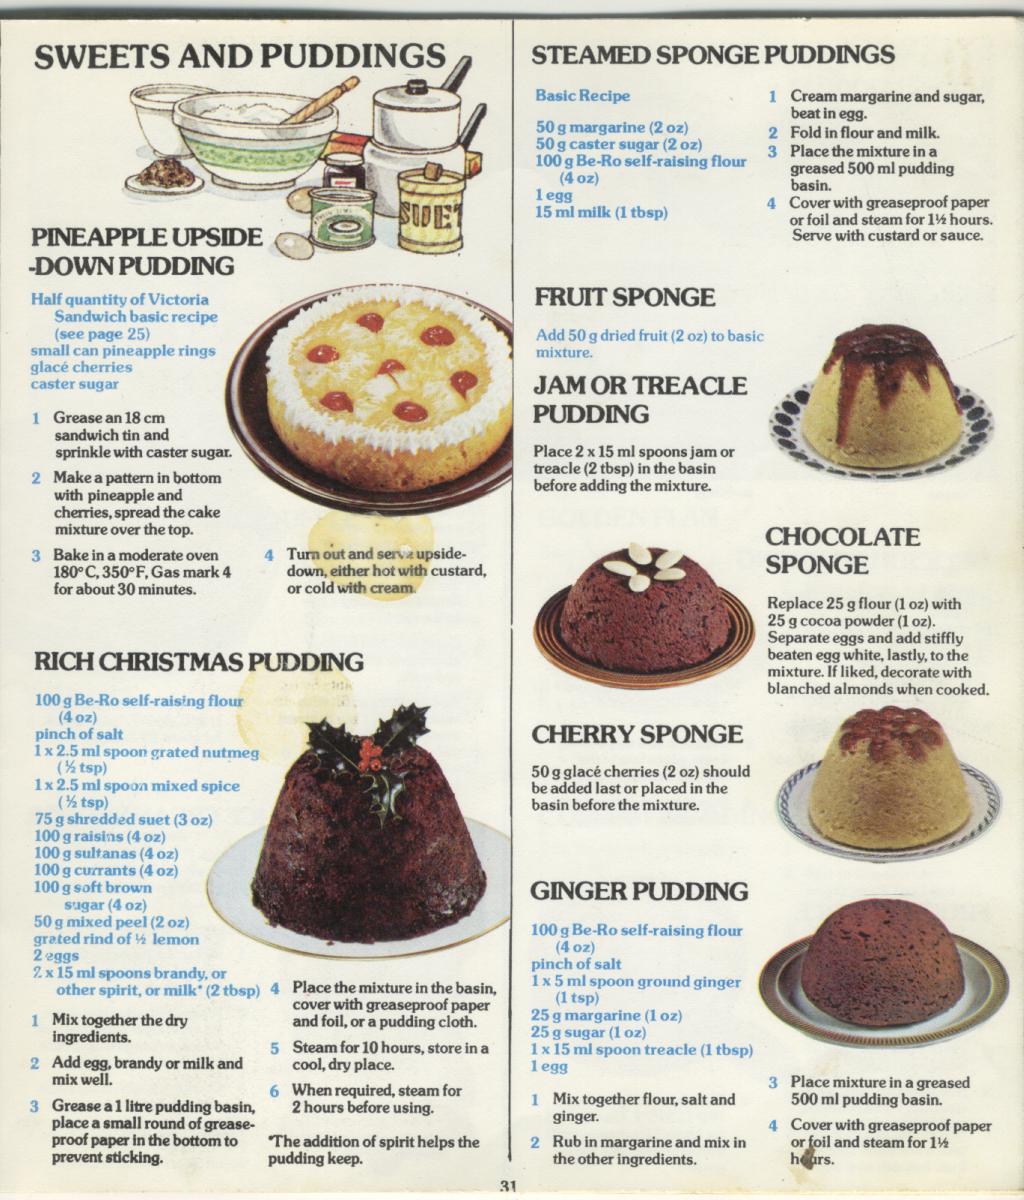
So many of you might be thinking, why the heck is the first one up Home Recipes with Be-Ro (or as it is known to me, The Be-Ro Book)? Well it is this book that got me into cookery in the first place because it was the one my Mum used when I was growing up. Before I was even thought of my Mum owned a bakery and so we had the luxury of having most things baked or cooked from scratch. This was the go-to book for all the family staples, and when I was off school on holiday and it was raining outside she would entertain me and my brother by giving us pastry trimmings to cut out. As we got older we chose recipes from The Be-Ro Book and cooked them with help from Mum. So I was essentially brought up on this book and its recipes, and it is certainly where I got my enthusiasm for cooking; I have been conditioned to feel at home in the kitchen.
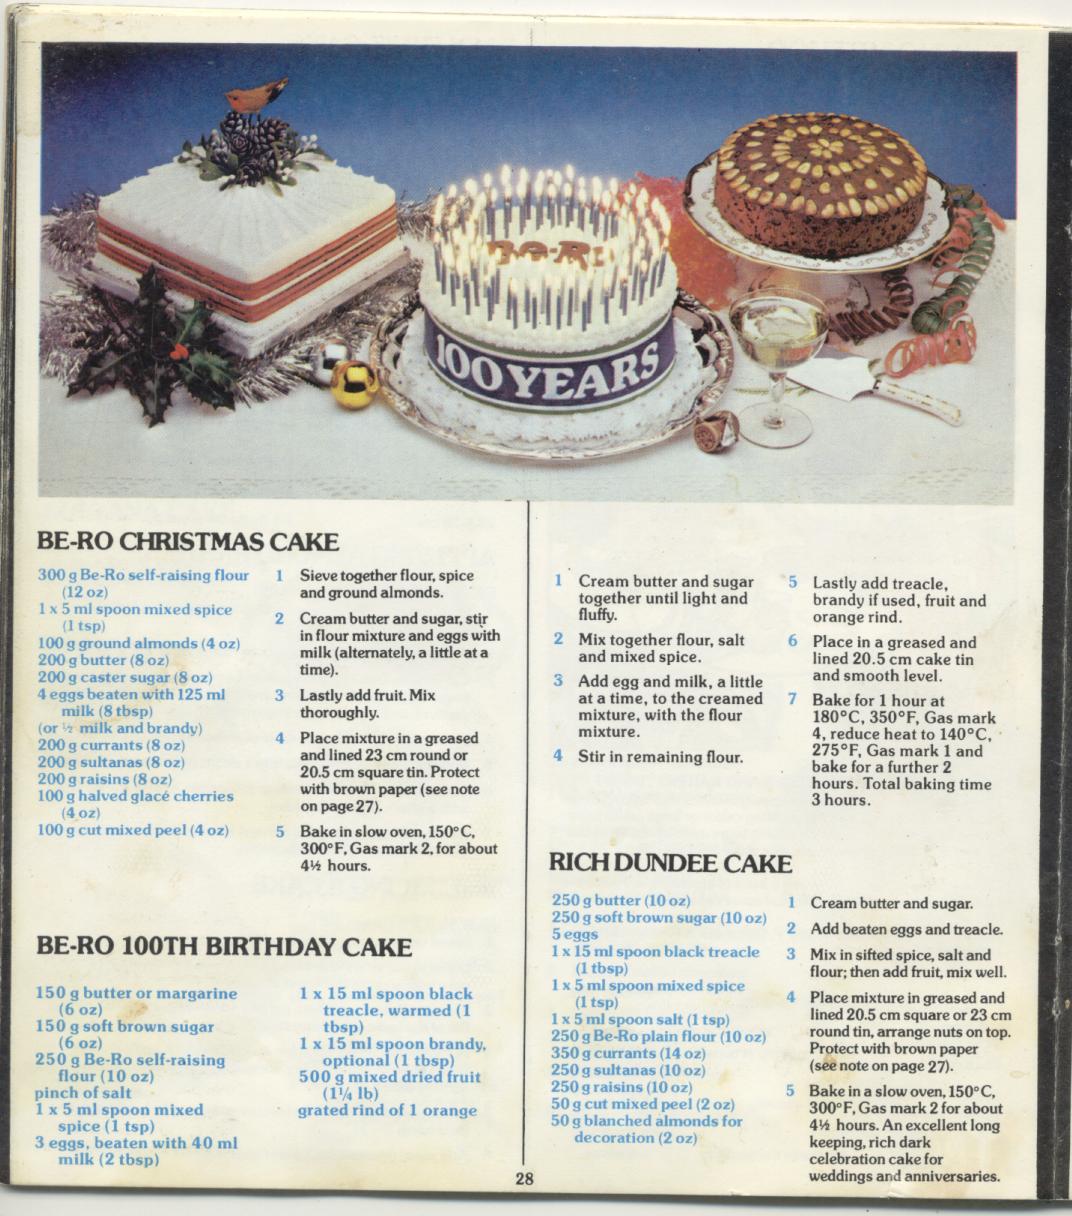
The copy I have is the Centenary Edition, though it doesn’t say anywhere in the book when in was printed. I know that the Be-Ro Flour Company was formed in the 1880s, so it dates the book to the 1980s. My Mum has an even older copy this one, though the recipes are identical. Be-Ro still makes flour and Be-Ro recipe books are still printed today, these days of course you can go onto the Be-Ro website you will find the same recipes, which haven’t changed.
Well almost; the main difference between my copy of The Be-Ro Book and the modern version is that it suffers rather from a post-war rationing complex – most recipes ask for margarine rather than butter. Luckily shortbread escapes this, but buttercream does not. In fact there’s a lot of nasty margarine-based buttercream.
You are forgiven for not holding this book in as high esteem as I do, yet the classics are here, and they bring back great childhood memories. I also have to say it has really good basic skills teaching too, so don’t underrate it.
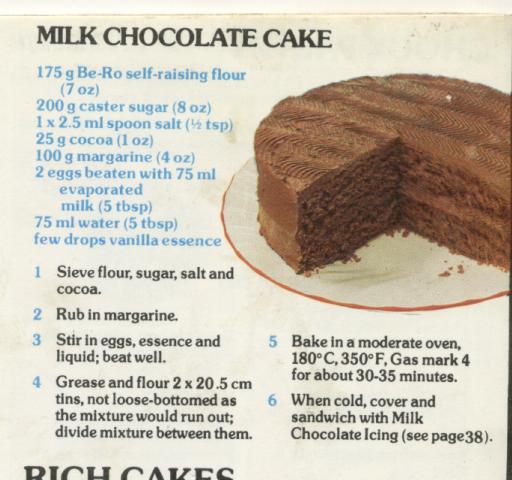
Many of the recipes are coming back into fashion, especially now that budgets are a little less flexible and the weather is cold and wet. Personal favourites of mine include a really excellent moist and light milk chocolate cake; its secret is the inclusion of evaporated milk and my Mum still bakes it. The steamed sponge puddings are excellent too as are the many tea loaves. It does fail on a terrible recipe for flapjacks that uses cornflakes instead of oats. You can’t win them all though, can you?
If you like the blogs and podcast I produce, please consider treating me to a virtual coffee or pint, or even a £3 monthly subscription: follow this post for more information.
Butter Tarts
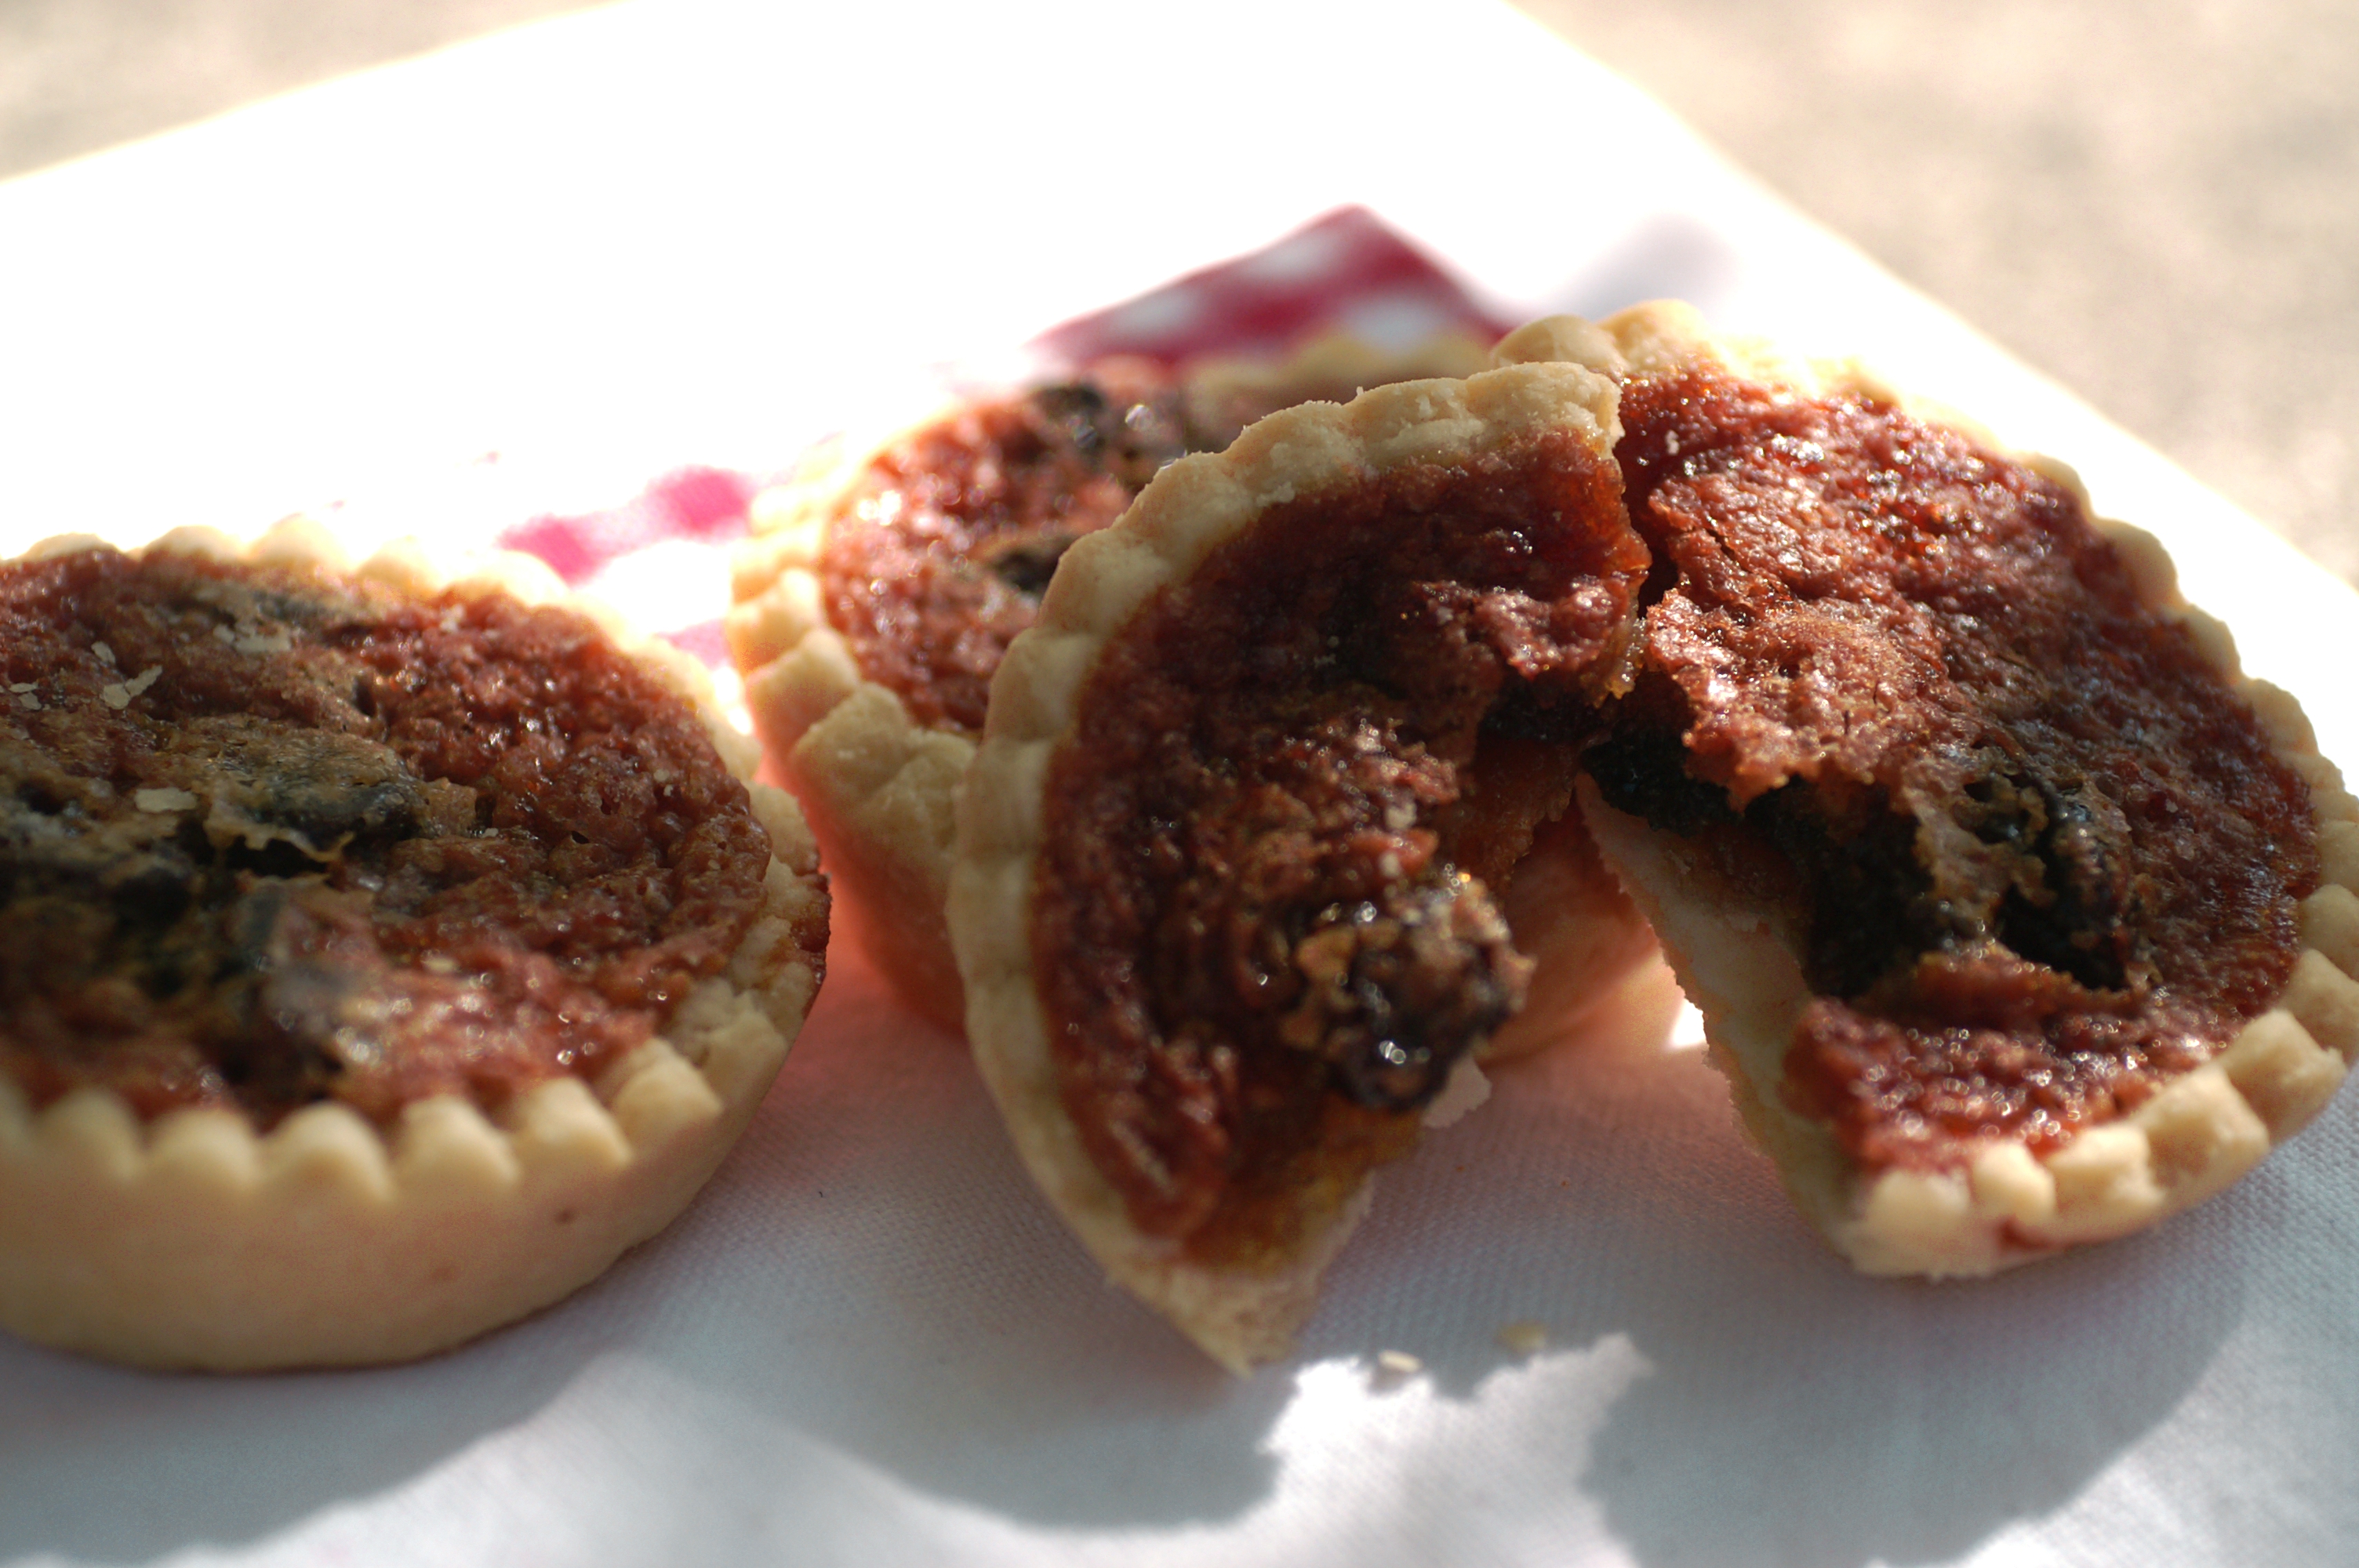
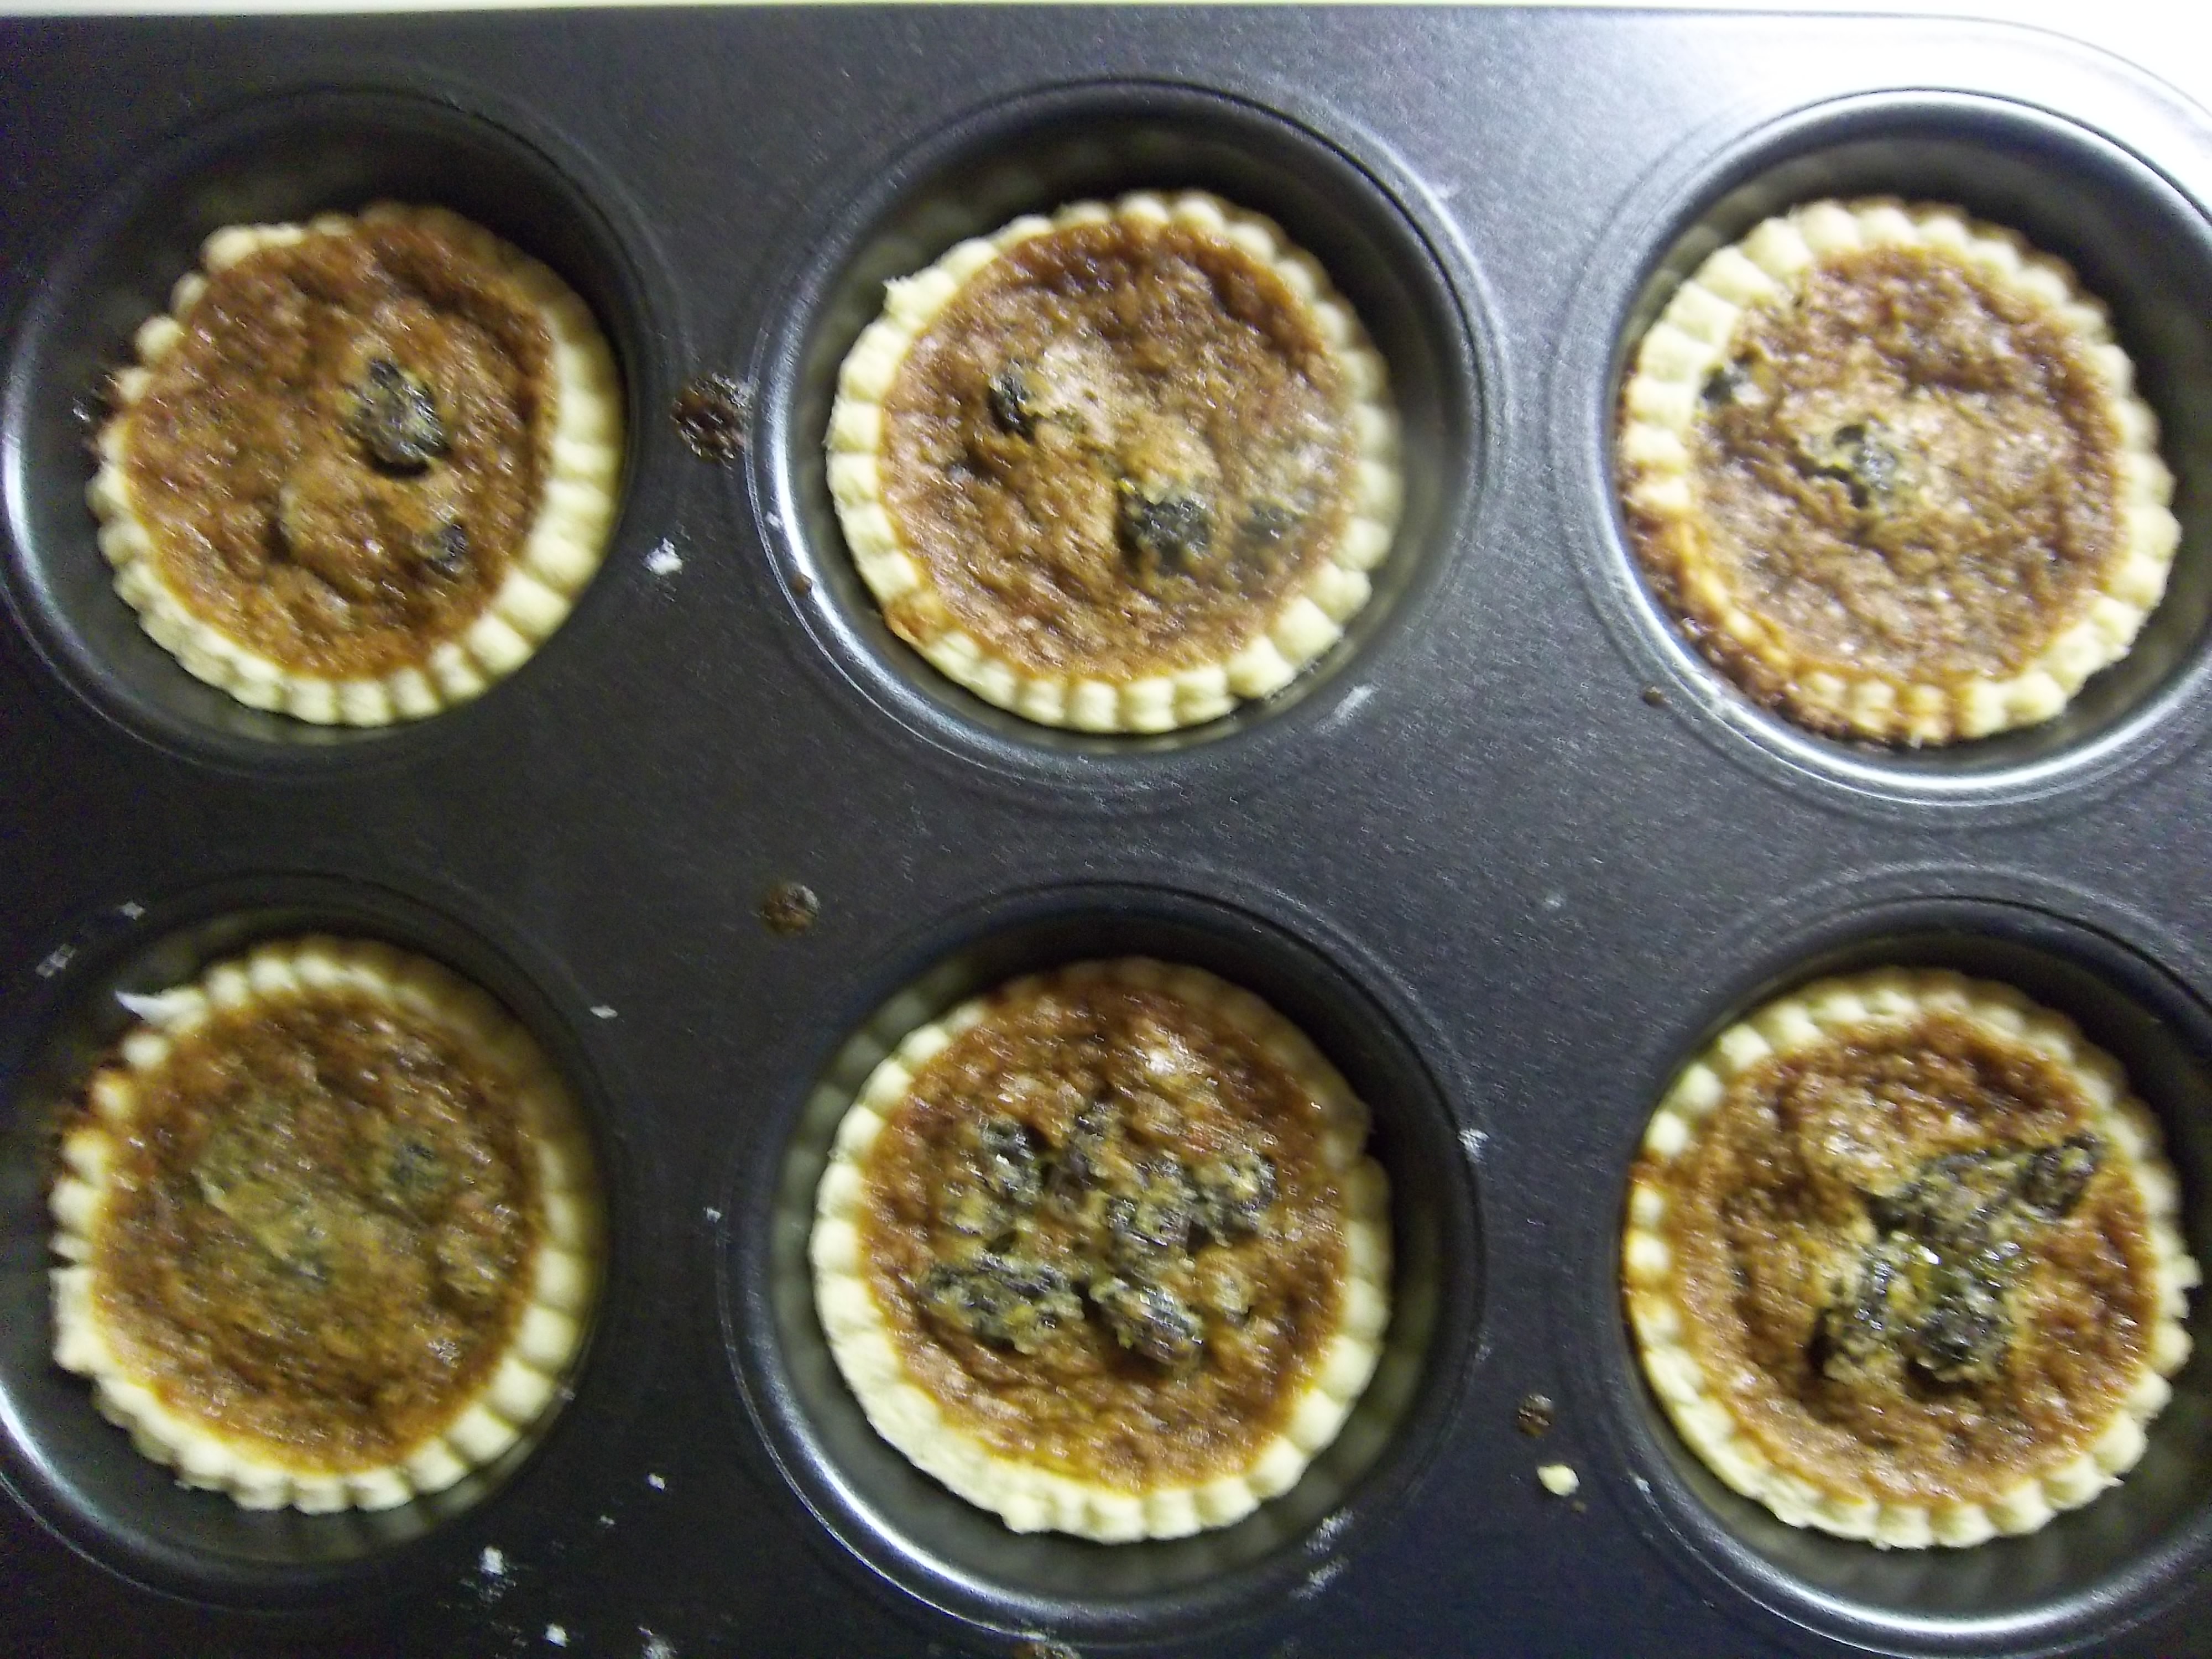
In my opinion these butter tarts are the best things in this book, though I have made a few changes to the original recipe. The filling is a mixture of raisins in a sweet caramel sauce that forms a delicious chewy crust as it bakes.
This recipe makes 12 butter tarts.
Ingredients
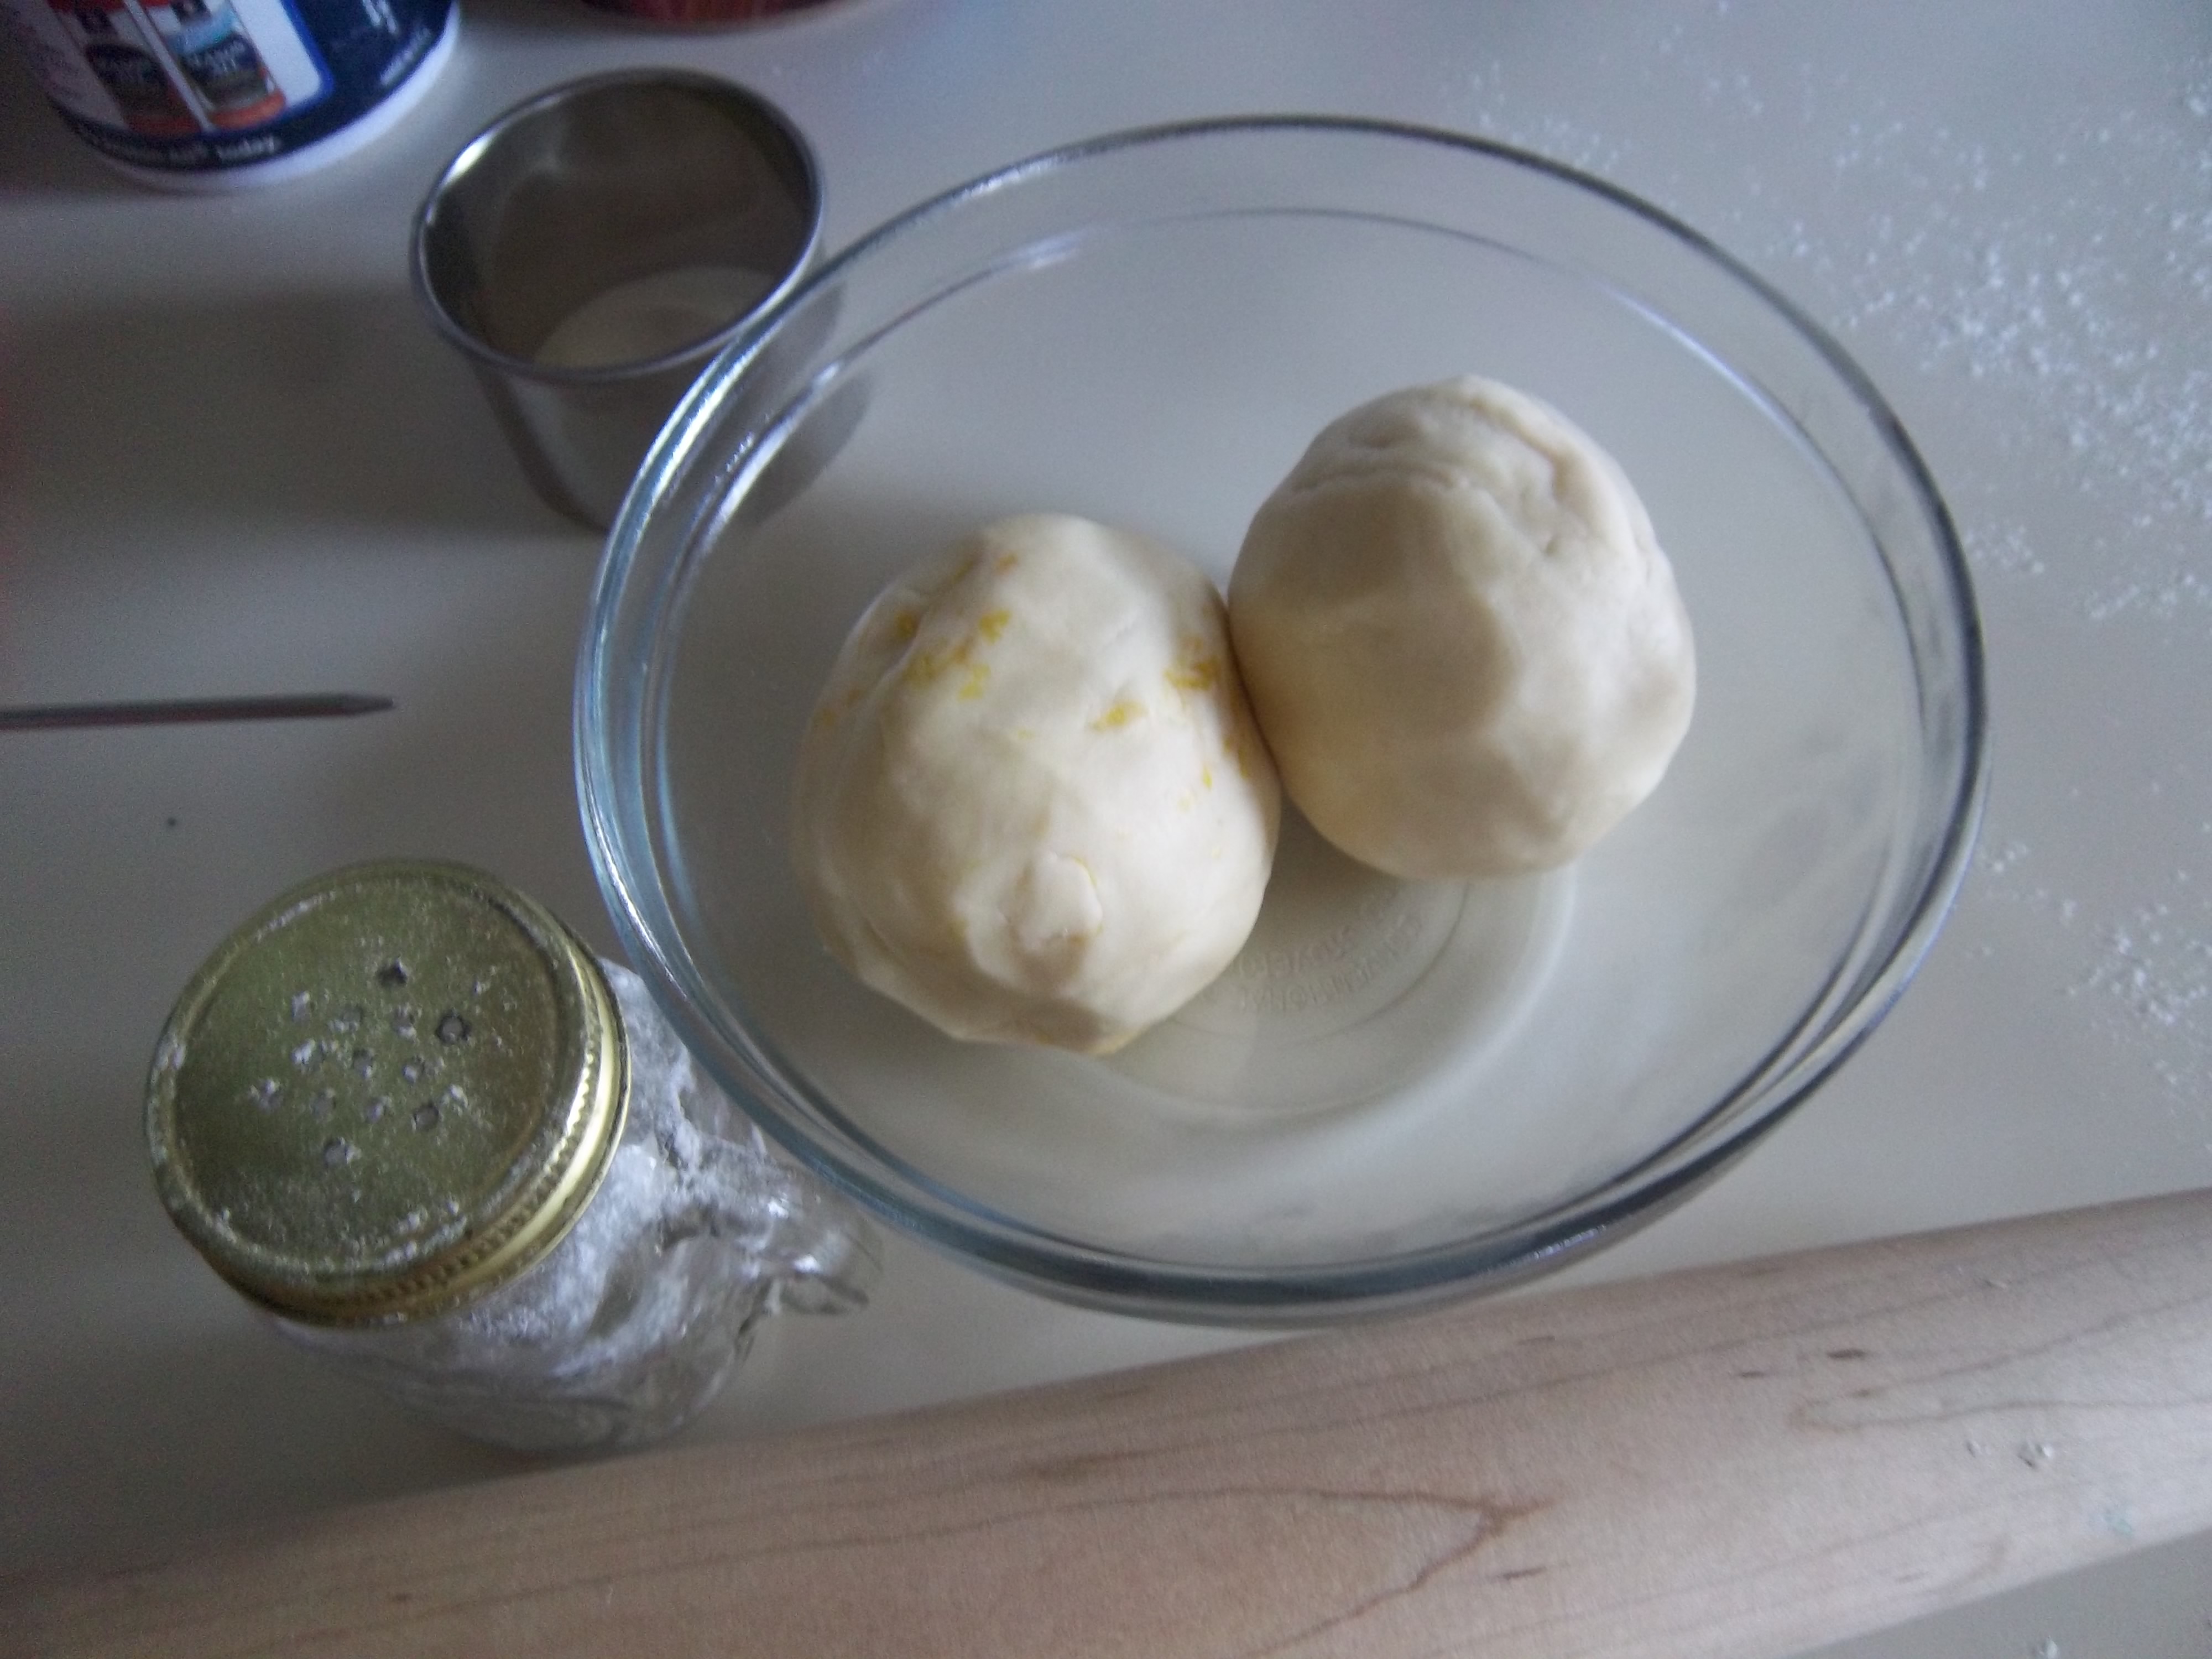
shortcrust pastry made with 8 oz flour and 4 oz of butter (or butter and lard)
1 oz butter
2 oz caster sugar
2 oz soft dark brown sugar
4 oz raisins
a few drops of vanilla extract
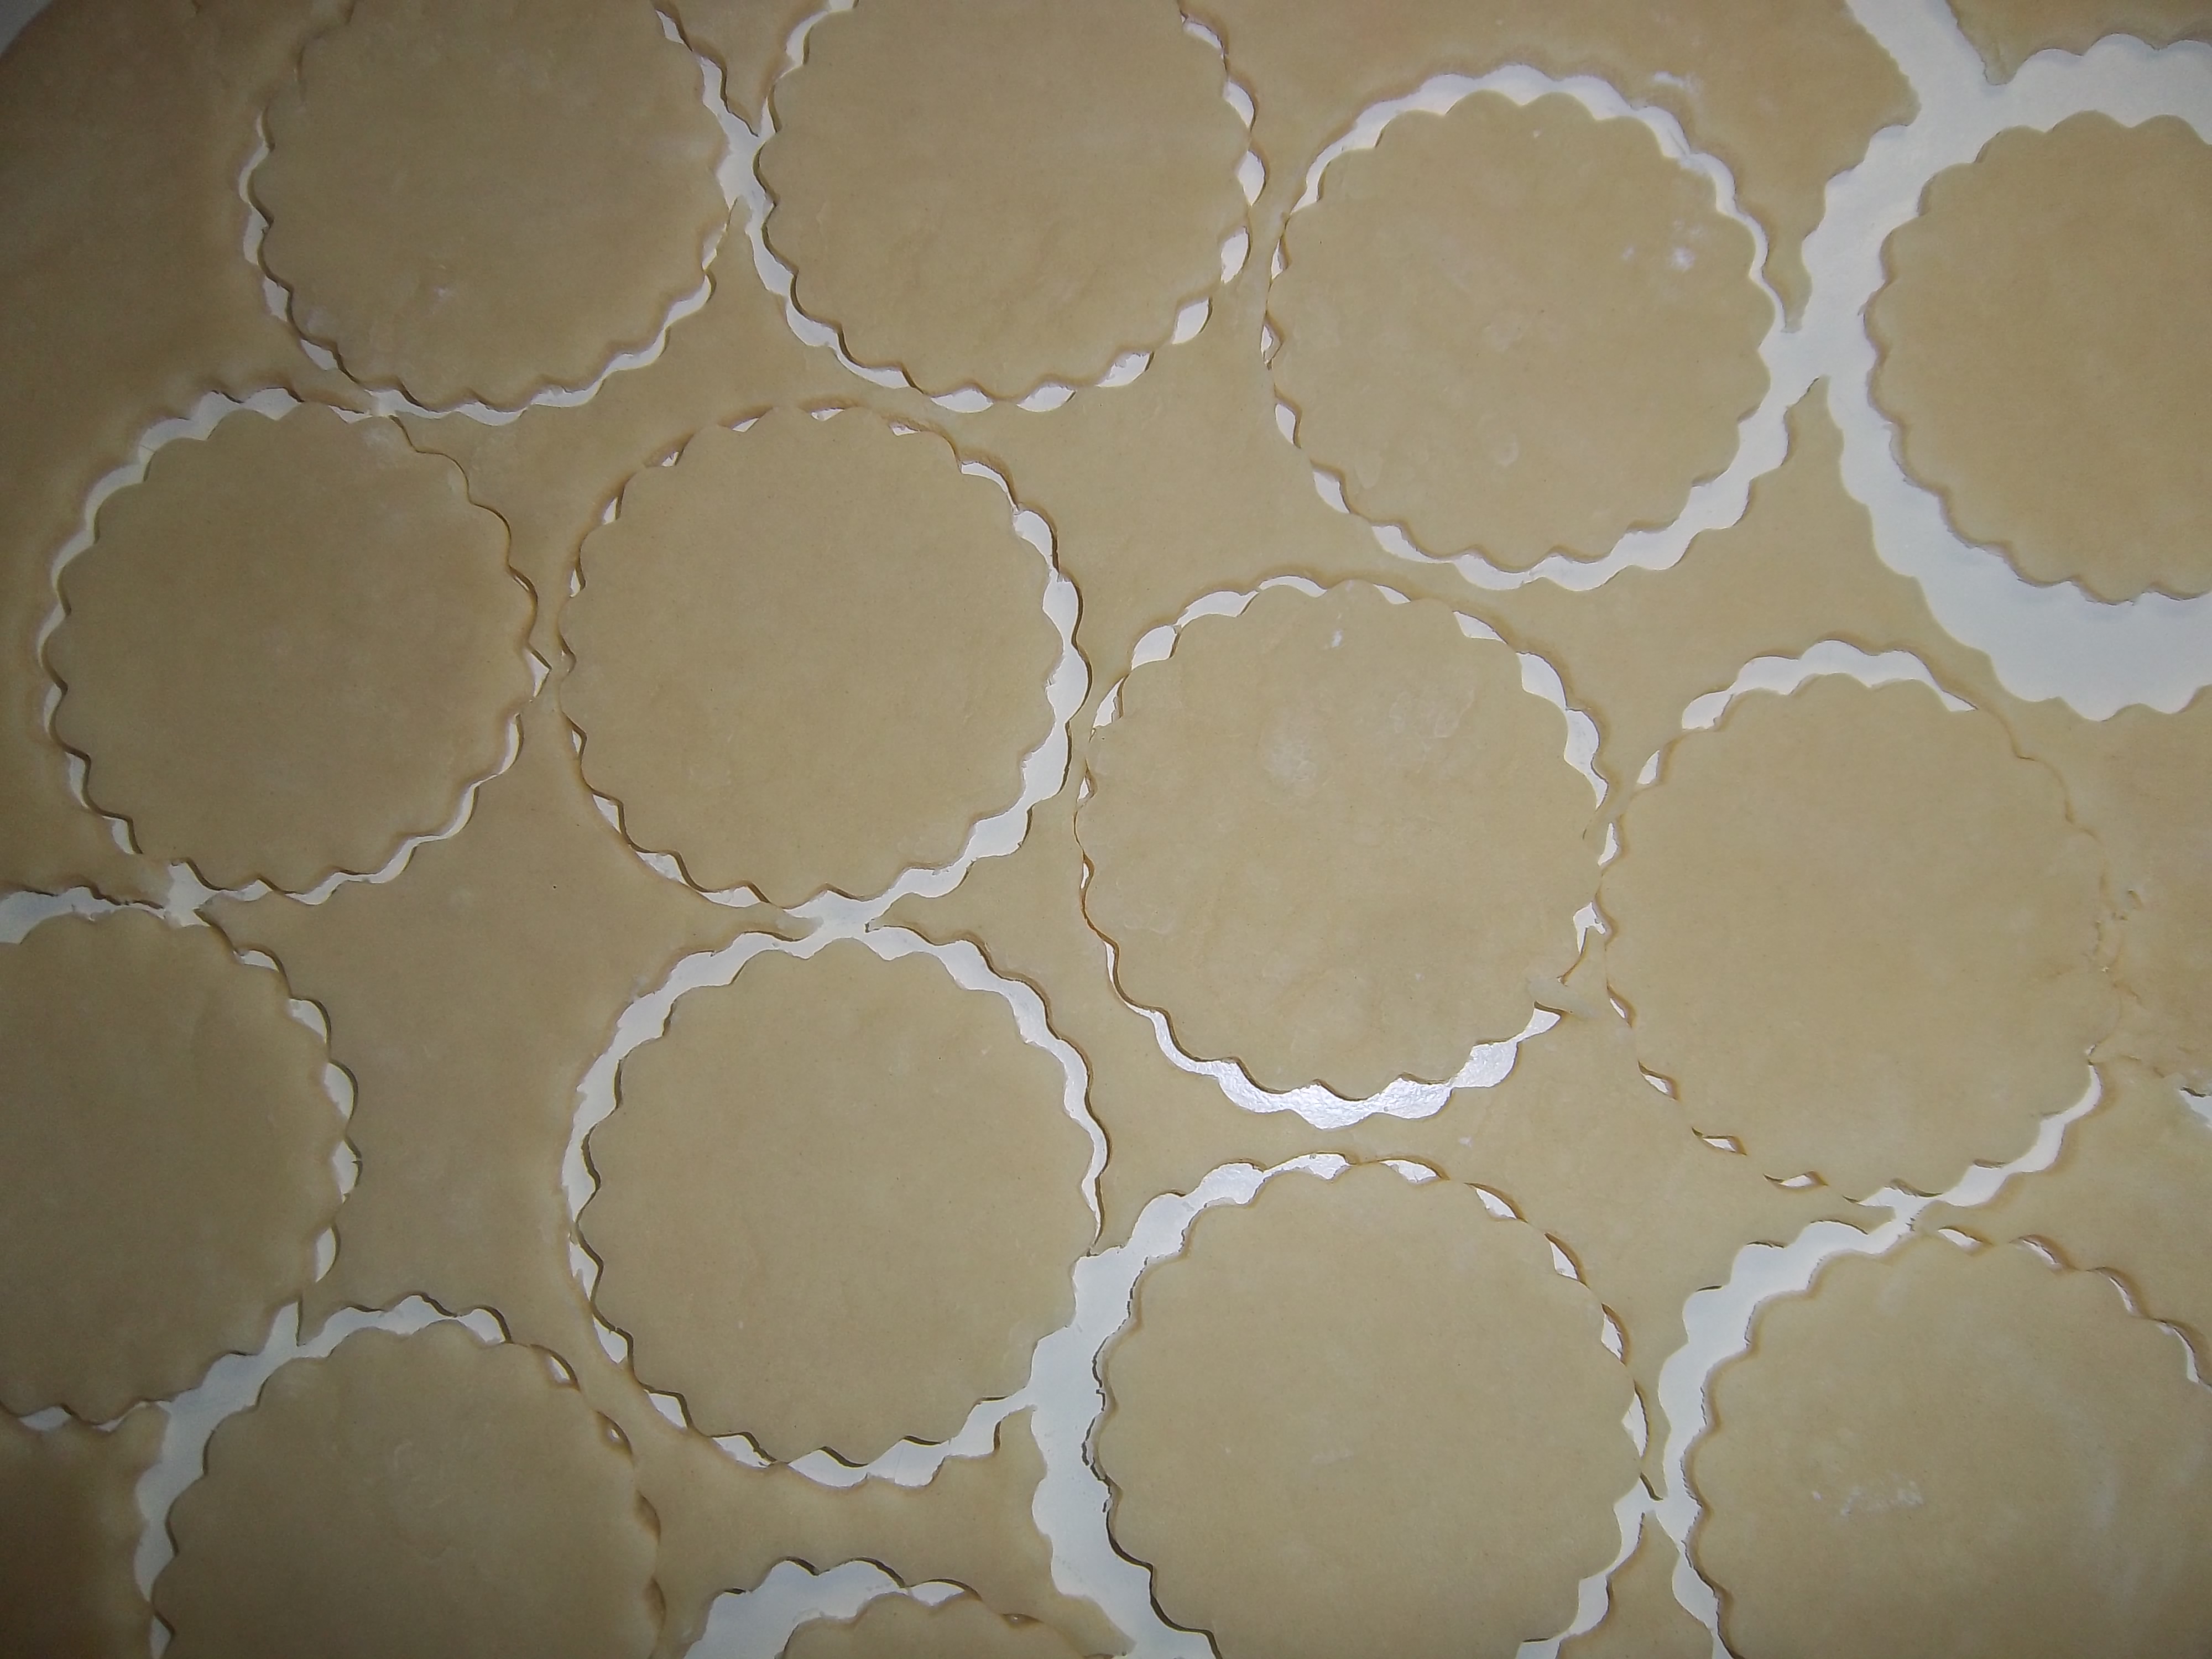
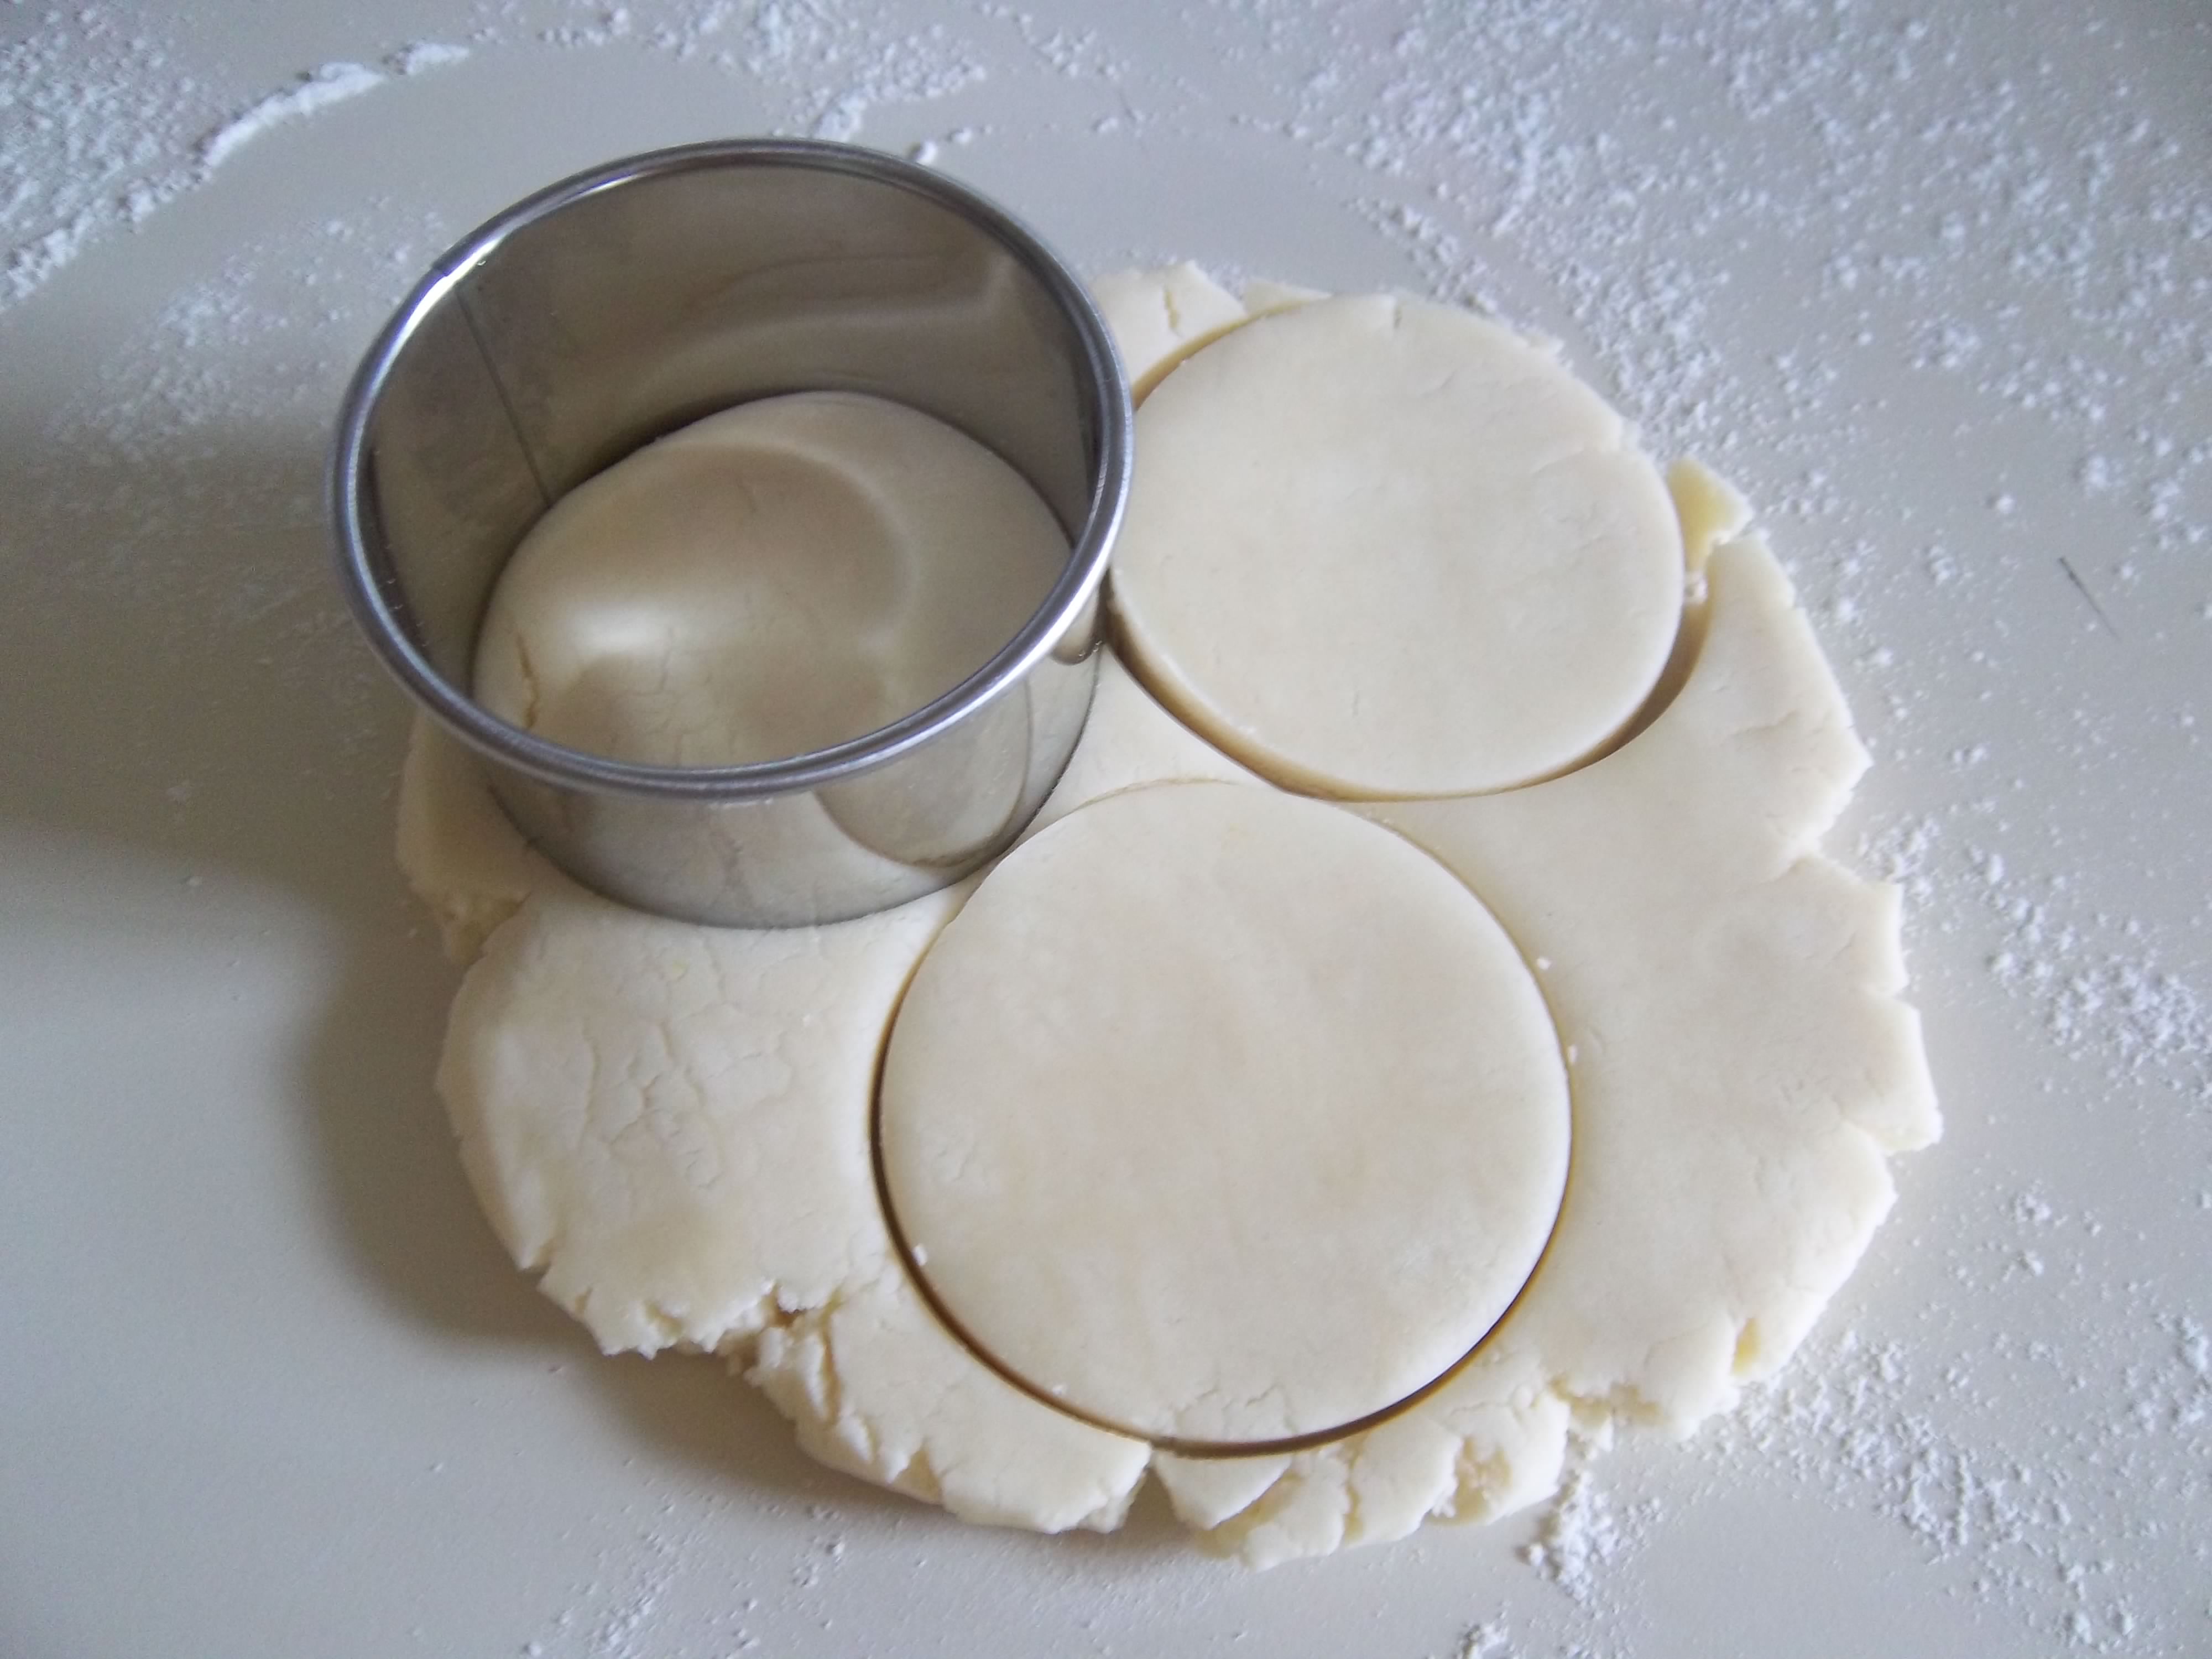
Roll out the pastry thinly and cut out circles using a pastry cutter measuring 3 ½ inches in diameter and line a steep-sided patty pan tray. You can use a tart tin, but I find you can’t get enough of the filling in.
Melt the butter in a saucepan, take off the heat and stir in the remaining ingredients. Add 2 teaspoons of mixture per tray – this should be just enough for 12 tarts.
Bake for 15-20 minutes at 200⁰C (400⁰F) and cool on a wire rack.
The history of shortbread goes back to at least the 12th century and originally started life as ‘biscuit bread’; biscuits that were made from left-over bread dough that was sometimes sweetened and dried out in the oven to form a hard, dry rusk. This practise took place over the whole of the British Isles, not just Scotland.
Over time the leavening was lost and exchanged for butter, making it an expensive fancy treat that was only bought for celebrations such as Christmas and Hogsmanay (Scottish New Year). There are similar ‘breads’ outside of Scotland such as Shrewsbury cakes and Goosnagh cakes.
The large amount of butter is what makes shortbread short: the term short, when applied to biscuits and pastry, means crumbly, like shortcrust pastry should be. It is the reason why the fat added to biscuits and pastries is called shortening.
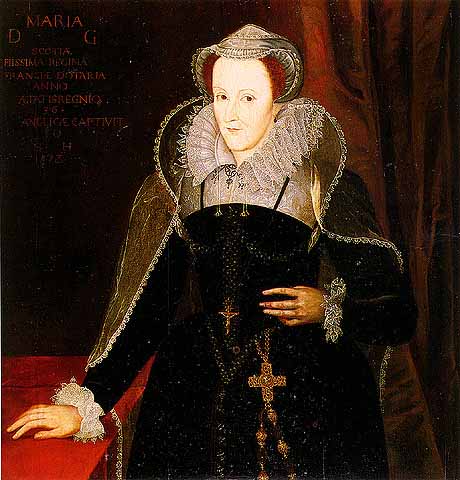
Mary Queen of Scots
Today, shortbread is made from flour, butter and sugar, though other flavourings are added. Caraway was particularly popular; Mary Queen of Scots was particularly fond of them. Other extra ingredients included almonds and citrus fruits like this 18th century recipe from Mrs Frazer:
Take a peck of flour…beat and sift a pound of sugar; take orange-peel, citron, and blanched almonds, of each half a pound, cut in pretty long thin pieces: mix these well in the flour; then make a hole in the middle of the flour, put in three table-spoons of good yeast; then work it up, but not too much…roll out; prickle them on top, pinch them neat round the edges, and strew sugar, carraways, peel, and citron, on the top. Fire it…in a moderate oven.
In George Read’s 1854 book The complete biscuit and gingerbread baker’s assistant, there are fewer ingredients, but includes eggs for some reason:
1 ¼ lb. of flour, ½ lb. of sugar, ½ lb. of butter, 3 eggs, ¼ oz. of volatile salts…a little essence of lemon
FYI: Volatile salts were smelling salts, that could also be used to leaven dough.
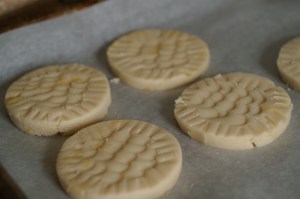
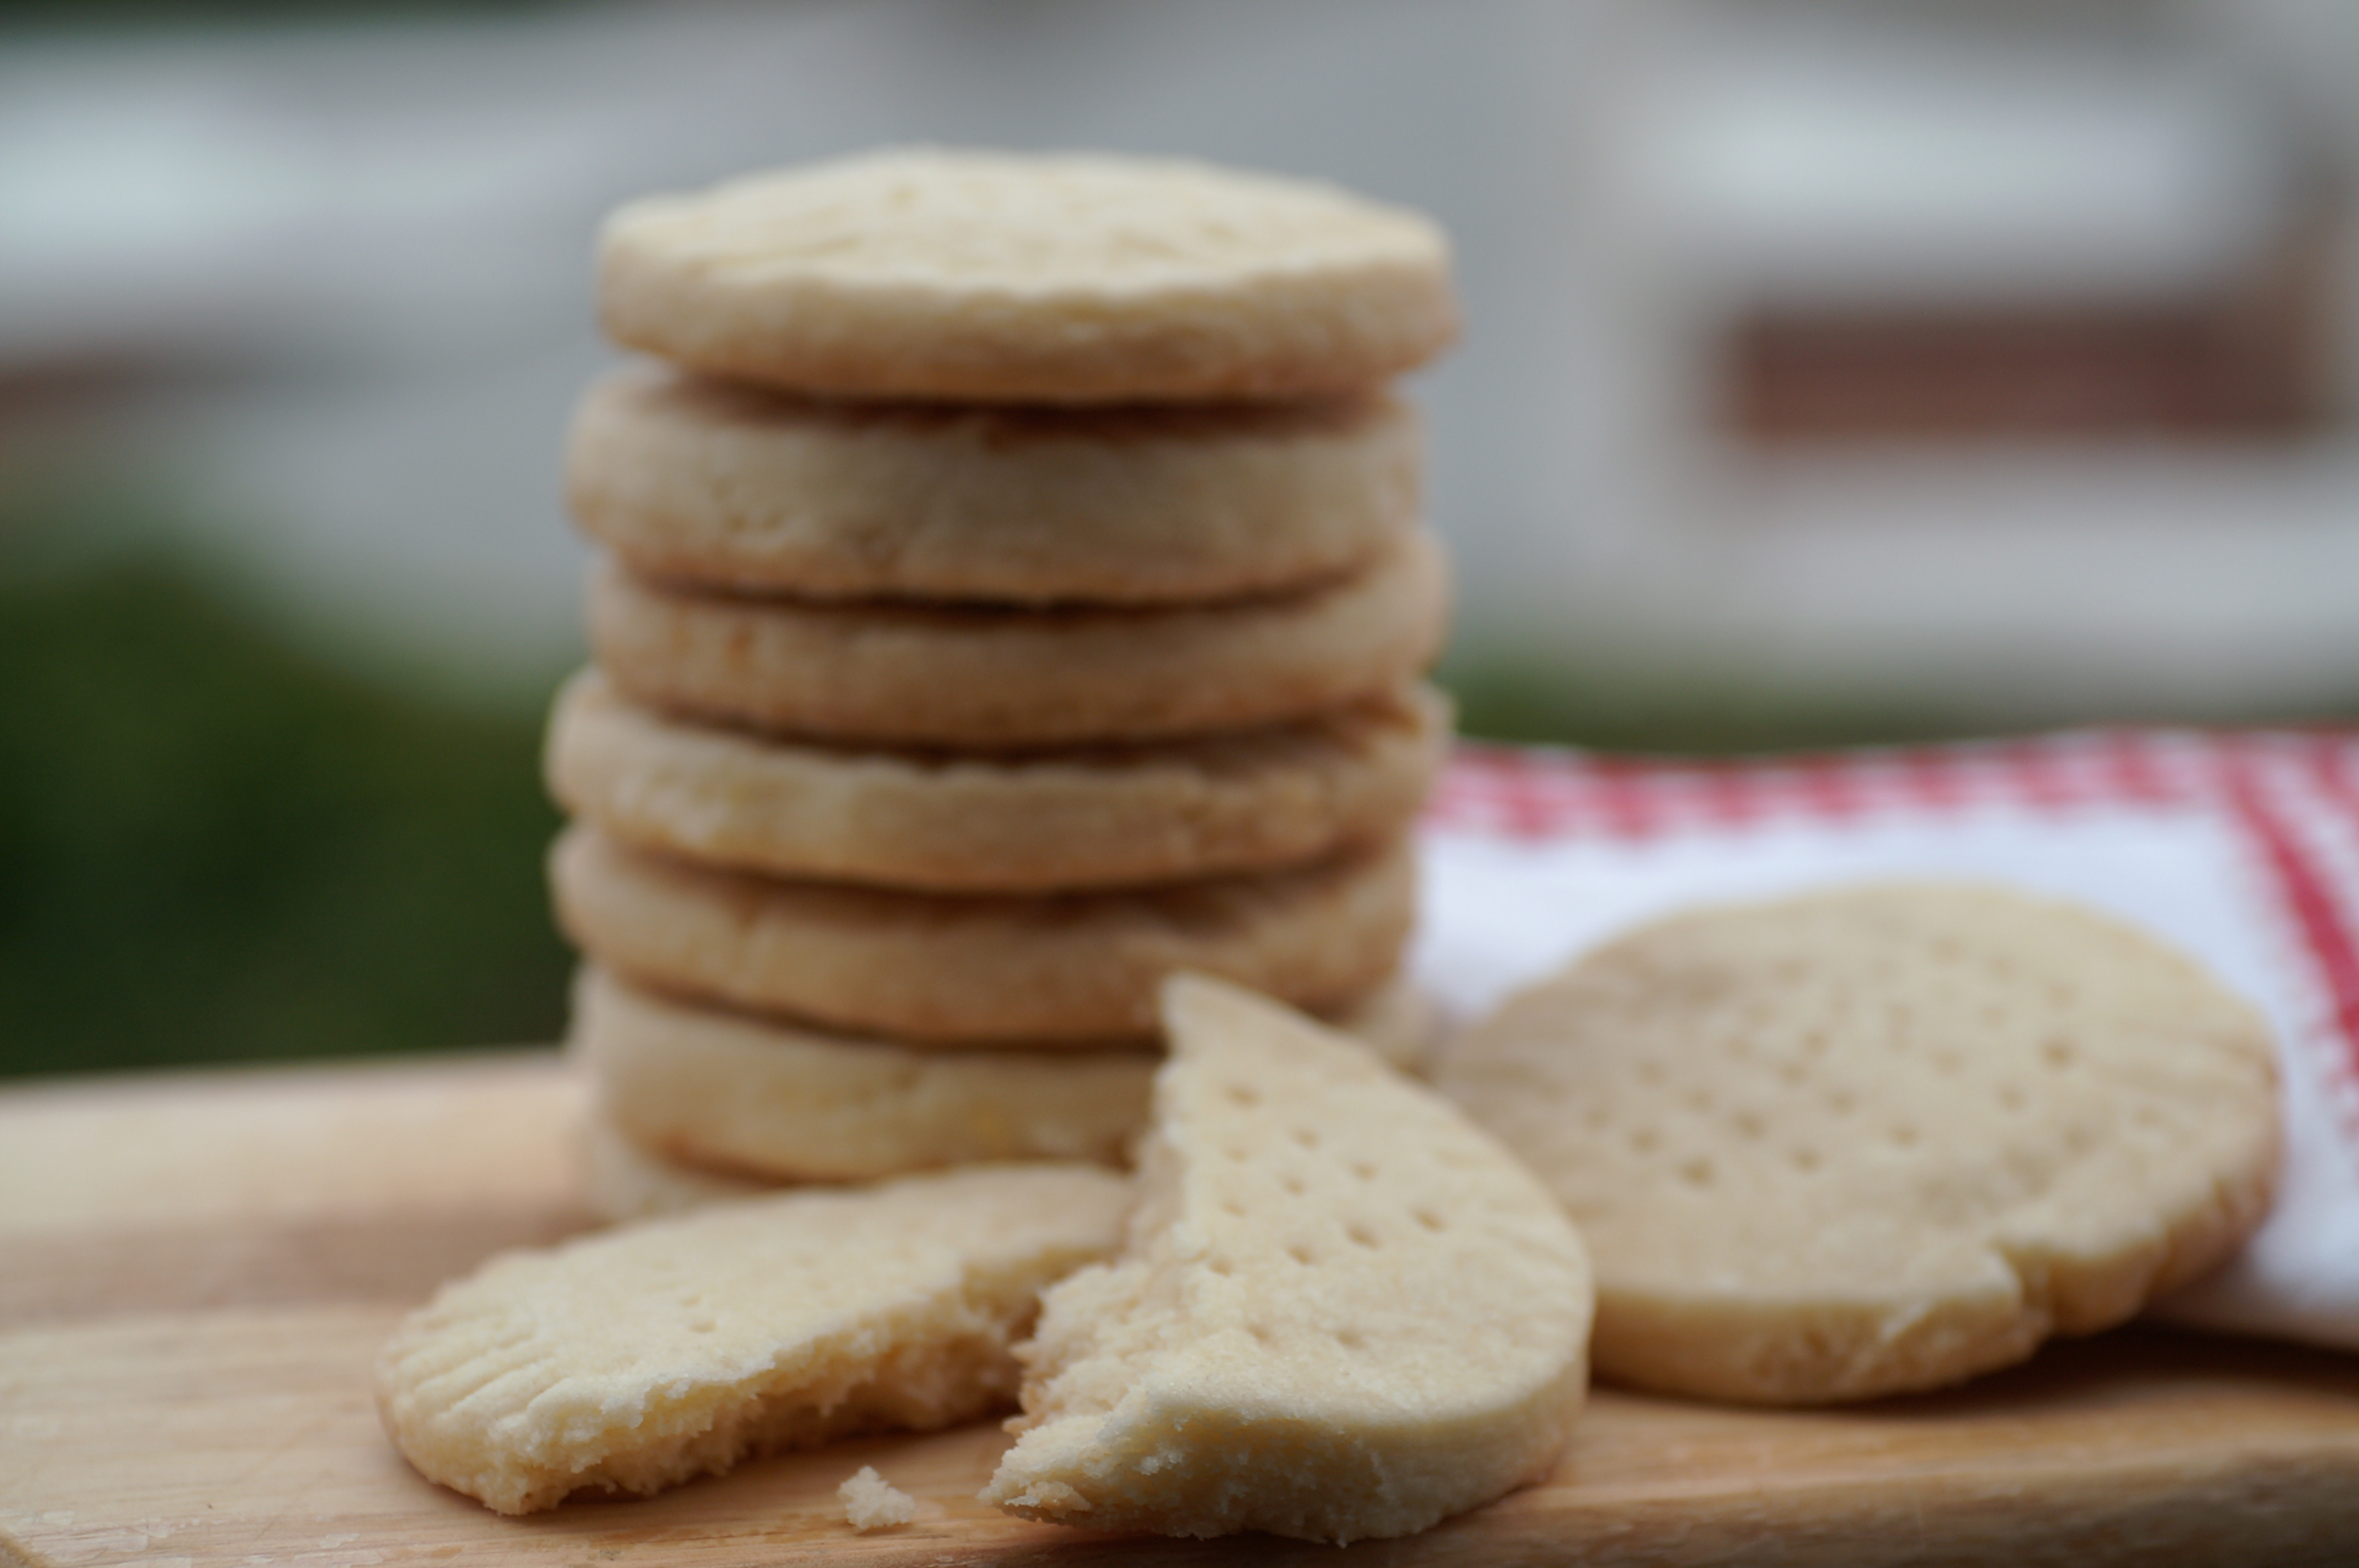
Shortbread usually comes in three different forms: small round biscuits, fingers or large rounds. To make the fingers, dough is cut into a large rectangle and the fingers are scored with the back of a knife so they can be broken up easily after cooking. A pattern made with fork marks is always made too.
To make large rounds, the dough is pressed into a round earthenware mould or a tart tin to make petticoat tails. When making the petticoat tails, the dough is scored into triangular slices like a pizza. The term petticoat tails comes not from the French petites gatelles (‘little cakes’) as many think (though Scottish cuisine did have more in common with French food than English food during the reign of Mary Queen of Scots), but from the term petticoat tallies – the name of the triangular pattern used to make bell hoop petticoats like Elizabeth I would have worn.
You can still buy the earthenware moulds – I’ll be buying one when I move back to England later in the summer.
Basic shortbread
This recipe makes enough for two petticoat tails rounds made in a seven inch tart tin. It’s hard to say how many biscuits or fingers – it depends on how wide and thick you make them. The important thing is to take them out before they start to brown.
To achieve a nice melt-in-the-mouth crumbliness use cornflour as well as normal plain flour to make your shortbread. Somewhere between a 1:1 and a 3:1 ratio of plain flour to cornflour works well. You don’t have to do this; they are still good with just good old plain flour.
6 ounces flour mix
4 ounces salted butter cut into cubes
2 ounces icing or caster sugar, plus extra
extra caster sugar
Rub the butter into the flour using fingers, pastry blender, food mixer or processor; be careful not to overwork things though if you’re using a food processor – shortbread dough doesn’t like being handled too much. Stir in the sugar and with your hand bring everything together to make a pliable dough – it’ll feel like it won’t form a dough at first, but as your hands warm it will.
Now you can roll or press out your dough into whatever shape you like and then place in the fridge for 20-30 minutes to harden:
For petticoat tails you are best diving the two into two halves and pressing the dough into your fluted flat tin. Score lines to mark out the slices, using a ruler if you want to be really precise. Make a nice pattern with a fork.
For fingers roll out the dough to half an inch thickness into a vaguely rectangular shape. Use a knife and a ruler to cut out a large rectangle and then score the lines with your ruler and knife, making patterns with your fork prongs.
For biscuits you can really do whatever you like; thick, thin, round, square. I think a little under half an inch is a good thickness. Cut out the biscuits and make your all-so-important fork marks.
Heat the oven to 180⁰C (350⁰F). Place the biscuits onto a baking sheet lined with greaseproof paper. Sprinkle with the extra sugar and bake until cooked but before any signs of browning. Petticoat Tails and fingers take about 15 minutes, individual biscuits can be variable, but usually about 12-15 minutes.
Variations:
For lemon shortbread add the zest of one lemon when you add the sugar, and for almond shortbread add 5 or 6 drops of almond extract. If you want to try it with caraway, sprinkle in 2 teaspoons of caraway seeds at the same time you add the sugar.
If you like the blogs and podcast I produce, please consider treating me to a virtual coffee or pint, or even a £3 monthly subscription: follow this post for more information.
A classic British nursery pudding, the treacle tart is much-loved. It is probably the ultimate child’s dessert because it is so unbelievably sweet; it makes my teeth hurt just looking at one! That aside, I have never really lost my sweet tooth and I love treacle – meaning golden syrup of course in this case (see here for a post on treacle). Treacle tart was very popular with poorer families – the two main ingredients being bread and treacle – no expensive fruits and spices here.
The pudding itself as we know it has only been in existence since the late nineteenth century since golden syrup was invented in the 1880s. However, the earliest recipe I have found for a treacle tart actually dates to 1879 – before the invention of golden syrup! The recipe is by Mary Jewry and is a tart made up of alternating layers of pastry and treacle. The treacle here is black treacle, and this highlights the problem in researching the origins of this pudding; treacle meant any viscous syrup that was a byproduct of sugar refinery and specifics are not always pointed out, even after golden syrup became popular. The other problem is the recipe Mary Jewry gives is nothing like the beloved treacle tart from our childhood.
The terrifying Childcatcher from Chitty Chitty Bang Bang
coaxing the children with shouts of “treacle tart! All free today!”
Shudder.
Prior to the 17th century, treacle was used as a medicine; it was considered very good for the blood and was therefore used in antidotes to poisons. It starts cropping up in recipes for gingerbread in the mid-18th century. Jane Grigson mentions a gingerbread recipe from 1420 in her book English Food where spices and breadcrumbs were mixed together with plenty of honey to make a gingerbread that seems pretty similar a modern treacle tart, but without the pastry. Heston Blumenthal in his book Total Perfection also mentions a 17th century ‘tart of bread’ where bread and treacle are mixed with bread, spices and dried fruit and baked in an open pastry shell. Then just to complicate things further, Jane Grigson mentions that the predecessor to the treacle tart is the sweetmeat cake – again a 17th century invention – that uses candied orange peel, sugar and butter as a filling and no treacle or bread whatsoever!
All this confusing history waffle is giving me a headache. Here’s the recipe that I use for a treacle tart. It is adapted from Nigel Slater’s. I like it (and I have tried several recently) because it has a lot more bread in it than most other recipes – treacle tart should be chewy with a hint of and must hold its shape when cut, many recipes fail in this respect. I use brown bread crumbs – it gives a good flavour and increases the chewiness level a little further.
There’s a pound and a half of golden syrup in this tart so the sweetness really needs cutting with some lemon juice and zest, and if you like, a tablespoon or two of black treacle; it’s not just a nod to treacle tarts of the past, its bitterness really does tone down the sweetness. This tart makes enough for ten people I would say. Be warned – if you go for some seconds, you may fall into some kind of sugar-induced diabetic coma…
If you like the blogs and podcast I produce, please consider treating me to a virtual coffee or pint, or even a £3 monthly subscription: follow this link for more information.
For the pastry
4 oz salted butter or 2 oz each butter and lard cut into cubes and chilled
8 oz plain flour
3 tbs chilled water
For the filling
1 ½ lbs golden syrup
2 tbs black treacle (optional)
juice and zest of a lemon
10 oz white or brown breadcrumbs
The pastry is a straight-forward shortcrust. Rub the fat into the flour with your fingertips, a pastry blender, the flat ‘K’ beater of a mixer or blitz in a food processor. Mix in two tablespoons of water with your hand and once incorporated, add the last tablespoon. The pastry should come together into a ball. Knead the dough very briefly so that it is soft and pliable. Cover with clingfilm and put in the fridge to have a little rest for 30 minutes or so.
Now roll out the pastry and use it to line a 9 inch tart tin. Put back into the fridge again – you don’t have to do this step, but sometimes the pastry can collapse a bit when it goes in the oven at room temperature.
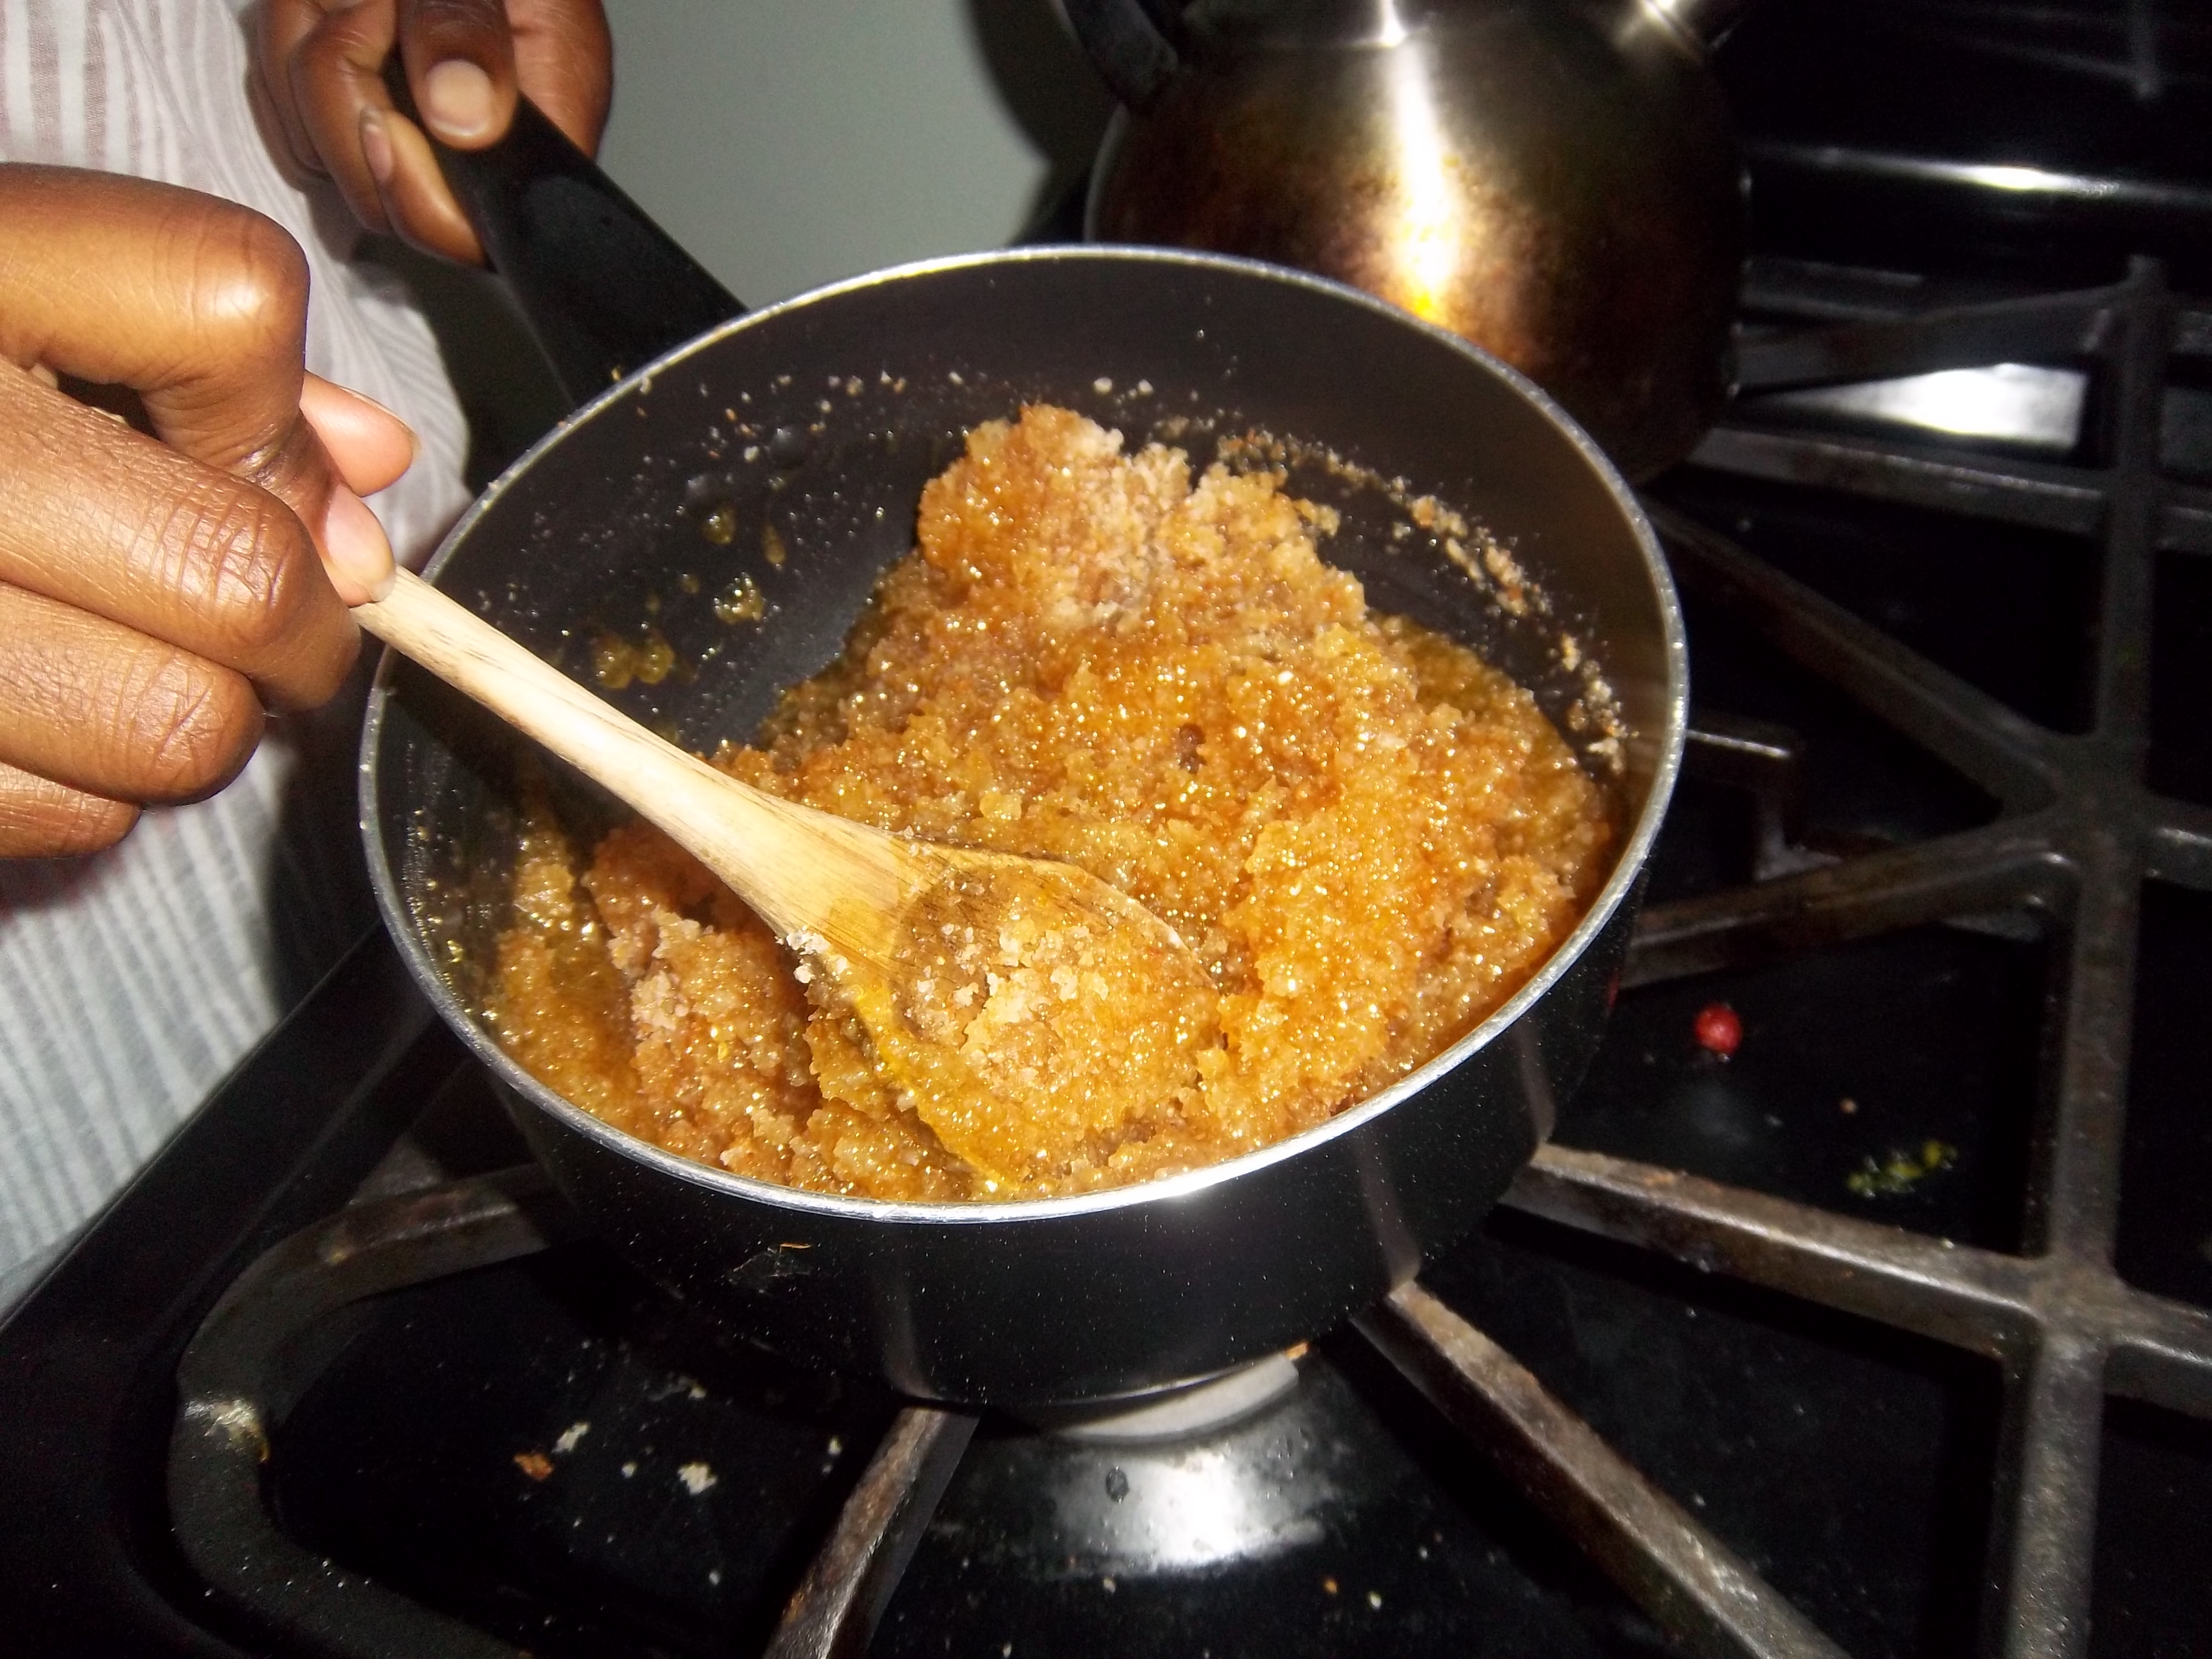
Whilst the pastry is cooling, get on with the treacle filling. Treacle can be a tricky customer: weigh it out straight into a saucepan on tared scales and then pour the golden syrup straight in. Add the black treacle if using. Place the pan over a medium heat and stir until it becomes quite runny, then stir in the lemon juice and zest and the breadcrumbs.
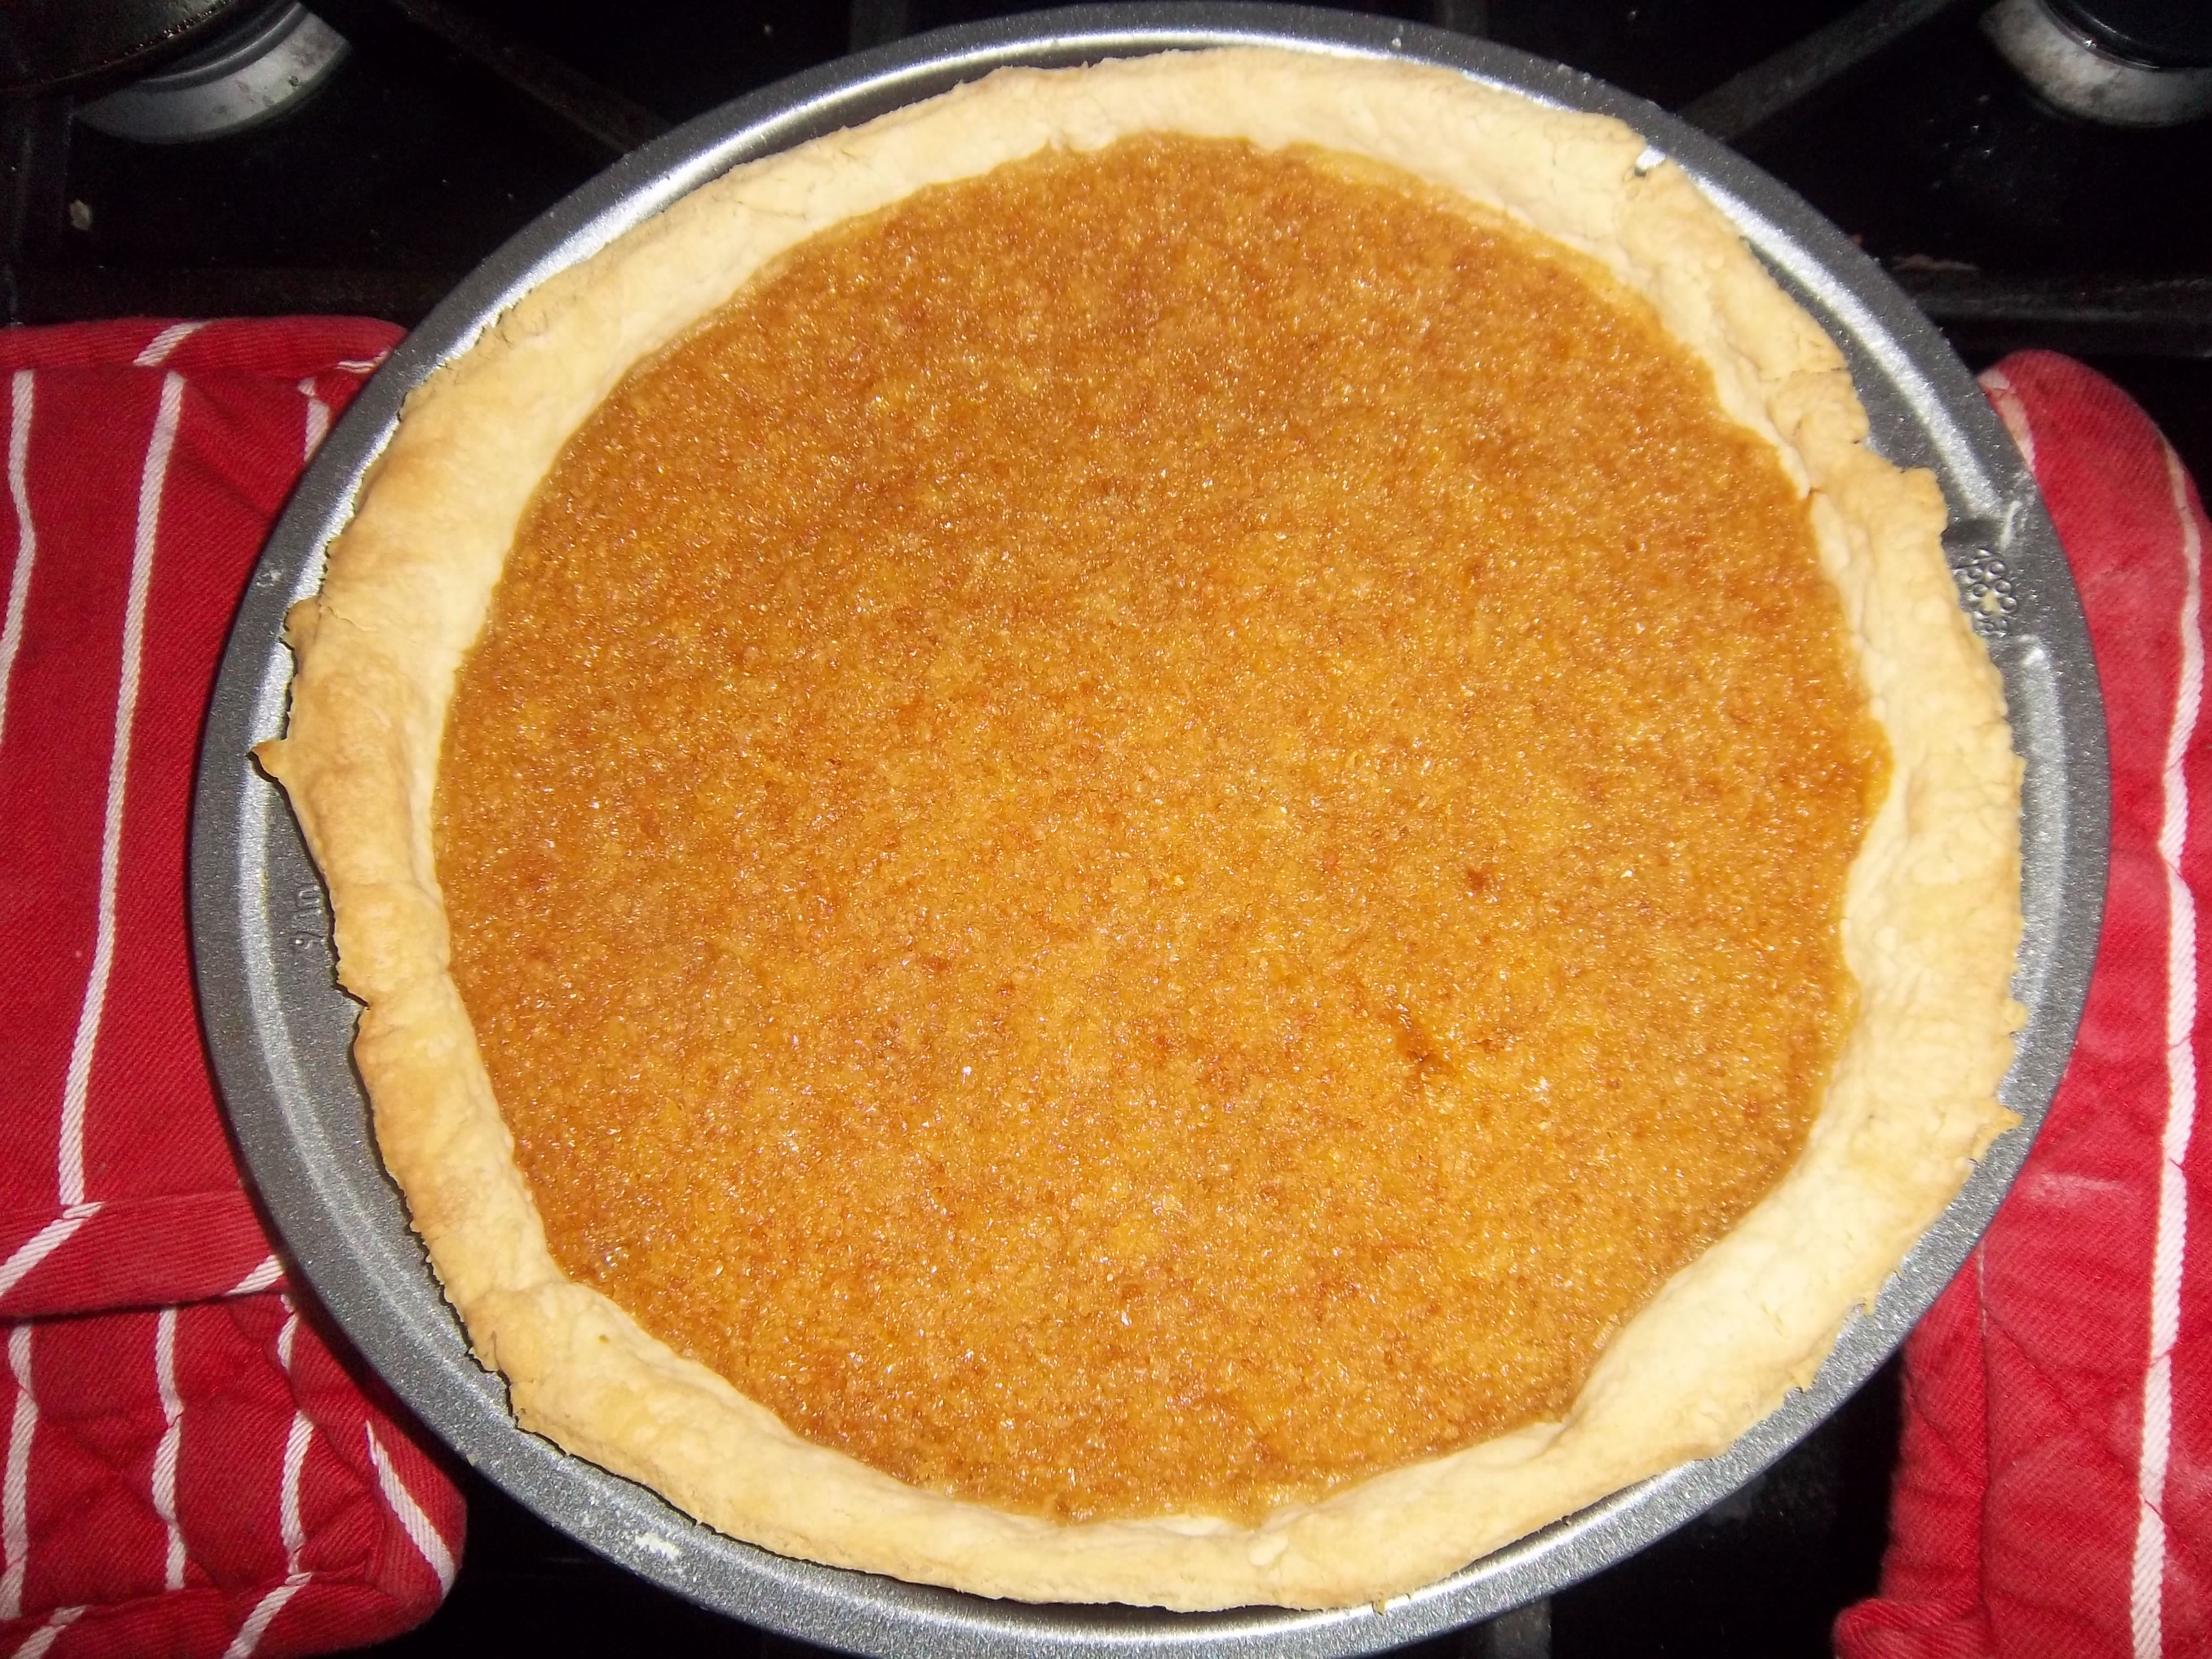
Pour this mixture into the lined tart tin and bake in the oven at 200⁰C (400⁰F) for 15 minutes, then turn the heat down to 180⁰C (350⁰F) for another 15 or 20 minutes.
Best served warm with cream, ice cream or custard.
I love fruit curds, they might be my favourite of all the preserves, sweet or savoury. In fact I’m not even sure if a curd is a true preserve or not; it isn’t chock-full of sugar like a fruit jam, plus there are eggs and butter in there too; the eggs technically make it a kind of custard. These ingredients mean that fruit curd doesn’t keep for very long, maybe two months in all. That said, they rarely last that long.
Looking in the recipe books, the earliest mention of the term lemon curd I have found goes back to 1844 in The Lady’s Own Cookery Book by the splendidly named Lady Charlotte Campbell Bury. The recipe is rather different though because the lemon curd is literally that; lemon acidulating cream to form curds which could then be separated from the whey through some cheesecloth.
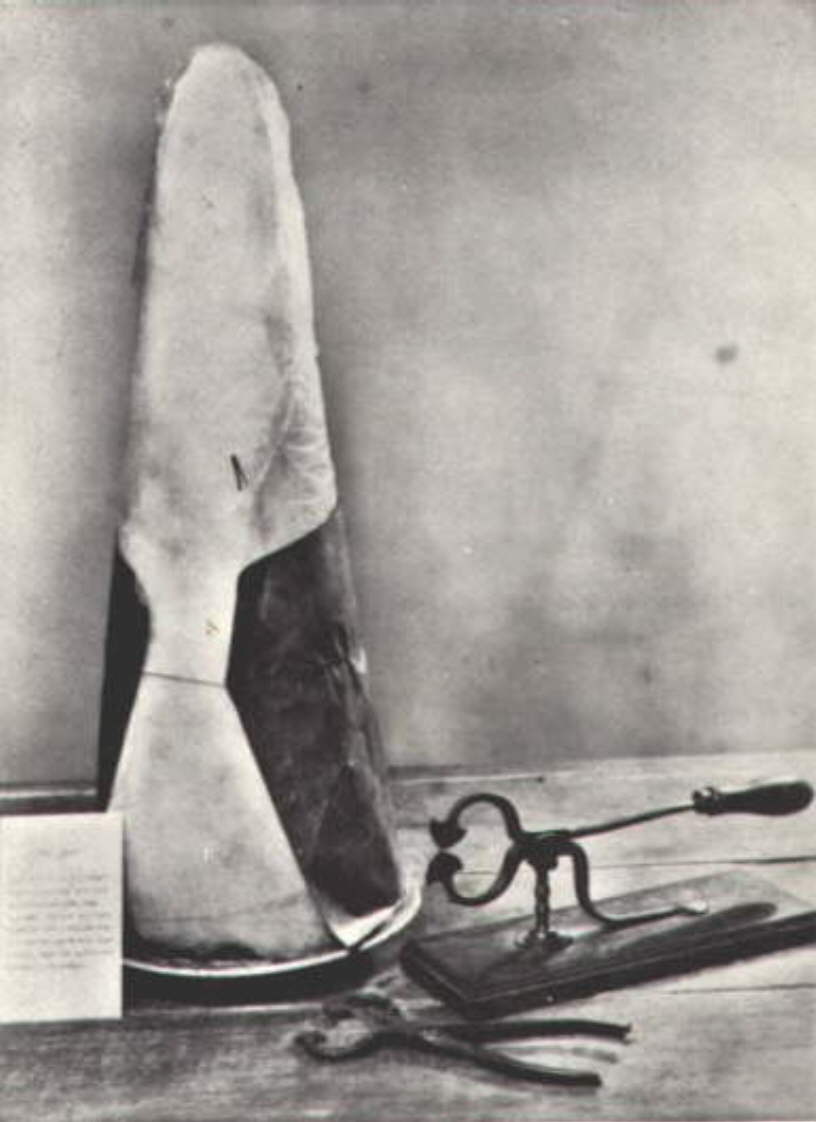
You can go further back to find recipes for lemon curd, though it is called lemon cheese, and it seemed to generally be used for lemon cheese cakes which are what I would call nowadays lemon curd tarts. When you look in the books, the old recipes give the instruction to rasp the lemons’ skins “well with sugar” to extract the zest and aromatic oils. This seems rather a curious thing to do; perhaps the zester or fine-grater hadn’t been invented, or maybe it was terribly difficult to lay one’s hands upon such a thing. It all makes perfect sense in the end though because the sugar in the larder wasn’t granulated in a bag like we get it now, but was a solid, long, tapering palisade – a sugar loaf. You could simply crack a piece off and rub it against your lemons to get all the flavour out of that pesky zest. I have found these instructions for recipes as recent as 1974 (Jane Grigson, English Food), if you to attempt it buy those posh sugar lumps that are all irregularly shaped, normal ones will just crumble.
A 19th century sugar loaf and tongs
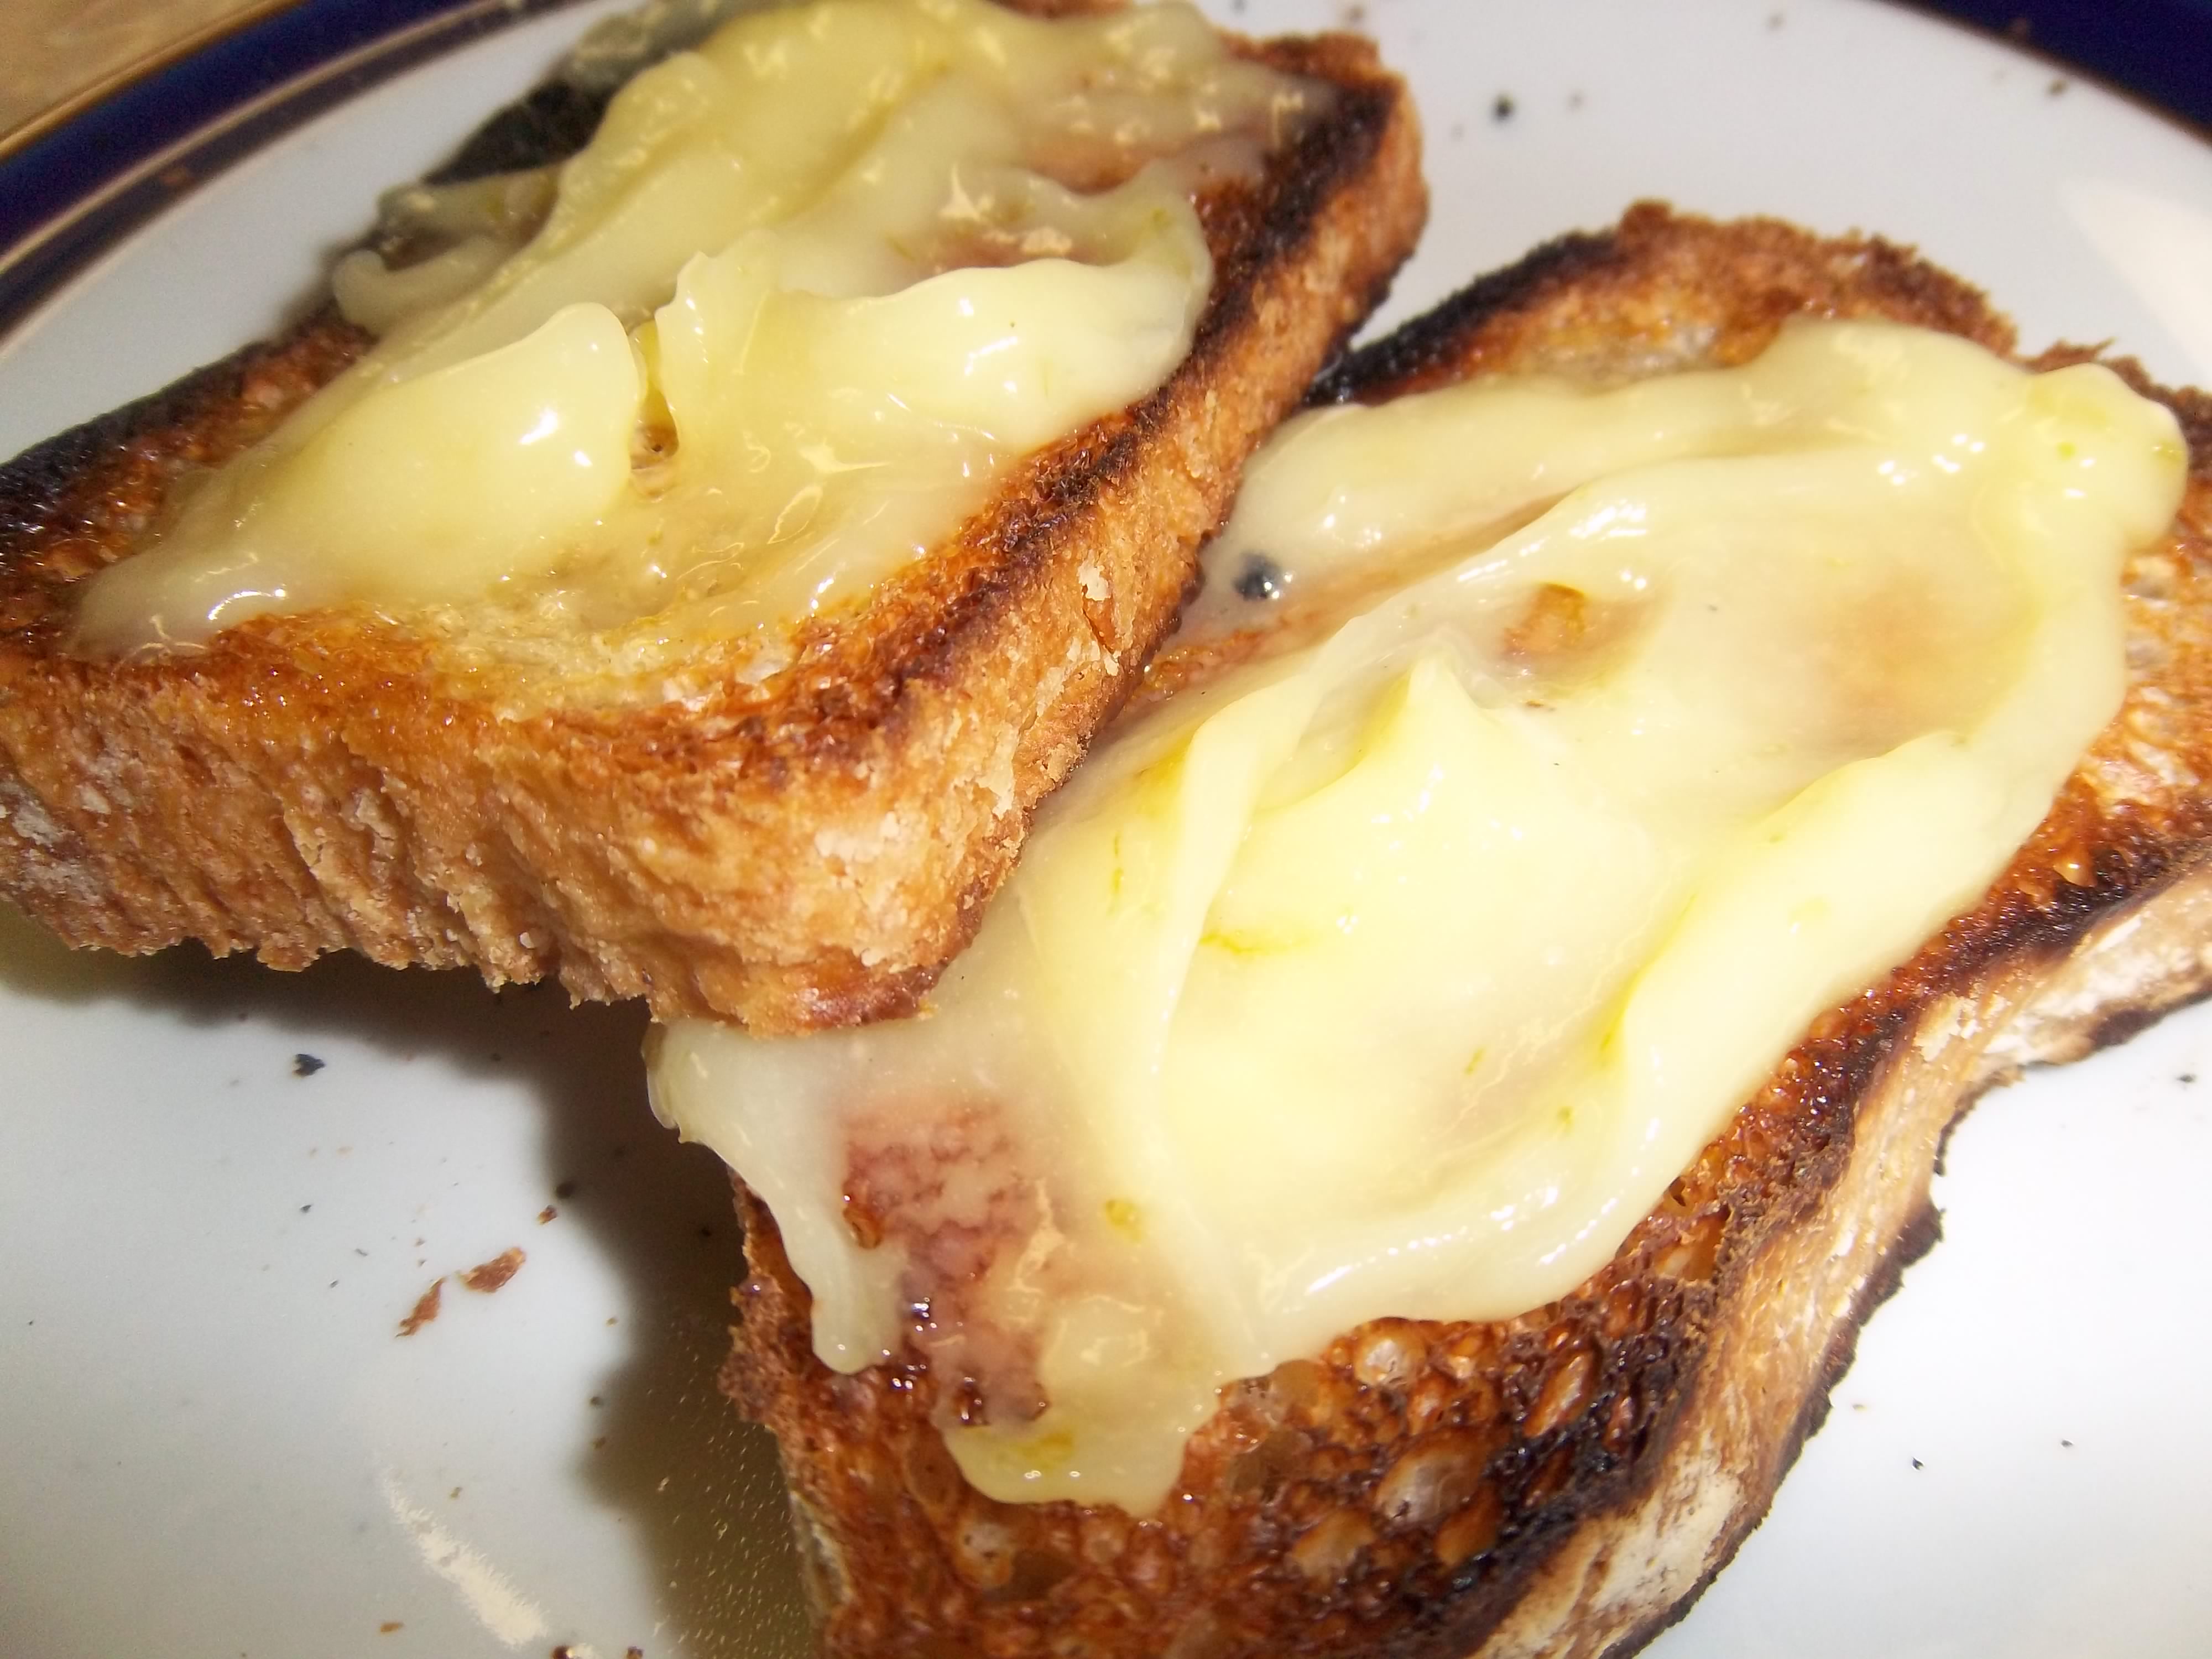
Curds can be used for so many things: cakes, tarts, pies, steamed puddings, American muffins, as a pancake topping or filling, or at its best on hot toast. Though I have always thought lemon curd ripple ice cream would be good.
Curds don’t just come in lemon yellow of course, you can make one from any fruit that the juice can be easily squeezed from: orange, grapefruit, passion fruit and pineapple are all ones I have spotted at one time or another.
Here’s my recipe for lime curd. Have a go at making it; it’s very easy to make because it’s difficult to curdle the eggs as they are stabilised somewhat by the acid and egg whites. It is wonderfully tart and not too sweet. Honestly, you’ll never go back to the bought stuff.
If you like the blogs and podcast I produce, please consider treating me to a virtual coffee or pint, or even a £3 monthly subscription: follow this link for more information.
Lime Curd
This recipe makes around 1 UK pint (that’s 20 fl oz for any non-Brits). If you think things might be too sharp, add an extra egg and a couple of ounces of butter.
Ingredients
the zest and juice of 5 limes
5 oz salted butter
8 oz sugar cut into small cubes
4 large eggs
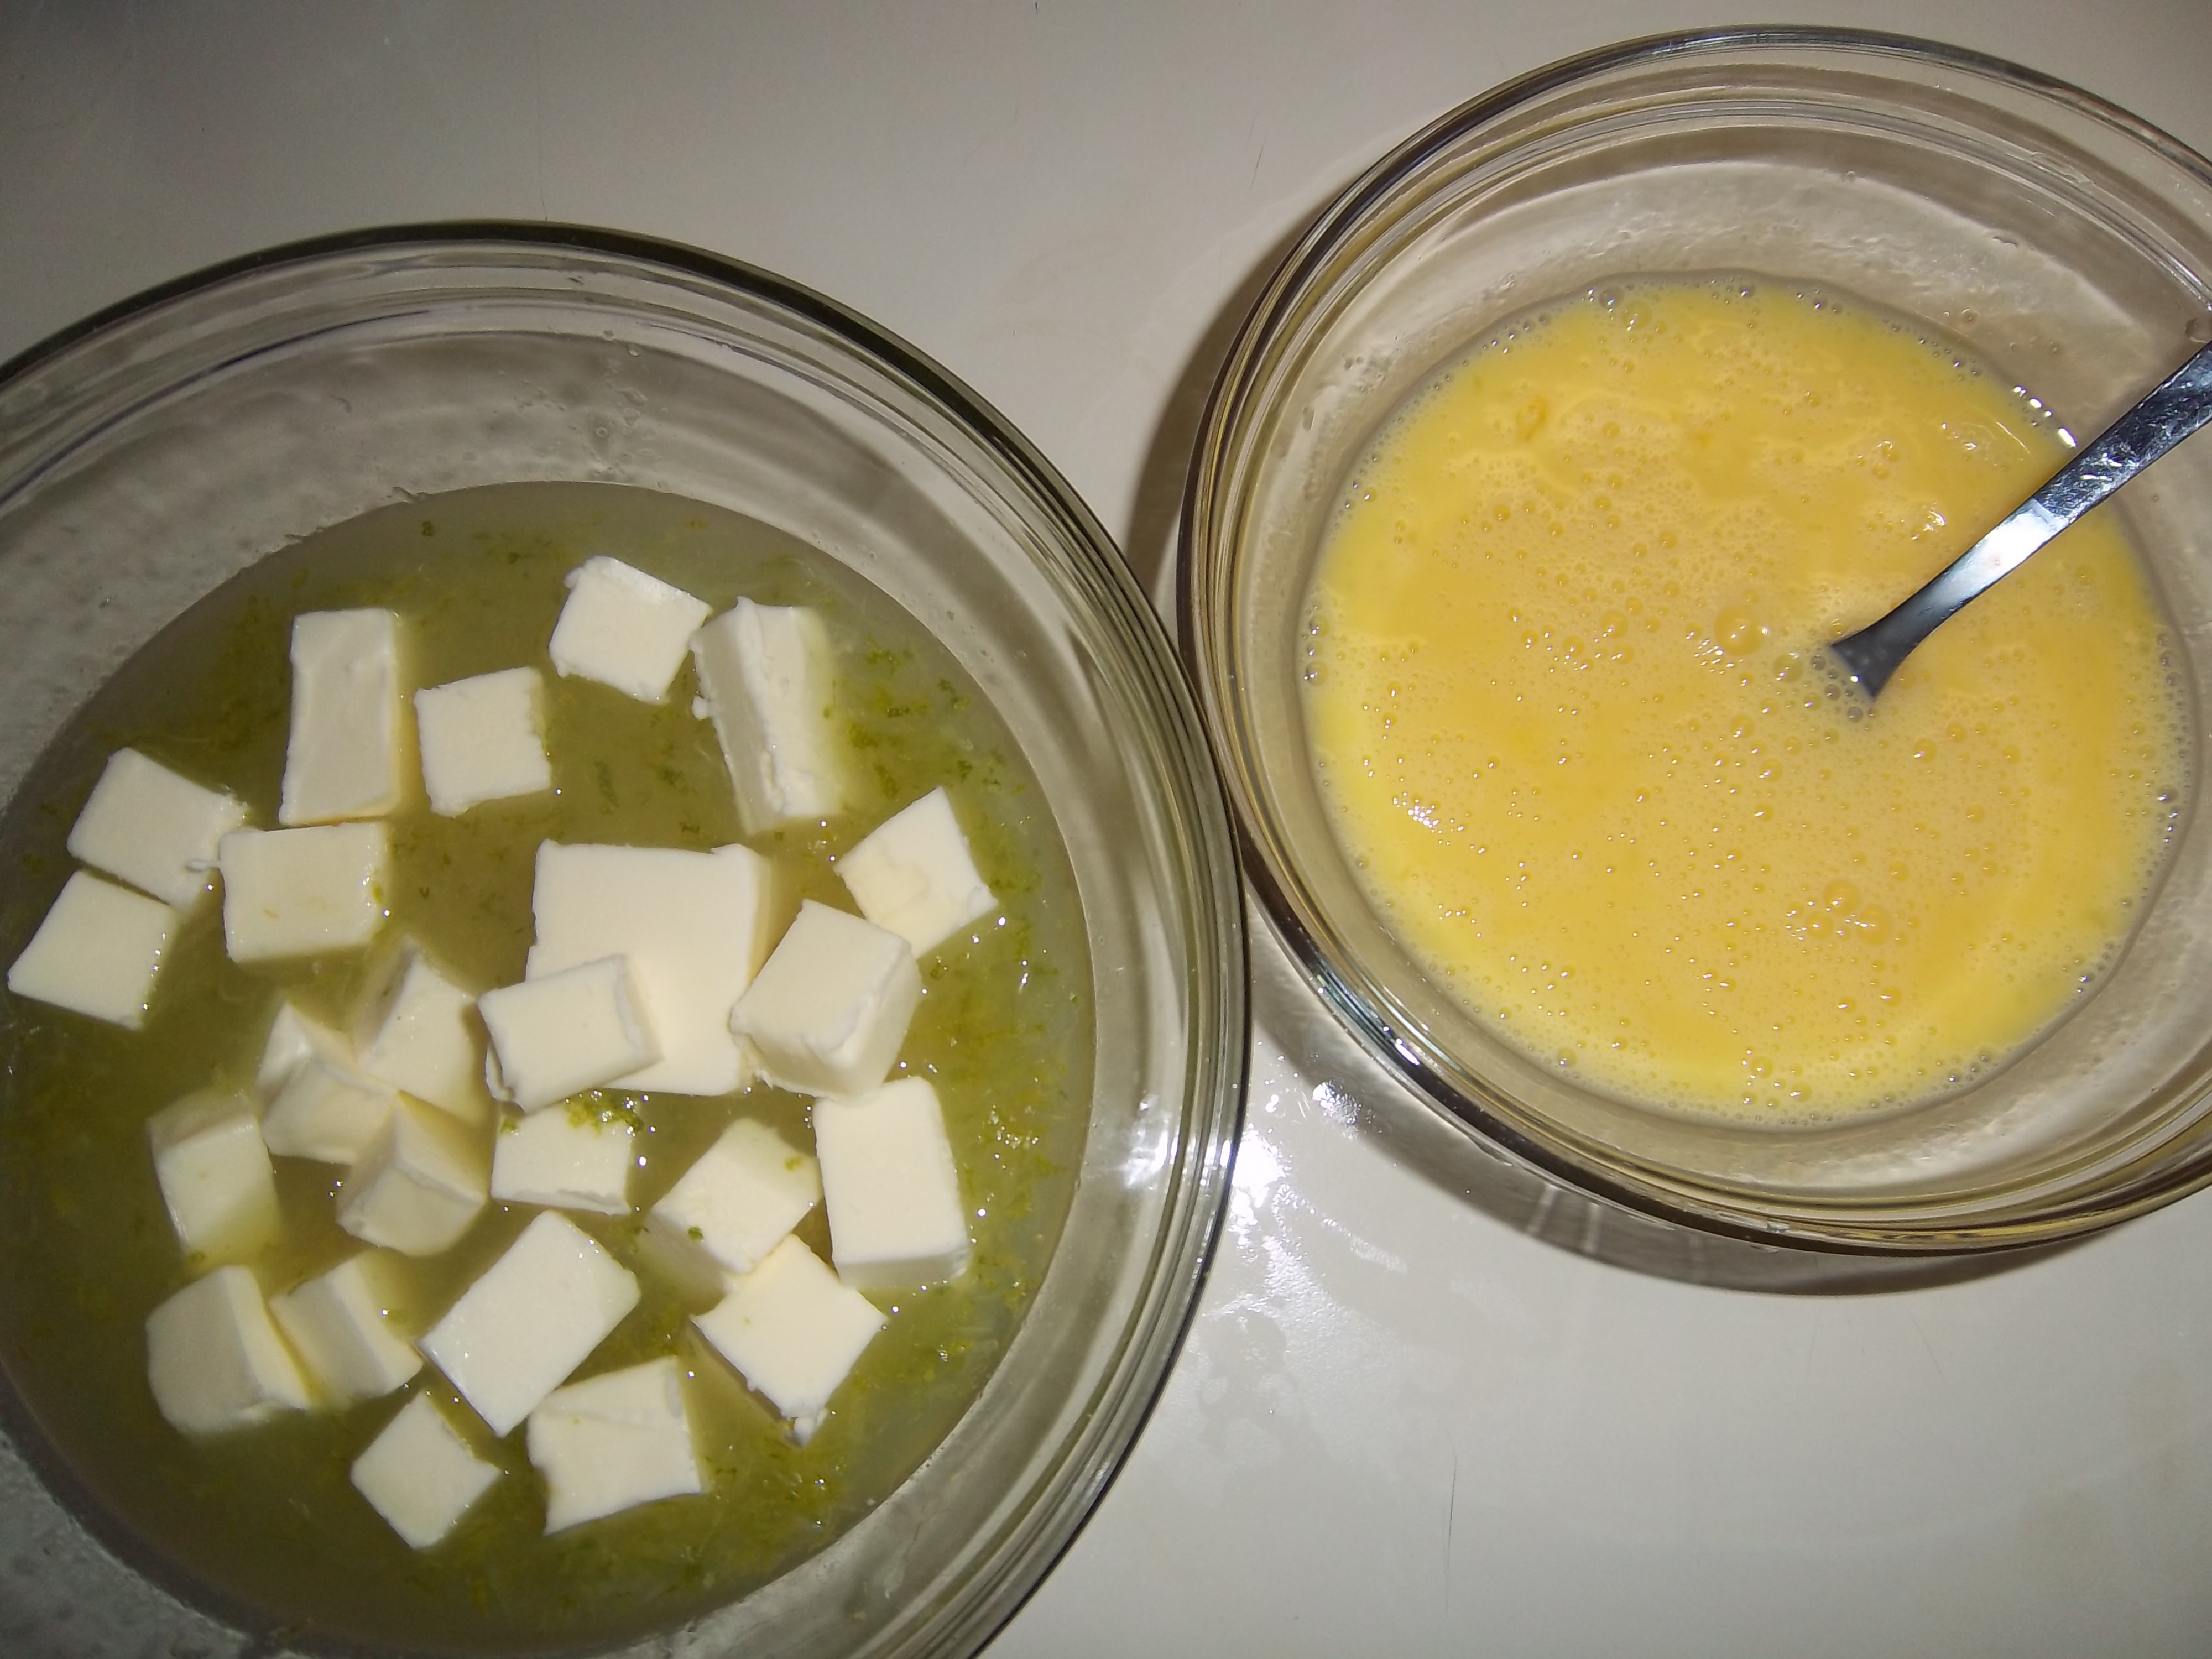
Set a mixing bowl over a simmering saucepan of water and add the lime zest and juice, butter and sugar.
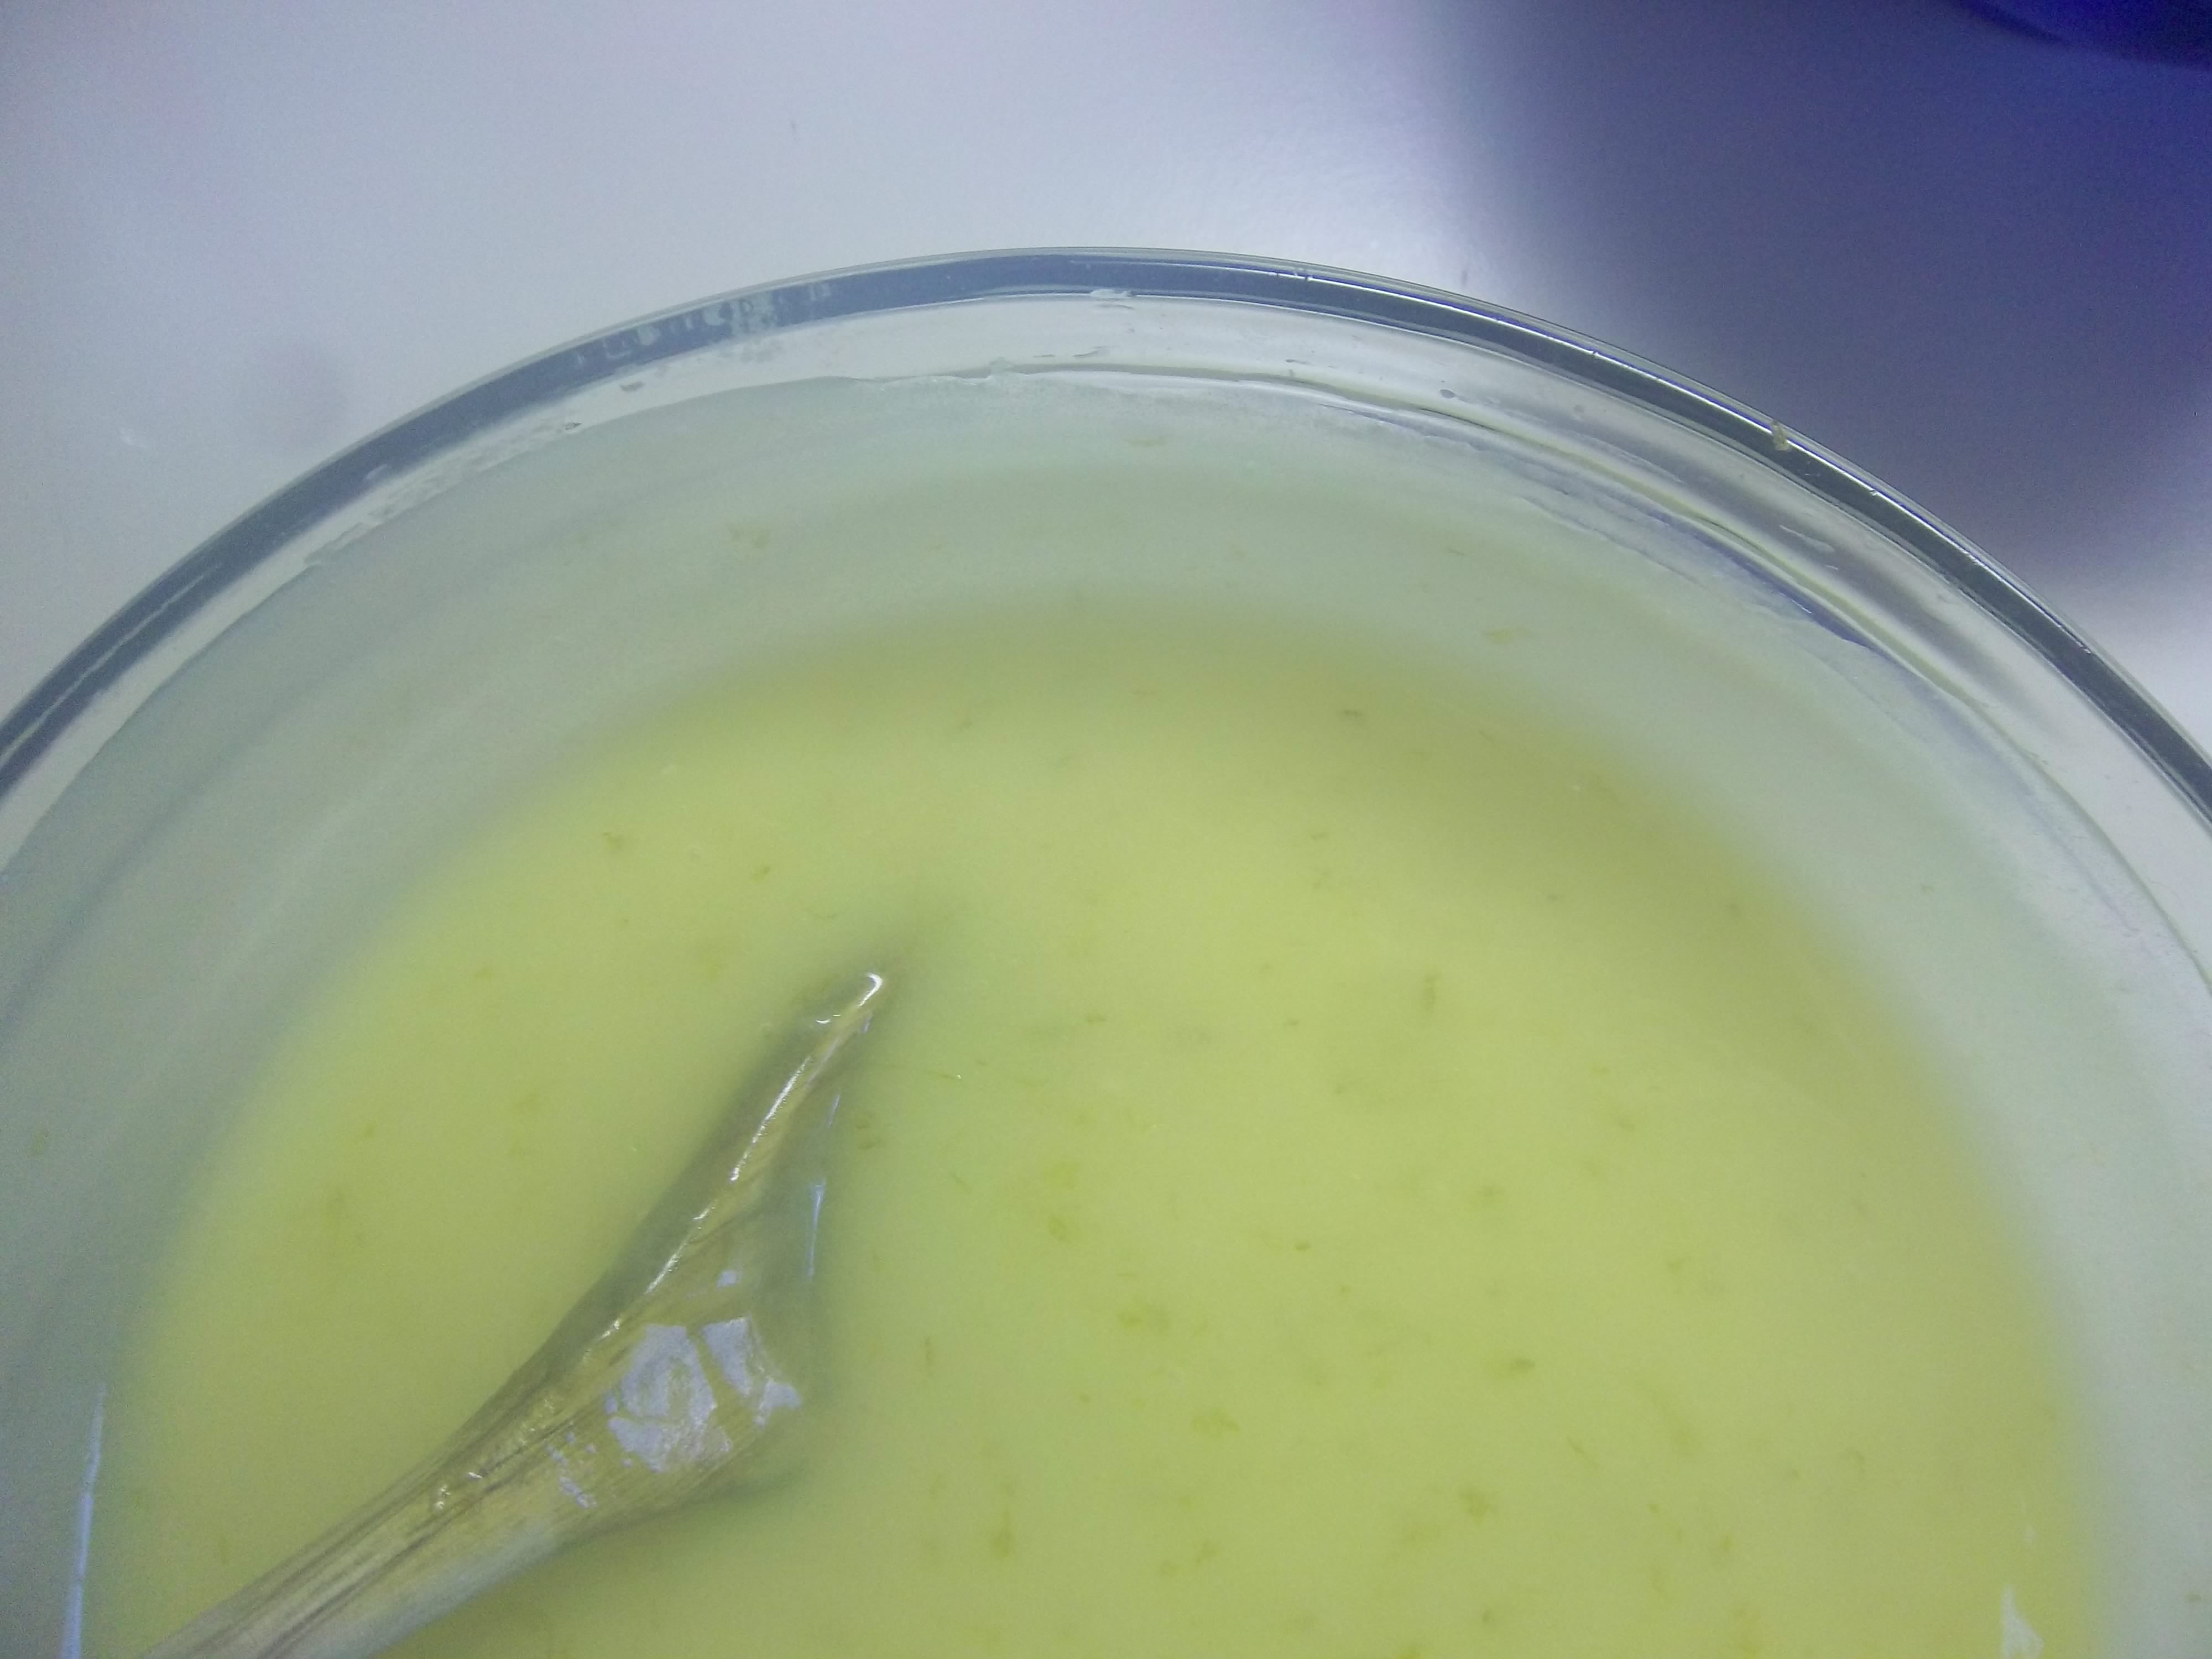
Let it warm up, the sugar dissolve and the butter melt. Beat the eggs in a separate bowl and strain through sieve into the juice. Stir with a wooden spoon until the eggs have amalgamated and thicken – this will take at least five minutes. When very thick, take off the heat but keep stirring for a minute or two as the eggs may carry on cooking if left in contact with the still hot bowl’s inner surface.
Pot into sterilised jars and allow to cool. Unless you have a nice cool larder, I would store them in the fridge, especially once opened.