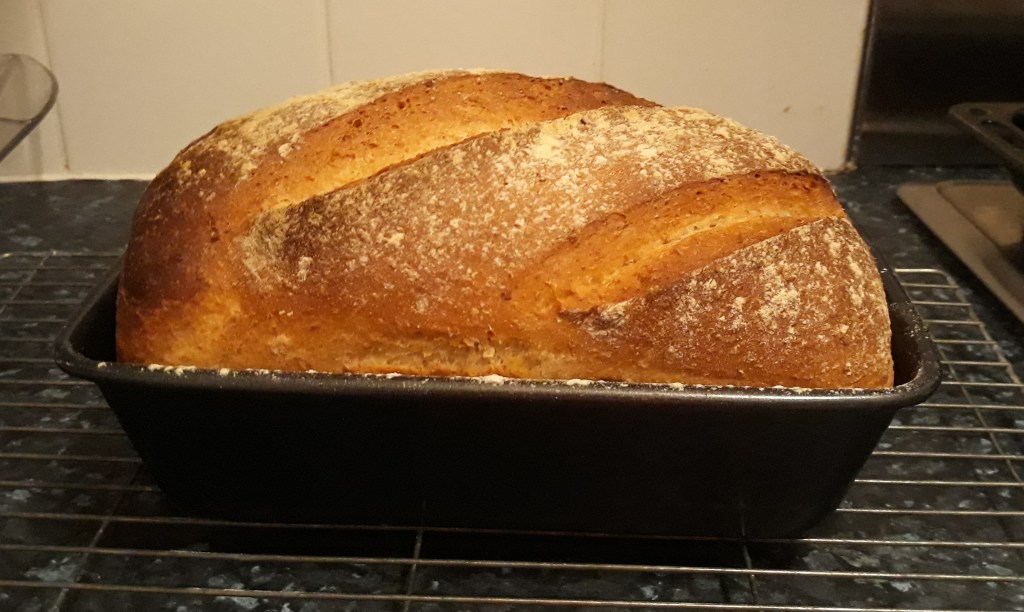
I love custard. There is very little that can beat it in my opinion, especially during the winter months. By custard I mean the pouring kind also known as crème anglaise by the French and by people who want to sound posh. I call it proper custard.
Custard is essentially eggs mixed with liquids, usually milk or cream, and then thickened using a low heat. The difficulty with custard is that they can be overcooked, you want the egg to thicken, but if you go too far the eggs either curdle or go rubbery. Custard should never be allowed to boil, the perfect temperature is around 80⁰C (180⁰F). If you want thicker custard, you need more eggs, not more heat.
I started looking into custard and quite quickly realised that the term custard is actually quite diverse, falling into two broad churches, so thought I’d give a quick overview before I add recipes.
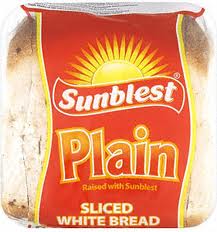
First up are the cream custards, i.e. sauces that are made in a pan and stirred like the aforementioned crème anglaise that is poured on pies, crumbles and steam puddings and the like and is used cold in trifles. Egg yolks and cream or milk are used here, usually flavoured with vanilla and sometimes scented with orange flower water or rose water. Many people think that proper custard is made using custard powder, but they would be incorrect. Don’t get me wrong, I love a bowl of Bird’s, but it is not proper custard. In fact, it isn’t technically custard at all as it doesn’t contain any eggs.

Bird’s advertisement, 1896
There is also confectioner’s custard, crème pâtissière, or pastry cream, thick and sweet and used to make delicious vanilla slices or profiteroles. This custard is unusual because it is heated until it boils, stabilised with cornflour. Also in this category are the fruit curds that are used in tarts, puddings or just in sandwiches. Here, the liquid is provided by fruit juice, typically lemon, but orange, lime and passion fruit curds are made too.
Much more common are the set custards which are baked and usually protected from the dry heat of the oven with a water bath. Whole eggs are used, because the whites form a matrix of albumen creating a gel, setting the custard. The more egg white included, the firmer the custard; useful if you want to turn it out onto a dish. Set custards are a diverse group. There is the classic baked custard, possibly my favourite ever dessert, but also lemon or orange tarts which are similar to fruit curds. All of these can actually be served with or without a pastry crust. Custards cooked in this way were also called douchets. Those without crusts include such classics as bread and butter pudding, burnt cream (or, if you like, crème brûlée) and crème caramel.
Then there are the custards that you don’t think of as custards, like baked cheesecakes or savoury quiches. There are set savoury custards made with meat stock that were once a popular starter, served warm with crisp Melba toast. I have also found recipes for cheese custard and potato custard.
I expected the set custards to be the kind that appeared first, but the earliest recipe going under the name custard I could find is from 1596 and is certainly a cream custard:
To Make a Custard
Break your eggs into a bowl, and put your cream into another bowl. Strain your eggs into the cream. Put in saffron, cloves and mace, and a little cinnamon and ginger, and, if you will, some sugar and butter. Season it with salt. Melt your butter and stir it with a ladle a good while. Dub your custard with dates or currants.
I have to say, it sounds delicious. I shall cook it someday.
If you like the blogs and podcast I produce, please consider treating me to a virtual coffee or pint, or even a £3 monthly subscription: follow this link for more information.
By the seventeenth century onwards, set custards had become popular. This is because they were actually more difficult to make than the saucy ones. This is because it was rather problematic to effectively use water baths, plus it was difficult to check the ‘doneness’ of the custards with the old open fires. As ovens became more refined, this sort of delicate baking was easier to attain so up popped puddings like burnt cream (crème brûlée), though the country of origin is somewhat disputed, though the earliest I have come across is from 1692 and is French.

In the seventeenth century better ovens created more delicate desserts
Elizabeth Raffald was the Queen of Custard, her 1769 book The Experienced English Housekeeper contained no less than 13 custard recipes both creamy and set, sweet and savoury. I am definitely going to try some of hers, but here’s one that I can’t see getting round to doing as it uses beest, which is an old term for a cow’s first milk produced after calving.
Take a pint of beest, set it over the fire with a little cinnamon or three bay leaves, let it be boiling hot. Then take it off and have ready mixed one spoonful of flour and a spoonful of thick cream, pour your hot beest upon it by degrees. Mix it exceedingly well together and sweeten it to your taste. You may either put it in crusts or cups or bake it.
What is interesting is that it bay leaves are used; it’s half way between a custard and a white sauce. I wonder of the beest tastes extra sweet as well as extra rich.
Custard recipes on the blog: