In this episode, I speak with Christina Wade, a beer historian specialising in the UK and Ireland, with a particular focus on women. She has written an excellent book, Filthy Queens: A History of Beer in Ireland, which was published by Nine Bean Rows earlier this year (2025).
We talk about ale and beer in Ireland, and how colonisation by the English, and then the British, affected beer production and consumption. Topics include: ale in early medieval Ireland, the man who inspired the title of her book, ale consumption during the Irish Rebellion and the Potato Famine, and the use of human skulls in medicinal ales, amongst many other things.
The British Food History Podcast is available on all podcast apps, but you can also hear it on YouTube or stream it via this embed:
Those listening to the secret podcast can hear about the links between alewives and witchcraft, whiskey and beer consumption, tea kettle brews and more!
Christina’s social media handle on Instagram and Bluesky is @braciatrix.
Remember: Fruit Pig are sponsoring the 9th season of the podcast and Grant and Matthew are very kindly giving listeners to the podcast a unique special offer 10% off your order until the end of October 2025 – use the offer code Foodhis in the checkout at their online shop, www.fruitpig.co.uk.
If you can, support the podcast and blogs by becoming a £3 monthly subscriber, and unlock lots of premium content, including bonus blog posts and recipes, access to the easter eggs and the secret podcast, or treat me to a one-off virtual pint or coffee: click here.
Don’t forget, there will be postbag episodes in the future, so if you have any questions or queries about today’s episode, or indeed any episode, or have a question about the history of British food please email me at neil@britishfoodhistory.com, or leave a comment below.
Here’s a quick special bonus episode of the podcast for you – the lowdown on the Serve it Forth Food History Festival 2025, sponsored by the excellent Netherton Foundry. It’s available on all podcast apps, but if you like, listen via this Spotify embed:
My fellow festival coordinators Sam Bilton, Thomas Ntinas and Alessandra Pino and I are here to tell you more about it: how the day will work, what the sessions will be like, the topics and the guests – including my guest Tom Parker Bowles.
We have a brief discussion about our own interests and how we all got into food history. We also talk about our biggest/most embarrassing disasters.
Most important headlines are: it’s online on 18 October. It’s £16, but there’s 25% off ticket price until September 14th. Don’t worry if you miss some, or even all of the day, we will be making every recording available to all ticket holders.
NB: If you want to get 25% off the ticket price after the early bird has finished, use the offer code SERVE25 at the Eventbrite checkout.
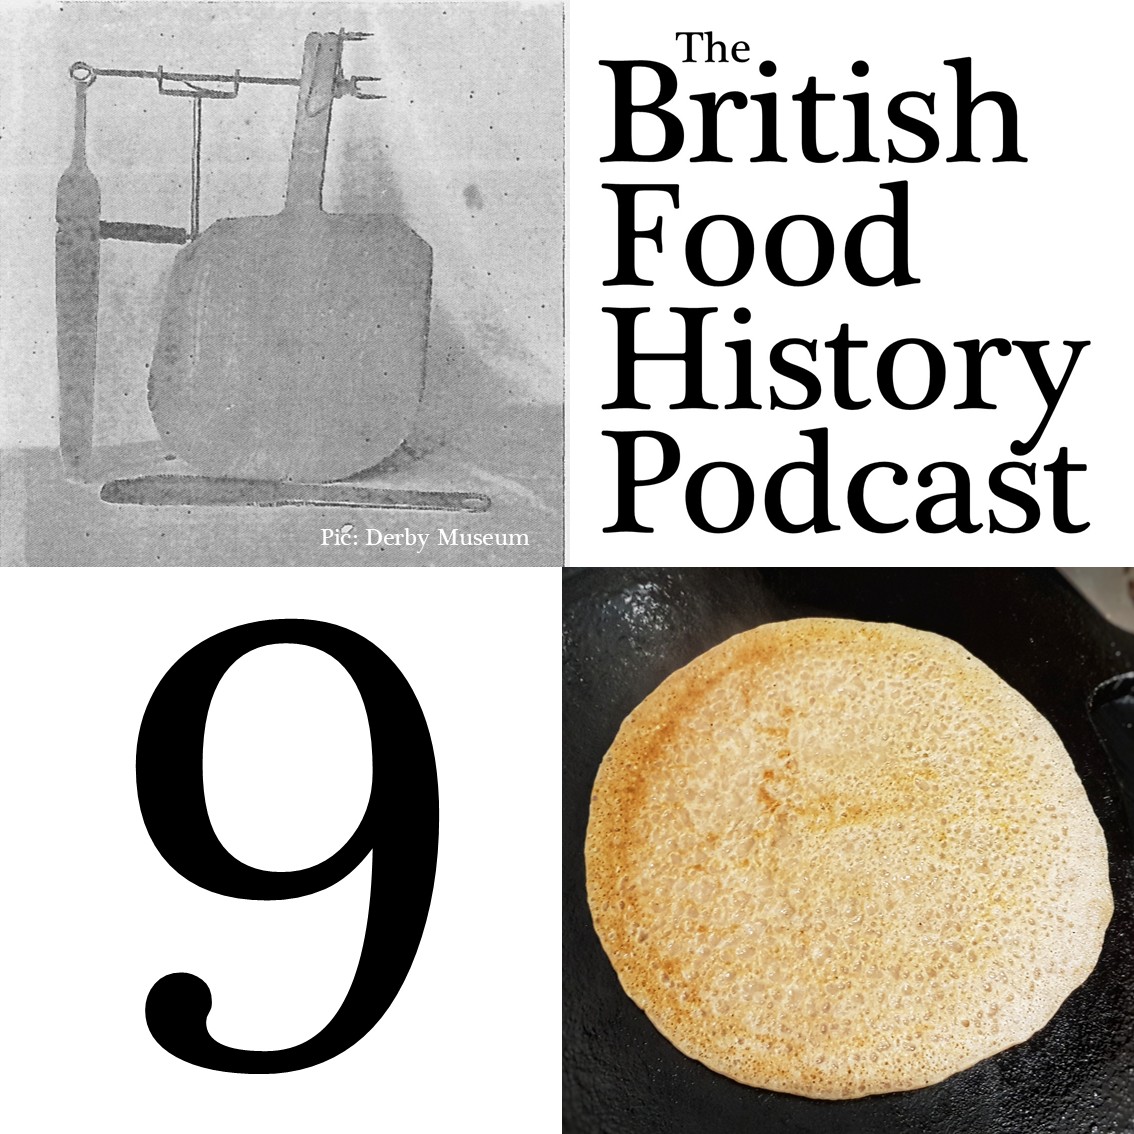
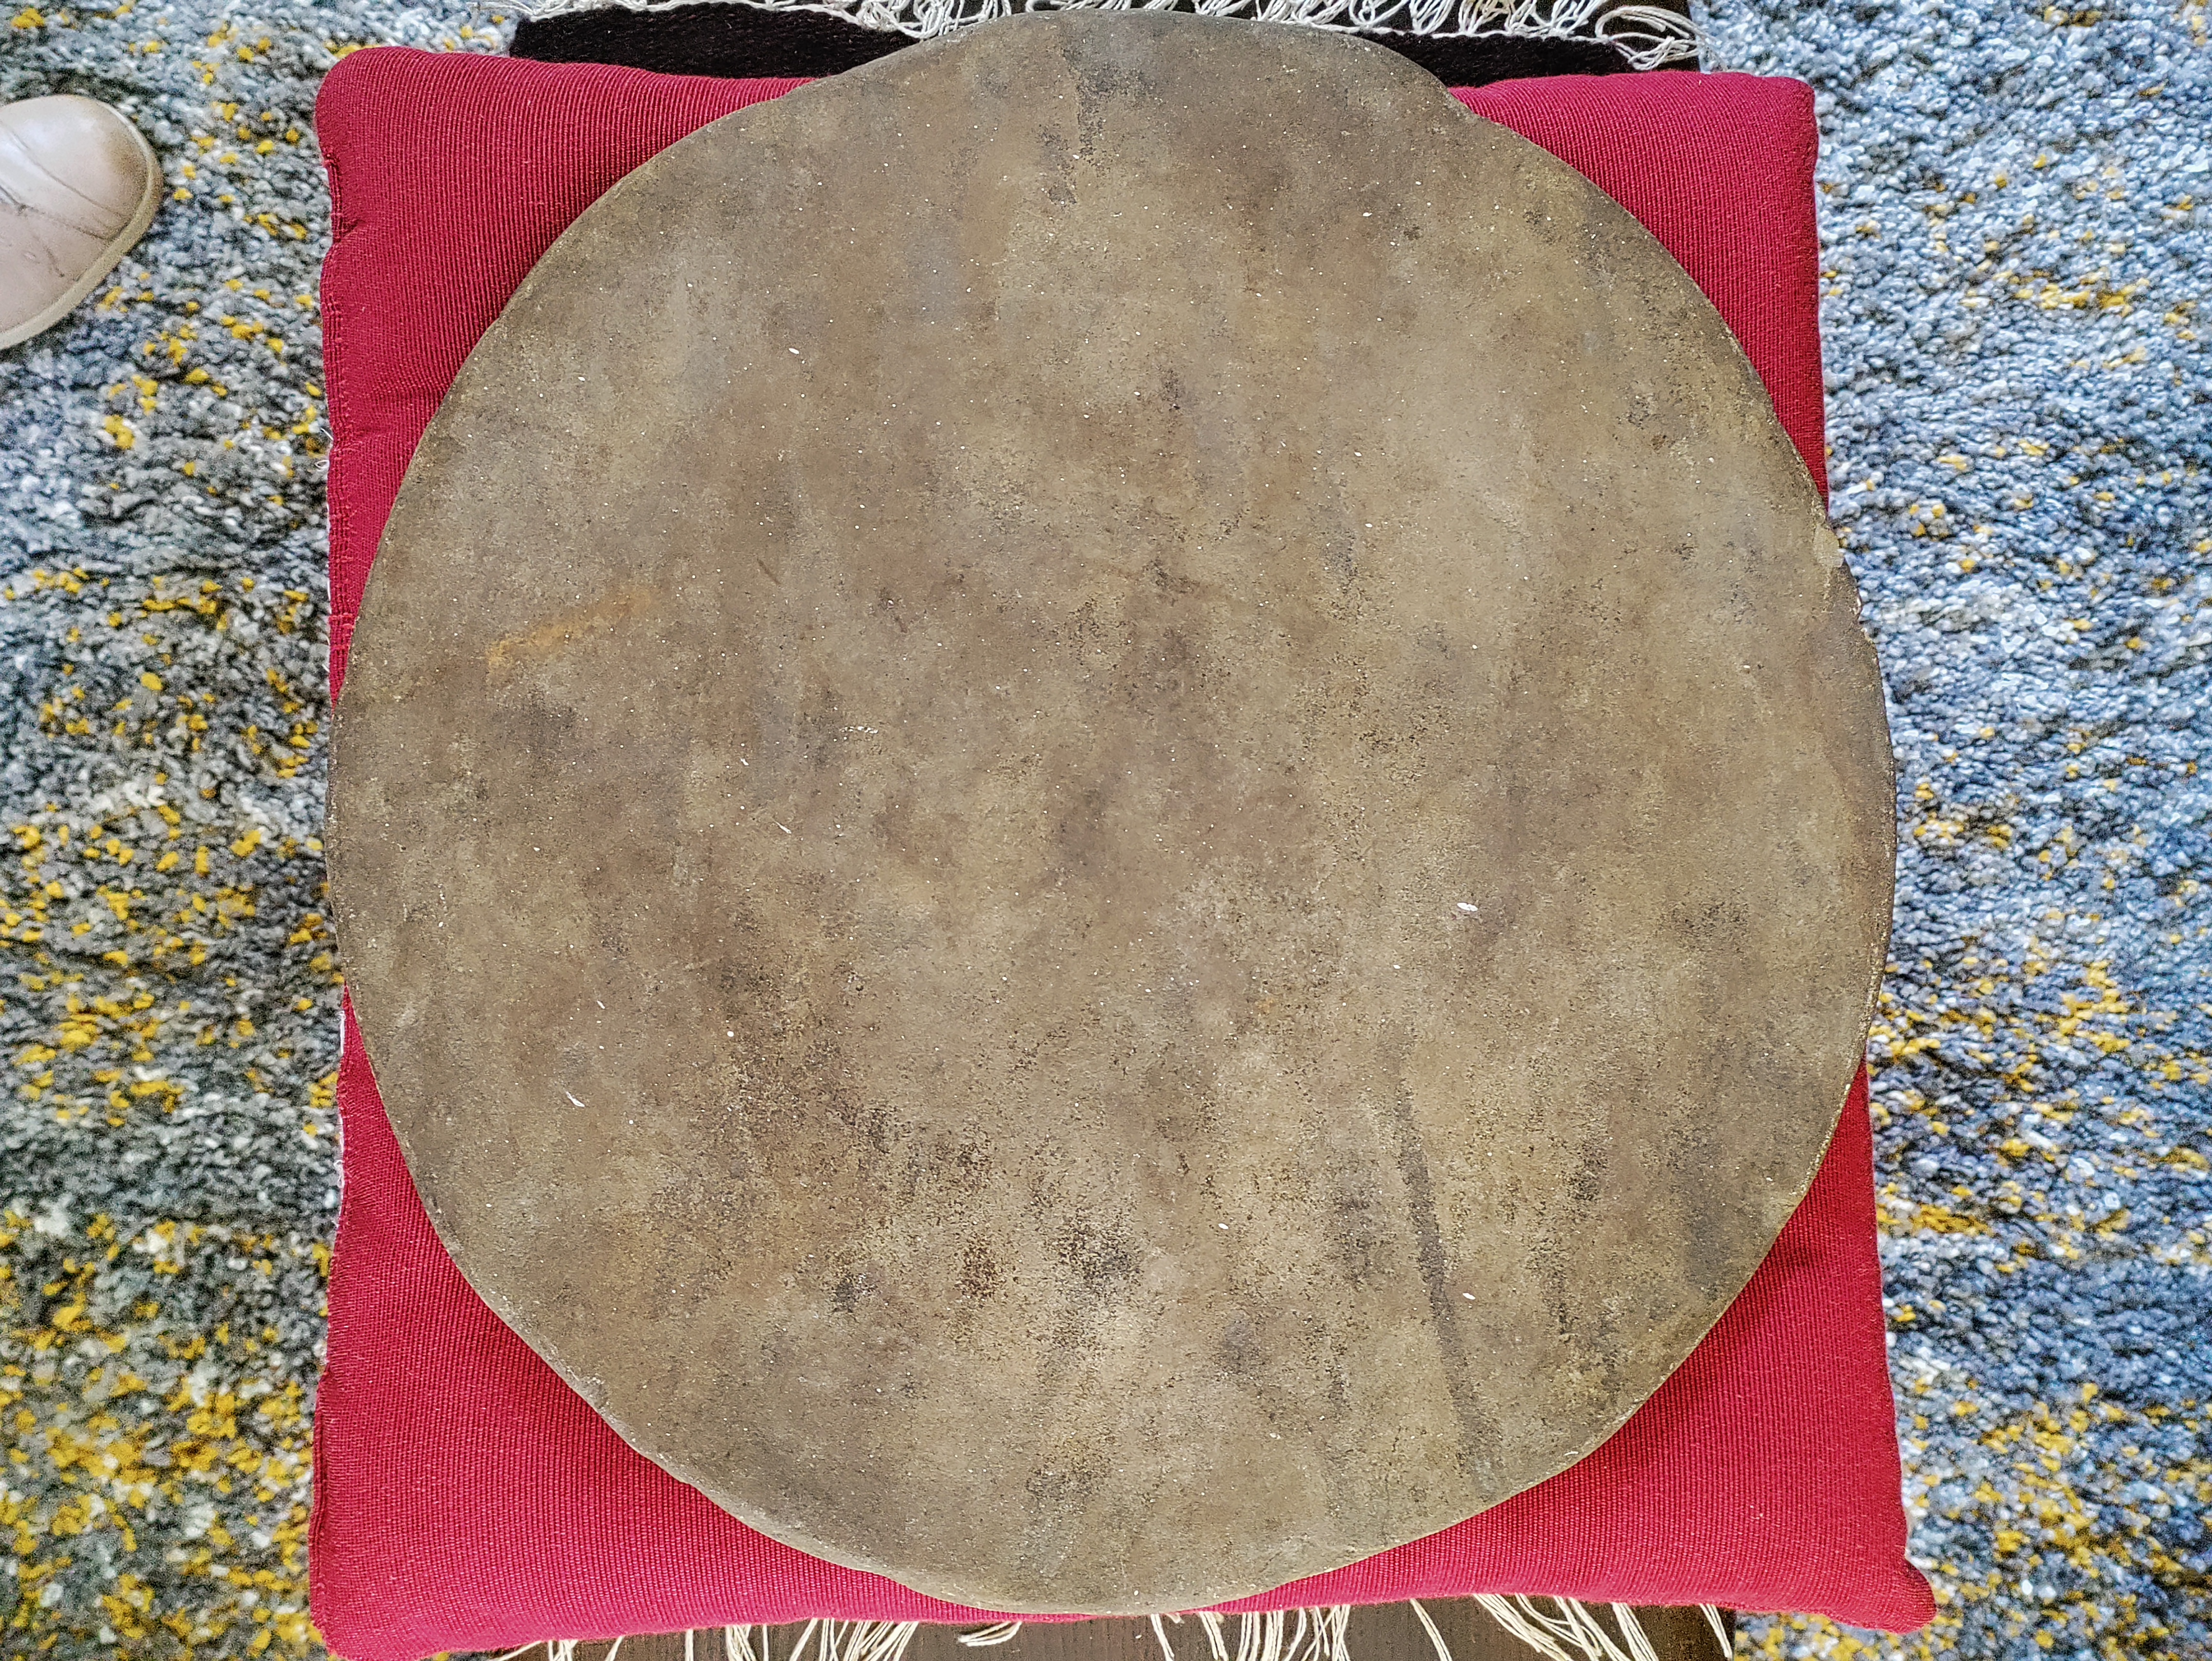
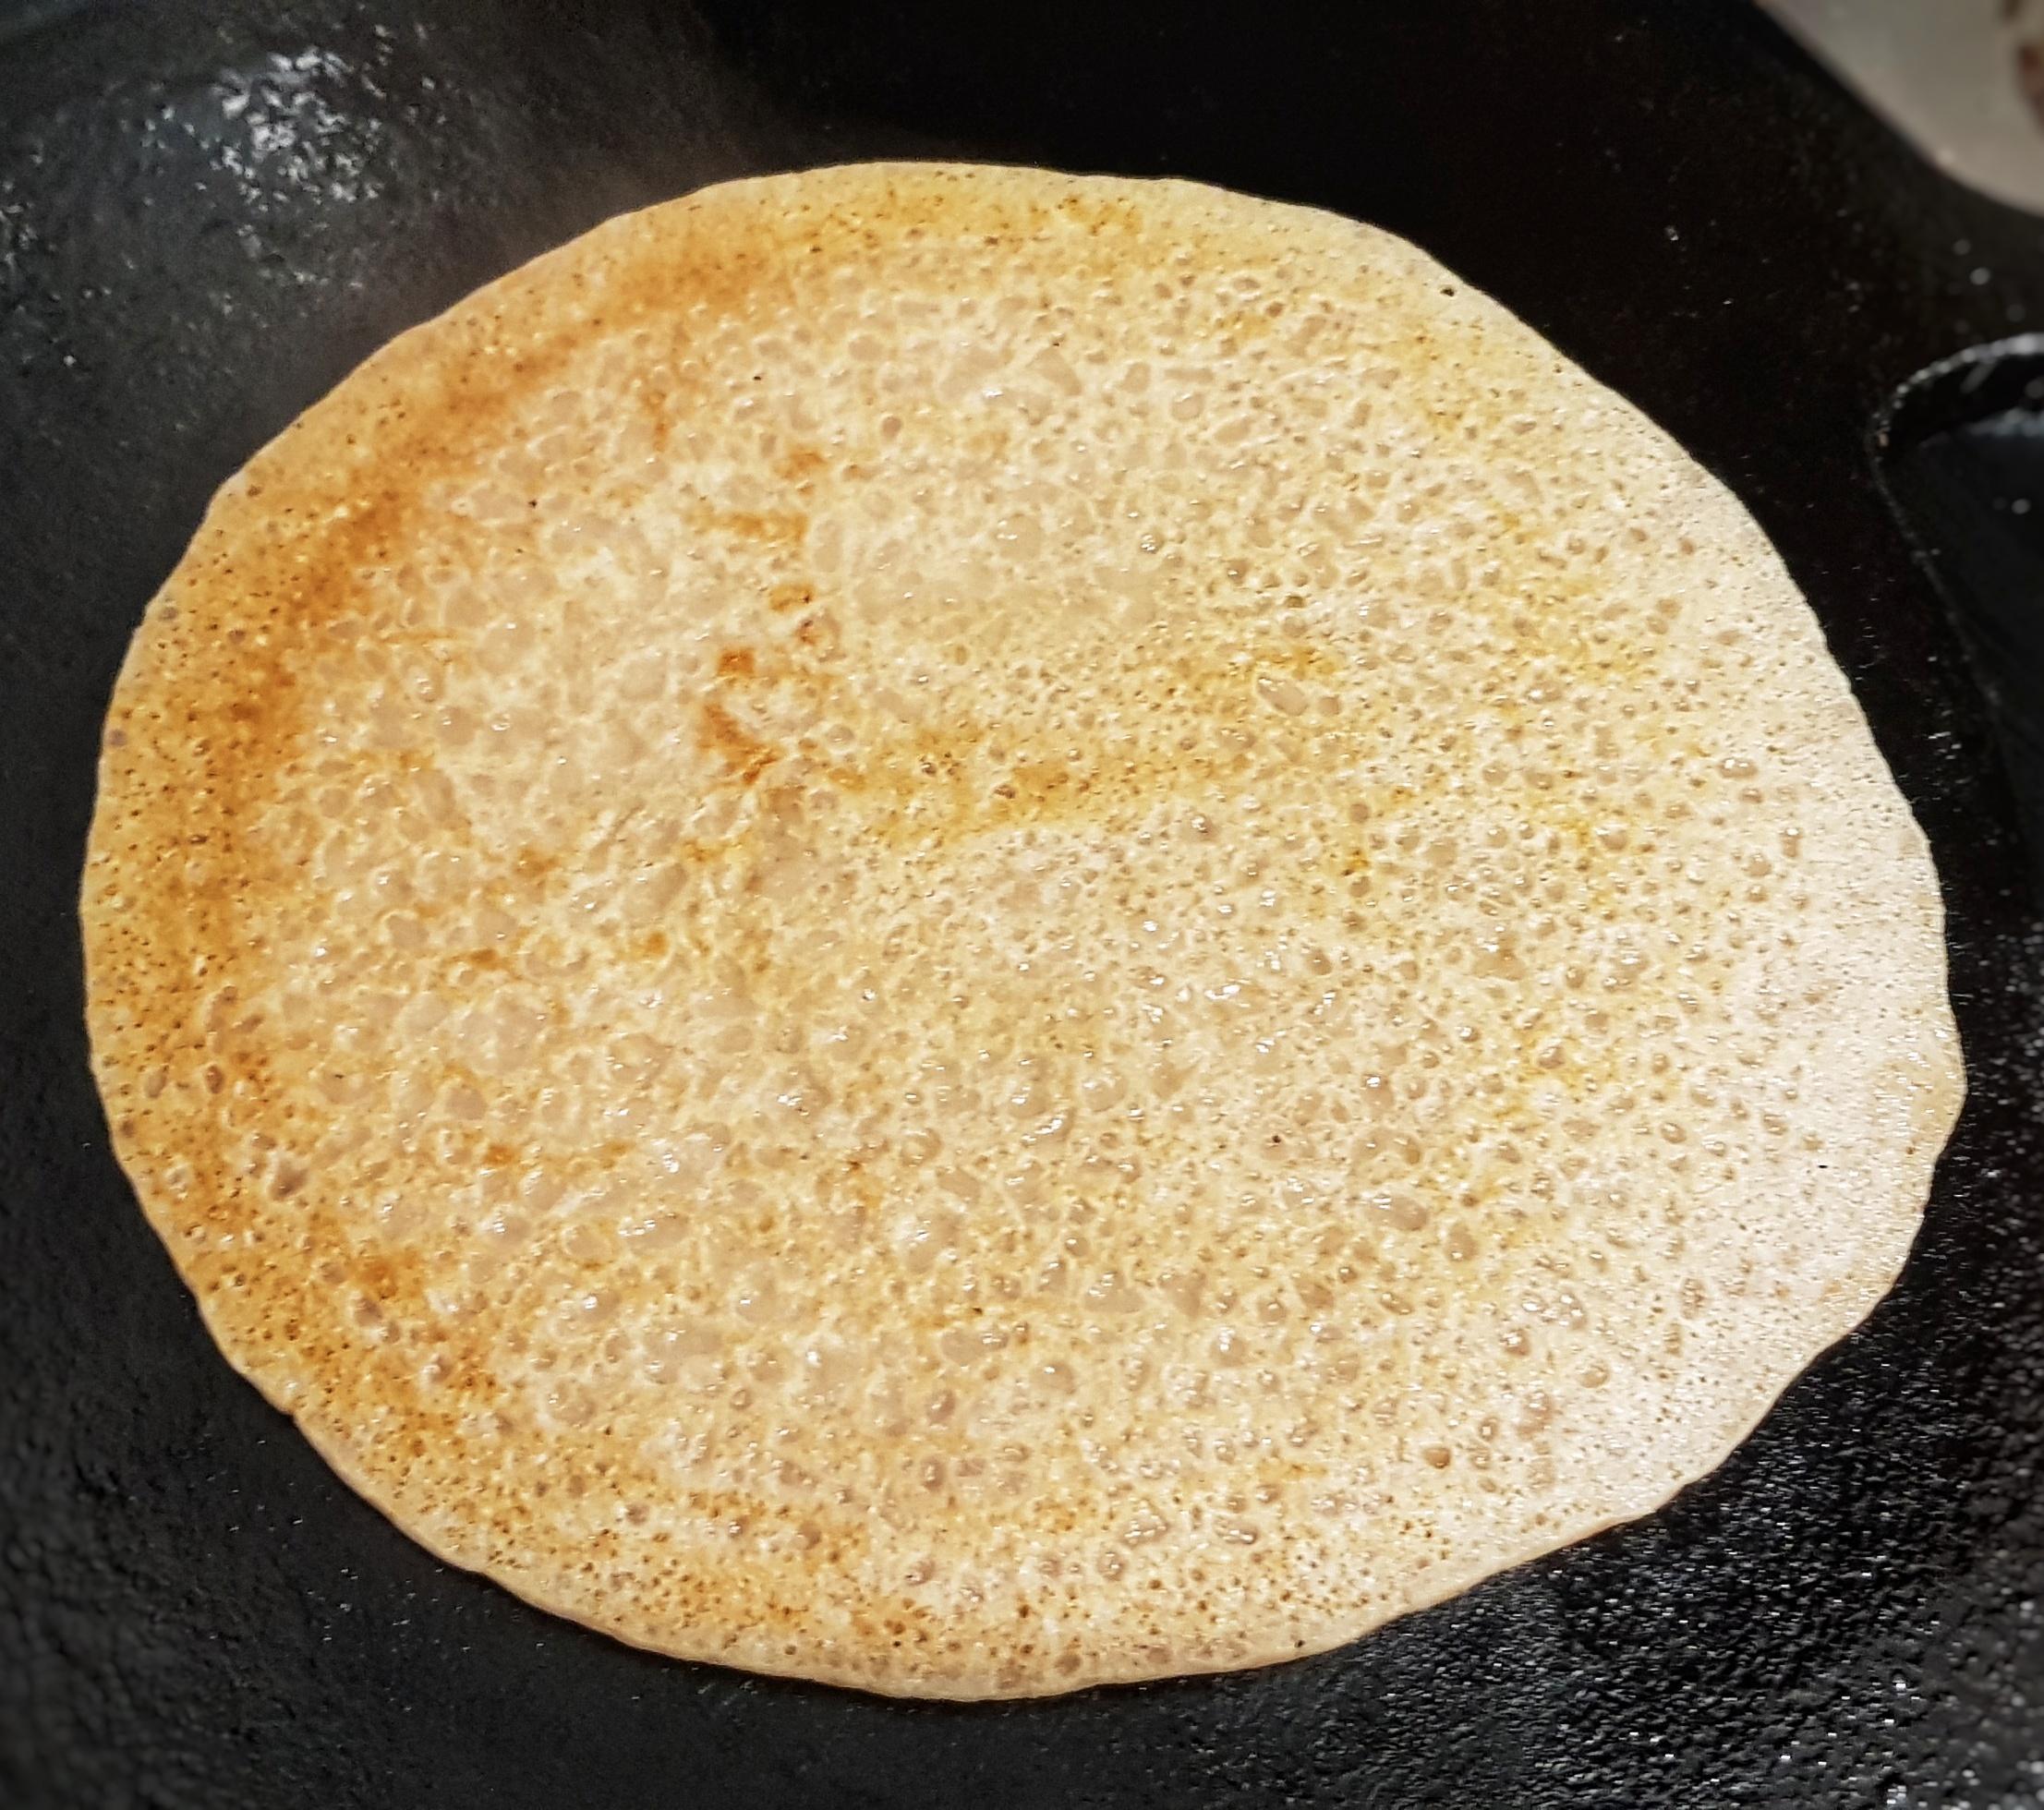
My guest today is Mark Dawson, food historian, specialising in the food of the Tudor period, but also food of Derbyshire. We met up at Mark’s home in Derbyshire to talk all things Derbyshire oatcakes.
Mark and I talk about the oatcakes of Britain, doshens and sprittles, the usefulness of probate inventories, oatcakes as penance, and oatcake goblins – amongst many other things.
It’s available on all podcast platforms and YouTube. If you’re not a podcast/YouTube sort of person, listen here:
Those listening to the secret podcast can hear about other Derbyshire foods made from oats; a discussion about why oatcake is better than porridge; and I grill Mark on one very important matter: just what is the difference between a Derbyshire and a Staffordshire oatcake.
Follow Mark on Instagram @drdobba
Mark’s book Lumpy Tums: Derbyshire’s Food & Drink will be published by Amberley in April 2026
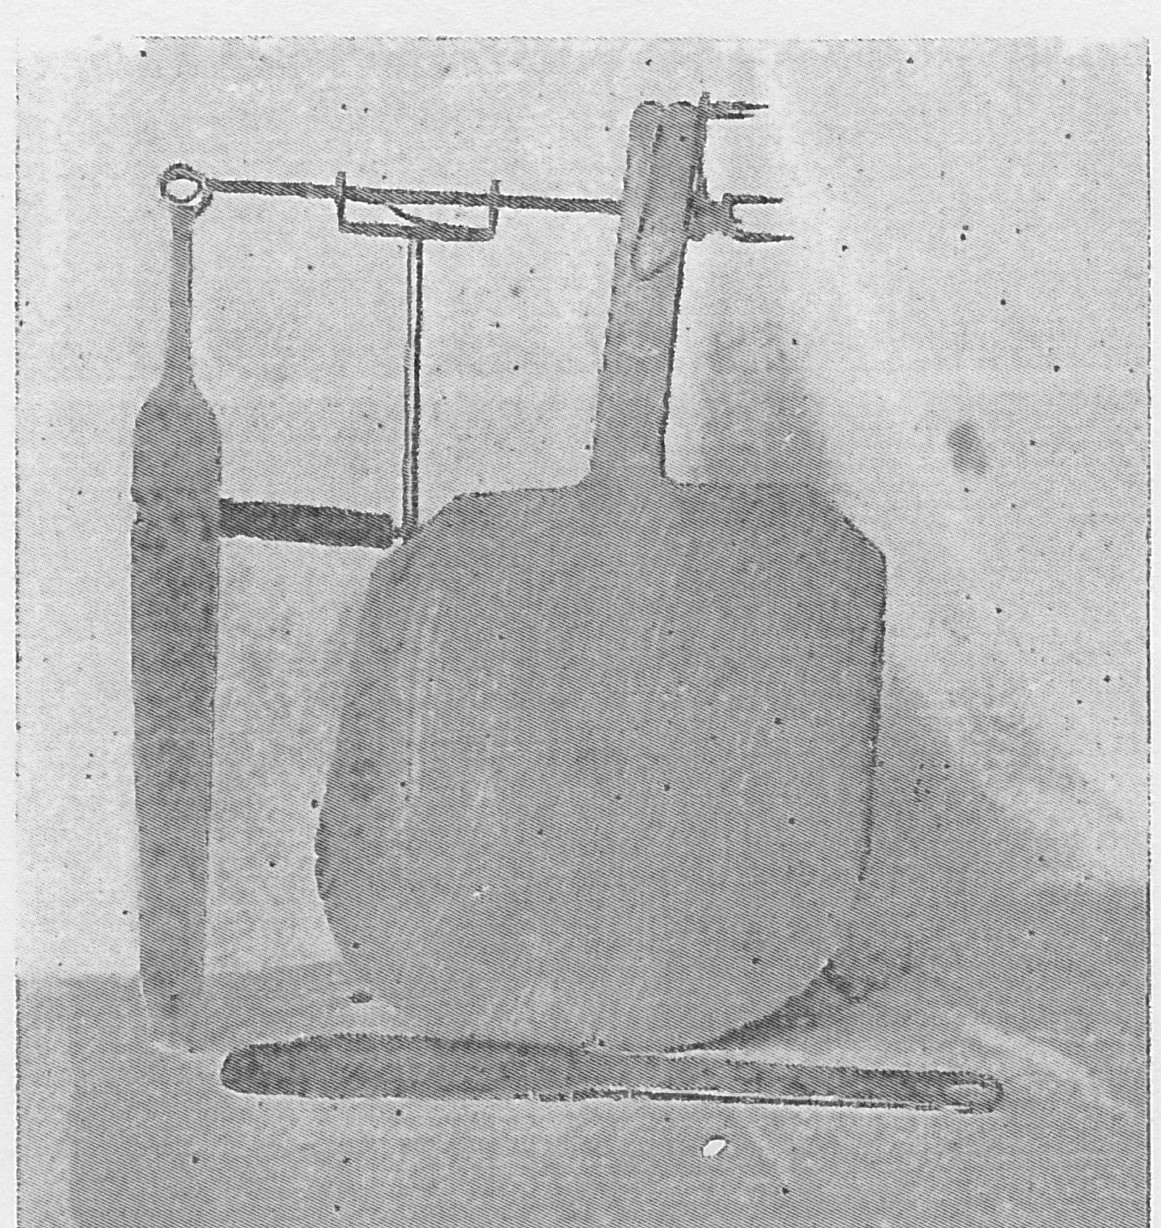
L to R: sprittle, slice and oatcake toaster (Derby Museum); an oatcake stone (Joan Clough); my attempt at a sourdough Staffordshire (shock-horror!) oatcake
Remember: Fruit Pig are sponsoring the 9th season of the podcast and Grant and Matthew are very kindly giving listeners to the podcast a unique special offer 10% off your order until the end of October 2025 – use the offer code Foodhis in the checkout at their online shop, www.fruitpig.co.uk.
If you can, support the podcast and blogs by becoming a £3 monthly subscriber, and unlock lots of premium content, including bonus blog posts and recipes, access to the easter eggs and the secret podcast, or treat me to a one-off virtual pint or coffee: click here.
Don’t forget, there will be postbag episodes in the future, so if you have any questions or queries about today’s episode, or indeed any episode, or have a question about the history of British food please email me at neil@britishfoodhistory.com, or leave a comment on the blog.
Read more of this content when you subscribe today. A monthly subscription costs just £3 (about $3.80 USD). You get access to premium blog content, the secret podcast, the Easter eggs page (with hours of clips to listen to!) and my monthly newsletter. For more information and to sign up, go to the Support the Blog & Podcast tab. Thank you
I have teamed up with fellow food historians Sam Bilton, Thomas Ntinas and Alessandra Pino to bring you this new food history festival. It’s online – though in future years we hope to be able to do it as an in-person event – and it’s on 18 October 2025. One benefit of it being online of course is that anyone can come. If you cannot make the whole day, don’t worry all ticket holders will be sent links to recordings of each event.
Your hosts for the day (L to R): Sam Bilton, Alessandra Pino, Neil Buttery and Thomas Ntinas
We are all hosting a session, and I am kicking off the day in conversation with a very special guest, Tom Parker Bowles, about his love of traditional and classic British cooking and how we can keep it alive and relevant today. We’ll also be taking a peek at the food cooked and enjoyed by British Monarchs, from Queen Victoria to Charles III.
My guest will be none other than Tom Parker Bowles
Thomas Ntinas will be presenting A Life of Luxury: The famous chefs of the Ancient Greek world. Dr Alessandra Pino The River Remembers: A Journey Through London’s Lost Larder. Sam Bilton’s section is entitled Gourmand or Glutton? Feeding Falstaff.
There will also be food demos and short interviews in between sessions. The day begins at 10.30 am and finishes at 4.30 pm click this linkto see a full breakdown of the day.
We’re all really excited about this event, and we would love it if you can join us for the first of (hopefully) many more Serve it Forth food history festivals in the future!
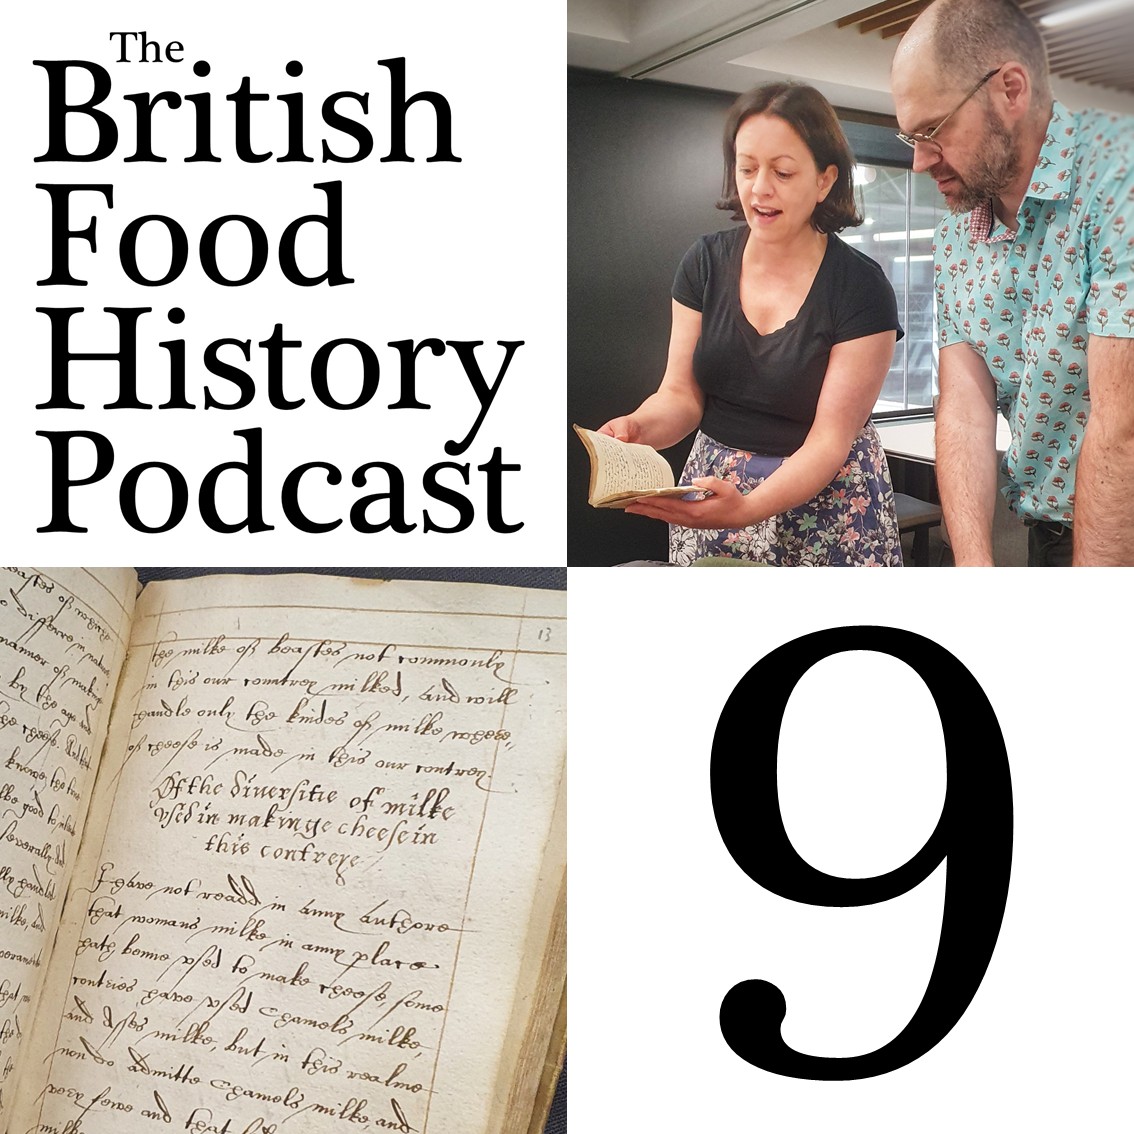
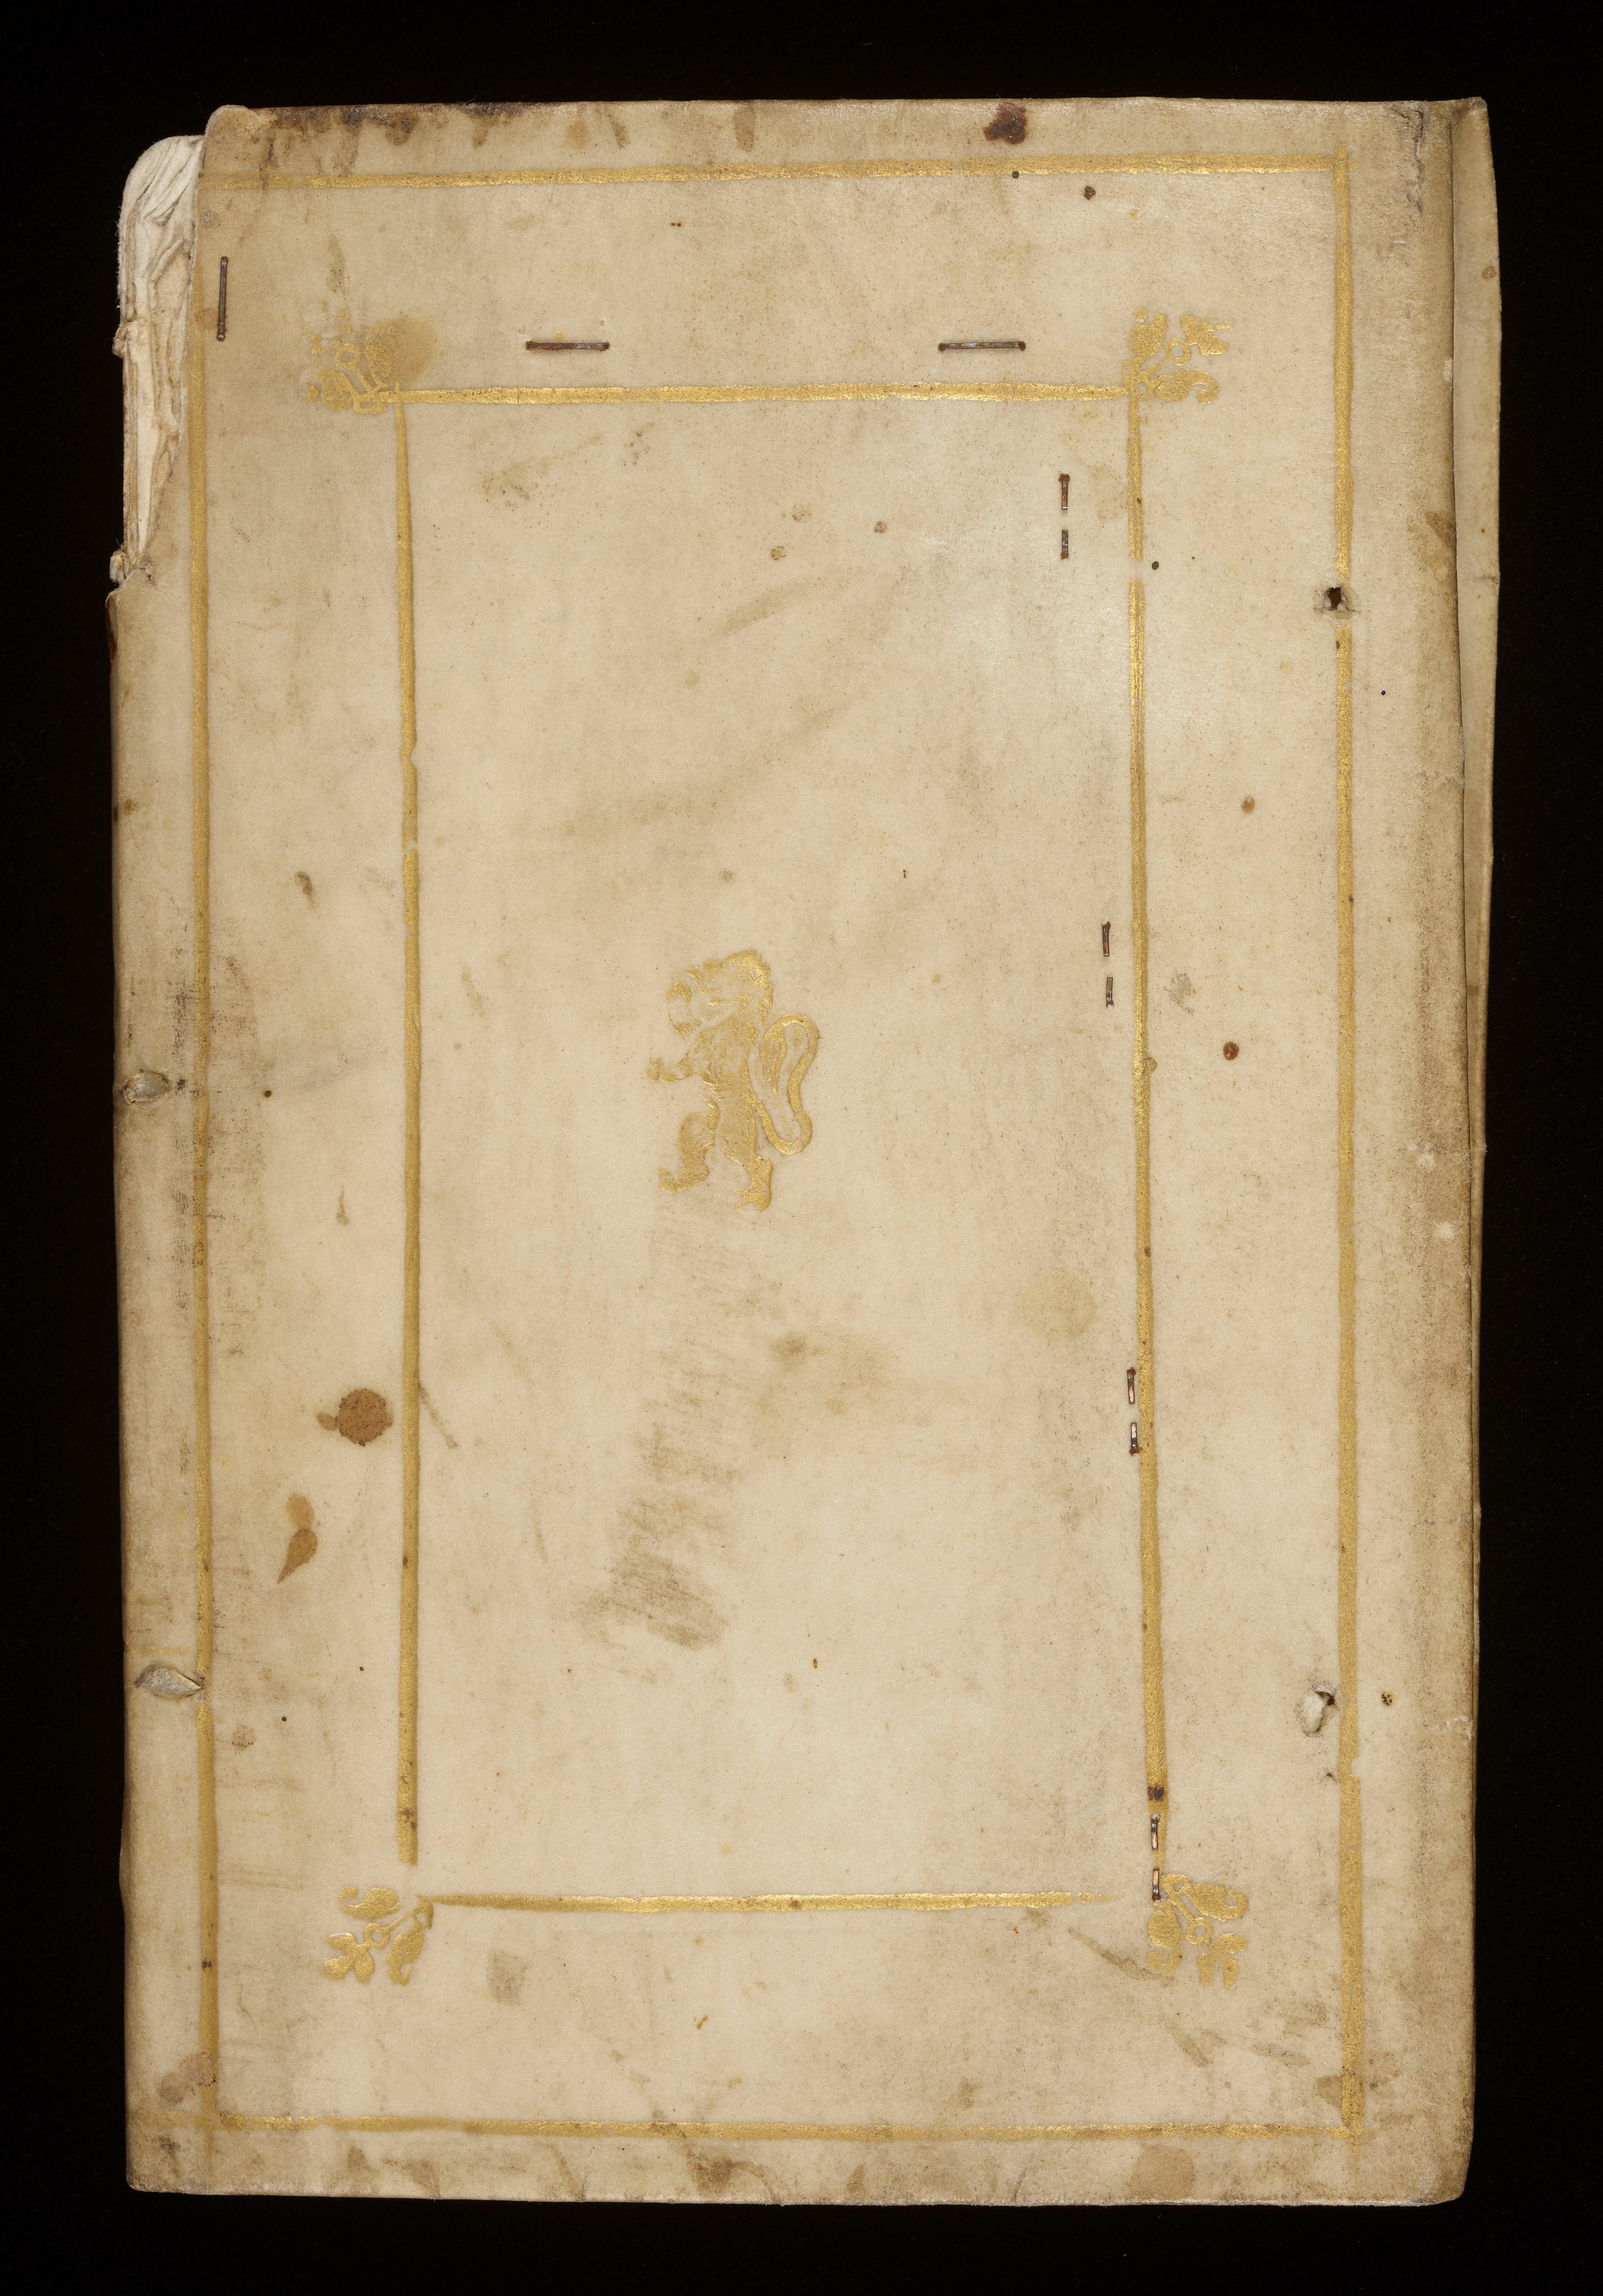
My guest on the podcast today is Alex Bamji, Associate Professor of Early Modern History at the University of Leeds, and we are talking about a rare treatise on cheese dating from the Early Modern Period.
We met up at the Brotherton Library which is home to a fantastic collection of cookery books and manuscripts. We talk about cheese, health and humoral theory; what makes a good cheese; the early modern cheese landscape; cheese as a cure for gout; and cheese haters – plus many other things.
The front cover and title page of the cheese ‘pamflyt’ (University of Leeds Cultural Collections)
Those listening to the secret podcast: Alex and I talk about why cow’s milk is the best milk, and I wonder whether there any clues as to where their microbes are coming from.
The British Food History Podcast can be heard on your favourite podcast app and on YouTube, or si ply steam via this Spotify embed:
Follow Alex on Twitter, Bluesky and Instagram @alexbamji
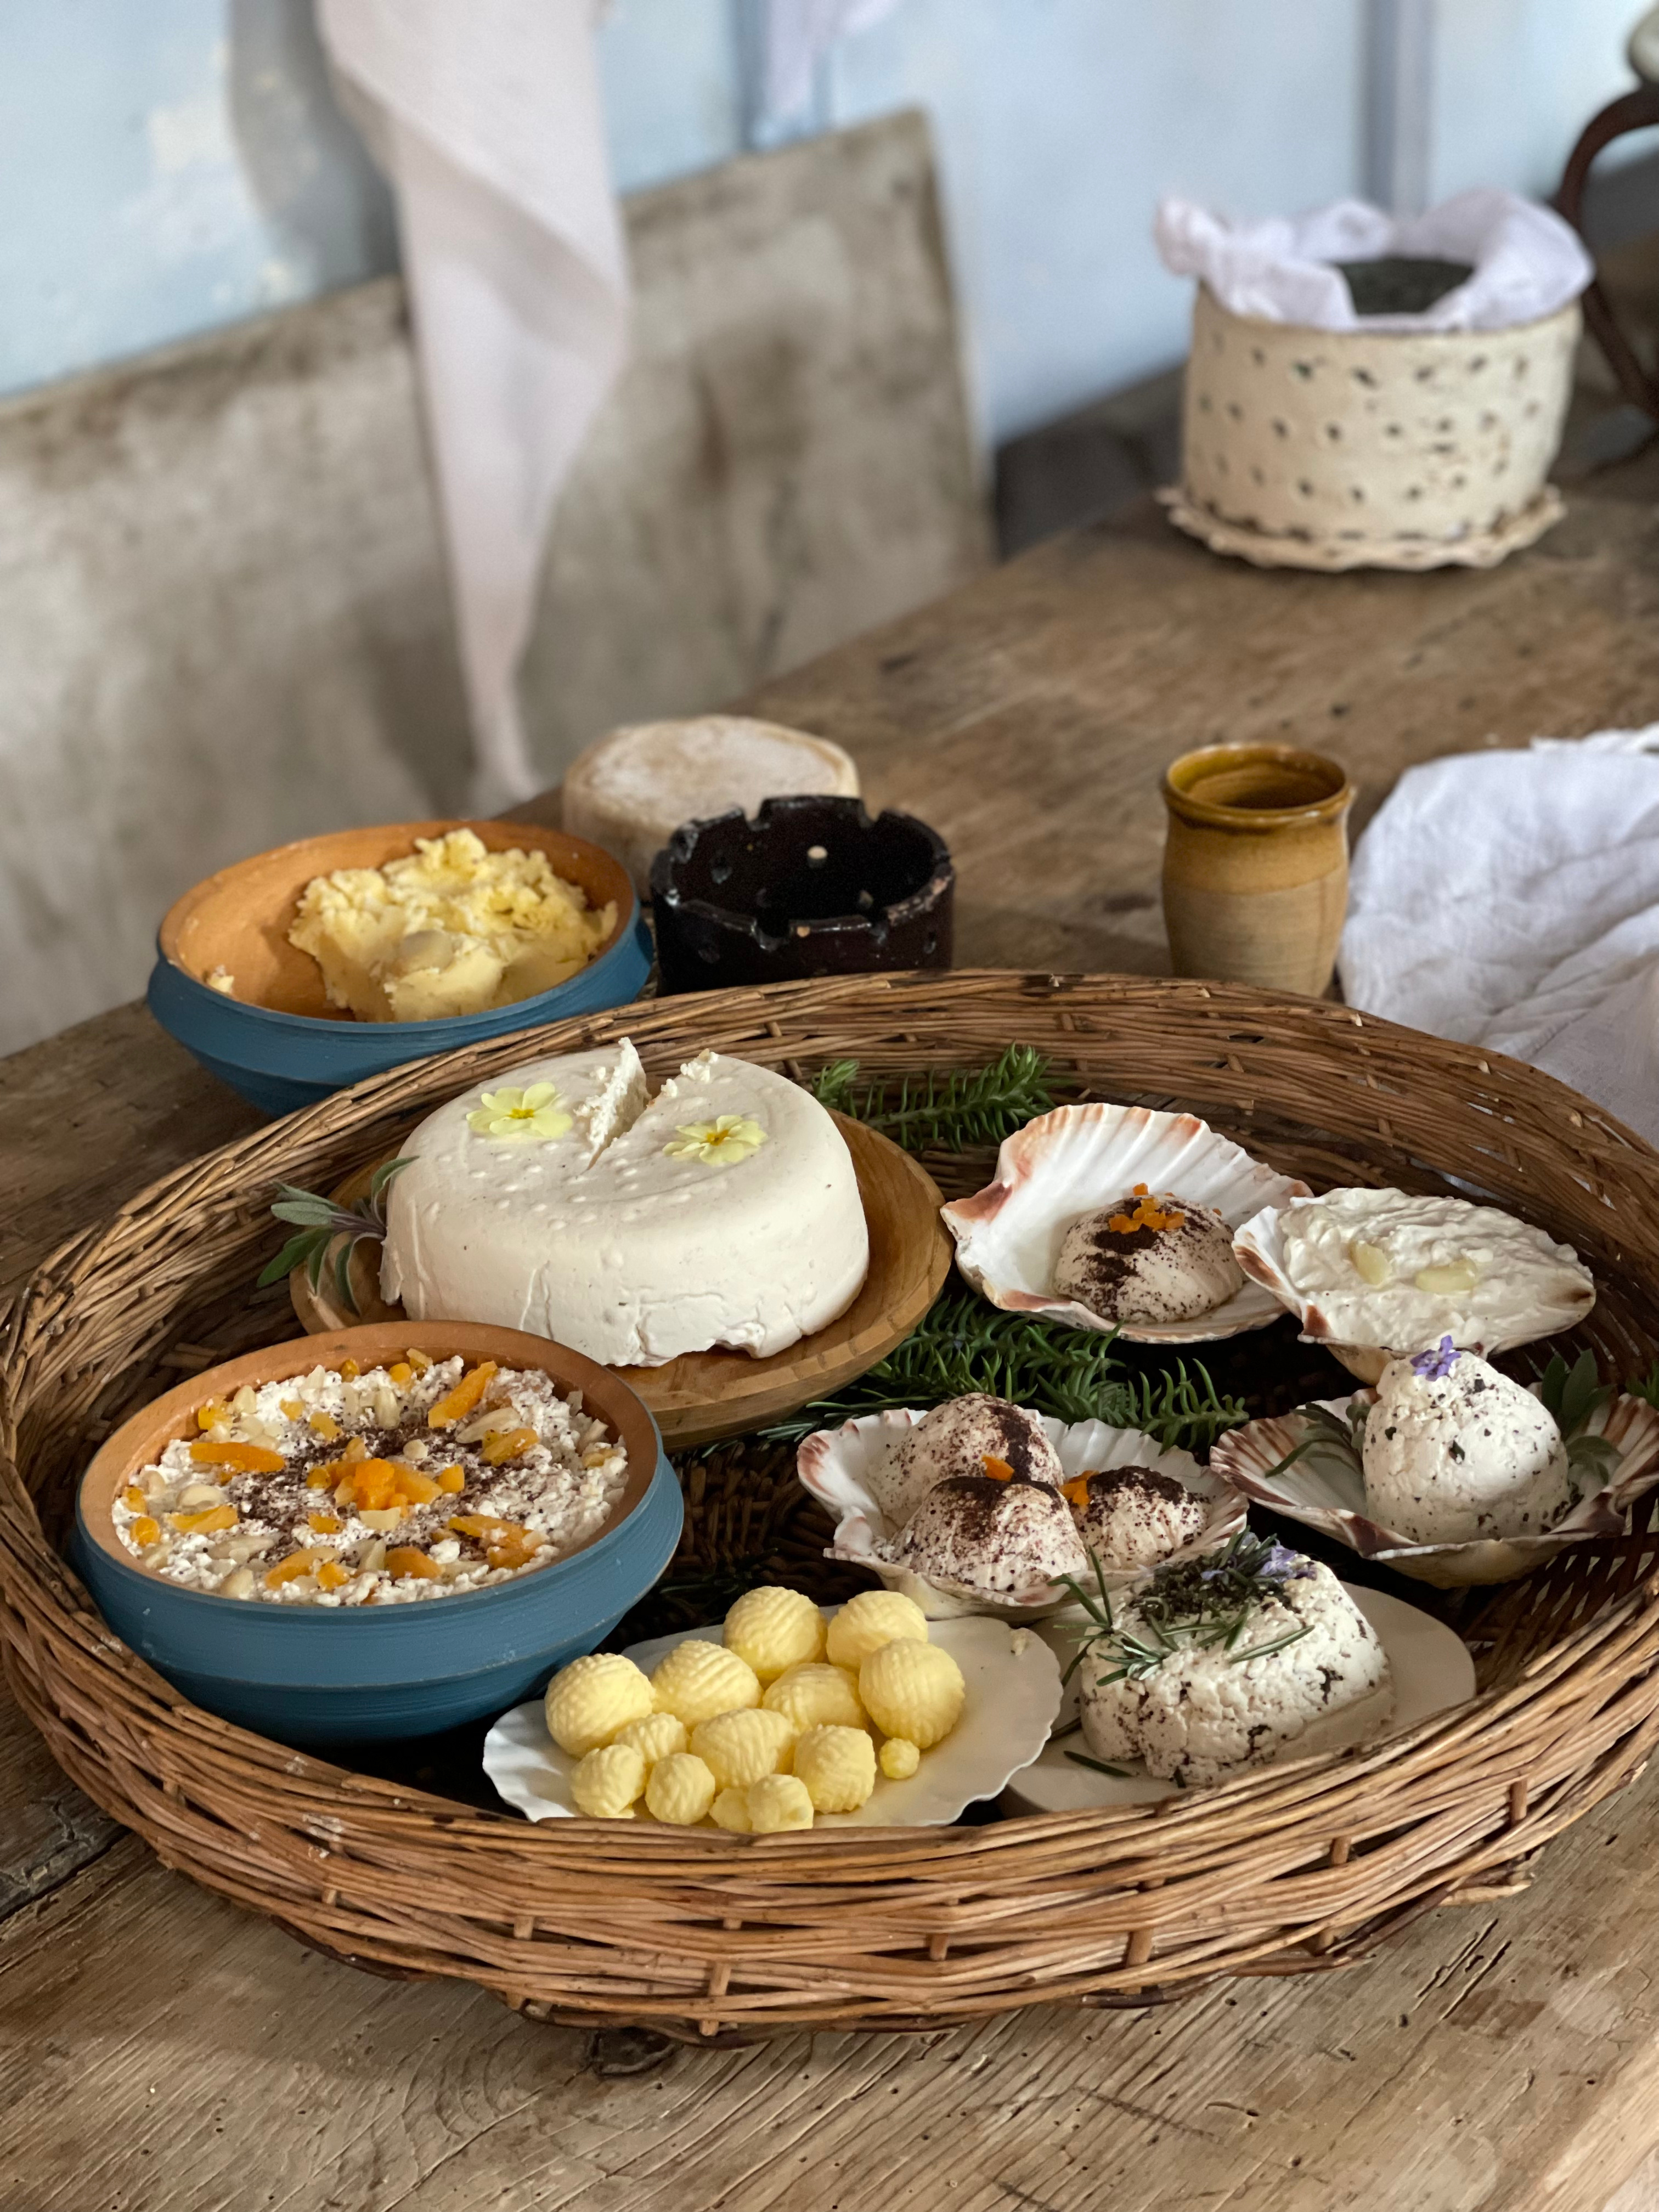
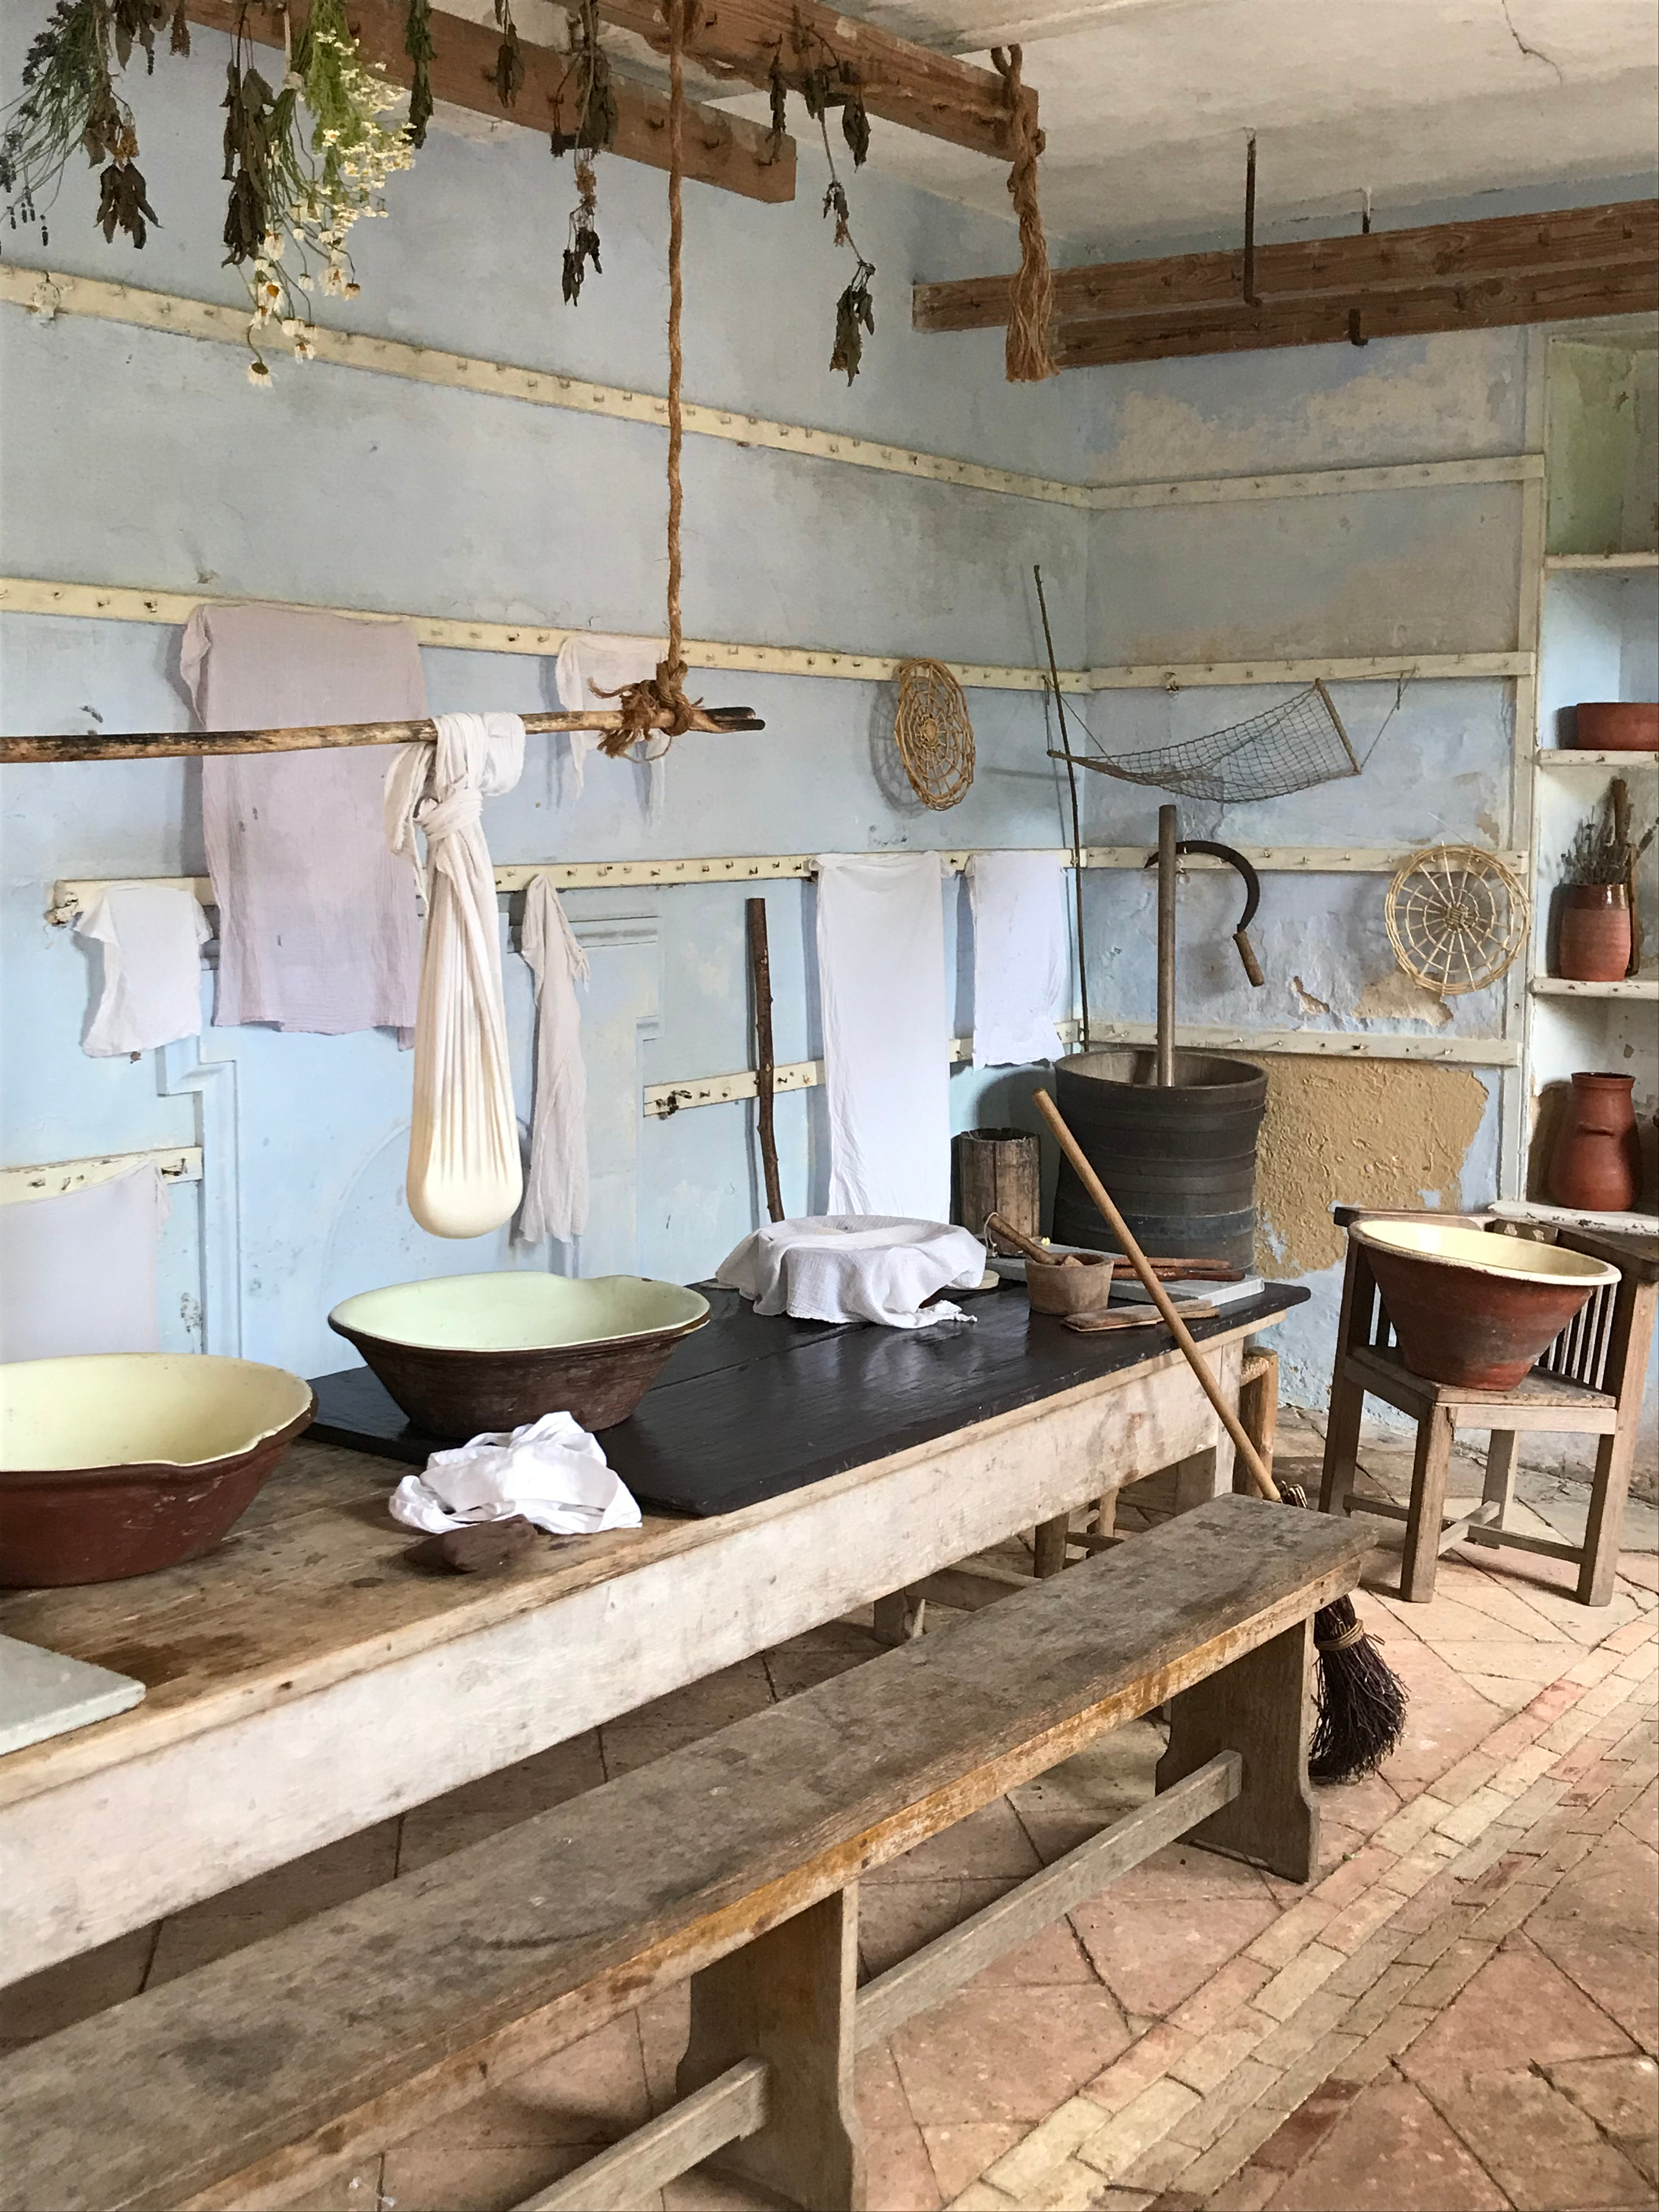
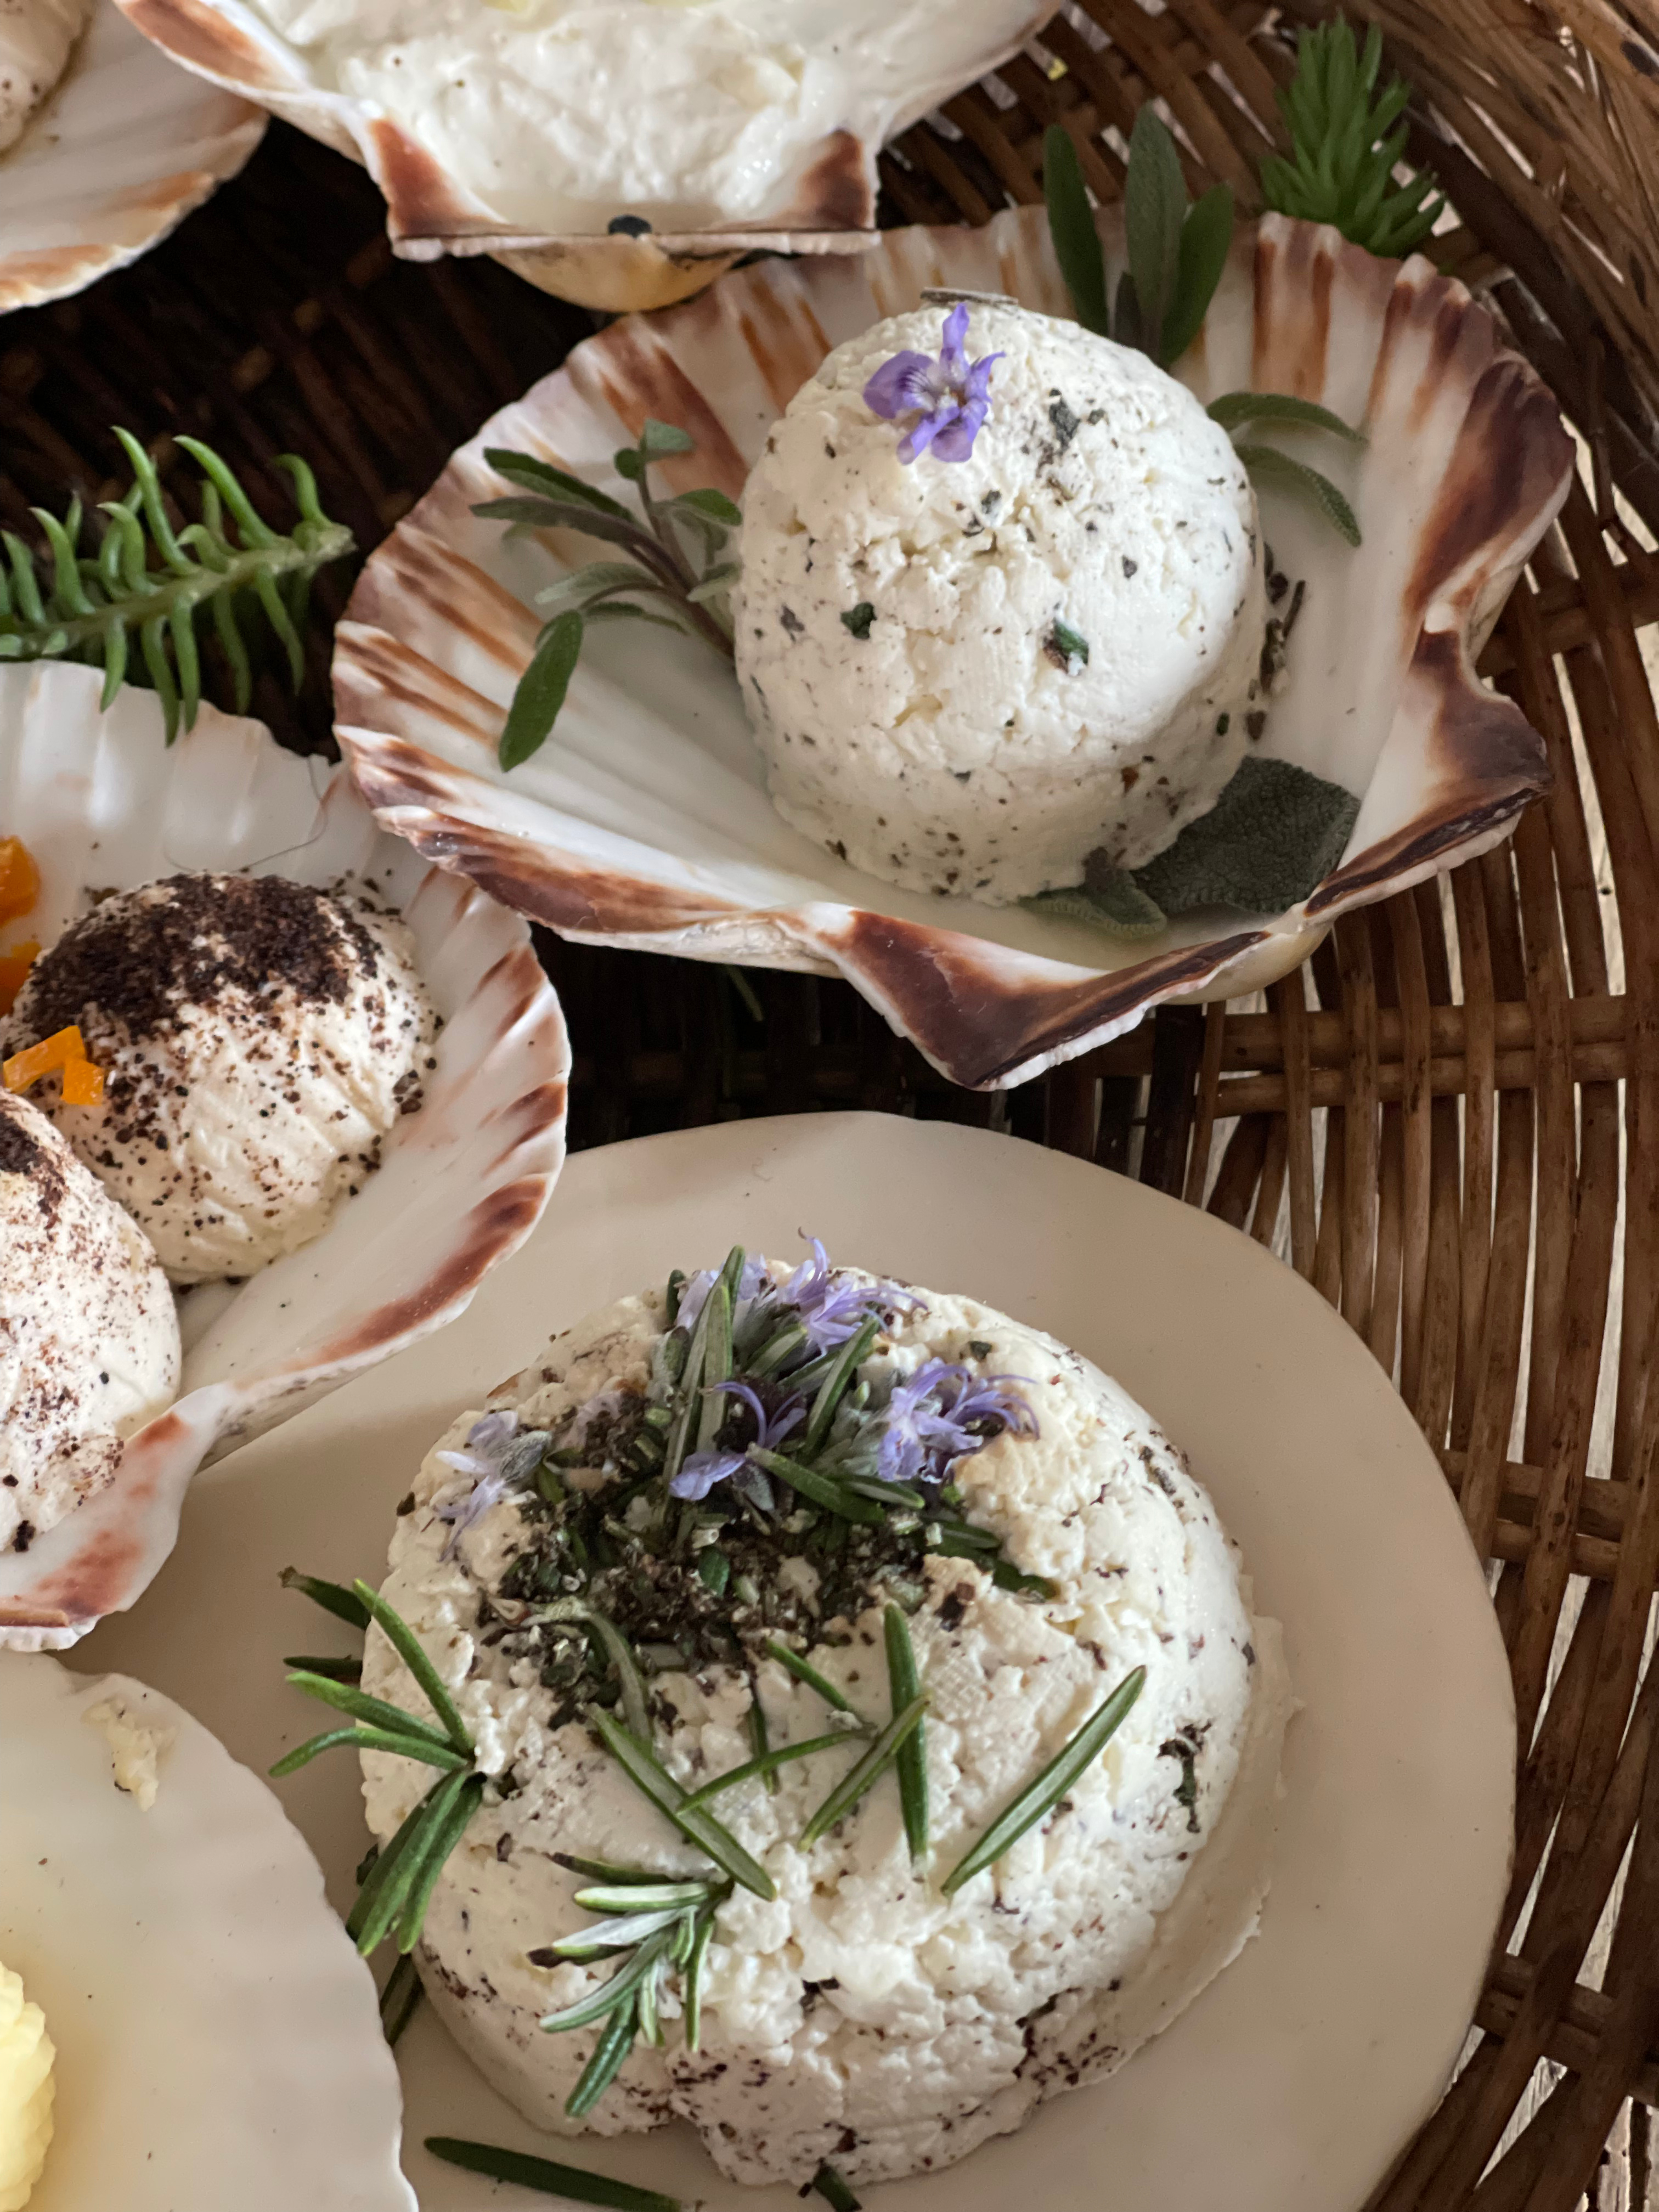
Early Modern cheeses recreated at Kentwell Tudor Dairy, Suffolk (Tracey Doyle)
Remember: Fruit Pig are sponsoring the 9th season of the podcast and Grant and Matthew are very kindly giving listeners to the podcast a unique special offer 10% off your order until the end of October 2025 – use the offer code Foodhis in the checkout at their online shop, www.fruitpig.co.uk.
If you can, support the podcast and blogs by becoming a £3 monthly subscriber, and unlock lots of premium content, including bonus blog posts and recipes, access to the easter eggs and the secret podcast, or treat me to a one-off virtual pint or coffee: click here.
Don’t forget, there will be postbag episodes in the future, so if you have any questions or queries about today’s episode, or indeed any episode, or have a question about the history of British food please email me at neil@britishfoodhistory.com, or on twitter and BlueSky @neilbuttery, or Instagram and Threads dr_neil_buttery. My DMs are open.
I recently had a go at making a fresh blood black pudding, taking inspiration from cookery books from the 16th and 17th centuries. The fresh blood was very kindly sent to me by Matthew Cockin and Grant Harper of Fruitpig, Britain’s last craft producer of fresh blood black pudding, who are also sponsoring the ninth season of The British Food History Podcast. Listen to the episode we recorded here:
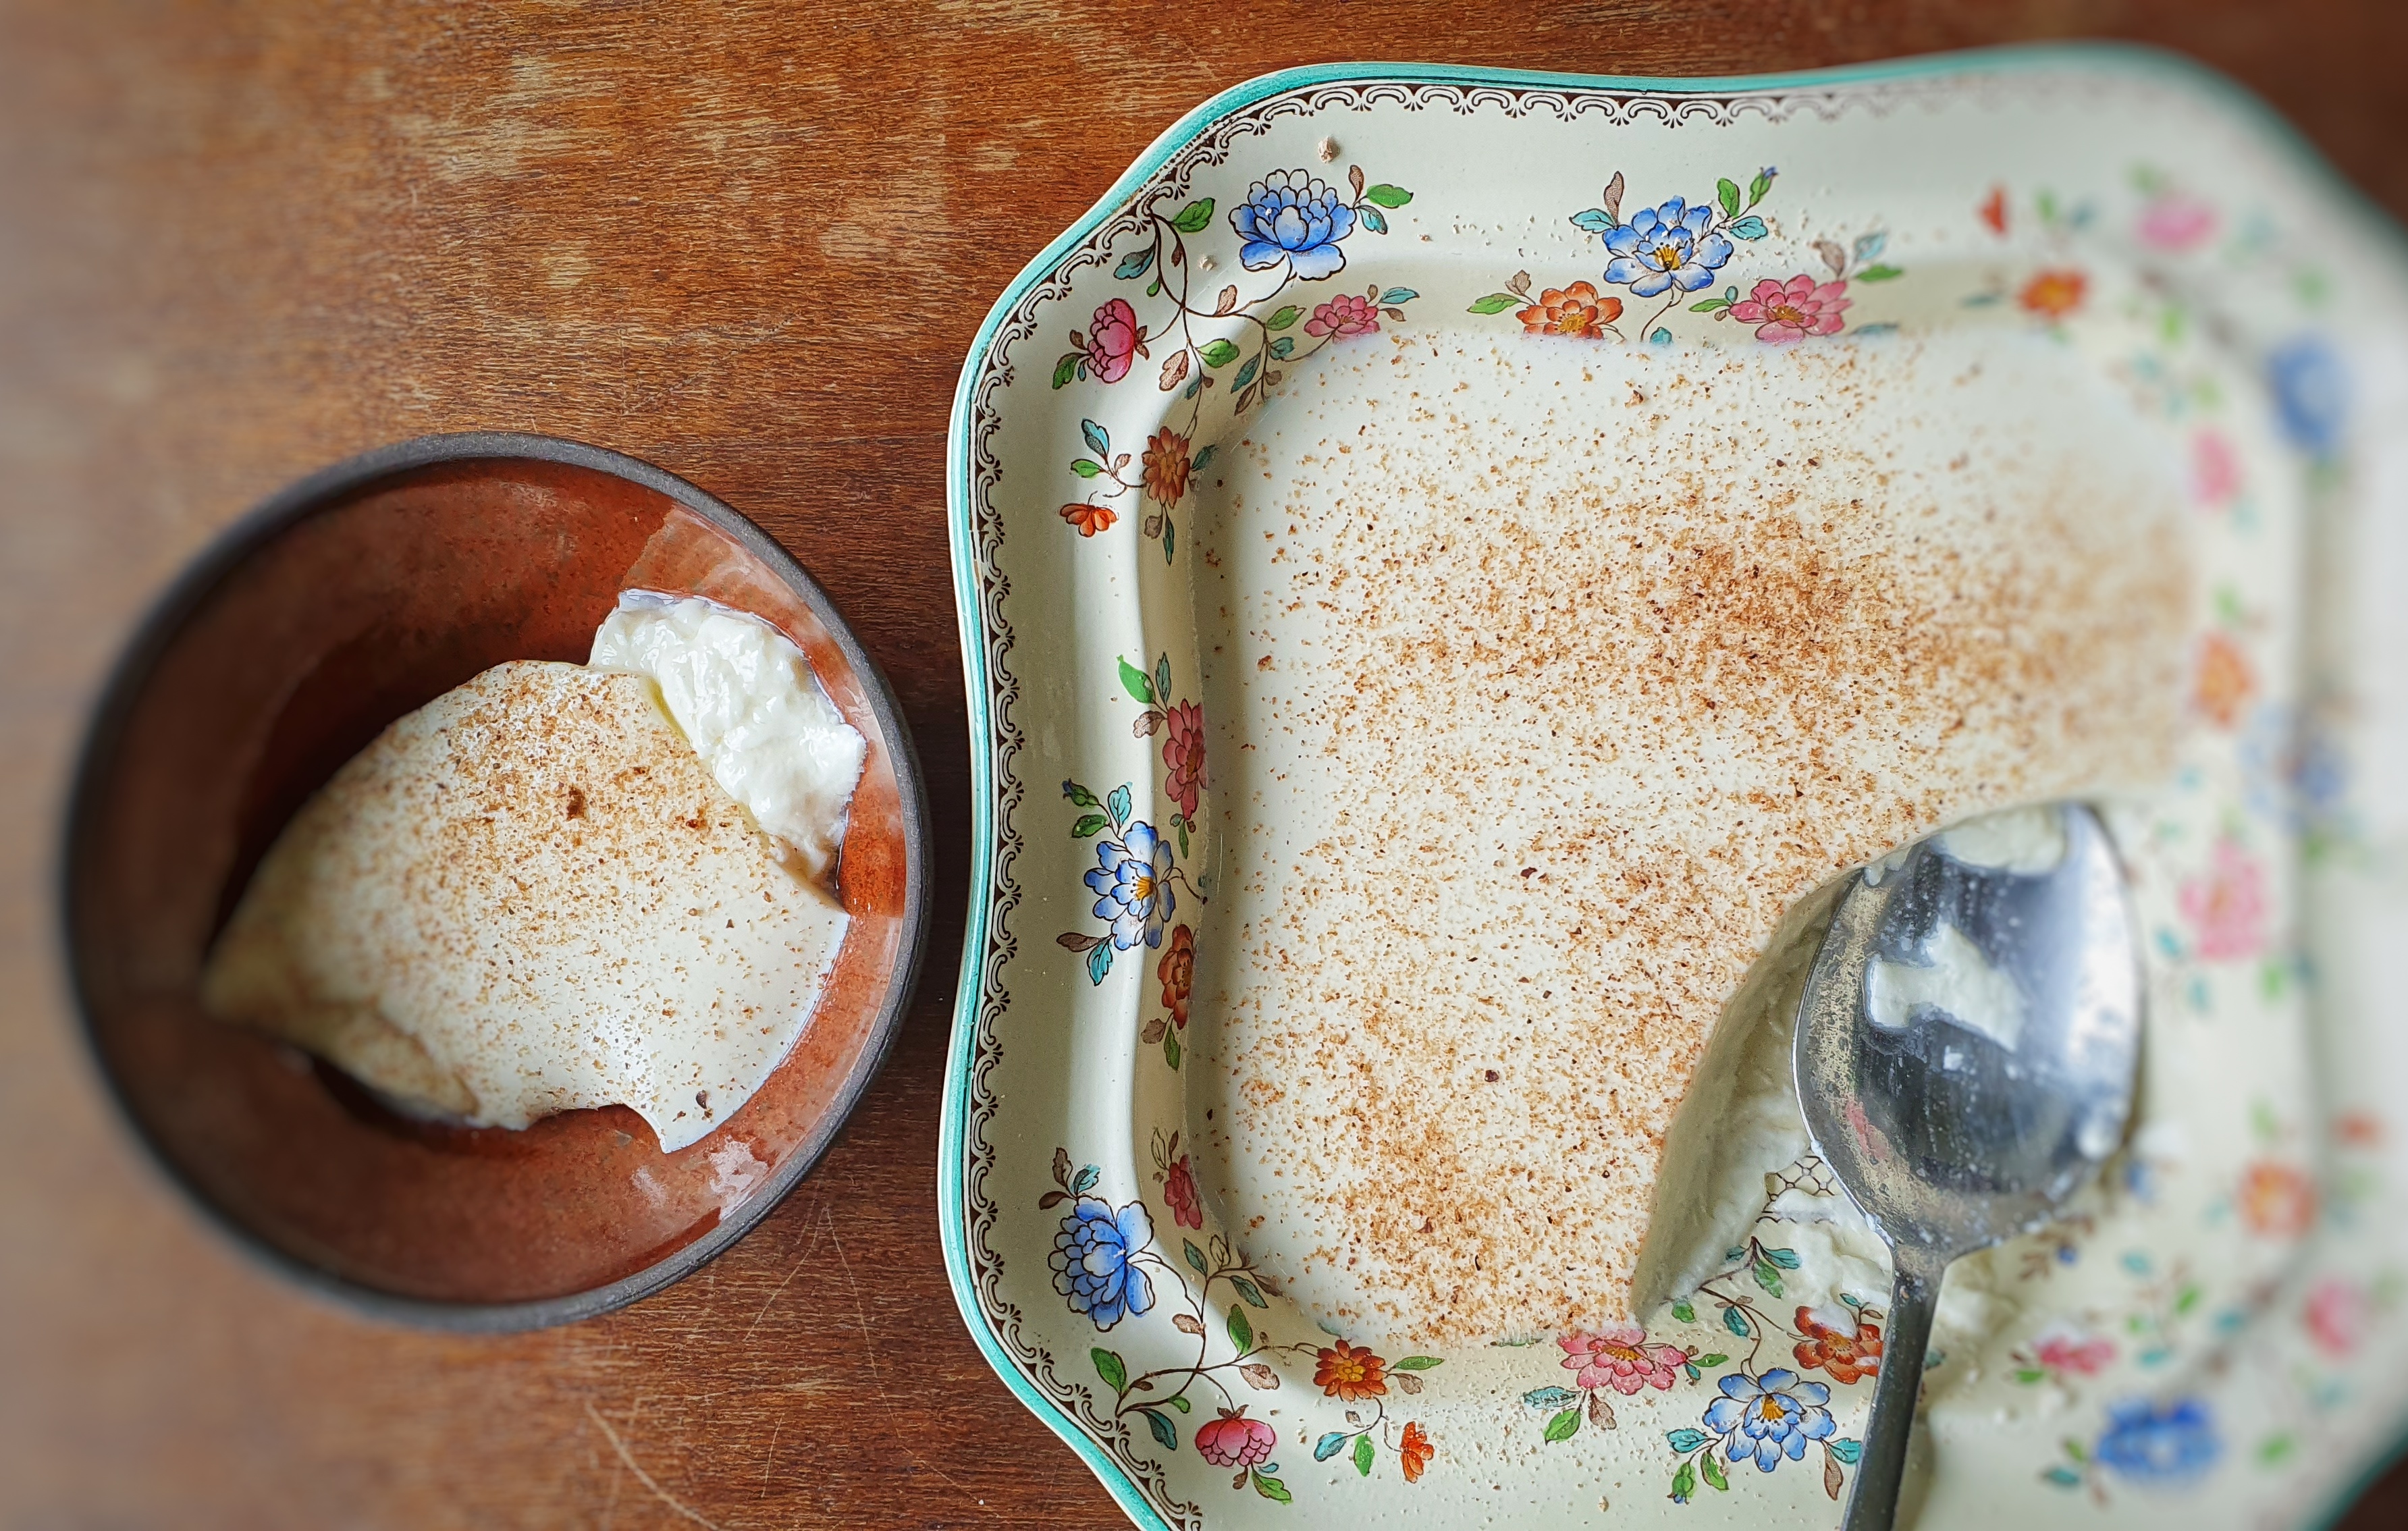
We also talked about their hog’s pudding – a type of white pudding – and I felt I had to complete the set and make an Early Modern white pudding as well.
We know where we stand with black puddings: we expect them to be made largely of blood, cereal and fat, but what about white puddings? These are more mysterious, I feel. Modern white puddings are made from ground pork, pork fat, breadcrumbs and rusk or oats, plus lashings of white pepper, and are today associated largely with Scotland and Ireland. There used to be a rich diversity of white puddings right across Britain and Ireland, their contents highly variable, the only prerequisite being that the finished product would come out white. In the Early Modern Period, they were lavish ‘puddings of the privileged’[1], and had more in common with French boudin blanc than modern British white puddings. There was plenty of eggs, milk and cream, and the meat used (if any) was suitably pale in colour: Kenelm Digby’s recipe contained the meat of ‘a good fleshly Capon’ as well as streaky bacon,[2] Thomas Dawson’s was made with a calf’s chauldron, i.e. intestines.[3] Some recipes contain no meat at all: rice pudding could be counted as a form of white pudding in this context. Things do begin to get confusing, however, because some white puddings made with pork are called hog’s puddings, but only some. As Peter Brears wrote in an article on white and hog’s puddings:
Read about the history of puddings in my book The Philosophy of Puddings, from British Library Publishing
On studying these recipes, one rather surprising fact becomes particularly obvious; there is no material significance in the various names given to such puddings. Whether called hog’s or white puddings, their ingredients might be identical, or quite disparate, while many contain absolutely no pork whatsoever.[4]
Today, hog’s puddings are associated with Devon and Cornwall. Fruitpig’s hog’s pudding uses a base of bacon and oats. We can muddy the water even further because a hog’s/white pudding if made with pig’s liver could also go by the name of leverage pudding.
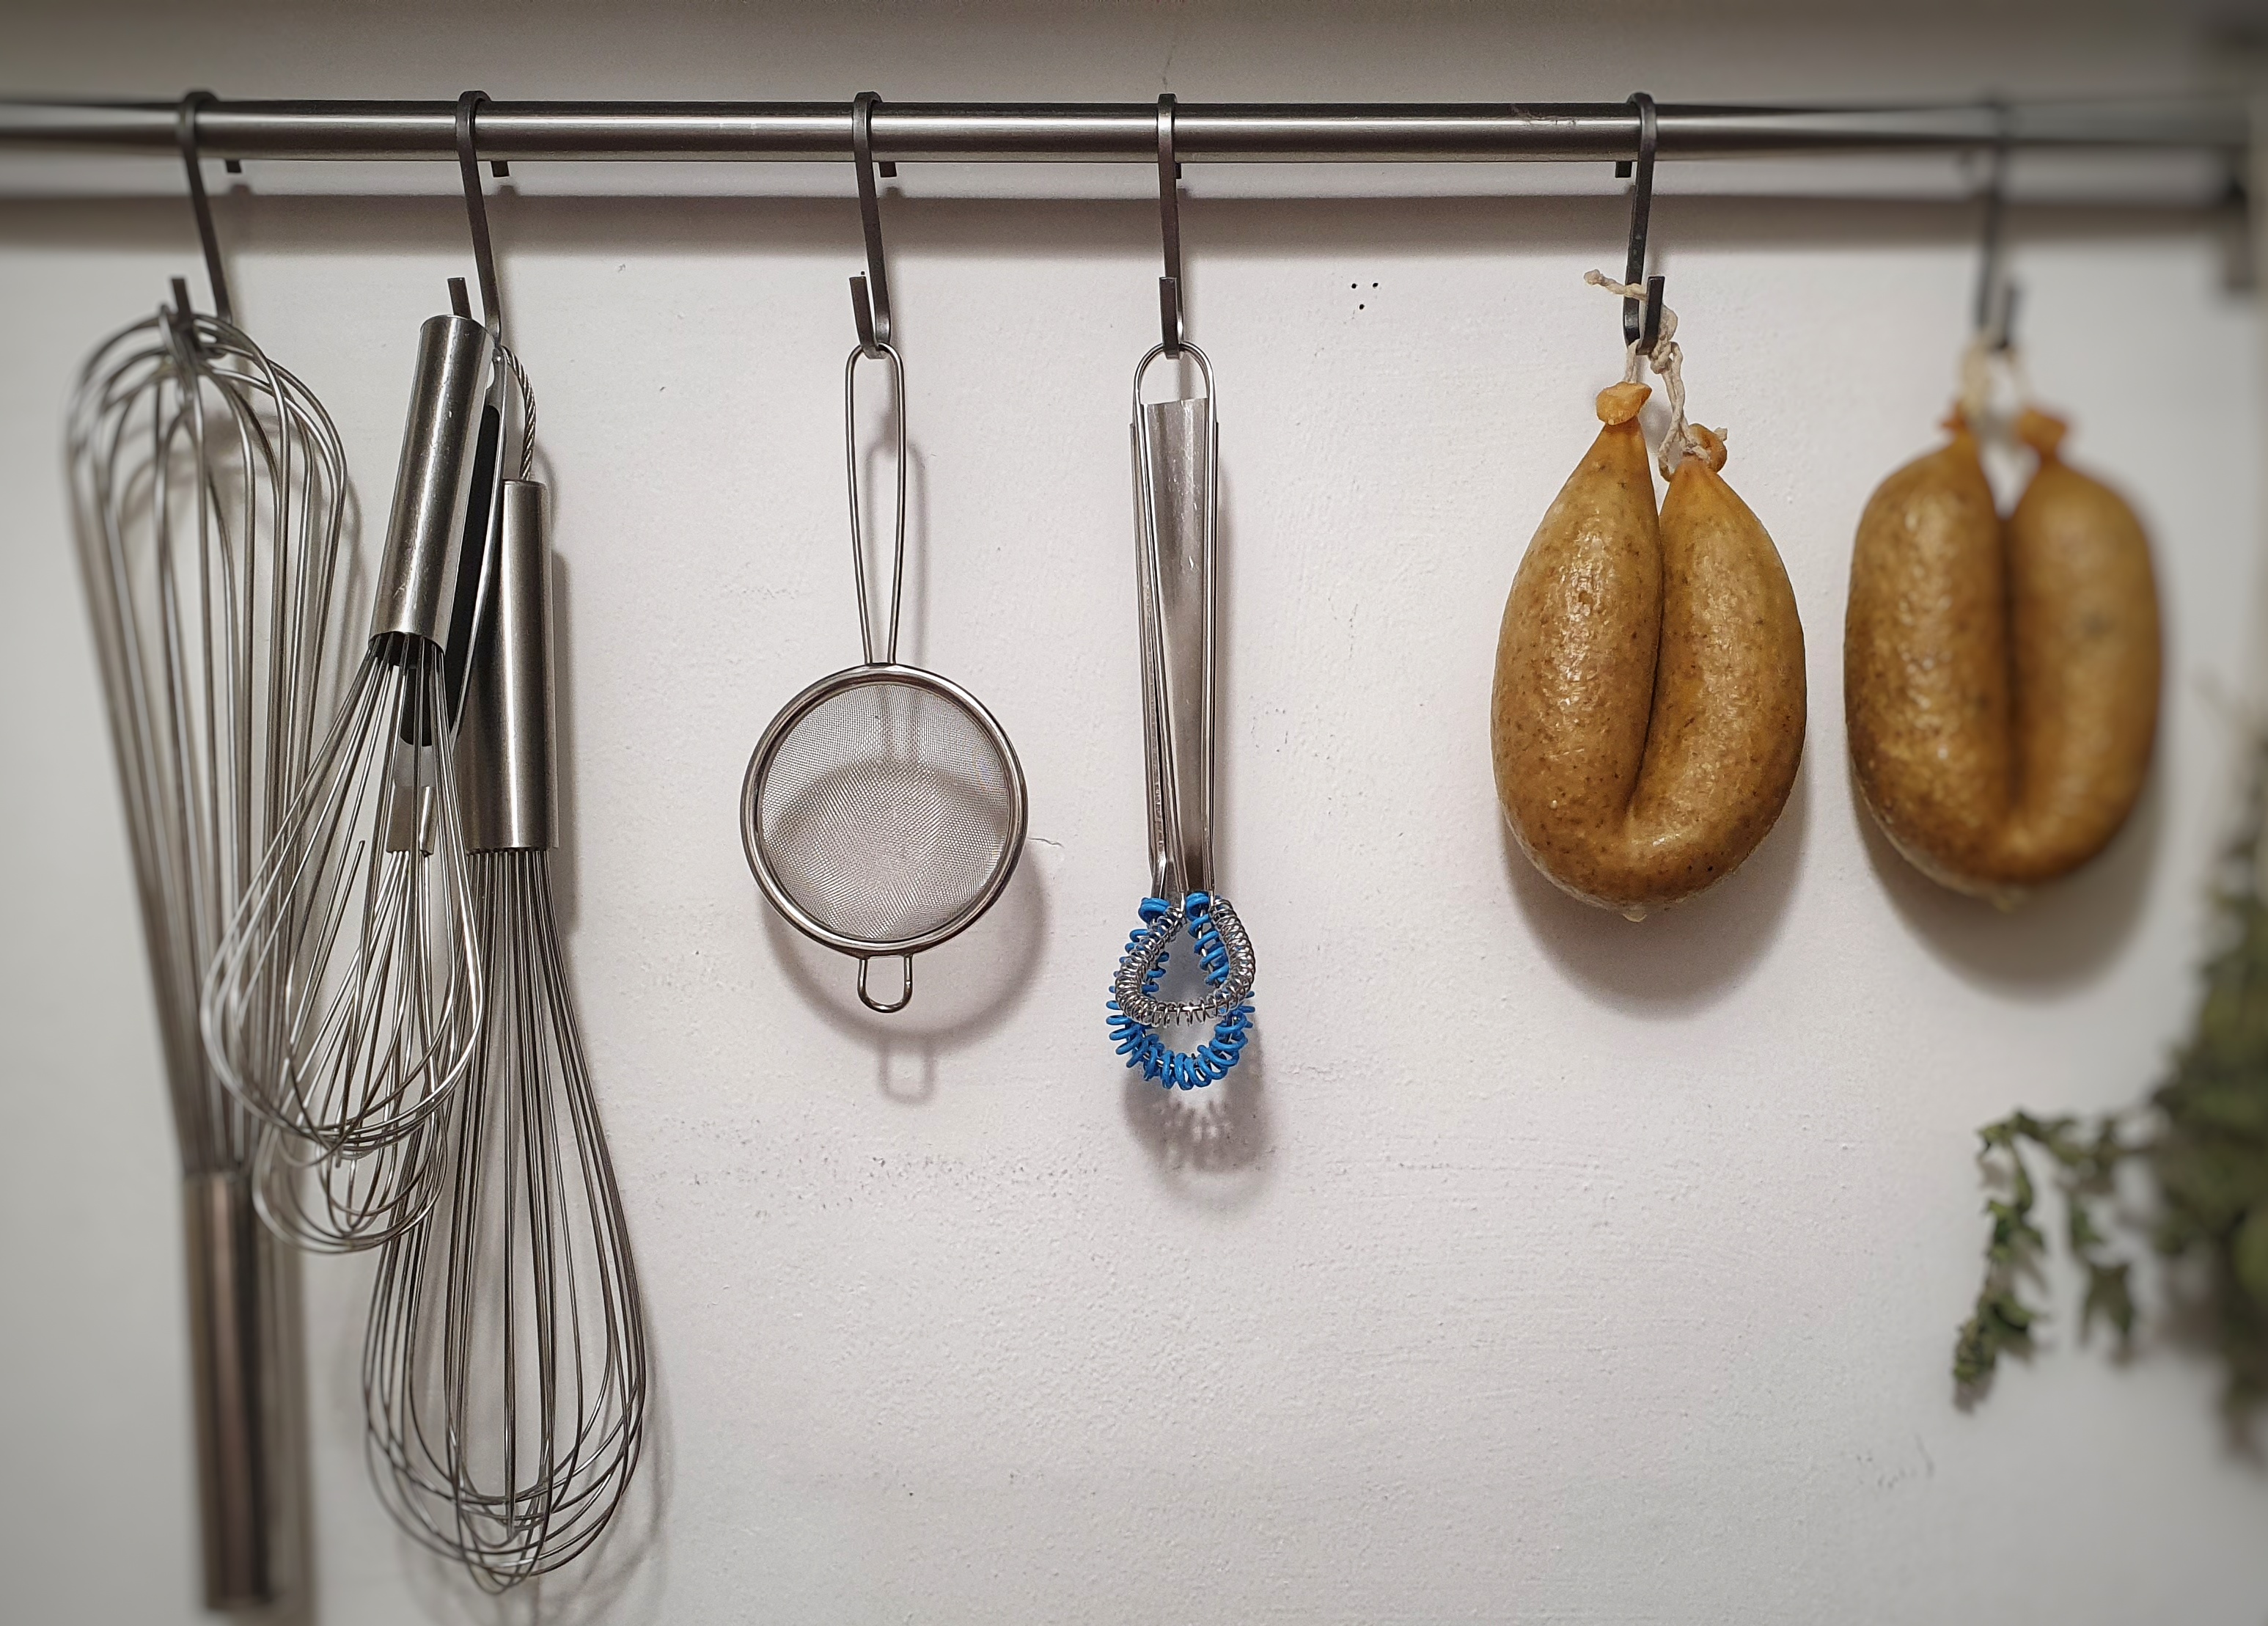
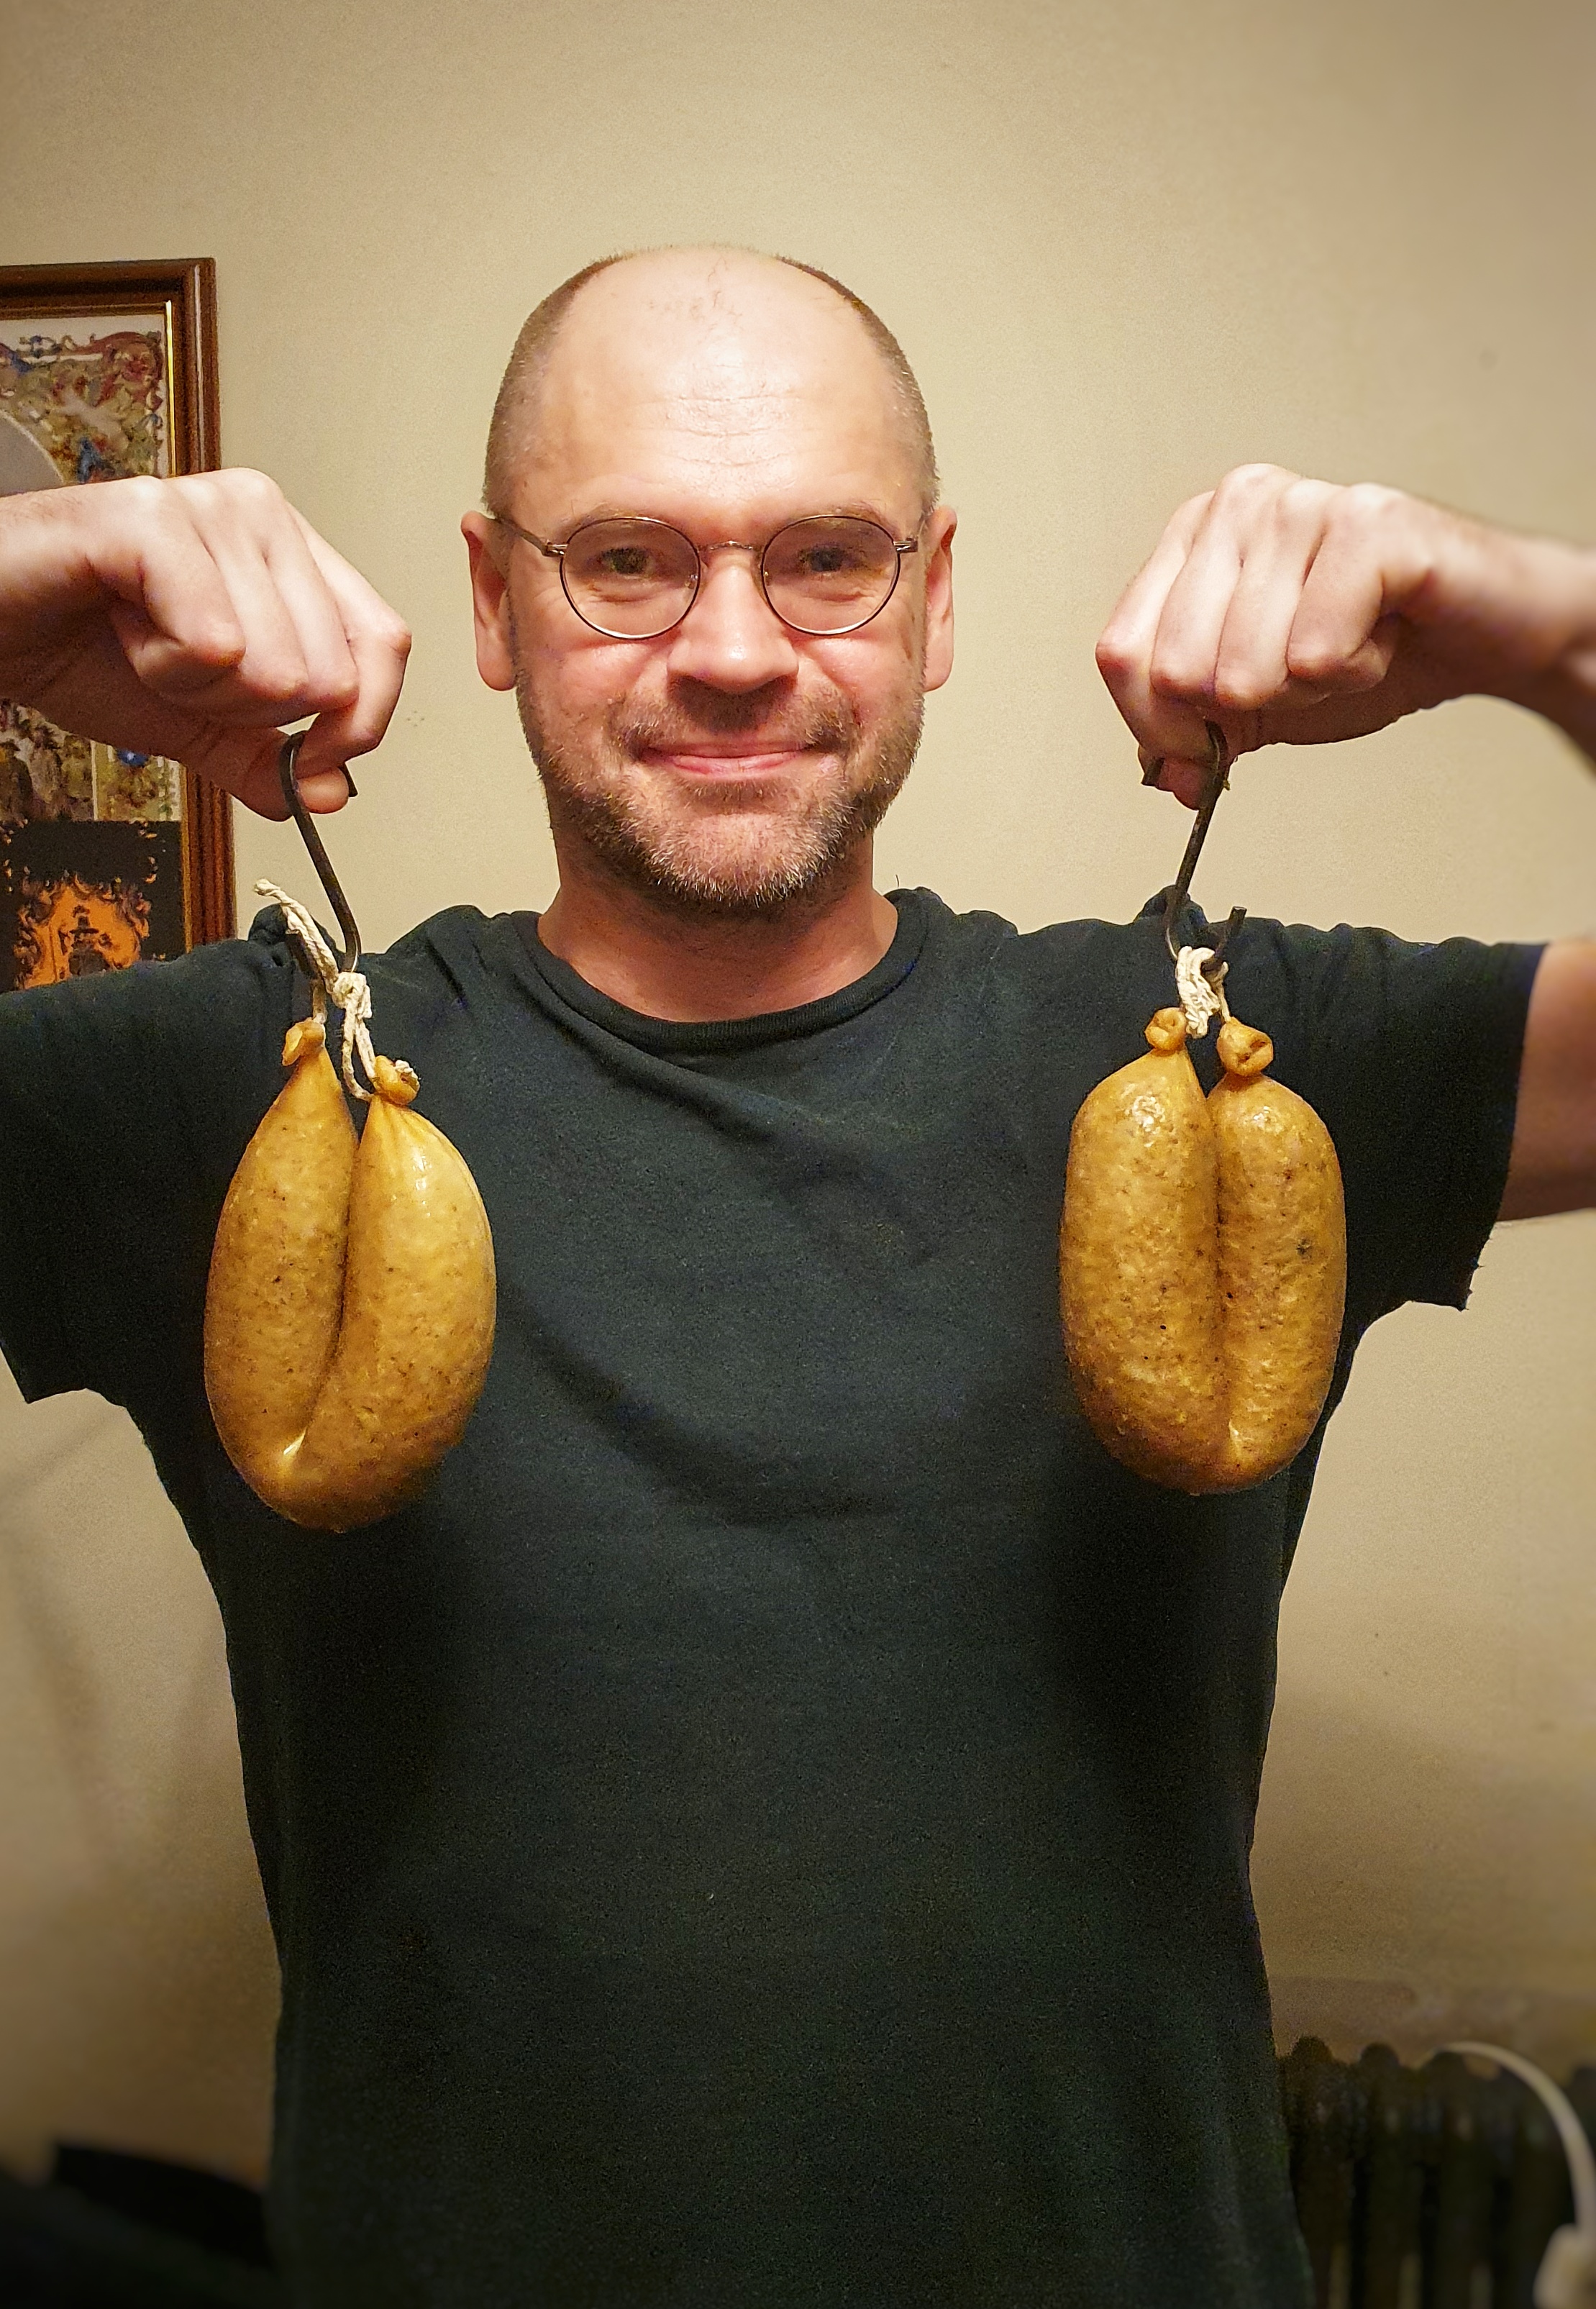
Looking pretty smug with my 17th-century puds!
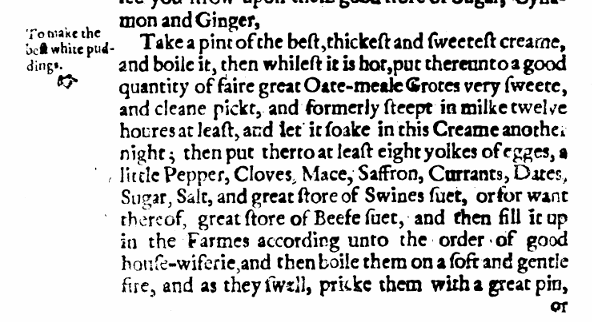
After a great deal of flicking through cookery books, I decided to make Gervase Markham’s white pudding from his classic The English Housewife (first published 1615), mainly because I had most of the ingredients in the house.
As you can see, Markham’s recipe contains no meat (aside from the beef suet and the pudding casings themselves).[5]
I have to say, they were a triumph! They freeze well and are easy to reheat. When it comes to serving them, let them cool for 5 minutes before cutting into them. The best way I have discovered to eat them (so far) is with crispy smoked bacon and golden syrup. Breakfast of champions.
If you like the blogs and podcast I produce, please consider treating me to a virtual coffee or pint, or even a £3 monthly subscription: follow this link for more information.
Recipe
Makes 6 x 375 g (approx.) puddings:
500 g cracked oat groats or pinhead oatmeal (steel-cut oats)
500 ml whole milk, plus 2 tbs for the saffron (and possibly extra, see recipe)
The day before you want to make your puddings, place the oats in a bowl or jar and pour over the milk. Cover and refrigerate. Soak your beef casings in fresh water, cover and refrigerate too.
Next day make the pudding mixture: in a large mixing bowl add the milk-soaked oats, cream, suet, sugar, eggs, dates, currants, ground spices and salt. Stir well. Warm up the 2 tbs of milk, add the saffron strands and allow them to infuse and cool, then stir into the mixture.
Now let everything meld together for a couple of hours so that the whole mixture is the consistency of spoonable porridge. If your oats were particularly absorbent, you may need to loosen the mixture with a few tablespoons of extra milk.
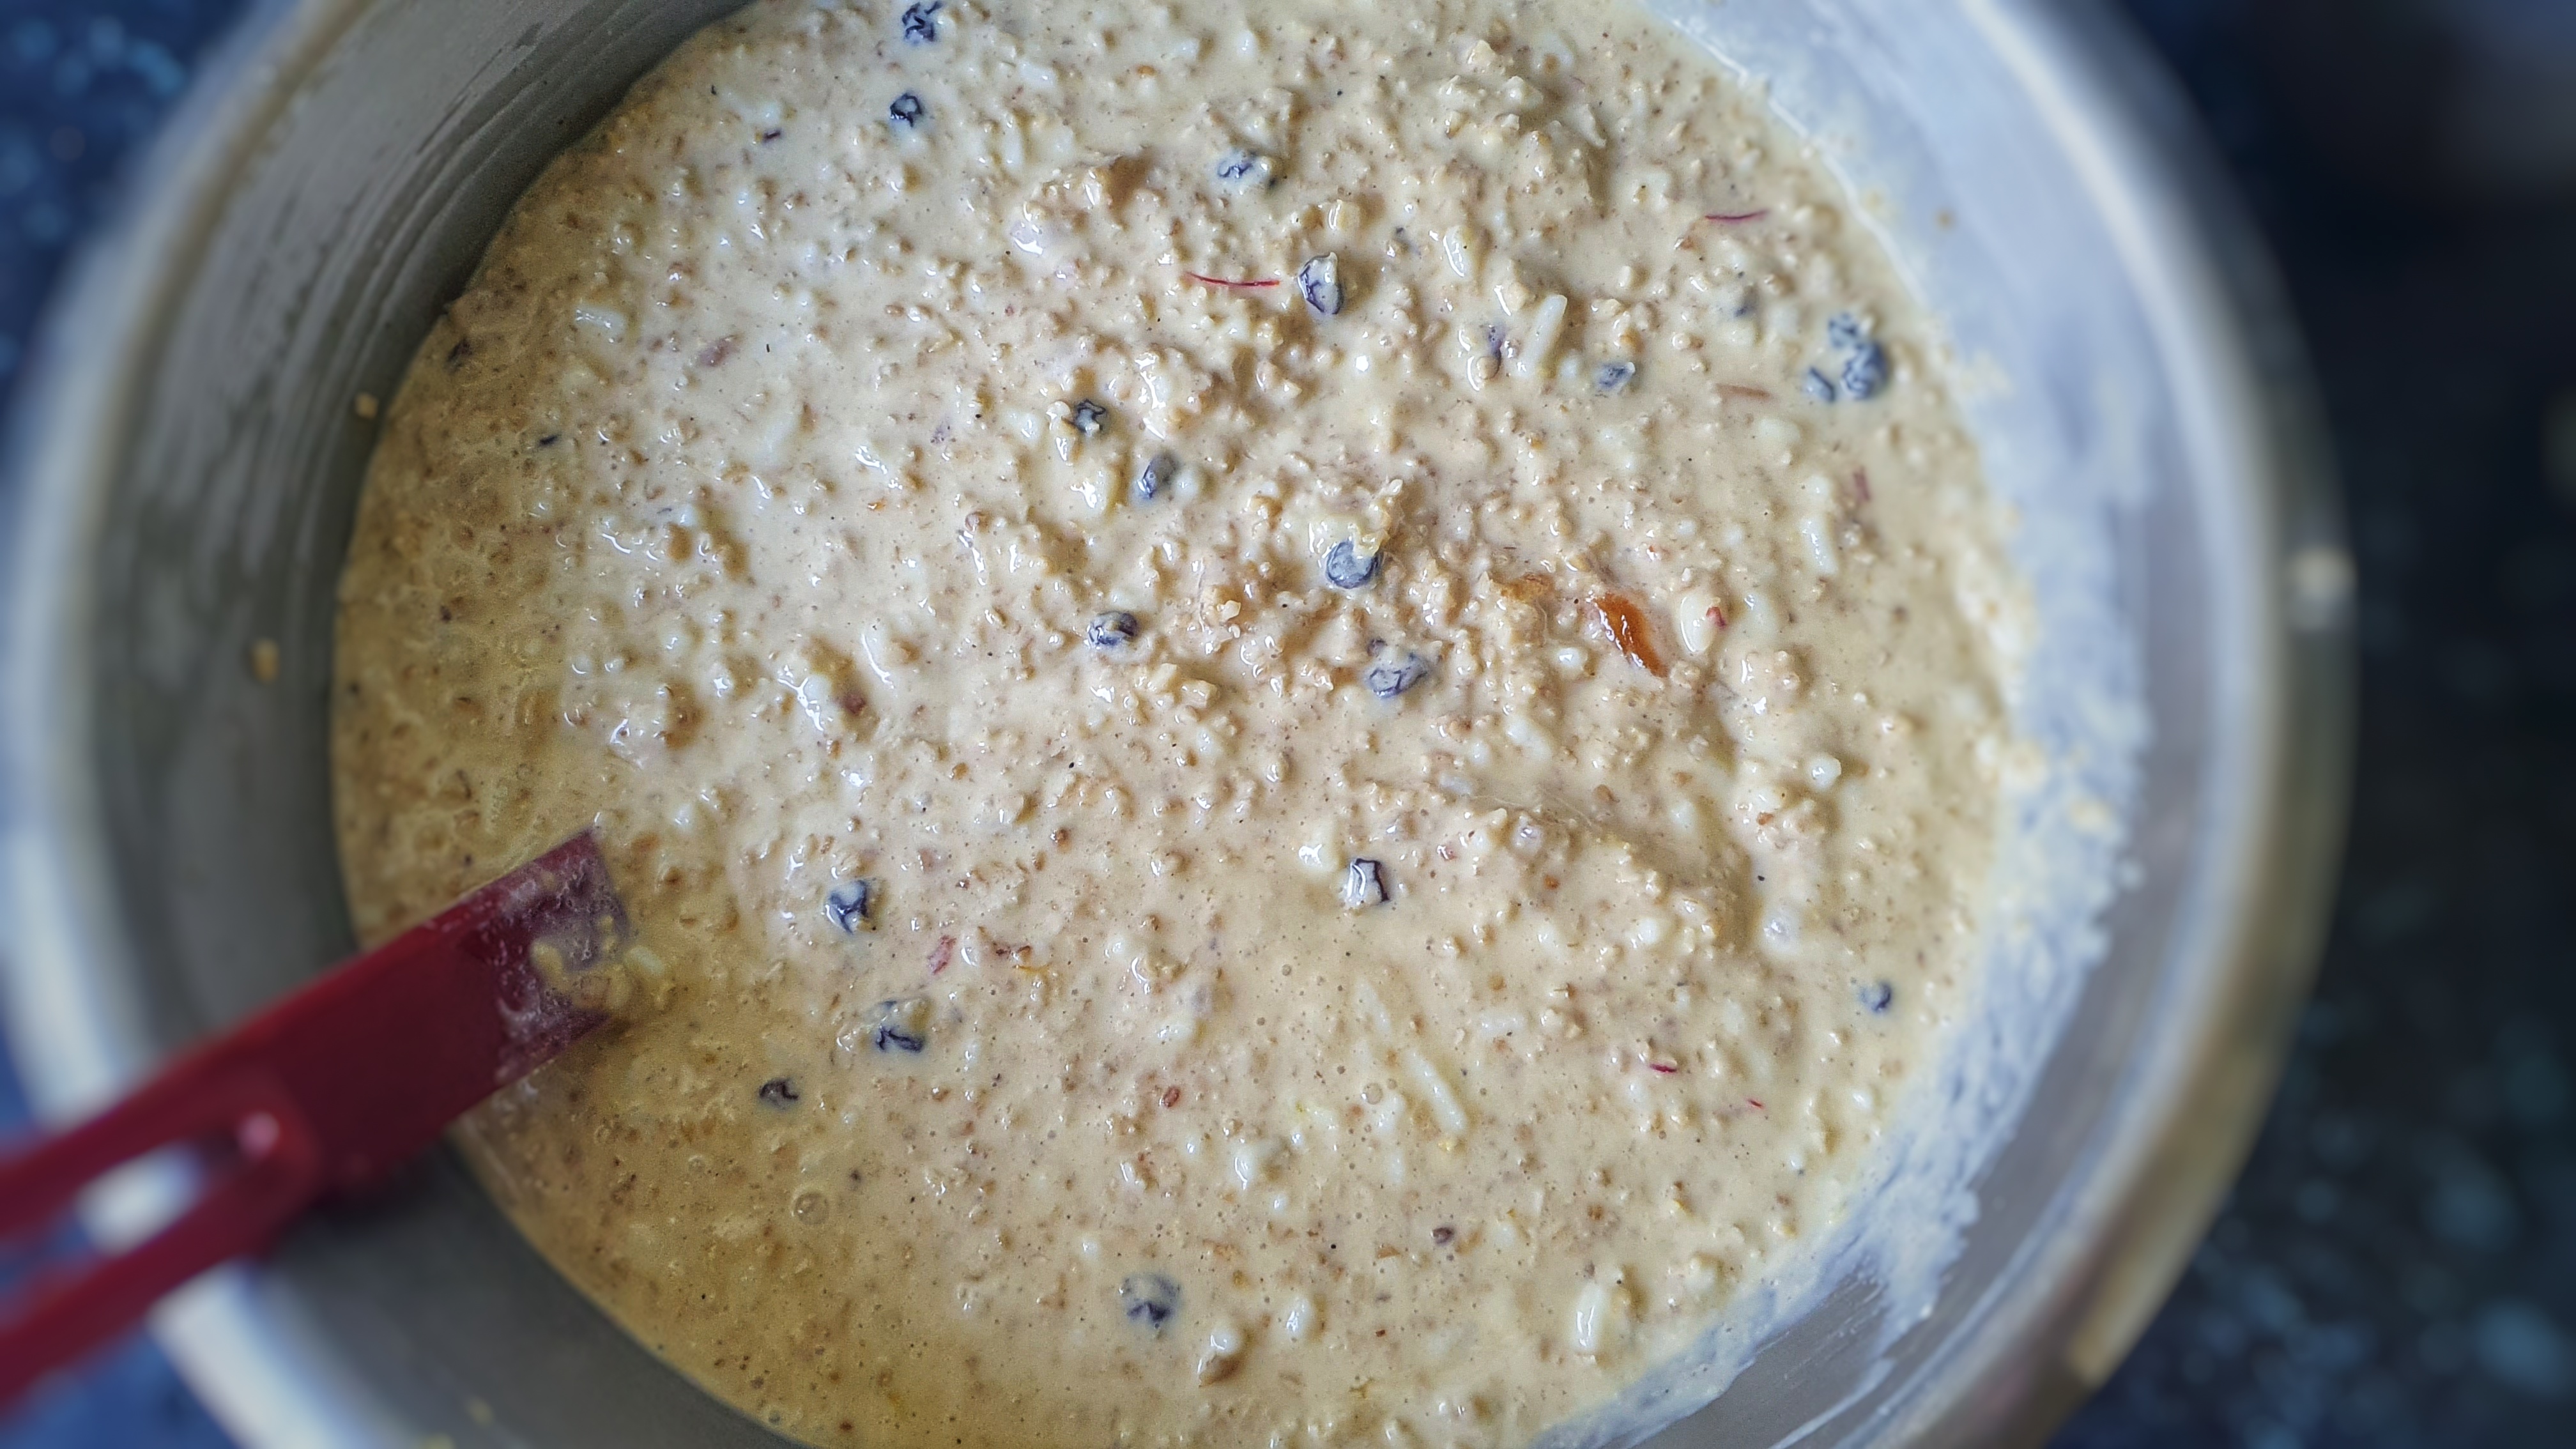
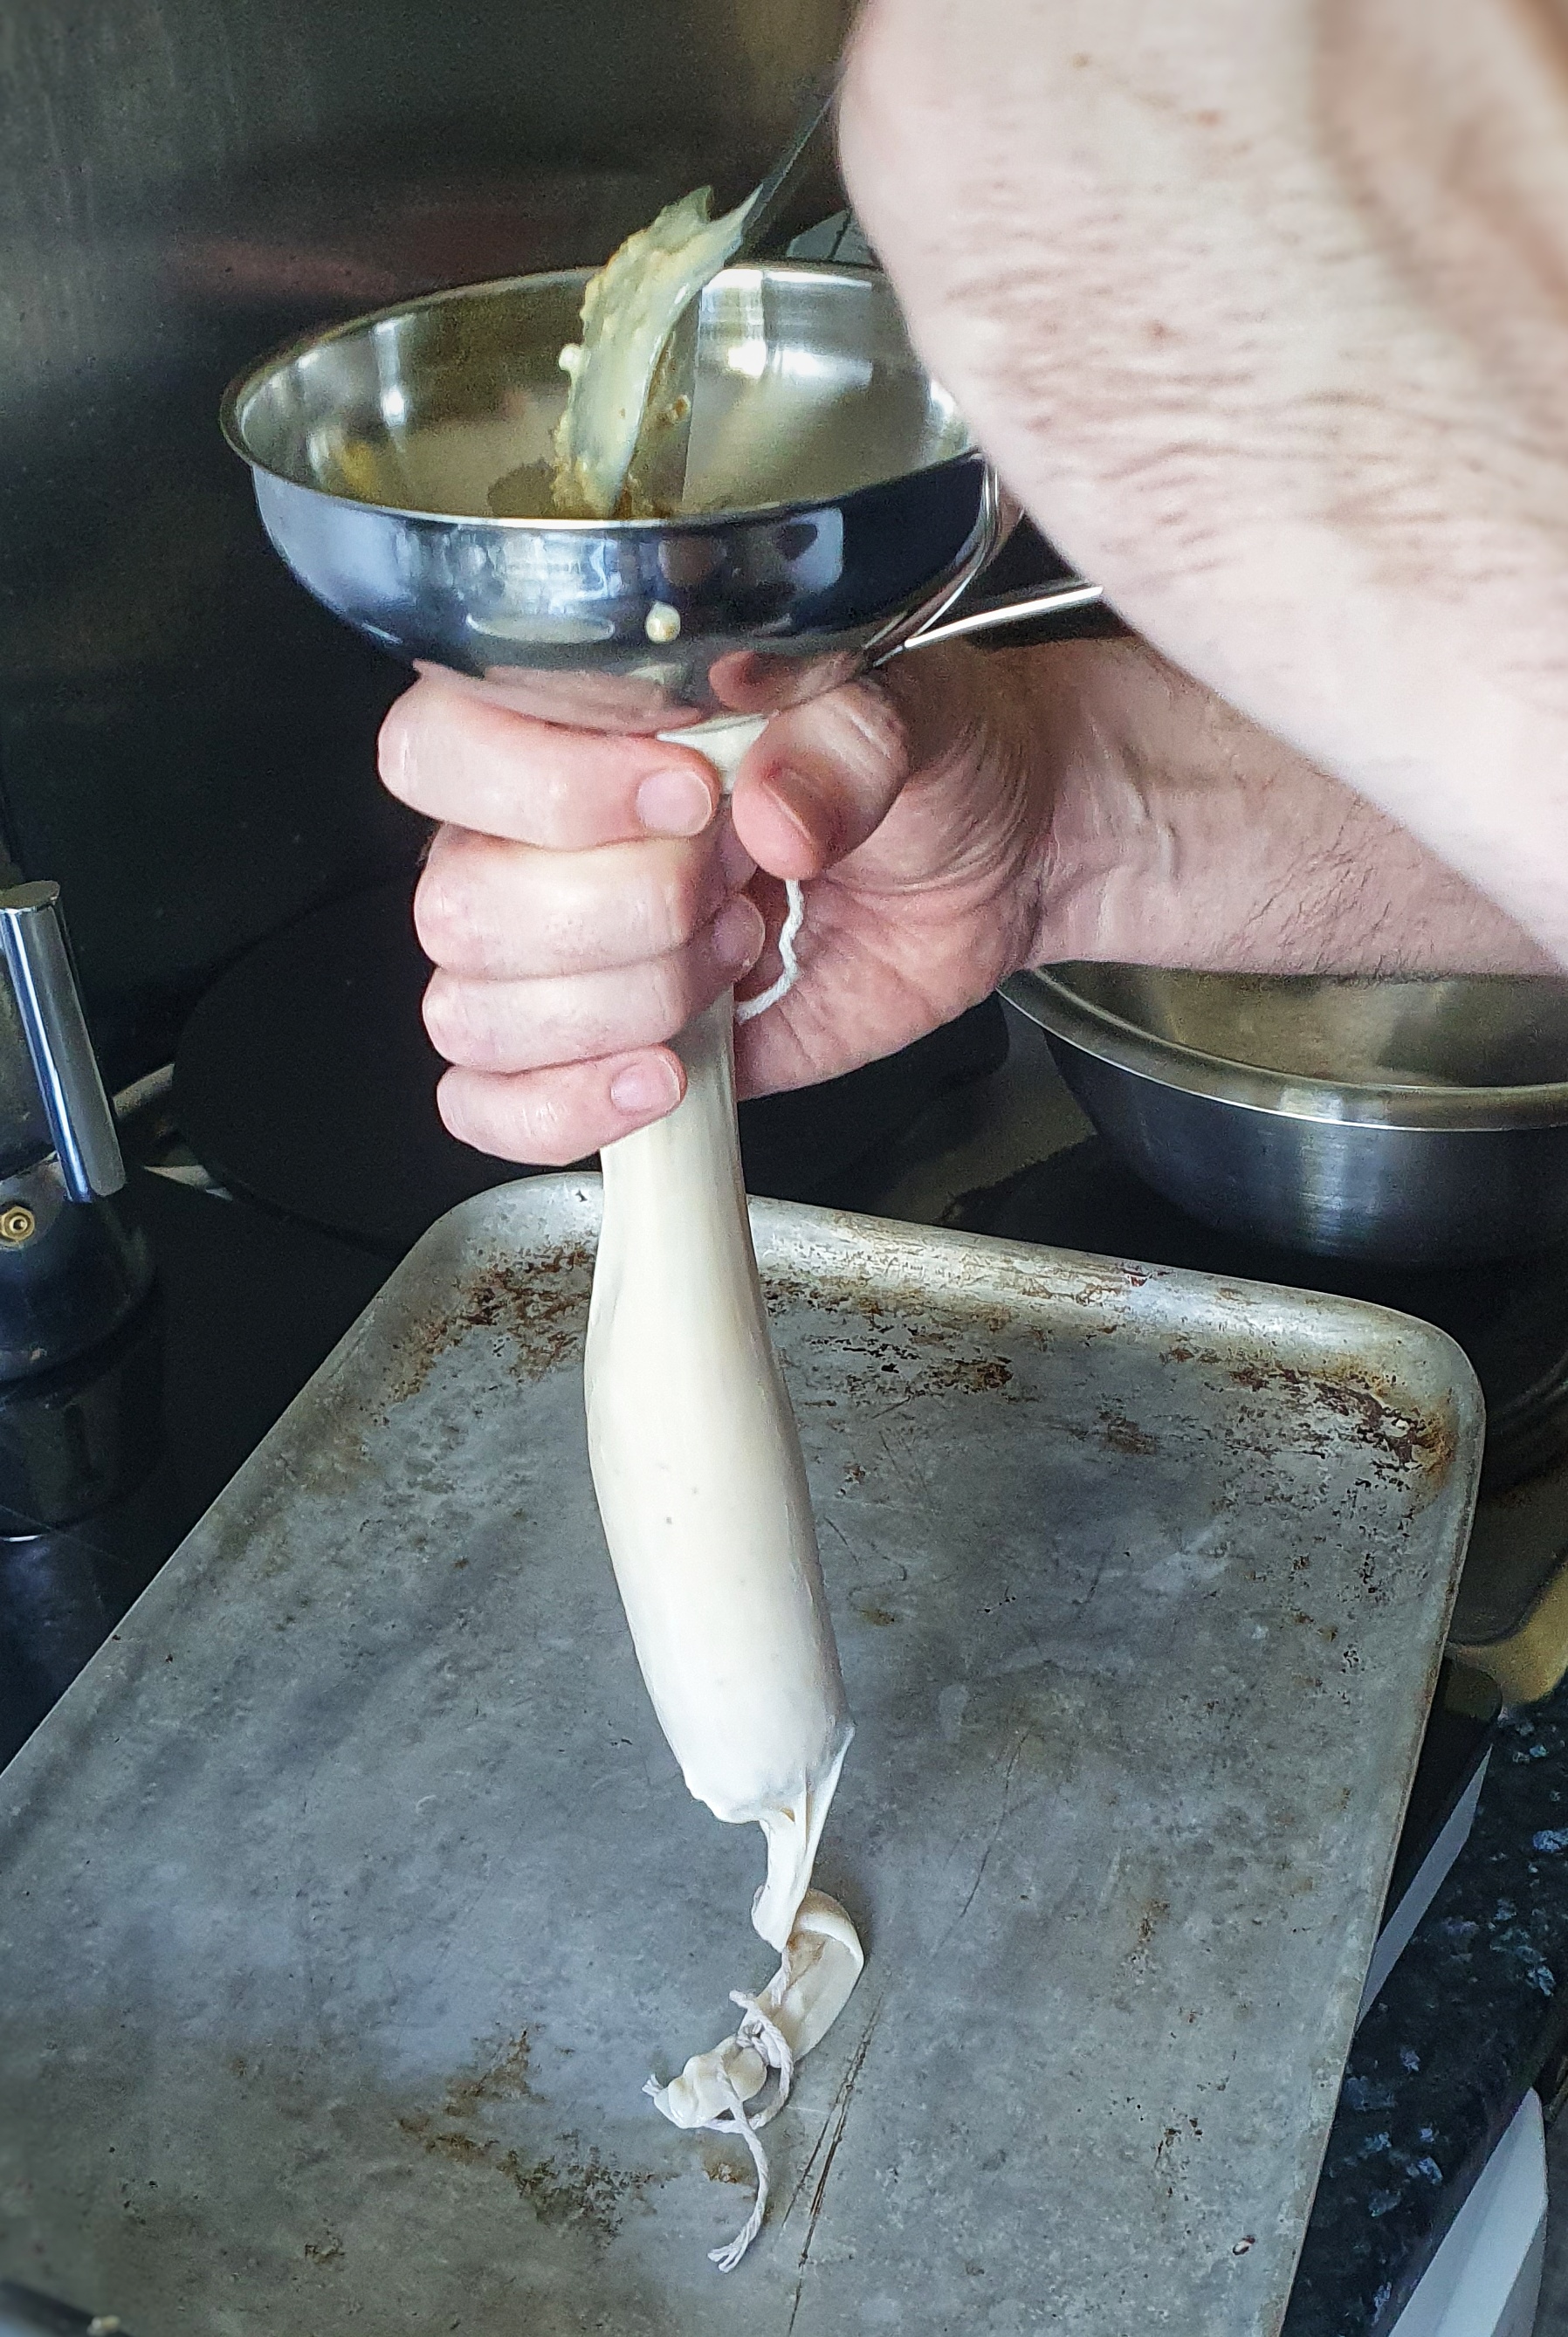
Cut the soaked beef casings into 35 cm lengths and tie the ends securely with string. Now it’s time to attach a funnel to the other end of your first length of gut. I used a jam funnel and secured it with more string.
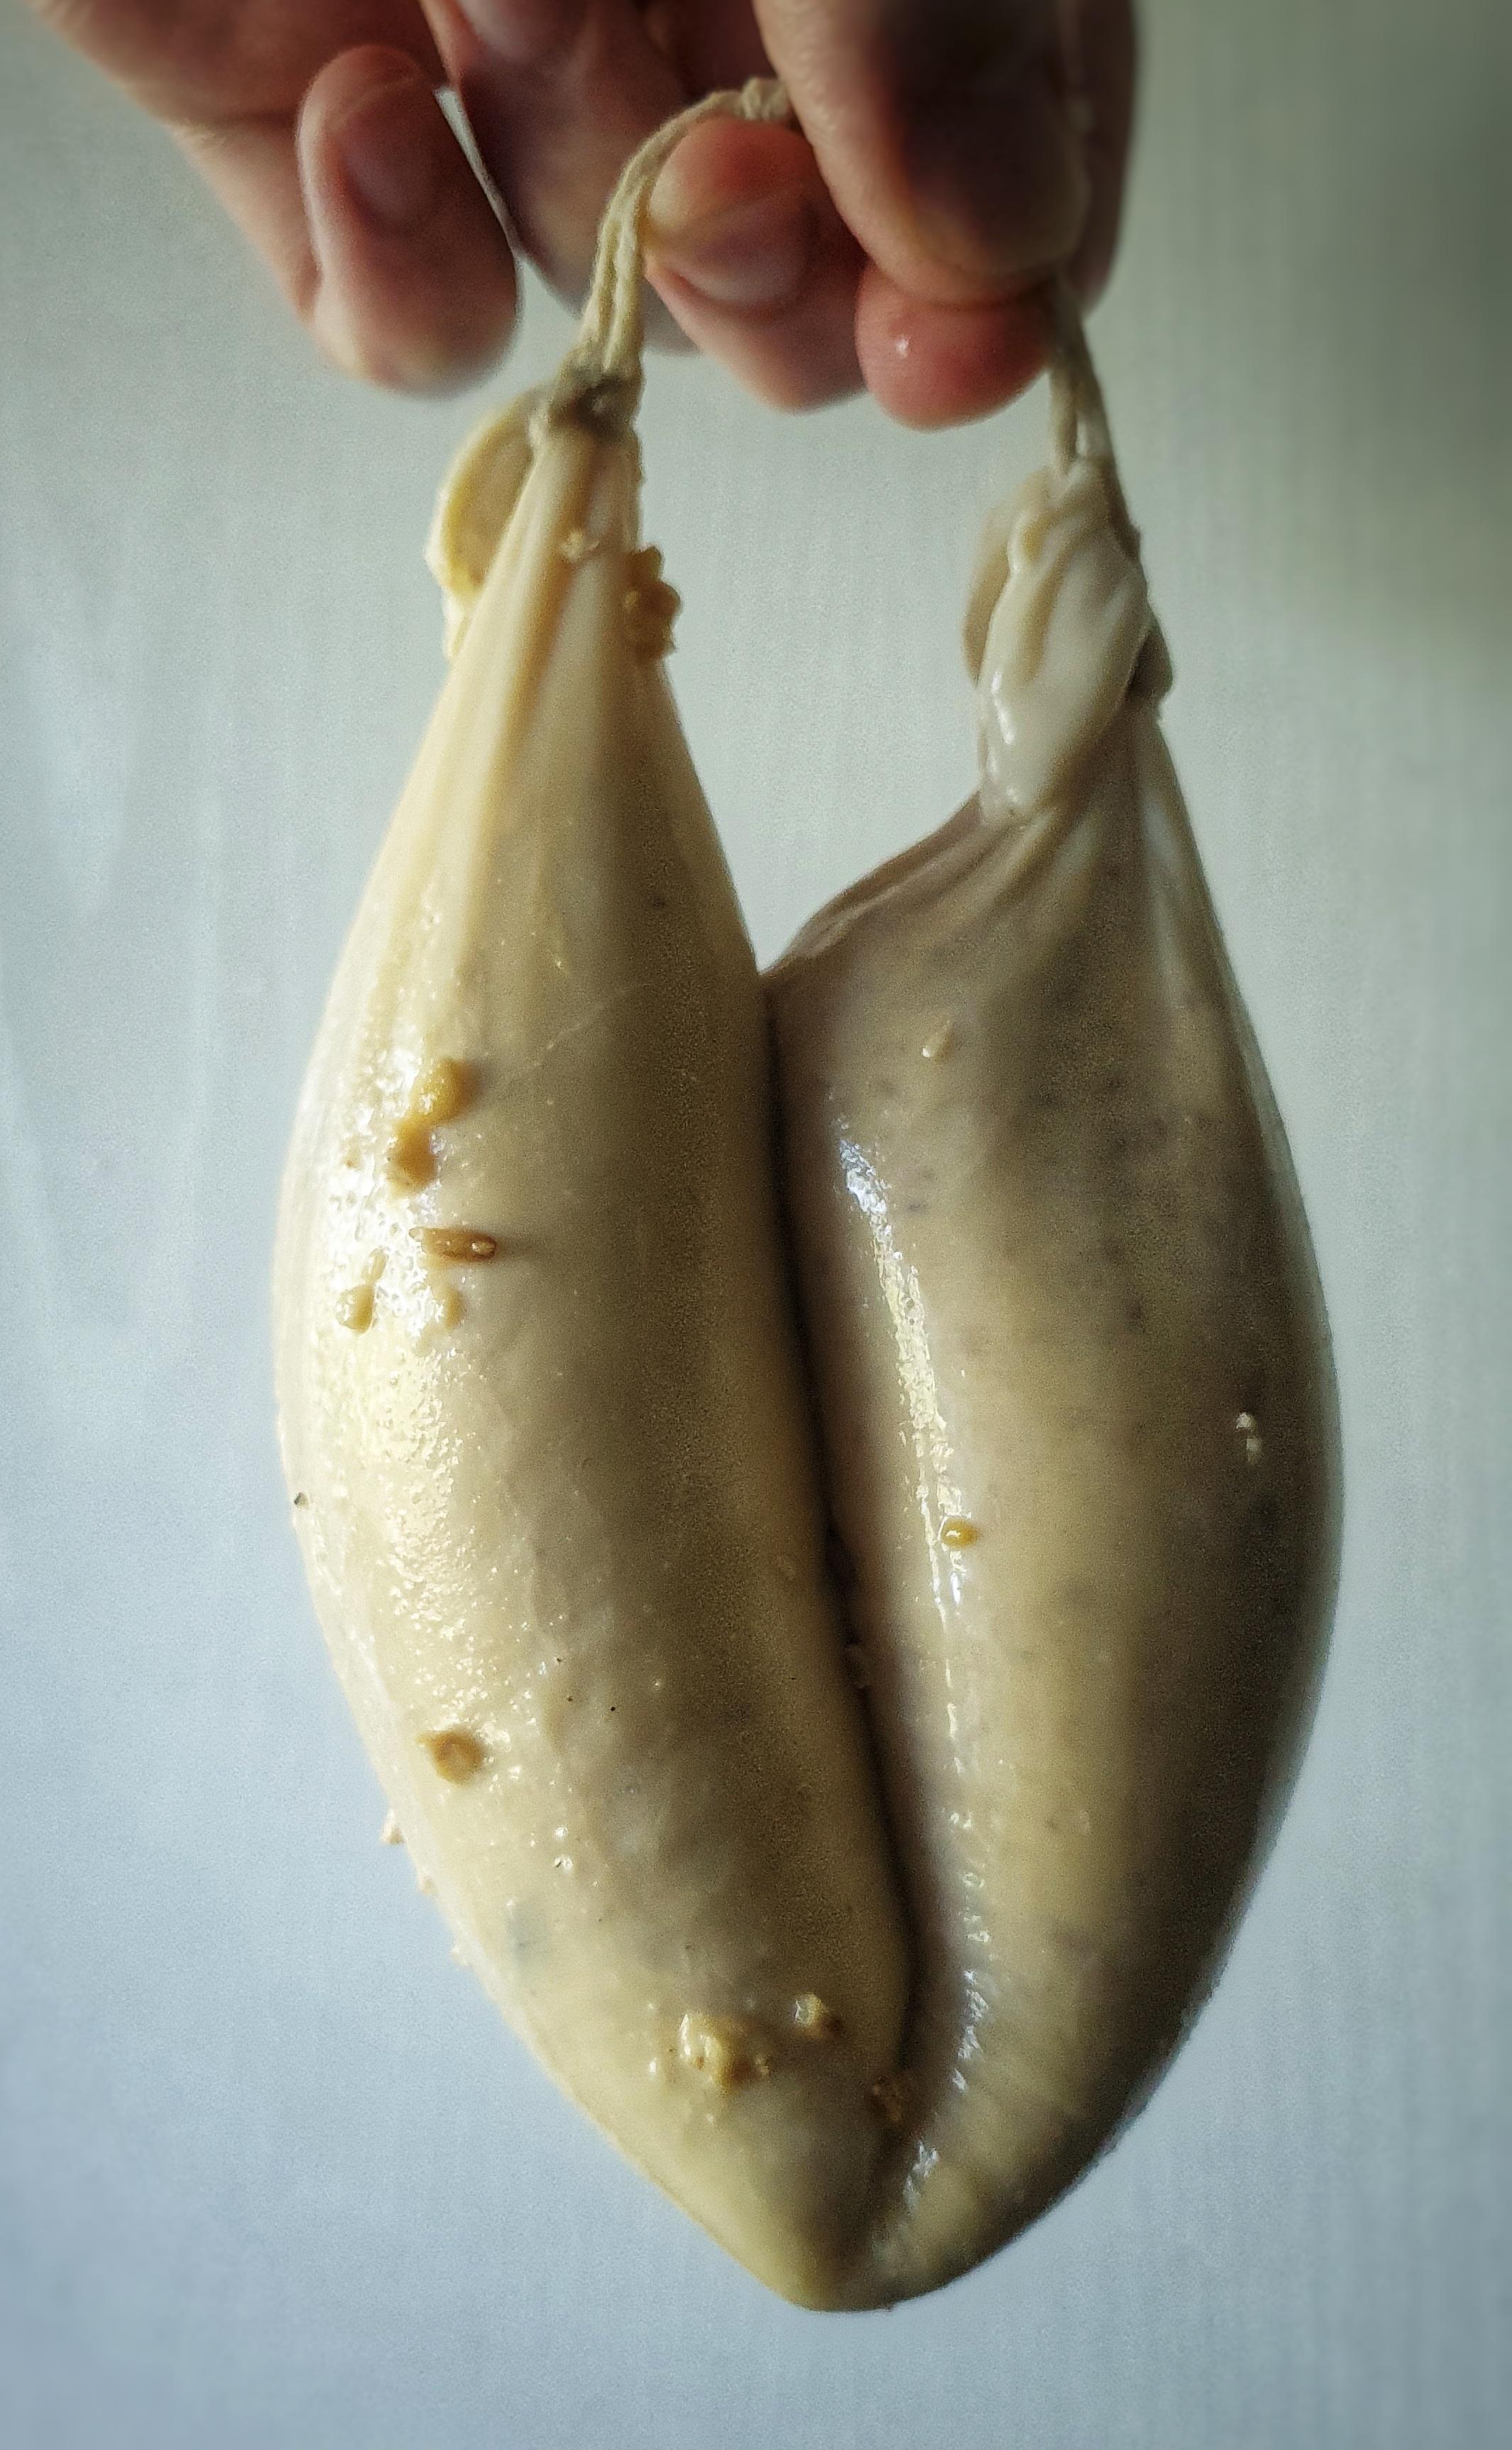
Hold the funnel in one hand and add small ladlefuls of mixture into the gut. It should slip down relatively easily. Keep the funnel raised and try to massage out any large air bubbles. When the gut is around two-thirds to one-quarter full, remove the end tied to the funnel, press out any air and tie with more string. The casings are slippery and so you must make sure that the knots are made at least 2.5 cm/1 inch from the ends. I found 350 g mixture to be a good amount. Now tie the ends together with more string to make that classic pudding shape.
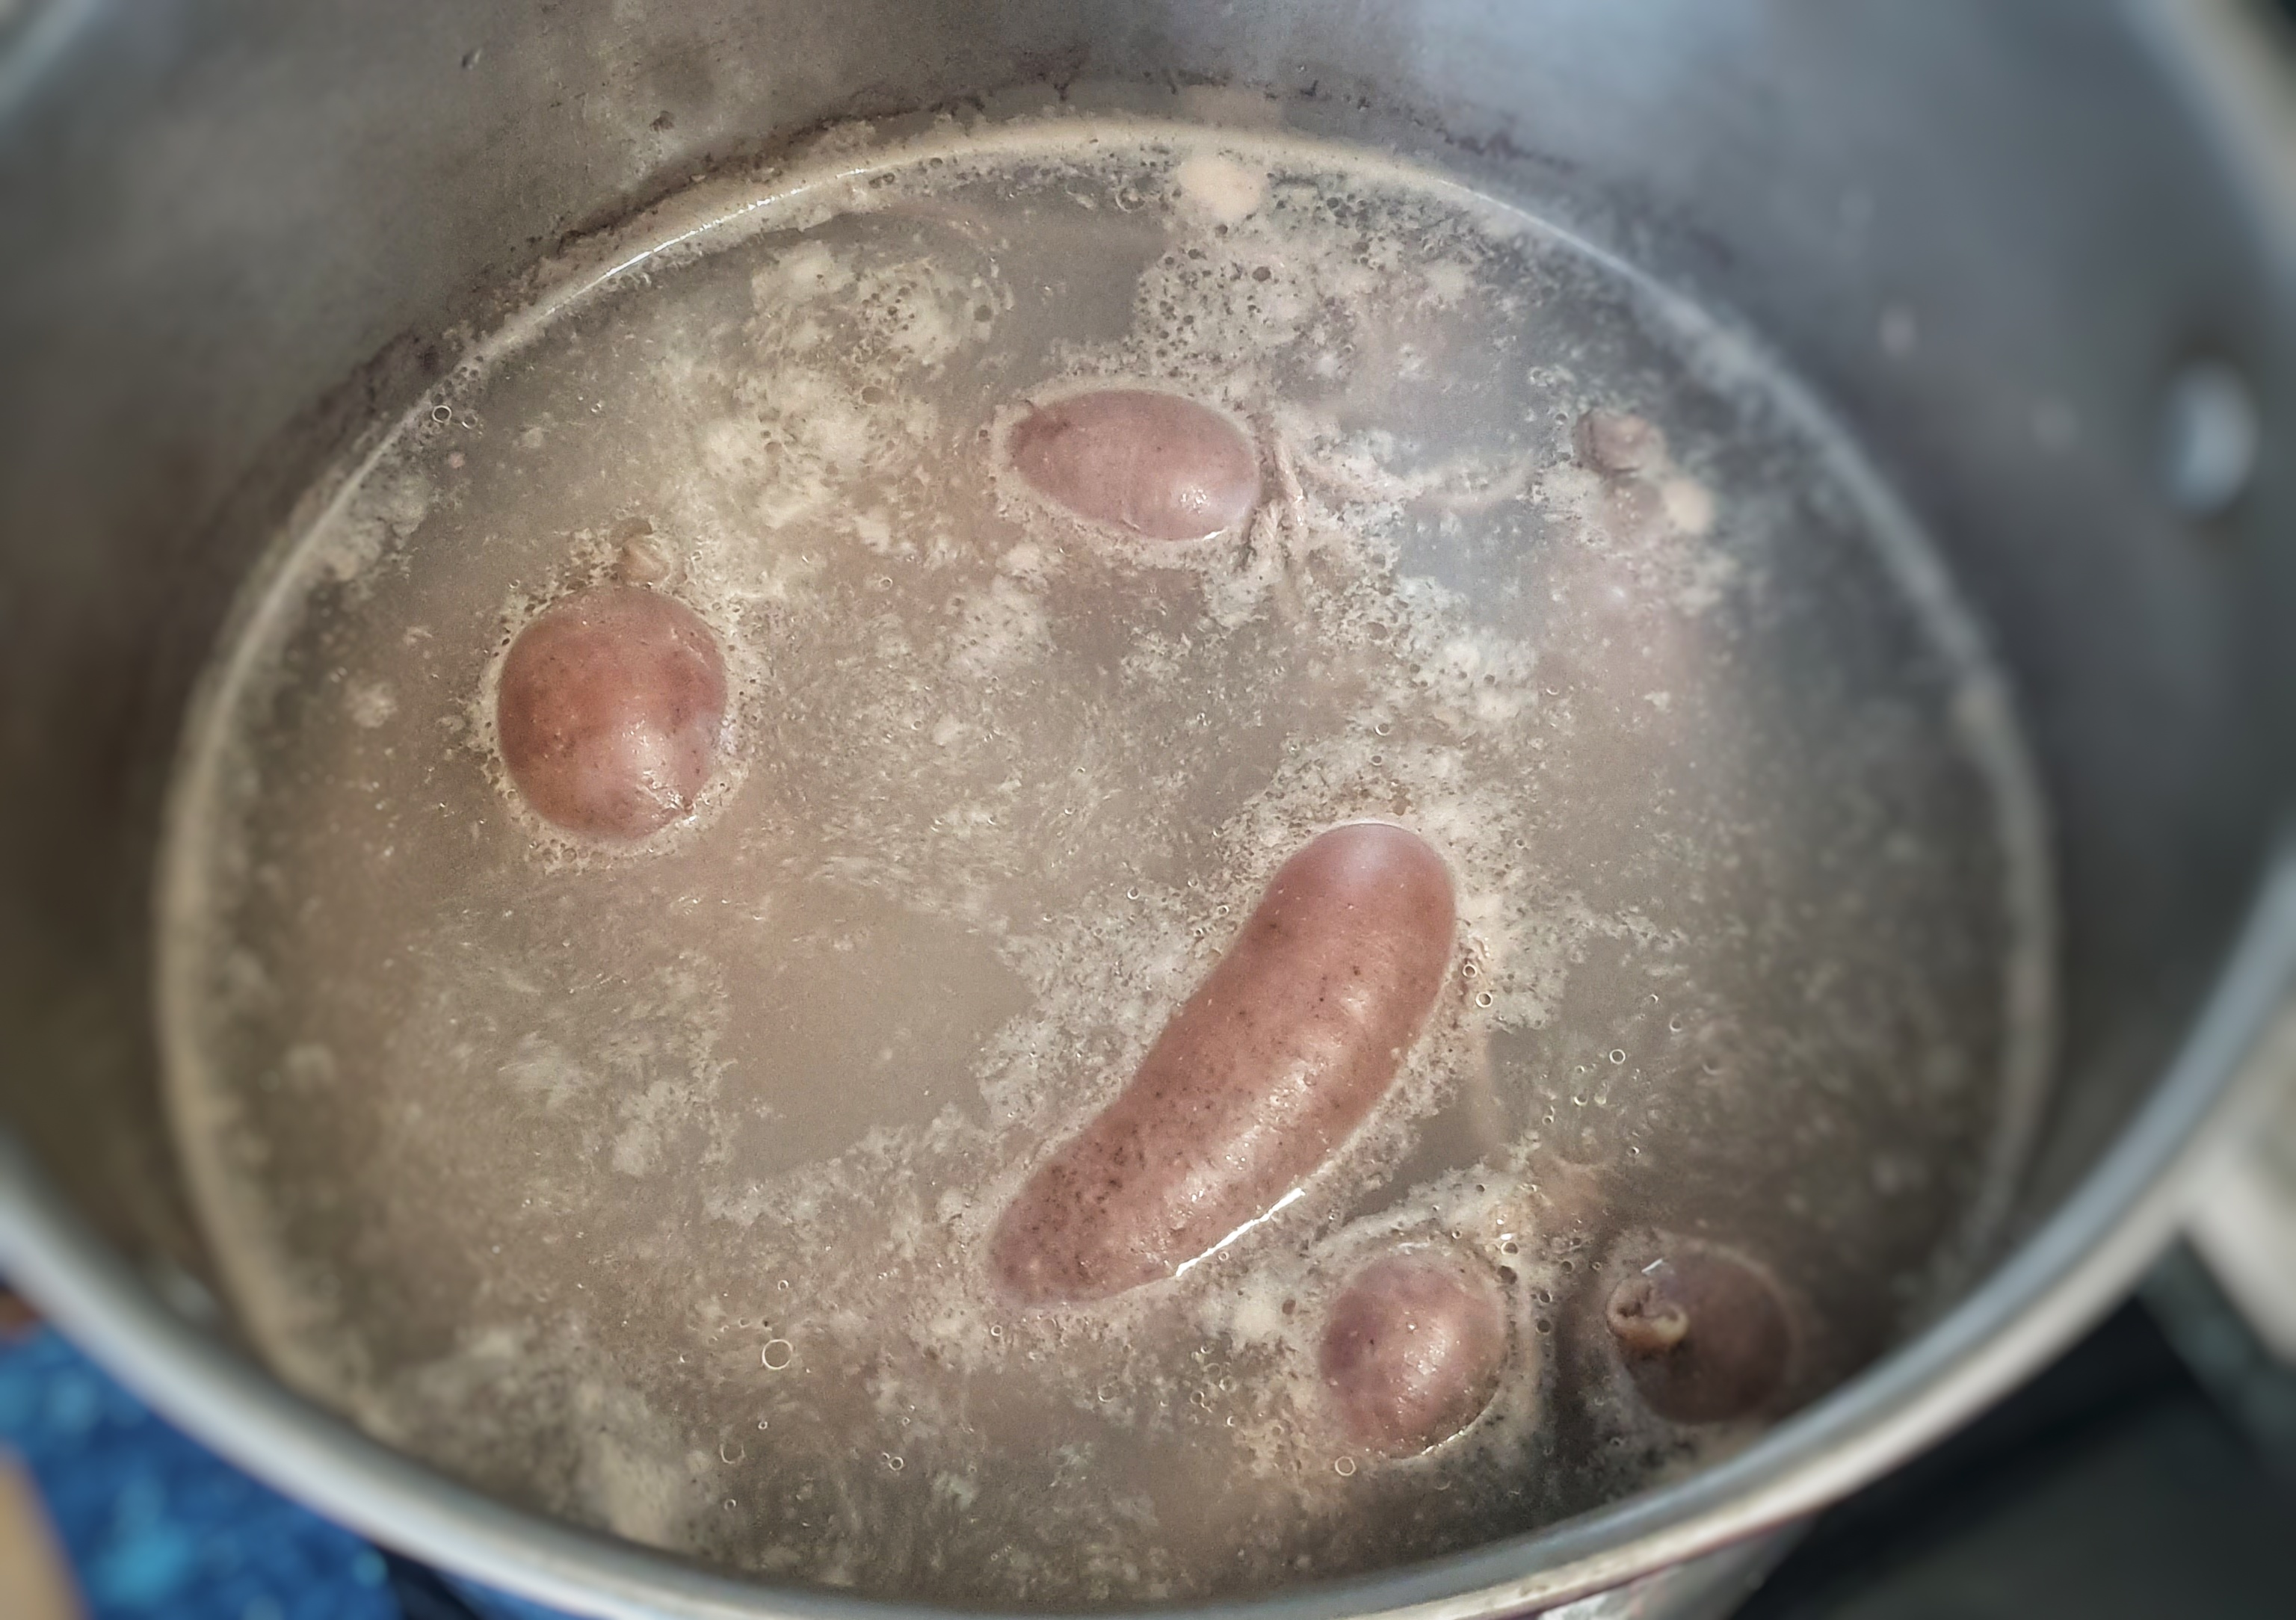
Keep them covered as you get a large pot of water simmering.
Cook the puddings in batches: drop three into the water and let them gently poach for 35 minutes – there should just be the odd bubble and gurgle coming from the cooking water. You must pop any bubbles immediately with a pin, otherwise the puddings will burst open. Turn the puddings over every 7 or 8 minutes to make sure both sides are cooked evenly.
When cooked, fish the puddings out and hang them up to dry for a few hours, then refrigerate.
To cook the puddings, poach them in more water for around 15 minutes, turning occasionally.
[1] Davison, J. (2015). English Sausages. Prospect Books.
[2] Digby, K. (1669). The Closet of Sir Kenelm Digby Opened (1997 reprint) (J. Stevenson & P. Davidson, Eds.). Prospect Books.
[3] Dawson, T. (1596). The Good Housewife’s Jewel (1996 Editi). Southover Press.
[4] Brears, P. (2016). Hog’s Puddings and White Puddings. Petits Propos Culinaires, 106, 69–81.
[5] This recipe is from the 1633 edition: Markham, G. (1633). Country Contentments, or The English Huswife. J. Harison.
My guest today is third generation baker, writer and teacher David Wright author of the excellent book Breaking Bread: How Baking Shaped our World published by Aurum.
We talk about the social benefits of bread making, milling grain into flour, the anatomy of a grain, roller mills, the Chorleywood process and why gluten can be compared to Arnold Schwarzenegger and Danny DeVito.
Those listening to the secret podcast: you get a little over 15 minutes of bonus material that includes additives that don’t have be named on ingredients lists, flatbreads, the National Loaf, the value of bread and more!
Available on all podcast platforms. If you’re not a podcast person, you can stream the episode via the Spotify embed, below:
Remember: Fruit Pig are sponsoring the 9th season of the podcast and Grant and Matthew are very kindly giving listeners to the podcast a unique special offer 10% off your order until the end of October 2025 – use the offer code Foodhis in the checkout at their online shop, www.fruitpig.co.uk.
If you can, support the podcast and blogs by becoming a £3 monthly subscriber, and unlock lots of premium content, including bonus blog posts and recipes, access to the easter eggs and the secret podcast, or treat me to a one-off virtual pint or coffee: click here.
Don’t forget, there will be postbag episodes in the future, so if you have any questions or queries about today’s episode, or indeed any episode, or have a question about the history of British food please email me at neil@britishfoodhistory.com, or leave a comment below.
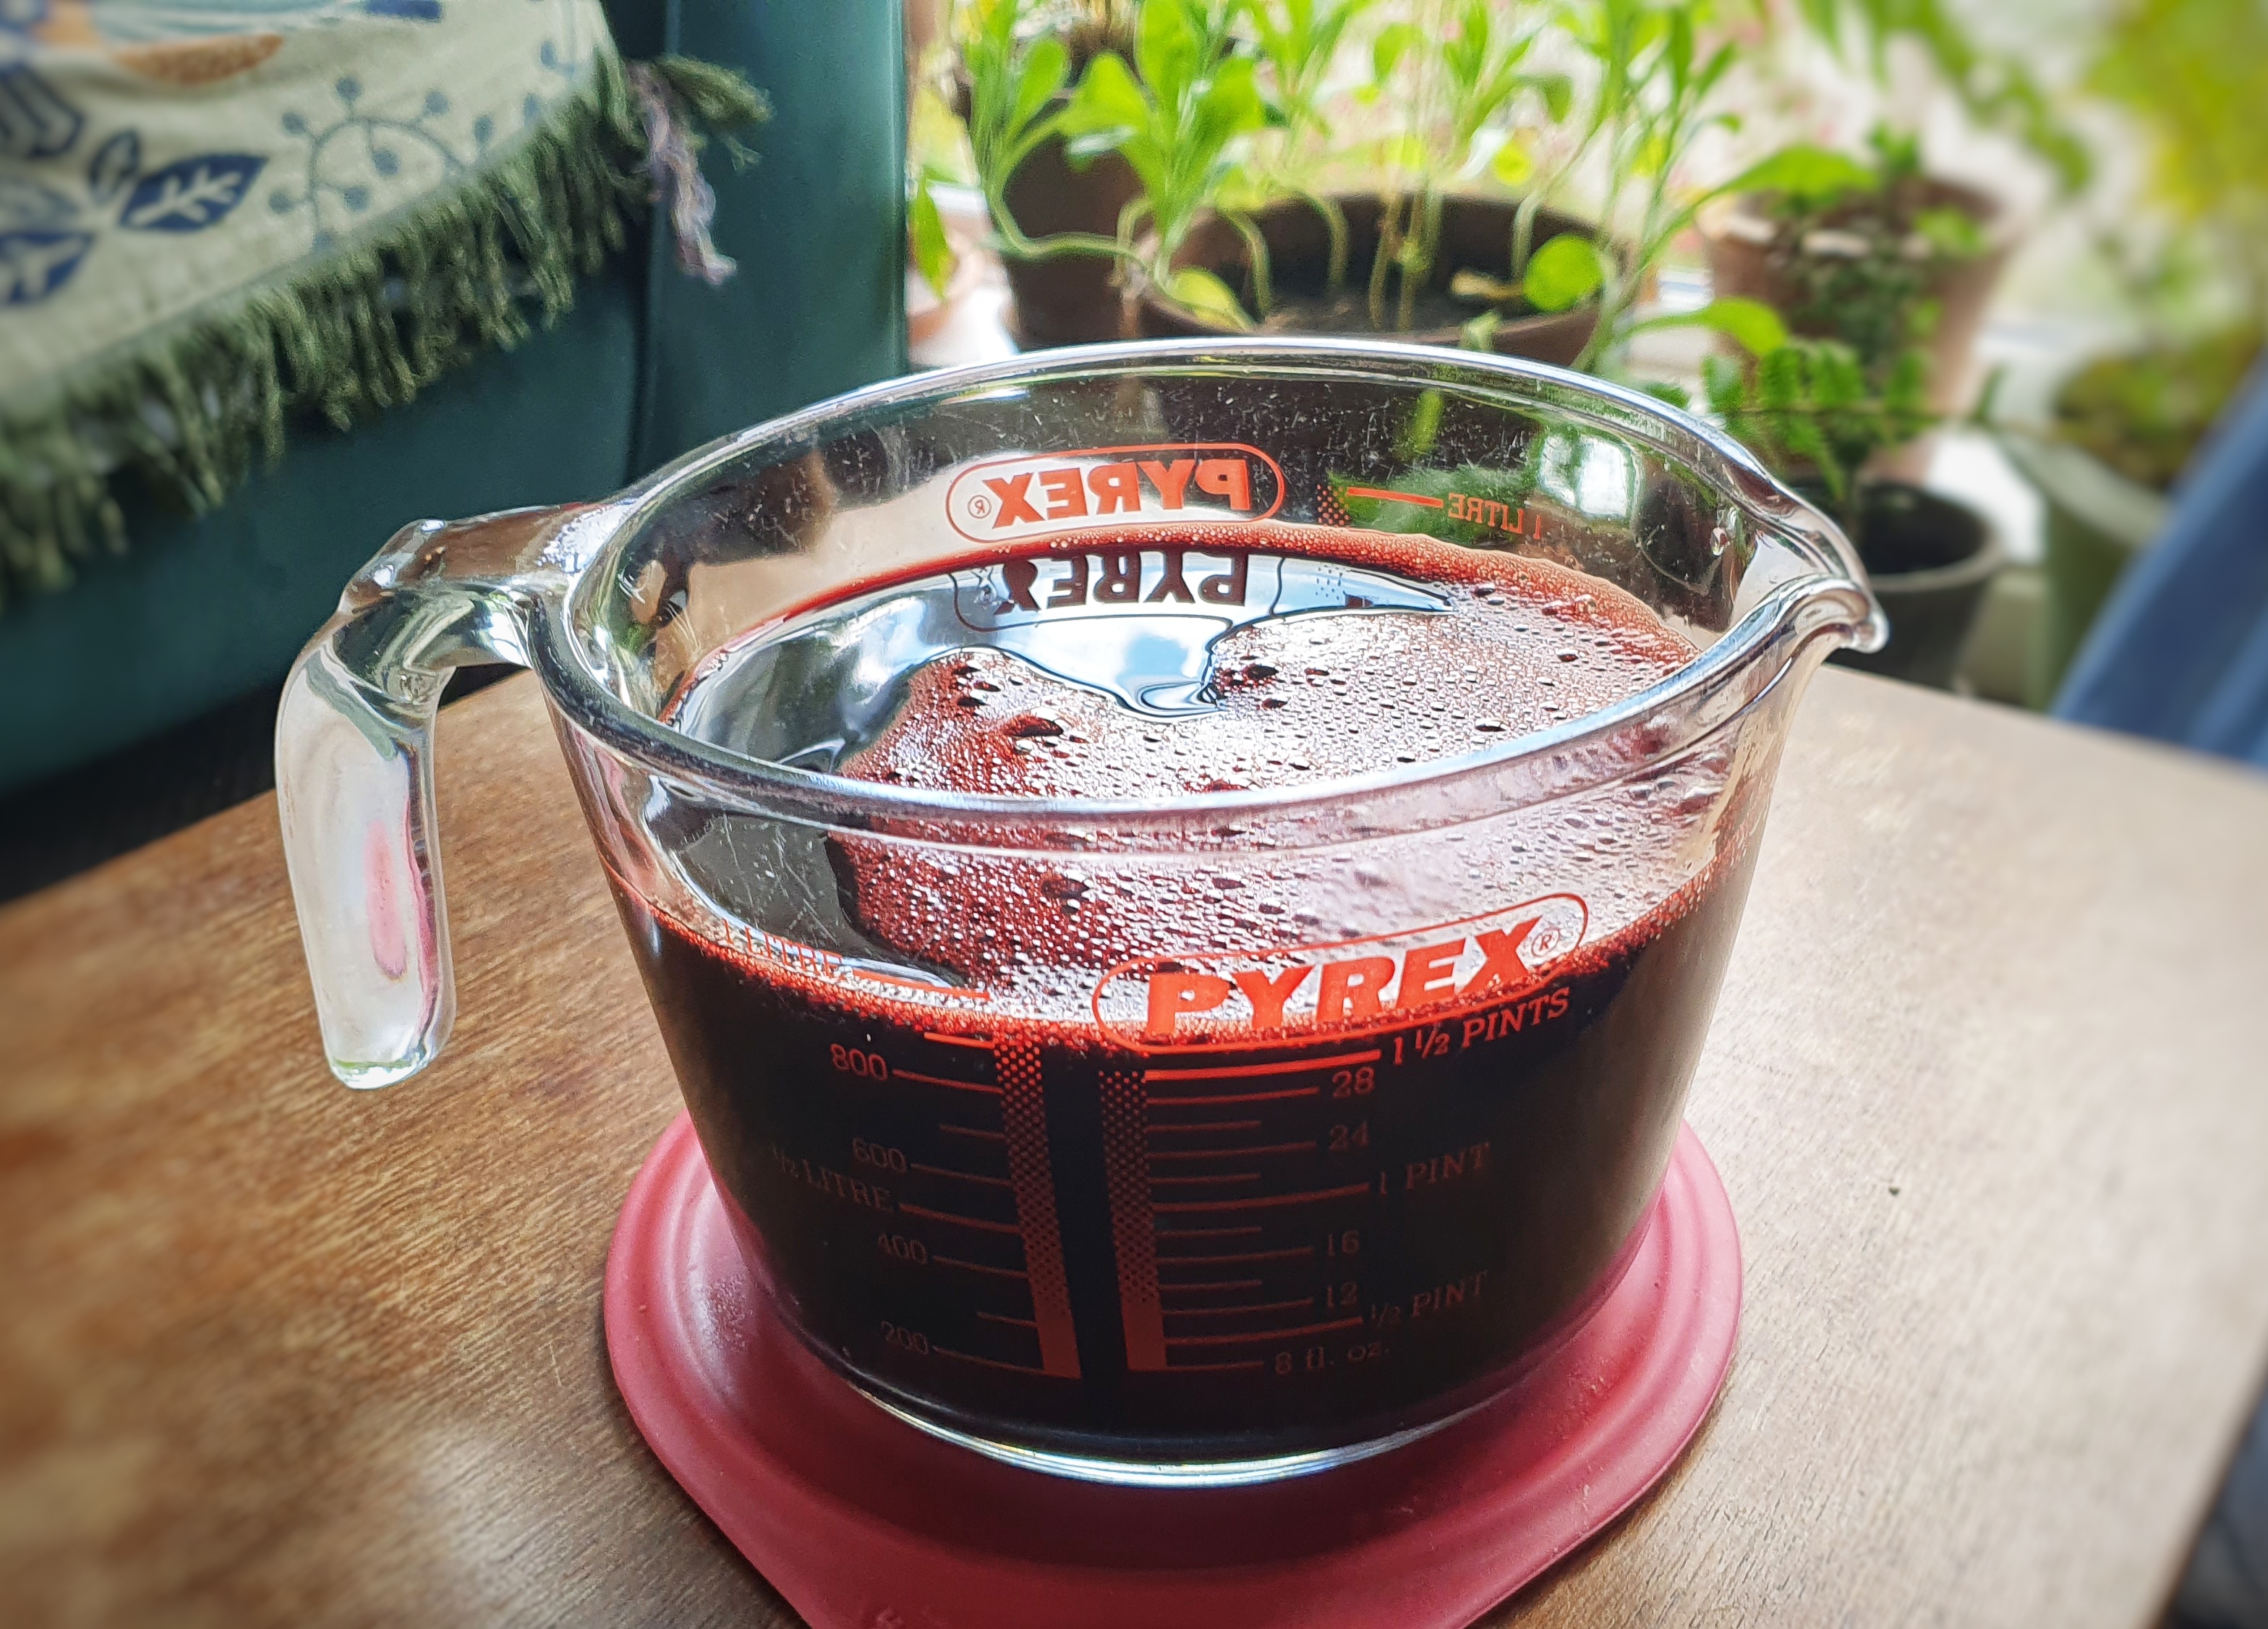
For years now, I have wanted to make my own fresh blood black puddings, but fresh blood is so tricky to get hold of in Britain, I thought I would never get the opportunity. Lucky for me then, that Fruit Pig, who are sponsoring the ninth season of The British Food History Podcast, kindly sent me a litre of pig’s blood. When it came to recipes, I very much had my eye on Early Modern black puddings because they seem so outlandish compared to traditional black puddings of today. On one hand, they are very British, containing oatmeal and/or breadcrumbs and plenty of chopped beef suet. On the other, they are reminiscent of a French boudin noir in that there are lashings of cream and egg yolks.
If you haven’t listened to the episode about black and white puddings with Matthew and Grant of Fruit Pig listen here.
Read about the history of puddings in The Philosophy of Puddings
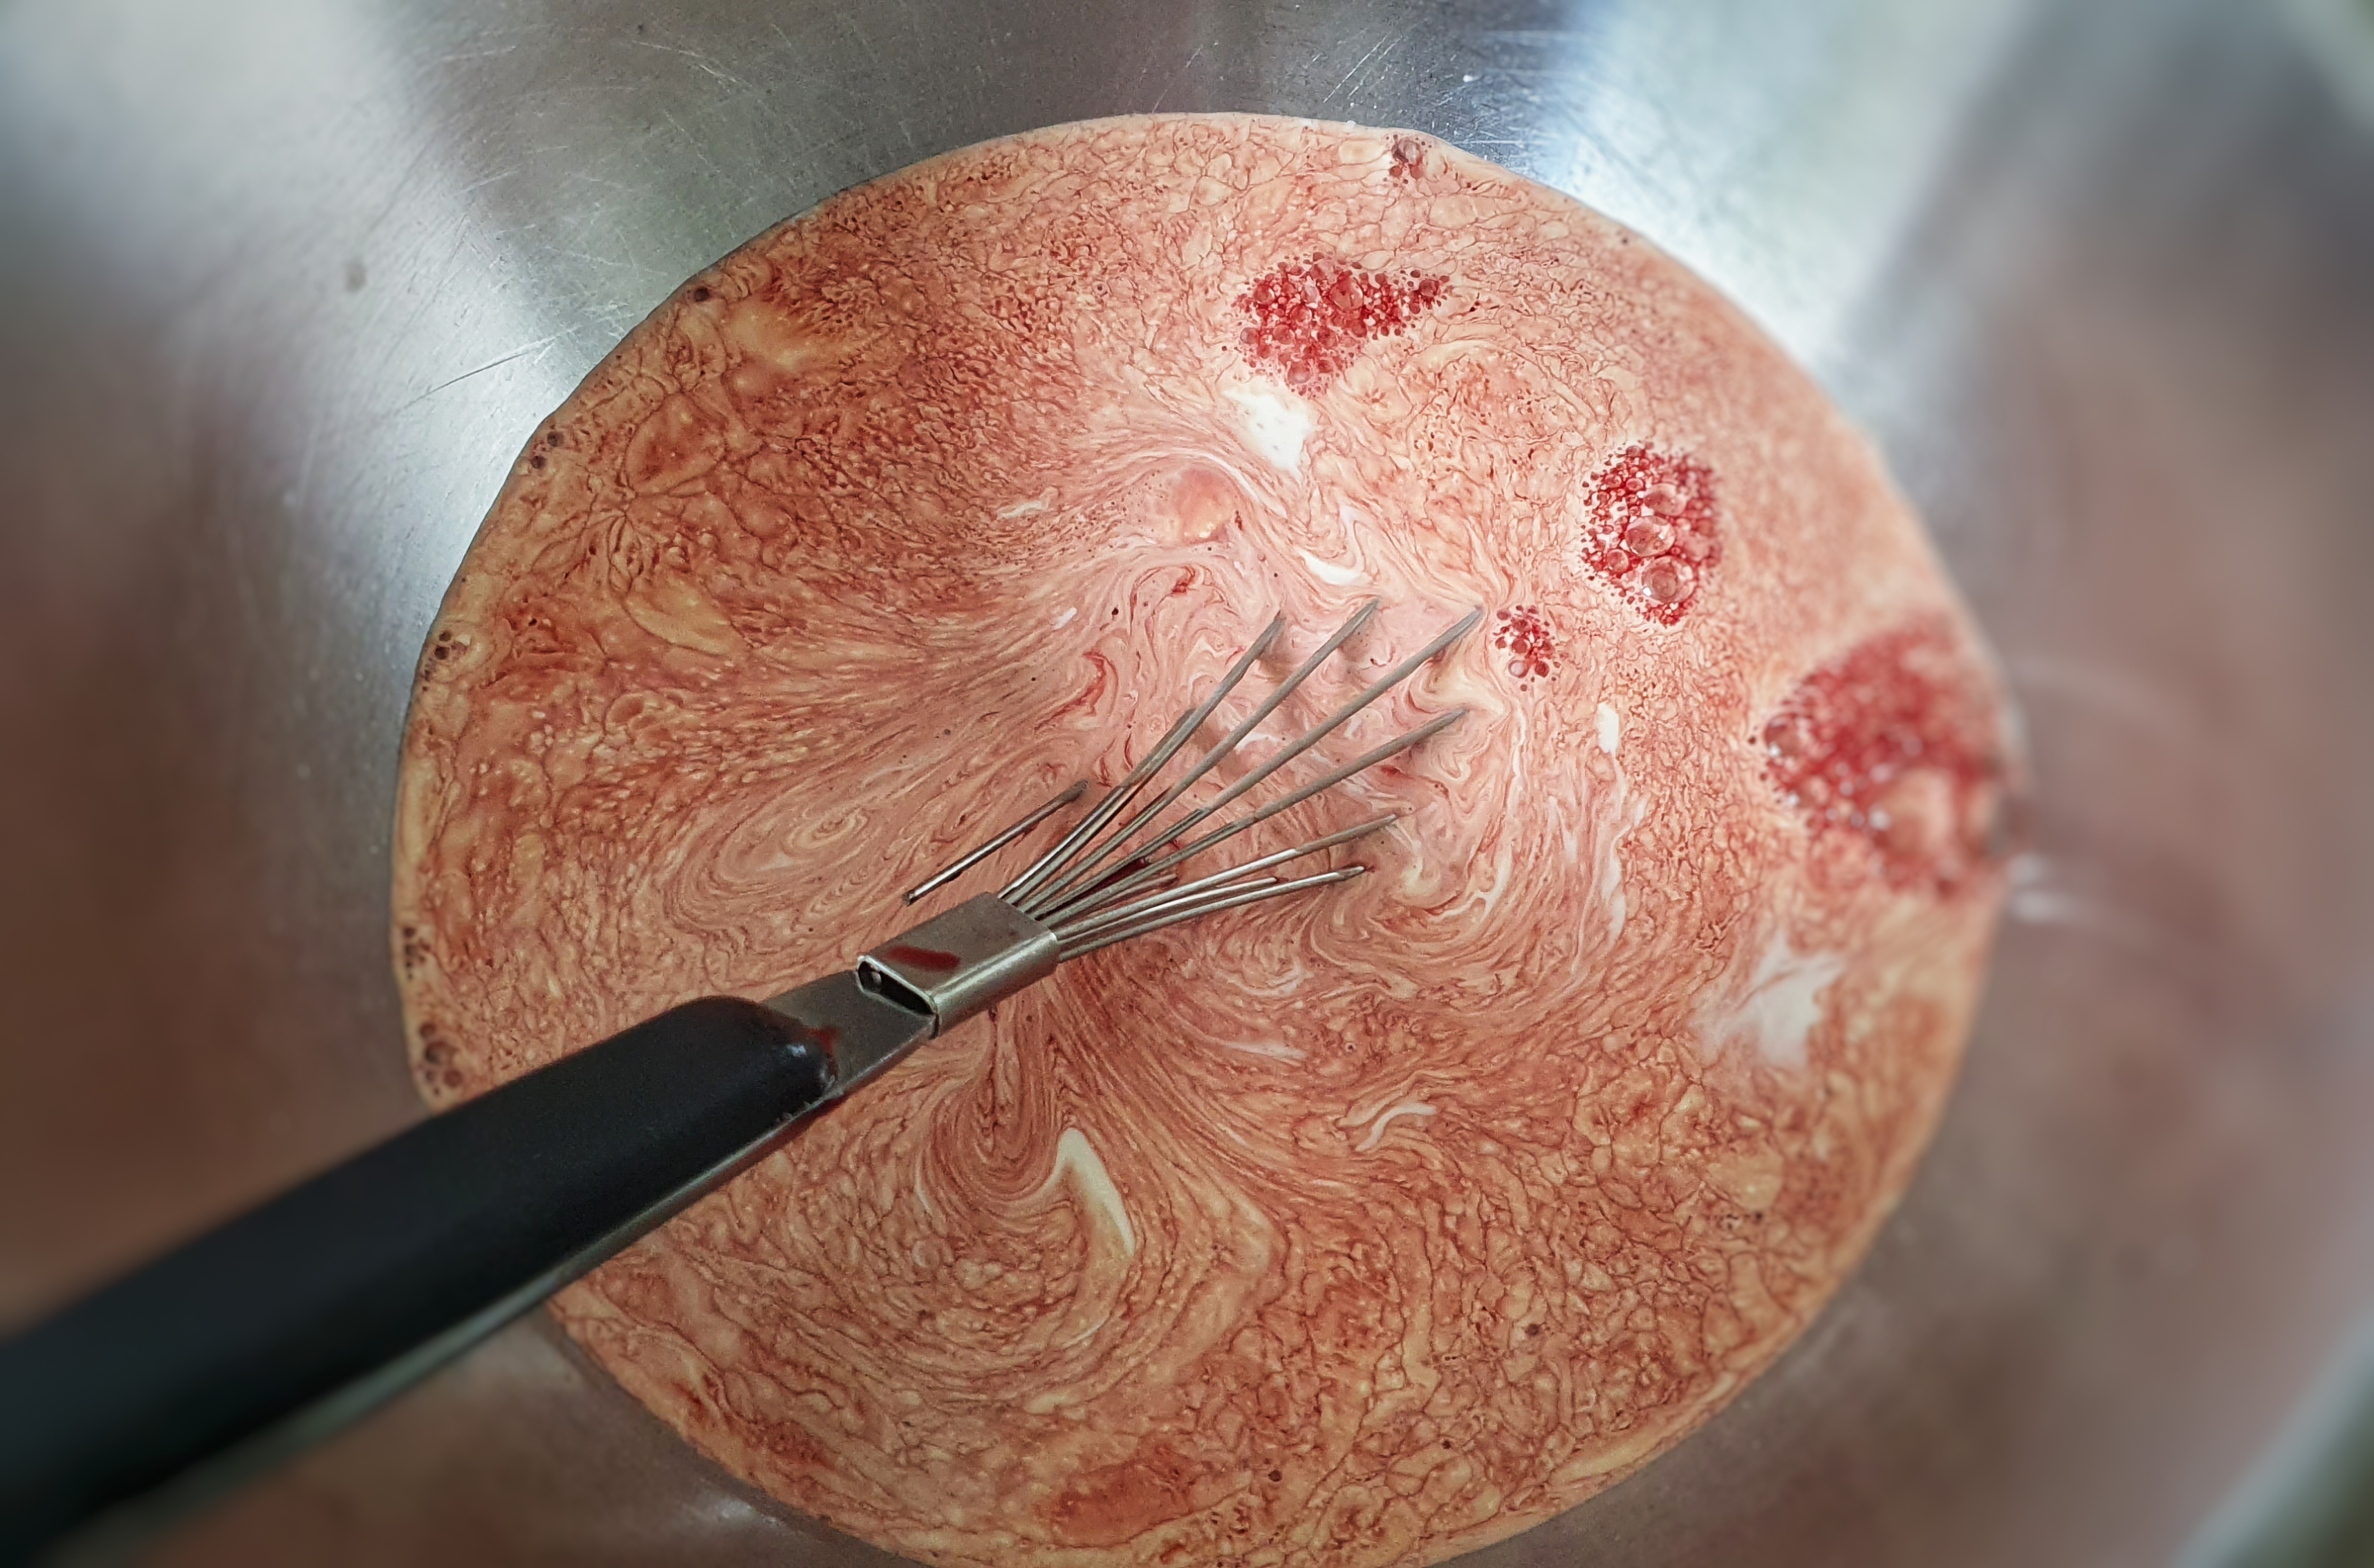
There are lots of unexpected herbs and spices, too. Thomas Dawson uses sheep’s blood, milk-soaked oats, suet and what we might think of as the constituents of a mixed spice today: nutmeg, mace, black pepper, ginger and cinnamon.[1] Sir Kenelm Digby liked to use chicken blood, cream, almond cream, bone marrow, sugar, salt, rosewater and eggs.[2] Robert May gives us some precise pointers as well as several ways of making black puddings. In one recipe he combines blood and cream in a ratio of 2:1. Sometimes he soaks oats in milk, sometimes blood: ‘Steep great oatmeal in eight pints of warm goose blood, sheeps blood, calves, or lambs, or fawns blood’. He uses a whole range of interesting herbs, including thyme, spinach, parsley, sorrel and strawberry leaves, to name but a few. He also adds ‘Sometimes for variety, Sugar, Currans, &c.’[3] I really want to know what sweet black pudding tastes like!
Robert May liked to add currants and sugar to his black puddings ‘for variety’.
Using these descriptions as inspiration, I created the recipe below. There was a certain amount of trial-and-error, and whenever I got stuck, I made sure to gain advice from Regula Ysewijn’s Pride and Pudding, Hugh Fearnley-Whittingstall’s The River Cottage Cookbook and Fergus Henderson’s The Complete Nose to Tail.[4]
I learned a great deal making them – the most important lesson being just how skilled one must be to make these sorts of puddings frequently and in large amounts. It made me appreciate even more the hard work of our forebears and Fruit Pig!
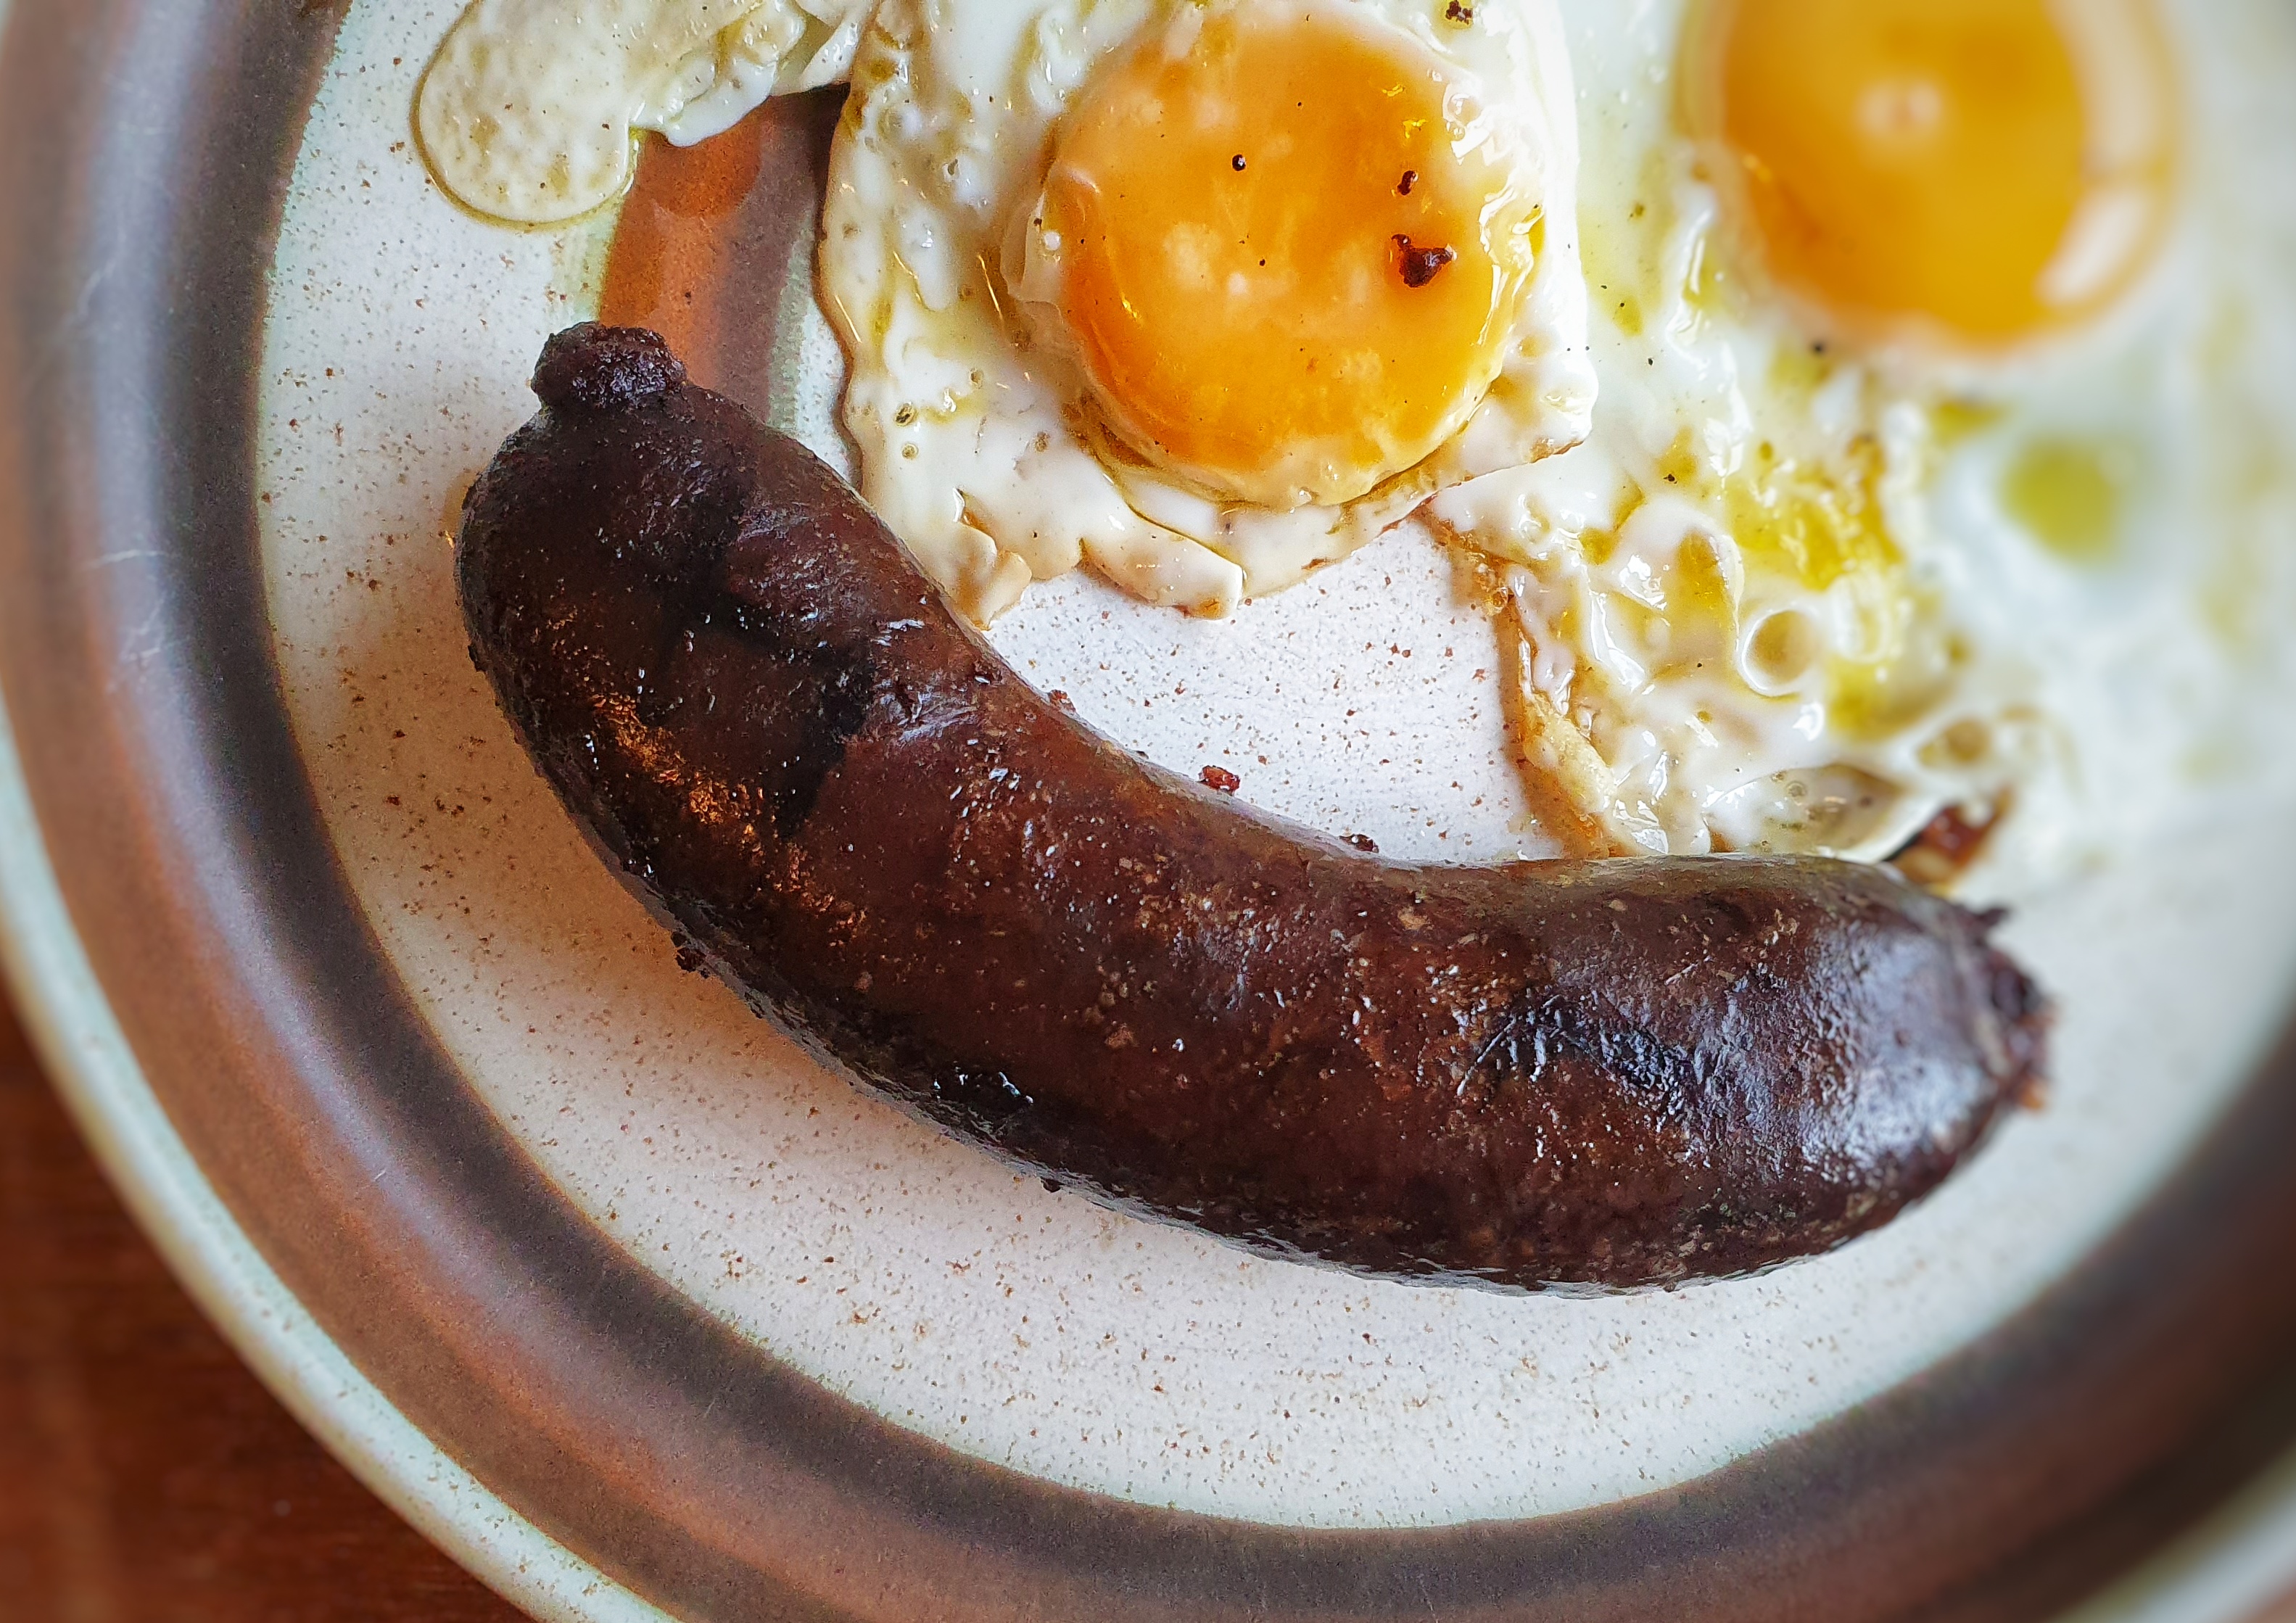
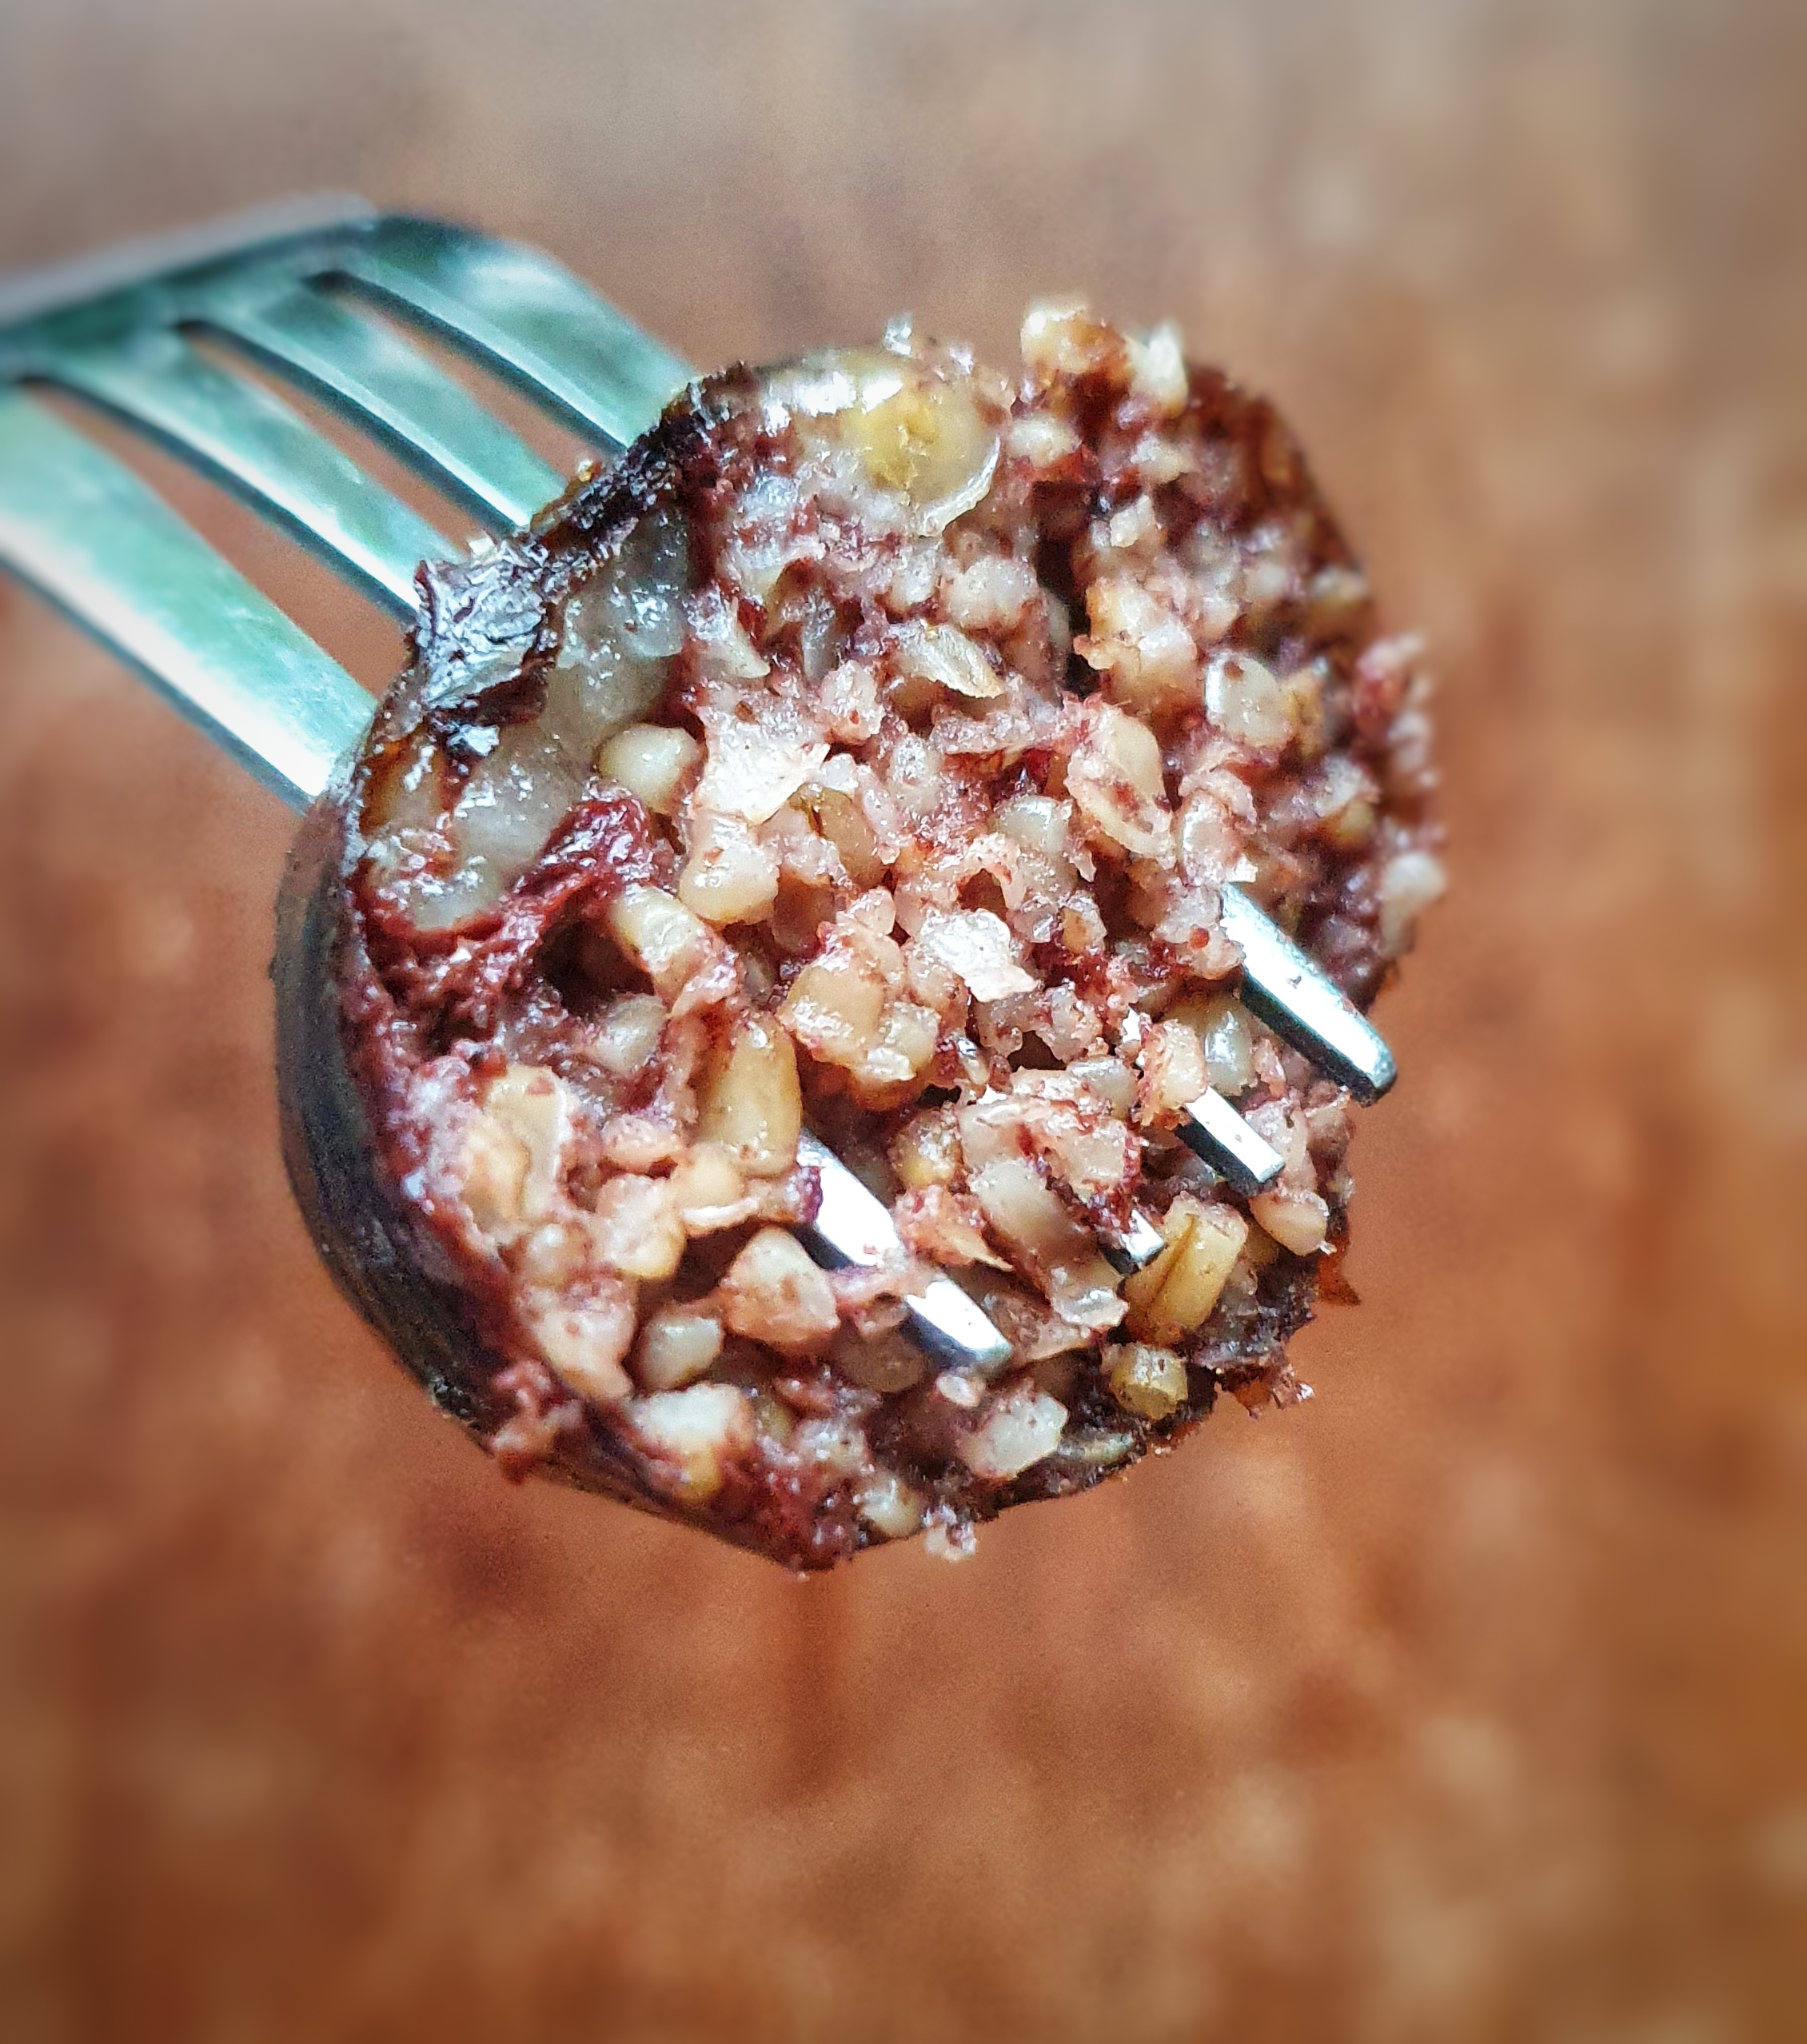
I was really surprised with how well the puddings turned out, and I would certainly recommend giving them a go. I made one batch with sugar and currants and one without. You might be surprised to hear that the sweet one was really quite delicious. I fried my savoury puddings and served them with fried eggs atop some sourdough toast. They tasted rich and were a cross between a black pudding and haggis. I’ll let you know how I served the sweet black puddings.
There are just a couple of things I would have done differently: my main issue was that the butcher gave me pigs’ casings which were not suitable for these black puddings – the nubbly pieces of oat tore through them easily, and the skin burst under their own weight at times. I would therefore recommend beef casings or simply baking them in the oven in loaf tins, or maybe even frying up blood pancakes as suggested by Regula Ysewijn![5]
A big thank you to Matthew and Grant of Fruit Pig for supplying me with fresh blood
If you can, support the podcast and blogs by becoming a £3 monthly subscriber, and unlock lots of premium content, including bonus blog posts and recipes, access to the easter eggs and the secret podcast, or treat me to a one-off virtual pint or coffee: click here.
Recipe
Makes approximately 12 x 20 cm black puddings if made in pork casings, and 6 x 20 cm puddings if made in beef casings.
Natural pork or beef skins, soaked in water overnight (optional, see recipe)
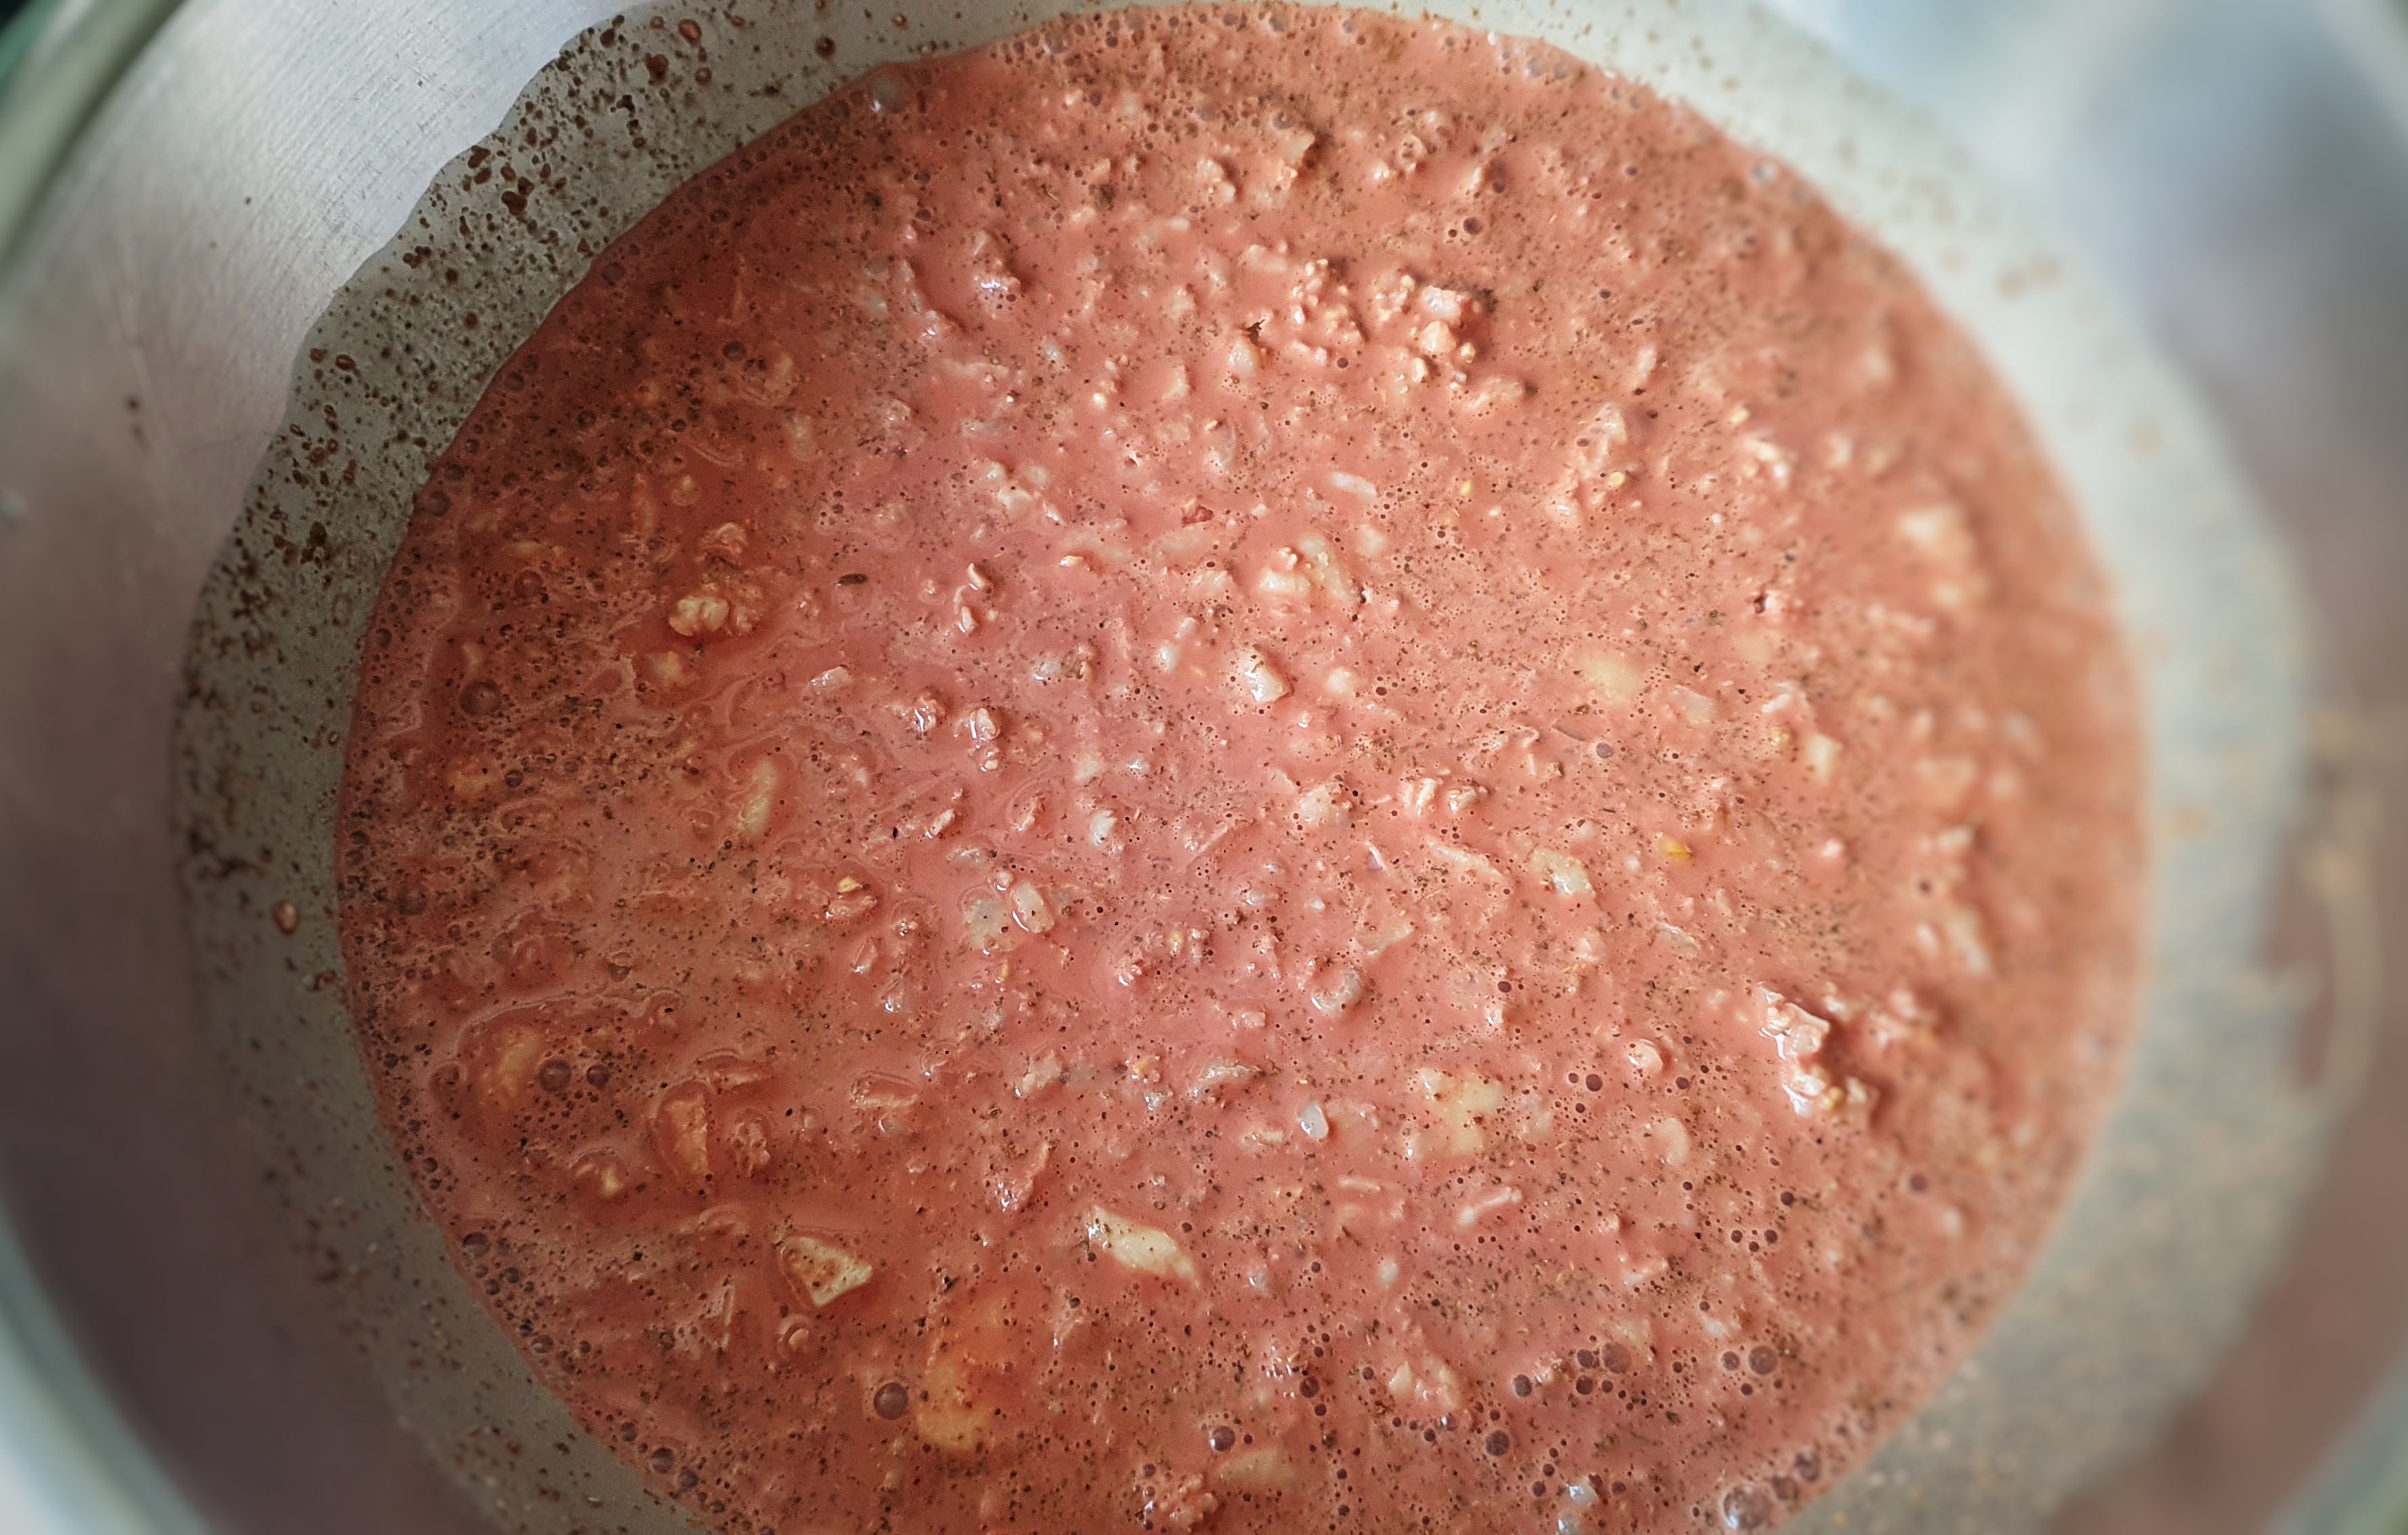
The day before you want to make your puddings, place the oats in a bowl or large jug and pour in enough milk to just cover them. Place in the fridge overnight. Grind the spices and mix in the dried herbs and salt.
Next day, place all of the ingredients (aside from the casings, if using) in a large mixing bowl. Combine and allow everything to mingle, dissolve and absorb; around an hour – or more if you have the time.[6]
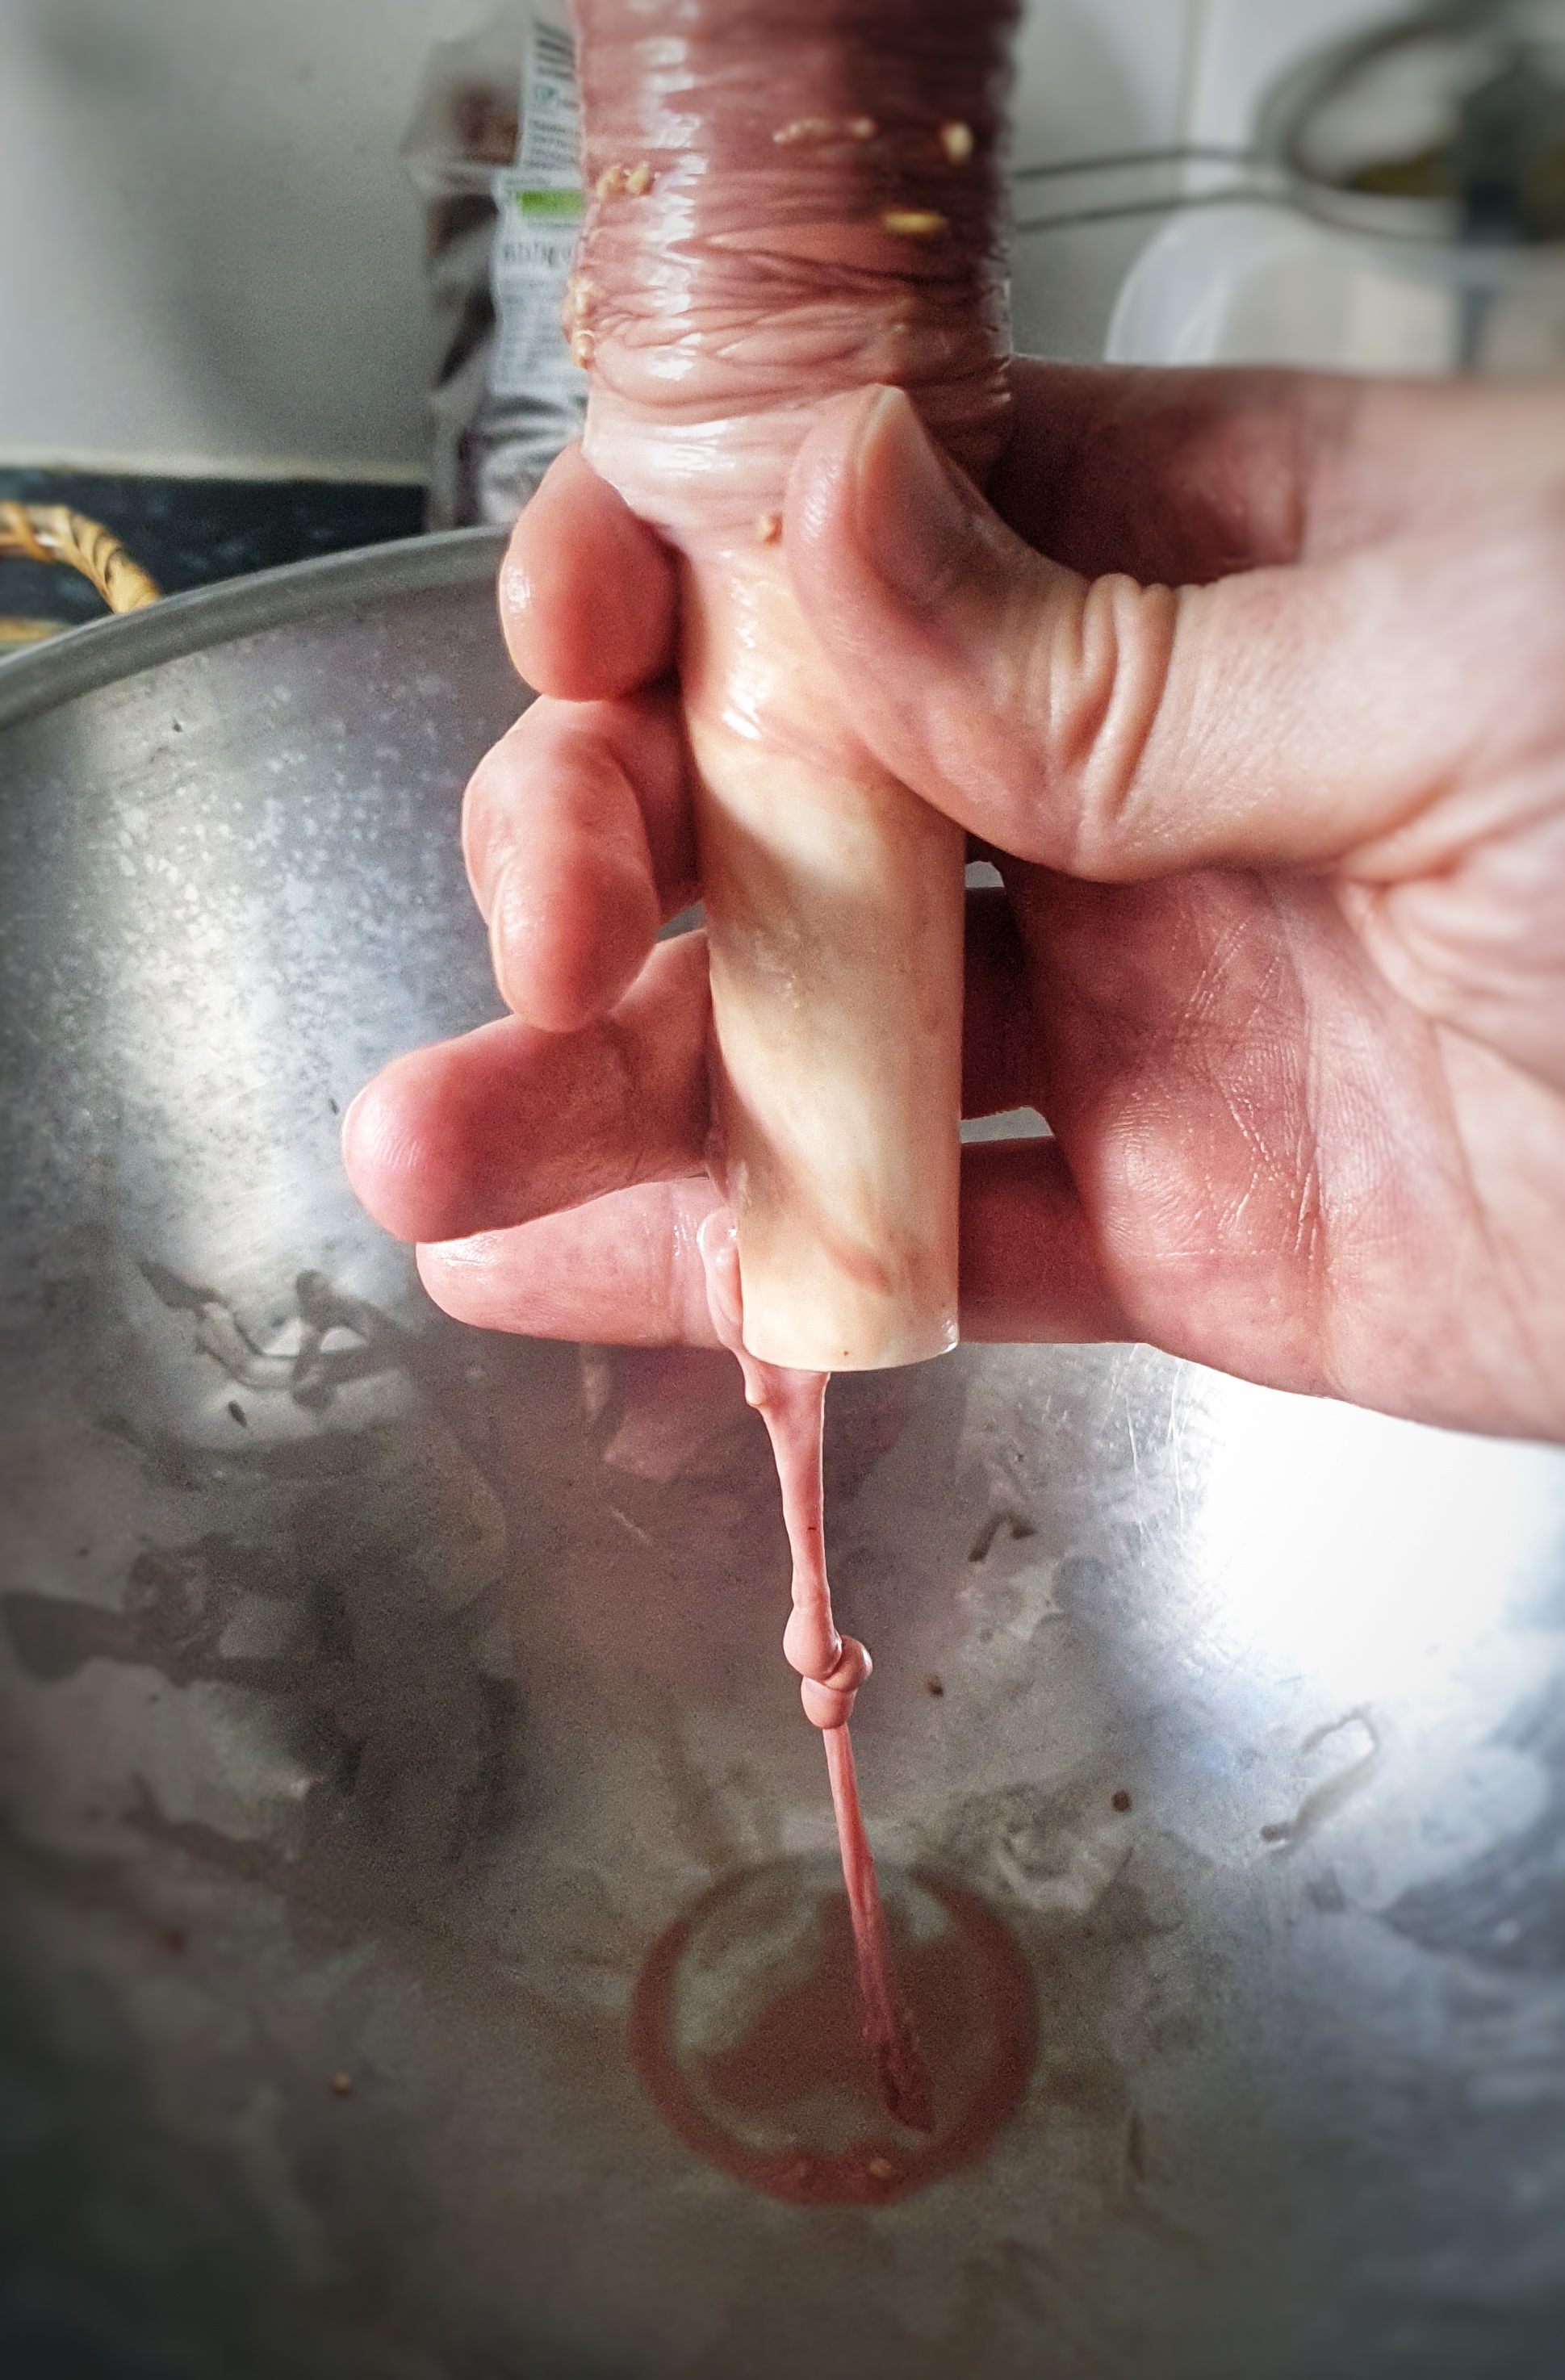
Once everything has had the chance to macerate and absorb, it is time to assemble the puddings. I used my sausage stuffer funnel from the Kitchen Aid and attached a length of pork casing onto it, then secured it with some string and knotted the end. Then I set about filling the casings, a spoon at a time, letting the skins naturally fill and fall into a bowl. Then I tied a link off with some string, making sure the casing wasn’t full and there were no obvious air bubbles. The lengths of the puddings were around 20 cm – though I wasn’t very consistent. In retrospect, I would recommend using beef casings tied to a wide-mouthed jam funnel, much easier to fill and no constant tearing.
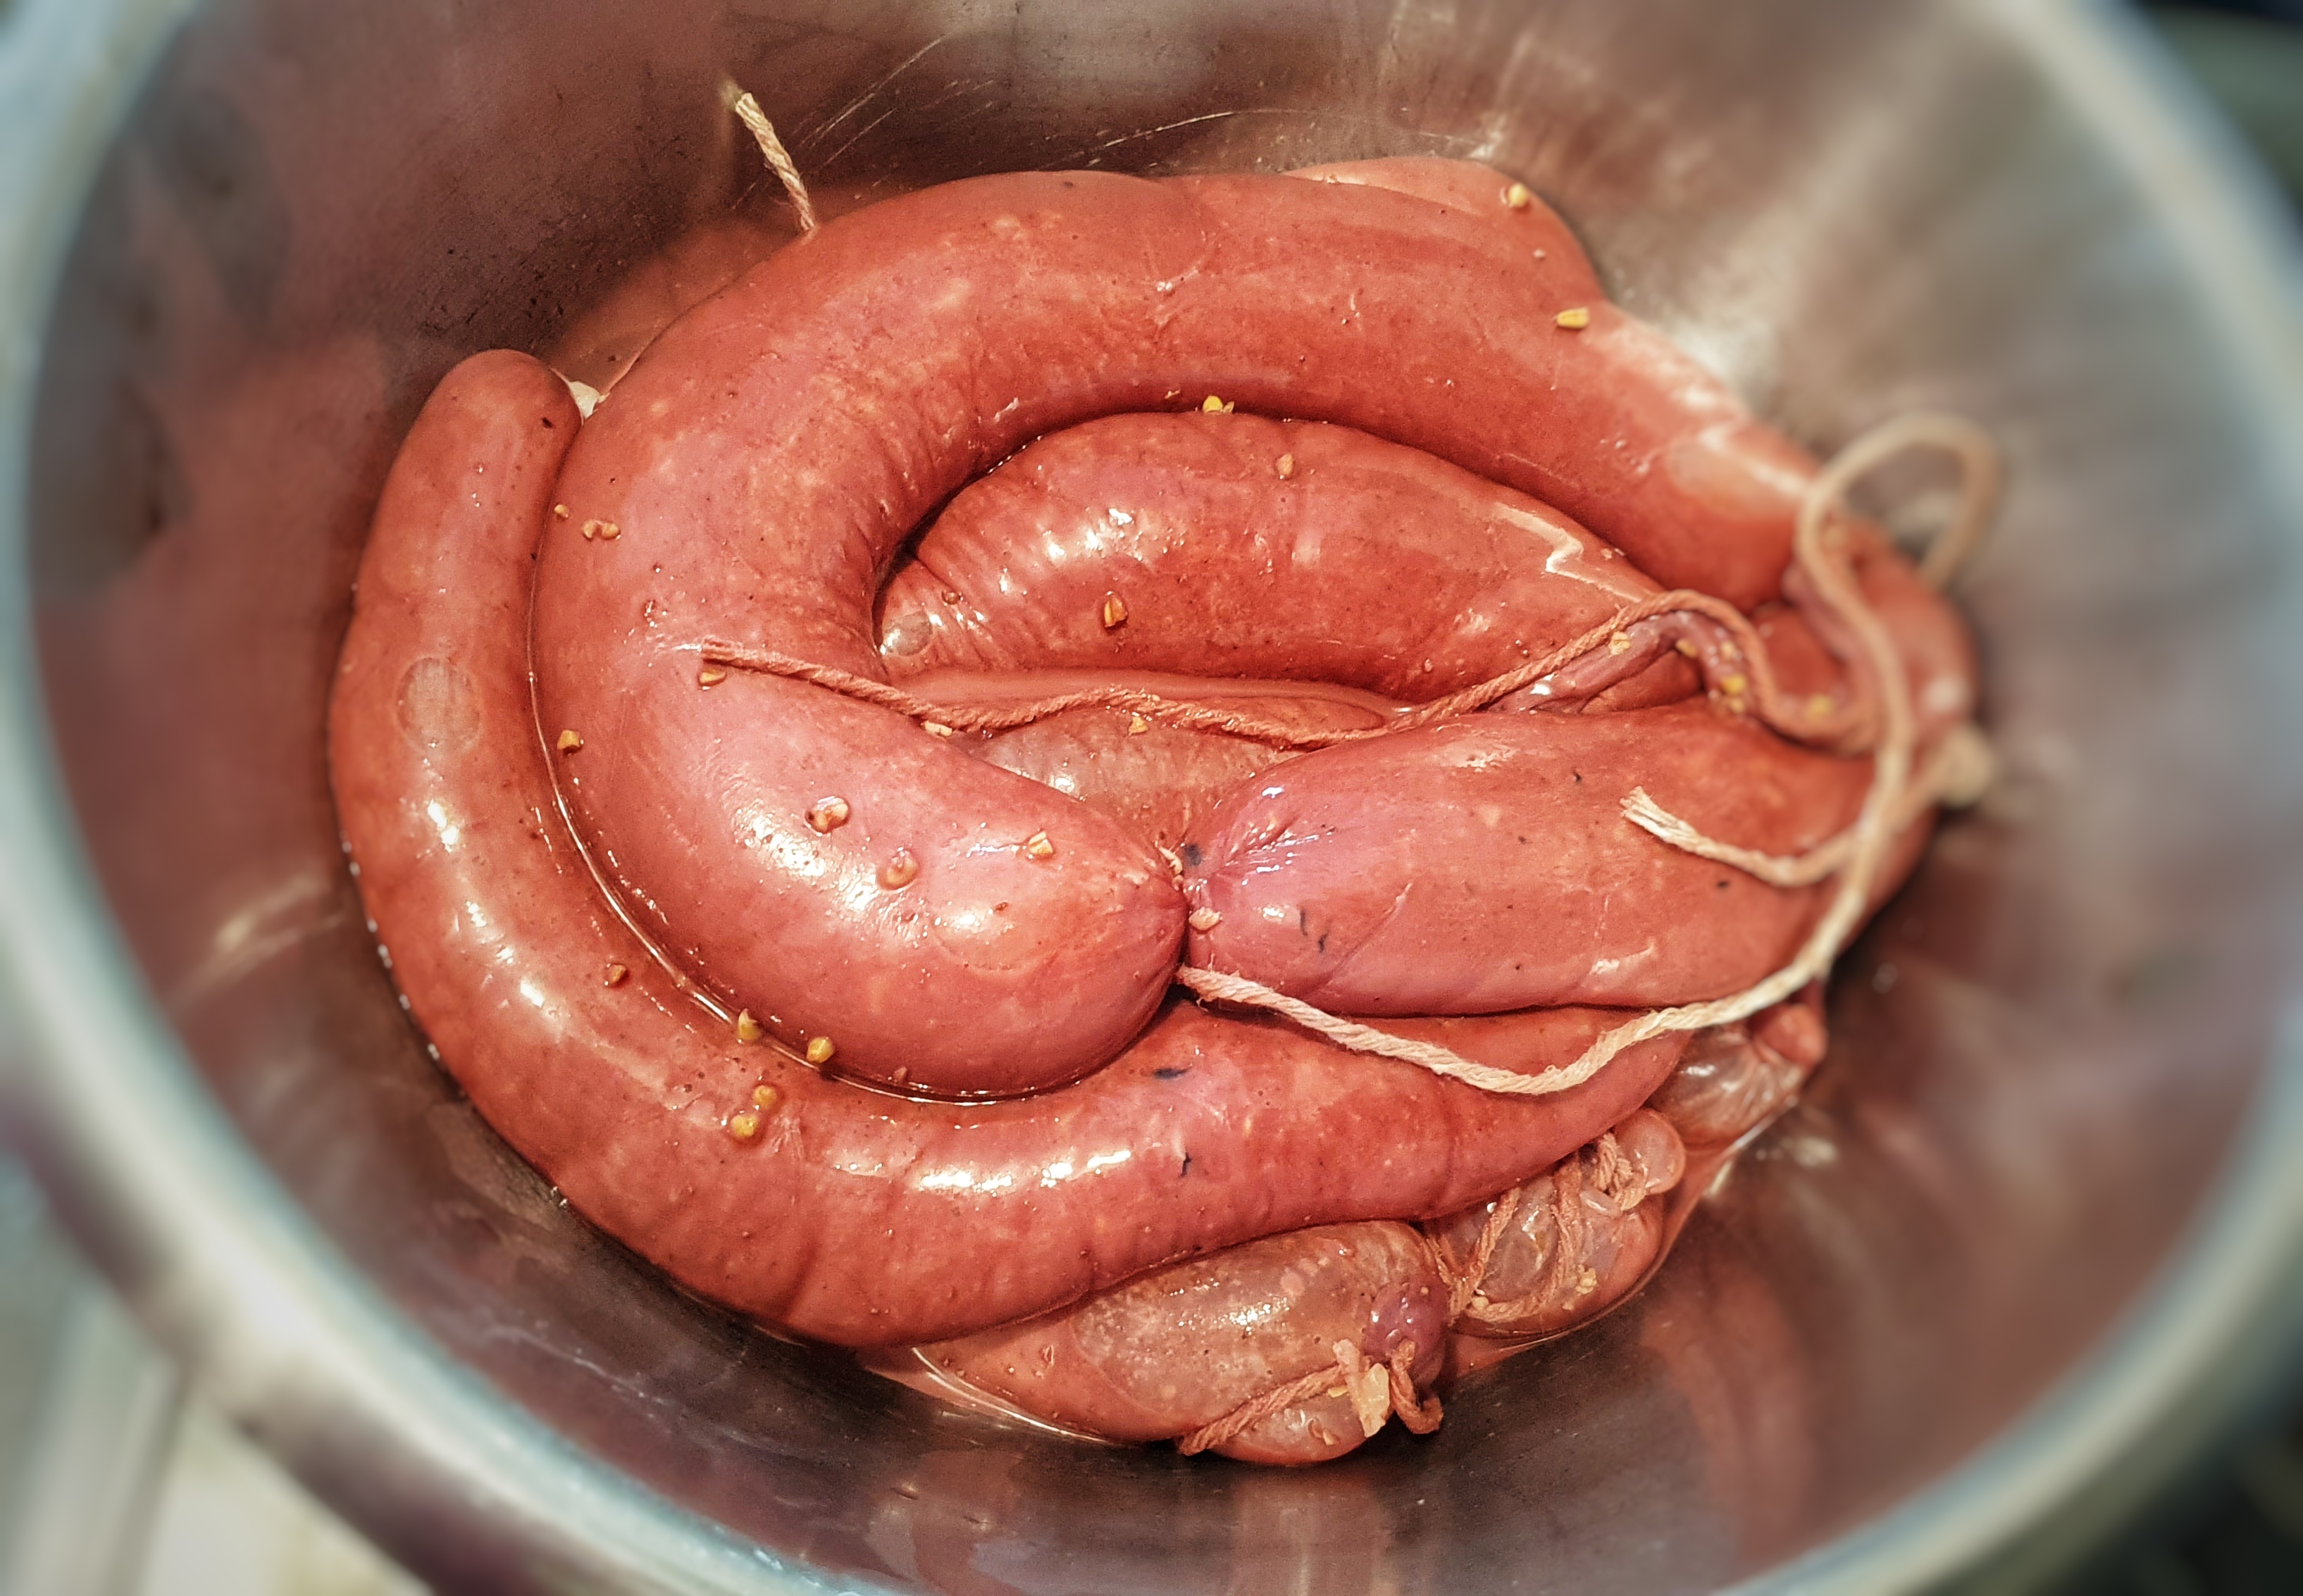
Once all of the mixture is used up, get a large pot of water to a good simmer and gingerly plop them in a few at a time. Three was a good number. Keep the water at a gentle simmer and arm yourself with a pin and pop any bubbles that appear in the cooking puds, lest they burst. They will take around 20 minutes to cook, and you must watch them like a hawk, pin poised and ready to pop. You can tell they are done when the liquid that comes out of a freshly-pricked pudding is clear. If using beef casings, they will take 30 to 35 minutes to cook.
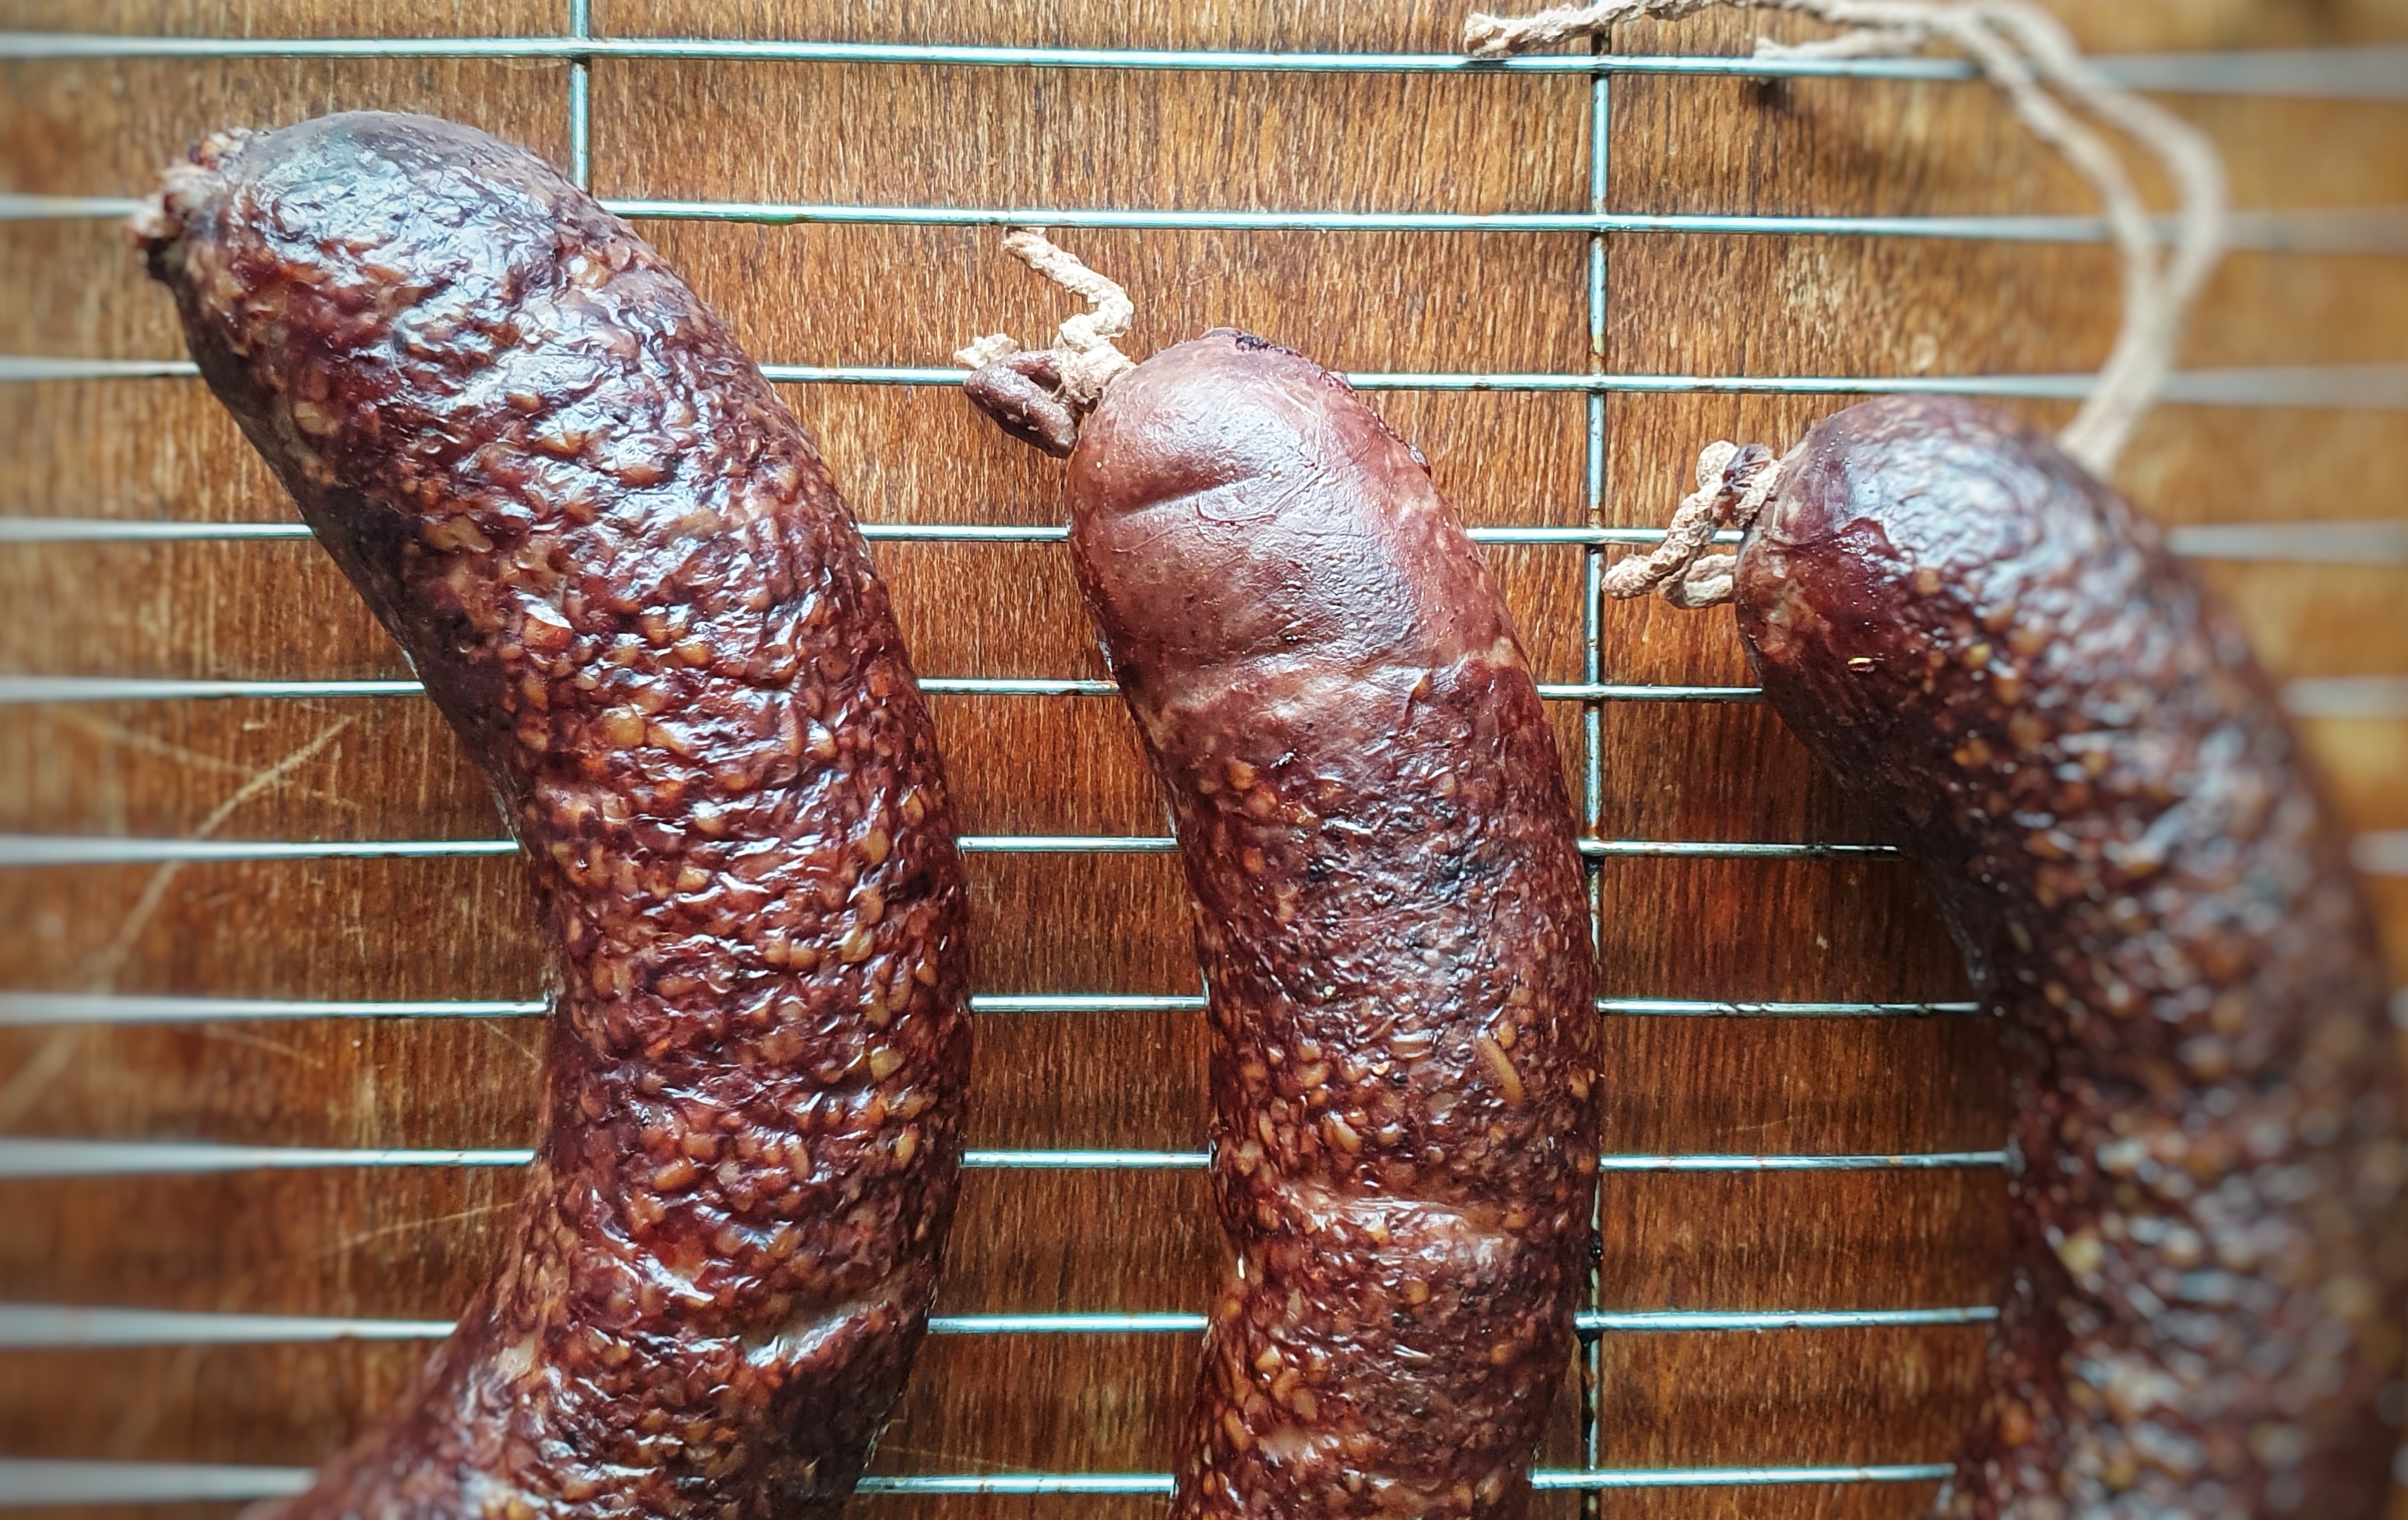
Carefully remove the puddings and either hang them up or lay them on a cooling rack to dry for a few hours before placing them in the refrigerator.
You can avoid all of this faff by baking the mixture in large loaf tins sat in a bain-marie for around 1½ hours at 160°C.[7]
The finished black puddings!
Notes
[1] Dawson, T. (1596). The Good Housewife’s Jewel (1996 Edition). Southover Press.
[2] Digby, K. (1669). The Closet of Sir Kenelm Digby Opened (1997 reprint) (J. Stevenson & P. Davidson, Eds.). Prospect Books.
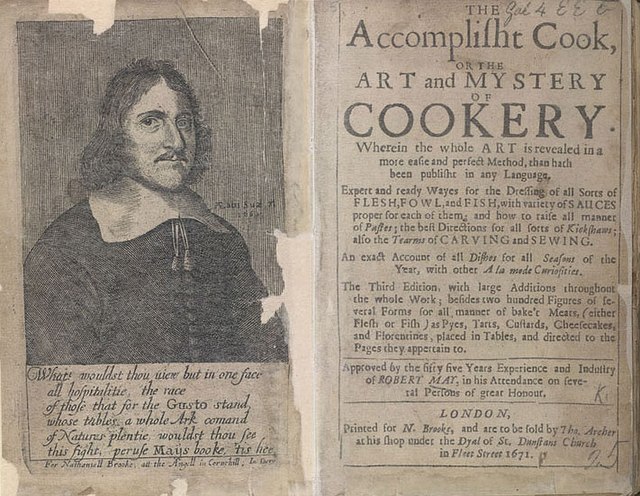
[3] May, R. (2012). The Accomplisht Cook (1660/85) (A. Davidson, M. Bell, & T. Jaine, Eds.; 1685th ed.). Prospect Books.
[4] Fearnley-Whittingstall, H. (2001). The River Cottage Cookbook. Collins; Henderson, F. (2012). The Complete Nose to Tail: A Kind of British Cooking. Bloomsbury; Ysewijn, R. (2015). Pride and Pudding: The History of British Puddings Savoury and Sweet. Murdoch Books.
[6] Note: Looking back on these initial stages, it would have been much better to soak the oats in the blood overnight, mix everything together in the morning, let everything meld and mingle for a couple of hours, and then add enough milk to make a mixture of a spoonable porridge consistency. We live and learn.
[7] Note: I haven’t tested this method; these instructions have been extrapolated from the Fergus Henderson recipe for blood cake in Henderson (2012).
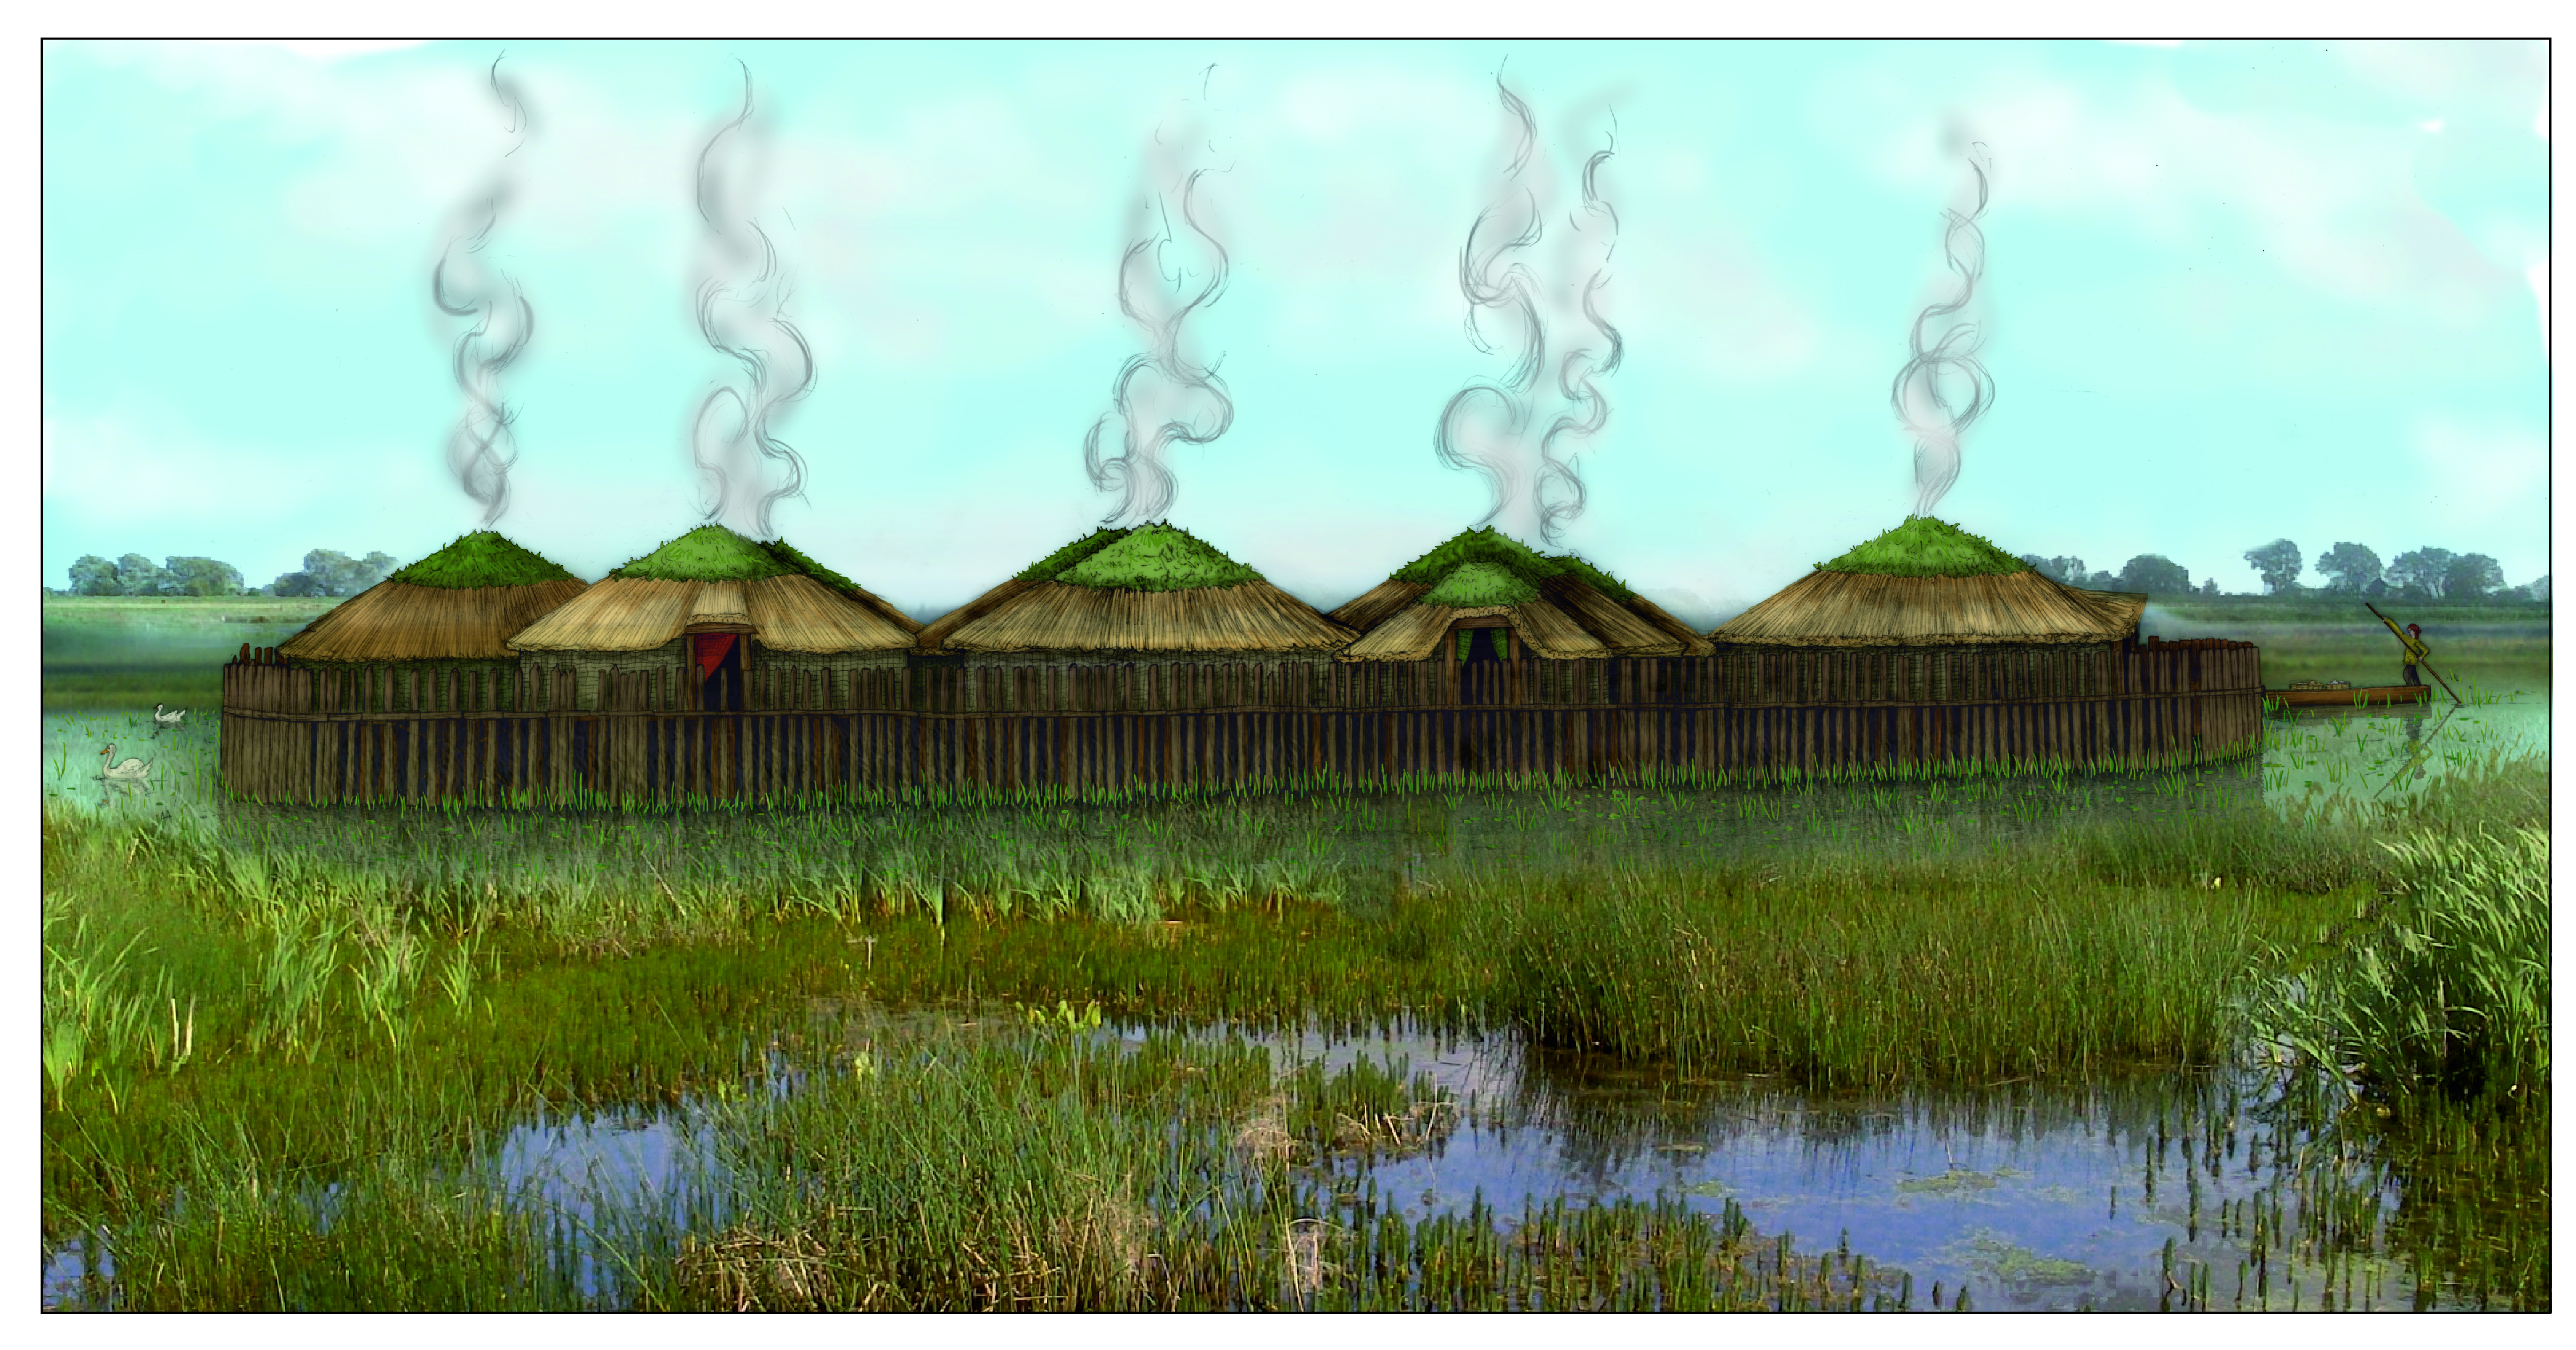
Photo credits: top left: Cambridge Archaeological Unit; bottom right: Cambridge Archaeological Unit using a foreground photographic image supplied by S. Craythorne/Lincolnshire Wildlife Trust
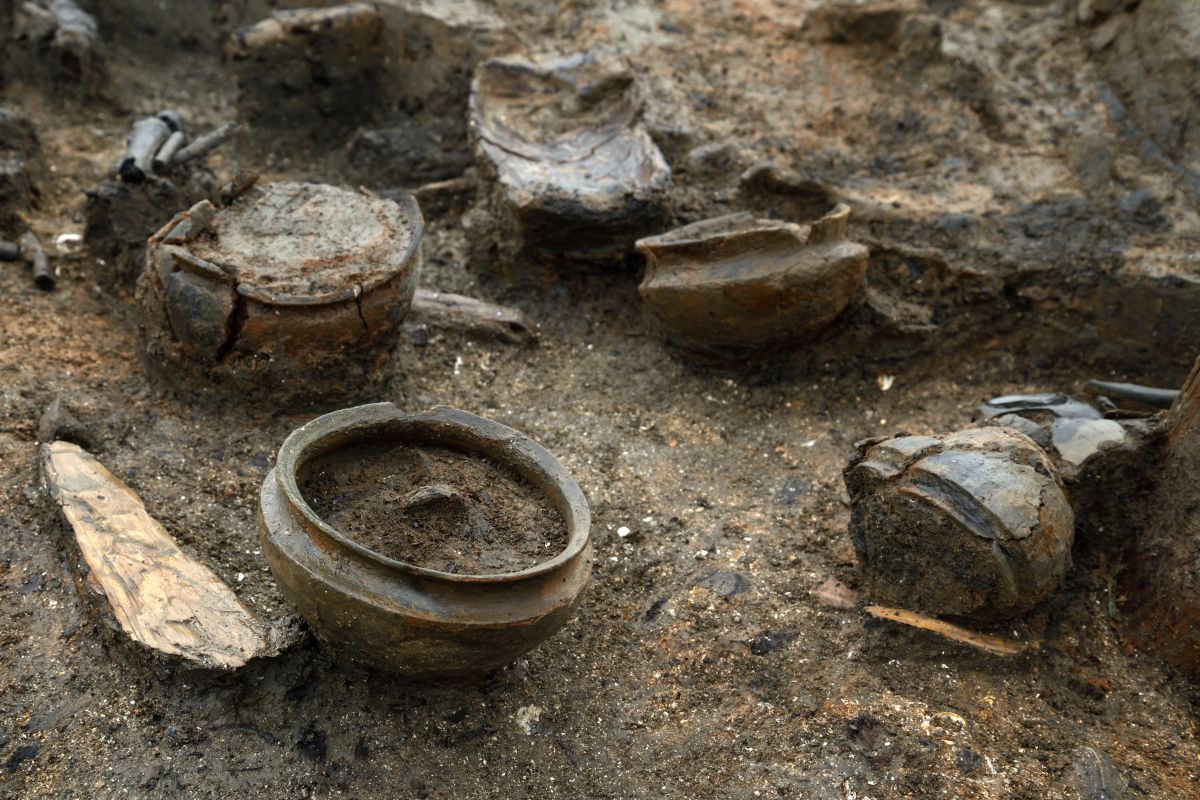
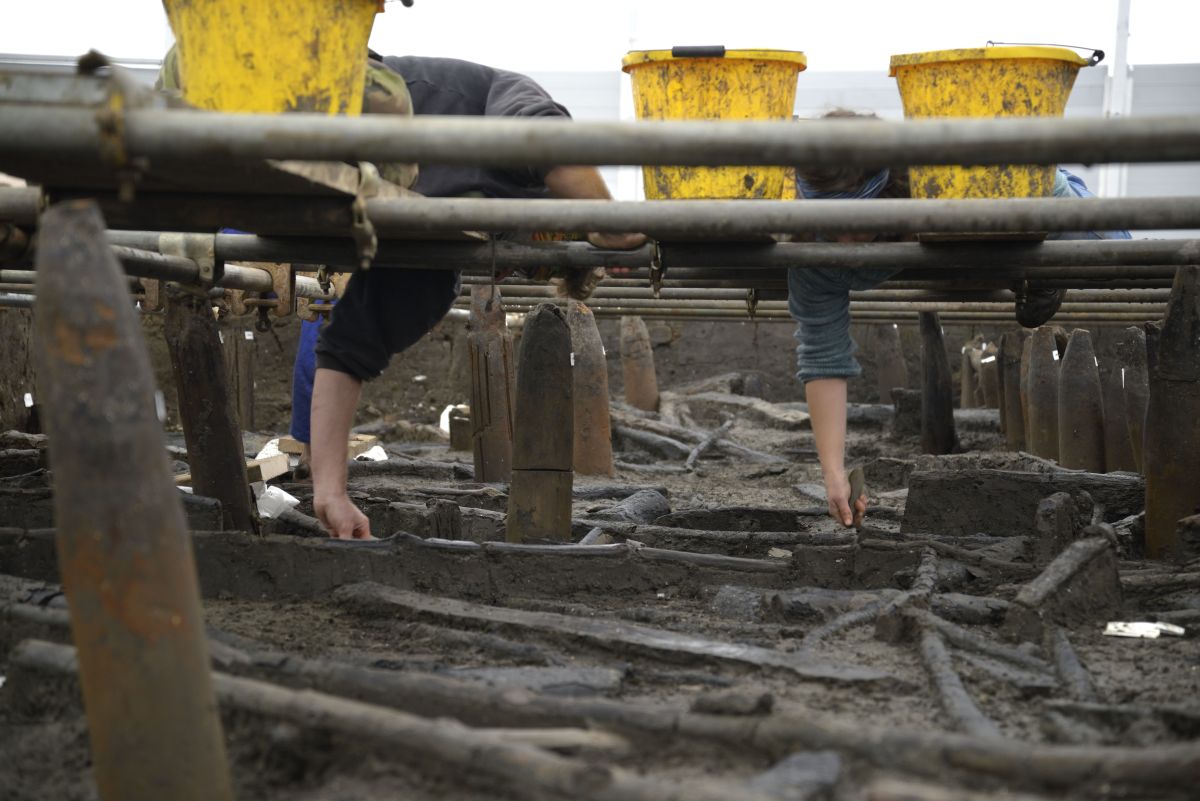
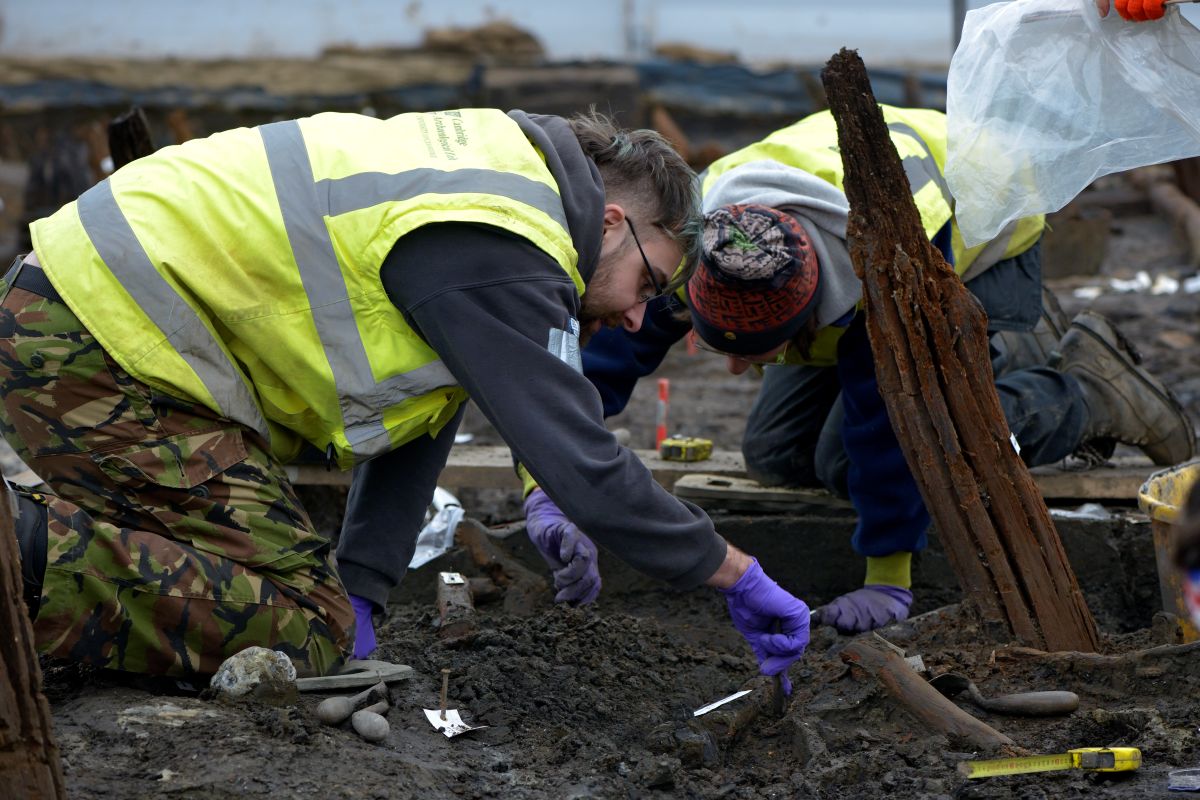
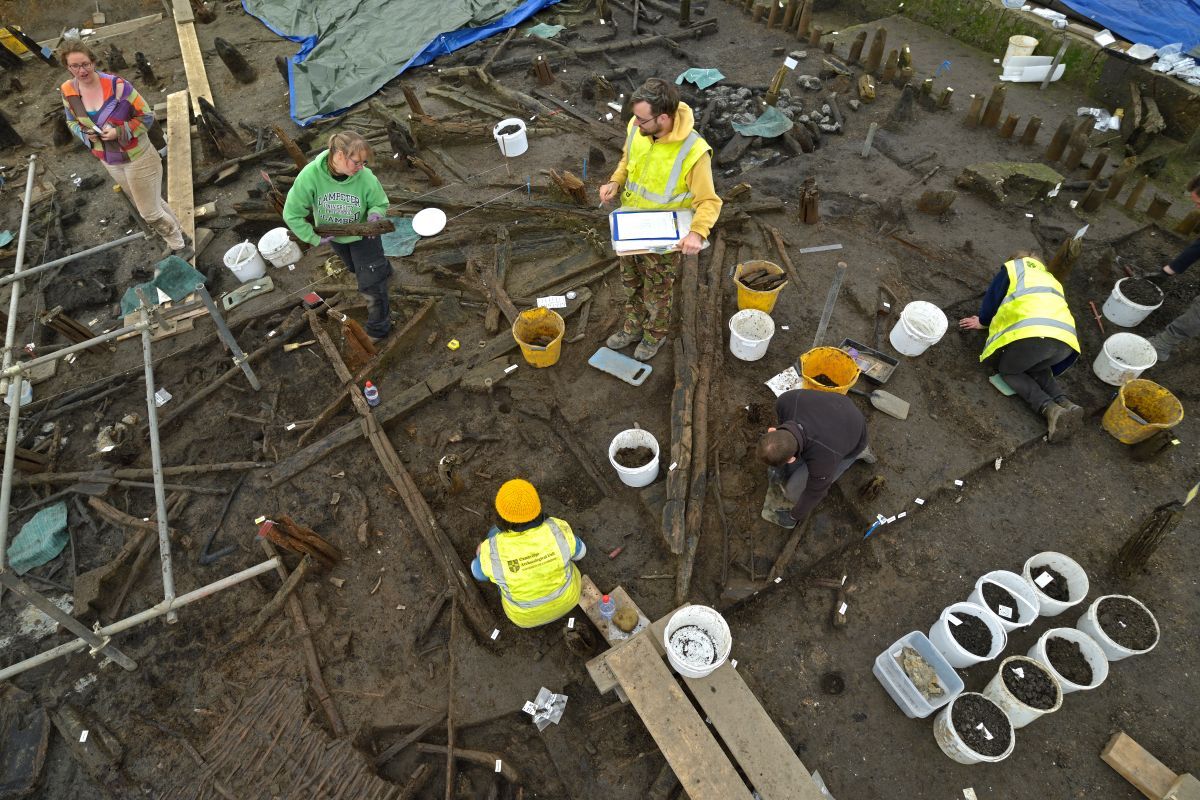
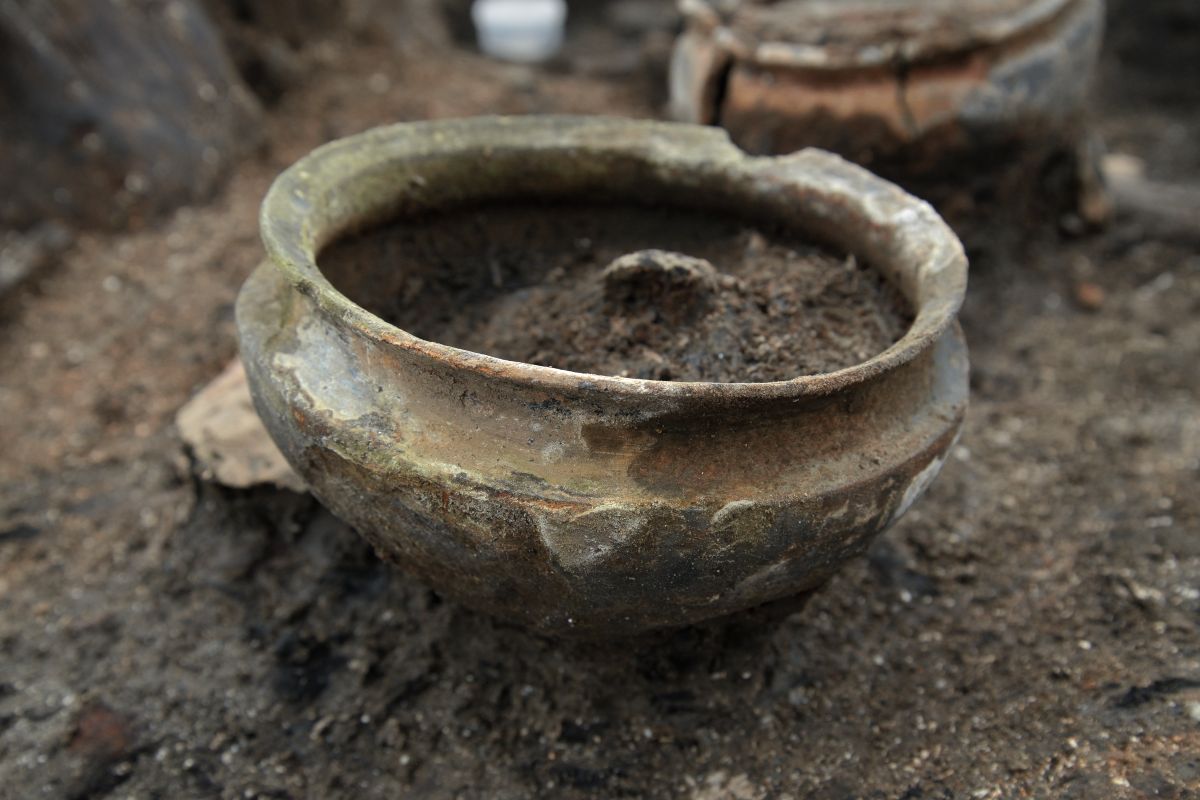
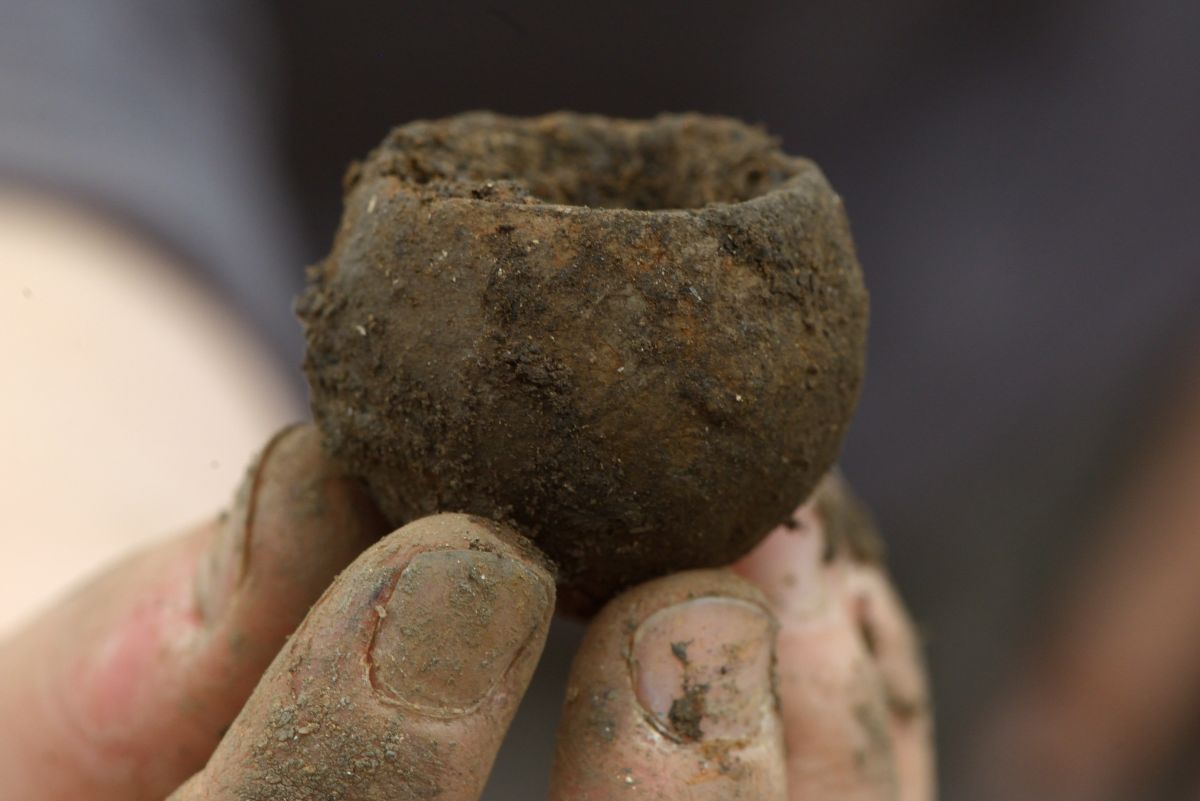
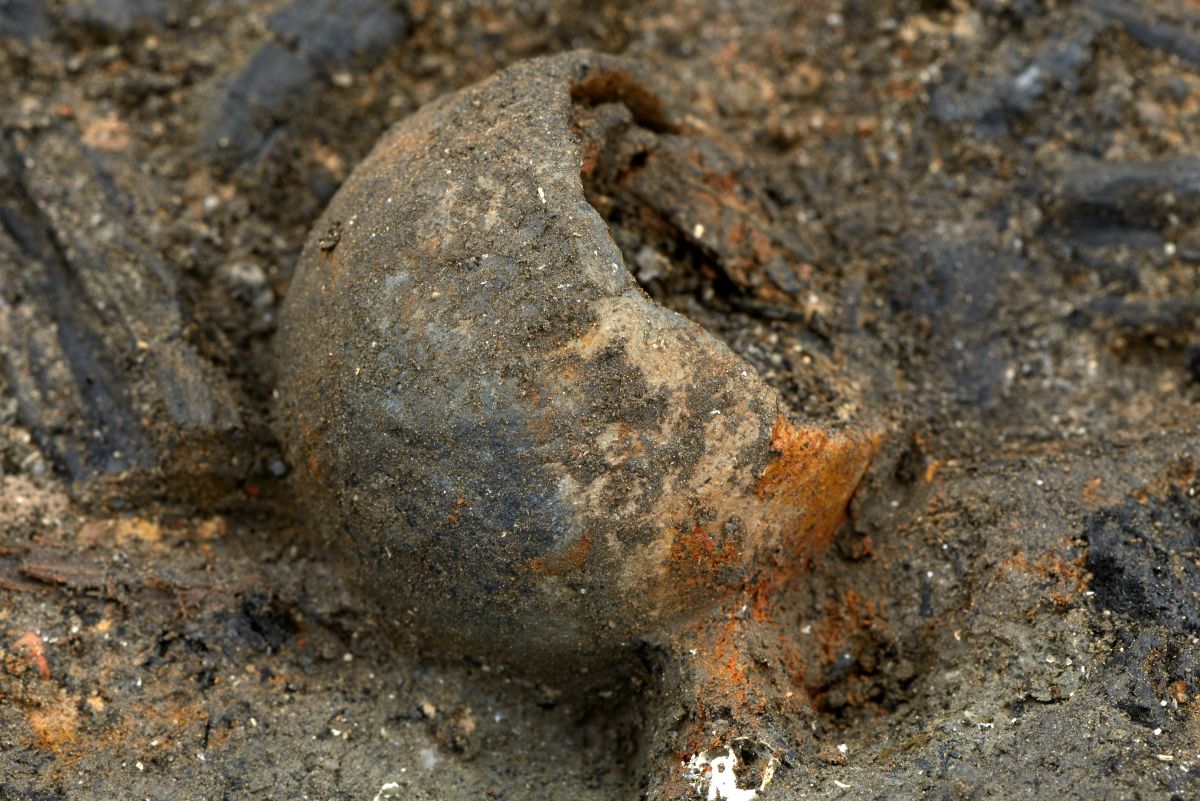
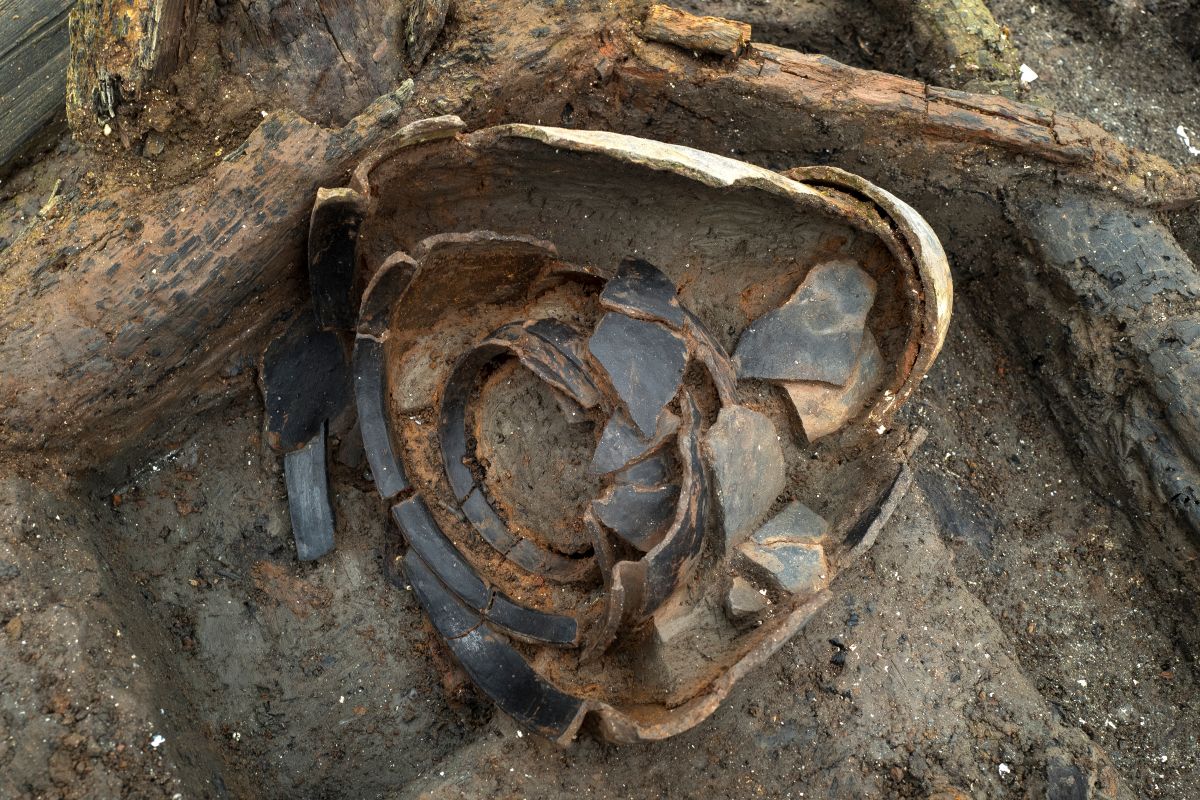
My guests today are archaeologists Chris Wakefield from the Cambridge Archaeological Unit of Cambridge University Rachel Ballantyne from McDonald Institute for Archaeological Research, and they are here to tell me about an absolutely amazing site close to Peterborough that tell us a huge amount about daily life in a late Bronze Age settlement. Prepare to have your minds blown!
We talk about the unique circumstances of how and why the site is so well preserved, kitchen clutter, animal husbandry, querns, frumenty, pike sushi, and whether the English’s love of mustard goes back 3 millennia – among many other things
Those listening to the secret podcast: you get 20 minutes of bonus material that includes the importance of foraging, the evidence for fermentation, Bronze Age recipes, the uses of the whole cereal plant and more!
Available on all podcast apps, just search for ‘The British Food History Podcast’ and hit follow. Or stream via this Spottily embed:
A Must Farm side-view reconstruction (pic: Cambridge Archaeological Unit using a foreground photographic image supplied by S. Craythorne/Lincolnshire Wildlife Trust)
Follow Cambridge Archaeological Unit on Social Media
Facebook: @cambridgearchaeologicalunit
BlueSky: @cambridgearch.bsky.social
Instagram: @cambridgearchaeologicalunit
Follow Cambridge University Department of Archaeology on Social Media
Facebook: @archaeologycambridge
BlueSky: @cam-archaeology.bsky.social
Instagram: @ cambridge_archaeology
Area of potsExcavation and scaffoldExcavating the site Arial view of excavationPot in situA tiny pot!The tiny pot in situStacked potsSome images of the excavation and finds (all images by Cambridge Archaeological Unit)
Remember: Fruit Pig are sponsoring the 9th season of the podcast and Grant and Matthew are very kindly giving listeners to the podcast a unique special offer 10% off your order until the end of October 2025 – use the offer code Foodhis in the checkout at their online shop, www.fruitpig.co.uk.
If you can, support the podcast and blogs by becoming a £3 monthly subscriber, and unlock lots of premium content, including bonus blog posts and recipes, access to the easter eggs and the secret podcast, or treat me to a one-off virtual pint or coffee: click here.
Don’t forget, there will be postbag episodes in the future, so if you have any questions or queries about today’s episode, or indeed any episode, or have a question about the history of British food please email me at neil@britishfoodhistory.com, or on twitter and BlueSky @neilbuttery, or Instagram and Threads dr_neil_buttery. My DMs are open.