Tag Archives: baking

Yorkshire Curd Tart

Ah, Yorkshire. God’s Own Country and my home county (well, it’s 3 counties technically, but let’s not worry about that now). There are many delicious regional recipes to be found there, but this must be the best: Yorkshire curd tart. For some very strange reason it hasn’t really ever made its way out of Yorkshire. Essentially it is a baked cheesecake – something that Britain isn’t considered famous for, yet if you delve into the old cook books, you’ll find loads of recipes for them. The cheese in question here is, of course, curd cheese which is sweetened with sugar, and mixed with currants, allspice and sometimes rosewater.
2014-01-19 16.02.32

Now a few guiding words on the making of a curd tart: no matter what you read, and I want to be very clear on this, cottage cheese cannot be used. It must be curd cheese which is very different in taste and texture to cottage cheese. These days it is difficult to get your hands on it, but it is very easy to make yourself, as you’ll see below. Also, the only spice to be used must be ground allspice (or clove-pepper as it used to be called in Yorkshire). Not cinnamon, not nutmeg, and certainly not mixed spice. Another misconception is that lemon curd is spread on the pastry base of the tart. Well it’s not, Mr Michelin Guide. Lastly, and as already mentioned, it’s a kind of cheesecake, and not some kind of custard tart as some people seem to think (Mr Paul Hollywood, I’m looking at you).

Ok. Good. Glad we got those issues out of the way.

Curd tarts were traditionally made around Whitsuntide from left-over curds from the cheese-making process and seem to originate in the early-to-mid 17th century. Most families kept their own cow in those days. For those of you that don’t know (and who does?), Whitsuntide derives from the words White Sunday which is our name for Pentecost, which, if my memory serves me correctly, is the seventh Sunday after Easter. The important thing is that there’s a Bank Holiday the next day and a whole week off for half term for the schoolkids.

In dairy farms with several cows, special curd tarts would be made after the cows had calved, using the cows’ colostrum to make the curd for the tarts. Colostrum is the milk produced straight after a mammal gives birth. It is particularly rich in nutrients and fat, and is yellowish in colour. I’ve always thought of this as a bit mean of the dairy farmer’s wife, but then again, she’d also have to tuck into umbilical cord pie the next day, so I suppose it evens out.

To Make Curd Cheese

It’s really easy to make your own curd cheese. All you need is some gold top Channel Island milk, some rennet, salt, and some muslin or other cloth to drain the whey from the curds; I have used an old pillowcase in the past with much success.

Rennet is an enzyme that curdles milk. In the old days a piece of a freshly-slaughtered male calf’s stomach lining would have been popped into the milk (as still occurs in the production of some non-vegetarian cheeses). These days with the magic of science, we can produce it from bacterial culture.

This recipe makes around 750g curd cheese.

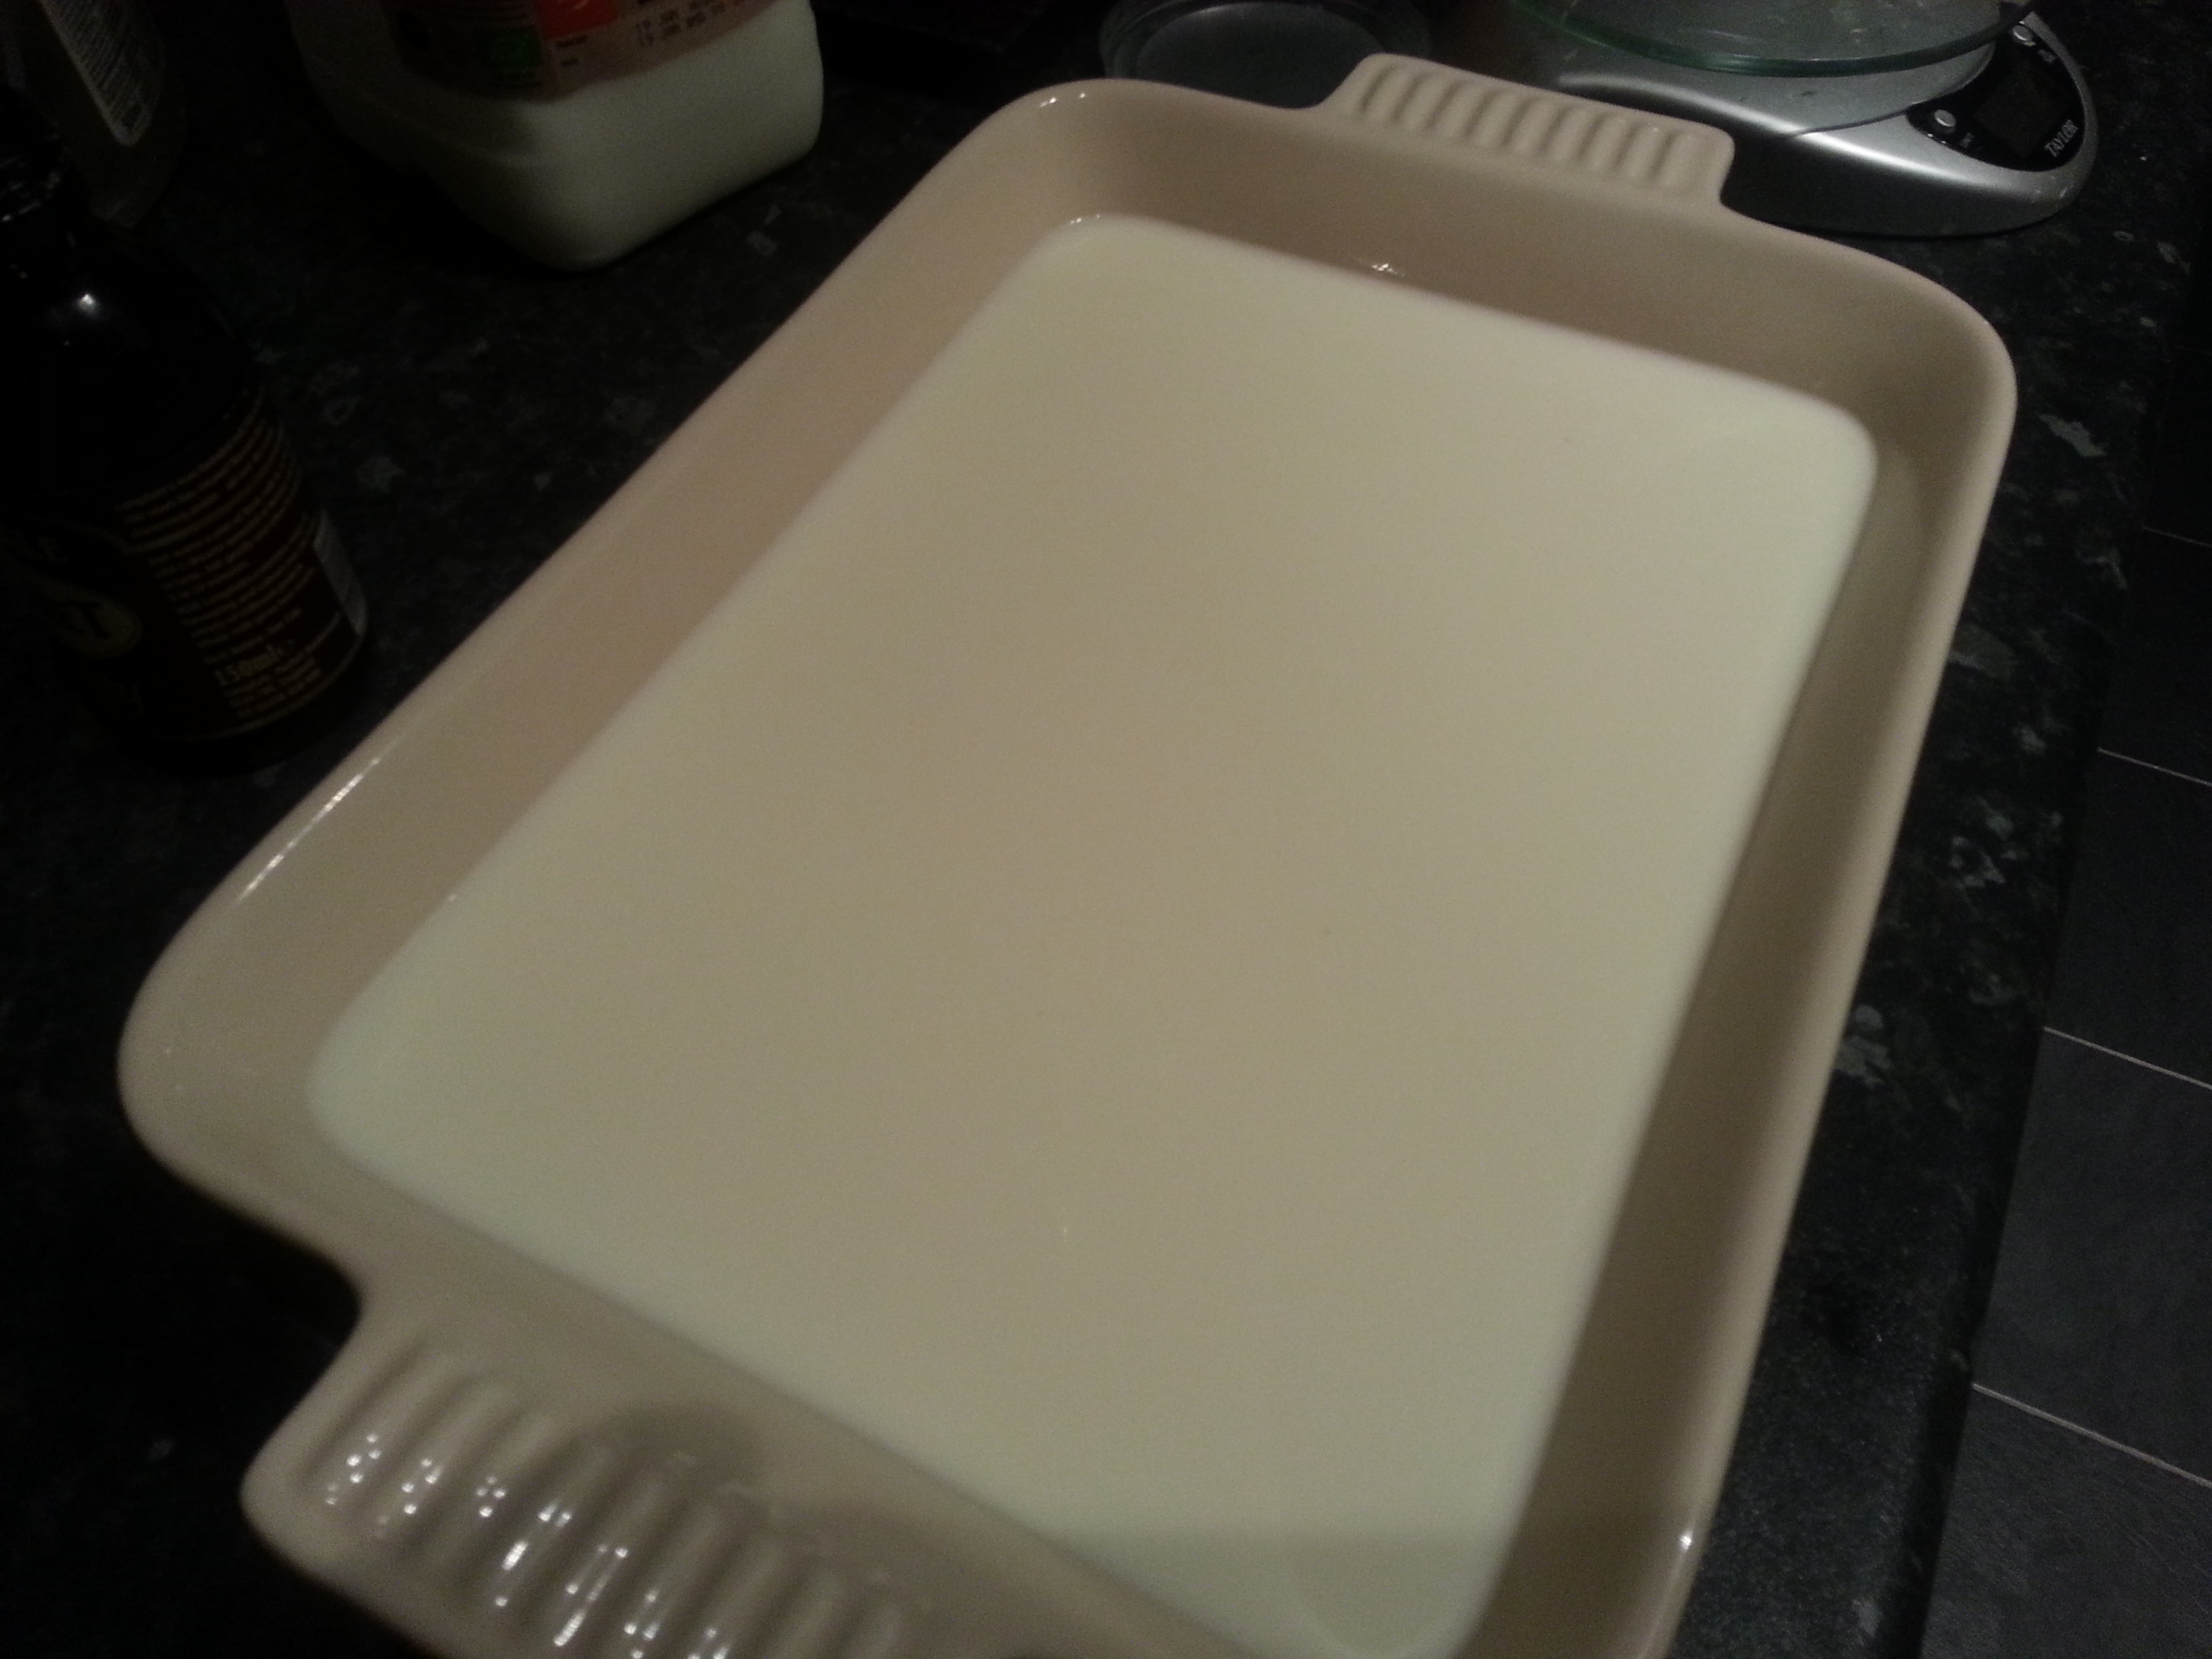
In a saucepan, warm a litre of Channel Island milk to 37⁰C, also termed ‘blood-heat’. Use a thermometer if you like. Pour the milk into a dish or bowl and stir in half a teaspoon of salt and your rennet. Follow the instructions on the bottle to see how much to add, as different brands vary. Stir it in, along with half a teaspoon of salt.
2014-01-18 20.14.10

Leave the milk to stand for 10 or 15 minutes. Upon your return, you’ll see that the milk had gone all wobbly and can be easily – and satisfyingly – broken into curds.
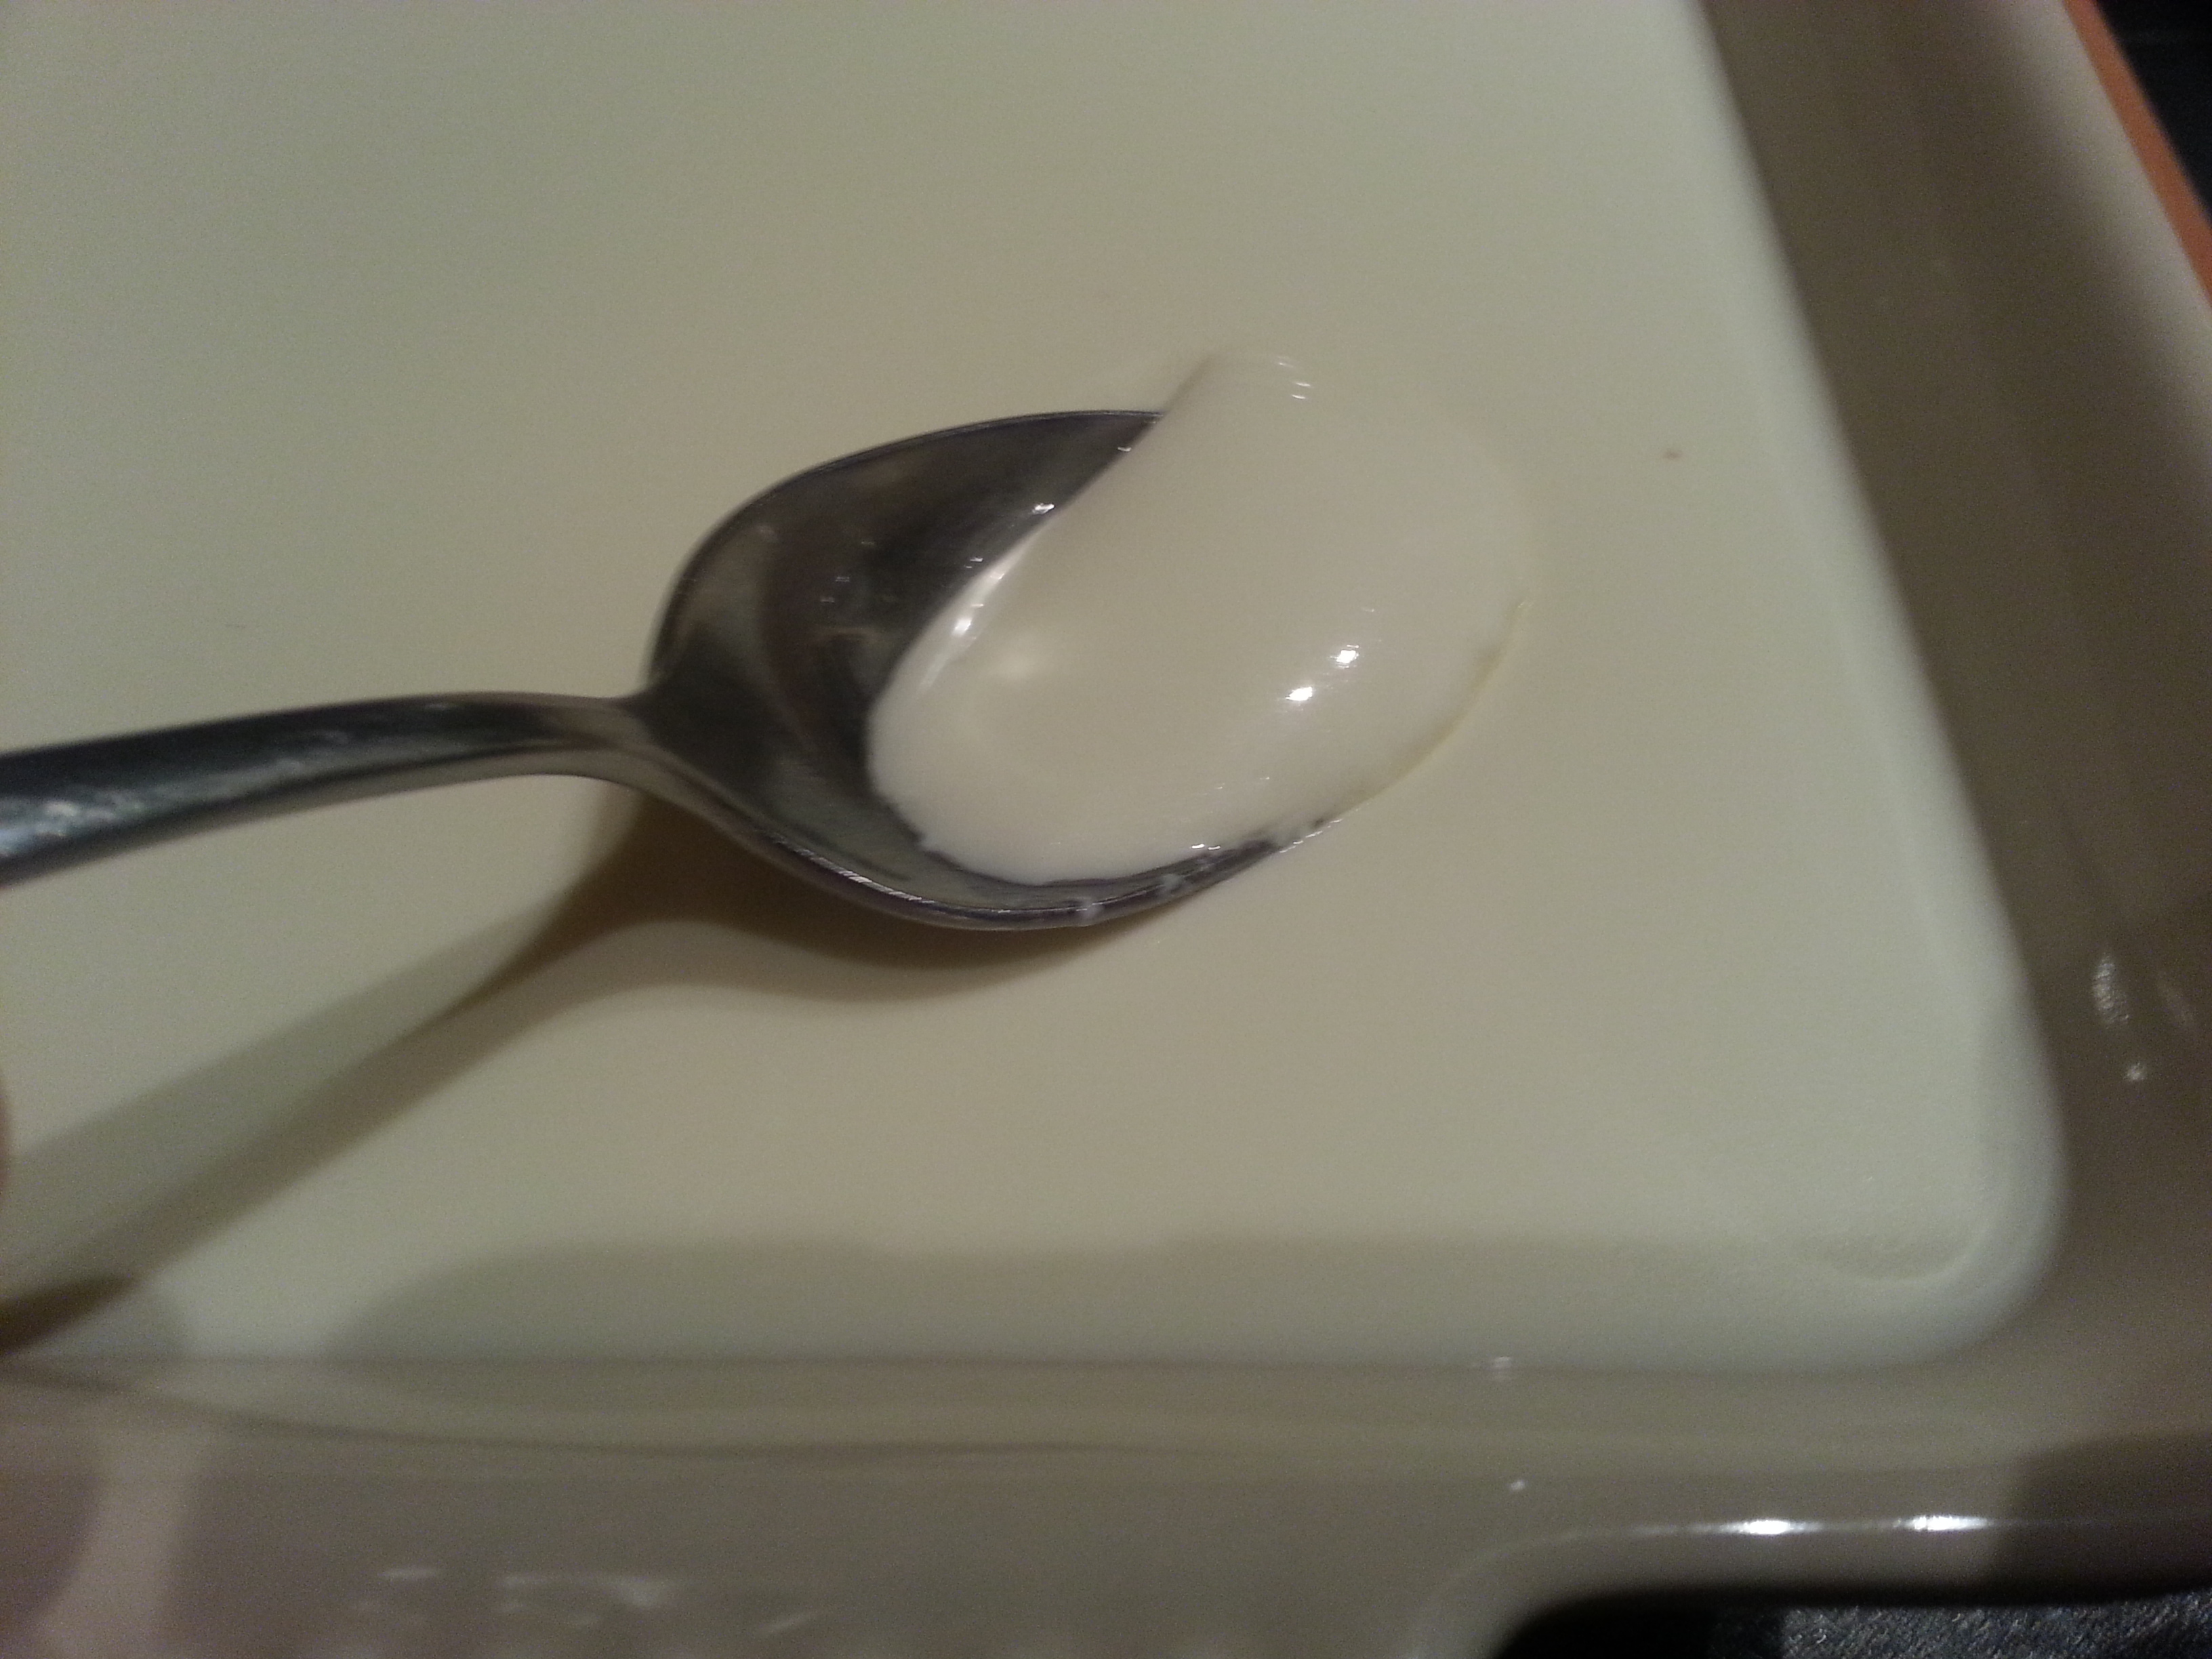
2014-01-18 20.30.58

Scald your straining cloth with water straight from the kettle, spread it out over a bowl so the edges hang over, and then pour in your curds and whey. Tie up the cloth with string and hang up the cheese above the bowl to strain for 4 or 5 hours. Hey presto! You have made curd cheese. It keeps for several days covered in the fridge.
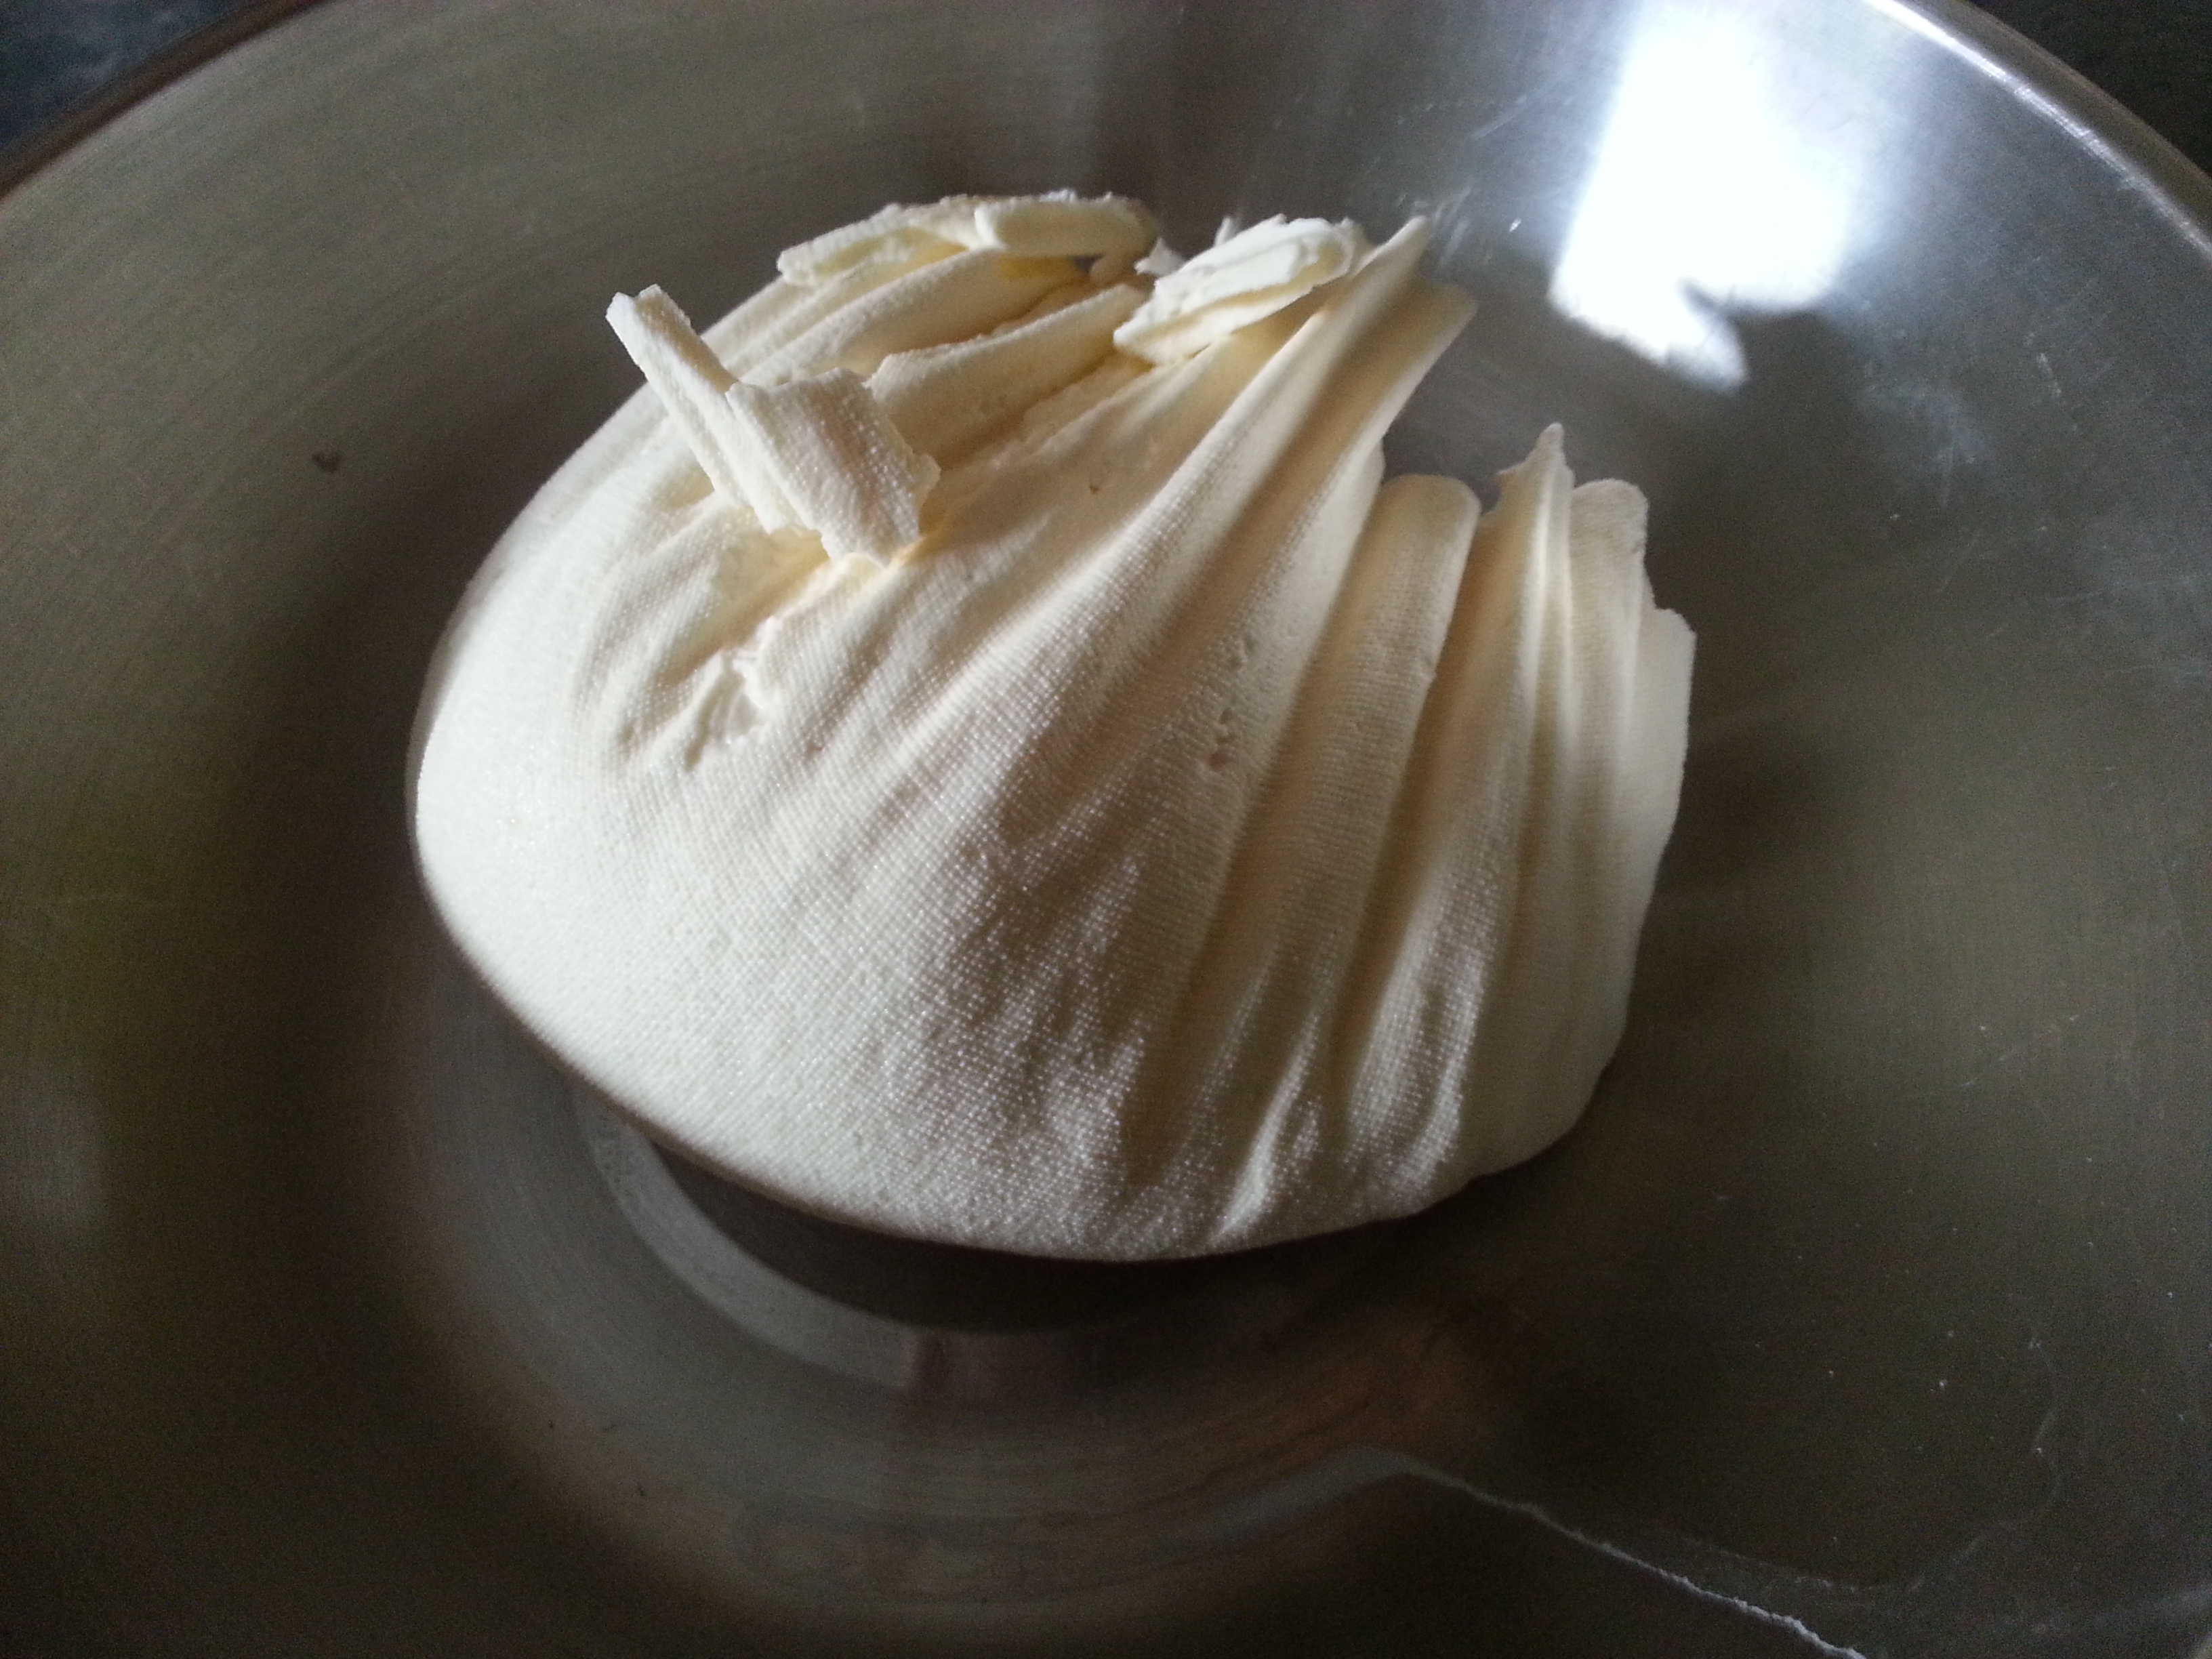
2014-01-19 10.58.25

To Make a Yorkshire Curd Tart

Here’s the recipe I use which is based on the one that appears in Jane Grigson’s English Food. It makes enough filling for one 10 inch diameter tart tin, though you can make several small ones if you prefer. The recipe only requires 250g of cheese, so if you’re making your own, you might want to adjust the quantities in the recipe above, or just make three tarts.

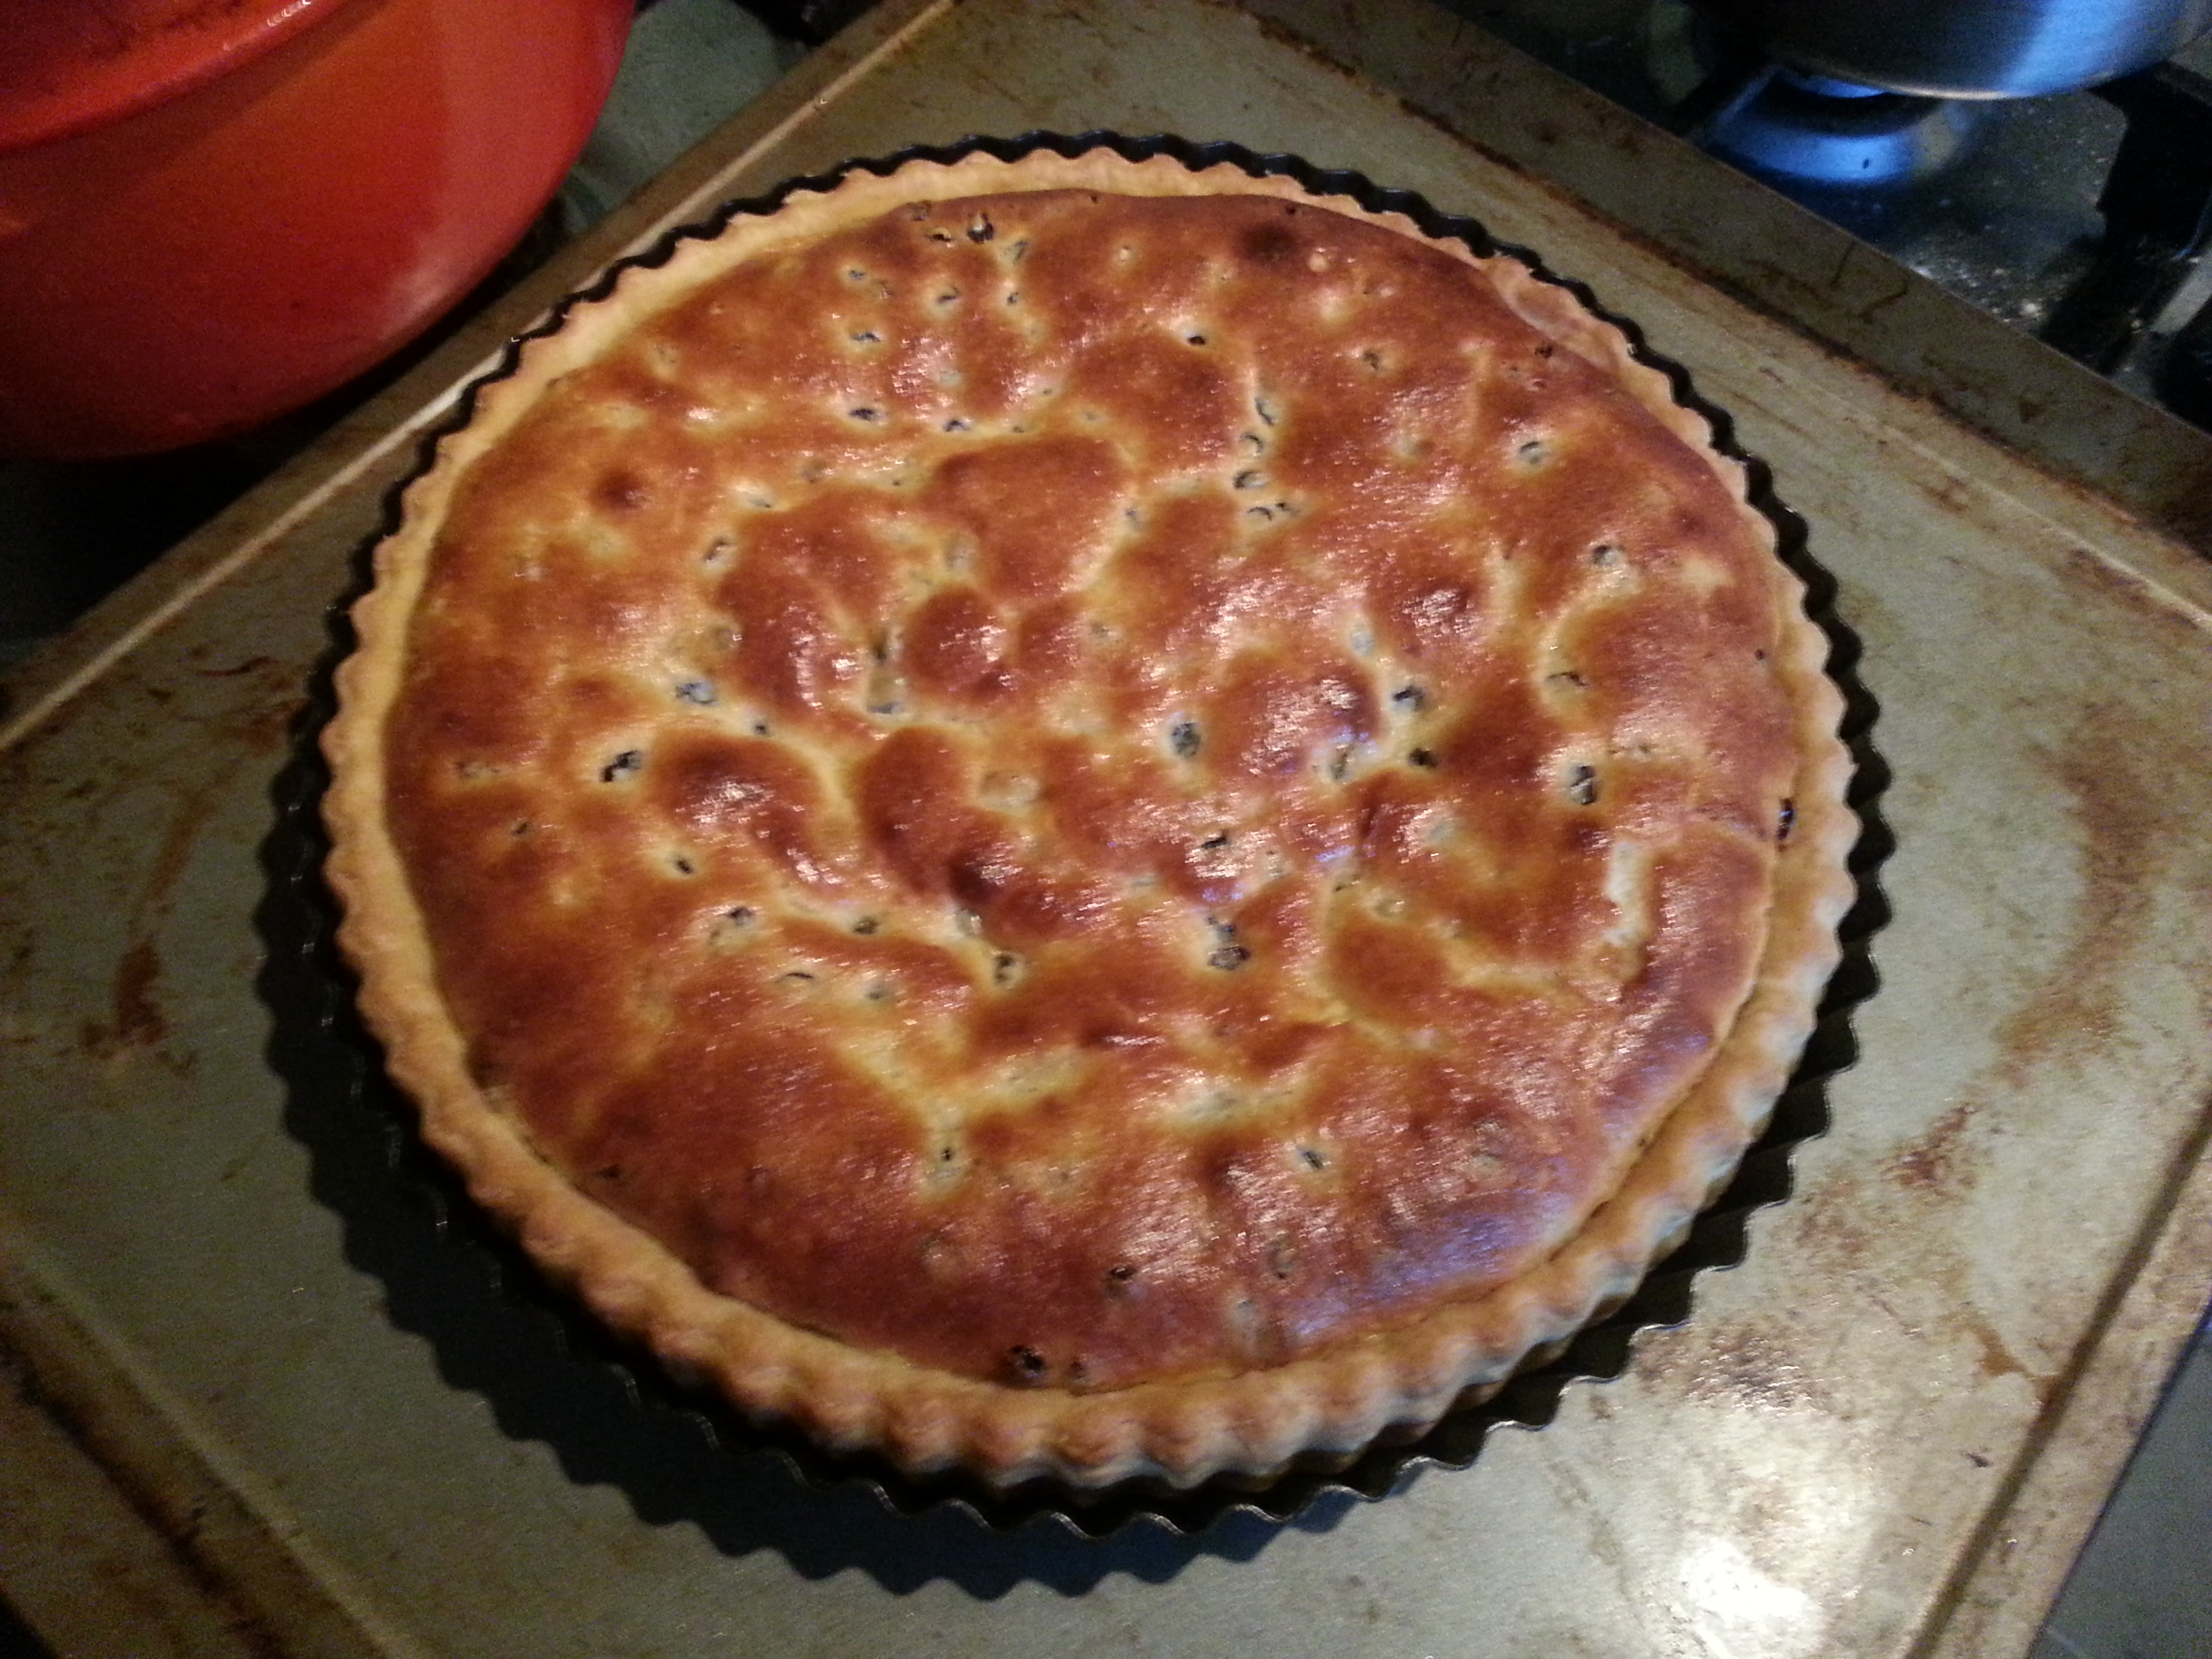
The tart is not overly sweet and has a lovely soft centre and a golden brown colour.

125g salted butter

60g caster sugar

250g curd cheese

125g raisins

pinch of salt

2 eggs, beaten

¼ to ½ tsp ground allspice

1 tsp rosewater (optional).

blind-baked 10 inch shortcrust pastry shell (made or bought)

First of all, cream together the butter and sugar well, then mix in the cheese, raisins, salt and eggs. Season to taste with the allspice and rosewater.
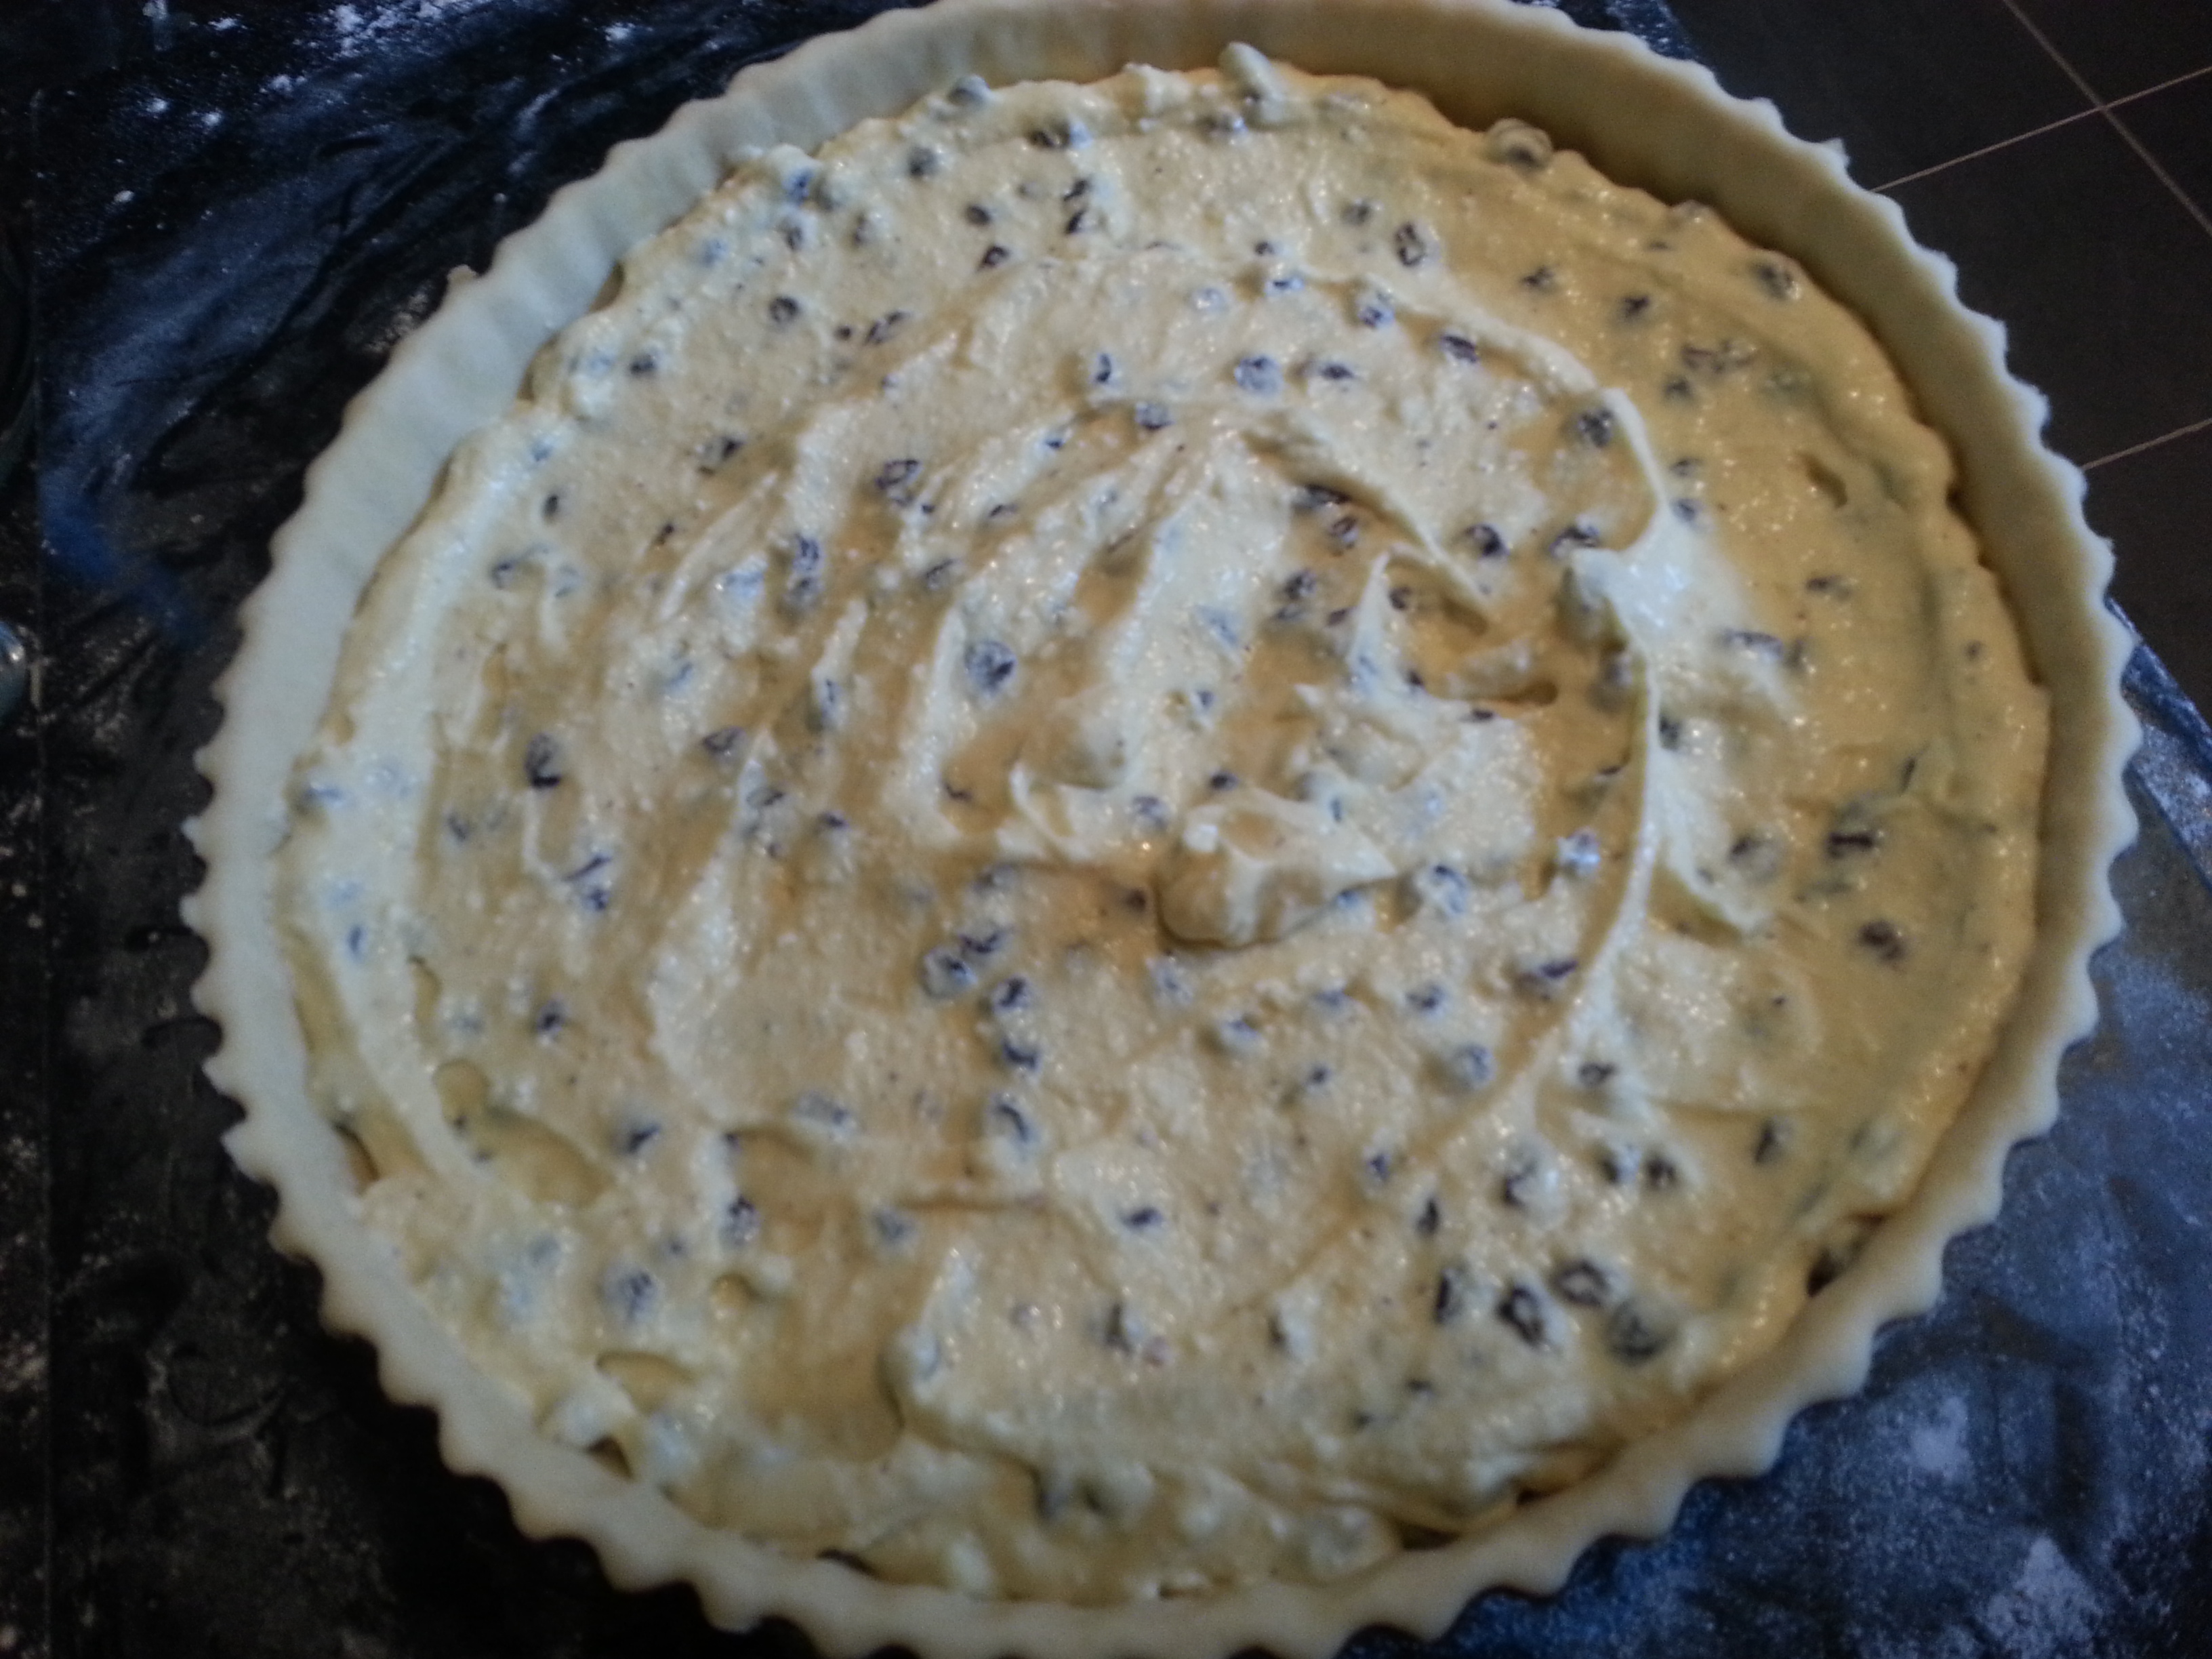
2014-01-19 15.34.58

Pour the filling into the pastry shell and bake for 25 to 30 minutes at 220⁰C. Cool on a rack.


If you like the content I make for the blogs and podcast, please consider supporting me by buying me a virtual coffee, pint or even a subscription : just click on this link.

72 Comments

Filed under baking, Britain, cooking, Dairy, Desserts, food, General, history, Puddings, Recipes

Pompion (Pumpkin) Bread

I was recently bequeathed a lovely home-grown organic pumpkin from my good friends Simon and Rachel Wallace – they are slowly but surely building up a small-holding on a farm in the Derbyshire country. They are living the dream, and I am more than a little jealous. Anyway, I wanted to do the lovely pumpkin justice and make some nice meals. I remembered a recipe for pumpkin bread that appears in English Bread and Yeast Cookery by Elizabeth David. She takes it straight from the original manuscript, an 18th century periodical called The Family Magazine. Back then pumpkins were more commonly called pompions, and it is more like some advice rather than a recipe:

Slice a pompion, and boil it in fair water, till the water grows clammy, or somewhat thick; then strain it through a fine cloth, or sieve, and with this make your Bread, well kneading the dough; and it will not only increase the quantity of it, but make it keep moist and sweet a month longer than Bread made with fair water only.

The Family Magazine, 1741

It funny that the British have always had a thing for bread that stays ‘fresh’ for as long as possible; the French, for example, expect the opposite and buy there’s once or twice daily . It goes back to the days when the old brick bread ovens were lit but once a week so the bread – and other goodies – had to last. This love for bread with a long shelf-life is also often blamed for our love of the moist mass-produced packaged breads that go mouldy before they go stale, but I digress.


If you like the blogs and podcast I produce, please consider treating me to a virtual coffee or pint, or even a £3 monthly subscription: follow this link for more information.


I thought I would give this pompion bread a go, but I felt that boiling the poor thing to death was a bit wasteful, and I wanted the bread to have some pumpkin flavour so I roasted it, mashed it up and added it to a basic bread dough along with a little sugar and some mixed spice. It turned out to be delicious so I thought I’d give you the recipe to try. I don’t think it resembles the original recipe, but it certainly inspired me to make it. By the way, it doesn’t stay fresh for a month, but it is very much moist and edible five days later. It goes great with soup and stews or with jam or just butter spread on it.

This recipe makes 2 good-sized loaves.

What you need:

600g piece of pumpkin or other squash, deseeded weight

500g (1 lb 2 oz) strong white flour

50g (2 oz) fine oatmeal

1 ½ tsp mixed spice

25g (1 oz) fresh yeast, or 1 tsp dried instant yeast

2 tsp salt

50g (2 oz) sugar

25g (1 oz) softened butter or olive oil

225g (8 oz) warm water

olive oil

extra flour

extra oatmeal


What you do:

Begin by roasting the pumpkin in a little olive oil until soft – around 30 minutes at 180⁰C (350⁰F). When cooked, remove from the oven, cool, remove skin and mash to a pulp.

FxCam_1360684693650

Mix the flour, oatmeal, mixed spice and sugar in a bowl, then crumble the fresh yeast on one side of the bowl, and spoon the salt one the opposite side. Make a well in the centre and pour in the water along with the olive oil. Notice that I have given the weights of liquids here – I’ve taken to doing this with all my baking recently; you can be much more accurate that way. (For most water-based liquids one millilitre weighs one gram. You can thank Elizabeth David for that one.) Lastly, add the cool pumpkin.

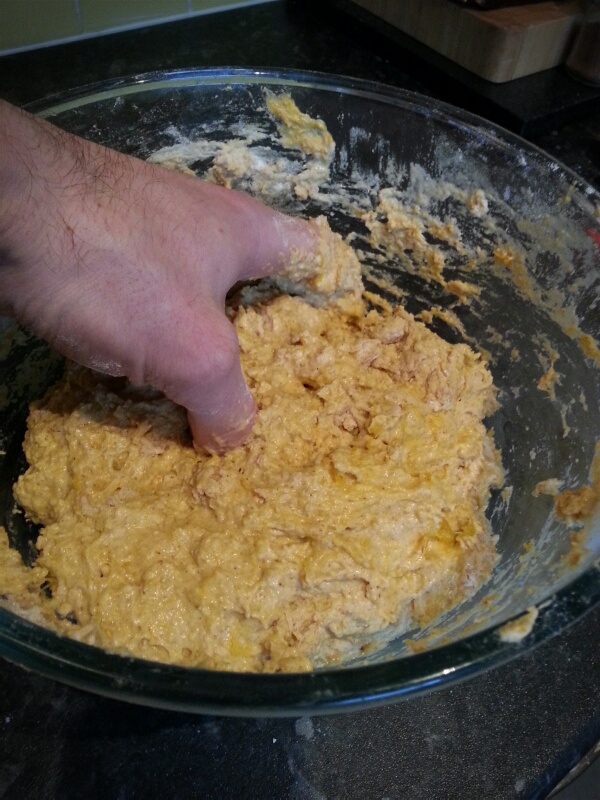
Using you hand, mix everything to a sticky dough – it will be very sticky but don’t worry.

FxCam_1360685406730

Rub a teaspoon or two of olive oil on your work surface and turn out your dough onto it; the oil makes it easier to knead without it all becoming a hideous sticky mess. Keep kneading and adding more oil if need be. If all this seems like too much effort and mess, use the dough hook on a food mixer instead.

When the dough is smooth, do a final kneading on a little flour, then pop into a clean bowl that has been lightly coated with oil to prevent sticking. Cover with Clingfilm (other plastic wraps are available) and allow to ferment away until it has at least doubled in size.

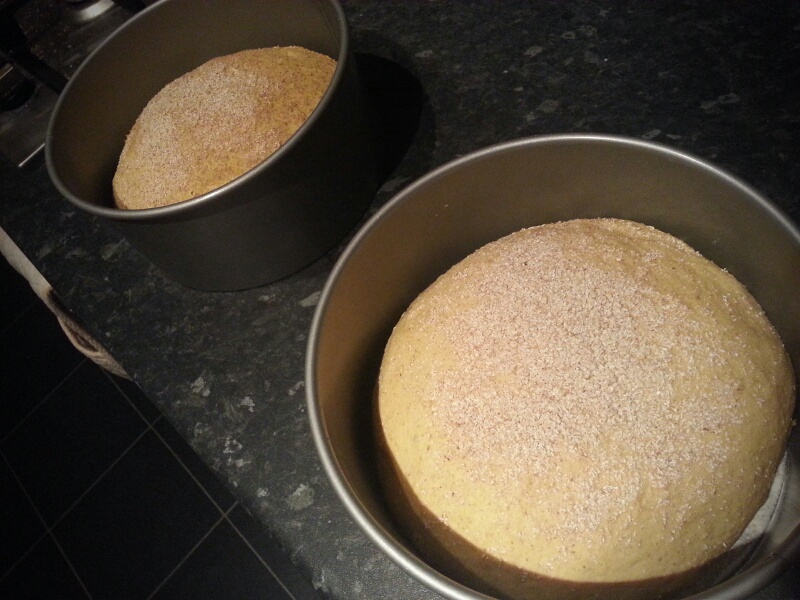
Knock back the dough and shape into two loaves – you can do round cobs on a greased baking sheet or in greased tins, whichever you prefer. i used two cake tins so that my cobs would keep some shape.

FxCam_1360697841988

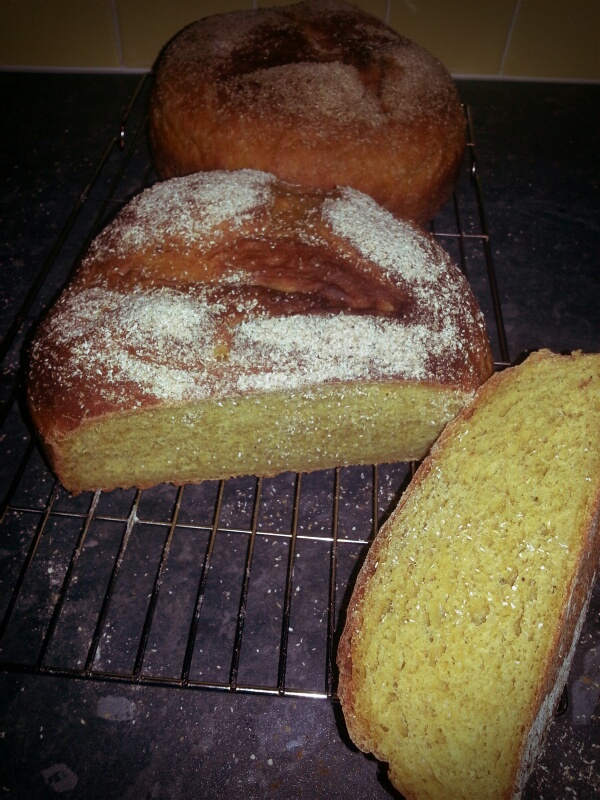
Cover and allow to prove. Make appropriate cuts and dustings of flour or oatmeal. When doubled in size put into a cold oven. Set the temperature to 220⁰C (425⁰F) and leave for 15 minutes. Turn the heat down to 180⁰C (350⁰F) and bake for a further 15 minutes. Allow to cool on a rack completely before breaking into it.

FxCam_1360707421659

6 Comments

Filed under baking, bread, Britain, cooking, Eighteenth Century, food, history, Recipes, Vegetables

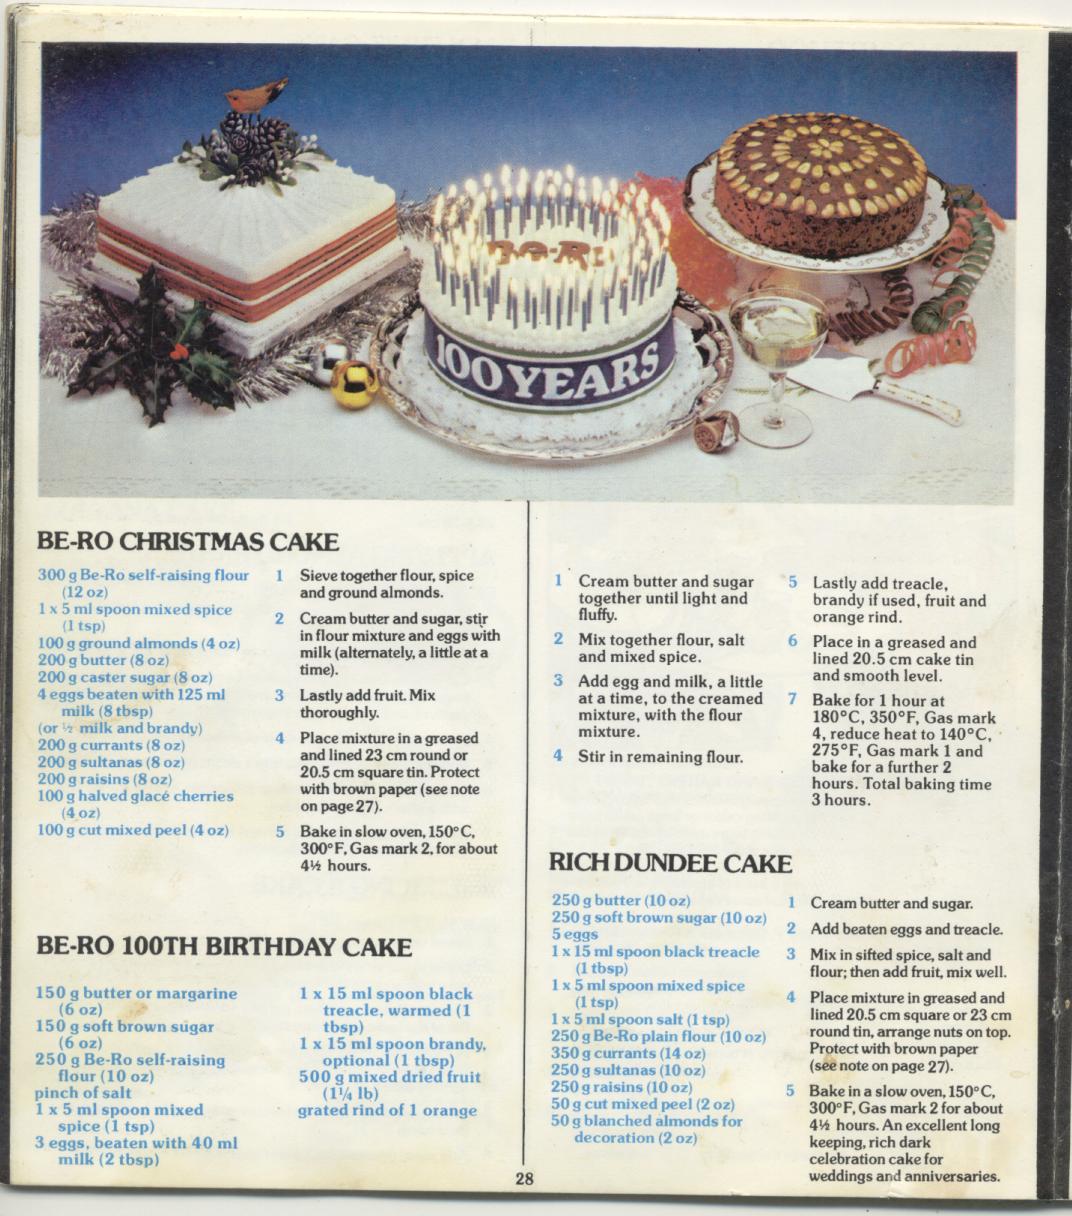
Favourite Cook Books No. 1: The Be-Ro Book

I thought I would start a series of posts on the cook books – and books of cookery writing – that I think are the best out there. I end the post with my favourite recipe from the book – Butter Tarts.

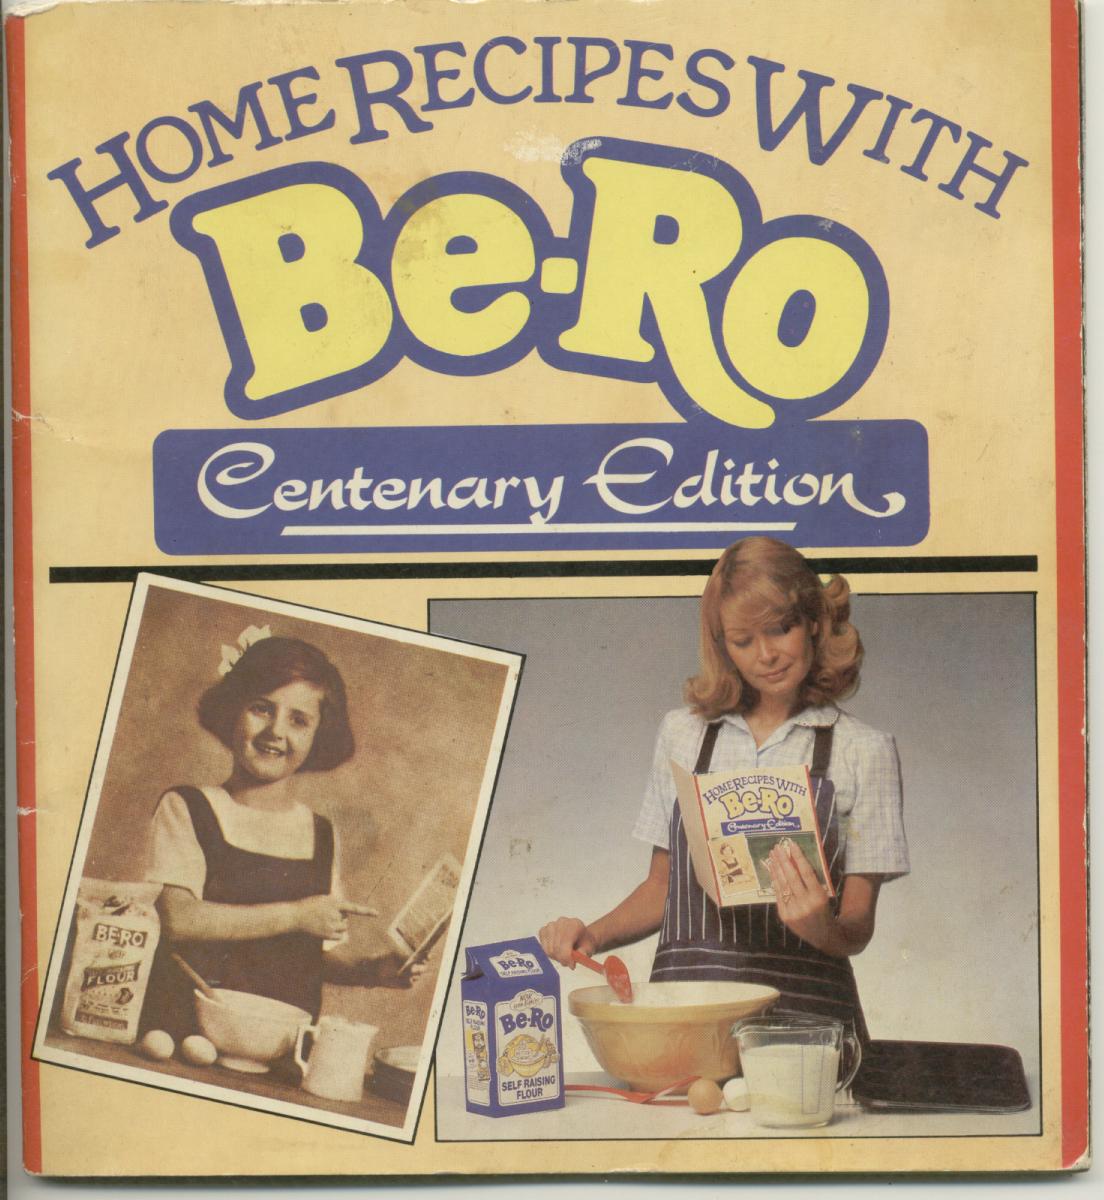
So many of you might be thinking, why the heck is the first one up Home Recipes with Be-Ro (or as it is known to me, The Be-Ro Book)? Well it is this book that got me into cookery in the first place because it was the one my Mum used when I was growing up. Before I was even thought of my Mum owned a bakery and so we had the luxury of having most things baked or cooked from scratch. This was the go-to book for all the family staples, and when I was off school on holiday and it was raining outside she would entertain me and my brother by giving us pastry trimmings to cut out. As we got older we chose recipes from The Be-Ro Book and cooked them with help from Mum. So I was essentially brought up on this book and its recipes, and it is certainly where I got my enthusiasm for cooking; I have been conditioned to feel at home in the kitchen.

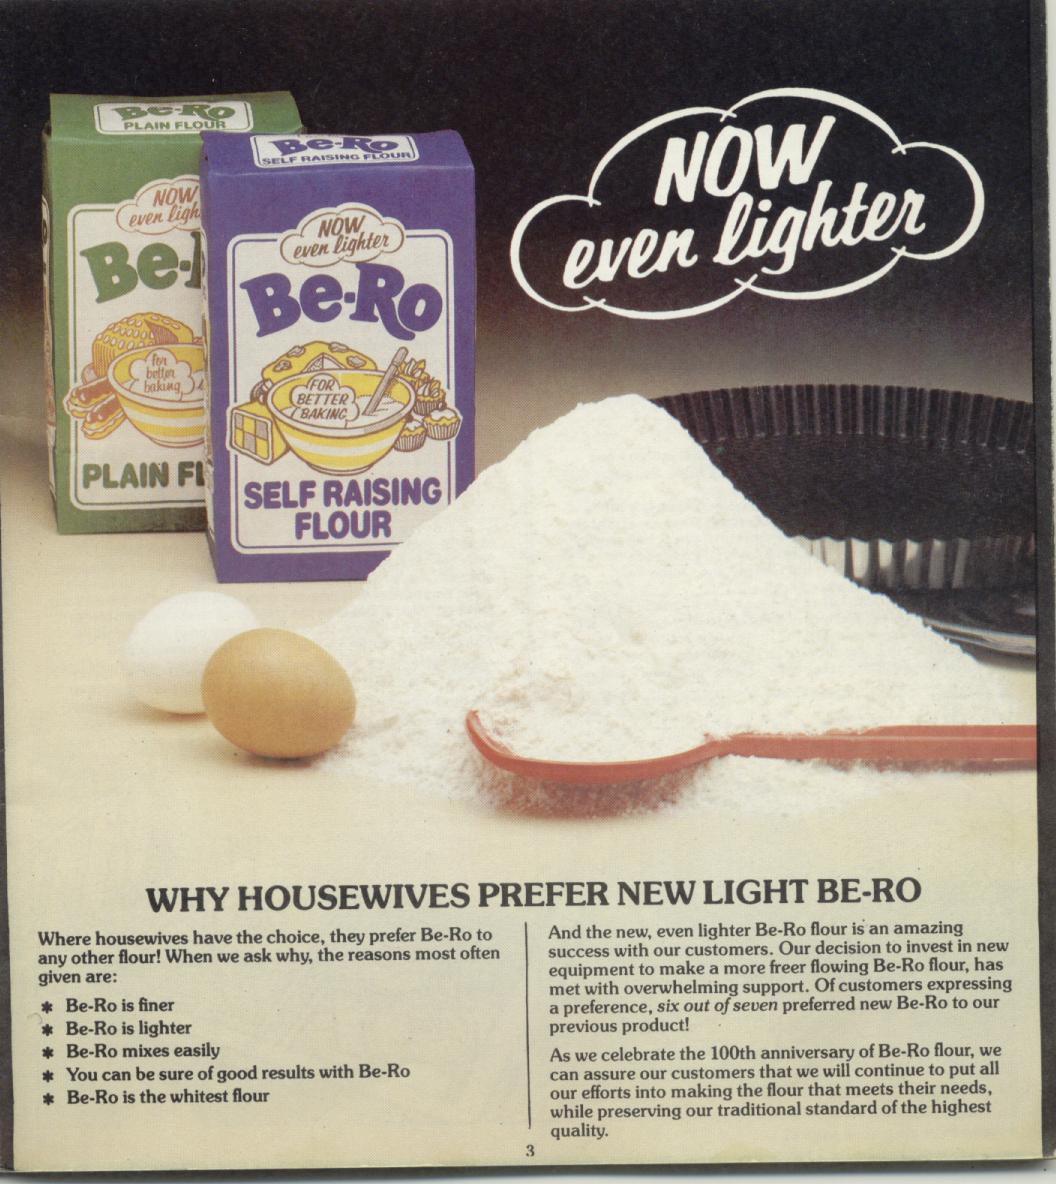
The copy I have is the Centenary Edition, though it doesn’t say anywhere in the book when in was printed. I know that the Be-Ro Flour Company was formed in the 1880s, so it dates the book to the 1980s. My Mum has an even older copy this one, though the recipes are identical. Be-Ro still makes flour and Be-Ro recipe books are still printed today, these days of course you can go onto the Be-Ro website you will find the same recipes, which haven’t changed.

Well almost; the main difference between my copy of The Be-Ro Book and the modern version is that it suffers rather from a post-war rationing complex – most recipes ask for margarine rather than butter. Luckily shortbread escapes this, but buttercream does not. In fact there’s a lot of nasty margarine-based buttercream.

You are forgiven for not holding this book in as high esteem as I do, yet the classics are here, and they bring back great childhood memories. I also have to say it has really good basic skills teaching too, so don’t underrate it.

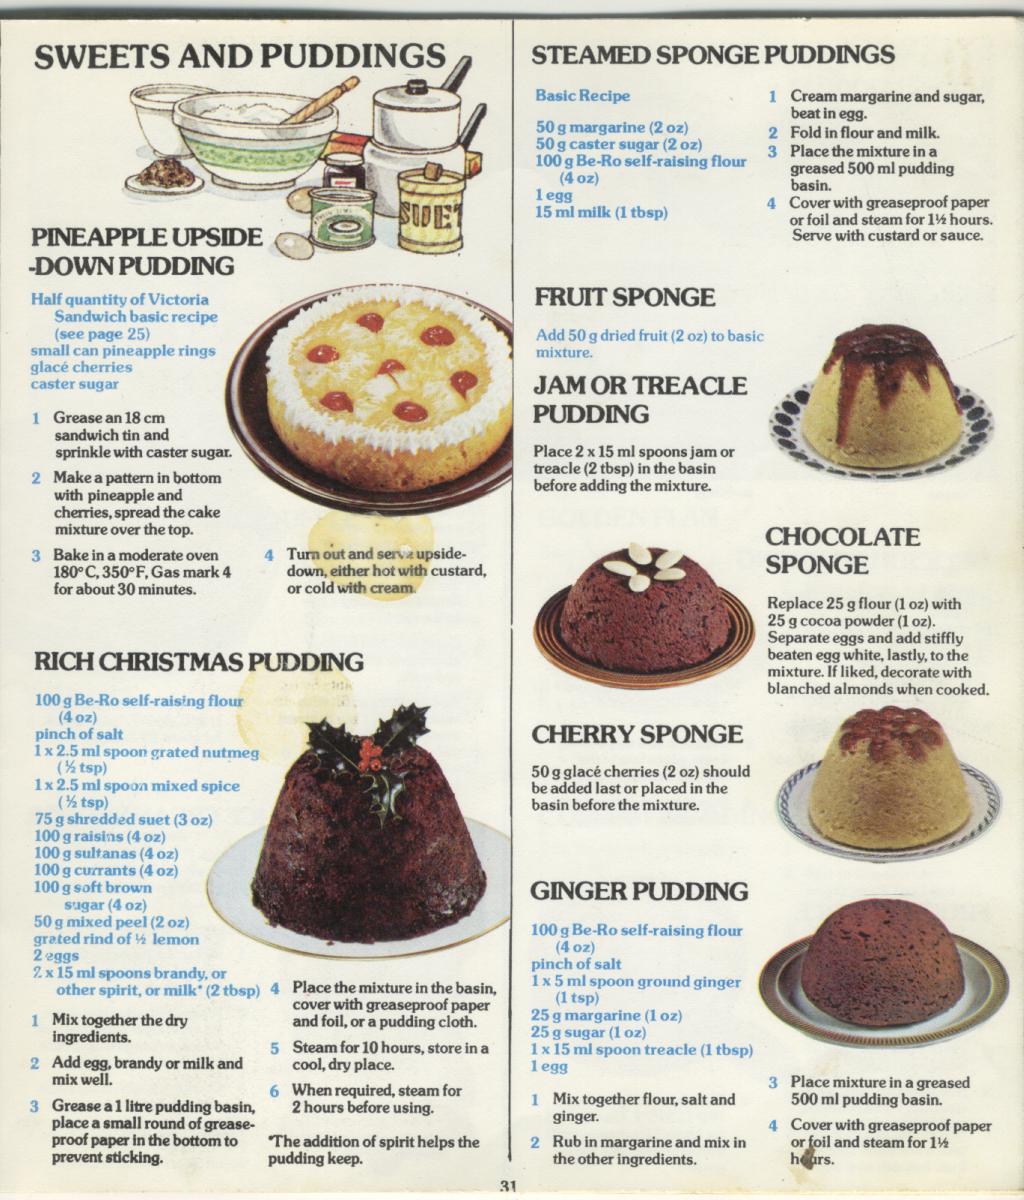
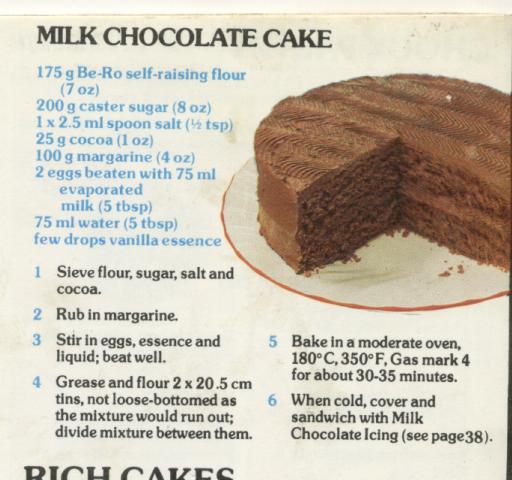
Many of the recipes are coming back into fashion, especially now that budgets are a little less flexible and the weather is cold and wet. Personal favourites of mine include a really excellent moist and light milk chocolate cake; its secret is the inclusion of evaporated milk and my Mum still bakes it. The steamed sponge puddings are excellent too as are the many tea loaves. It does fail on a terrible recipe for flapjacks that uses cornflakes instead of oats. You can’t win them all though, can you?


If you like the blogs and podcast I produce, please consider treating me to a virtual coffee or pint, or even a £3 monthly subscription: follow this post for more information.


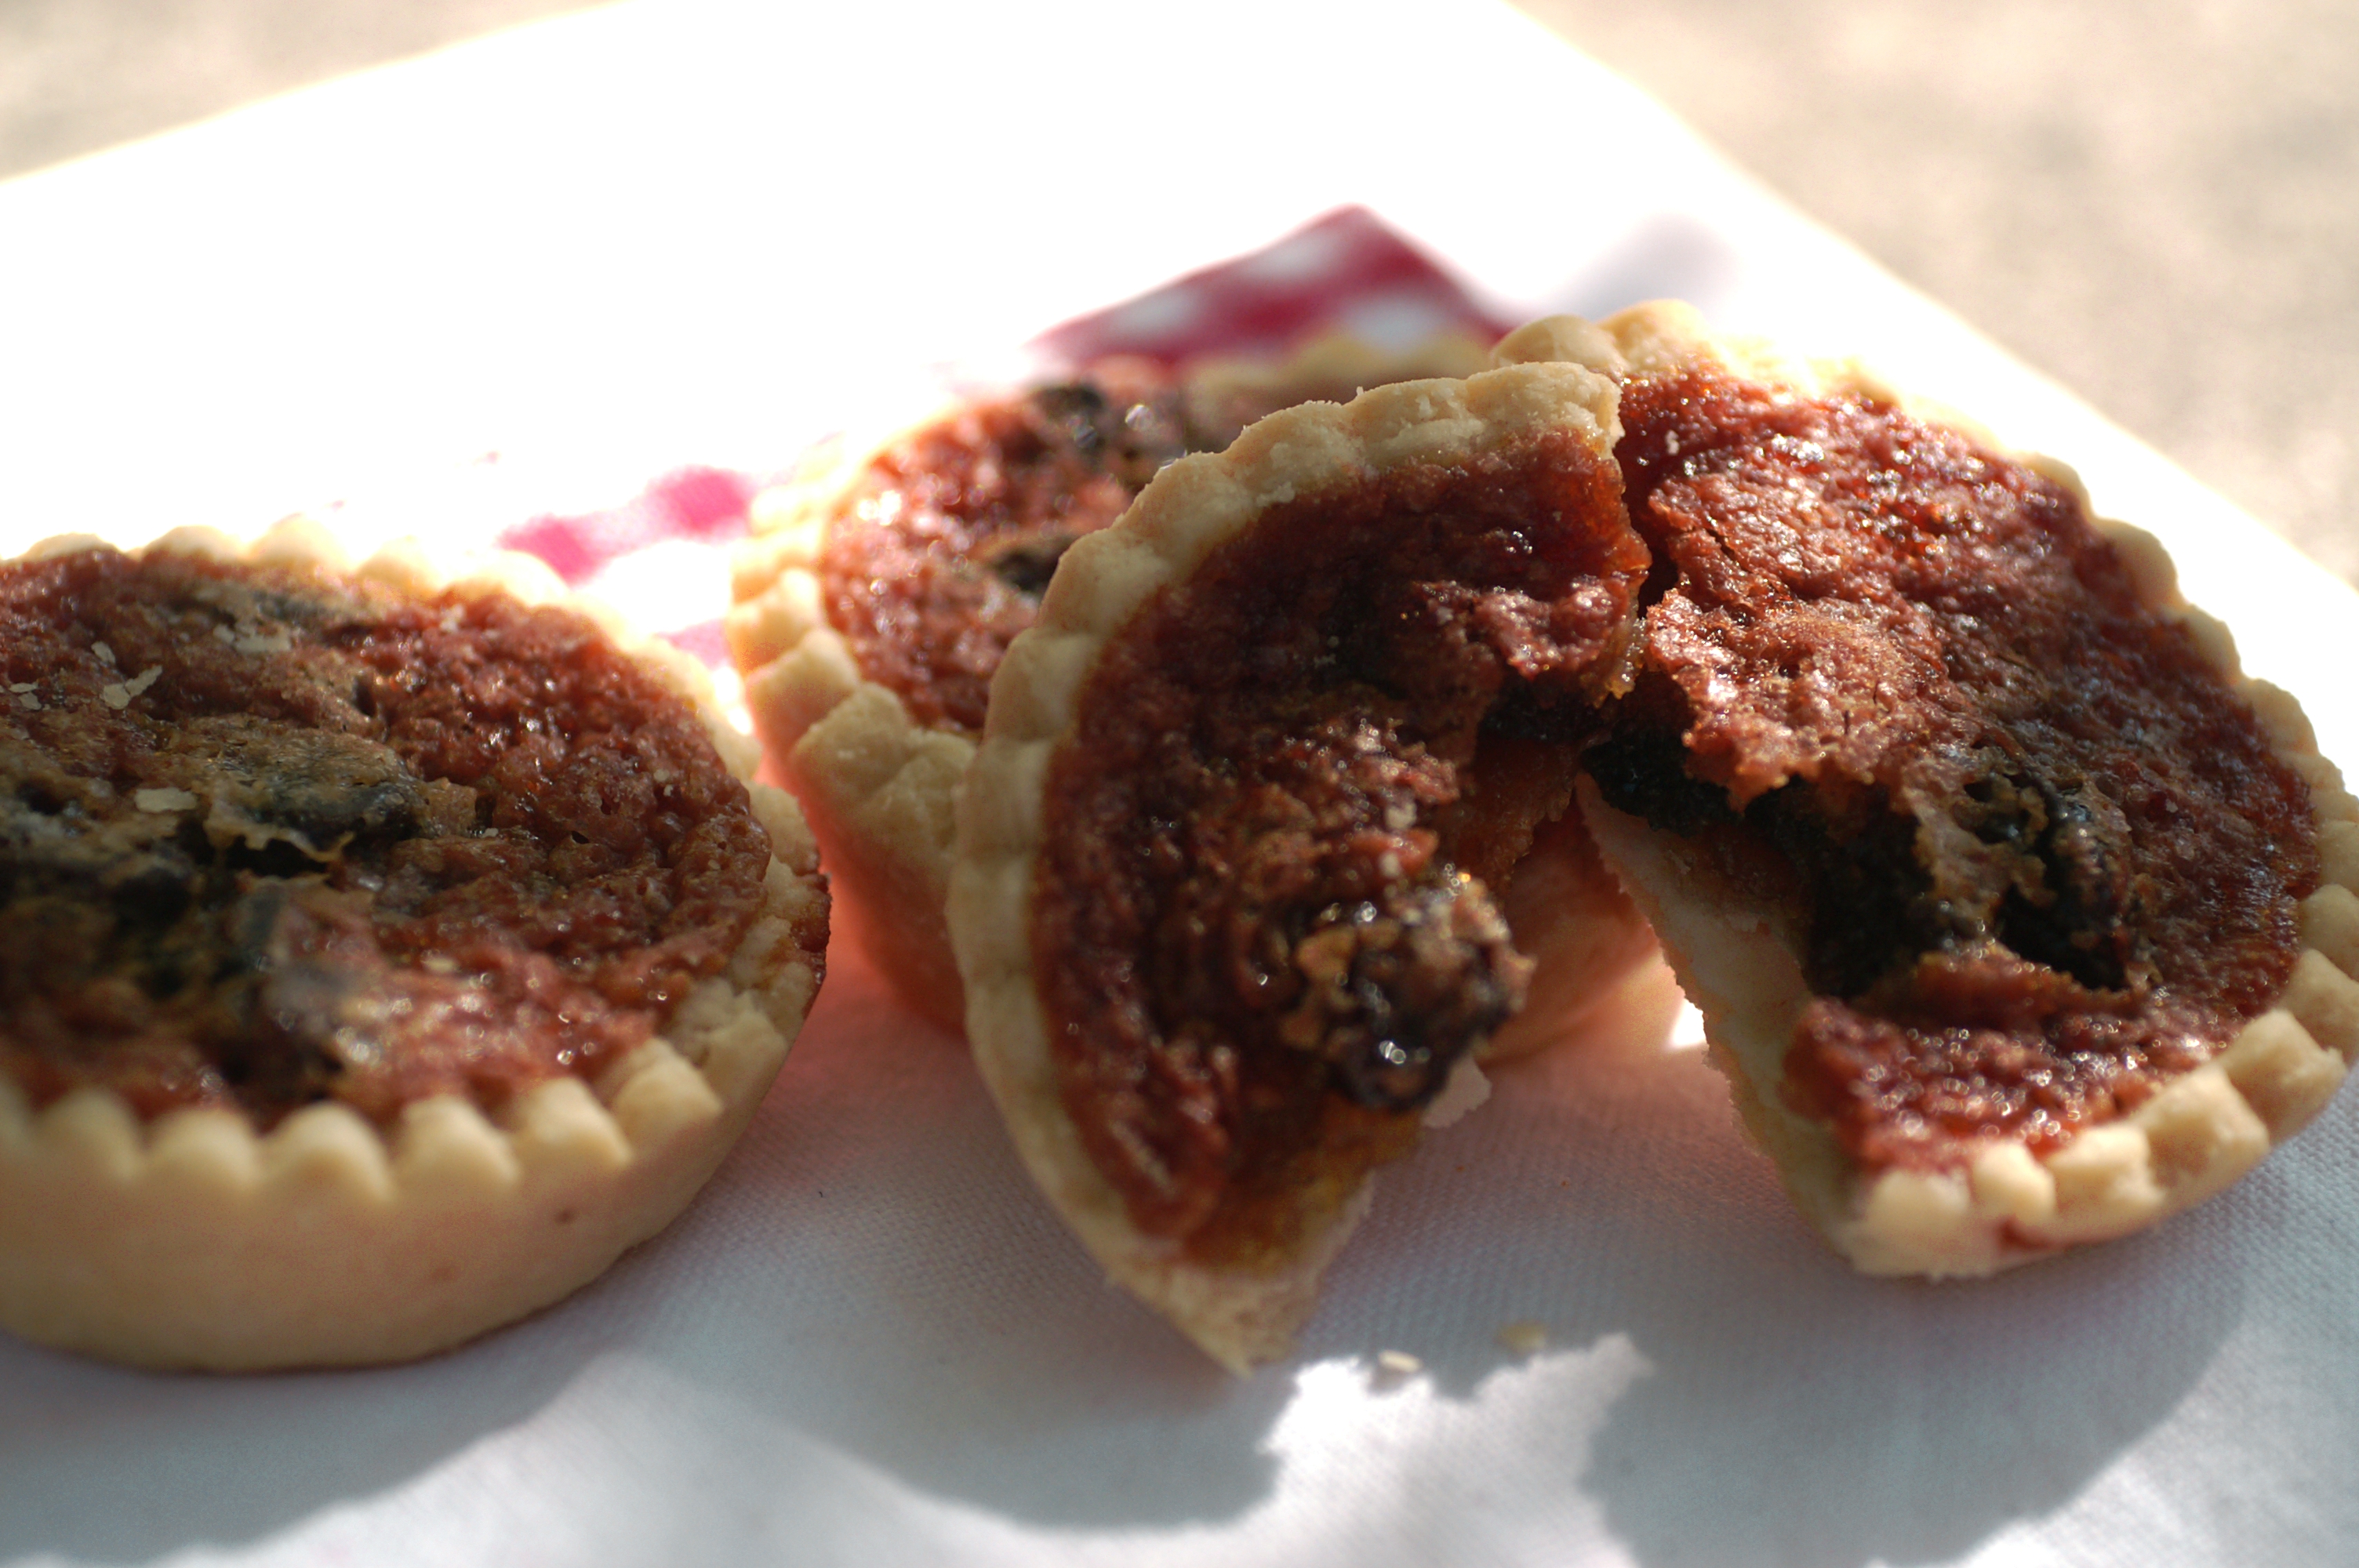
Butter Tarts

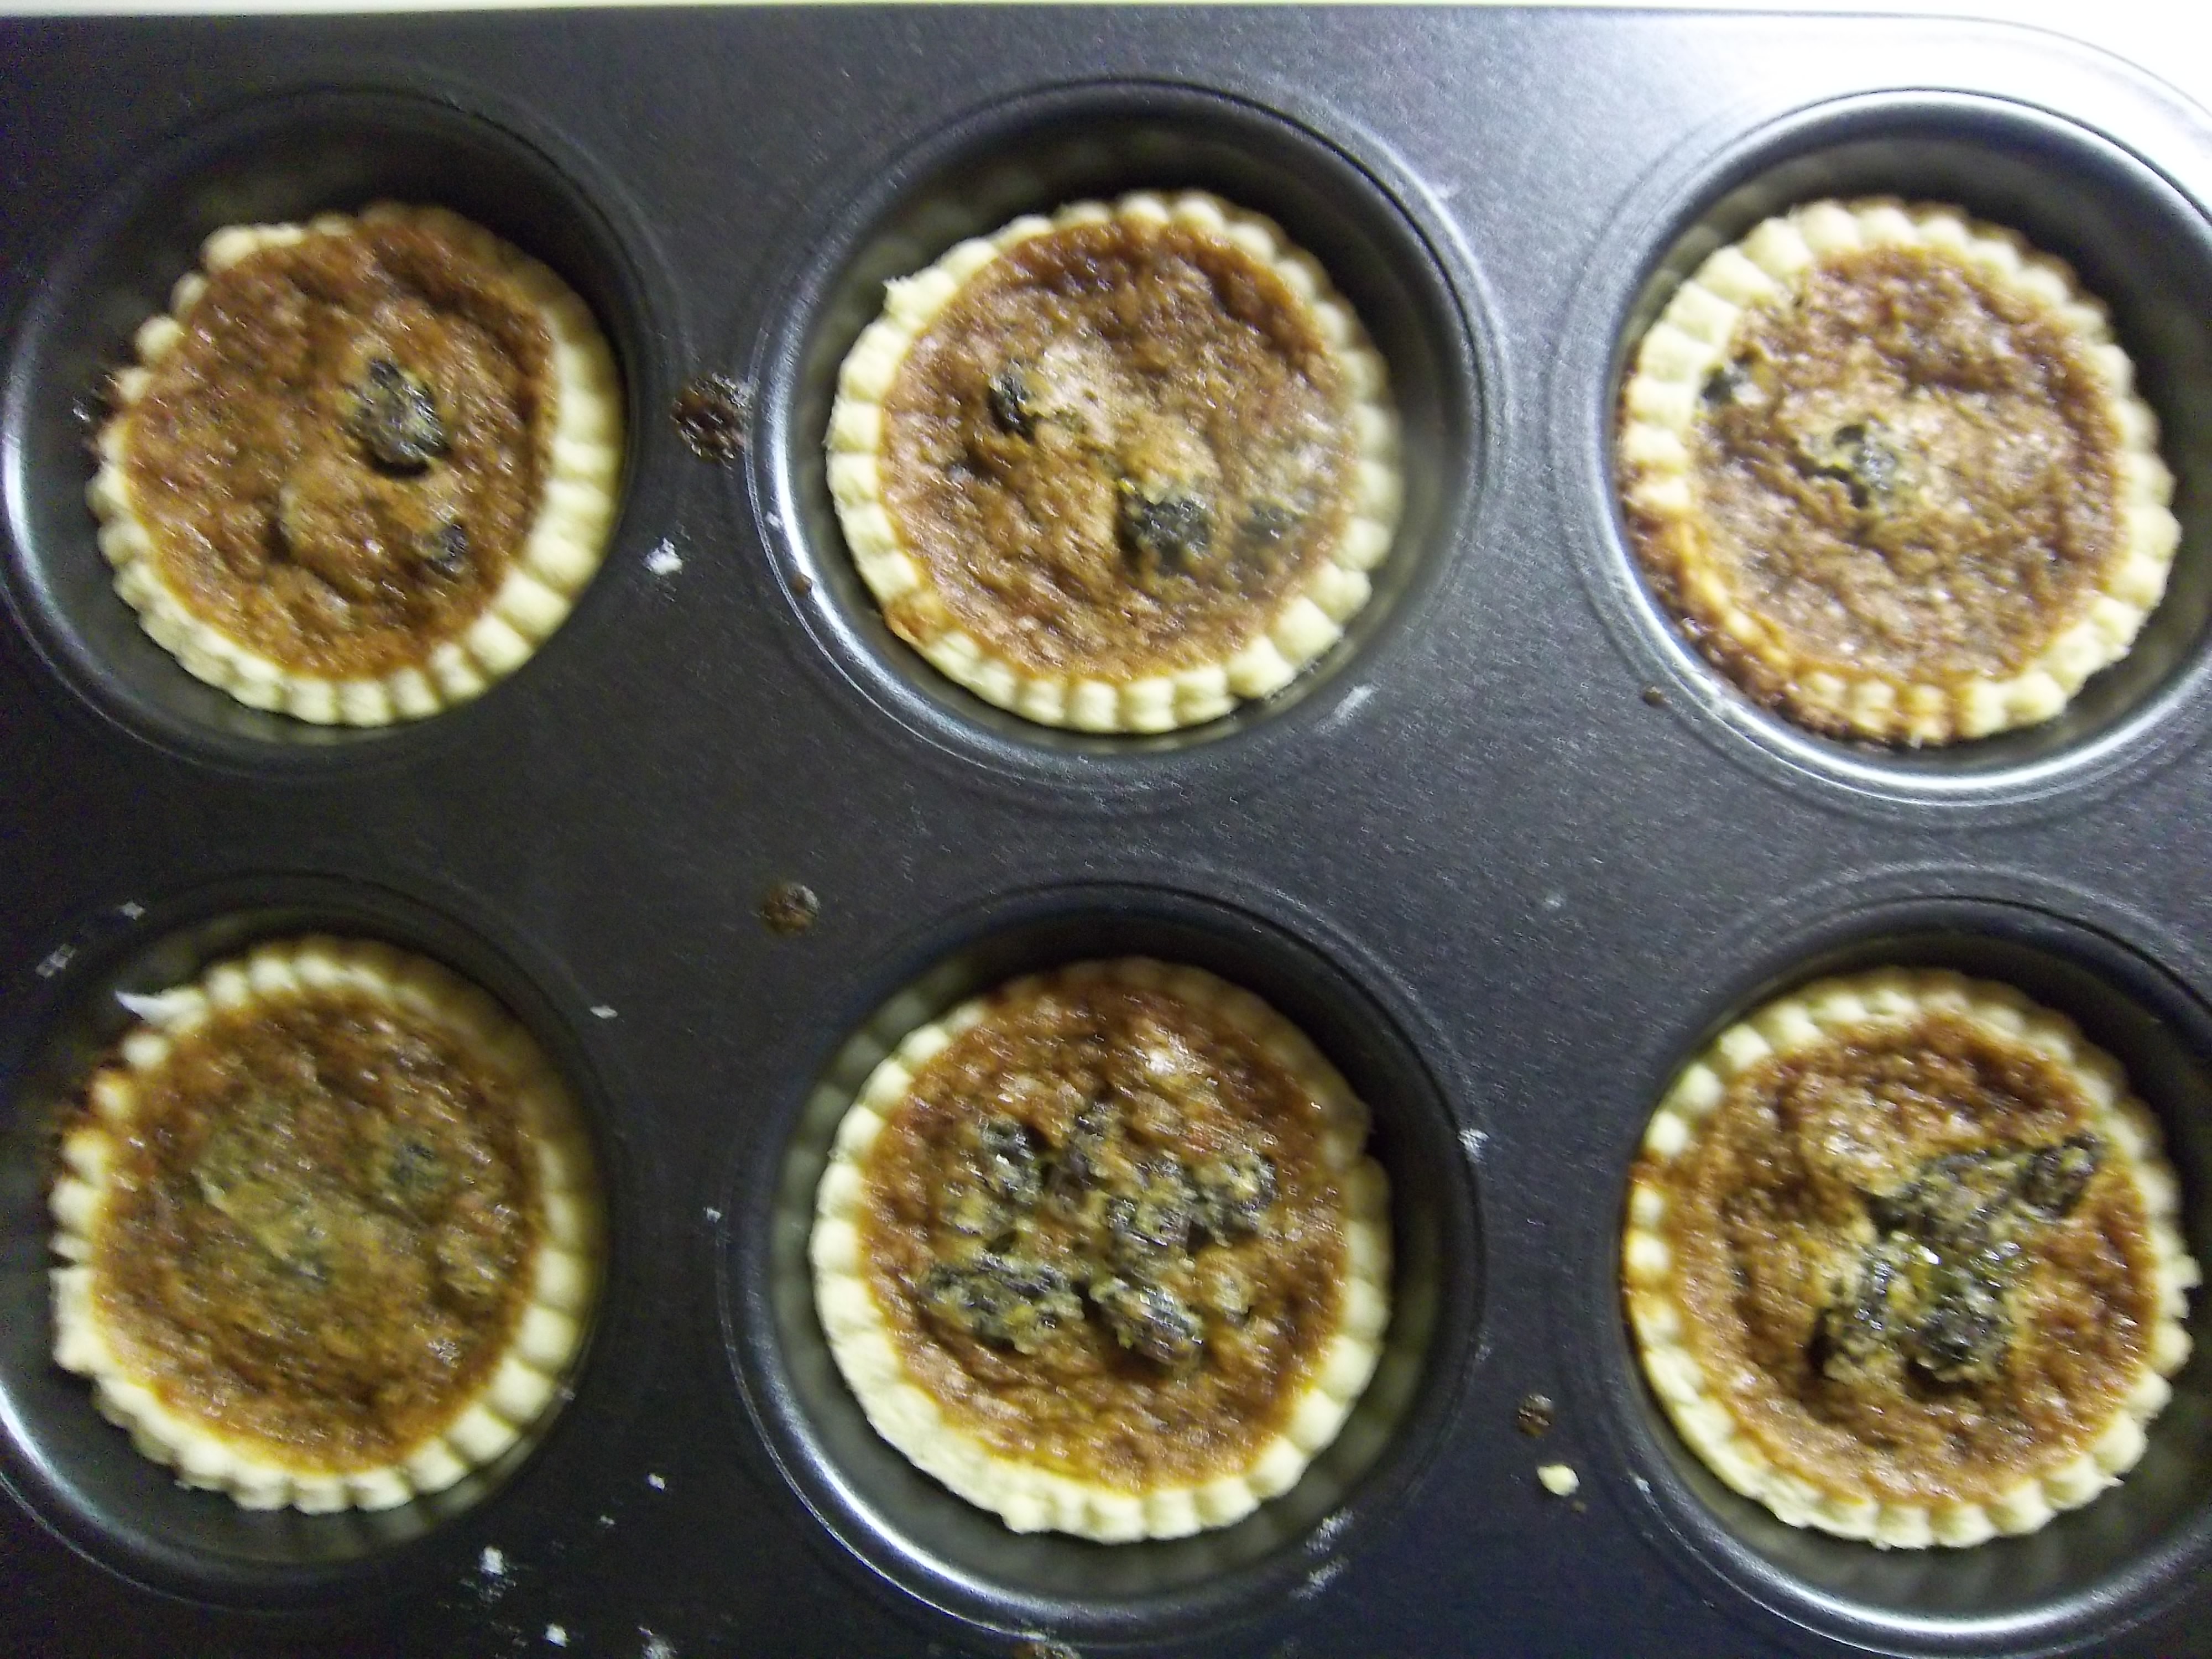
In my opinion these butter tarts are the best things in this book, though I have made a few changes to the original recipe. The filling is a mixture of raisins in a sweet caramel sauce that forms a delicious chewy crust as it bakes.

This recipe makes 12 butter tarts.

Ingredients

shortcrust pastry made with 8 oz flour and 4 oz of butter (or butter and lard)

1 oz butter

2 oz caster sugar

2 oz soft dark brown sugar

4 oz raisins

a few drops of vanilla extract

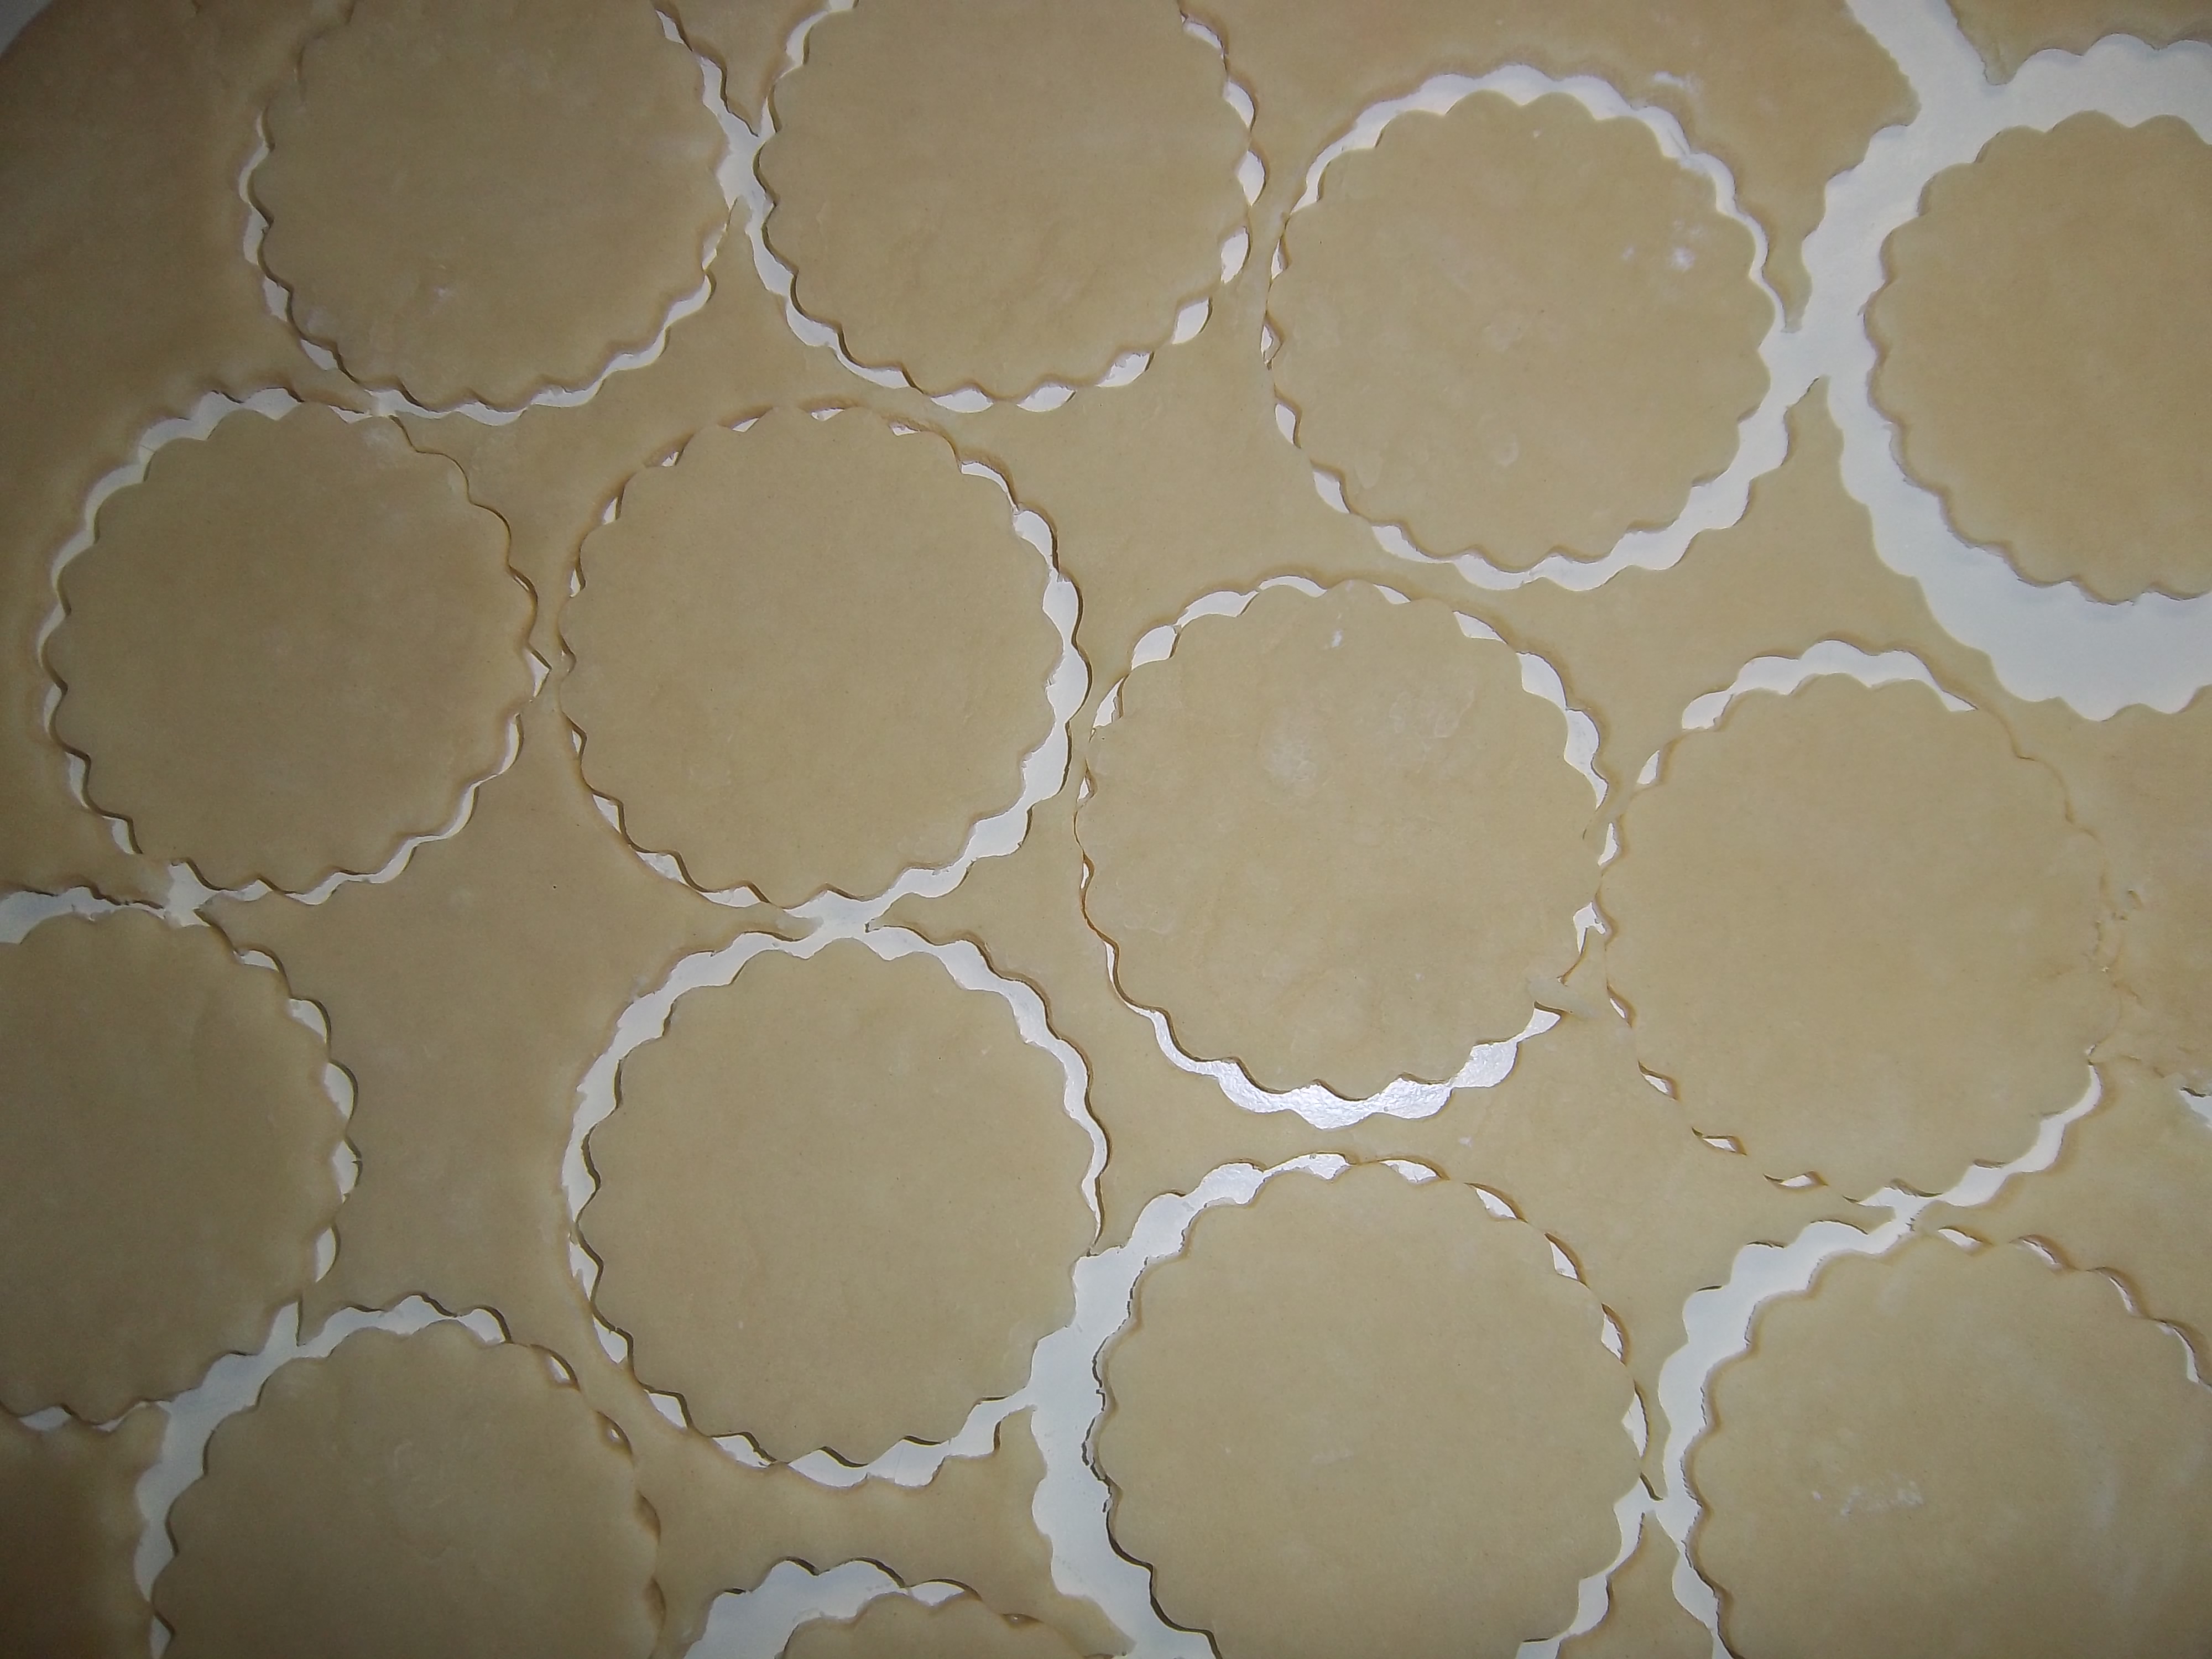
Roll out the pastry thinly and cut out circles using a pastry cutter measuring 3 ½ inches in diameter and line a steep-sided patty pan tray. You can use a tart tin, but I find you can’t get enough of the filling in.

Melt the butter in a saucepan, take off the heat and stir in the remaining ingredients. Add 2 teaspoons of mixture per tray – this should be just enough for 12 tarts.

Bake for 15-20 minutes at 200⁰C (400⁰F) and cool on a wire rack.

93 Comments

Filed under baking, Books, Britain, food, General, Recipes, Teatime

Shortbread


The history of shortbread goes back to at least the 12th century and originally started life as ‘biscuit bread’; biscuits that were made from left-over bread dough that was sometimes sweetened and dried out in the oven to form a hard, dry rusk. This practise took place over the whole of the British Isles, not just Scotland.

Over time the leavening was lost and exchanged for butter, making it an expensive fancy treat that was only bought for celebrations such as Christmas and Hogsmanay (Scottish New Year). There are similar ‘breads’ outside of Scotland such as Shrewsbury cakes and Goosnagh cakes.

The large amount of butter is what makes shortbread short: the term short, when applied to biscuits and pastry, means crumbly, like shortcrust pastry should be. It is the reason why the fat added to biscuits and pastries is called shortening.

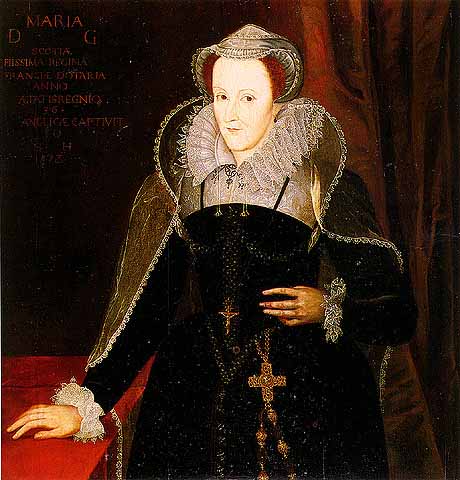
Mary Queen of Scots

Today, shortbread is made from flour, butter and sugar, though other flavourings are added. Caraway was particularly popular; Mary Queen of Scots was particularly fond of them. Other extra ingredients included almonds and citrus fruits like this 18th century recipe from Mrs Frazer:

Take a peck of flour…beat and sift a pound of sugar; take orange-peel, citron, and blanched almonds, of each half a pound, cut in pretty long thin pieces: mix these well in the flour; then make a hole in the middle of the flour, put in three table-spoons of good yeast; then work it up, but not too much…roll out; prickle them on top, pinch them neat round the edges, and strew sugar, carraways, peel, and citron, on the top. Fire it…in a moderate oven.

In George Read’s 1854 book The complete biscuit and gingerbread baker’s assistant, there are fewer ingredients, but includes eggs for some reason:

1 ¼ lb. of flour, ½ lb. of sugar, ½ lb. of butter, 3 eggs, ¼ oz. of volatile salts…a little essence of lemon

FYI: Volatile salts were smelling salts, that could also be used to leaven dough.

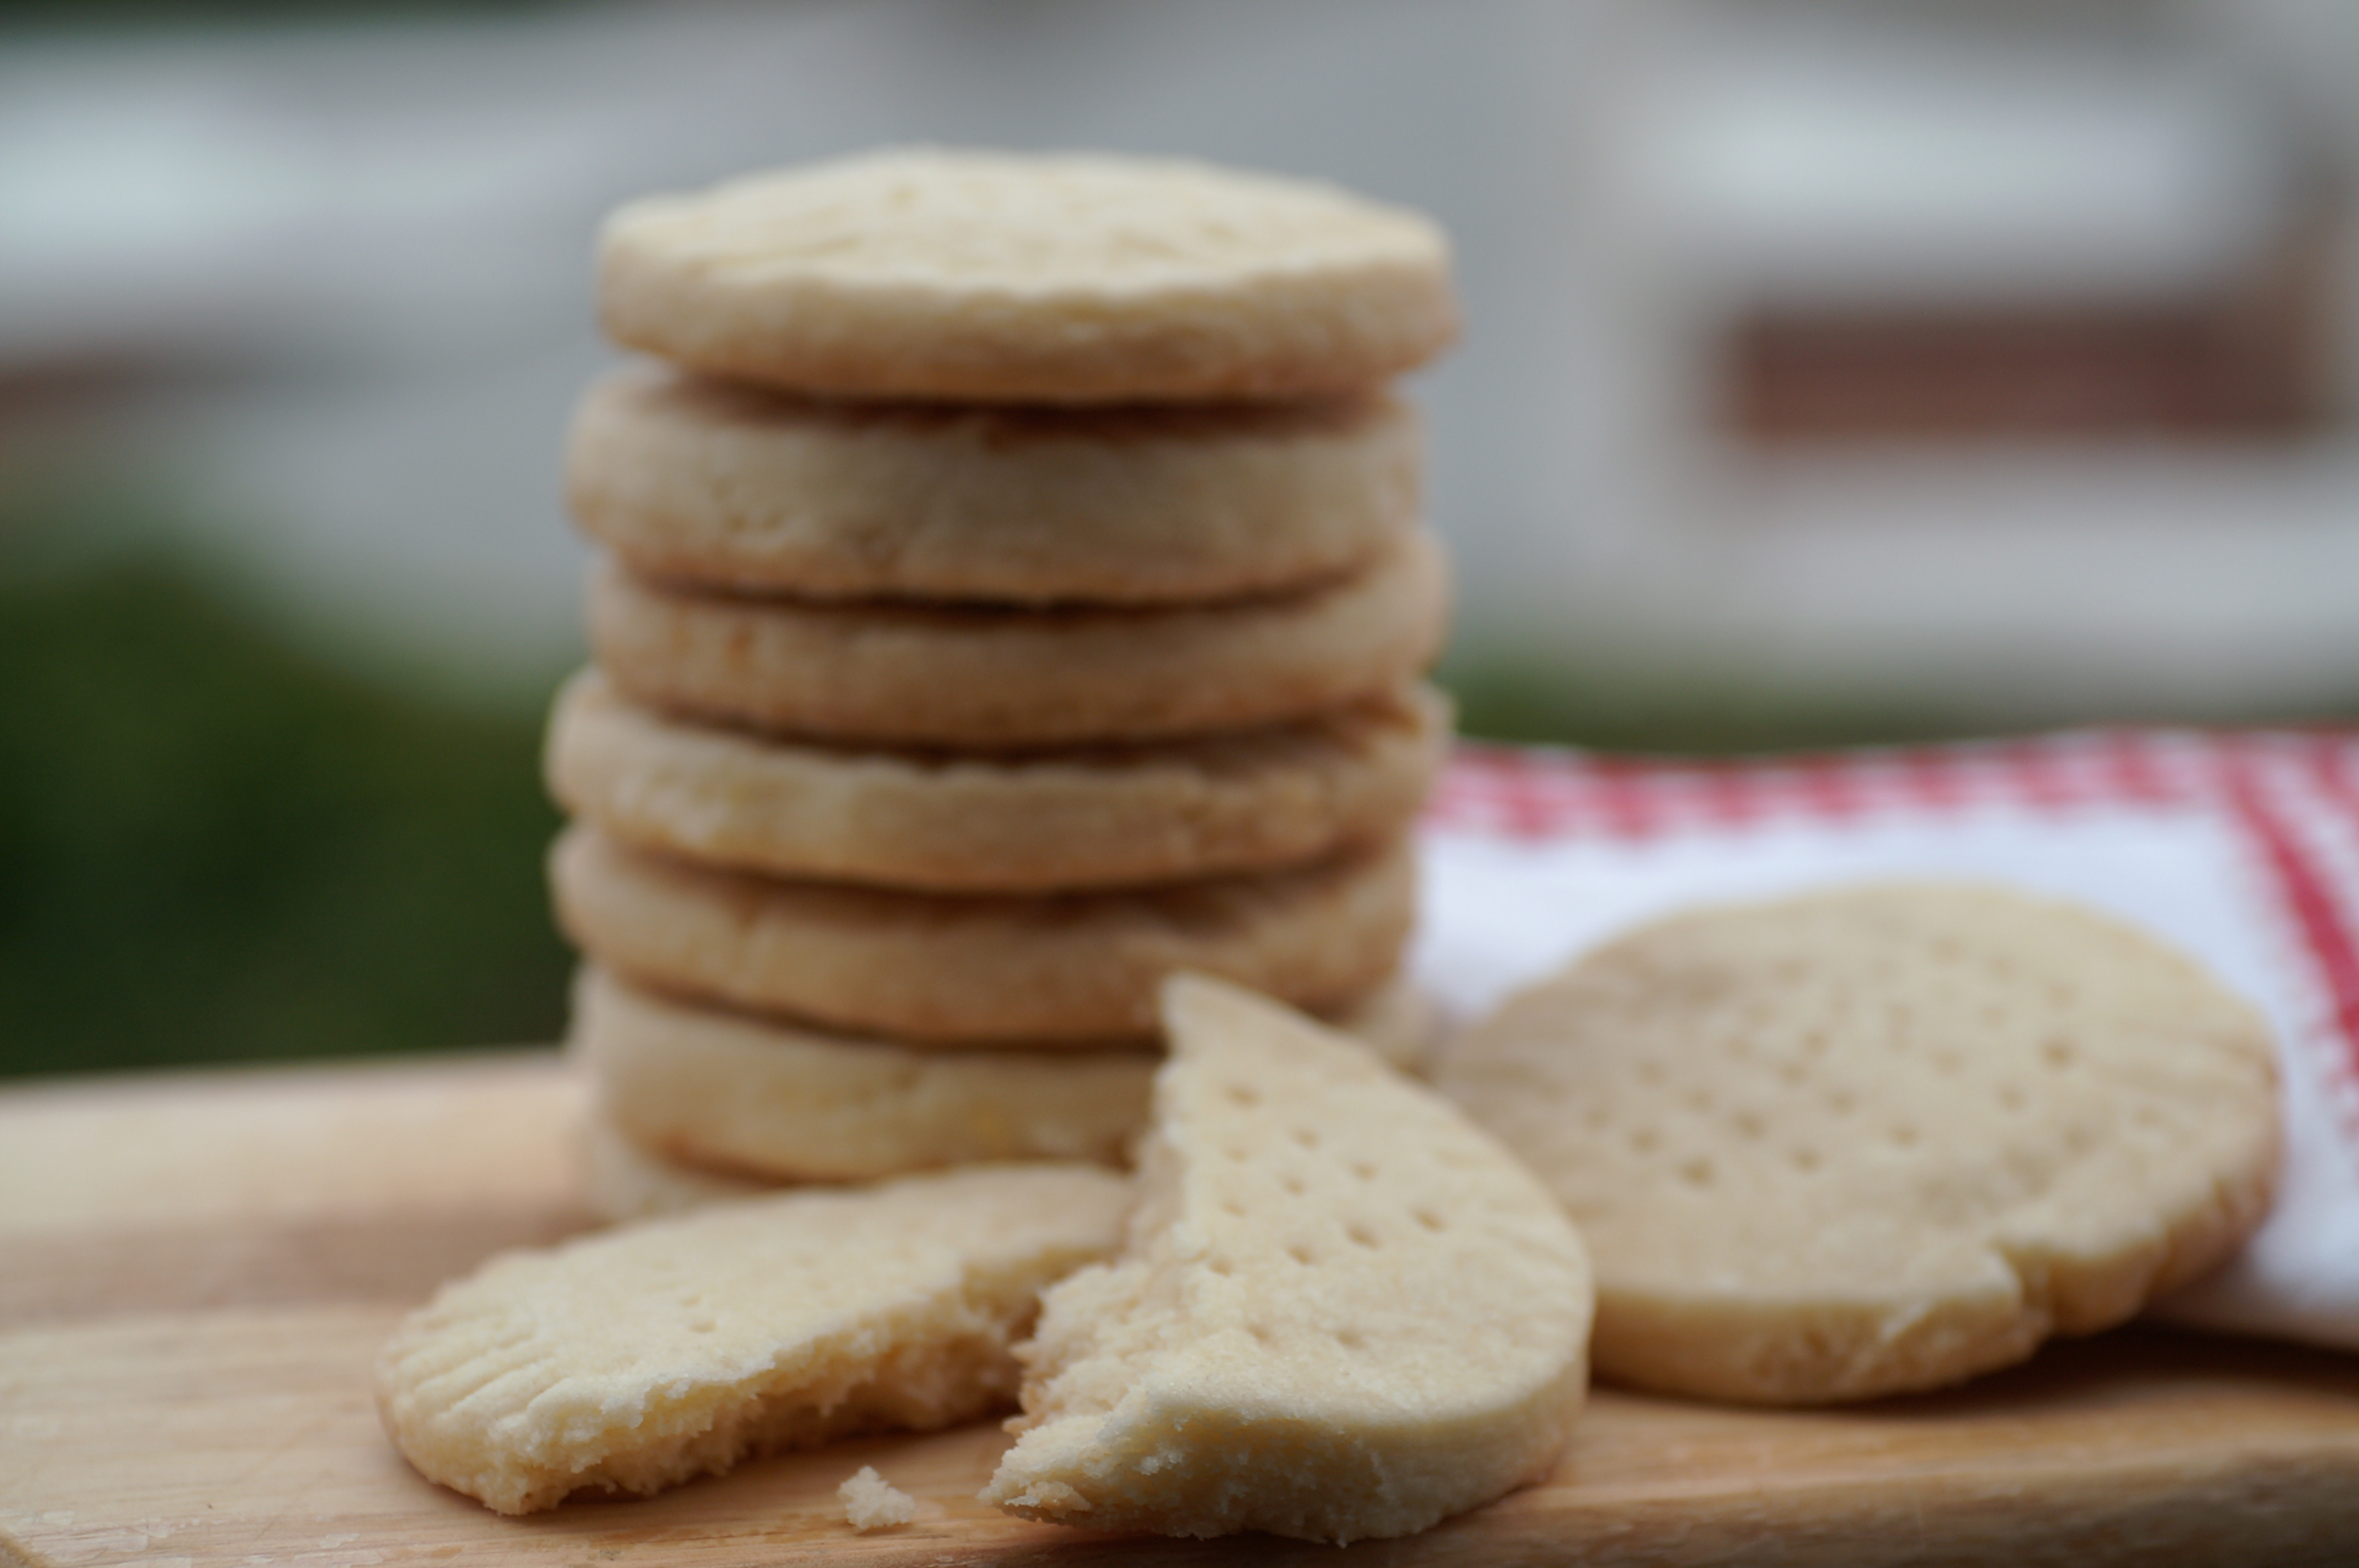
Shortbread usually comes in three different forms: small round biscuits, fingers or large rounds. To make the fingers, dough is cut into a large rectangle and the fingers are scored with the back of a knife so they can be broken up easily after cooking. A pattern made with fork marks is always made too.

To make large rounds, the dough is pressed into a round earthenware mould or a tart tin to make petticoat tails. When making the petticoat tails, the dough is scored into triangular slices like a pizza. The term petticoat tails comes not from the French petites gatelles (‘little cakes’) as many think (though Scottish cuisine did have more in common with French food than English food during the reign of Mary Queen of Scots), but from the term petticoat tallies – the name of the triangular pattern used to make bell hoop petticoats like Elizabeth I would have worn.

You can still buy the earthenware moulds – I’ll be buying one when I move back to England later in the summer.

Basic shortbread

This recipe makes enough for two petticoat tails rounds made in a seven inch tart tin. It’s hard to say how many biscuits or fingers – it depends on how wide and thick you make them. The important thing is to take them out before they start to brown.

To achieve a nice melt-in-the-mouth crumbliness use cornflour as well as normal plain flour to make your shortbread. Somewhere between a 1:1 and a 3:1 ratio of plain flour to cornflour works well. You don’t have to do this; they are still good with just good old plain flour.

6 ounces flour mix

4 ounces salted butter cut into cubes

2 ounces icing or caster sugar, plus extra

extra caster sugar

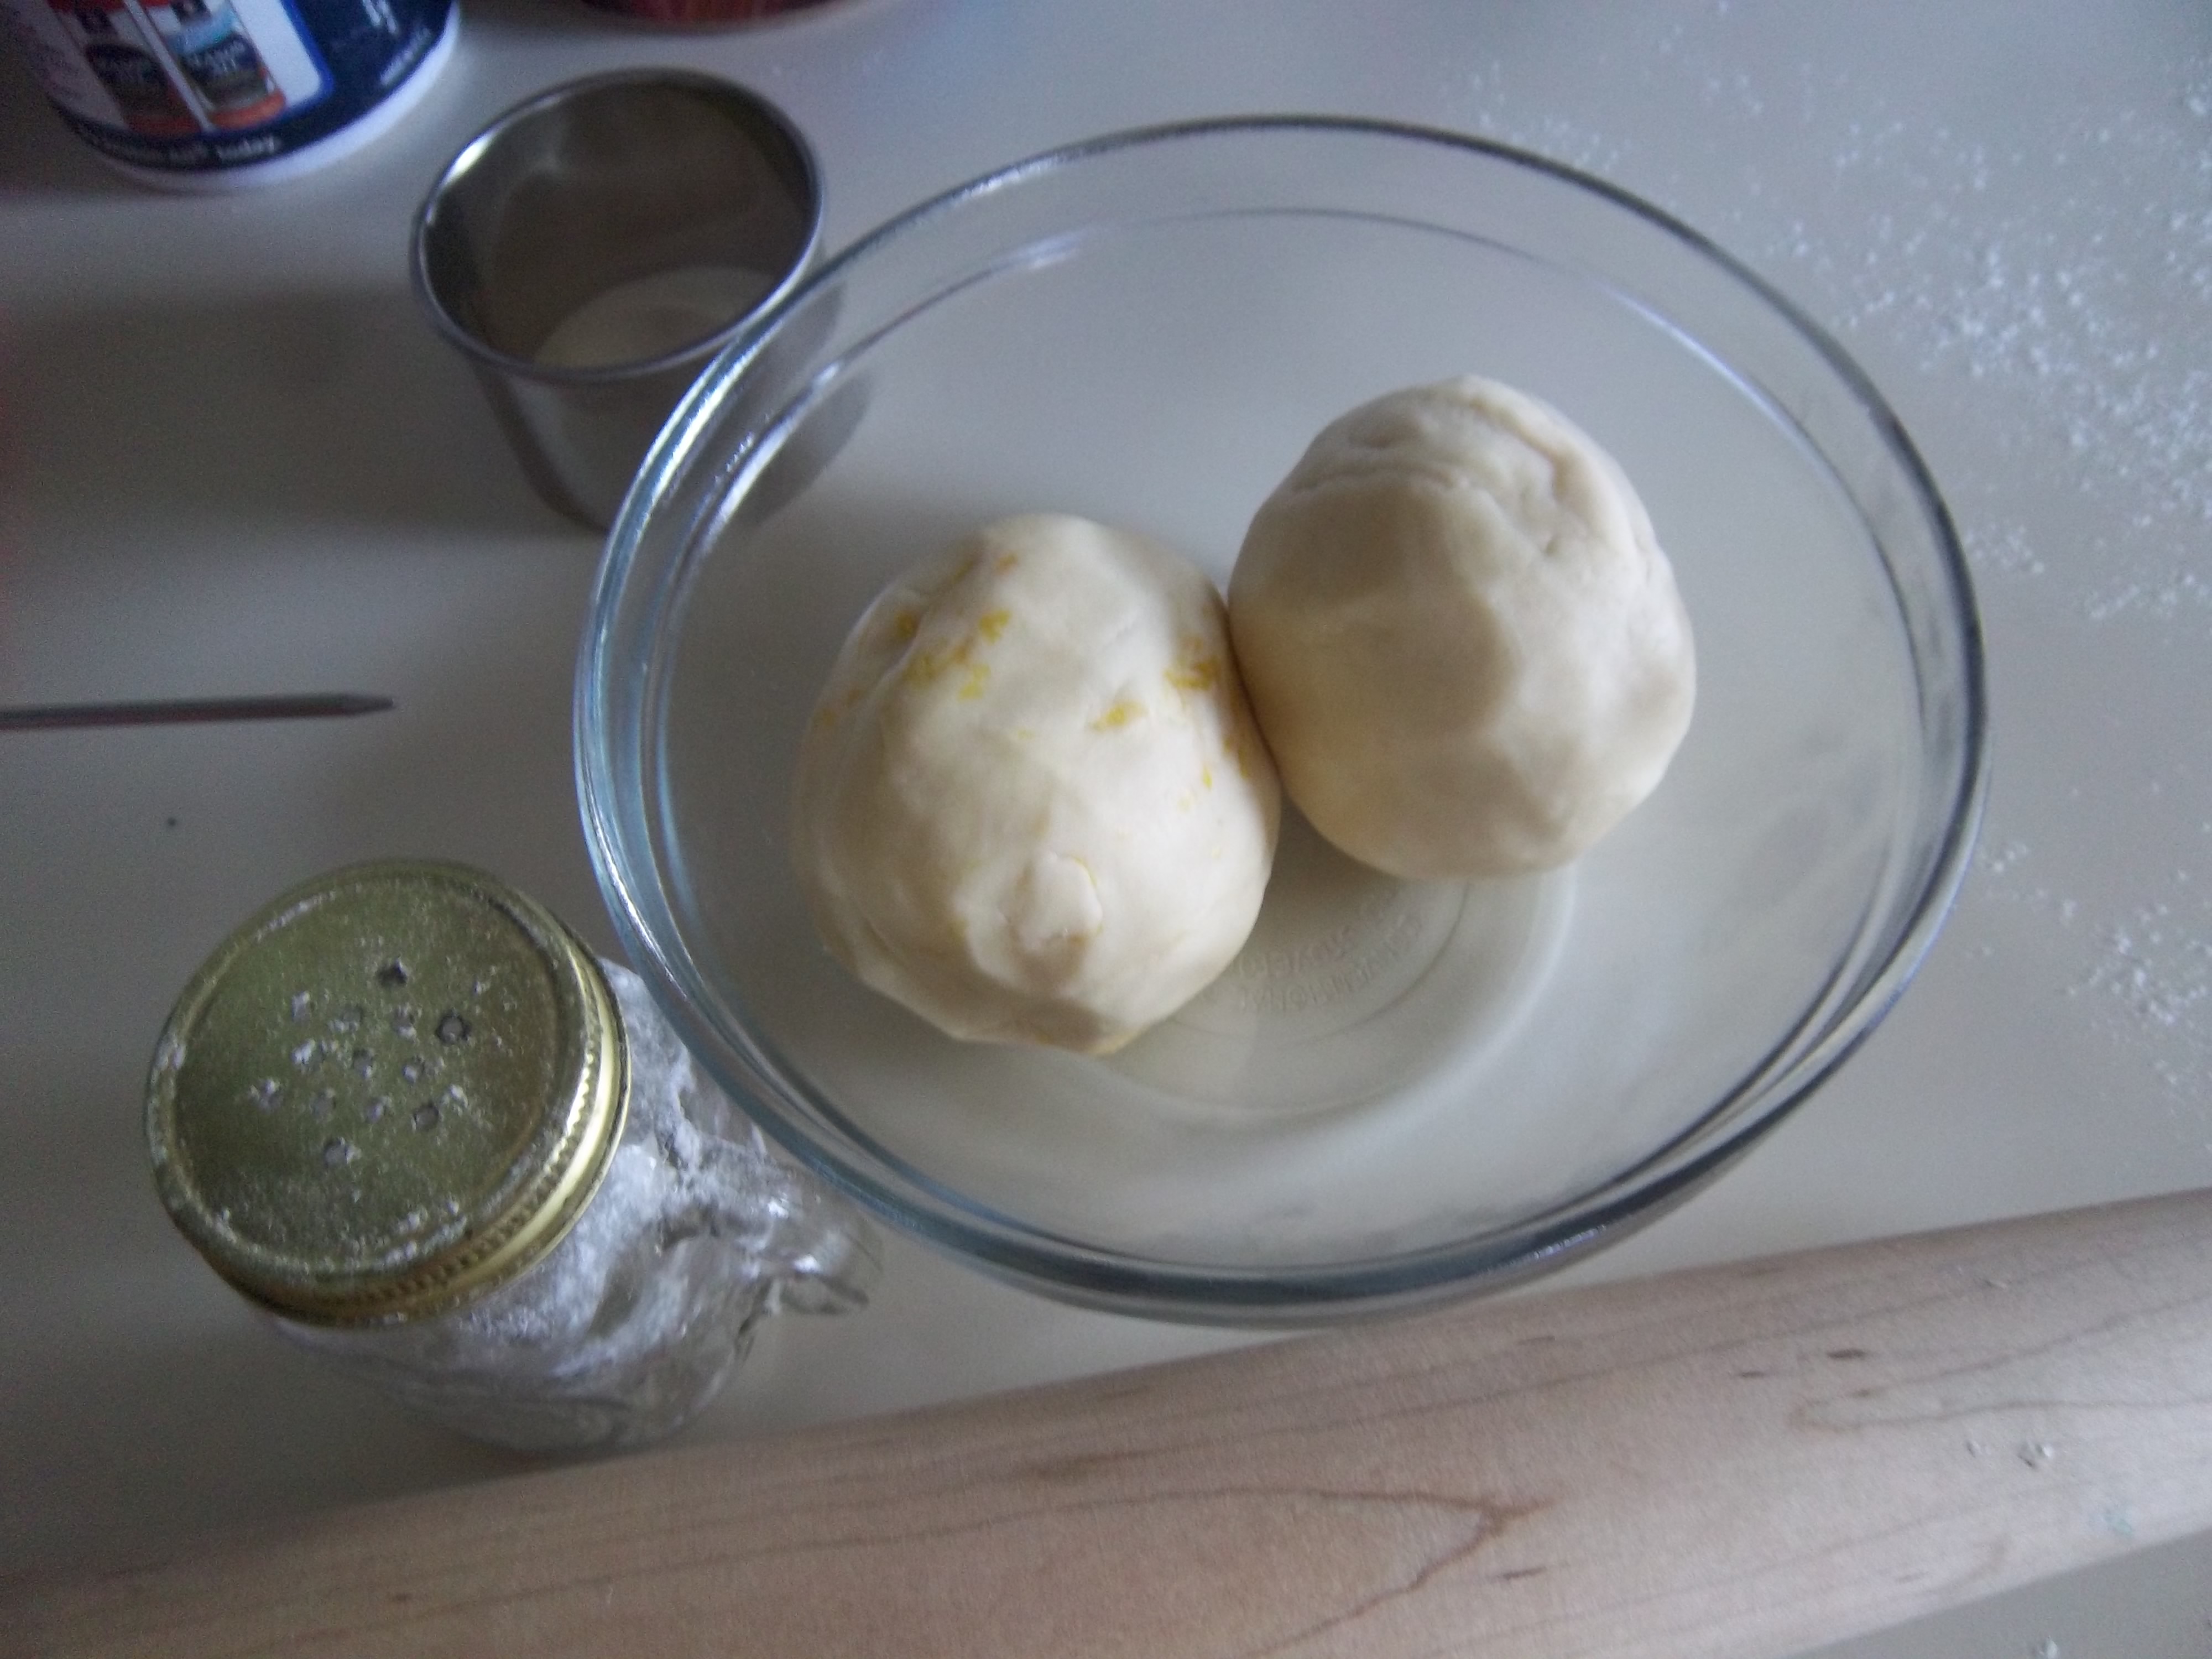
Rub the butter into the flour using fingers, pastry blender, food mixer or processor; be careful not to overwork things though if you’re using a food processor – shortbread dough doesn’t like being handled too much. Stir in the sugar and with your hand bring everything together to make a pliable dough – it’ll feel like it won’t form a dough at first, but as your hands warm it will.

Now you can roll or press out your dough into whatever shape you like and then place in the fridge for 20-30 minutes to harden:

For petticoat tails you are best diving the two into two halves and pressing the dough into your fluted flat tin. Score lines to mark out the slices, using a ruler if you want to be really precise. Make a nice pattern with a fork.

For fingers roll out the dough to half an inch thickness into a vaguely rectangular shape. Use a knife and a ruler to cut out a large rectangle and then score the lines with your ruler and knife, making patterns with your fork prongs.

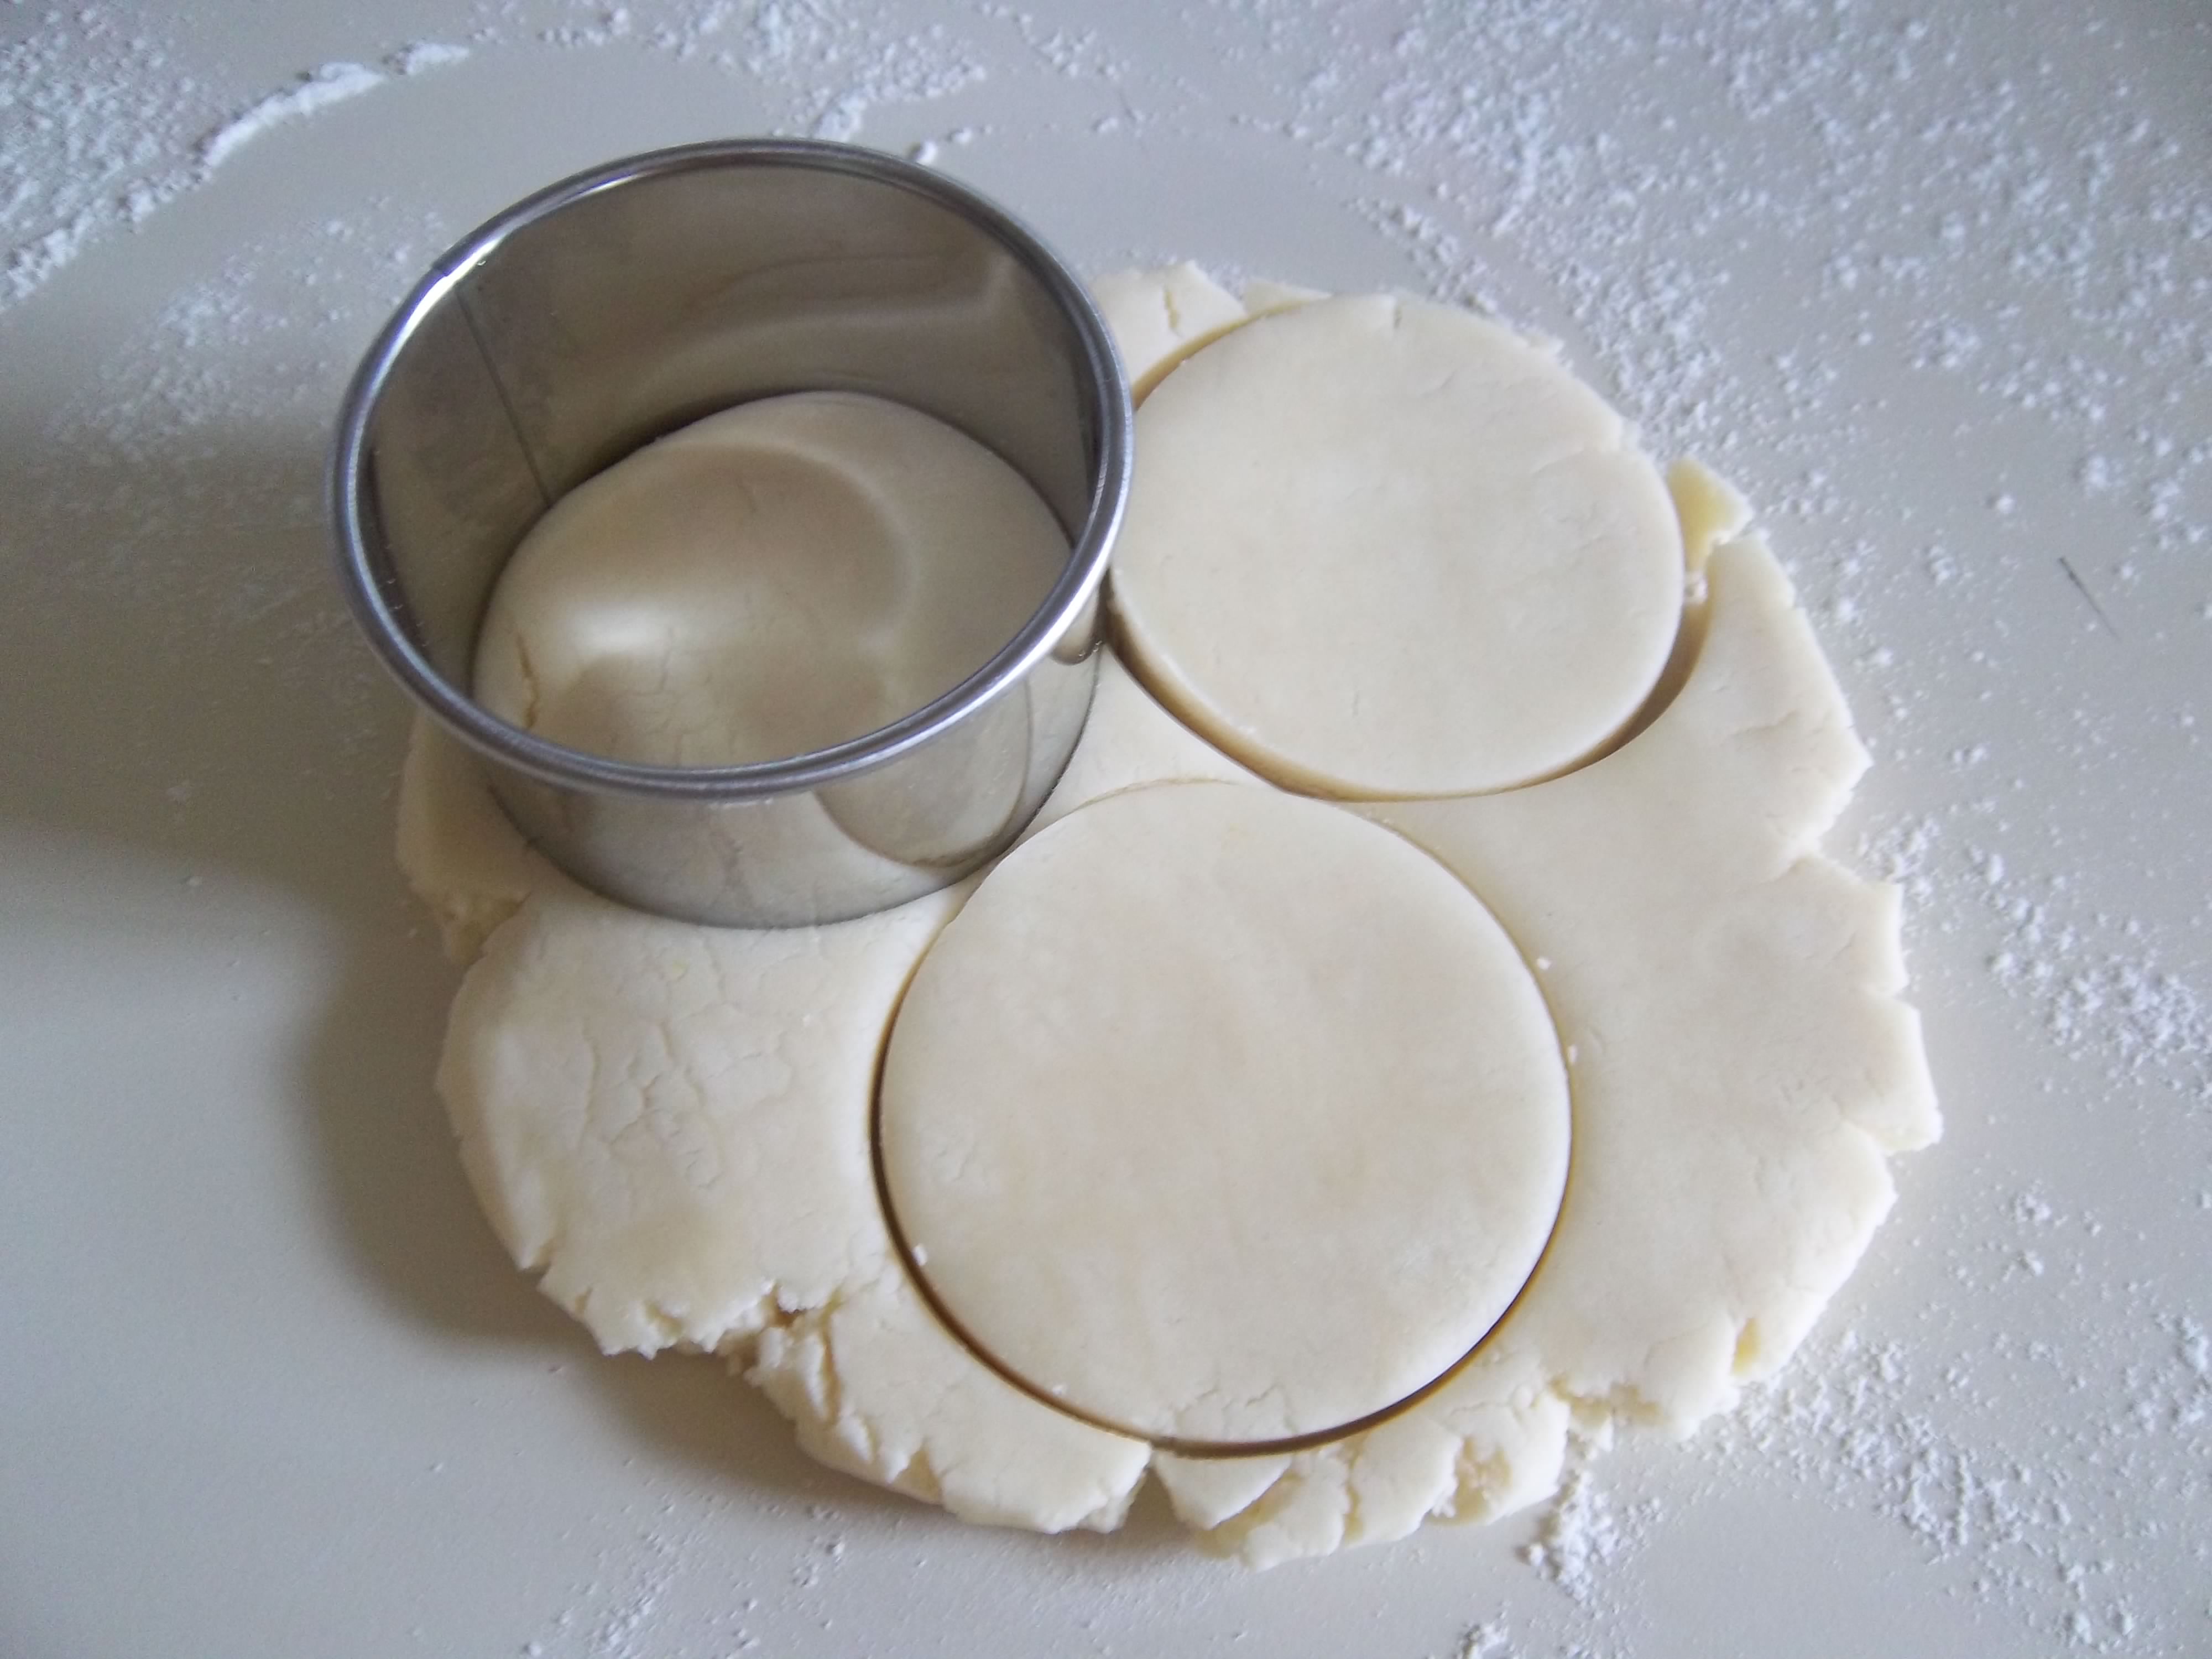
For biscuits you can really do whatever you like; thick, thin, round, square. I think a little under half an inch is a good thickness. Cut out the biscuits and make your all-so-important fork marks.

Heat the oven to 180⁰C (350⁰F). Place the biscuits onto a baking sheet lined with greaseproof paper. Sprinkle with the extra sugar and bake until cooked but before any signs of browning. Petticoat Tails and fingers take about 15 minutes, individual biscuits can be variable, but usually about 12-15 minutes.

Variations:

For lemon shortbread add the zest of one lemon when you add the sugar, and for almond shortbread add 5 or 6 drops of almond extract. If you want to try it with caraway, sprinkle in 2 teaspoons of caraway seeds at the same time you add the sugar.


If you like the blogs and podcast I produce, please consider treating me to a virtual coffee or pint, or even a £3 monthly subscription: follow this post for more information.


50 Comments

Filed under baking, Biscuits, Britain, Desserts, Festivals, food, history, Recipes, Scotland, Teatime, Uncategorized

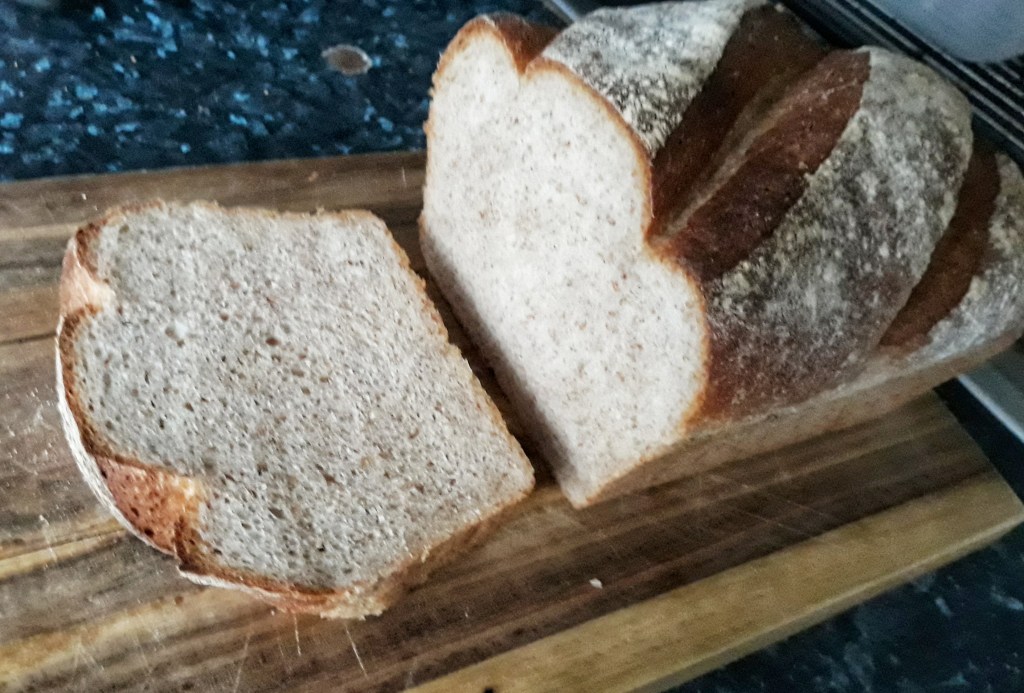
How to Make an Everyday Loaf

All that bread wants is time and warmth.”

After writing a post on bread a while ago, I thought I should follow it up with some bread recipes. I was going to go in a chronological order and find the earliest recipe for bread I could, but then I thought against that idea; a recipe for a delicious, but basic loaf is what we need to start with.

I try to bake all my own bread these days, but admittedly, I don’t eat a large amount of it, making a loaf every couple of weeks. However, I do believe that baking your own bread several times a week is possible and not the huge pain the arse you might expect. For many years, I tried to bake bread and it always had good flavour, but it was always a little tough or stodgy. I was rather disappointed thinking one had to practise, ptractise, practise to get the knack. It turns out that I was doing everything correctly, the only ingredient I was missing out was time

…and this is the problem with today’s factory-made bread; it is mass produced to the extreme, hurredly leavened, containing additives that preserve, emulsify and rise. The slices are always far too light and fluffy – “flabby” is the word I think Jane Grigson used. Of course, these days there are bakery sections in our supermarkets, but Elizabeth David was very suspect of them even in 1977.

Now don’t be thinking me a big old snob: I actually like some factory bread, and much instore bakery bread is very nice and crusty, but having realised I can make bread that is better tasting and so much cheaper, I can’t go back. Admittedly, it doesn’t last as long in the bread bin, but then bread shouldn’t!

Here is the recipe I use for a basic loaf – it requires little elbow grease, unless you have a food mixer with a dough hook. The best thing is that it should be made the evening before you actually want to eat it, so there’s no getting up at the crack of dawn. It contains only four ingredients too: flour, water, salt and yeast. There is the option of adding a little fat to keep it fresh and soft an extra day. You can enrich the bread by swapping some or all of the water for milk, but I think there’s no need. There are so many variations on the theme and as I discover them and try to perfect them, I shall add them to the blog.

It is very important to use the appropriate amount of water. A cob loaf which just sits on a baking tray needs 60% water per volume, in other words 600 g of water for every 1000 g of flour, any more and you risk it spreading out as it proves and bakes. This loaf is going to be baked in a tin, so we can add a little more water – 62.5% for white bread flour. If you are using a mixture of wholegrain strong and white strong, you will need a little more water, around 65% water.


If you like the blogs and podcast I produce, please consider treating me to a virtual coffee or pint, or even a £3 monthly subscription: follow this link for more information.


You will also need a 2 pound, or 900 g loaf tin.

Ingredients:

400 g strong white bread flour, or a mixture of at least half white, and a wholegrain bread flour

8 g salt

4 to 5 g grams of dried instant yeast

250 – 260 g warm water

25 g oil or very soft butter

Mix the flour(s), salt and yeast in a bowl, make a well and add the oil or fat if using, then pour on the water. Mix together using your hand or a wooden spoon. If you have a mixer with a dough hook, just mix on a slow speed until it comes together to form a dough.

Important note no. 1: try to make the dough more on the wet side, rather than the dry; just keep your hands well-floured so you can handle the dough. Work it for a few minutes whilst in the bowl. Of course, if you have a mixer with a dough hook, you can simply use that on a slow to moderate speed to mix and briefly knead it.

You’ll have a sticky dough that is hard to work with, but don’t worry. It is now time to knead the bread. You can sprinkle a little flour or spread a little oil on the work surface to help if you like, but really you don’t need anything. Use whichever you might prefer. I tend to go for a light sprinkle at the beginning of the kneading process.

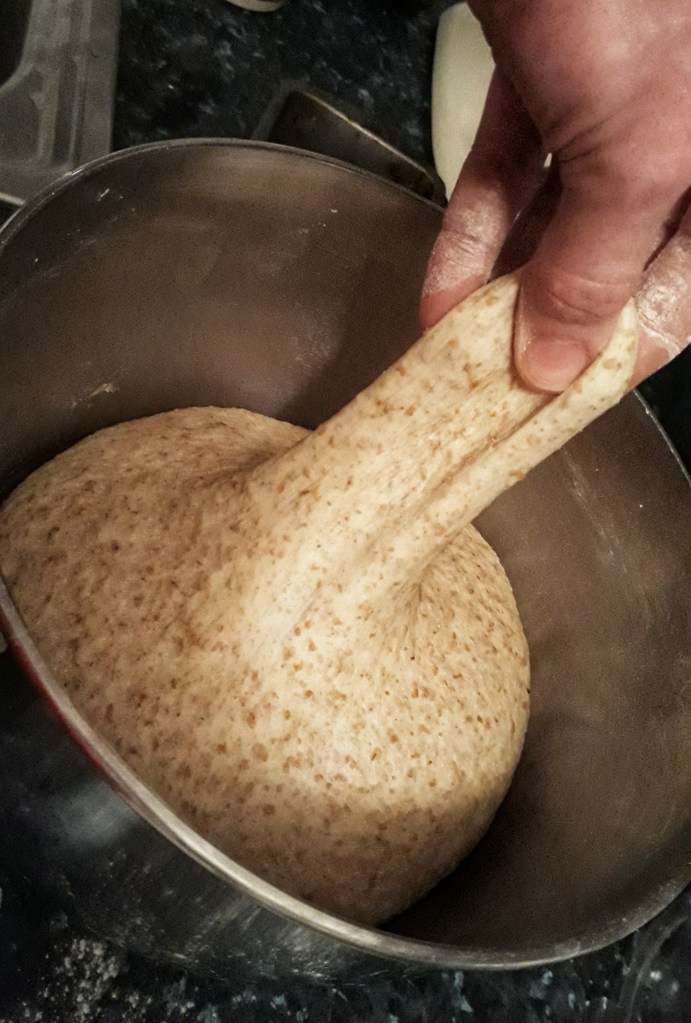
To knead by hand, push out the dough with the heel of your hand, and then roll it up, give it a quarter turn and repeat. The dough will quickly start to become more stretchy and smooth, and soon you’ll find you don’t need any oil or flour to knead it.

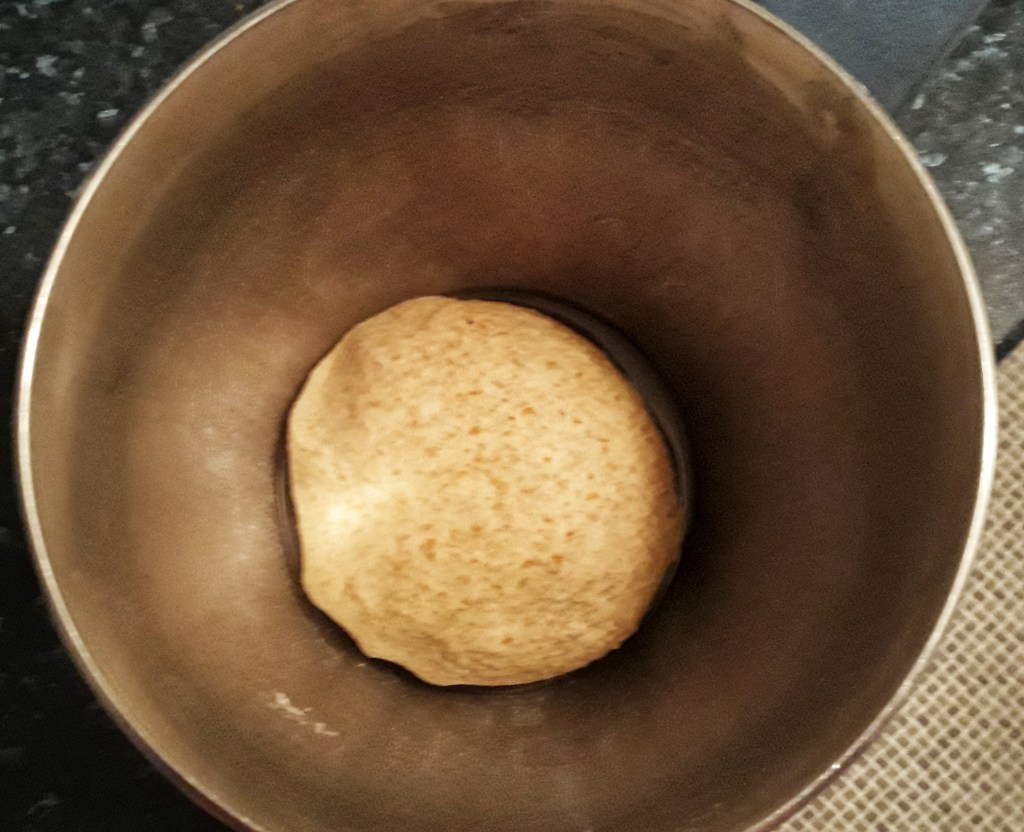
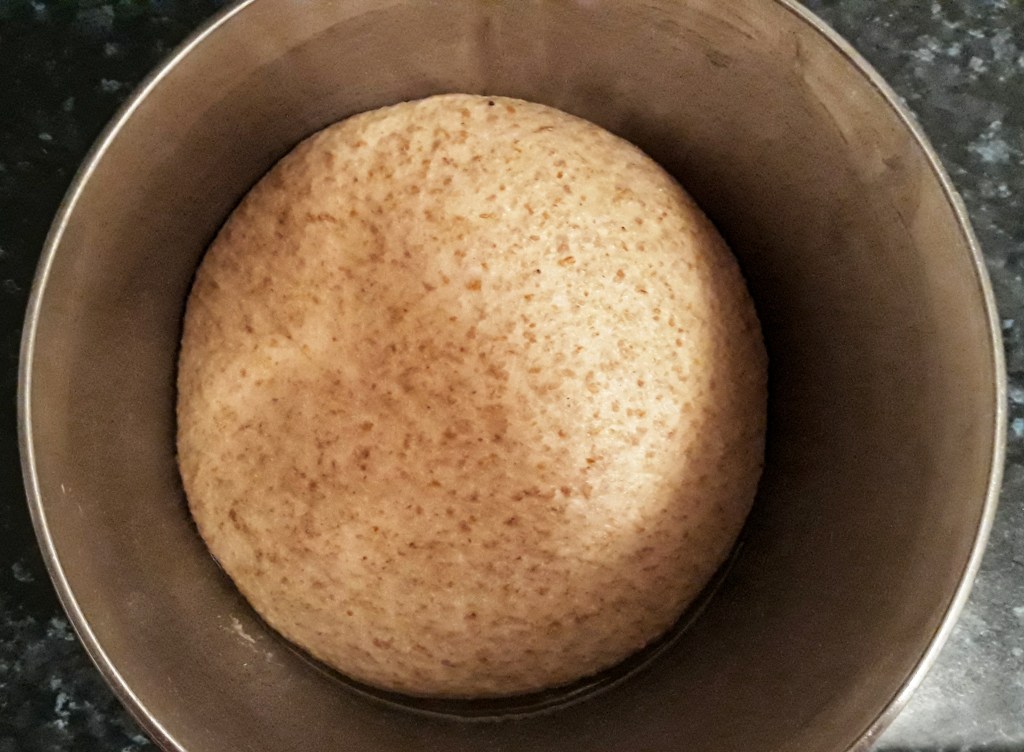
Before rising…
….after!

After around 10 minutes, you’ll feel the dough suddenly get more difficult to knead; it’s a bit like when you chew gum too long and it suddenly becomes more effort to chew it. 

Using a dough hook, turn up the speed a couple of notches and mix around 6 minutes. Keep guard though, your mixer may tend to go for a dance or walk over your worktop and off the edge!

Form the dough into a tight ball by tucking it under itself. Pop it into a grease bowl, cover with a plastic bag or damp tea towel and leave it to rise in a warm place.

Important note no. 2: Do not leave it near a radiator or anything like that – unequal heat will not do the job – you need ambient warmth. I let my dough rise in my airing cupboard. If you don’t have a warm place, do not worry for the quickly-metabolising yeast will begin to generate its own heat.

The stretchy dough after its first prove

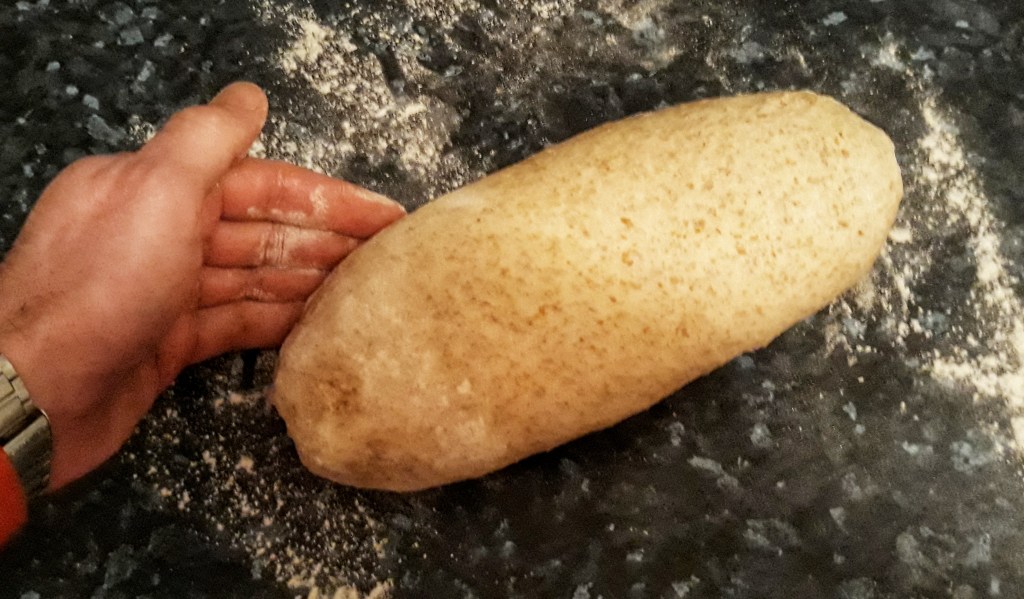
When it has doubled in size, knock it back, i.e. press the air out with your fingertips – a very satisfying thing to do. It should be squidgy and much more elastic. Make a ball with the dough by pushing the edges into the centre. Once it is round, stretch the circle into an oval shape, long side toward you.

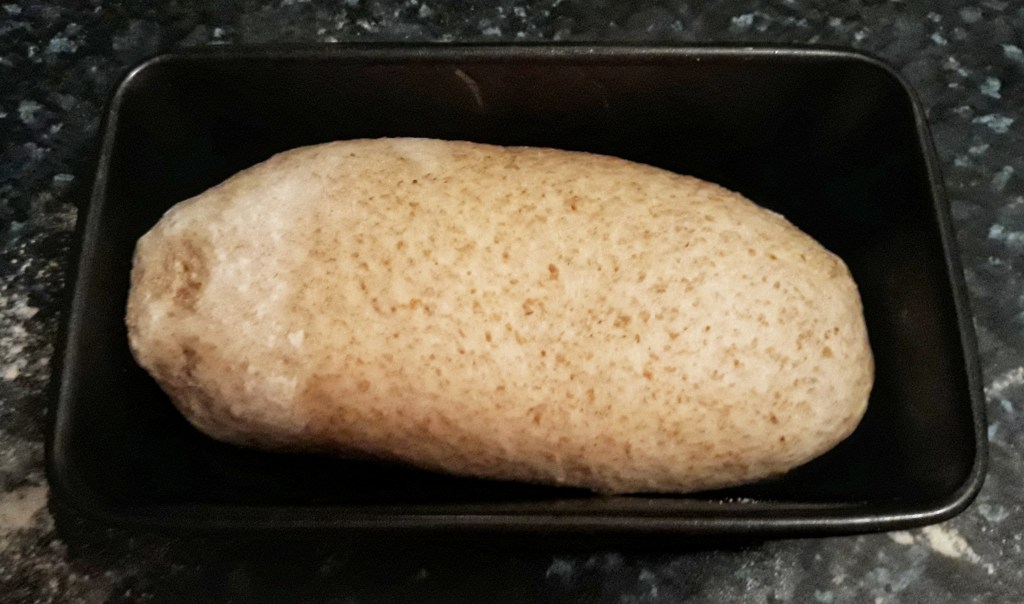
Now roll the dough towards you from the far end, tucking in everything tight all around, like tucking in your bed. This ensures that the seam is at the bottom of the bread and so that the top is nice and tight.

Cover with a plastic bag and allow to prove again, until doubled in size – it should have risen above the rim of the tin and should spring back when pushed by your finger.

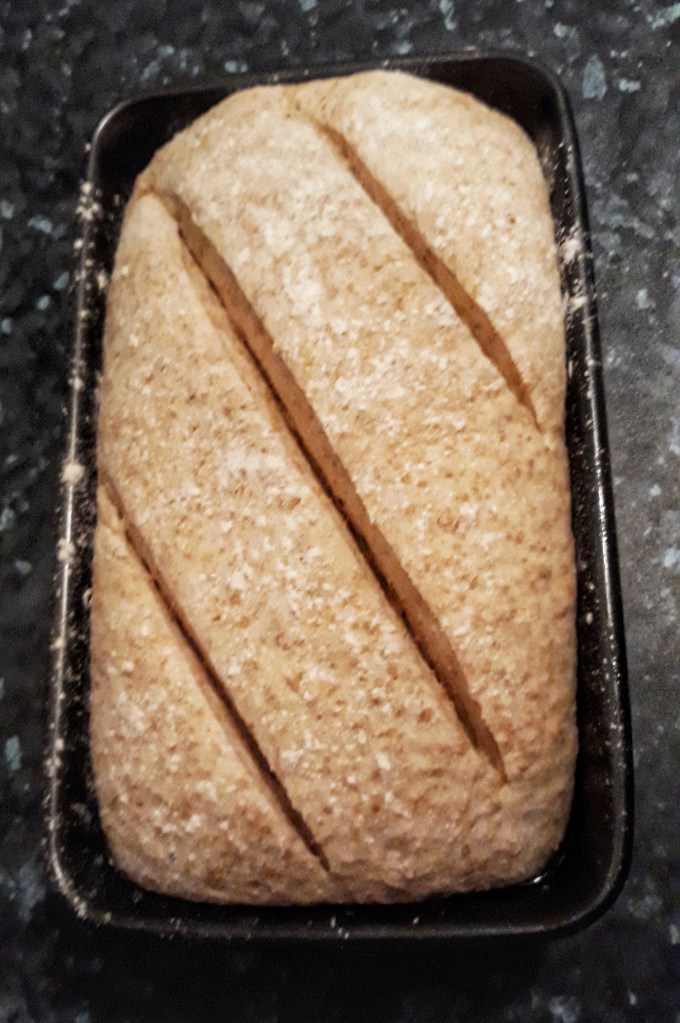
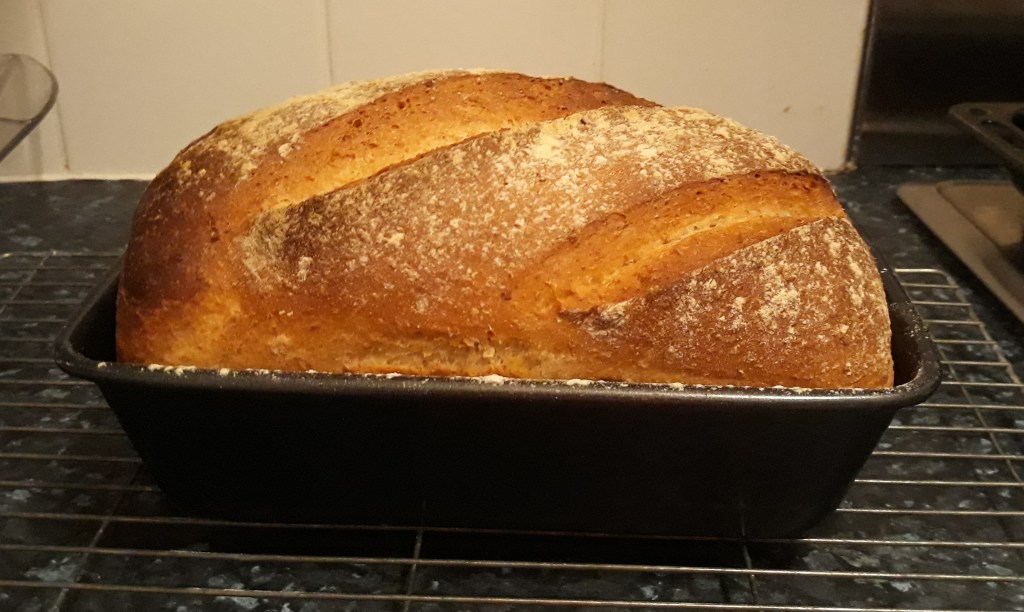
Sprinkle with flour and make some cuts on the crust so that it can unfurl as it bakes – I go for diagonal slashes. It’s important to do it quite quickly and in one direction. A sharp serrated knife like a bread knife is best for this.

There are many methods for baking your bread, and some require a lot of messing around with trays of hot water and crazily-high temperatures. I do something much less dramatic: I put the bread in a cold oven and then turn it on – you get some extra rise without faffing about altering temperatures and giving yourself steam burns. If you have to use a hot oven, spray the dough with water to stop it forming a crust too early.

Set the oven to 220-230⁰C and bake for 40 minutes. When ready, the loaf will sound hollow when knocked with a knuckle.

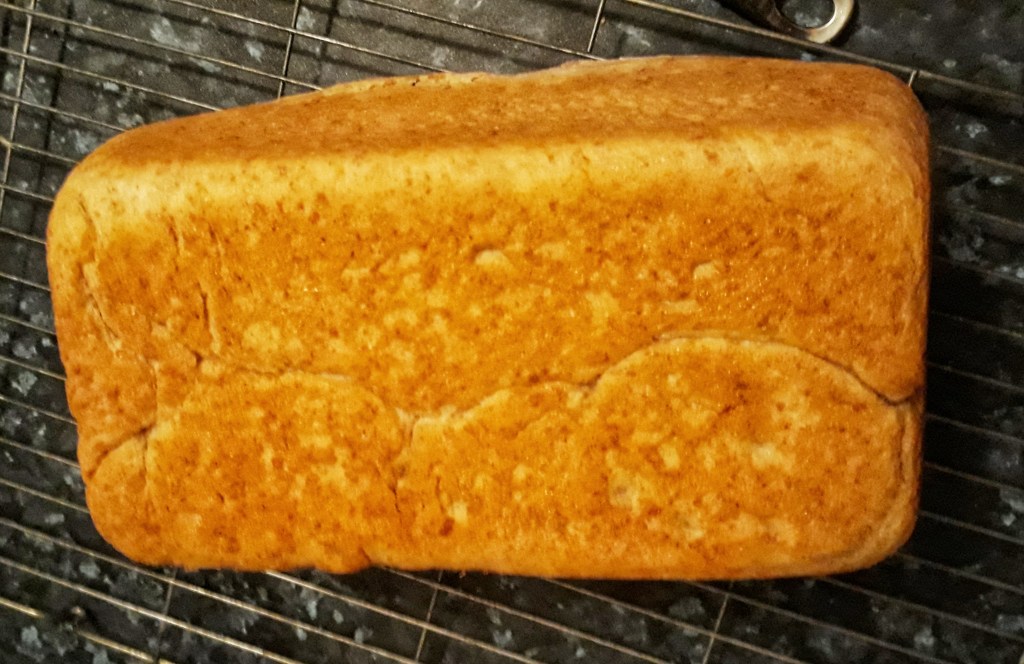
The seam you made can still be seen on the underside of the loaf

Important note no. 3: do not eat the bread when hot – try to resist! The still-hot steam can make it stodgy.

There it is – sorry it’s rather long, but hopefully it is a good guide to baking proper bread. If anyone has any extra tips, let me know…

16 Comments

Filed under baking, bread, food, Recipes, Teatime