Tag Archives: Teatime

Simnel Cake


Want to know more? There’s a podcast episode that complements this blog post:


A Simnel cake is a type of fruit cake that contains plenty of marzipan and is eaten at Easter, although it used to be specifically associated with Mothering Sunday. When folk were fasting during Lent, Mothering Sunday, appearing in the middle of the fast, offered a respite from 40 days of religious austerity.

Mothering Sunday occurs on the fourth Sunday of Lent; a special day when people visited their mother church or cathedral. Don’t confuse Mothering Sunday with Mothers’ Day; it is only in the last century that this day is associated with showing enforced appreciation to our mums (though I assume that you met up with your mother on return to your original diocese).

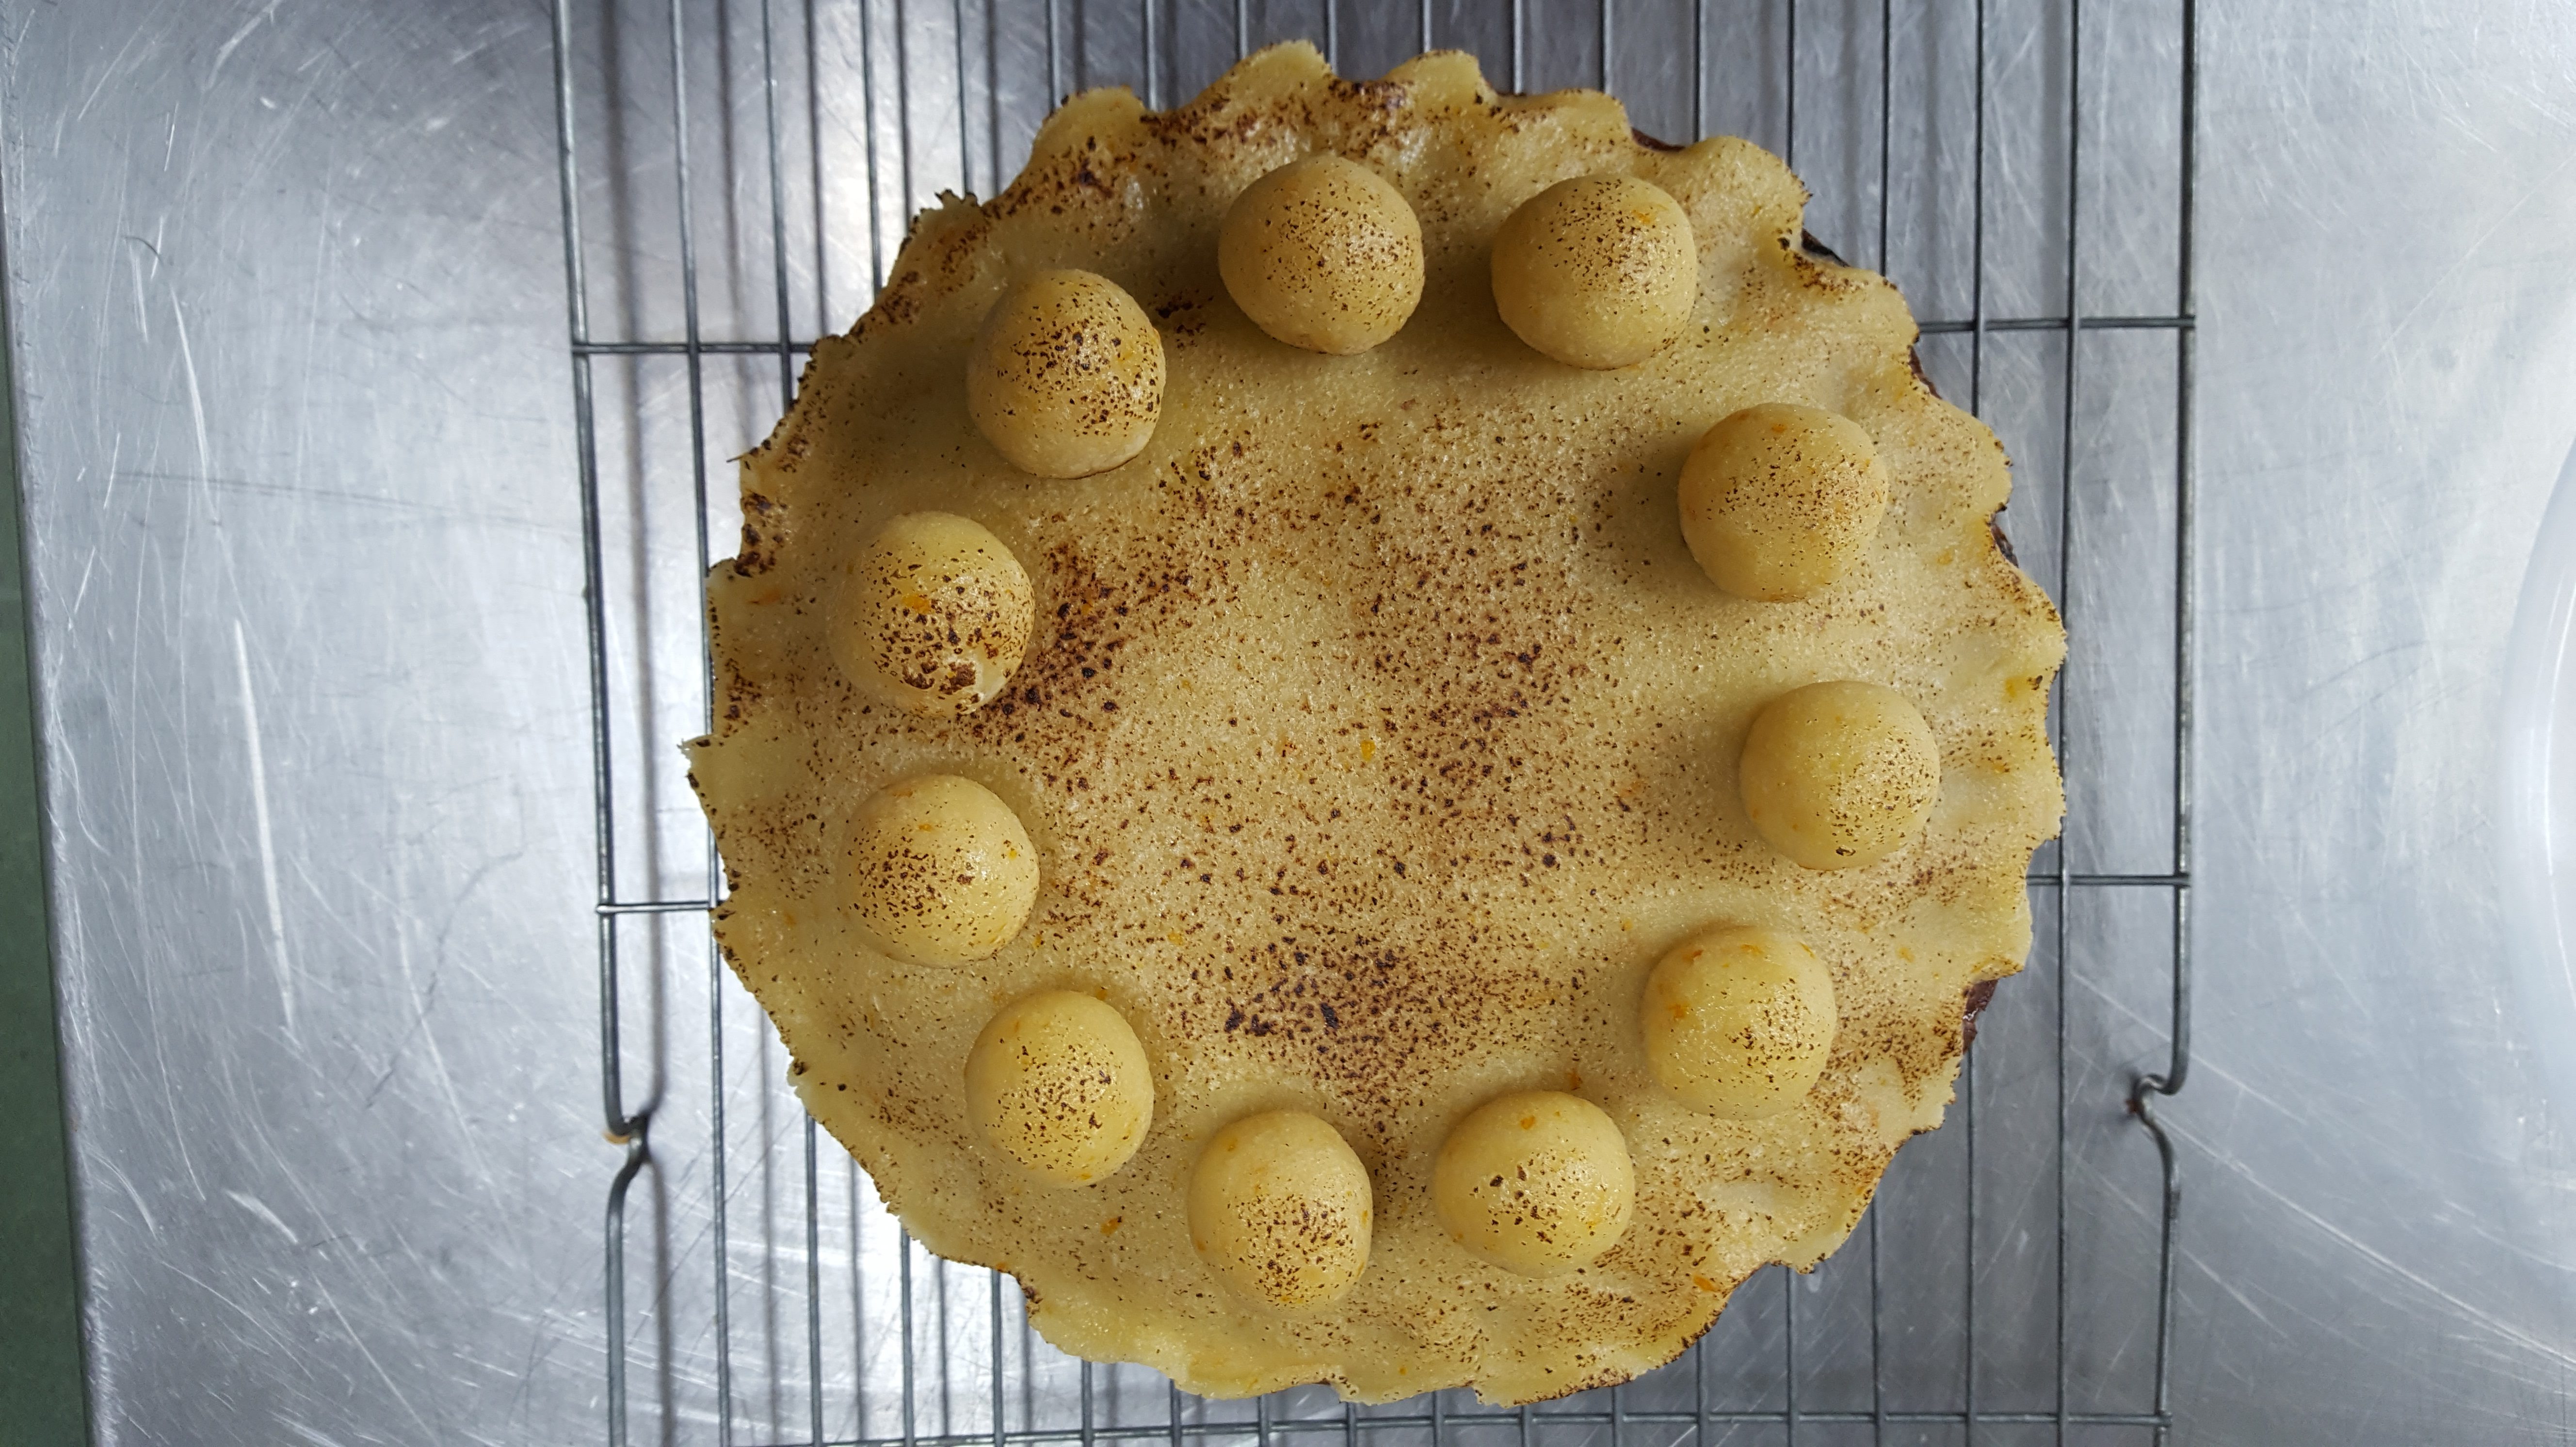
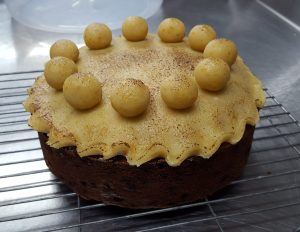
Like most British food eaten during winter and early spring, the Simnel cake contains lots of dried fruit, but it is much lighter than boozy Christmas cake and contains a layer or marzipan both on top and within, and is decorated with eleven marzipan balls, each symbolising Jesus’s disciples (minus the treacherous Judas of course).

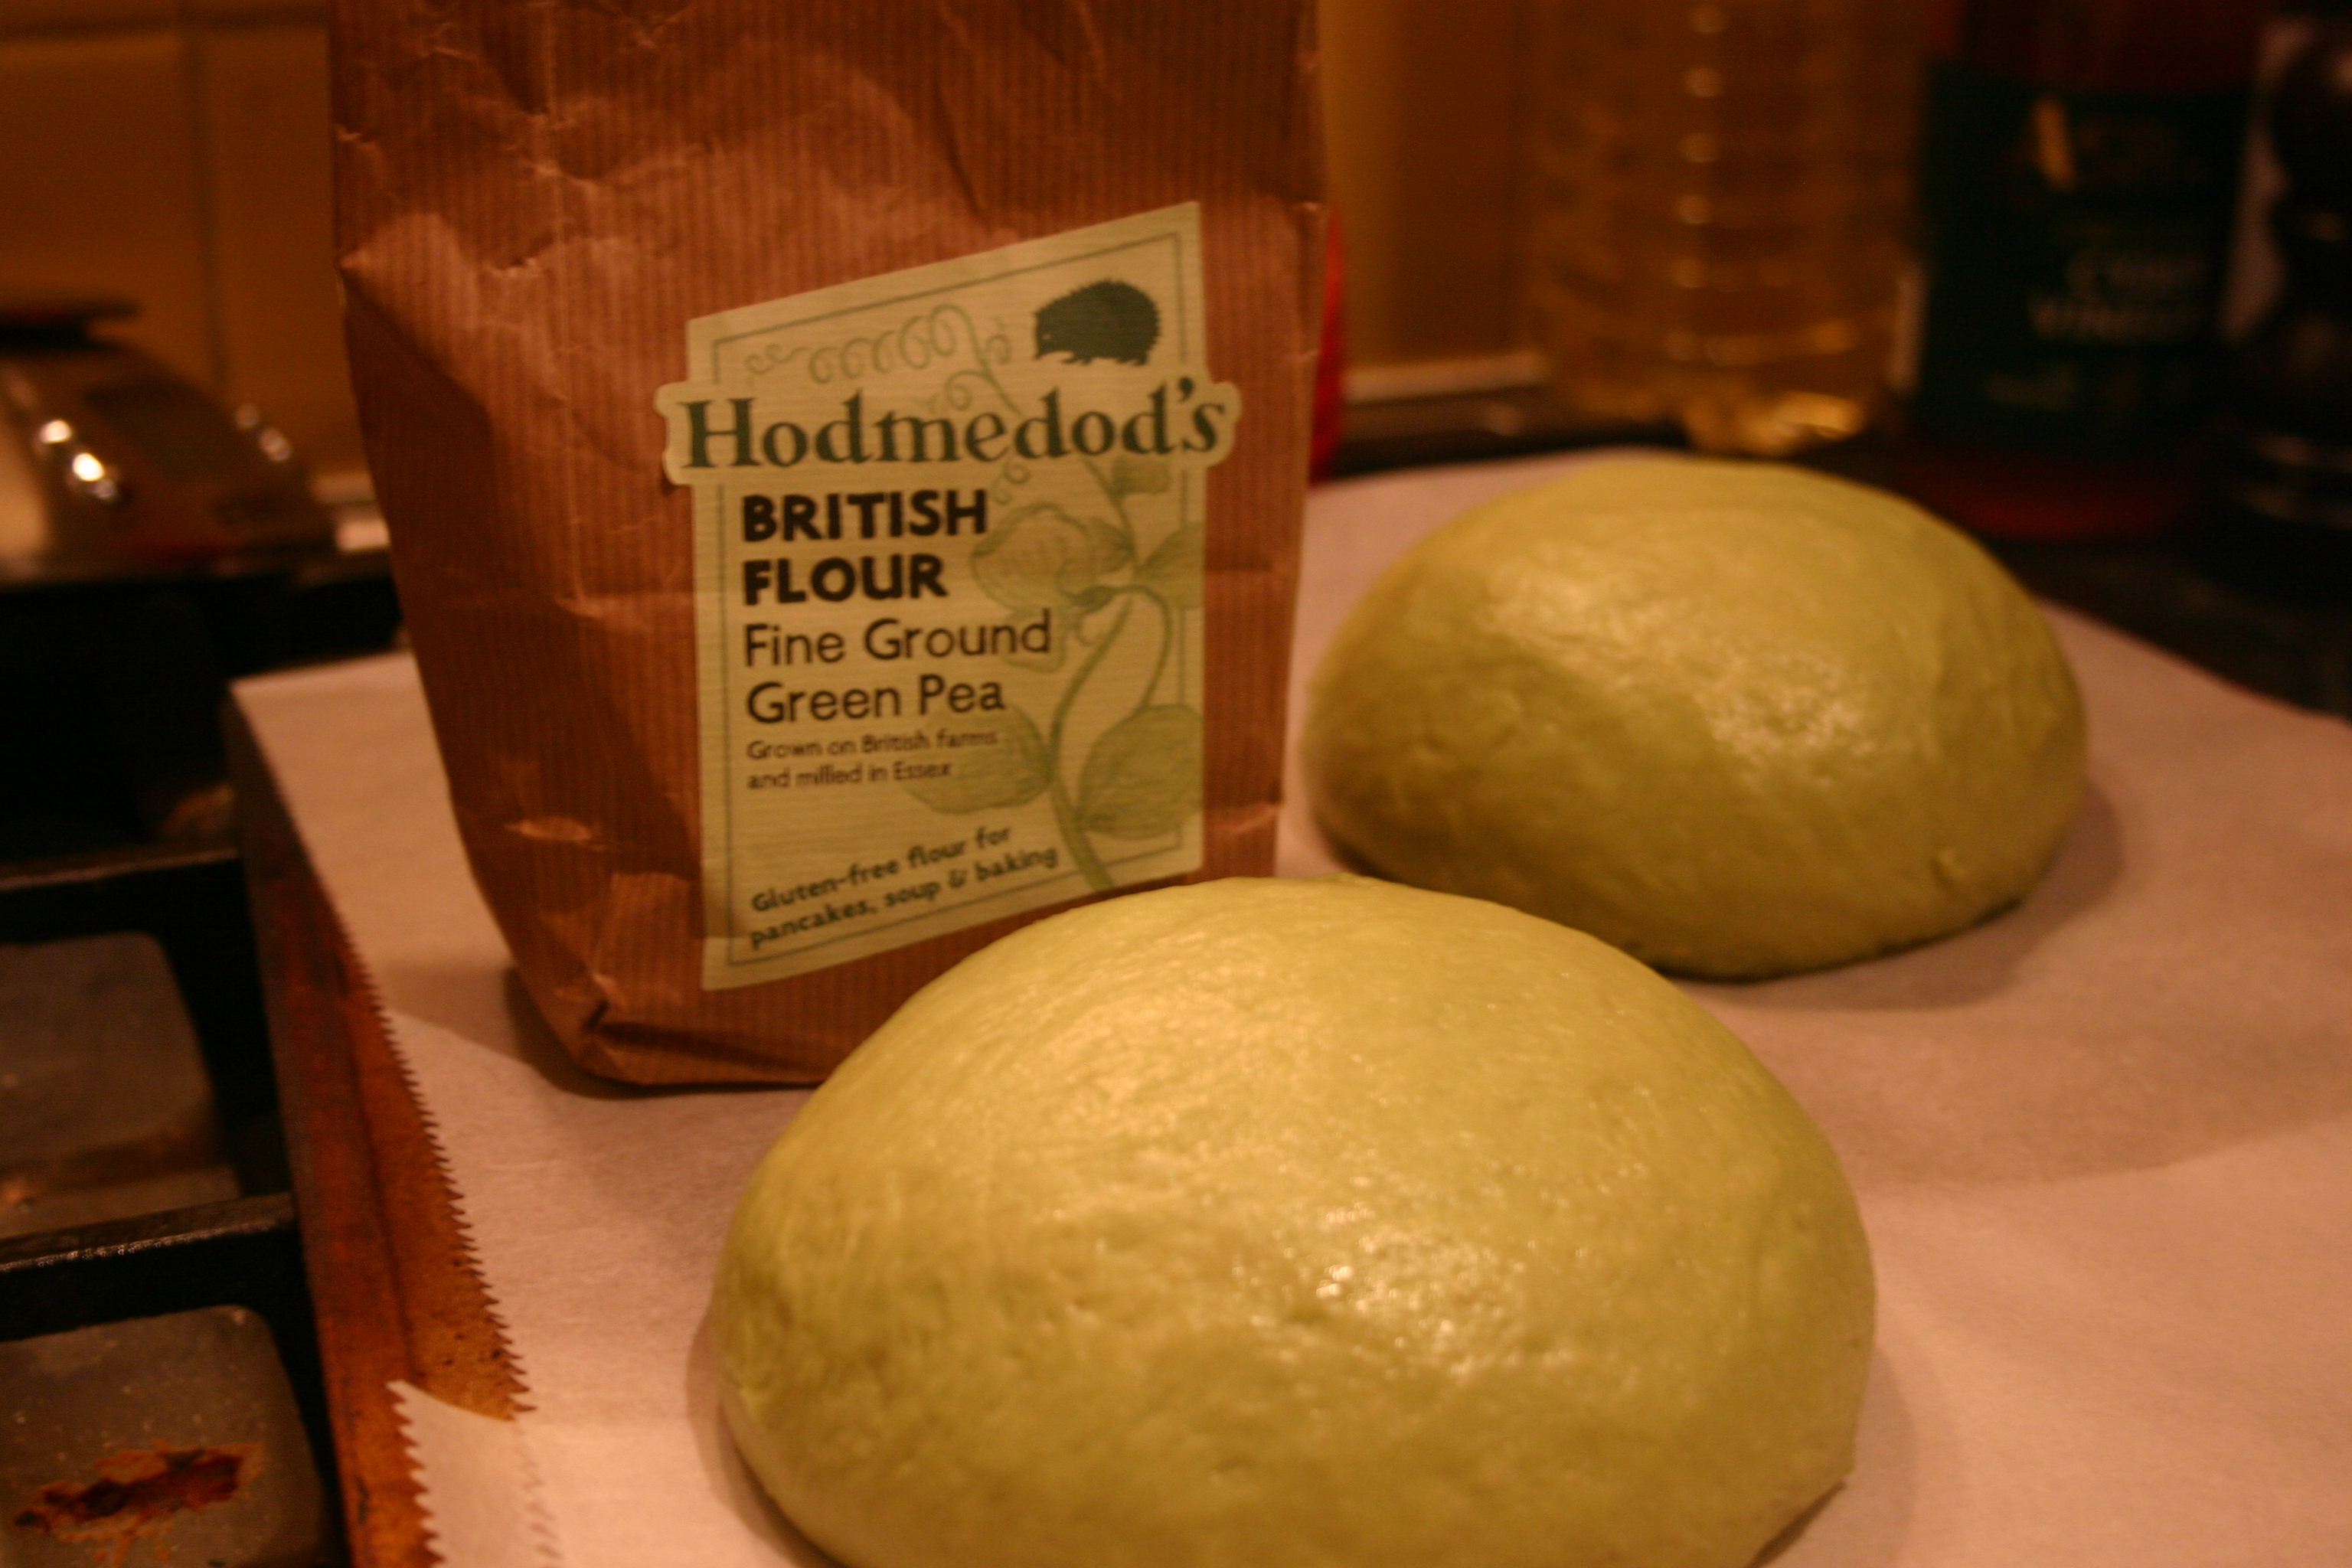
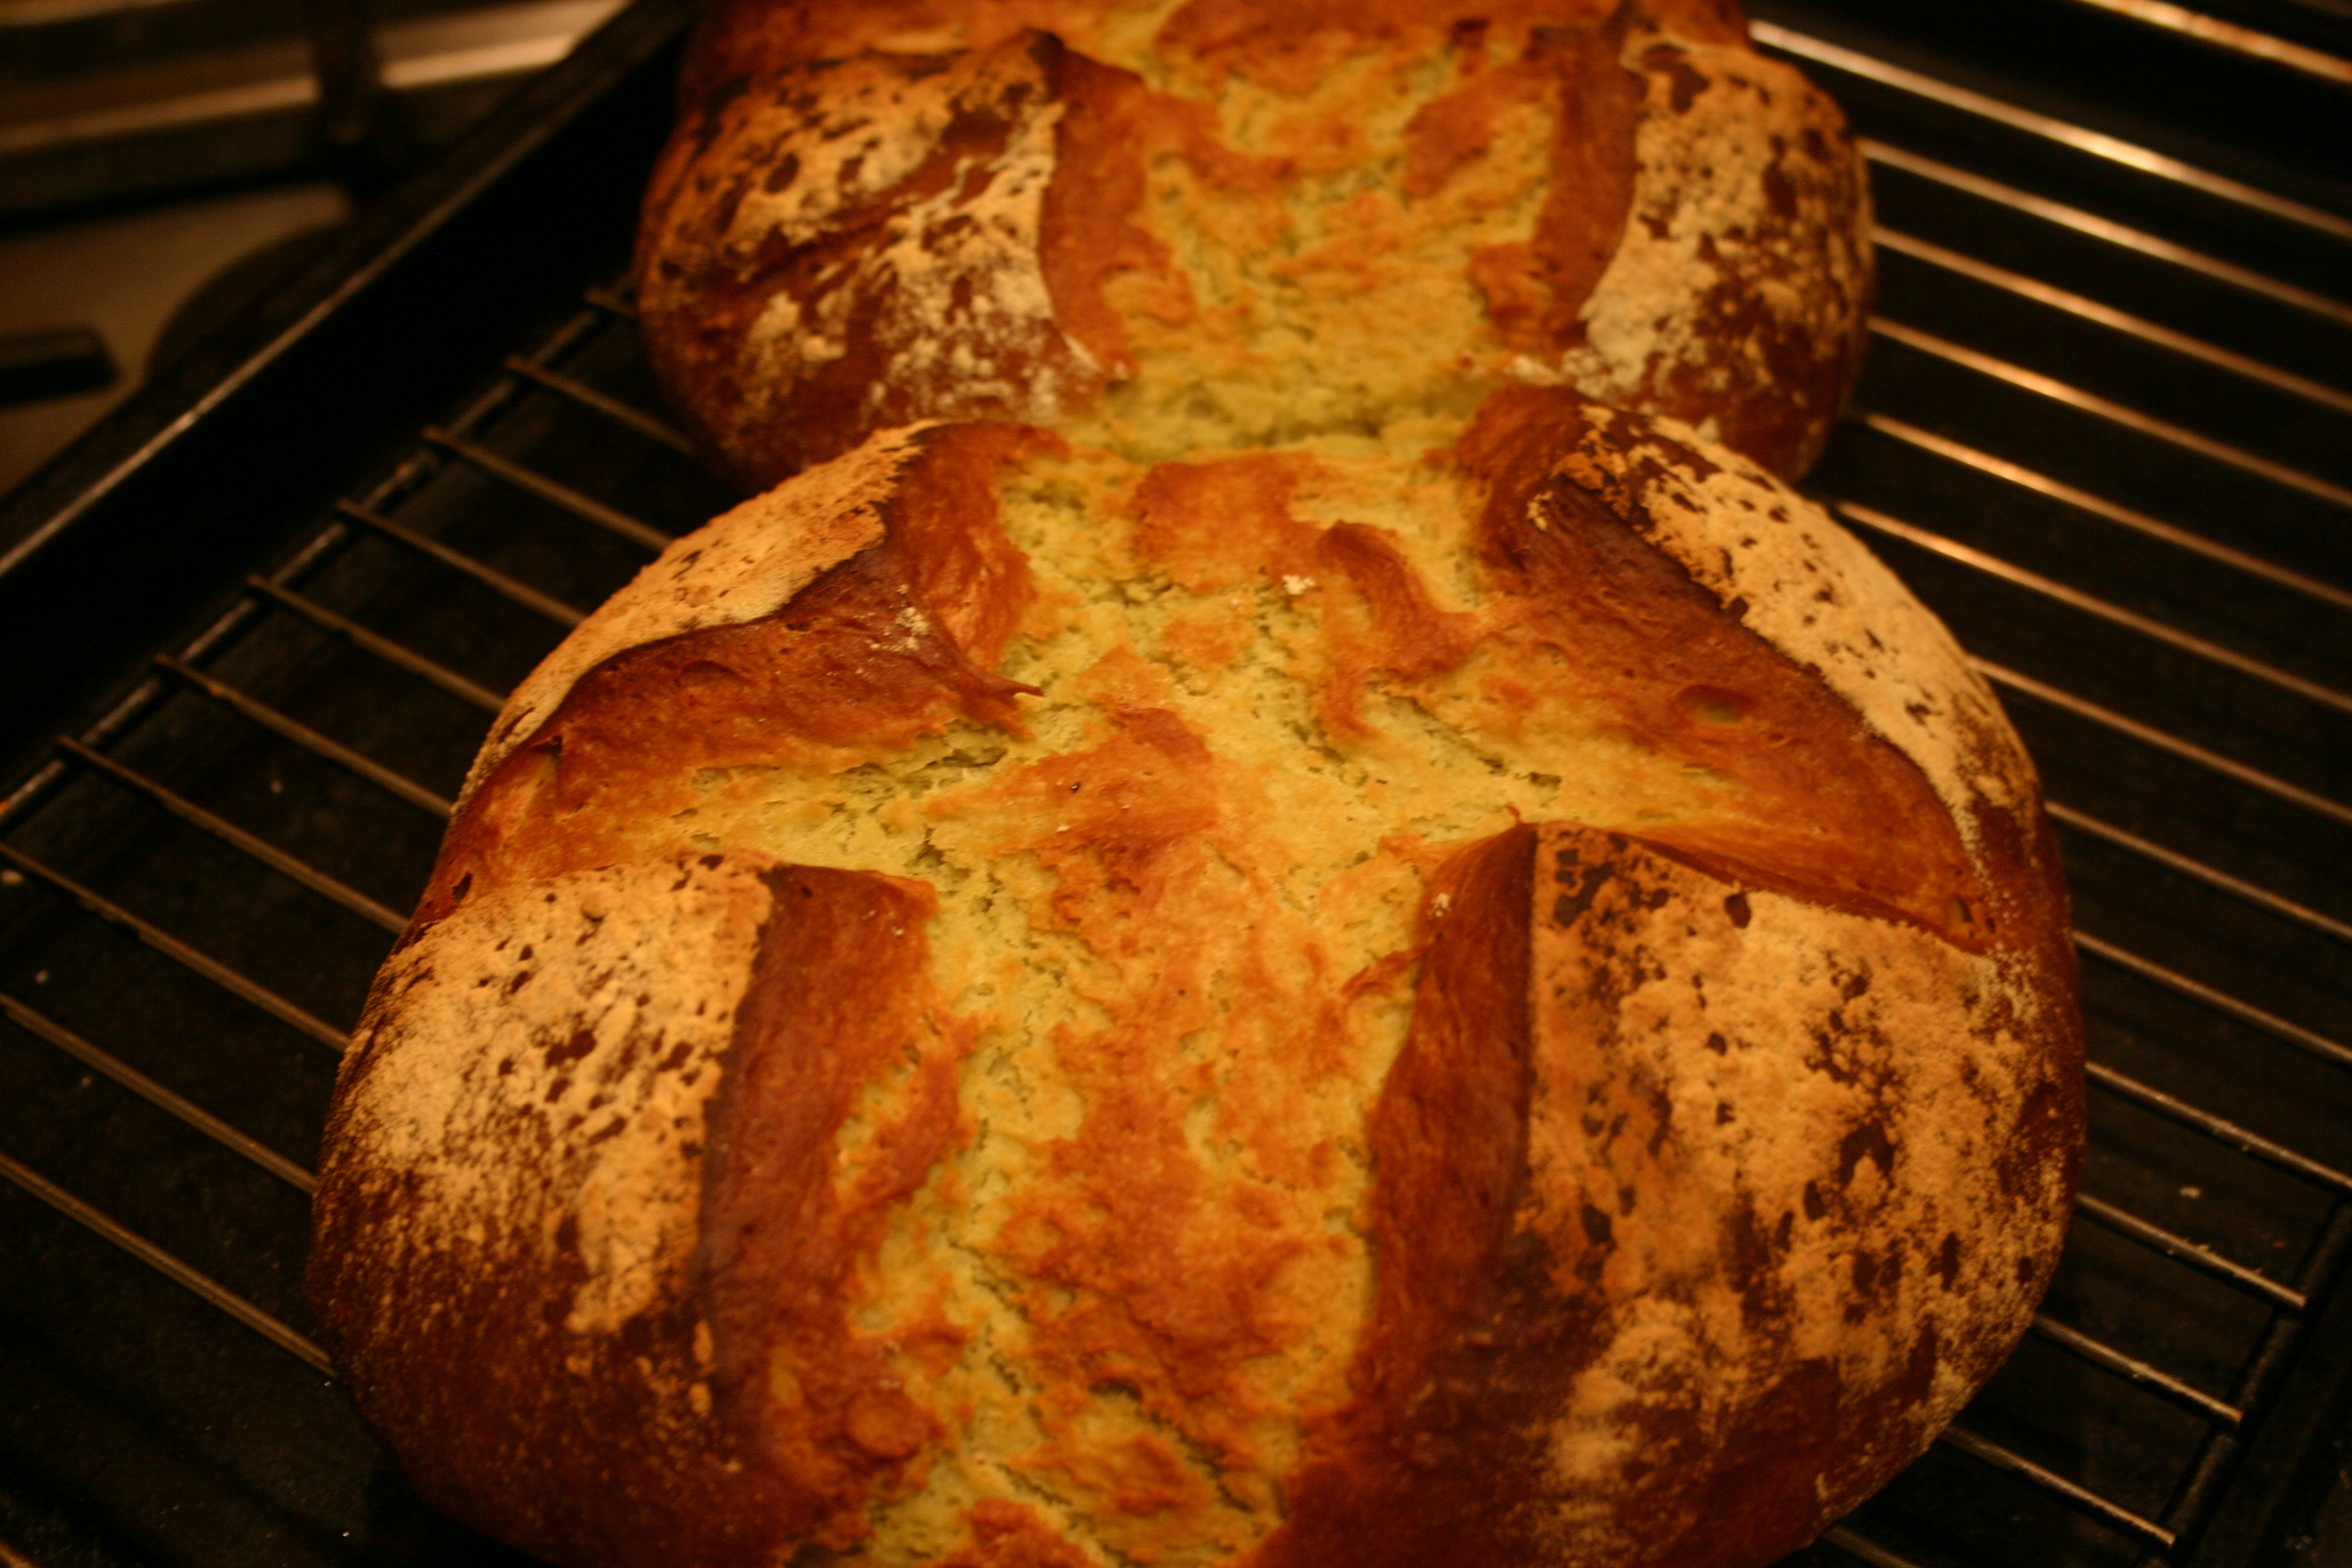
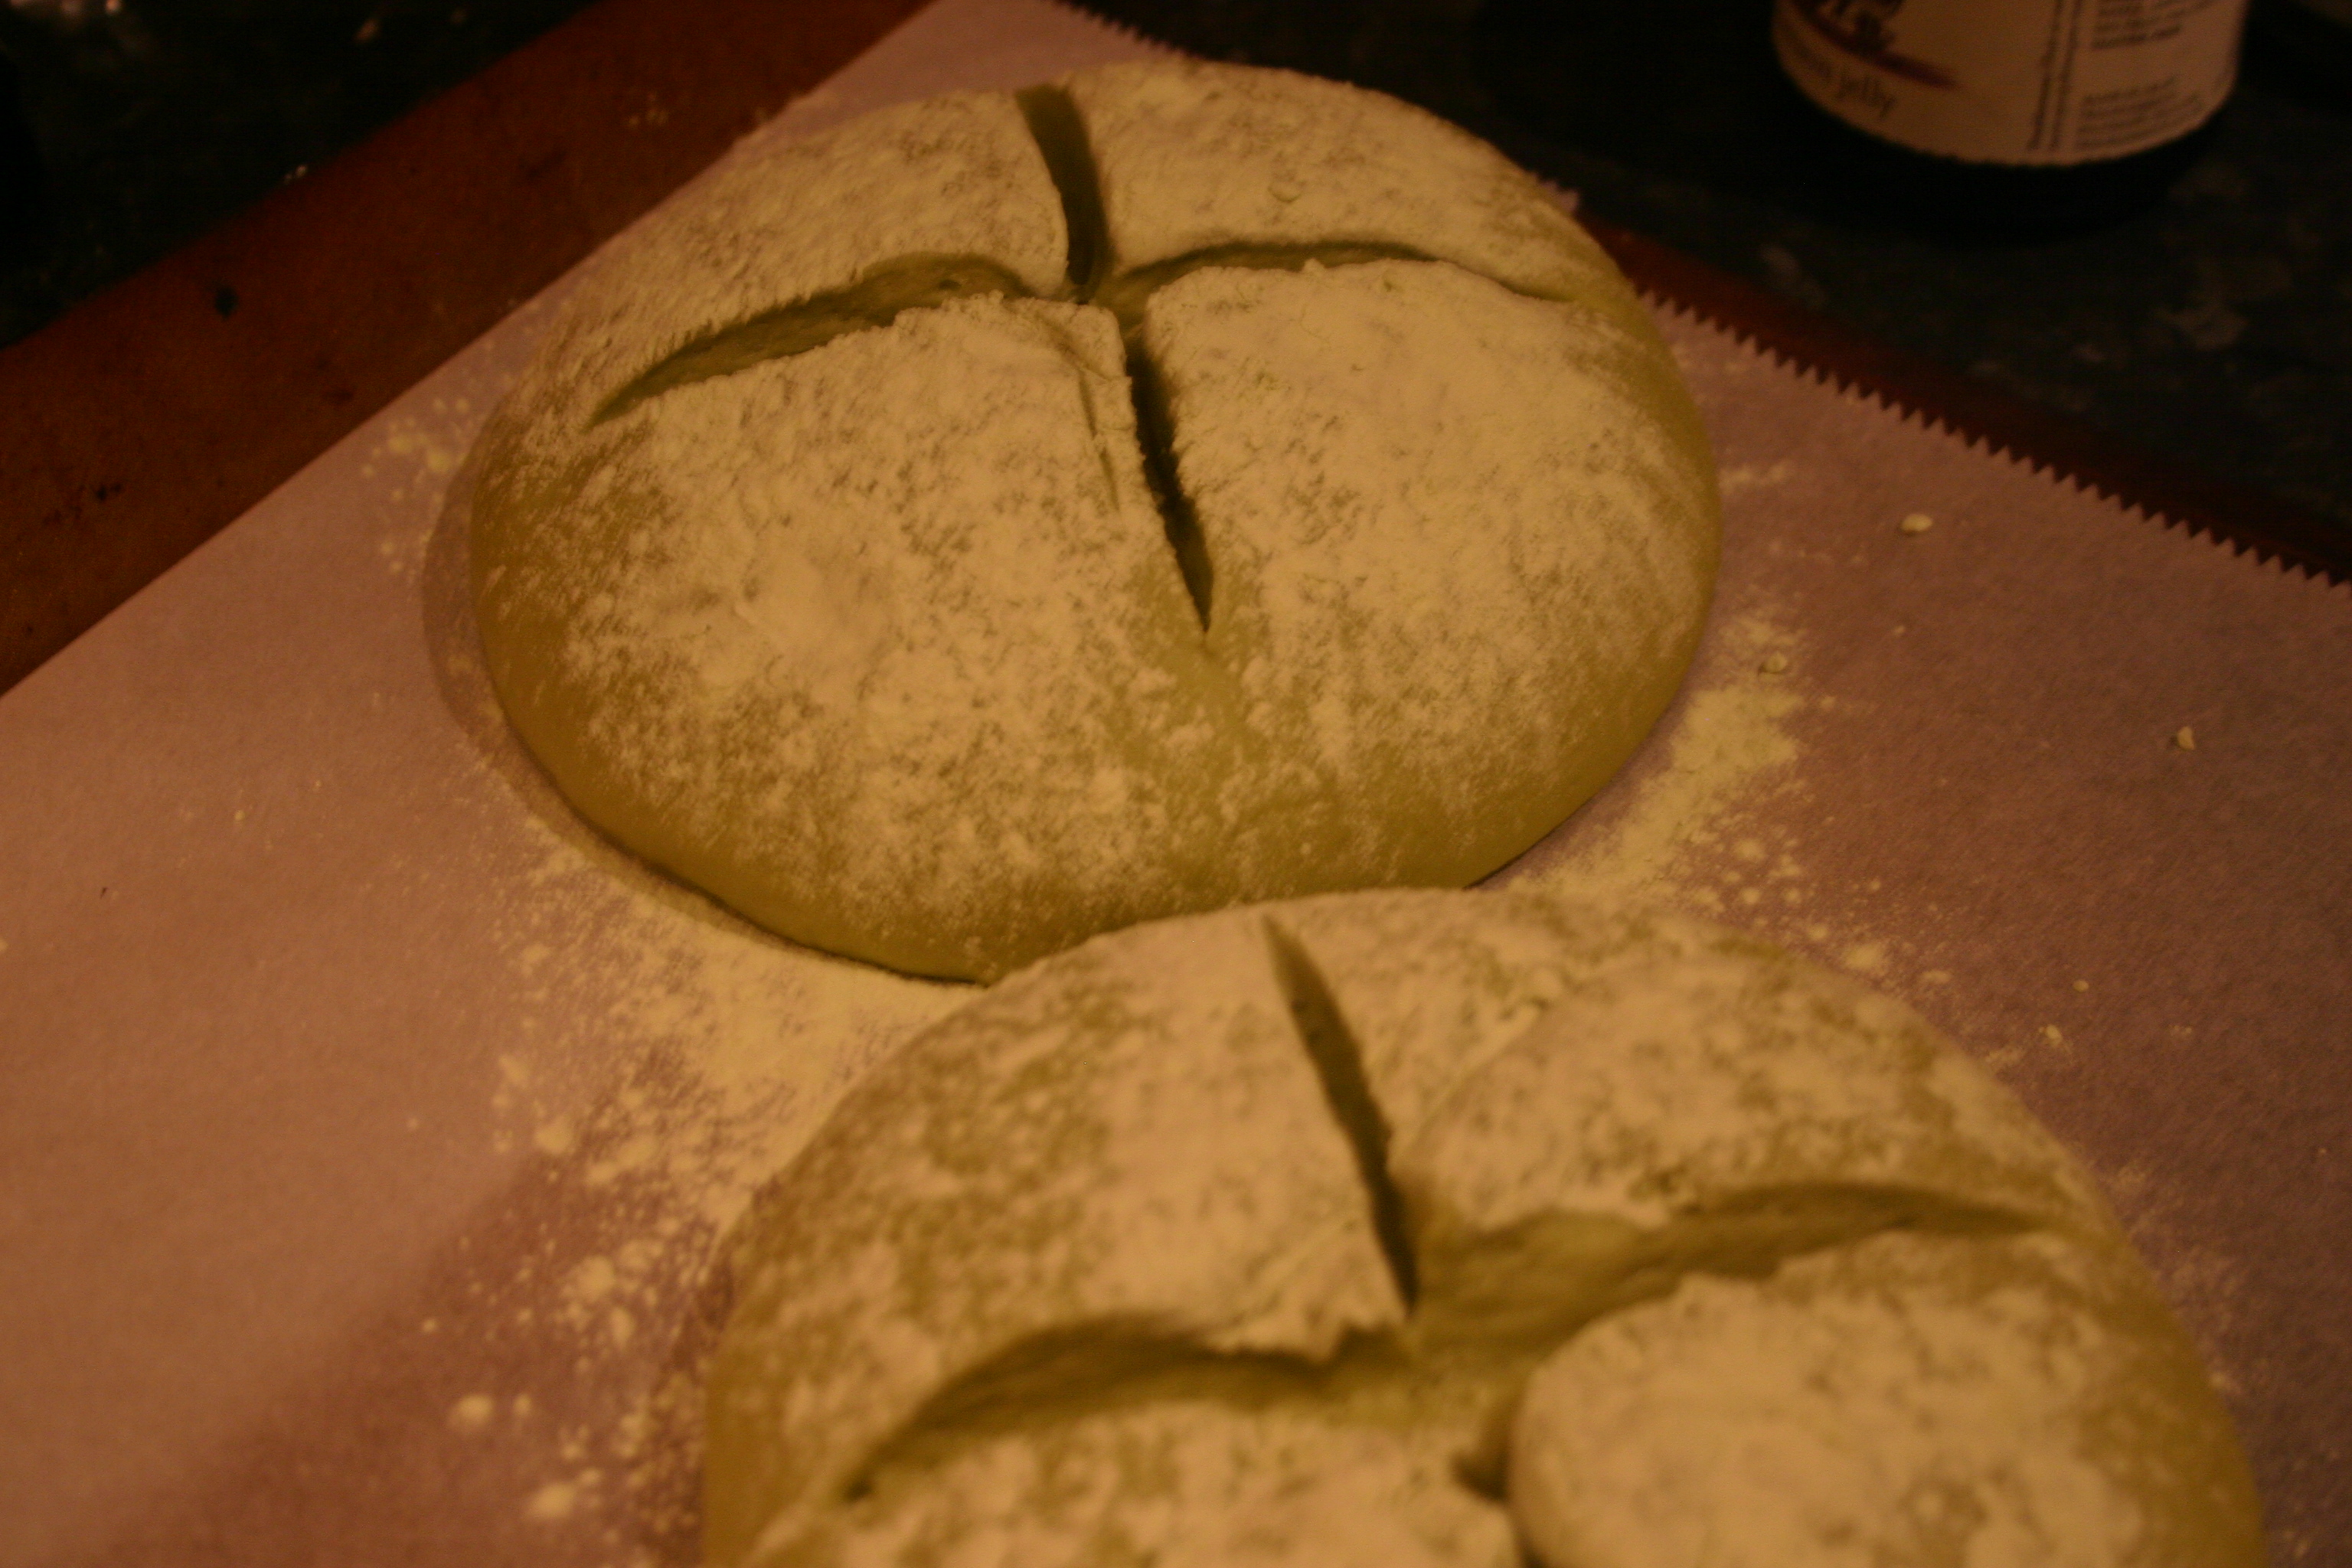
To trace the origin of Simnel cake, you need to go right back to mediaeval times where it began life as a yeast-leavened bread, which may or may not have been enriched. This doesn’t sound that much like a special bread, you may think, but what made it special is that it made out of the highest quality flour possible; simnel derives from the Latin simila – the whitest and finest of flours.

Fast forward to the 17th and 18th centuries, and the bread mixture had been swapped for a pudding batter, not dissimilar to spotted dick, enriched with dried fruit, spices and almonds. It would be boiled like a pudding. When cooked, it was wrapped in pastry, glazed with egg and baked until a good hard crust formed. It would be like the Scottish black bun, a traditional Christmas food north of the border.

It is only when you get to the tail end of the 19th century that it starts to look like something we would recognise as a cake, though surprisingly it is not until the 20th century that the familiar marzipan layers and decorative disciples appear.


If you like the blogs and podcast I produce, please consider treating me to a virtual coffee or pint, or even a £3 monthly subscription: follow this link for more information.


Simnel cakes themselves seem to be disappearing from our Easter tables altogether and are getting more and more difficult to find in British bakeries. Below is the recipe I use – I can’t claim it as my own, but I don’t know where I got it from, so if you recognise it let me know, you know I always like to credit my sources!

This is a very straight-forward cake mixture made using the all-in-one method; it is very important that you use very soft butter so that the cake batter creams quickly without developing the gluten too much. If you don’t want to make your own marzipan, you can buy some ready-made, but I do urge you to make your own, it really is worth the (really quite little) effort required. The marzipan recipe below is different to my previously published one and I think much better. I shall try to remember to update the other post.

For the cake:

225 g softened butter

225 g caster sugar

4 eggs

225 g plain flour

2 tsp ground cinnamon

zest of 2 oranges

zest of 2 lemons

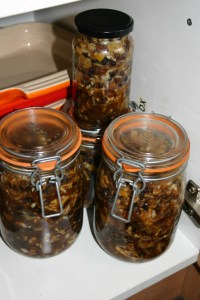
325 g mixed fruit (currants, sultanas, currants)

125 g glacé cherries, quartered or left whole

500 g orange marzipan (see below)

icing sugar for dusting

apricot jam

1 beaten egg

Begin by greasing and lining an 8-inch cake tin and preheating your oven to 150°C.

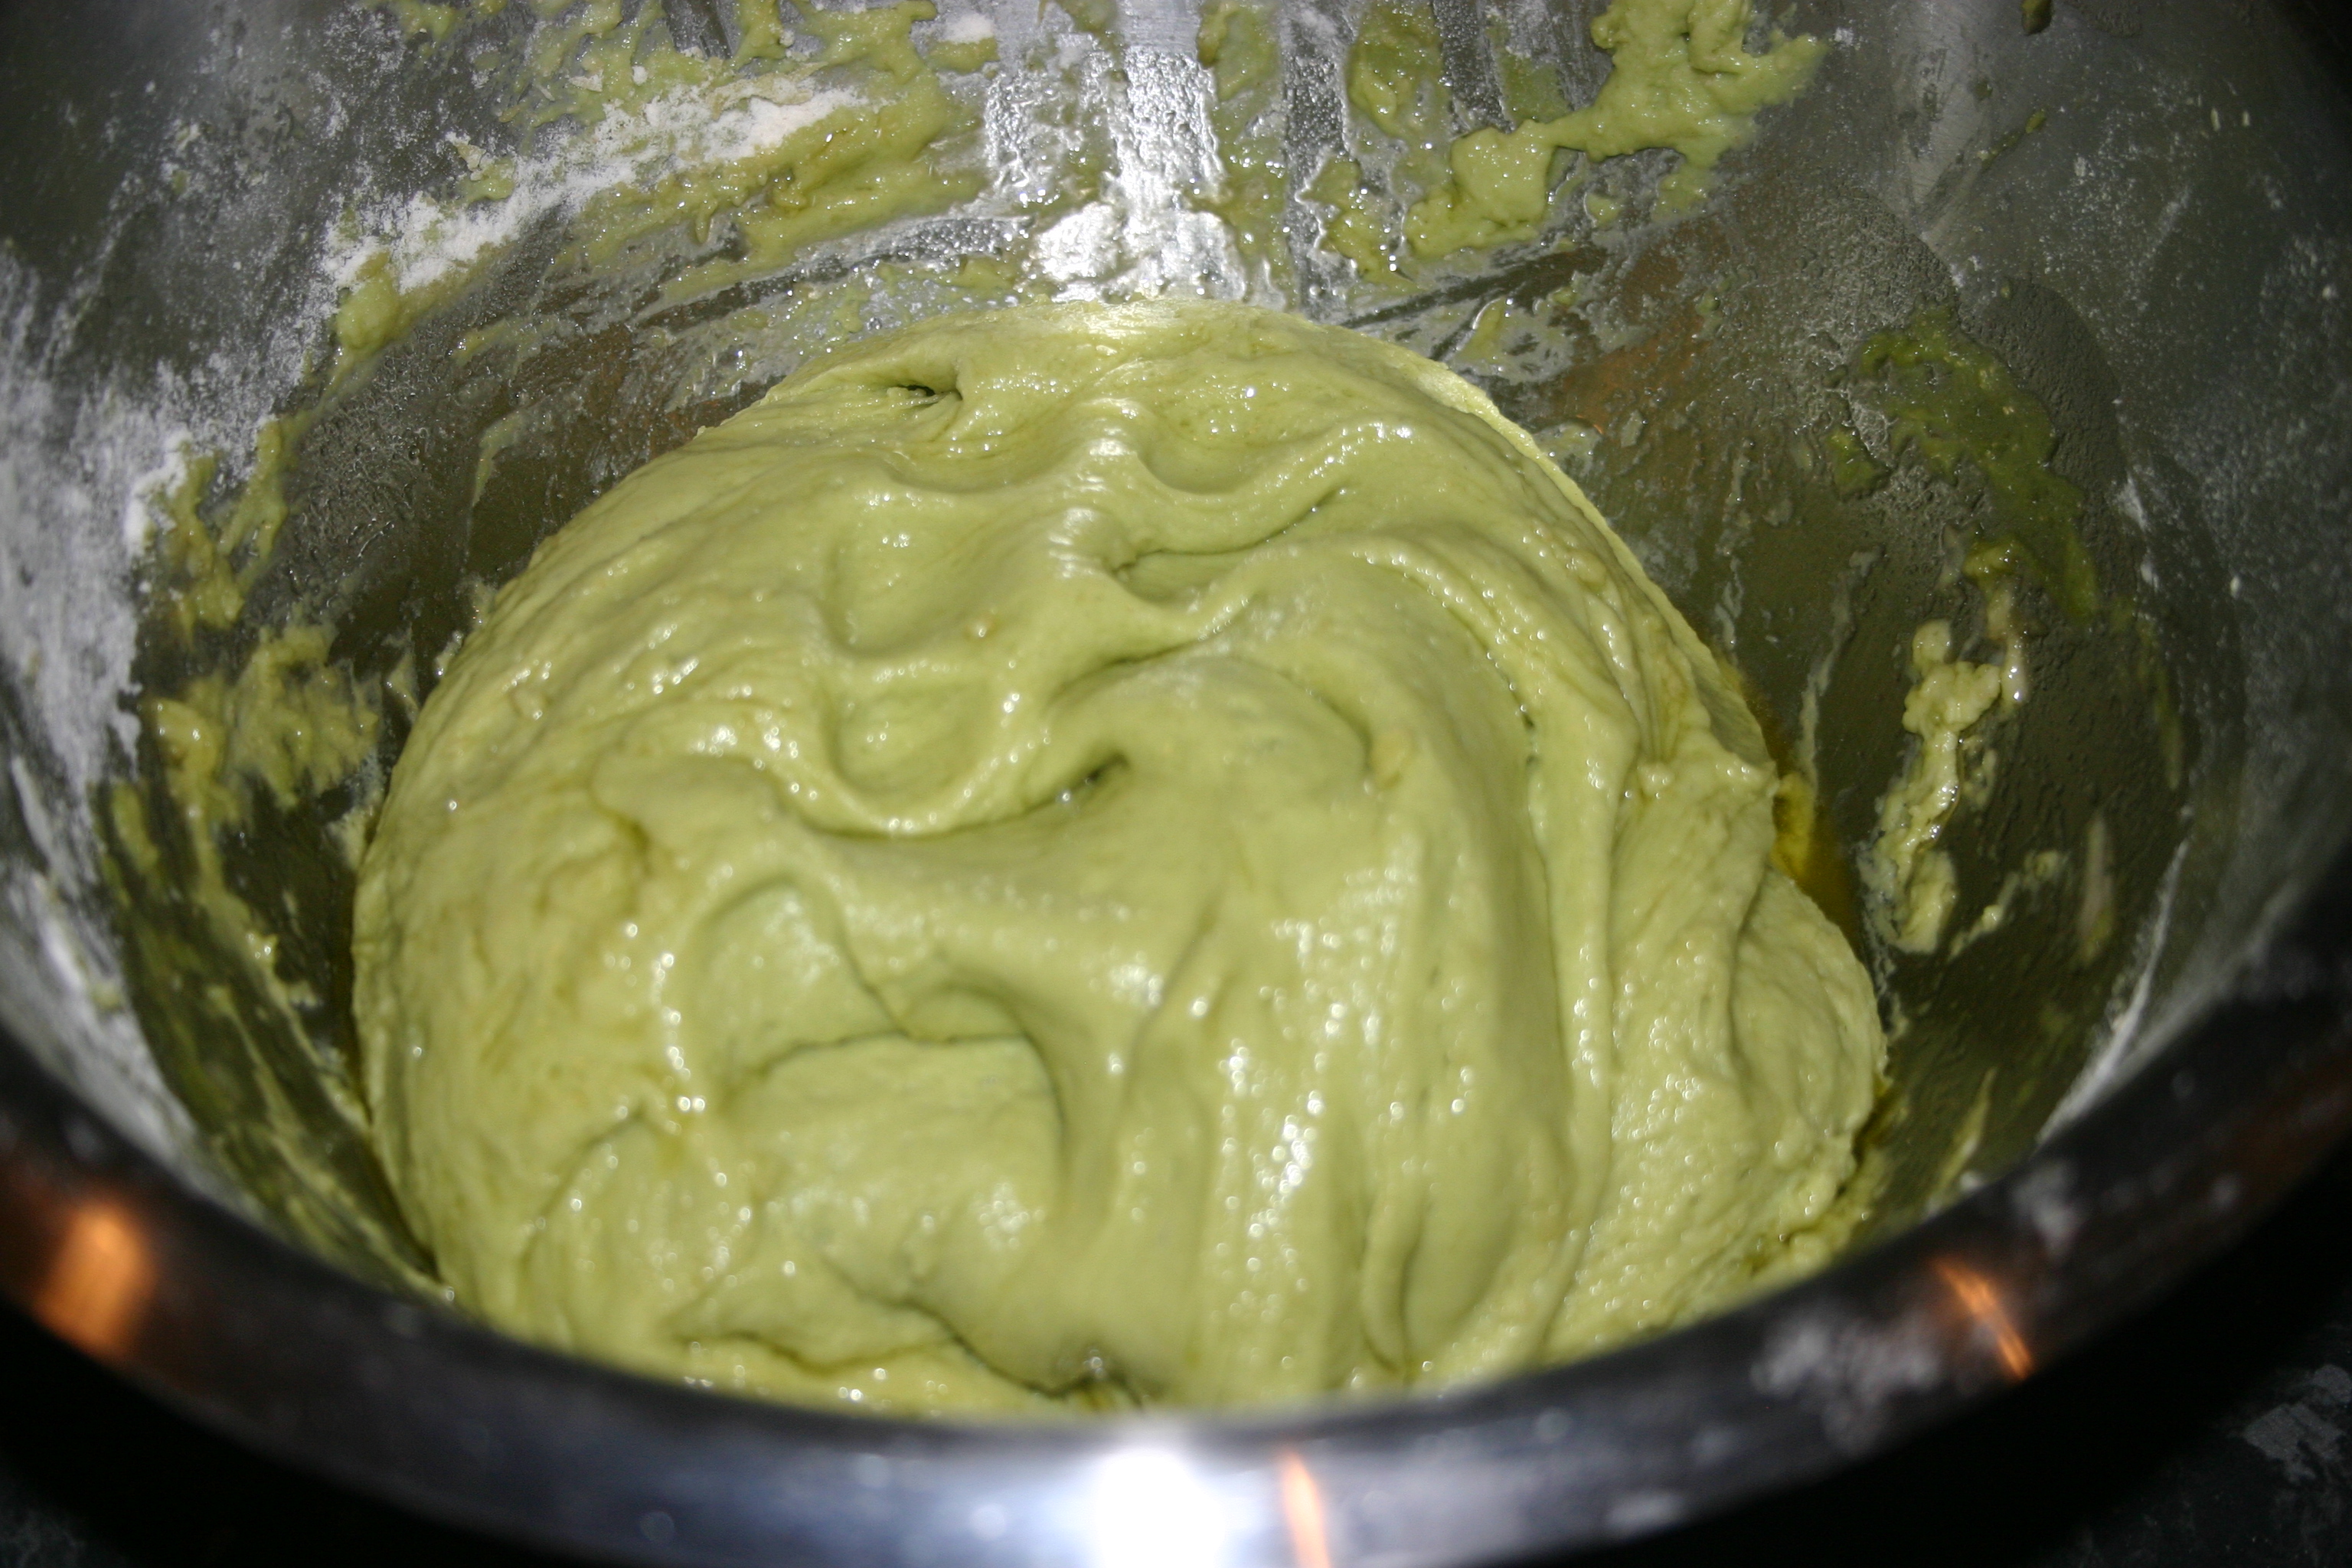
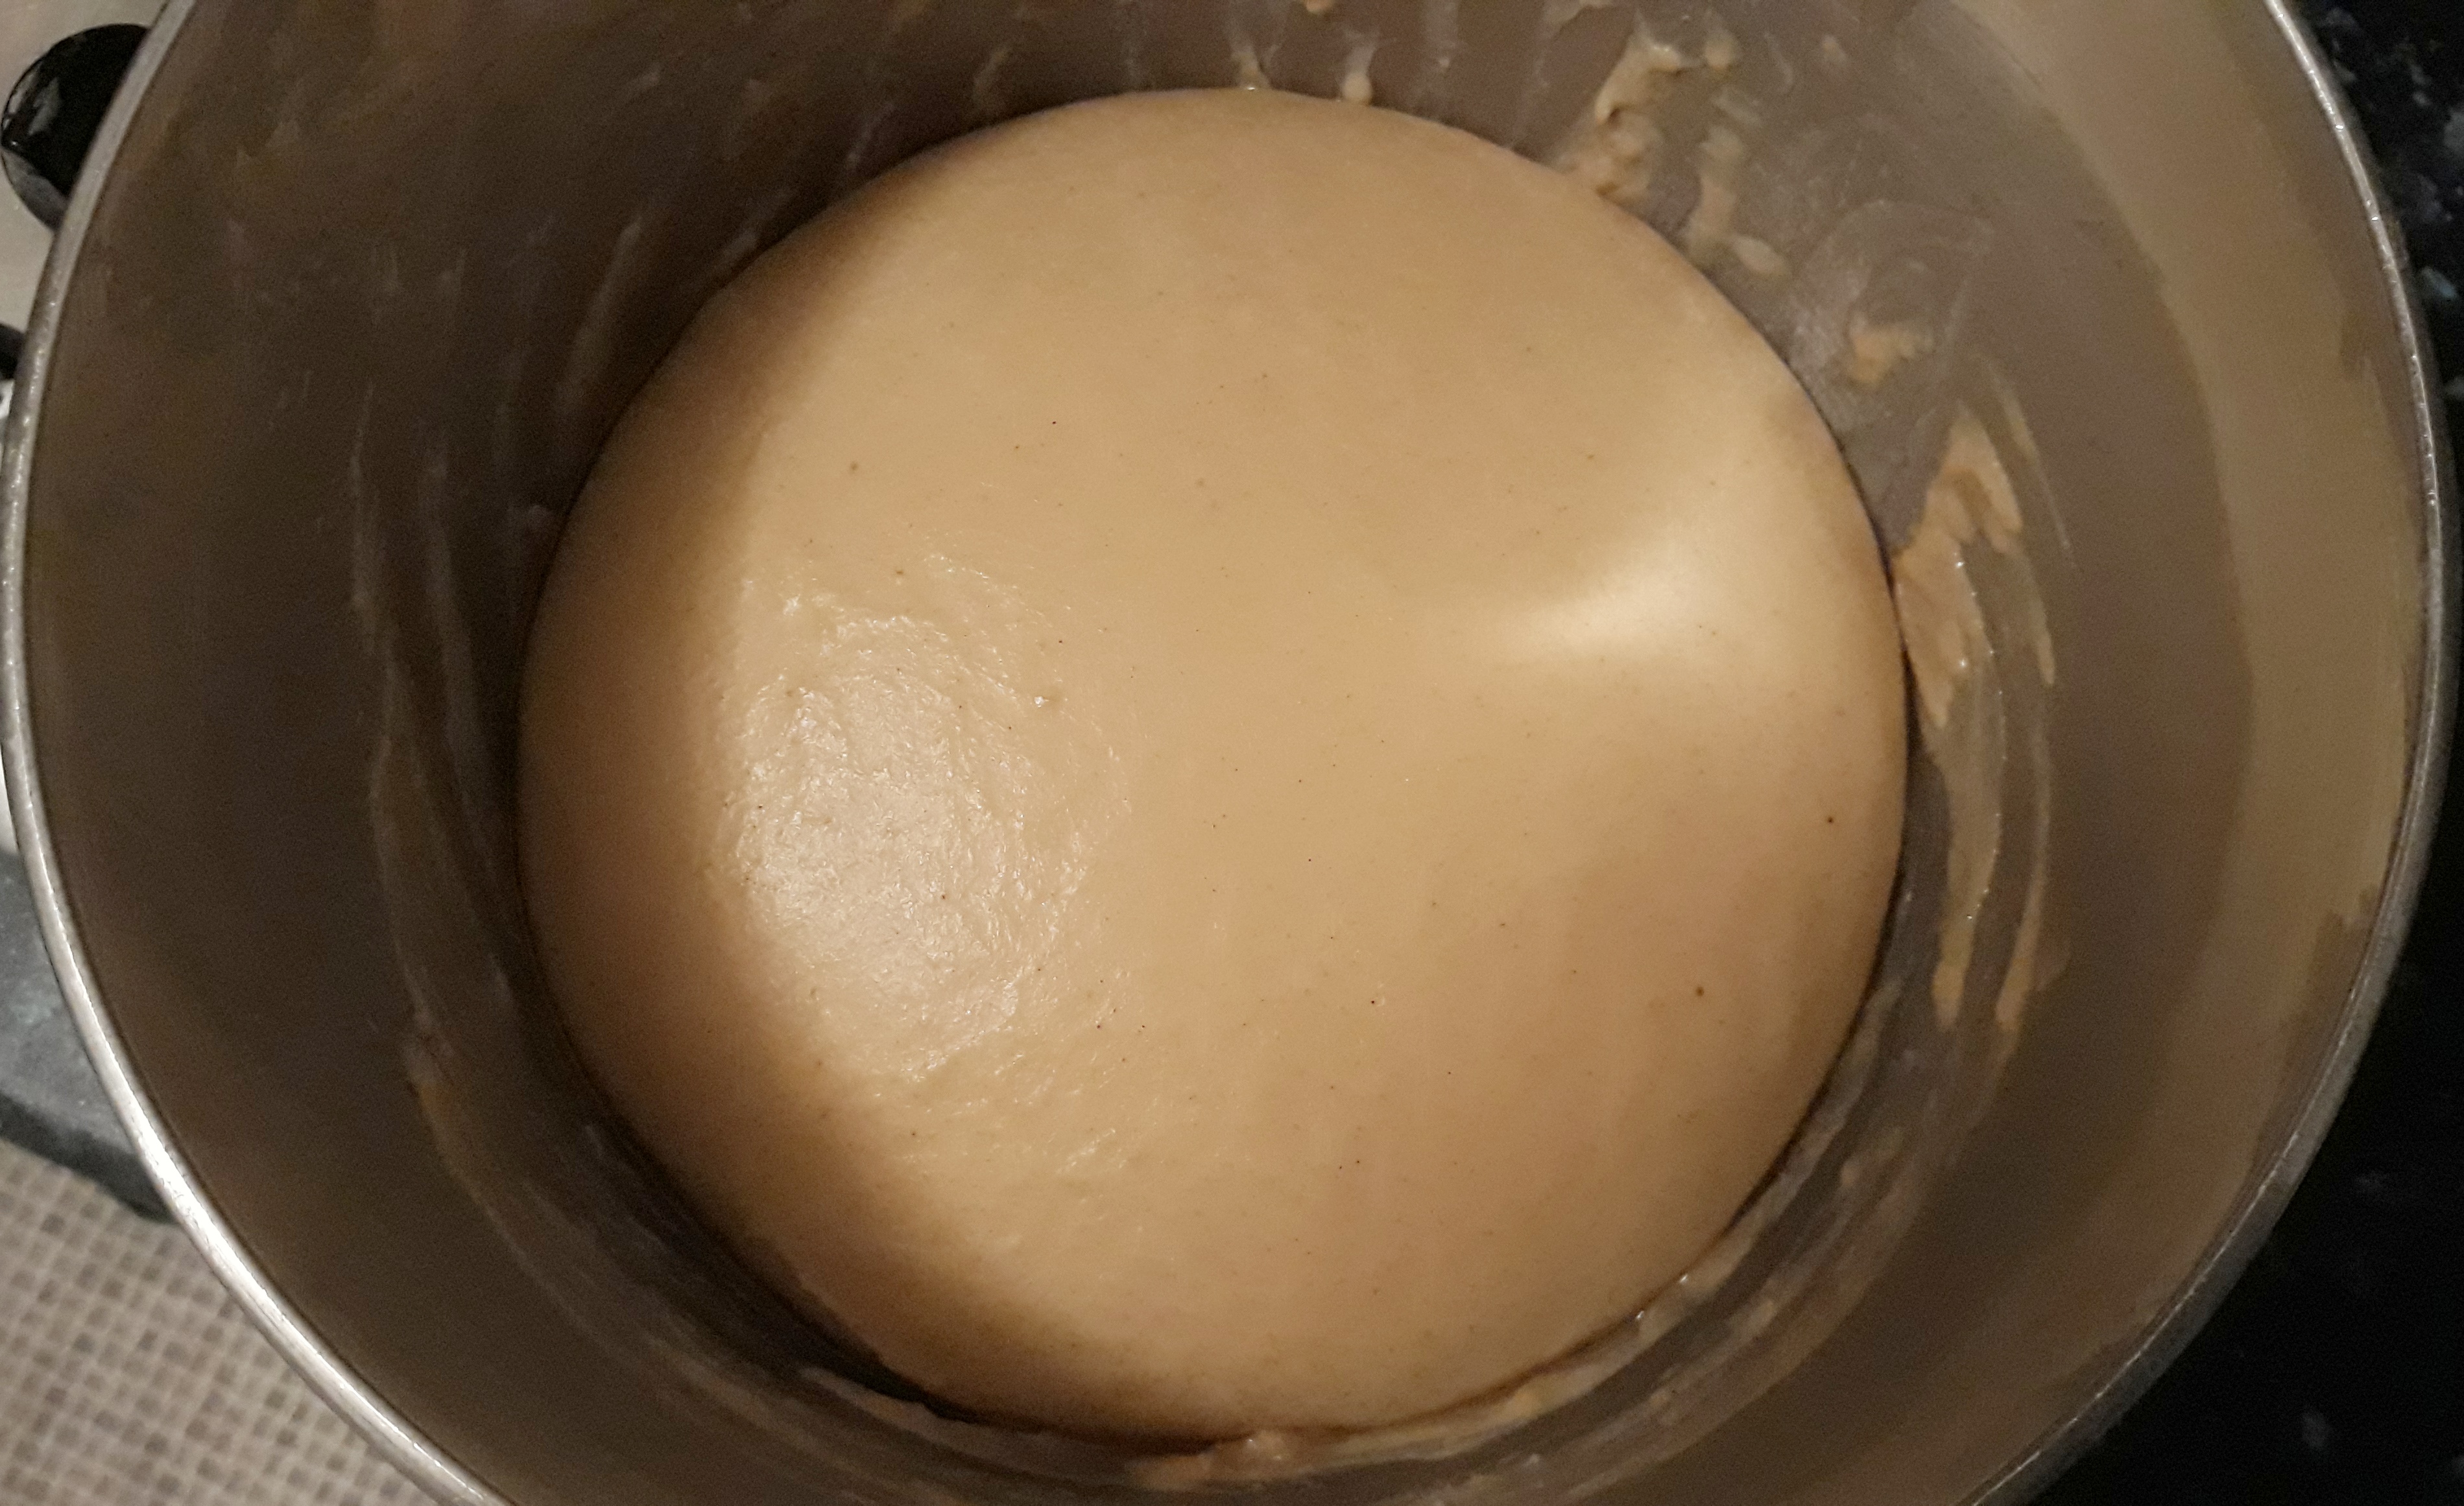
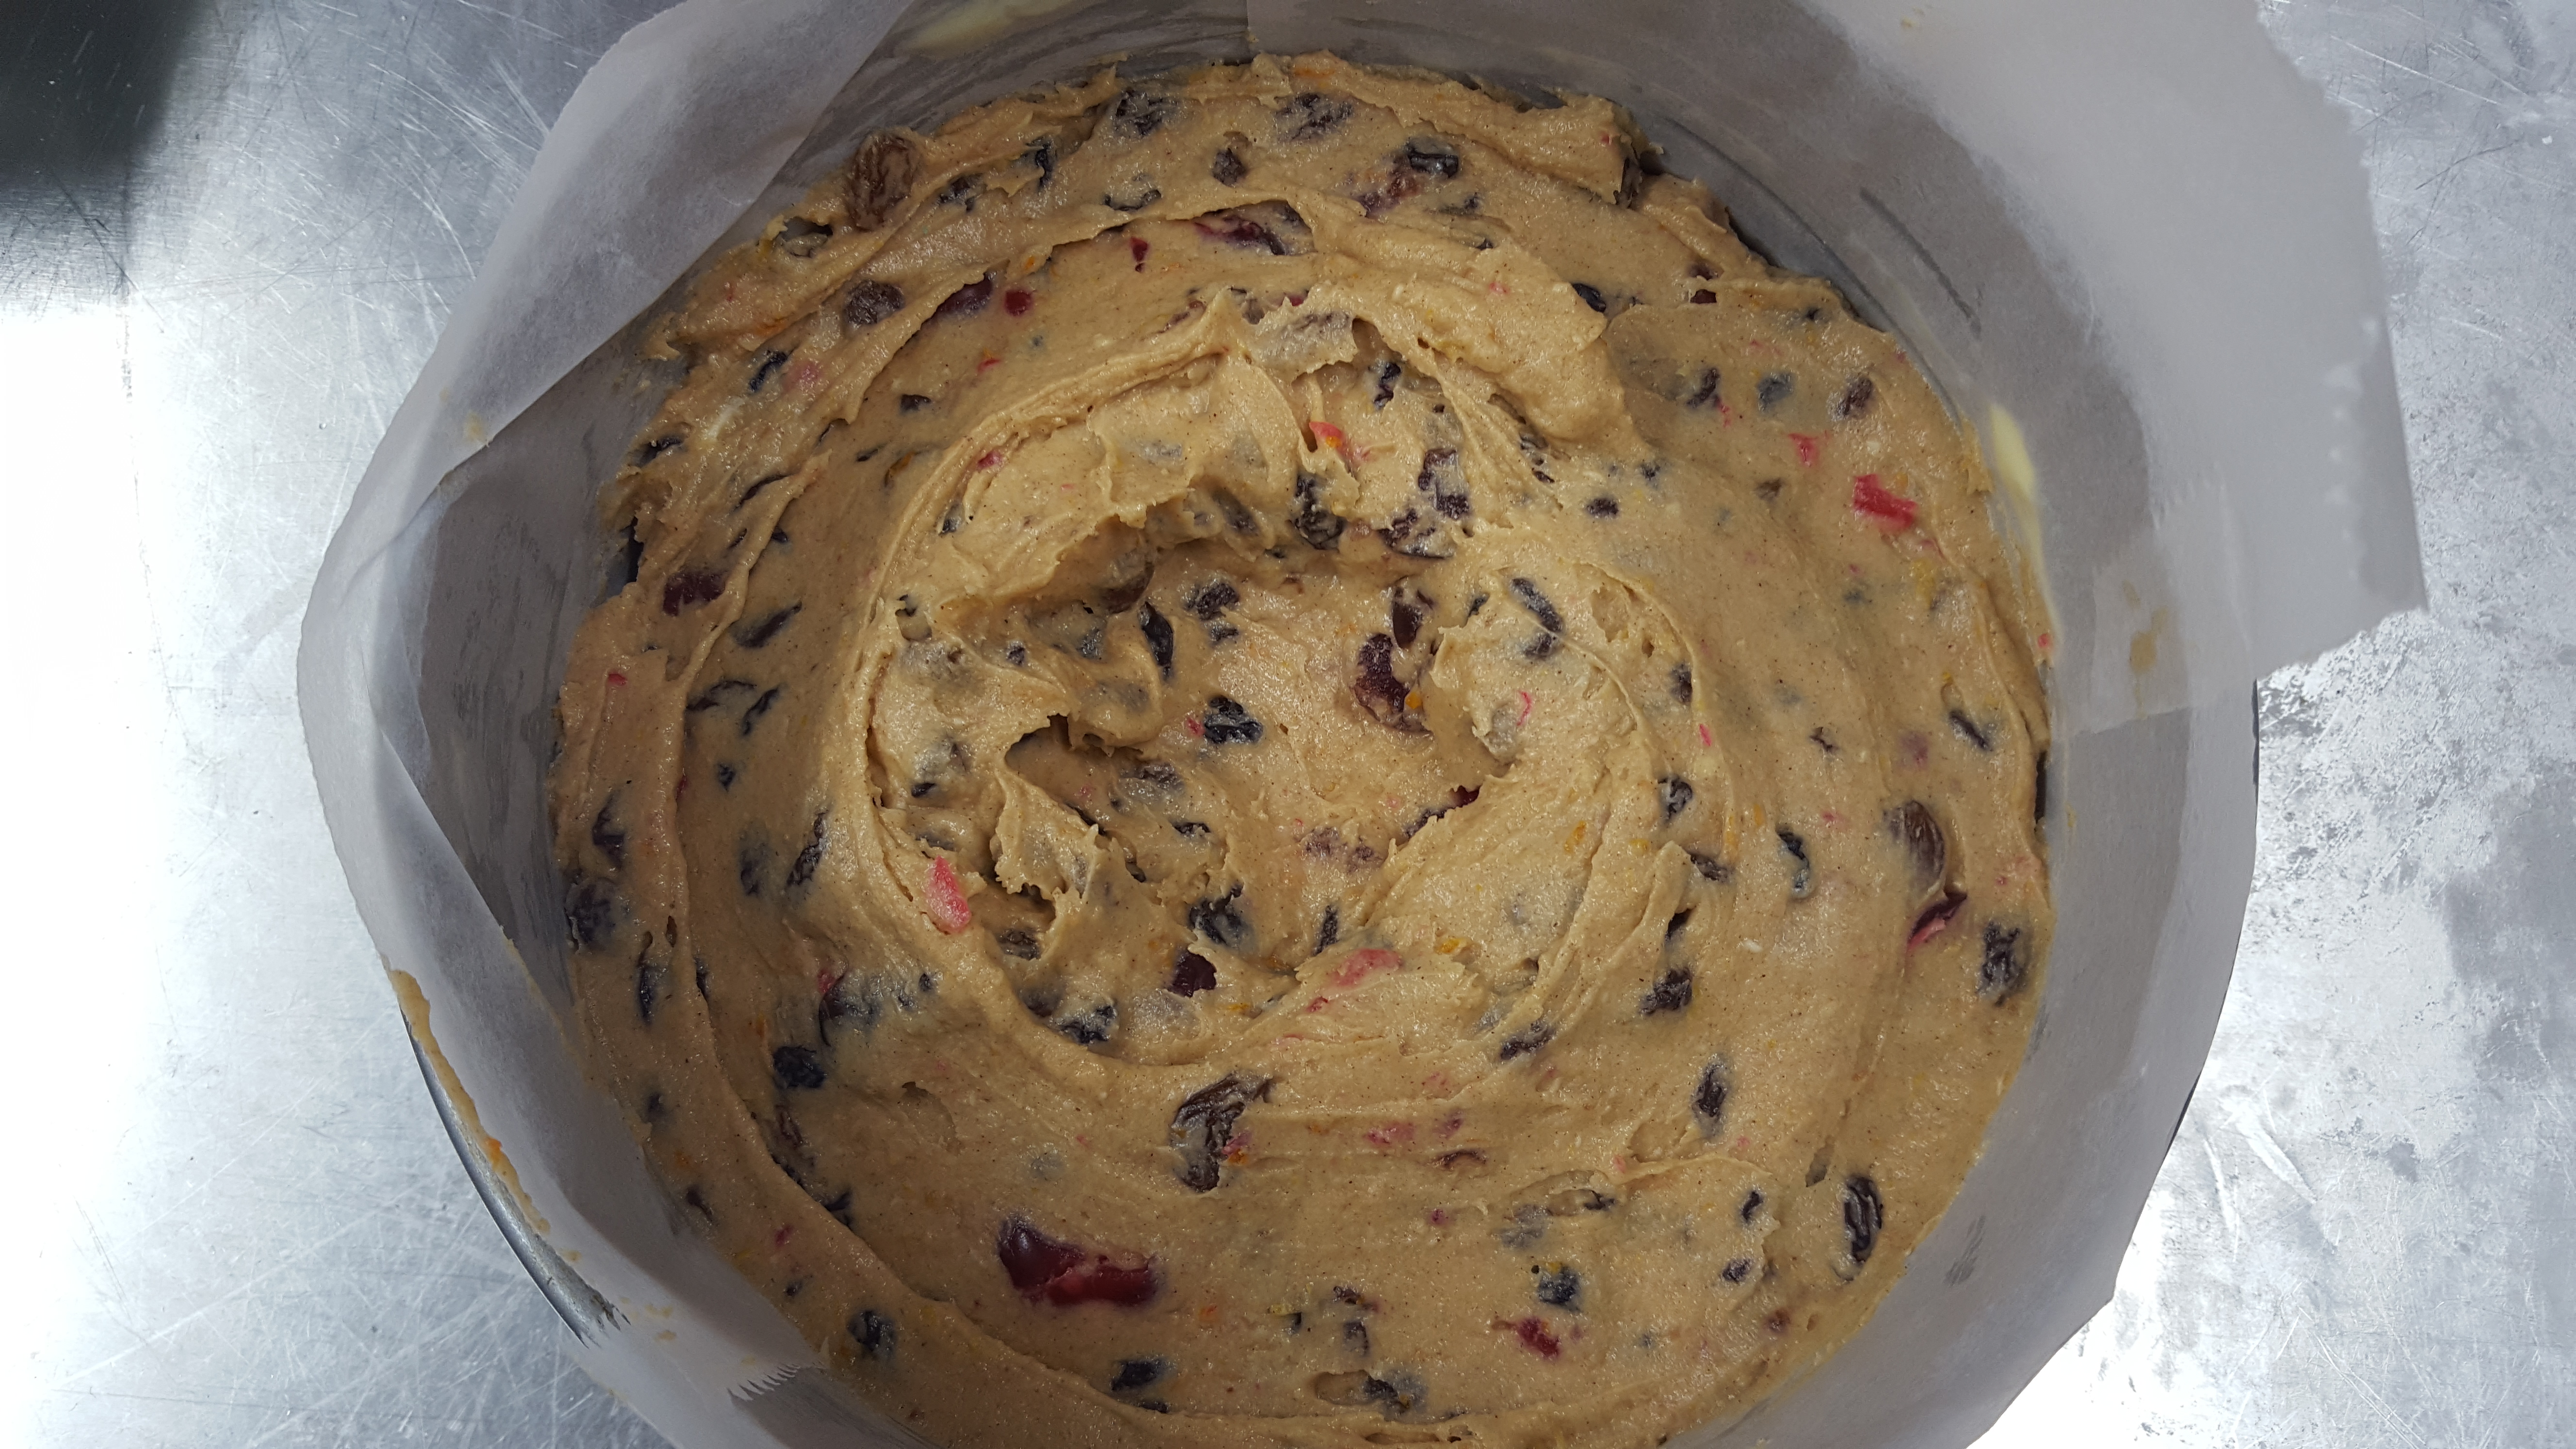
In a large bowl, beat together the softened butter, caster sugar, eggs, flour, cinnamon and zests. Using a hand mixer, beat together until smooth. Now fold in the mixed fruit and cherries with a spatula or wooden spoon.

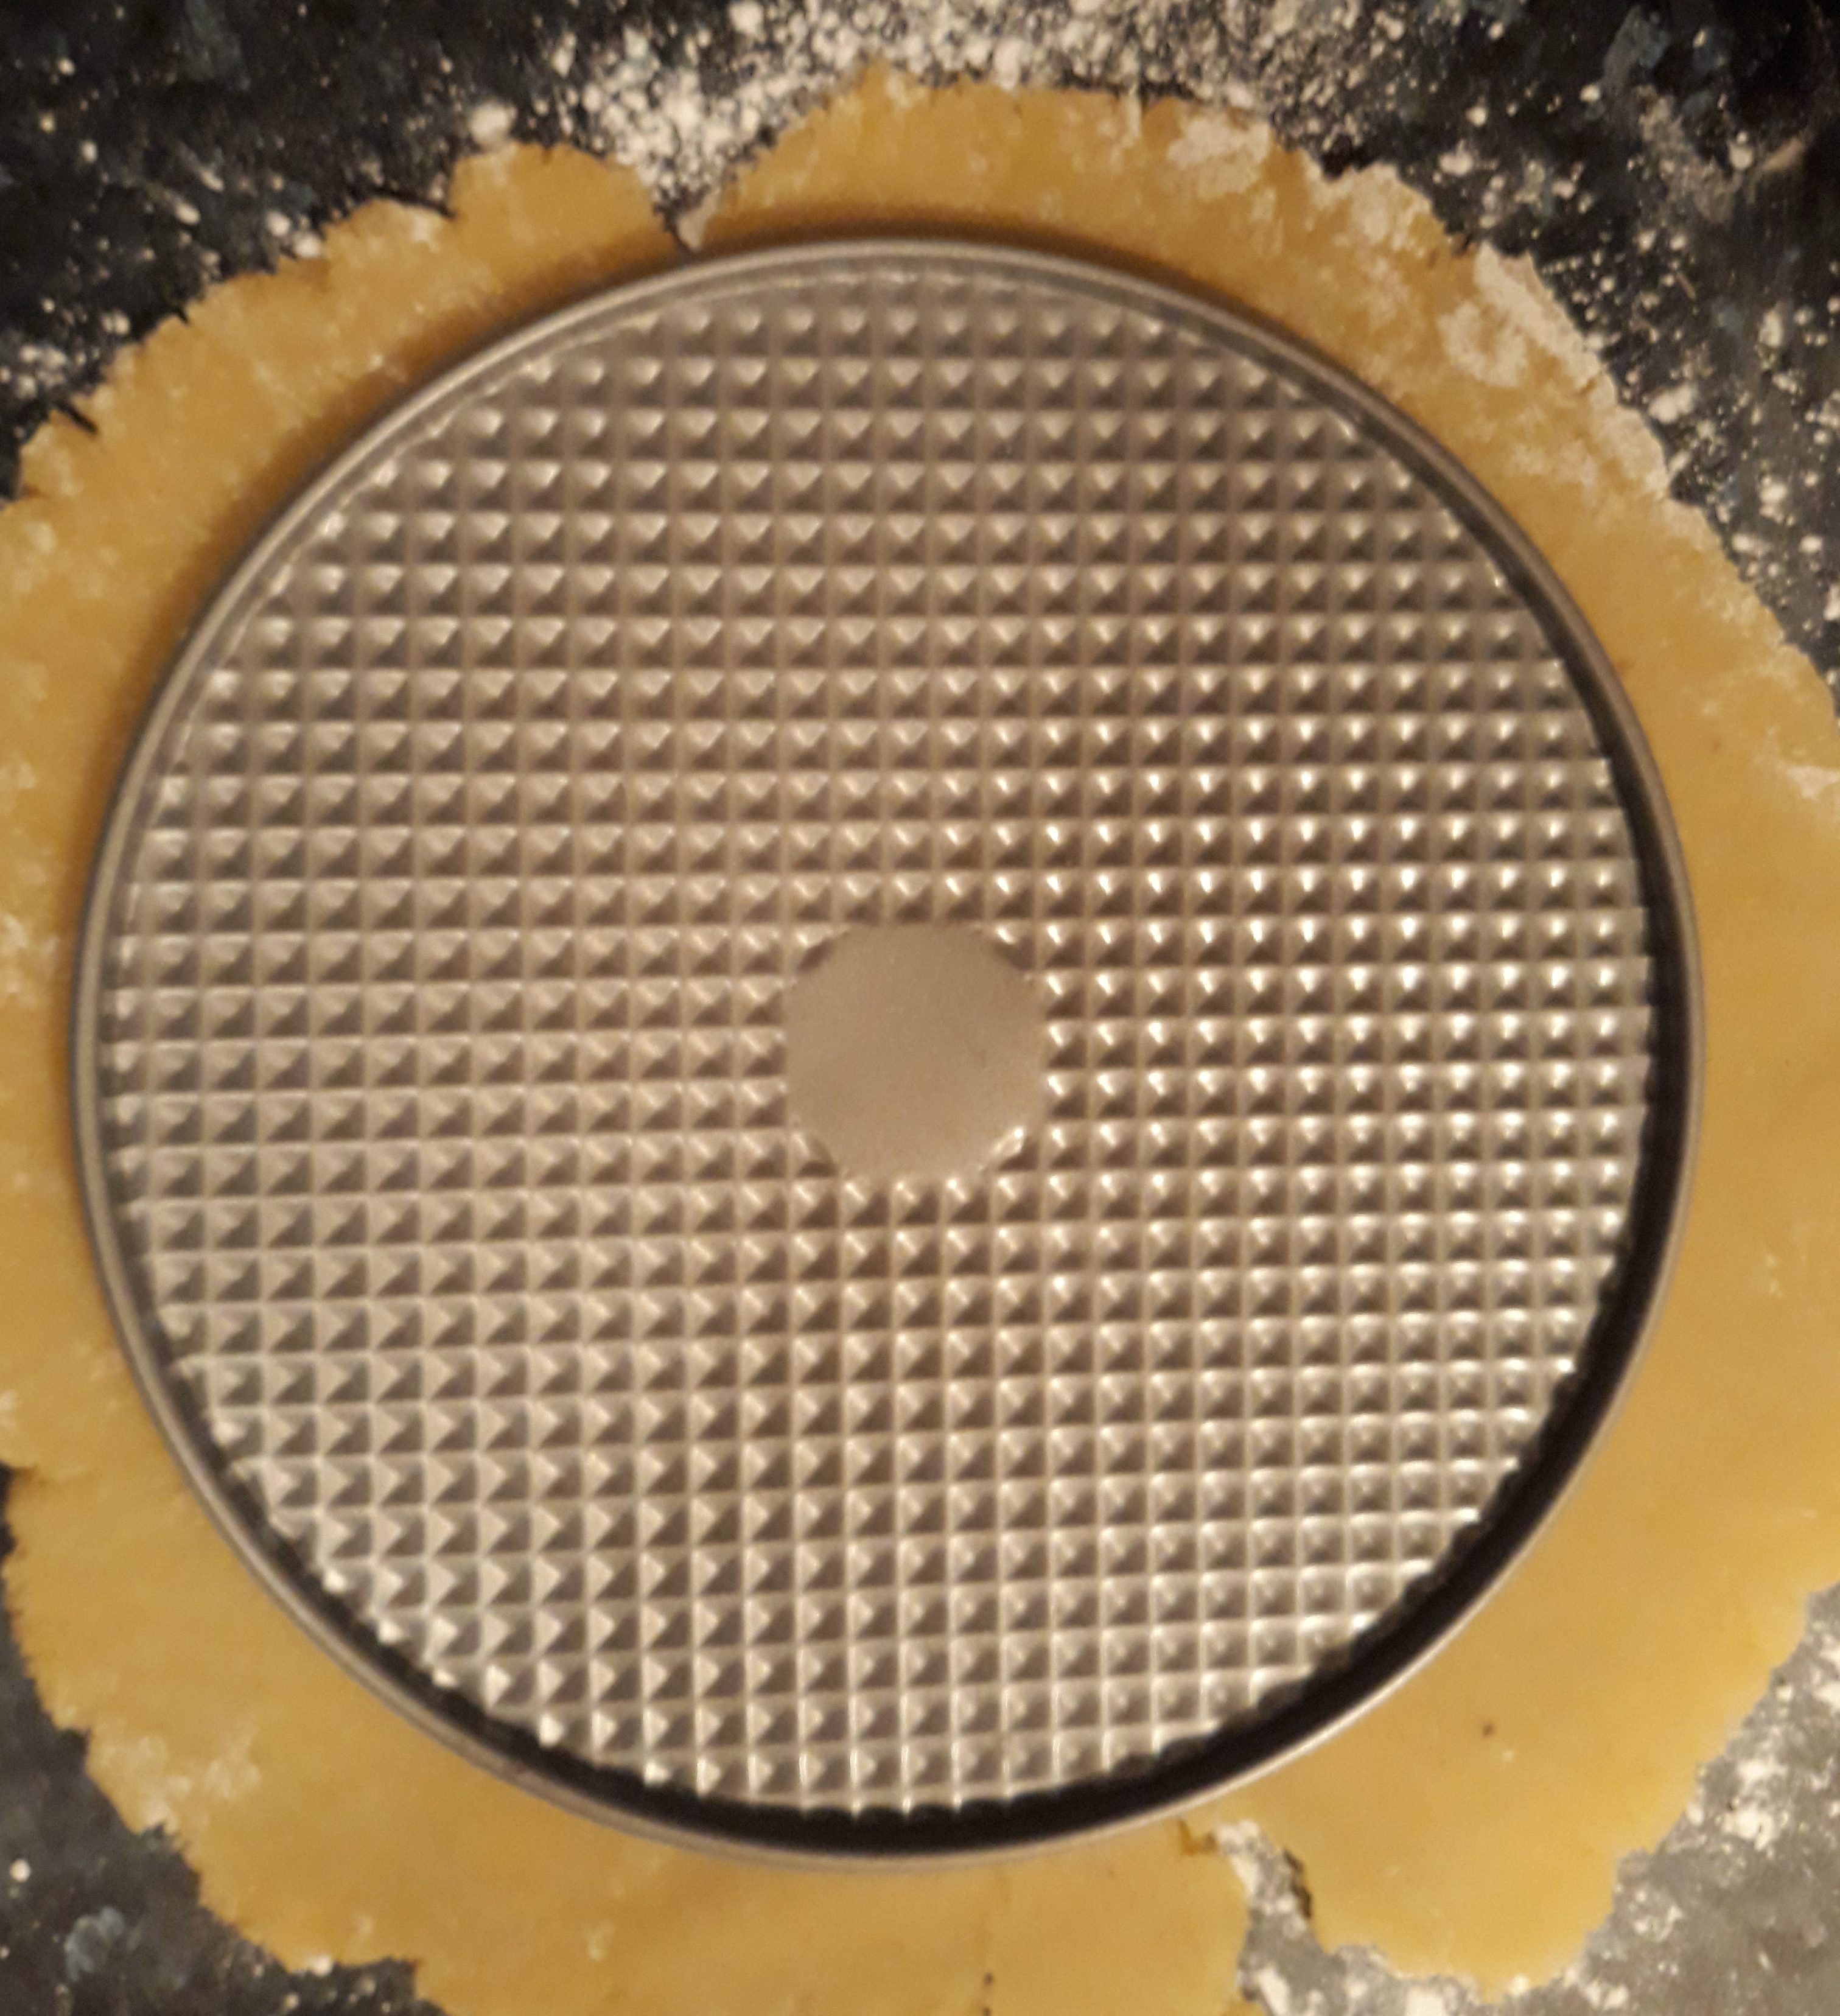
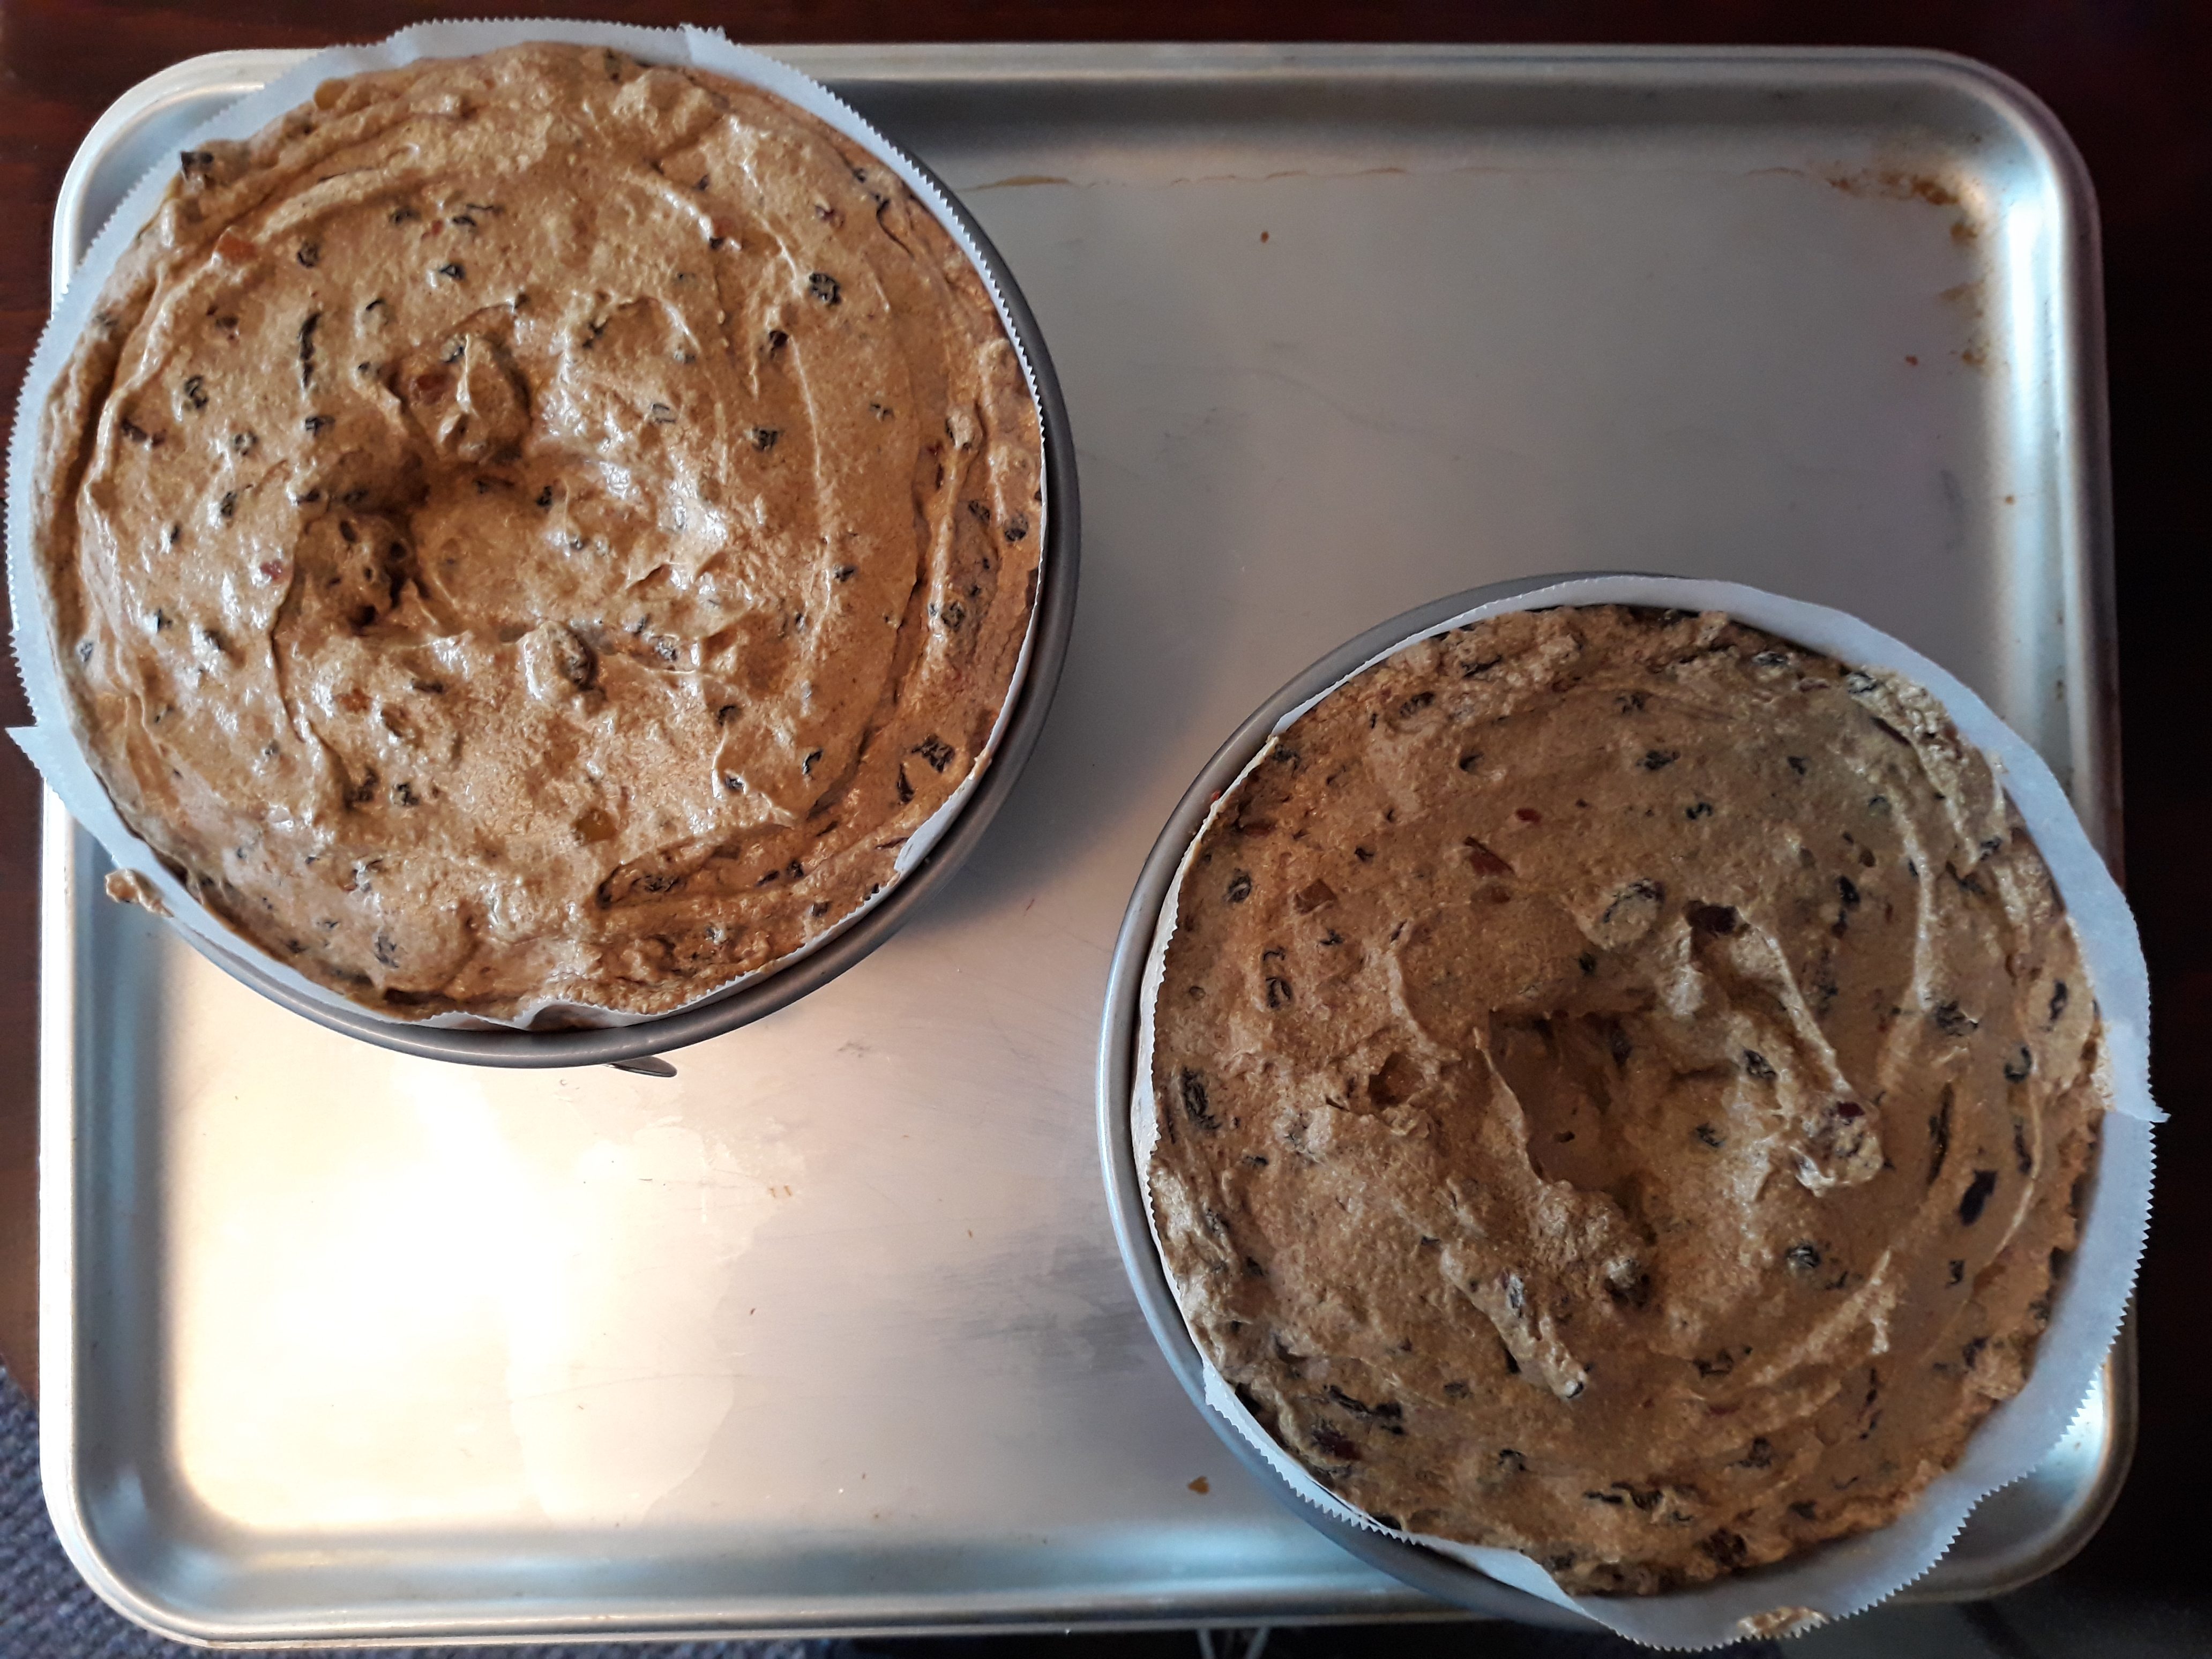
Spoon half of the mixture into your tin and level it off. Take a third of your marzipan and roll it out into a circle the same size as the tin, trimming away any untidy bits. Use a little icing sugar to roll the marzipan out, just like you would use flour to roll out pastry.

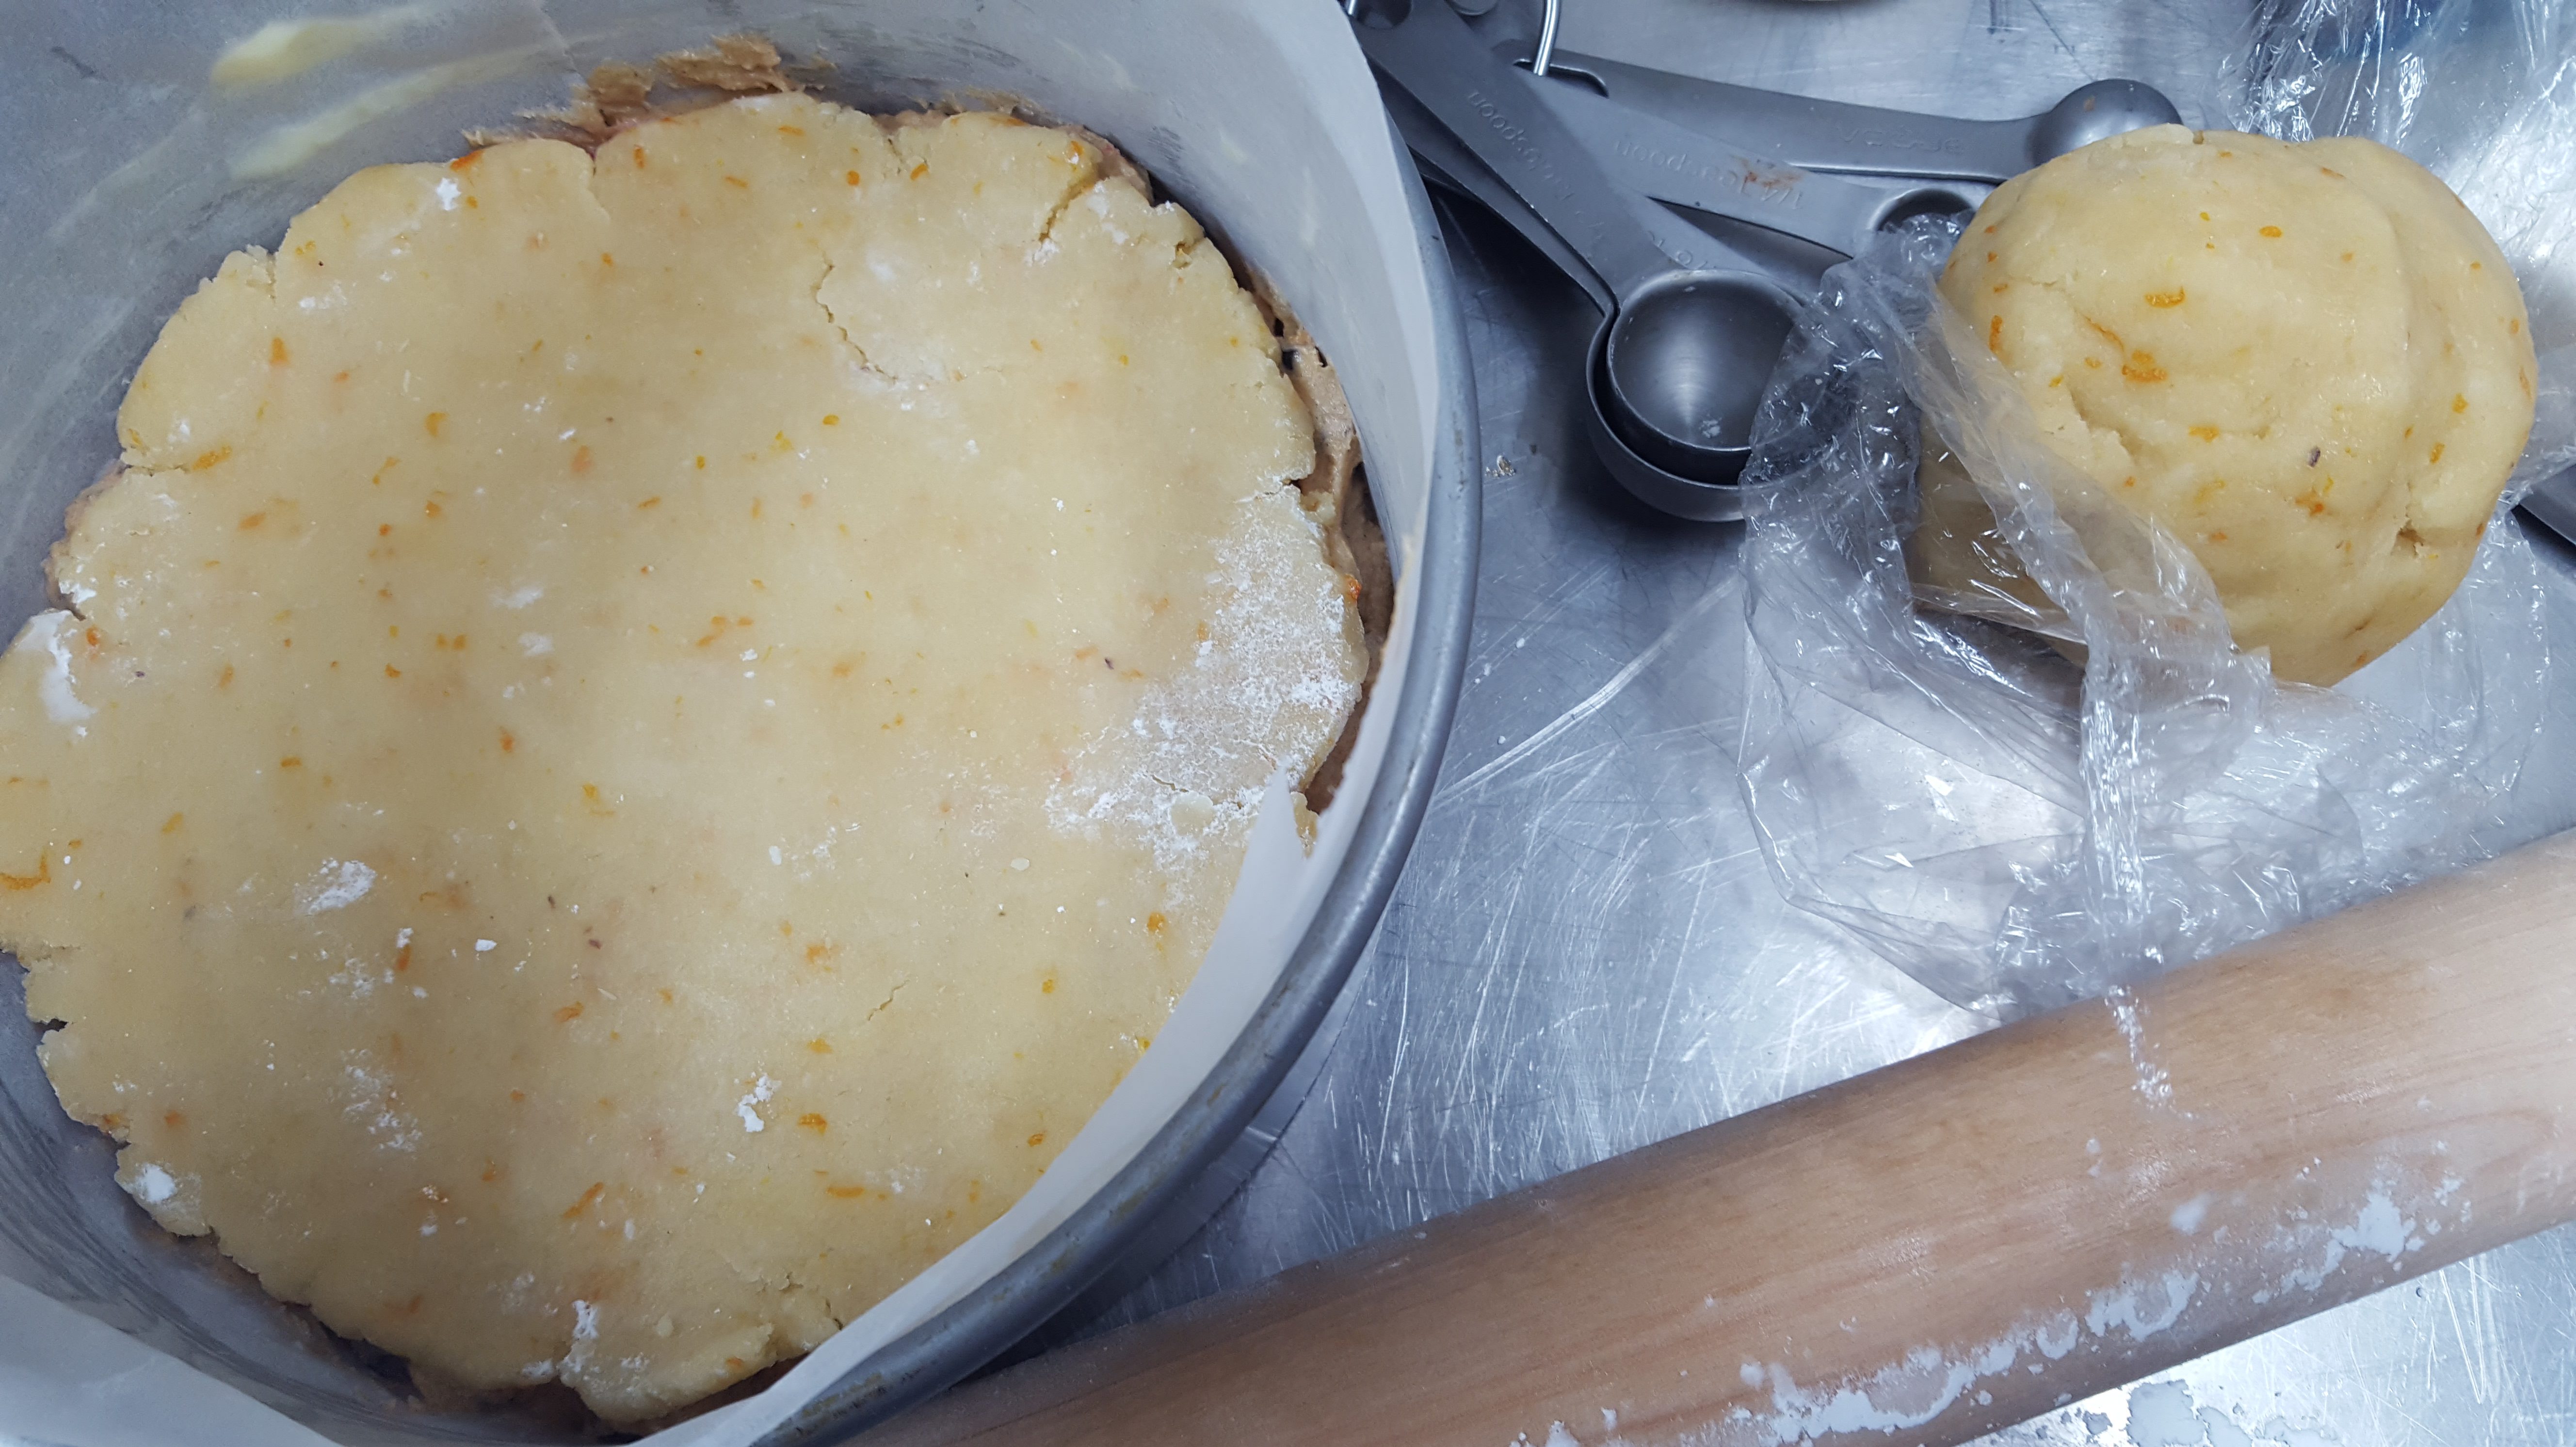
Lay the marzipan in the tin and then spoon and scrape the remainder of the cake batter on top of that. Level off with your spatula and make an indentation in the centre, so that the cake doesn’t rise with too much of a peak.

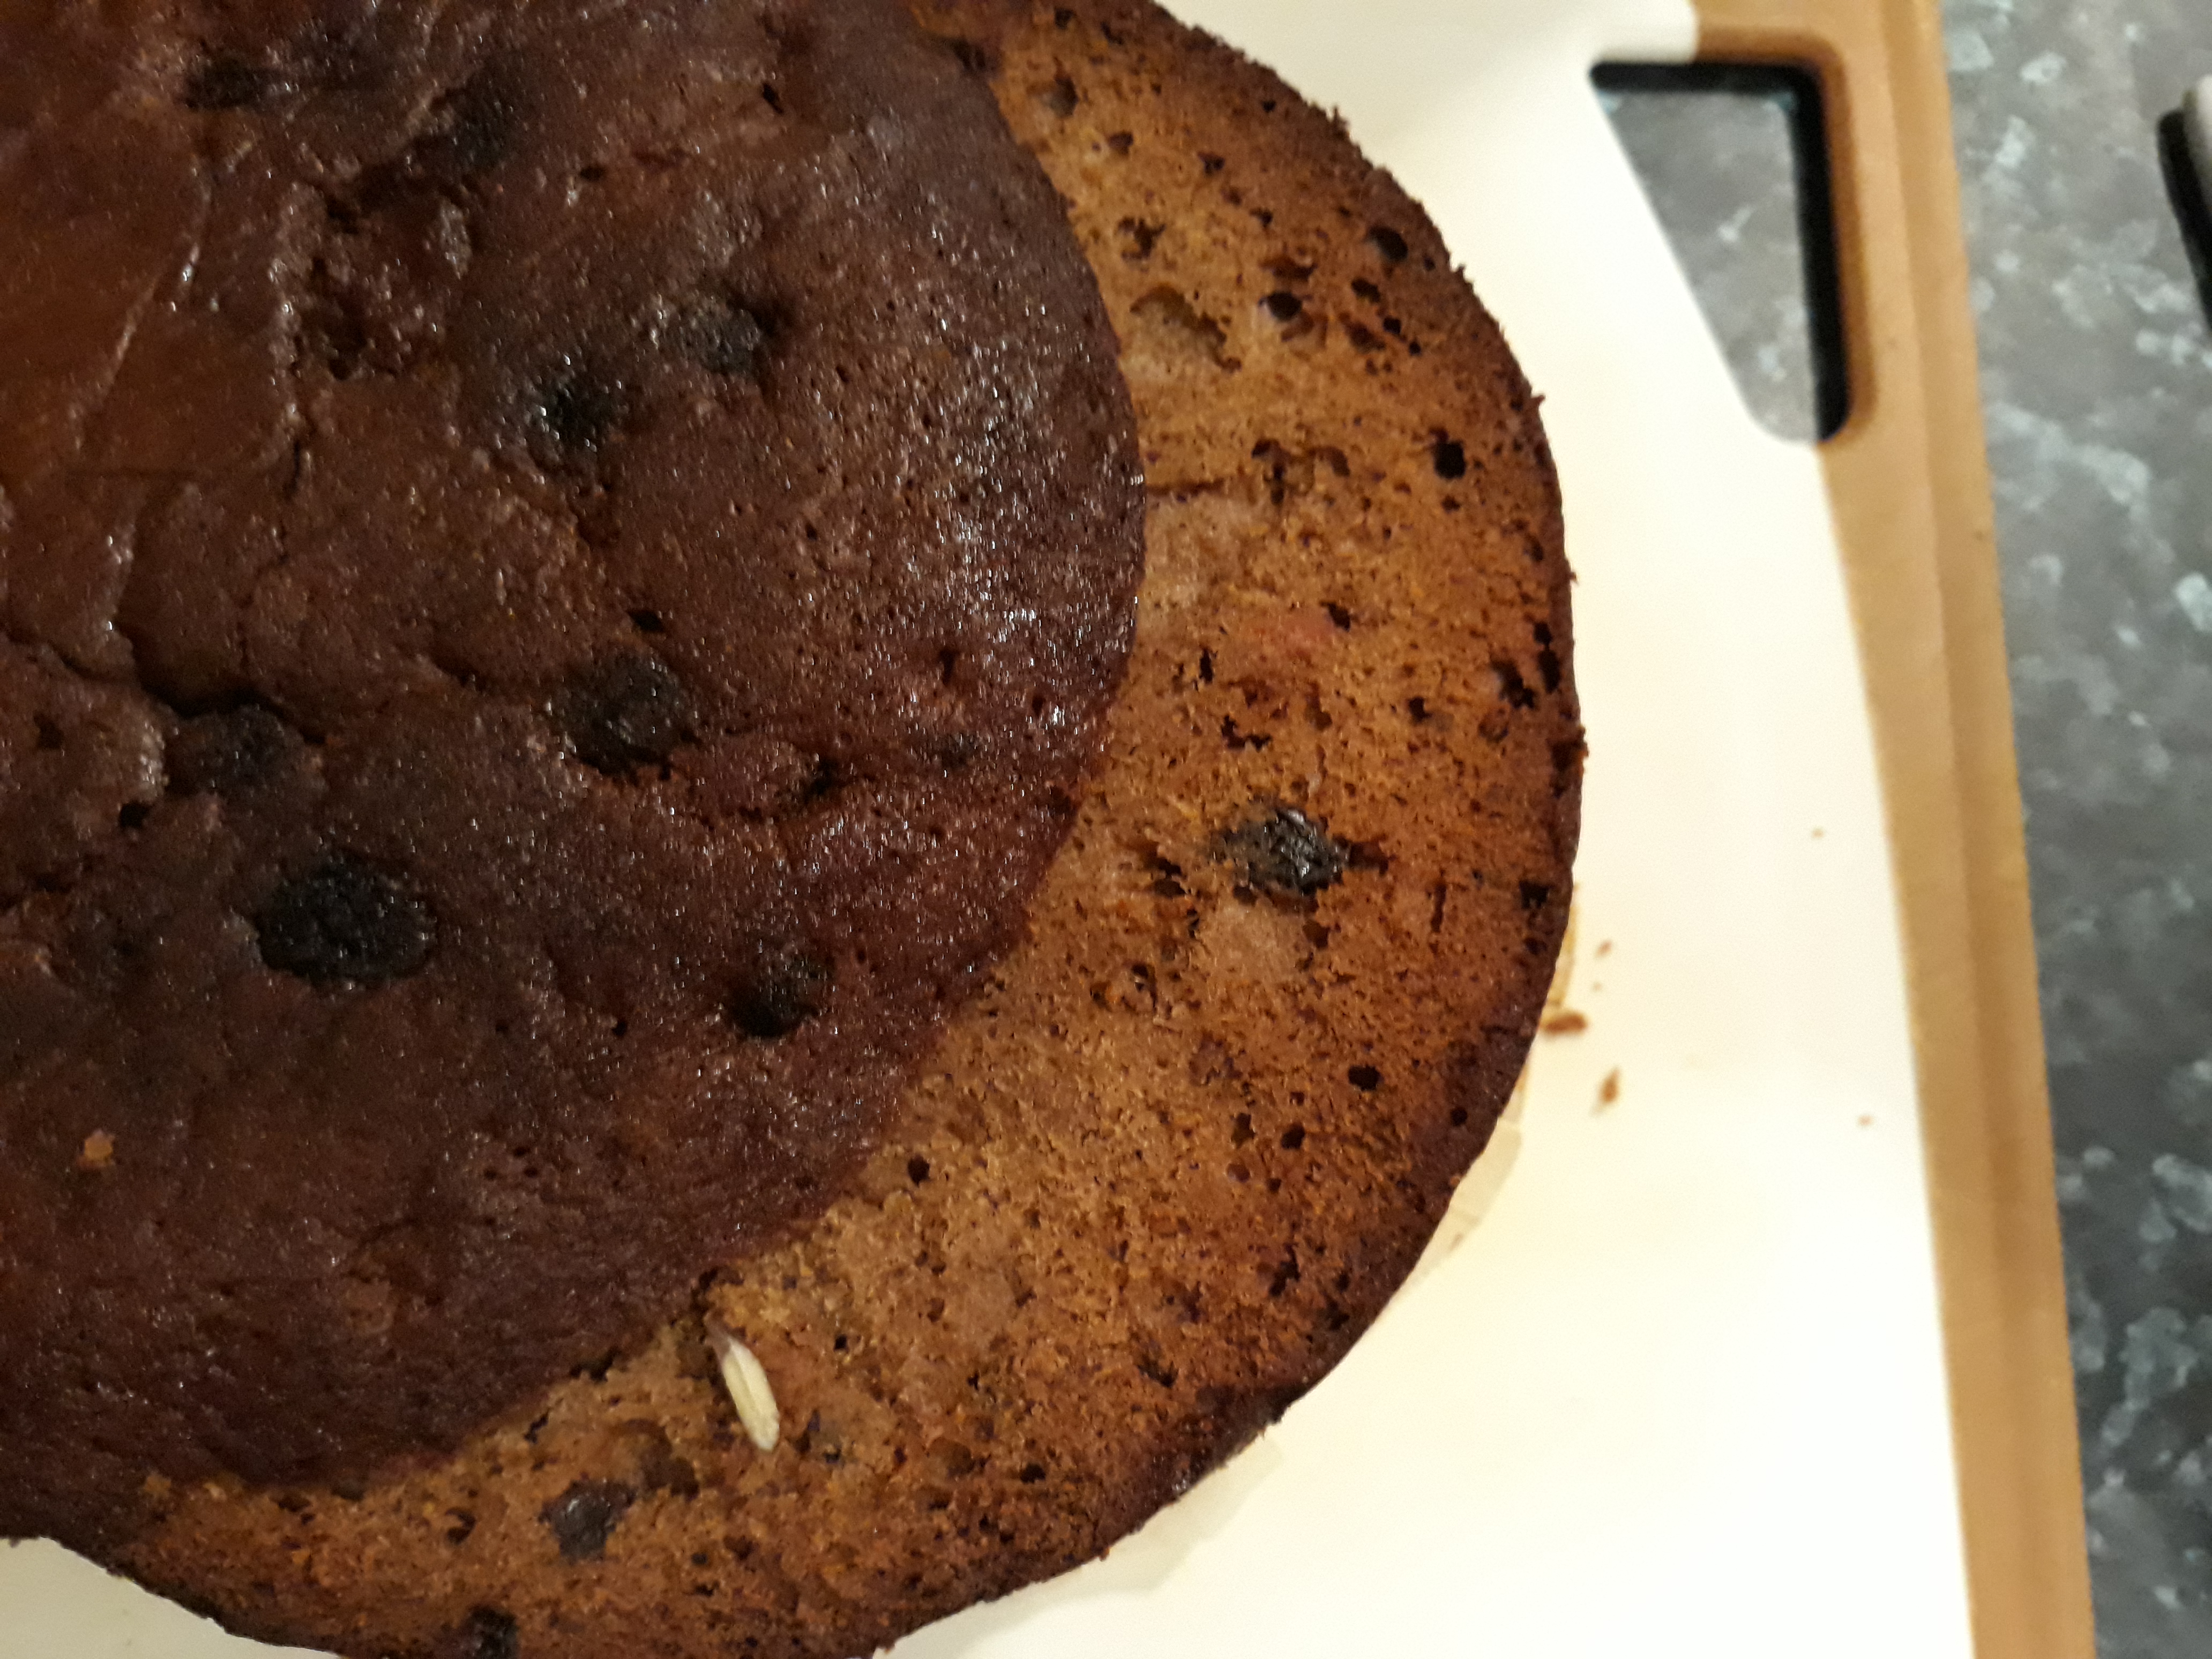
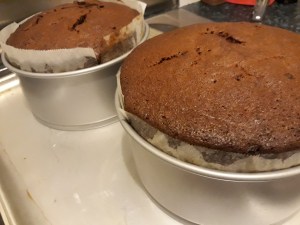
Bake for 2 ¼ to 2 ½ hours. Use a skewer to check it is done. Cool on a rack for about 30 minutes before removing the tin and greaseproof paper.

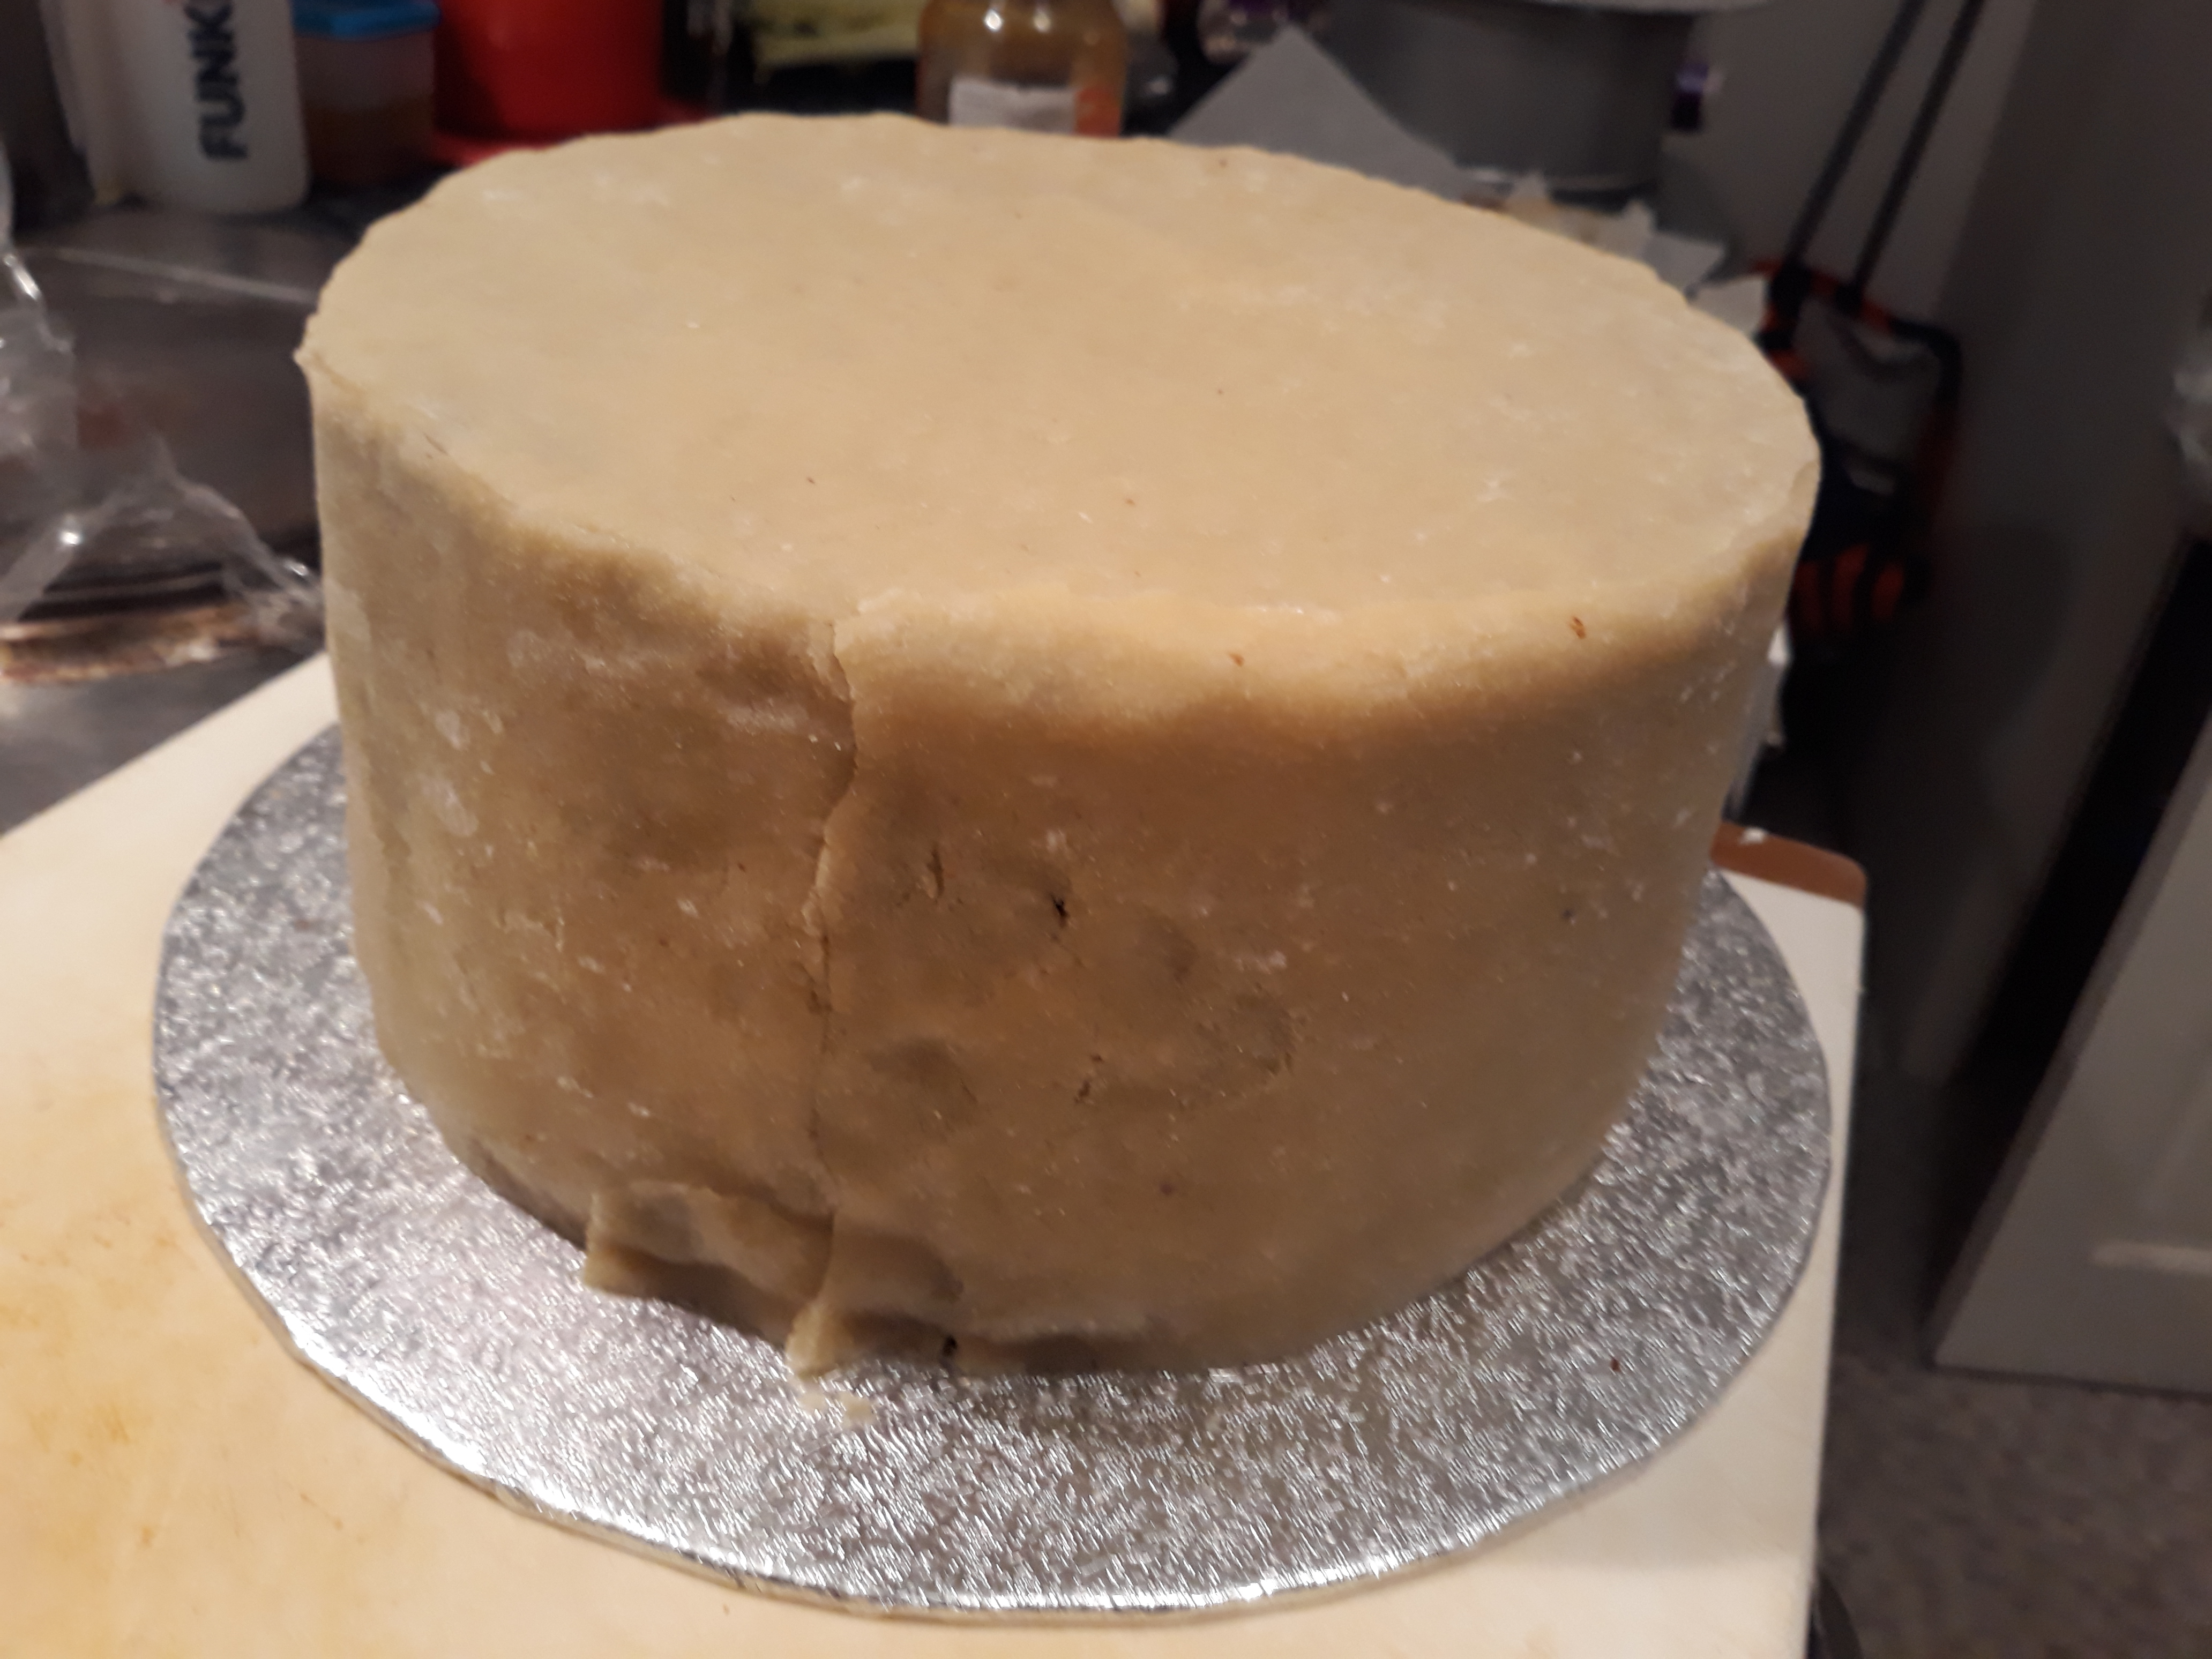
When cold, roll out half of the marzipan in a circle slightly larger than the cake – the best way to do this is to use the outside edge of the tin it was baked in as a template.

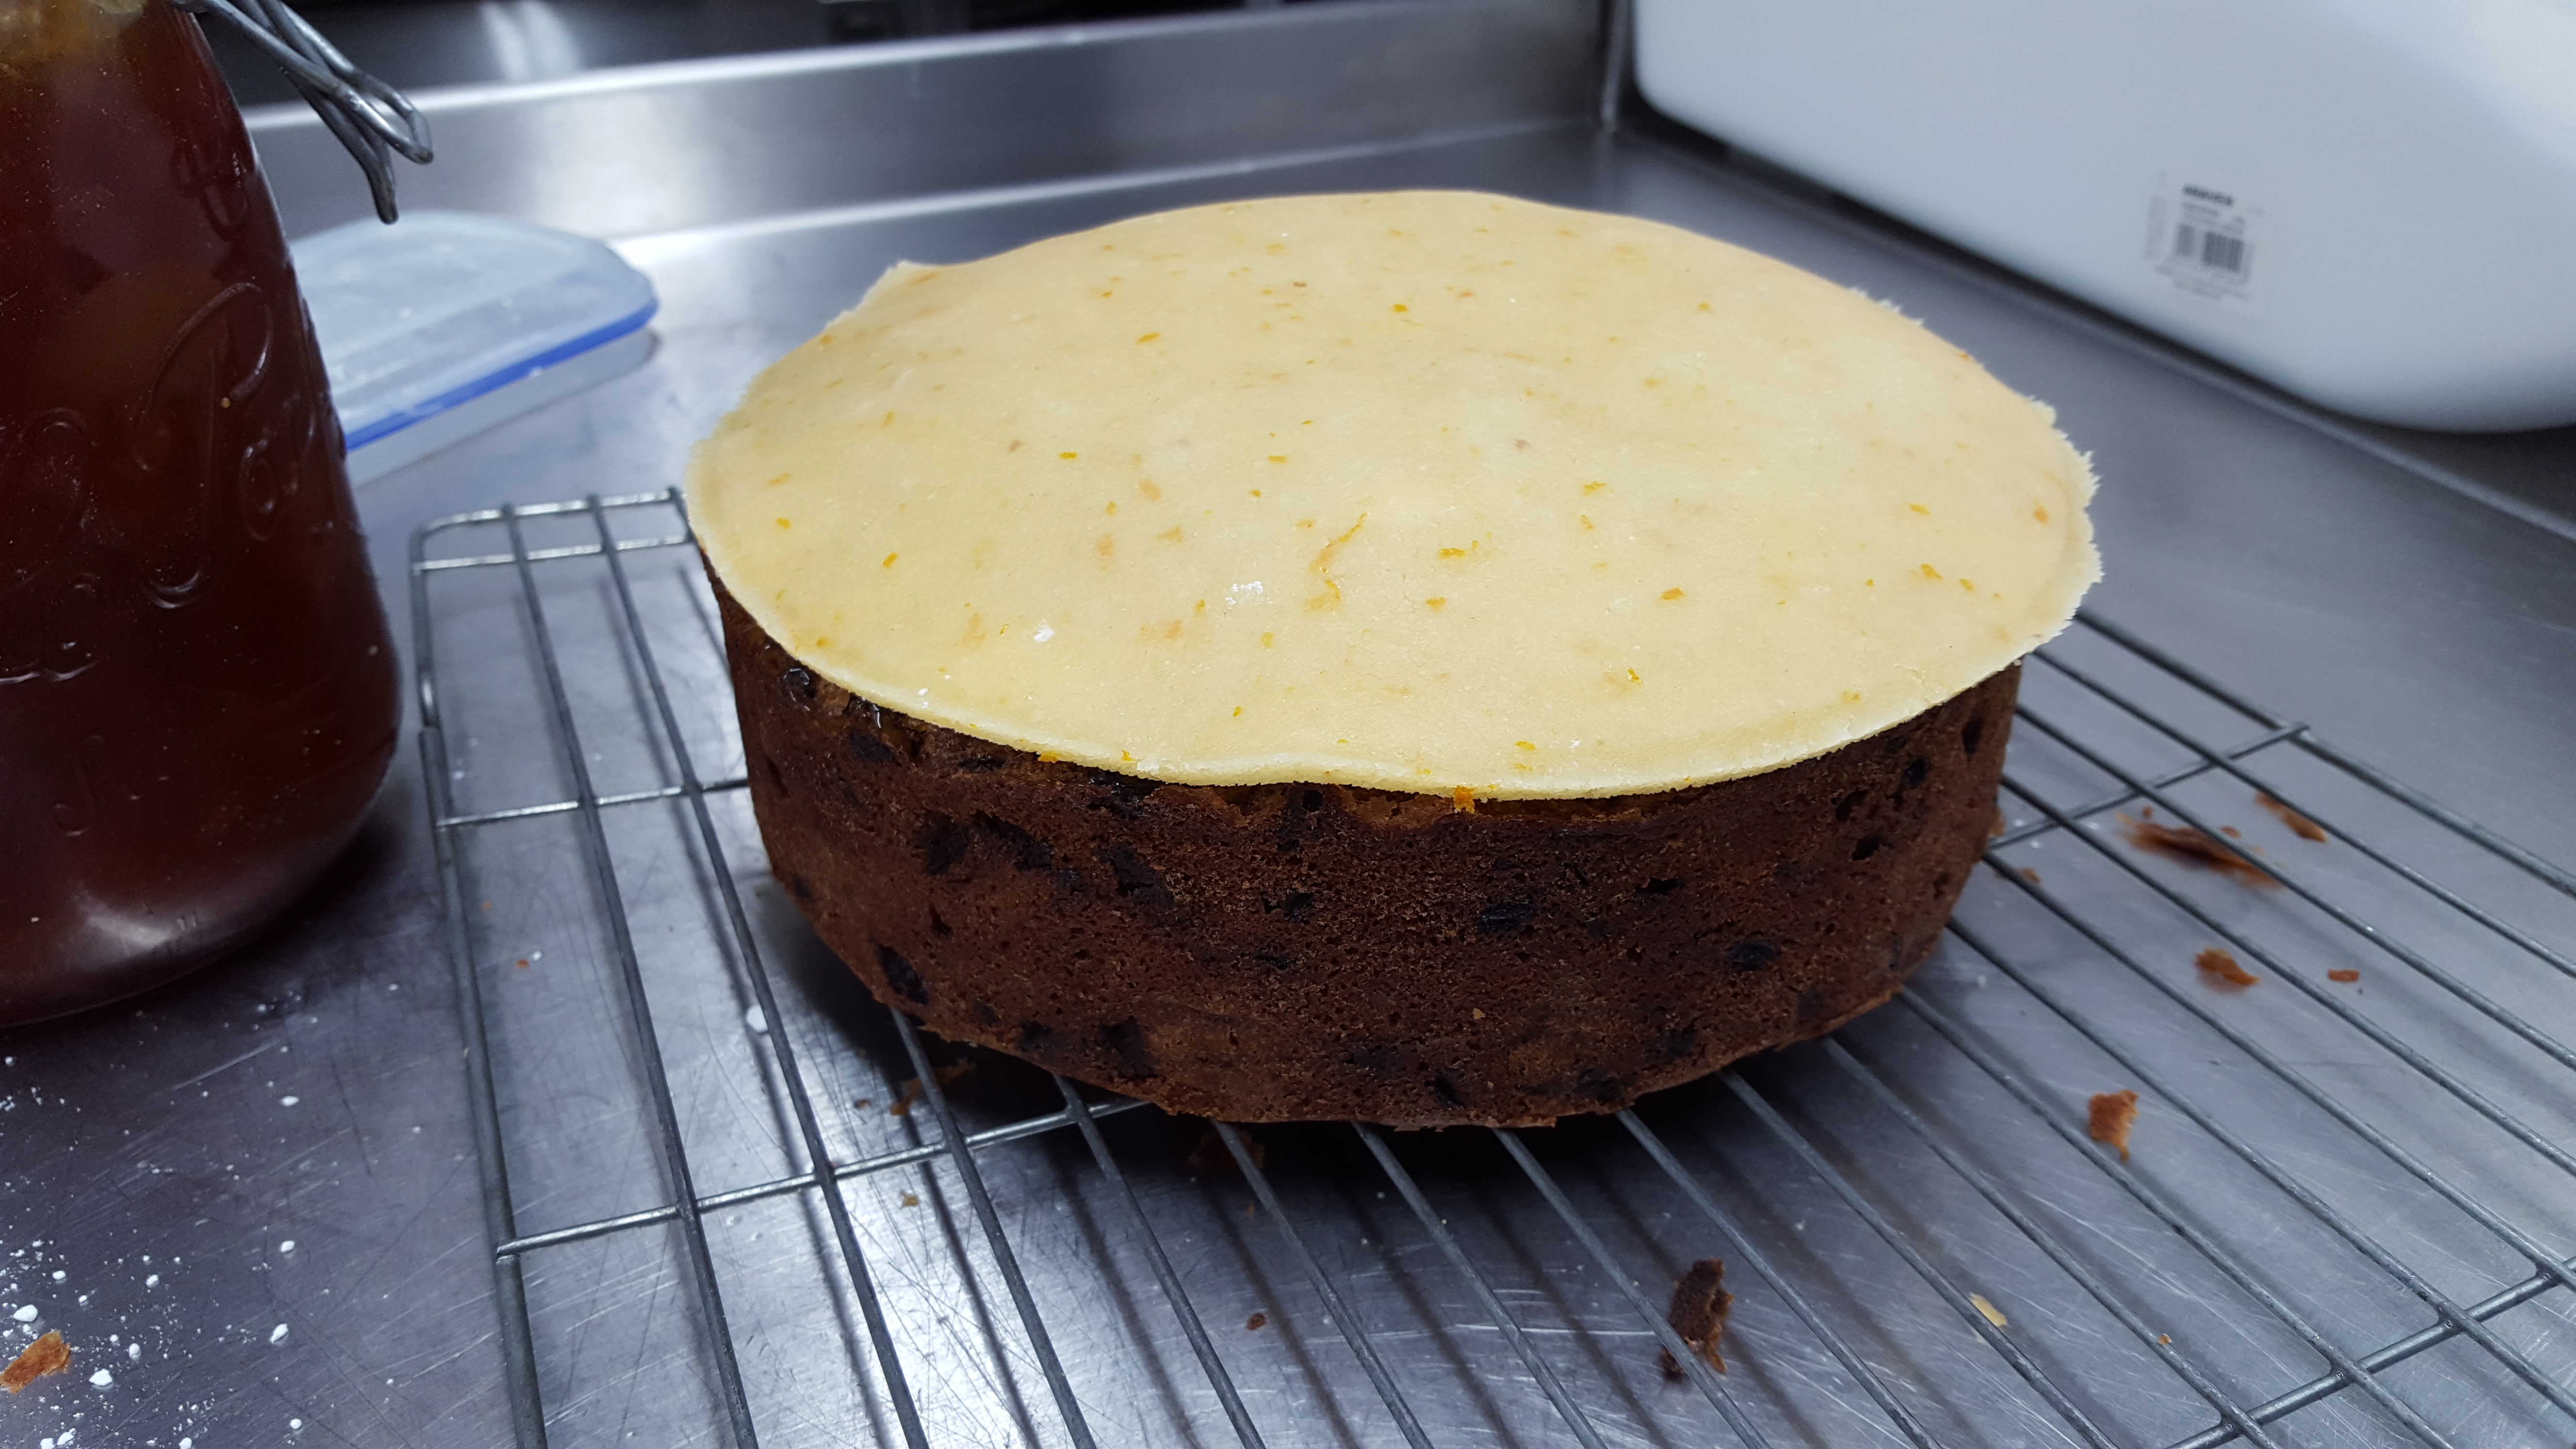
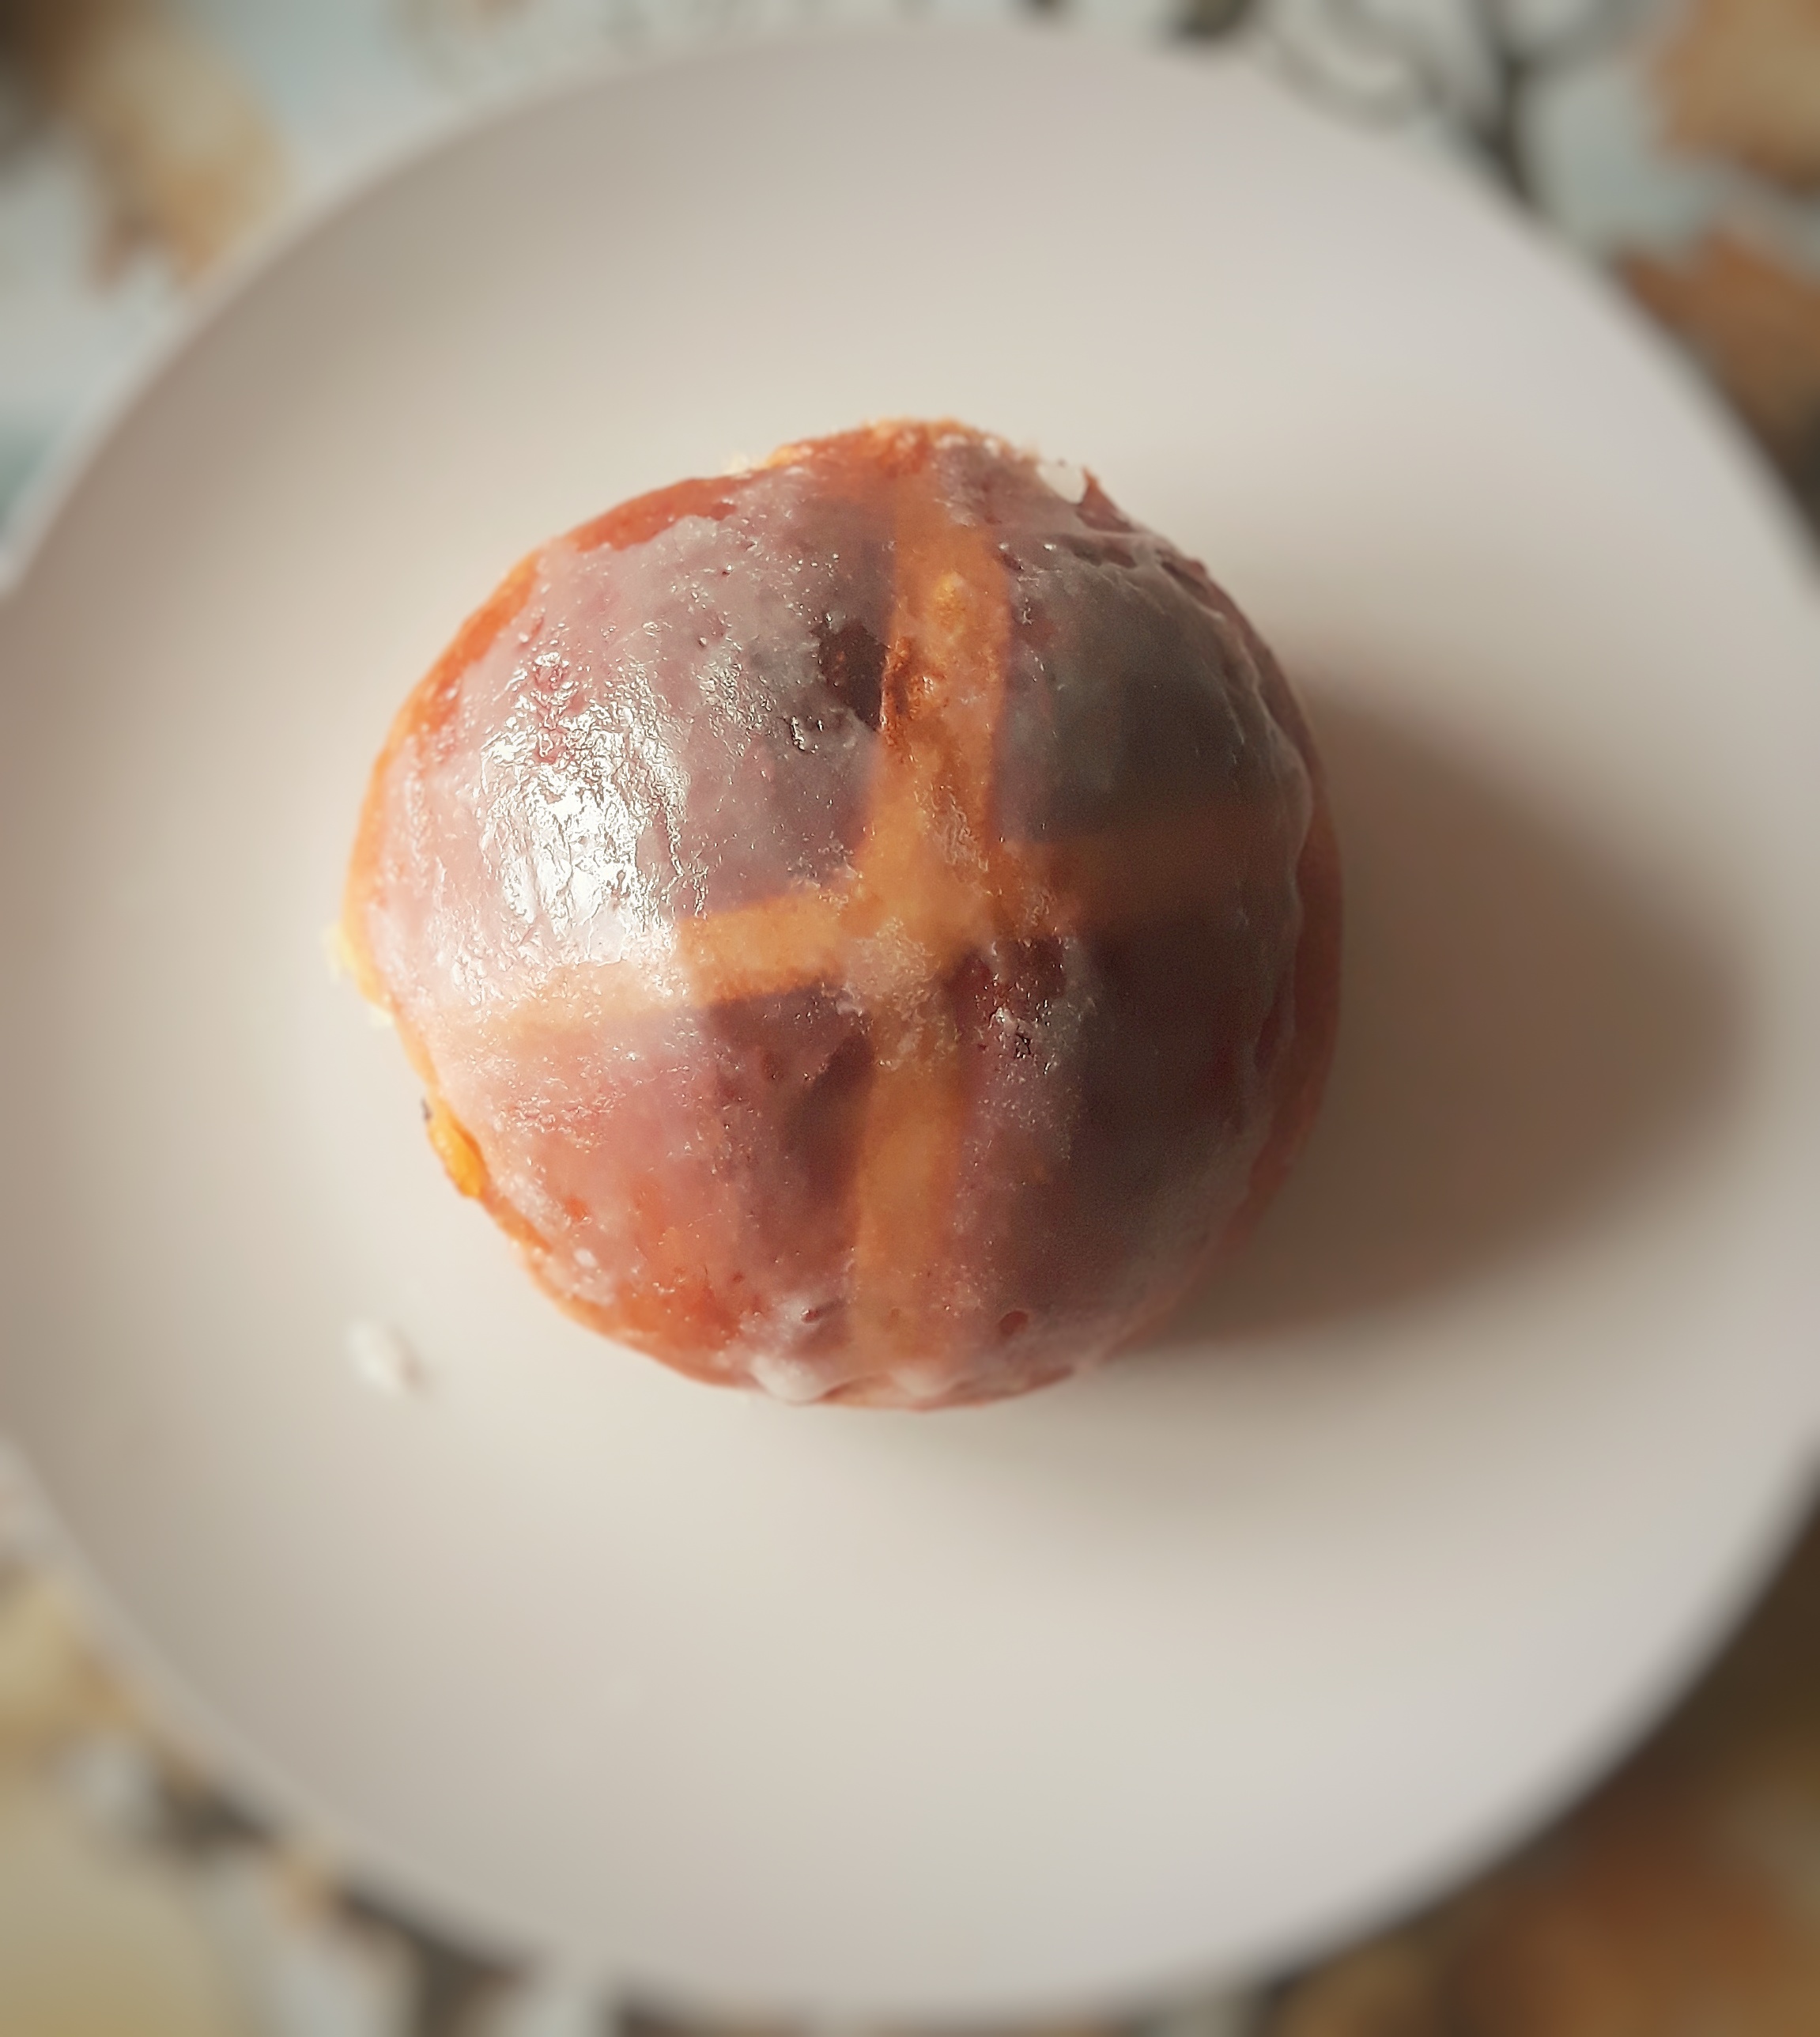
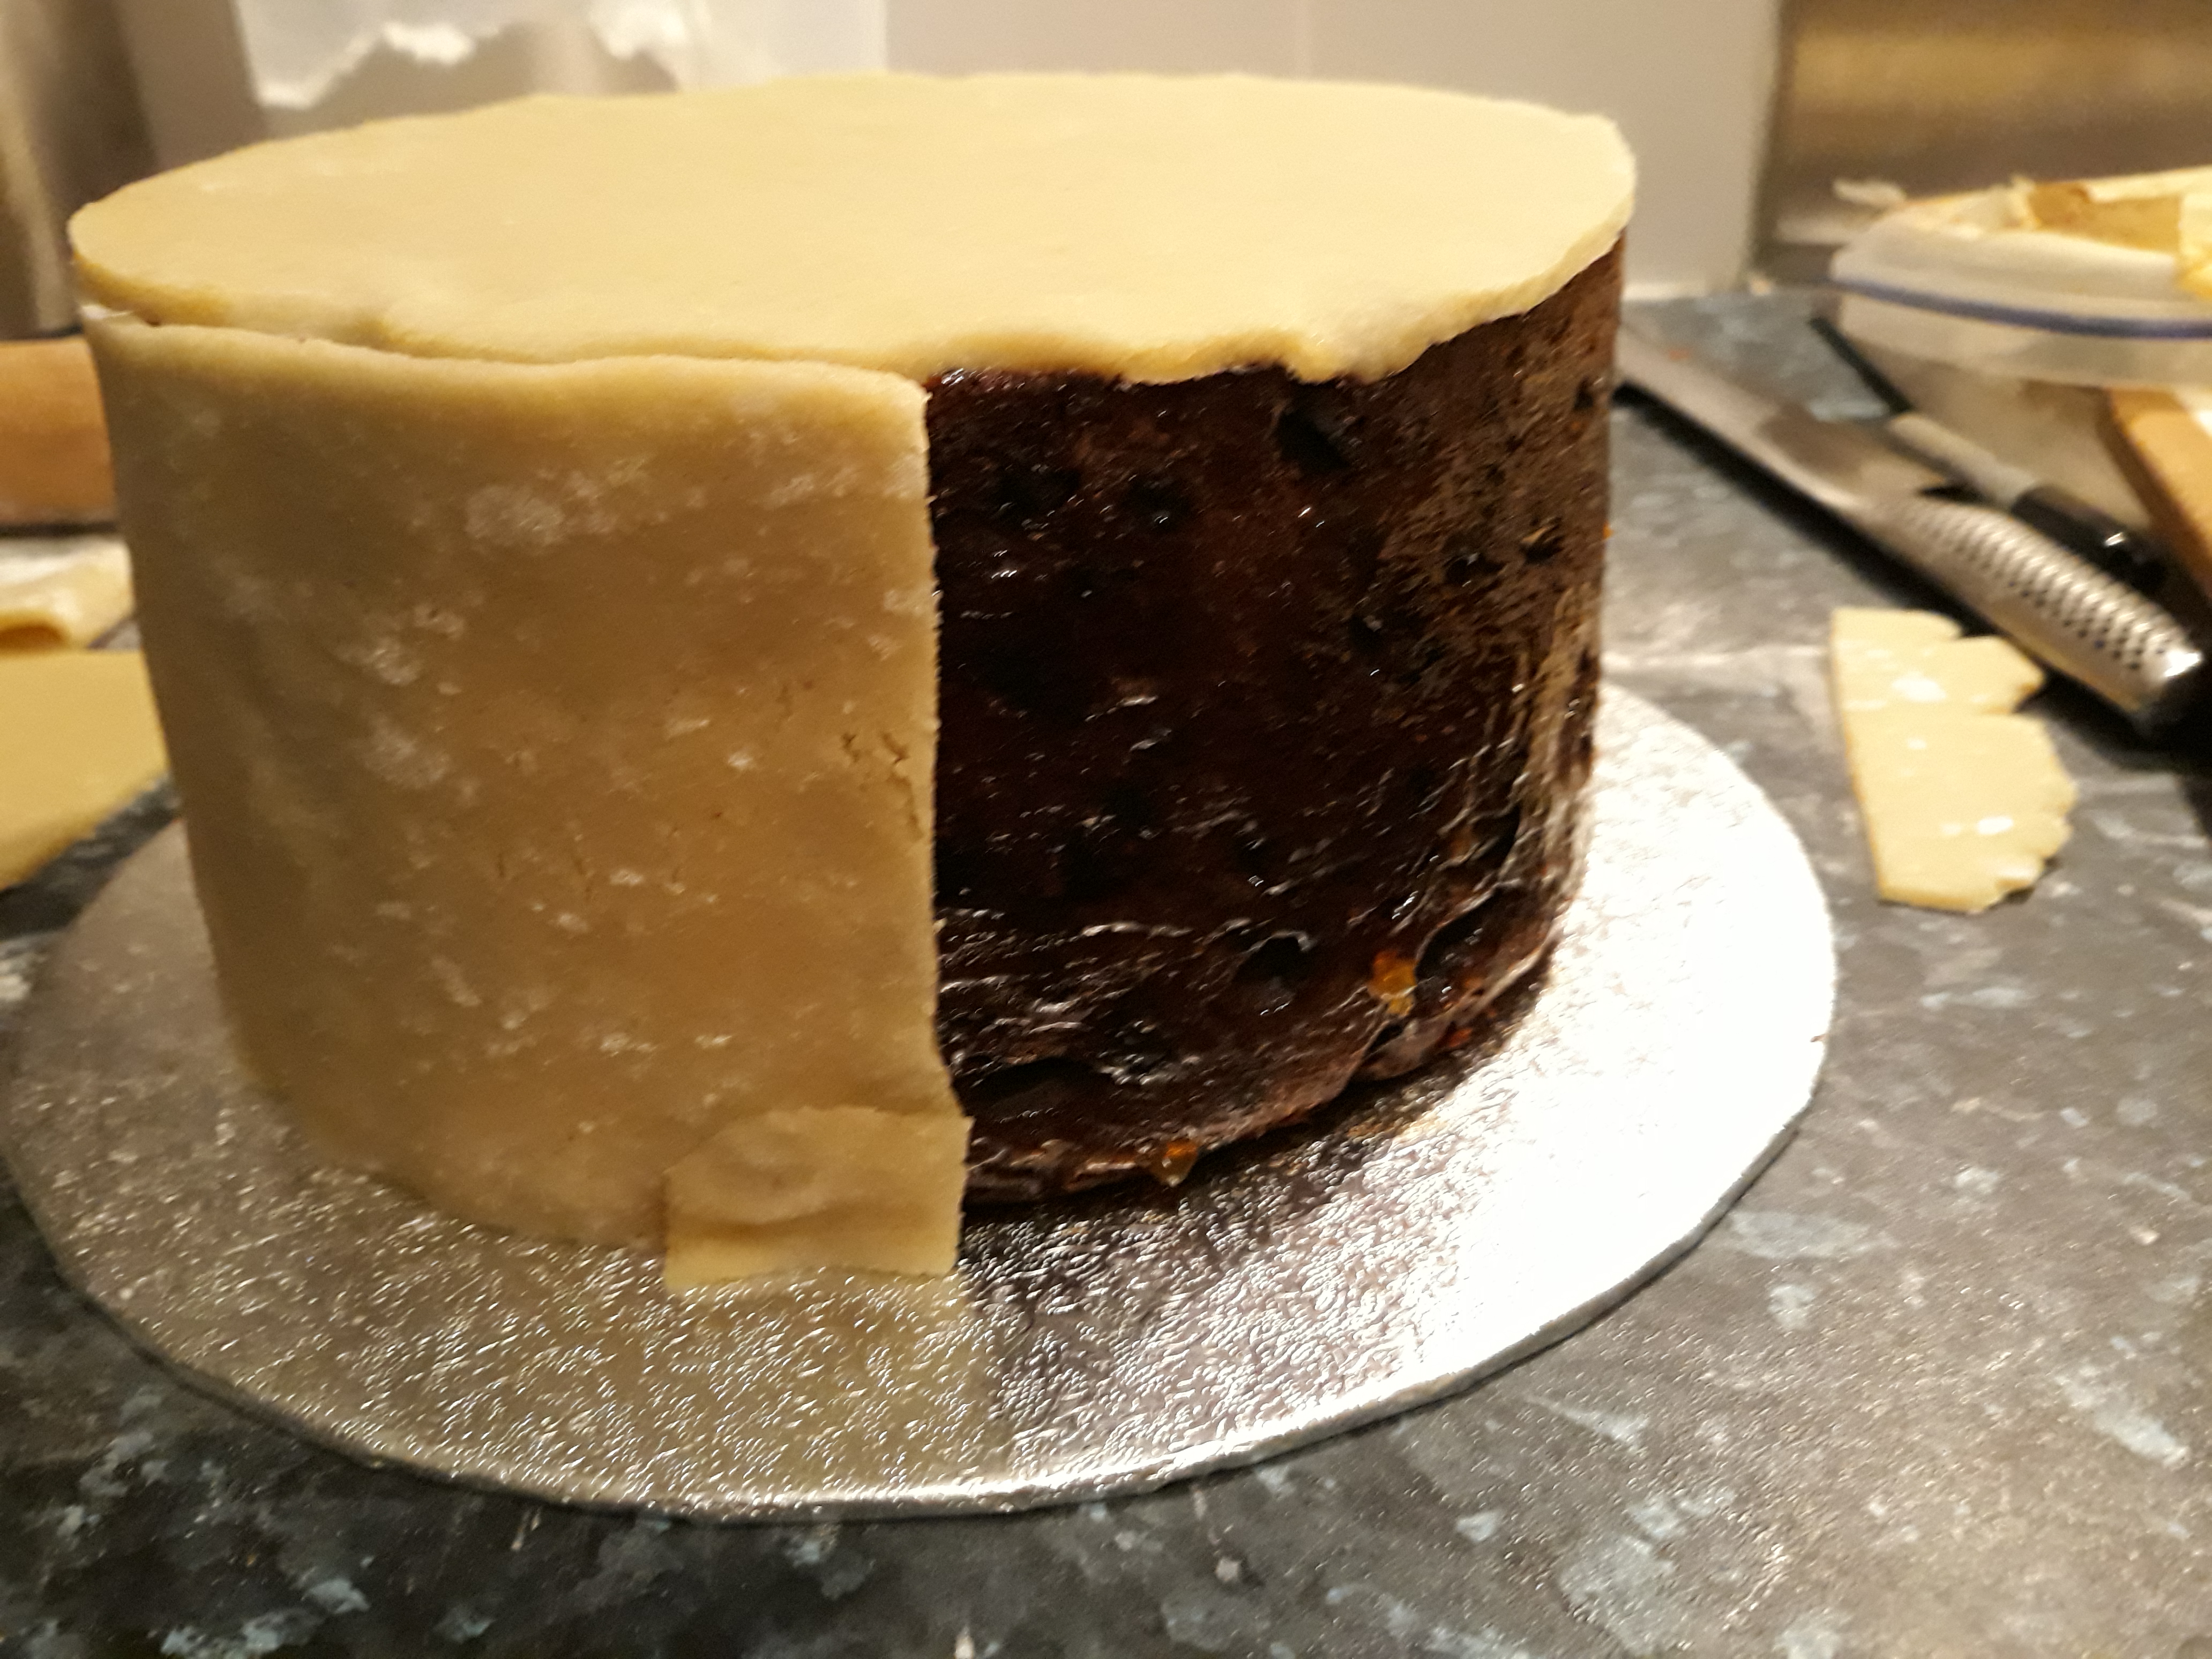
Brush the top of the cake with some apricot jam (if it is very thick, you may want to warm some with a little water in a pan) and lay the marzipan on top, then brush the marzipan with the beaten egg. Divide the remaining marzipan and trimmings into 11 equally-sized balls and arrange them in a circle. Brush those with egg too and glaze the top using a chef’s flame torch (or a very hot grill).

For the marzipan:

90 g caster sugar

140 g icing sugar

220 g ground almonds

grated zest of an orange

1 beaten egg

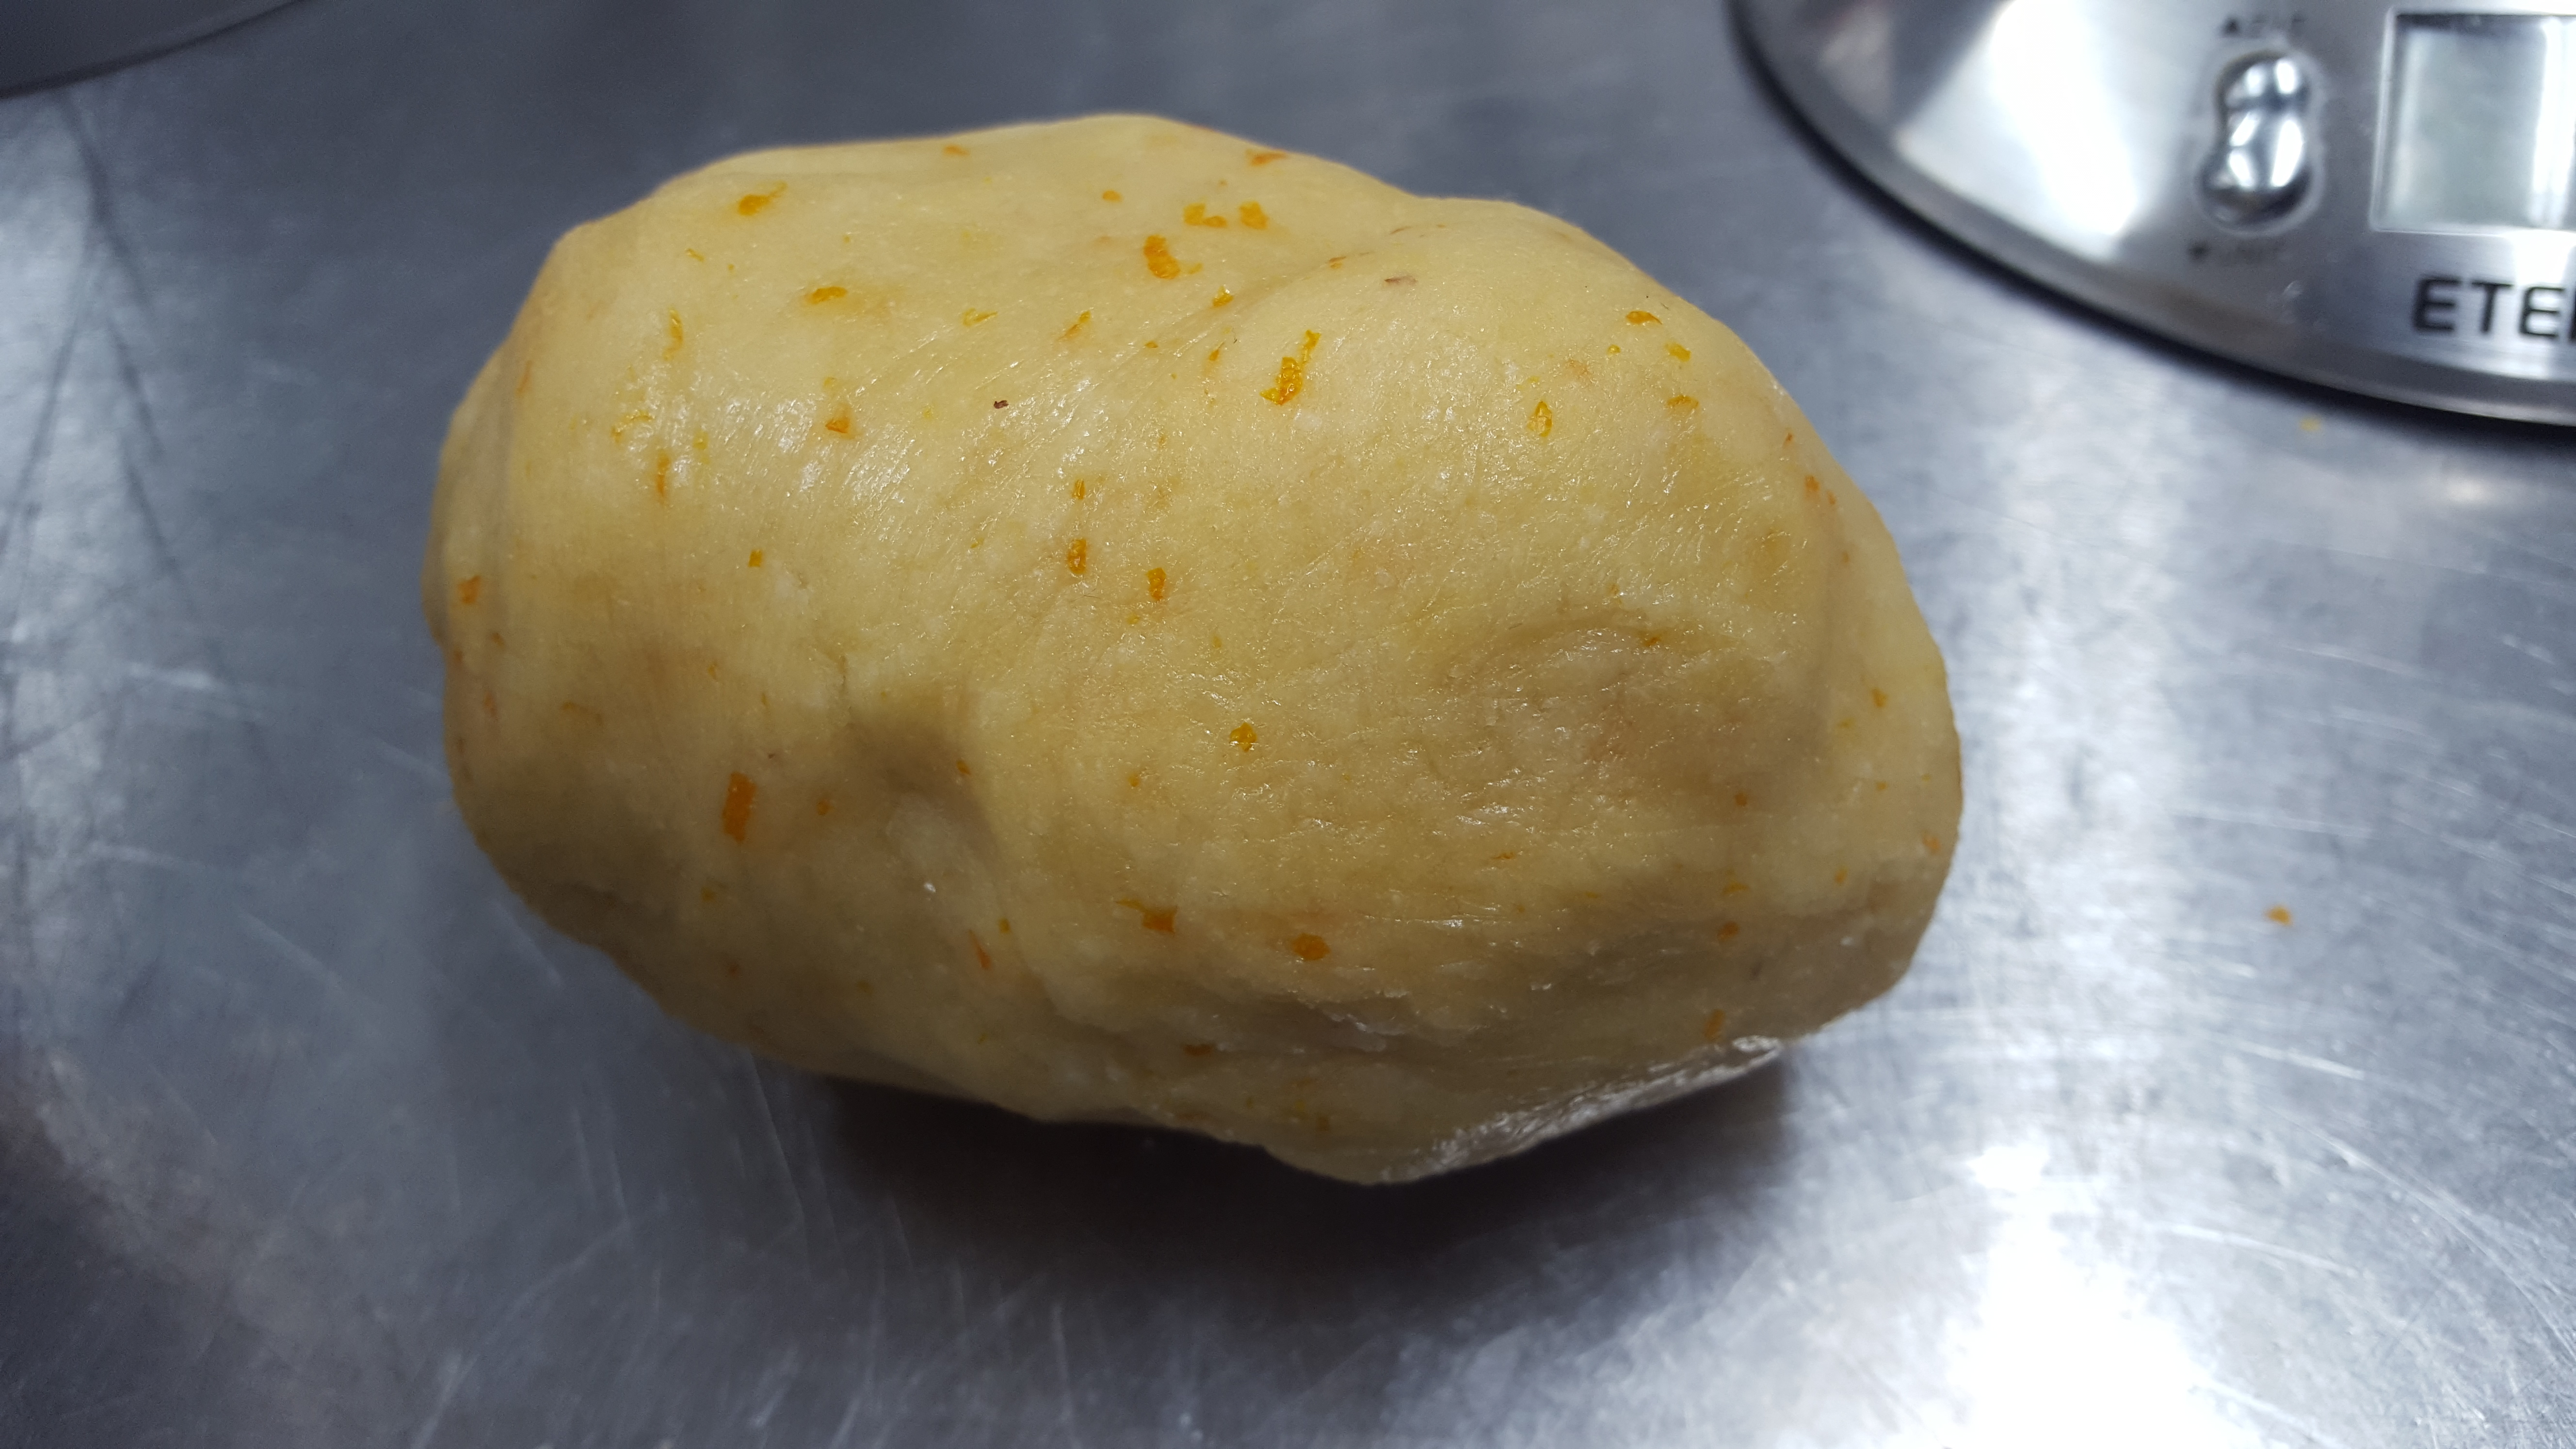
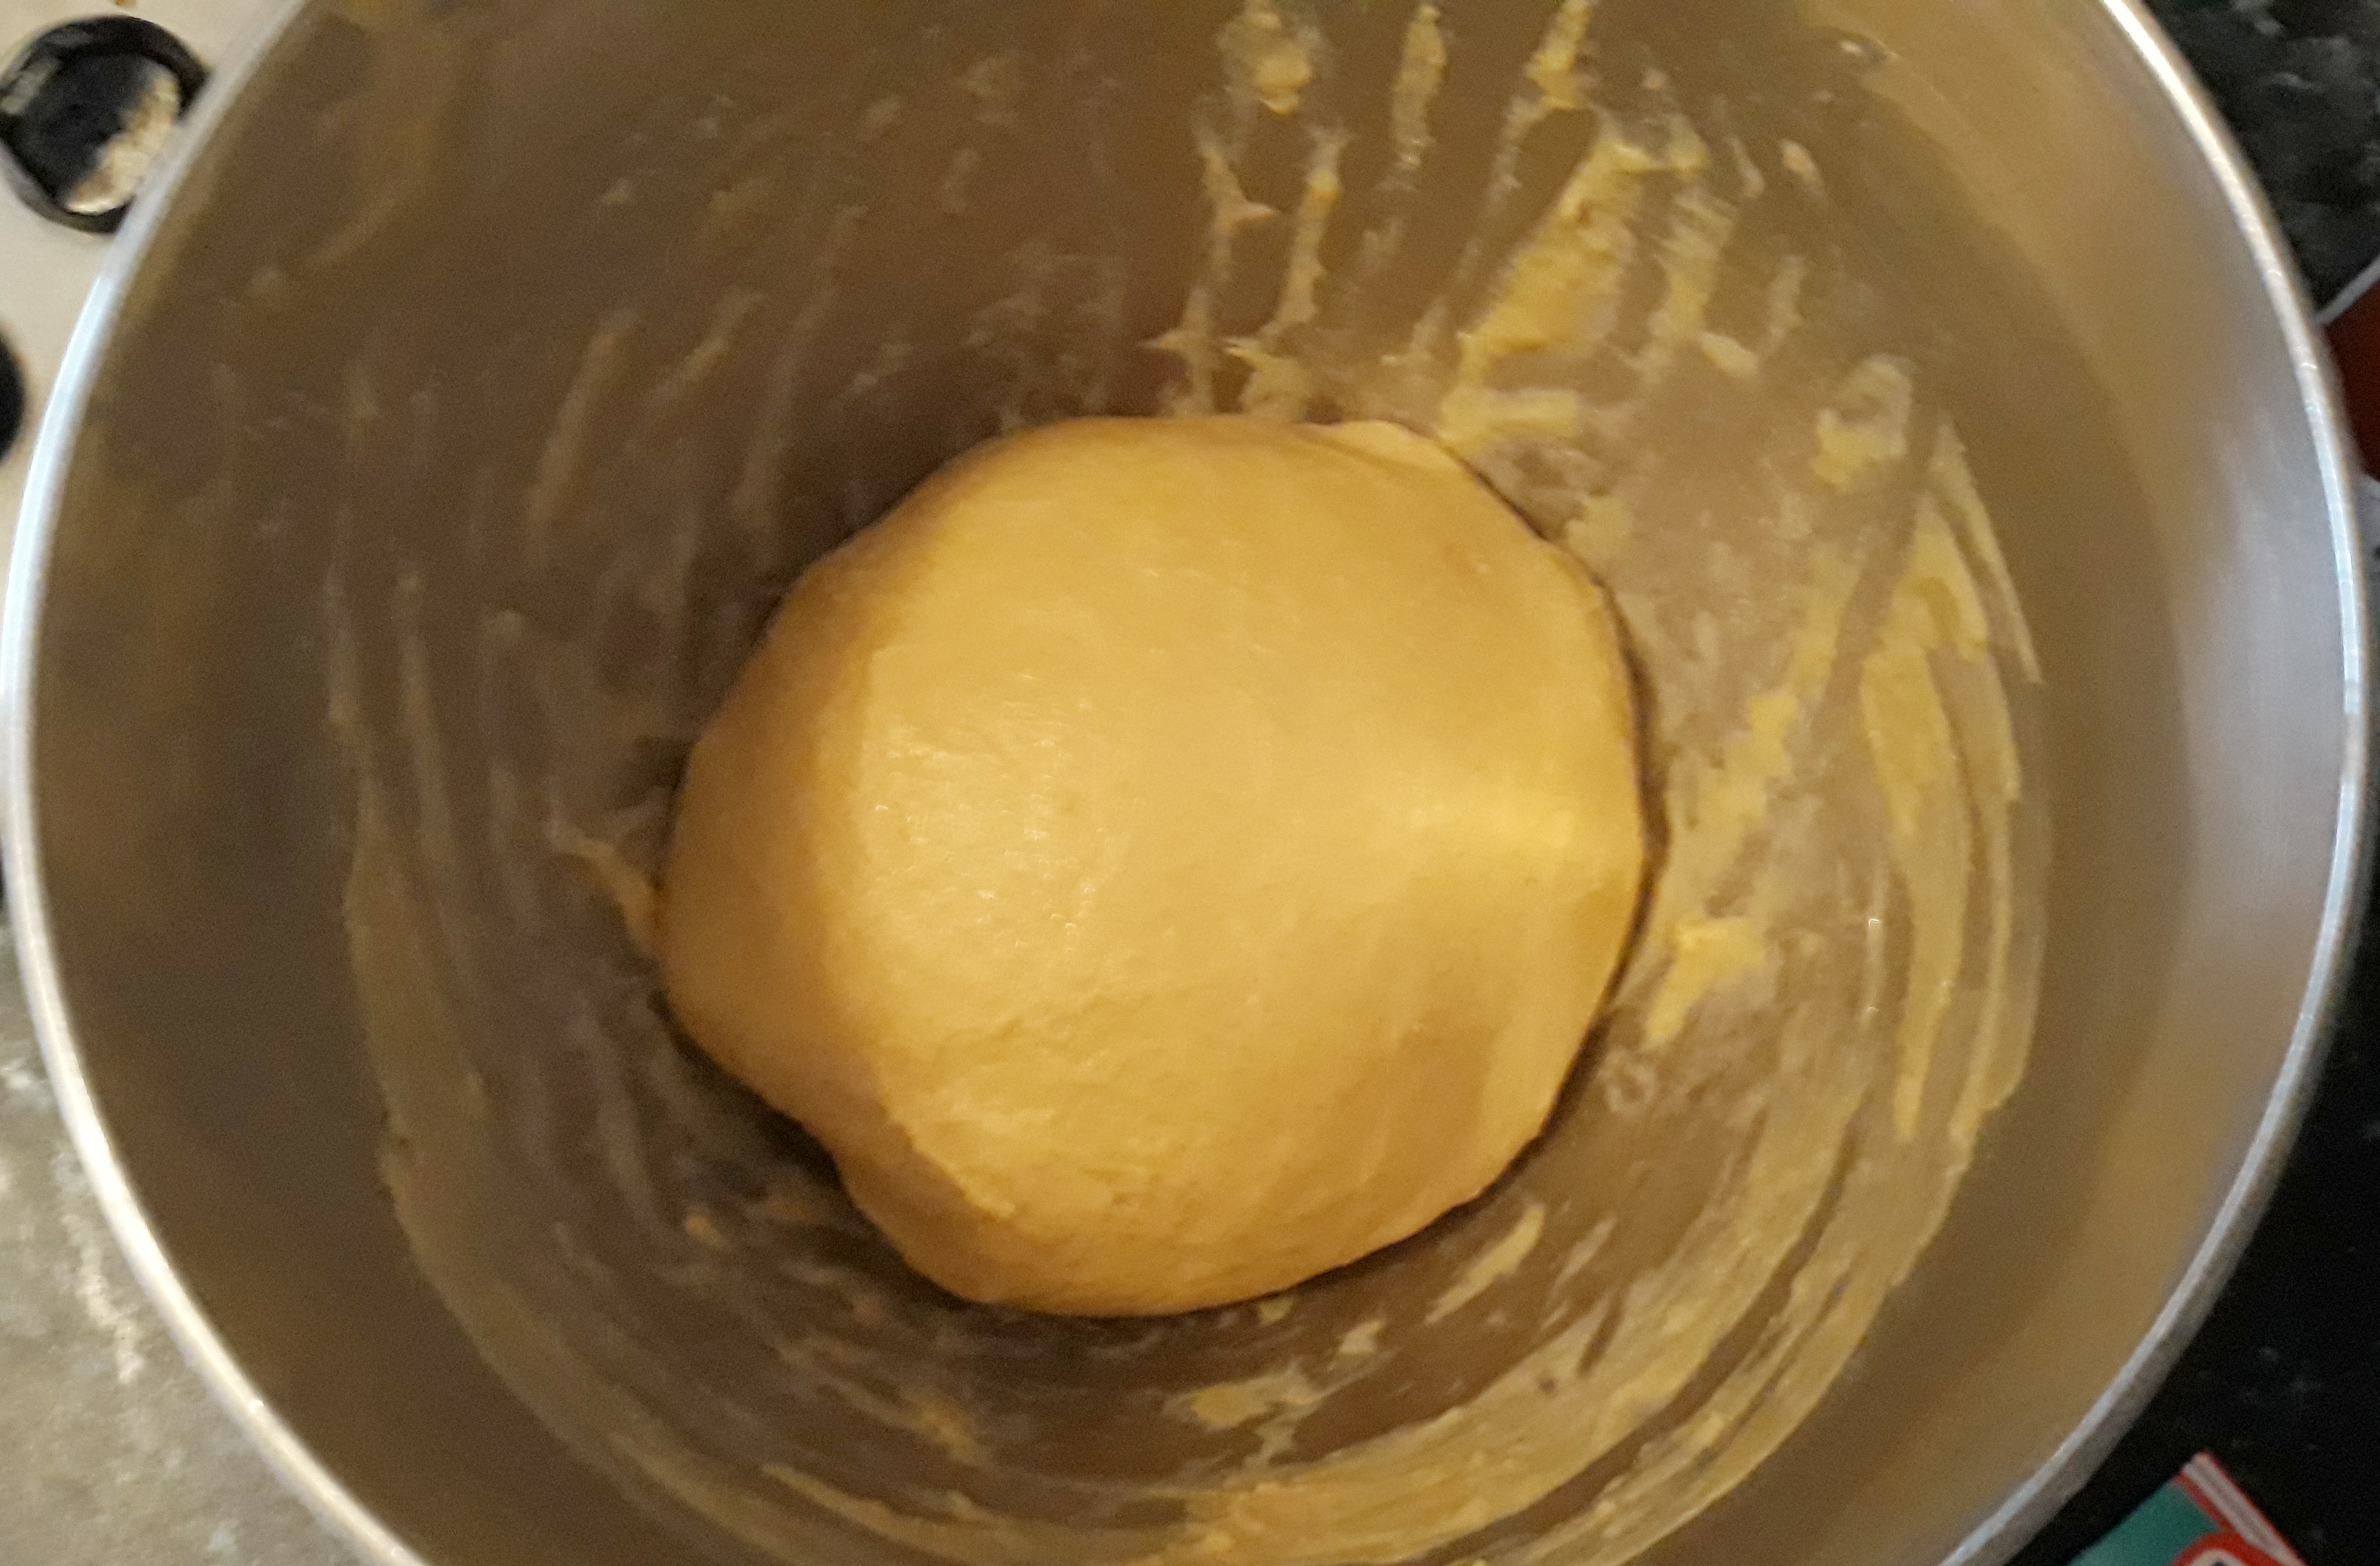
Mix all of the ingredients except for the egg in a bowl. Make a well in the centre and pour in the egg. Using a mixer or your hand, form a dough. Knead in the bowl until smooth, wrap in cling film and refrigerate for at least 2 hours.

Do you like the blogs and podcast I produce? If so, please consider supporting me

Sorry! This product is not available for purchase at this time.

23 Comments

Filed under Britain, cake, Easter, Festivals, food, Recipes, Uncategorized

Forgotten Foods #6: Pease Bread

I often frequent the excellent vegan cooperatively-run supermarket Unicorn in Chorlton, south Manchester, to fill my food cupboards both at home and at the restaurant. One day, a couple of months ago, I spotted a very mediaeval ingredient: green pea flour. I had come across ‘peasemeal’ in several old books, but didn’t expect to ever see it for sale. (Another popular mediaeval ingredient is almond milk, used particularly on fasting days; it’s funny how these old ingredients are having a comeback as health foods.)

One of the mediaeval small-holder’s most important crops was his pea crop – they were not eaten as young sweet garden peas, but were left in the pods to mature and dry. The peas became starchy and packed with protein; an excellent nutritional source for the winter months. We use those dried peas today for mushy peas or split peas. Then, they were mainly used in pease porridge/pottage.

The pease were often ground to make peasemeal to thicken stews, and to make bread for cattle. People only ate it themselves in times of winter famine, and this peasebread was hated by all.

Peasebread and peasemeal stopped being produced in most of the UK, but it did live on until the mid-20th Century in the very North of Scotland and Orkneys, where very few crops can be grown in abundance (rye and oats are the only others really). Folk enjoyed pease scones, bannocks (flatbreads) and breads, but it was still associated with poverty.

Peasemeal is considered easy to digest, partially due to its lack of gluten, and is high in protein and carbohydrates. I quite like how some of these mediaeval ingredients are being re-examined during a time of vegan and paleo-dieting. It is strange to think how the poor were eating healthy vegetables with little fat, red meat, salt and sugar, considered then to have no nutritional value. Meanwhile, the bunged-up rich were chowing down almost entirely on meat, spice, white bread and sugar, in the belief they were eating properly. I bet their bedchambers sank in the morning.

I had to have a go at the derided peasebread, just to see how bad it was. I did cheat a little bit and mixed the peasemeal with some strong bread flour. It was pretty straight-forward to make, though the dough was very sticky was hard to knead. The resulting bread was dense and a little crumbly, but had a delicious sweet pea flavour, with hints of roasted peanut butter. Probably too dry to eat on its own, it was great toasted, buttered and dunked in soup.


If you like the blogs and podcast I produce, please consider treating me to a virtual coffee or pint, or even a £3 monthly subscription: follow this link for more information.


So, here’s my recipe for peasebread. It made two flattened cobs.

(Notice all my liquid measurements are in grams rather than millilitres; for greater accuracy, it’s much easier to weigh your liquids, a tip from Elizabeth David.)

250g green pea flour

250g strong white bread flour

10g salt

10g instant yeast

30g sunflower or olive oil, or softened butter or lard

330g hand-hot water

In a wide mixing bowl mix together the two flours. To one side of the bowl place the salt, and place the yeast to the opposite side. Make a well in the centre and pour in the oil/fat and the water. Mix with your hands to form a dough. Leave to settle for ten minutes.

Spread a little oil on a work surface and knead until smooth. This is pretty tricky because it is so sticky, so use a dough scraper to help.

Oil a bowl and place in the dough inside and cover. Leave to rise until it has doubled in size, about 2 hours. Knock back the dough, divide into two pieces and form in to two taught, round cobs. To do this, roll into balls with oiled/floured hands, then tuck in the dough underneath whilst turning the ball, tautening the surface. Place on greased baking trays, flour generously and cut a cross in the centre. Cover with large plastic bags and leave to rise again for about an hour.

Place the cobs in a cold oven, then set the temperature to 230⁰C and bake for 40 minutes. Cool on a rack.

21 Comments

Filed under baking, bread, Britain, cooking, food, history, Recipes, Teatime, Uncategorized

Toast

toasting fork

from iggandfriends.wordpress.com

Hot buttered toast must be the most popular British breakfast item, whether eaten on the run to the bus stop, or served up with a full English breakfast or posh scrambled eggs and smoked salmon on a Sunday. Elizabeth David described it as a ‘peculiarly English…delicacy’.

It is true that the wafting smell of freshly made toast combined with the sight of the slow melting of a good covering of salted butter is so comforting. Indeed, the first thing offered up to you after you’ve come round from an operation on the NHS (and I unfortunately have had many times) is tea and toast. (Digressing slightly, the first thing offered up to you after an operation in the USA is the similarly comforting cookies and milk.)

Most toast today is, of course, made from the flabby Chorleywood processed white sliced loaf, which produces quite depressingly poor ‘wangy’ toast. Proper toast requires proper bread; bread that has gone a slightly stale. Perfect toast is in the eye of the beholder: thick, thin, crisp throughout, soft in the centre, pale, dark, a scraping of butter or lashings of it.

Making toast was a way of using up stale bread, of course, so toast shouldn’t even be required now that we have the invention of Chorleywood processed bread. It’s ironic that our love of toast means we, on the whole, now make it with a product unsuitable for making it.

It won’t surprise you that there are some very detailed descriptions in old cookbooks as to the best way for making toast.

soyer

The earliest official piece of toasting equipment was the toasting fork. Here’s the flamboyant Victorian chef Alexis Soyer’s instructions from A Shilling Cookery for the People from 1854:

How to Toast Bread – Procure a nice square loaf that had been baked one or two days previously, then with a sharp knife cut off the bottom crust evenly, and then as many sliced you require, about a quarter of an inch in thickness. Contrive to have a clear fire: place a slice of the bread upon a toasting-fork, about an inch from one of the sides, hold it a minute before the fire, then turn it, hold it another minute, by which time the bread will be thoroughly hot, then begin to move it gradually to and fro until the whole surface has assumed a yellowish-brown colour, then turn it again, toasting the other side in the same manner; lay it then upon a hot plate, have some fresh or salt butter (which must not be too hard, as pressing it upon the roast would make it heavy),spread a piece, rather less than an ounce, over, and cut the toast into four or six pieces. You will then have toast made to perfection.

Coal range

Next rung up on the evolutionary ladder of toast-making was the invention of the toast plate, a cast iron rack that could sit in front of coal-powered range cooker. My friend Andreas actually has an original coal range cooker with a toast plate built in. I am very jealous.

range toasting plate

You can buy plates that lay over a gas burner on the stove top that I suppose achieves a flavour closest to the ones found on the coal ranges. Elizabeth David owned one (from English Bread and Yeast Cookery, 1977):

Elizabeth David

Part of the charm of the toast produced on this device is that every piece is different, and differently marked, irregularly chequered with the marks of the grill, charred here and there, flecked with brown and gold and black.

At home, the best way to make toast is by using a grill, preferably a gas grill; it produces a much more even heat and therefore even toasting than an electric grill. I love the flecked toast that David described, but an electric grill has hot spots that produce slices well done in one patch and hardly coloured in another.

THE WAY WE COOKED

You might think all you need to do is stick the bread under the grill and wait, right? Wrong. Here are Delia Smith’s instructions for making toast under a grill, though first you need to slice it (from How to Cook: Book One, 1998):

  1. The key to slicing bread is to use gentle, rapid saw movements with the knife and not to push down too hard on the loaf. For toast, cut the bread into slices about ½ inch (1 cm) thickness. The crusts can be on or off, depending how you like them.
  2. Pre-heat the grill for at least 10 minutes before making the toast, turning it to its highest setting.
  3. Place the bread on the grill rack and position the tray 2 inches (5 cm) from the heat source.
  4. Allow the bread to toast on both sides to your own preferred degree of pale or dark golden brown.
  5. While that is happening, keep an eye on it and don’t wander far.
  6. When the toast is done, remove it immediately to a toast rack…Putting it straight on to a plate means the steam is trapped underneath, making it damp and soggy. If you don’t possess a toast rack you really ought to invest in a modest one. Failing that, stand your slices of toast up against a jar or something similar for about 1 minute before serving.
  7. Always eat toast as soon as possible after that, and never make it ahead of time.
  8. Never ever wrap it in a napkin or cover it (the cardinal sin of the catering trade), because the steam gets trapped and the toast gets soggy.
  9. Always use good bread, because the better the bread, the better the toast. It is also preferable if the bread is a couple of days old.

The toast rack is an essential. Before I owned one, I leant the slices against each other as you would for a house of cards.

So there we go, a definitive guide to making toast, well, as long as you’re not using an electric toaster!


If you like the blogs and podcast I produce, please consider treating me to a virtual coffee or pint, or even a £3 monthly subscription: follow this link for more information.


17 Comments

Filed under baking, bread, Britain, cooking, food, General, history, Recipes, Teatime

Jane Grigson’s Orange Mincemeat

It’s just occurred to me that I haven’t put on a Christmas recipe and it is only just over two weeks until the special day. This month has flown by at a scarily quick pace.

Luckily two weeks is just enough time to make this delicious orange flavoured mincemeat. Last year I gave you Mrs Beeton’s recipe, but this one comes from the wonderful Jane Grigson. It is very moist and because of the brandy, orange juice and orange liqueur. It is also vegetarian if you want it to be; the suet can be the vegetable-based sort, or you can leave it out altogether. Give it a go.

Jane Grigson

Jane Grigson

It is extremely easy to make: there is no cooking required so all you need to be able to do is chop, grate, mix and weigh. When you pot the mincemeat, it is very important you sterilise your jars. To do this first wash them in soapy water, then rinse and allow them to dry. Place the jars on a tray, with their lids sat beside them, facing upwards and pop them in the oven for 30 minutes at around 130⁰C. Let them cool a little before potting. If this seems a lot to make in one go, you can easily reduce the amounts as you see fit.


If you like the blogs and podcast I produce, please consider treating me to a virtual coffee or pint, or even a £3 monthly subscription: follow this link for more information.


Click here for the recipe I use for making mince pies.

Ingredients

250 g (8 oz) chopped candied peel

1 kg (2 lb) peeled, cored and grated apples

500 g (1 lb) suet (fresh or packed is fine, but fresh is best)

500 g (1 lb) currants

500 g (1 lb) raisins

500 g (1 lb) sultanas

500 g (1 lb) soft dark brown sugar

1 freshly grated nutmeg

125 g (4 oz) slivered almonds

Juice and zest of 2 oranges

4 tbs brandy

6-8 tbs orange liqueur

Mix all the ingredients together in a huge mixing bowl, then pot into sterilised jars. Store somewhere dark and cool, but not the fridge! Leave the mincemeat to mature for at least together before using it.

IMG_2519

9 Comments

Filed under baking, Britain, Christmas, cooking, Desserts, Festivals, food, Fruit, General, Preserving, Recipes, Teatime

Shortbread


The history of shortbread goes back to at least the 12th century and originally started life as ‘biscuit bread’; biscuits that were made from left-over bread dough that was sometimes sweetened and dried out in the oven to form a hard, dry rusk. This practise took place over the whole of the British Isles, not just Scotland.

Over time the leavening was lost and exchanged for butter, making it an expensive fancy treat that was only bought for celebrations such as Christmas and Hogsmanay (Scottish New Year). There are similar ‘breads’ outside of Scotland such as Shrewsbury cakes and Goosnagh cakes.

The large amount of butter is what makes shortbread short: the term short, when applied to biscuits and pastry, means crumbly, like shortcrust pastry should be. It is the reason why the fat added to biscuits and pastries is called shortening.

Mary Queen of Scots

Today, shortbread is made from flour, butter and sugar, though other flavourings are added. Caraway was particularly popular; Mary Queen of Scots was particularly fond of them. Other extra ingredients included almonds and citrus fruits like this 18th century recipe from Mrs Frazer:

Take a peck of flour…beat and sift a pound of sugar; take orange-peel, citron, and blanched almonds, of each half a pound, cut in pretty long thin pieces: mix these well in the flour; then make a hole in the middle of the flour, put in three table-spoons of good yeast; then work it up, but not too much…roll out; prickle them on top, pinch them neat round the edges, and strew sugar, carraways, peel, and citron, on the top. Fire it…in a moderate oven.

In George Read’s 1854 book The complete biscuit and gingerbread baker’s assistant, there are fewer ingredients, but includes eggs for some reason:

1 ¼ lb. of flour, ½ lb. of sugar, ½ lb. of butter, 3 eggs, ¼ oz. of volatile salts…a little essence of lemon

FYI: Volatile salts were smelling salts, that could also be used to leaven dough.

Shortbread usually comes in three different forms: small round biscuits, fingers or large rounds. To make the fingers, dough is cut into a large rectangle and the fingers are scored with the back of a knife so they can be broken up easily after cooking. A pattern made with fork marks is always made too.

To make large rounds, the dough is pressed into a round earthenware mould or a tart tin to make petticoat tails. When making the petticoat tails, the dough is scored into triangular slices like a pizza. The term petticoat tails comes not from the French petites gatelles (‘little cakes’) as many think (though Scottish cuisine did have more in common with French food than English food during the reign of Mary Queen of Scots), but from the term petticoat tallies – the name of the triangular pattern used to make bell hoop petticoats like Elizabeth I would have worn.

You can still buy the earthenware moulds – I’ll be buying one when I move back to England later in the summer.

Basic shortbread

This recipe makes enough for two petticoat tails rounds made in a seven inch tart tin. It’s hard to say how many biscuits or fingers – it depends on how wide and thick you make them. The important thing is to take them out before they start to brown.

To achieve a nice melt-in-the-mouth crumbliness use cornflour as well as normal plain flour to make your shortbread. Somewhere between a 1:1 and a 3:1 ratio of plain flour to cornflour works well. You don’t have to do this; they are still good with just good old plain flour.

6 ounces flour mix

4 ounces salted butter cut into cubes

2 ounces icing or caster sugar, plus extra

extra caster sugar

Rub the butter into the flour using fingers, pastry blender, food mixer or processor; be careful not to overwork things though if you’re using a food processor – shortbread dough doesn’t like being handled too much. Stir in the sugar and with your hand bring everything together to make a pliable dough – it’ll feel like it won’t form a dough at first, but as your hands warm it will.

Now you can roll or press out your dough into whatever shape you like and then place in the fridge for 20-30 minutes to harden:

For petticoat tails you are best diving the two into two halves and pressing the dough into your fluted flat tin. Score lines to mark out the slices, using a ruler if you want to be really precise. Make a nice pattern with a fork.

For fingers roll out the dough to half an inch thickness into a vaguely rectangular shape. Use a knife and a ruler to cut out a large rectangle and then score the lines with your ruler and knife, making patterns with your fork prongs.

For biscuits you can really do whatever you like; thick, thin, round, square. I think a little under half an inch is a good thickness. Cut out the biscuits and make your all-so-important fork marks.

Heat the oven to 180⁰C (350⁰F). Place the biscuits onto a baking sheet lined with greaseproof paper. Sprinkle with the extra sugar and bake until cooked but before any signs of browning. Petticoat Tails and fingers take about 15 minutes, individual biscuits can be variable, but usually about 12-15 minutes.

Variations:

For lemon shortbread add the zest of one lemon when you add the sugar, and for almond shortbread add 5 or 6 drops of almond extract. If you want to try it with caraway, sprinkle in 2 teaspoons of caraway seeds at the same time you add the sugar.


If you like the blogs and podcast I produce, please consider treating me to a virtual coffee or pint, or even a £3 monthly subscription: follow this post for more information.


50 Comments

Filed under baking, Biscuits, Britain, Desserts, Festivals, food, history, Recipes, Scotland, Teatime, Uncategorized

Treacle Tart

A classic British nursery pudding, the treacle tart is much-loved. It is probably the ultimate child’s dessert because it is so unbelievably sweet; it makes my teeth hurt just looking at one! That aside, I have never really lost my sweet tooth and I love treacle – meaning golden syrup of course in this case (see here for a post on treacle). Treacle tart was very popular with poorer families – the two main ingredients being bread and treacle – no expensive fruits and spices here.

The pudding itself as we know it has only been in existence since the late nineteenth century since golden syrup was invented in the 1880s. However, the earliest recipe I have found for a treacle tart actually dates to 1879 – before the invention of golden syrup! The recipe is by Mary Jewry and is a tart made up of alternating layers of pastry and treacle. The treacle here is black treacle, and this highlights the problem in researching the origins of this pudding; treacle meant any viscous syrup that was a byproduct of sugar refinery and specifics are not always pointed out, even after golden syrup became popular. The other problem is the recipe Mary Jewry gives is nothing like the beloved treacle tart from our childhood.

 The terrifying Childcatcher from Chitty Chitty Bang Bang

coaxing the children with shouts of  “treacle tart! All free today!”

Shudder.


Prior to the 17th century, treacle was used as a medicine; it was considered very good for the blood and was therefore used in antidotes to poisons. It starts cropping up in recipes for gingerbread in the mid-18th century. Jane Grigson mentions a gingerbread recipe from 1420 in her book English Food where spices and breadcrumbs were mixed together with plenty of honey to make a gingerbread that seems pretty similar a modern treacle tart, but without the pastry. Heston Blumenthal in his book Total Perfection also mentions a 17th century ‘tart of bread’ where bread and treacle are mixed with bread, spices and dried fruit and baked in an open pastry shell. Then just to complicate things further, Jane Grigson mentions that the predecessor to the treacle tart is the sweetmeat cake – again a 17th century invention – that uses candied orange peel, sugar and butter as a filling and no treacle or bread whatsoever!

All this confusing history waffle is giving me a headache. Here’s the recipe that I use for a treacle tart. It is adapted from Nigel Slater’s. I like it (and I have tried several recently) because it has a lot more bread in it than most other recipes – treacle tart should be chewy with a hint of   and must hold its shape when cut, many recipes fail in this respect. I use brown bread crumbs – it gives a good flavour and increases the chewiness level a little further.

There’s a pound and a half of golden syrup in this tart so the sweetness really needs cutting with some lemon juice and zest, and if you like, a tablespoon or two of black treacle; it’s not just a nod to treacle tarts of the past, its bitterness really does tone down the sweetness. This tart makes enough for ten people I would say. Be warned – if you go for some seconds, you may fall into some kind of sugar-induced diabetic coma…


If you like the blogs and podcast I produce, please consider treating me to a virtual coffee or pint, or even a £3 monthly subscription: follow this link for more information.


For the pastry

4 oz salted butter or 2 oz each butter and lard cut into cubes and chilled

8 oz plain flour

3 tbs chilled water

For the filling

1 ½ lbs golden syrup

2 tbs black treacle (optional)

juice and zest of a lemon

10 oz white or brown breadcrumbs

The pastry is a straight-forward shortcrust. Rub the fat into the flour with your fingertips, a pastry blender, the flat ‘K’ beater of a mixer or blitz in a food processor. Mix in two tablespoons of water with your hand and once incorporated, add the last tablespoon. The pastry should come together into a ball. Knead the dough very briefly so that it is soft and pliable. Cover with clingfilm and put in the fridge to have a little rest for 30 minutes or so.

Now roll out the pastry and use it to line a 9 inch tart tin. Put back into the fridge again – you don’t have to do this step, but sometimes the pastry can collapse a bit when it goes in the oven at room temperature.

Whilst the pastry is cooling, get on with the treacle filling. Treacle can be a tricky customer: weigh it out straight into a saucepan on tared scales and then pour the golden syrup straight in. Add the black treacle if using. Place the pan over a medium heat and stir until it becomes quite runny, then stir in the lemon juice and zest and the breadcrumbs.

Pour this mixture into the lined tart tin and bake in the oven at 200⁰C (400⁰F) for 15 minutes, then turn the heat down to 180⁰C (350⁰F) for another 15 or 20 minutes.

Best served warm with cream, ice cream or custard.

treacle tart

24 Comments

Filed under baking, bread, Britain, Desserts, food, General, history, Puddings, Recipes, Seventeenth Century, Teatime, Uncategorized

Hot Cross Buns

Tomorrow is Good Friday and in England it is traditional to eat hot cross buns, or rather it was;  supermarkets and bakeries bring them out as soon as Christmas is over these days. And why not? They are delicious after all. The reason that Good Friday is the day these buns are traditionally baked goes back to Tudor times, when the sale of spiced buns was illegal, except on Good Friday, at Christmas and at funerals.

The cross, people assume, is to denote the cross upon which Jesus was crucified. This is in fact nonsense; spiced buns with crosses were being produced throughout much of pagan Europe. Spiced buns have always been symbolic in worship and ones adorned with crosses were made for the goddess Eostre (where Easter get its name).

The Pagan goddess, Eostra

So that is the cross taken care of, but what about the hot? We don’t actually eat them hot that often. They were simply called cross buns, until that famous nursery rhyme was written sometime in the eighteenth century:

Hot cross buns, hot cross buns!

One ha’penny, two ha’penny, hot cross buns!

If you have no daughters, give them to your sons,

One ha’penny, two ha’penny, hot cross buns!

What if you have neither sons nor daughters? I suppose you eat them all to yourself like the miserable old spinster you are…

Ever since I started baking my own bread, I have sworn never to buy it again as it is just so delicious. Bought buns – like bread – are just shadow of their former selves, says Jane Grigson: ‘Until you make spiced hot cross buns yourself…it is difficult to understand why they should have become popular. Bought, they taste so dull. Modern commerce has taken them over, and, in the interests of cheapness, reduced the delicious ingredients to a minimum – no butter, little egg, too much yellow colouring, not enough spice, too few currants and bits of peel, a stodgy texture instead of a rich, light softness. In other words, buns are now a doughy filler for children.’

The recipe below asks for mixed spice, you buy a proprietary blend of course or make your own. I decided to make my own – simply because I didn’t have any. The good thing about making your own is that you can remove spices you don’t like, and enhance the ones you do. Typical spices are the warm ones: cinnamon, mace, allspice (pimento), nutmeg, cloves and ginger. I also think a little black pepper is good.

Here’s my recipe. It makes between 8 and 12 buns, depending upon how large you want to make them. The piped pastry cross is optional – cutting crosses with a serrated knife is fine, and closer to the original. I used to think the same as Elizabeth David, in that they ‘involve unnecessary fiddly work’, but that’s because I couldn’t get them right, I reckon to have worked it out now.


If you like the blogs and podcast I produce, please consider treating me to a virtual coffee or pint, or even a £3 monthly subscription: follow this link for more information.


Ingredients

500 g strong bread flour

5 g dried, fast-action yeast

10 g salt

60 g caster or soft dark brown sugar

1 tsp mixed spice

50 g softened butter

250 ml warm milk, or half-and-half water and milk

1 egg

100 g dried fruit (currants, raisins, sultanas, etc.)

25 g candied peel

For the crosses:

50g strong white flour

70-80 ml water

For the glaze:

60g sugar

70 ml water

Mix together the flour, yeast, salt, sugar and mixed spice in a bowl, then make a well in the centre. Beat an egg into the milk, and pour it into the well, adding the butter too. If you have an electric mixer, use the dough-hook attachment and mix slowly until everything is incorporated, then turn the speed up a couple of notches and knead for around 6 minutes. The dough should be tacky, glossy, smooth and stretchy. If you don’t have one, get stuck in with your hands and knead by hand on a lightly-floured worktop. It’s a very sticky dough at first, so it’s a messy job, but it will come together.

Grease a bowl, tighten the dough into a ball, pop it in and cover the bowl with cling film or a damp tea towel. Leave to prove until doubled in size – this can take anywhere between 1 and 3 hours, depending upon ambient temperature.

Knock back the dough to remove any air and mix in the dried and candied fruits – again, either by using your hands or your dough hook. Divide the dough into 8, 10 or 12 equally sized pieces and roll up into very tight balls on a very lightly-floured board. This is done by cupping your hand over a ball of dough and rolling it in tight circles, takes a little practise, but is an easy technique to learn.

Line a baking tray with greaseproof paper and arrange the buns on it, leaving a good couple of centimetres distance between each one. Cover with a large plastic bag and allow to prove again until they have doubled in size.

Meanwhile, make the cross dough. Simply beat the water into the flour to make a loose, but still pipeable batter. Put the batter in a piping bag (or freezer bag, with a corner cut away) and make your crosses. If you like, just cut crosses in the tops.

Put the tray in a cold oven, and set it to 200⁰C and bake for 20 to 25 minutes (you get a better rise if they go into a cold/just warm oven, if you have to put them into a hot over, knock 5 minutes from the cooking time).

When they are almost ready, make the glaze: boil the sugar and water to a syrup and when the buns come out of the oven, brush them with the glaze twice.

Eat, warm or cold with butter. To reheat them, bake in the oven for 10 minutes at 150⁰C.

22 Comments

Filed under baking, bread, Britain, Easter, Festivals, food, General, history, Recipes, Teatime

How to Make an Everyday Loaf

All that bread wants is time and warmth.”

After writing a post on bread a while ago, I thought I should follow it up with some bread recipes. I was going to go in a chronological order and find the earliest recipe for bread I could, but then I thought against that idea; a recipe for a delicious, but basic loaf is what we need to start with.

I try to bake all my own bread these days, but admittedly, I don’t eat a large amount of it, making a loaf every couple of weeks. However, I do believe that baking your own bread several times a week is possible and not the huge pain the arse you might expect. For many years, I tried to bake bread and it always had good flavour, but it was always a little tough or stodgy. I was rather disappointed thinking one had to practise, ptractise, practise to get the knack. It turns out that I was doing everything correctly, the only ingredient I was missing out was time

…and this is the problem with today’s factory-made bread; it is mass produced to the extreme, hurredly leavened, containing additives that preserve, emulsify and rise. The slices are always far too light and fluffy – “flabby” is the word I think Jane Grigson used. Of course, these days there are bakery sections in our supermarkets, but Elizabeth David was very suspect of them even in 1977.

Now don’t be thinking me a big old snob: I actually like some factory bread, and much instore bakery bread is very nice and crusty, but having realised I can make bread that is better tasting and so much cheaper, I can’t go back. Admittedly, it doesn’t last as long in the bread bin, but then bread shouldn’t!

Here is the recipe I use for a basic loaf – it requires little elbow grease, unless you have a food mixer with a dough hook. The best thing is that it should be made the evening before you actually want to eat it, so there’s no getting up at the crack of dawn. It contains only four ingredients too: flour, water, salt and yeast. There is the option of adding a little fat to keep it fresh and soft an extra day. You can enrich the bread by swapping some or all of the water for milk, but I think there’s no need. There are so many variations on the theme and as I discover them and try to perfect them, I shall add them to the blog.

It is very important to use the appropriate amount of water. A cob loaf which just sits on a baking tray needs 60% water per volume, in other words 600 g of water for every 1000 g of flour, any more and you risk it spreading out as it proves and bakes. This loaf is going to be baked in a tin, so we can add a little more water – 62.5% for white bread flour. If you are using a mixture of wholegrain strong and white strong, you will need a little more water, around 65% water.


If you like the blogs and podcast I produce, please consider treating me to a virtual coffee or pint, or even a £3 monthly subscription: follow this link for more information.


You will also need a 2 pound, or 900 g loaf tin.

Ingredients:

400 g strong white bread flour, or a mixture of at least half white, and a wholegrain bread flour

8 g salt

4 to 5 g grams of dried instant yeast

250 – 260 g warm water

25 g oil or very soft butter

Mix the flour(s), salt and yeast in a bowl, make a well and add the oil or fat if using, then pour on the water. Mix together using your hand or a wooden spoon. If you have a mixer with a dough hook, just mix on a slow speed until it comes together to form a dough.

Important note no. 1: try to make the dough more on the wet side, rather than the dry; just keep your hands well-floured so you can handle the dough. Work it for a few minutes whilst in the bowl. Of course, if you have a mixer with a dough hook, you can simply use that on a slow to moderate speed to mix and briefly knead it.

You’ll have a sticky dough that is hard to work with, but don’t worry. It is now time to knead the bread. You can sprinkle a little flour or spread a little oil on the work surface to help if you like, but really you don’t need anything. Use whichever you might prefer. I tend to go for a light sprinkle at the beginning of the kneading process.

To knead by hand, push out the dough with the heel of your hand, and then roll it up, give it a quarter turn and repeat. The dough will quickly start to become more stretchy and smooth, and soon you’ll find you don’t need any oil or flour to knead it.

Before rising…
….after!

After around 10 minutes, you’ll feel the dough suddenly get more difficult to knead; it’s a bit like when you chew gum too long and it suddenly becomes more effort to chew it. 

Using a dough hook, turn up the speed a couple of notches and mix around 6 minutes. Keep guard though, your mixer may tend to go for a dance or walk over your worktop and off the edge!

Form the dough into a tight ball by tucking it under itself. Pop it into a grease bowl, cover with a plastic bag or damp tea towel and leave it to rise in a warm place.

Important note no. 2: Do not leave it near a radiator or anything like that – unequal heat will not do the job – you need ambient warmth. I let my dough rise in my airing cupboard. If you don’t have a warm place, do not worry for the quickly-metabolising yeast will begin to generate its own heat.

The stretchy dough after its first prove

When it has doubled in size, knock it back, i.e. press the air out with your fingertips – a very satisfying thing to do. It should be squidgy and much more elastic. Make a ball with the dough by pushing the edges into the centre. Once it is round, stretch the circle into an oval shape, long side toward you.

Now roll the dough towards you from the far end, tucking in everything tight all around, like tucking in your bed. This ensures that the seam is at the bottom of the bread and so that the top is nice and tight.

Cover with a plastic bag and allow to prove again, until doubled in size – it should have risen above the rim of the tin and should spring back when pushed by your finger.

Sprinkle with flour and make some cuts on the crust so that it can unfurl as it bakes – I go for diagonal slashes. It’s important to do it quite quickly and in one direction. A sharp serrated knife like a bread knife is best for this.

There are many methods for baking your bread, and some require a lot of messing around with trays of hot water and crazily-high temperatures. I do something much less dramatic: I put the bread in a cold oven and then turn it on – you get some extra rise without faffing about altering temperatures and giving yourself steam burns. If you have to use a hot oven, spray the dough with water to stop it forming a crust too early.

Set the oven to 220-230⁰C and bake for 40 minutes. When ready, the loaf will sound hollow when knocked with a knuckle.

The seam you made can still be seen on the underside of the loaf

Important note no. 3: do not eat the bread when hot – try to resist! The still-hot steam can make it stodgy.

There it is – sorry it’s rather long, but hopefully it is a good guide to baking proper bread. If anyone has any extra tips, let me know…

16 Comments

Filed under baking, bread, food, Recipes, Teatime

Decorating the Christmas Cake

Once your Christmas cake is nicely matured and well-fed on brandy, it is time to decorate the bugger. In my opinion it is best to go all-or-nothing; either don’t decorate at all or go crazy. Traditionally, in England at any rate, you need a layer of marzipan and a layer of royal icing. Though I have seen recipes that have a bakeable marzipan and no icing, which I must admit is attractive, but I keep it traditional, even though I am not really bothered about the icing. No, I do it simply for tradition’s sake.

I gave the Christmas cake recipe that I use in the previous post, so if you have made one or have a bought undecorated one that you want to put your own stamp on, I have recipes for marzipan and for royal icing too. Don’t forget to add some festive bits and bobs too.

Marzipan

Marzipan is essentially a paste made of ground almonds and sugar and it found its way in Europe from the Middle East via the Crusades. It was the Italians – specifically the Milanese – that really took to the stuff, refining the techniques to produce a very high quality product that was excellent for making into extravagant sculptures. Leonardo da Vinci was quite despondent after making some amazing and intricate marzipan sculptures for the Milanese court as he ‘observed in pain that [they] gobble up all  the sculptures I give them, right down to the last morsel.’

Aside from being used as a sculpture material, marzipan also became a popular sweetmeat used by chocolatiers and bakers. Some of my favourite cakes use marzipan: Battenburg, stollen and simnel cake. The Christmas cake got its layer of marzipan because the Twelfth Night cake – traditionally covered in it – was banned by the Puritan and Lord Protector of England, Oliver Cromwell as too frivolous, so people added the marzipan they loved so much to their Christmas cake instead.

Here’s the recipe I always use these days. What I like specifically about this recipe is that it is not too sweet, which I think the bought stuff always is. Also, when you make your own marzipan, it has a much better texture as well as flavour. You can add extra things to the mixture if you like, such as the grated zest of an orange, or a couple of teaspoons of orange flower water or rose water.

140 g icing sugar

90 g caster sugar

220 g ground almonds

1 beaten egg

1 tbs apricot jam

1 tbs water

Sieve the icing sugar into a large bowl and stir in the caster sugar and almonds. Stir in the beaten egg and lemon juice to form a paste. Knead the marzipan on a surface floured with icing sugar. Easy. Wrap and allow to chill in the fridge for a few hours.

To cover the cake with it, you first need to slice the top of your cake off so that it is a nice, flat surface. I always like that bit because I get to try the cake.

Next, turn it upside down and pop it on a cake base or plate. Warm up the jam and water in a pan and paint the whole cake with the glaze.

On a sheet of greaseproof paper, roll out a little over half of the marzipan into a round shape that is just a little larger than the cake itself. The greaseproof paper makes it easier to roll out, but you can use an icing sugar dusted worktop instead. Use the cake tin as a template and cut a circle.

Pick up the marzipan still stuck to the paper, place it on top of the cake and peel off the paper.

Next, take the remaining third of the paste and roll that out into strips the same height as the cake and secure them to the cake. Press the edges together as you go as well as any cracks that may appear.

You need to leave the cake for a couple of days to dry a little before adding the icing (should you want to).


If you like the blogs and podcast I produce, please consider treating me to a virtual coffee or pint, or even a £3 monthly subscription: follow this link for more information.


Royal Icing

Royal icing is the classic icing for the Christmas cake – it is ‘royal’ because it was the British Royal Family that used in for their wedding cakes, and naturally if the Royals did it, then we copied it. Icing had been around since the eighteenth century; before that, there wasn’t the technology to refine the sugar appropriately. The first icing was similar to royal icing, it was spread over the top of the cake but then the cake was returned to the oven to set hard. The final result was a nice flat, shiny surface like that of a frozen lake, hence we call the stuff icing. Elizabeth Raffald mentions it in The Experienced English Housekeeper (1769) – the first written recording of the word.

Royal icing is the most popular icing because it can be piped and coloured easily. Plus it is easy to make , which a bonus. Here’s how:

2 medium egg whites

2 tsp lemon juice

500g icing sugar, sieved

Whisk the egg whites until frothy but not yet stiff and then stir in the lemon juice. Add icing sugar to the egg white bit by bit, mixing as you go – an electric beater comes in very handy here, but you can use a wooden spoon if your forearms are up to the job. The icing can be used straight away.

Spread the mixture all over the cake using a palette knife to smooth it out. Dipping the knife in very hot water is a good way of getting the icing super-smooth, but I like it a bit more rough-and-ready. You can reserve some of the icing for piping of course, but that has never really been my thing – I should have a go one time though!

A simple and effective way of decorating the cake is to use the side of a knife to make a nice spiky snow effect. When decorated, leave it for two or three days to set hard.

12 Comments

Filed under cake, Christmas, Eighteenth Century, food, General, history, Recipes, Teatime, Uncategorized

Christmas Cake

Christmas cake, Christmas pudding, mince pies – if you don’t like dried fruit you are in trouble at Christmastime!

When families in the sixteenth century made their Christmas puddings for the big day, they would often use some of the mixture, with the addition of flour and eggs, to bake and eat for Eastertime. These were obviously rather rich families. It was liked so much that the rich fruitcake was made for Christmas too. We also dropped it from the Easter menu for some reason.

I used to be of the belief that the addition of the marzipan and royal icing (see here for recipes) came much later when a cake was banned from Christmas. The last day of Christmas is Twelfth Night (the 5th of January) and it used to be traditional to make a Twelfth Night cake that contained almonds and was covered in marzipan. Oliver Cromwell, the Lord Protector of England, and the other Puritans banned the feasting on that special day in the 1640s (he also banned mince pies as well) complaining that there was too much excess. Christmas Day remained a public holiday and some feasting was allowed, so people simply made their Christmas cake and covered that in marzipan instead, and so the Christmas cake was born.

This is sadly untrue. The Christmas cake with its double wrapping of marzipan and royal icing is an 18th century invention – Elizabeth Raffald has the first recipe for a cake such as this, and it was for a ‘Bride’s Cake’, i.e. a wedding cake.

Britain’s biggest ever party-pooper: Oliver Cromwell

You don’t have to cover it with the marzipan and royal icing though, in Yorkshire (my home county) it is popular to eat the Christmas cake with some nice cheese such as Wensleydale or Cheddar instead.

I love Christmas cake, so I thought I would give you the recipe I always use – it is adapted from Jane Grigson’s English Food (click here to see my other pet project) – and it has never failed on me. As I said a couple of posts ago, if you want to eat top-quality food at Christmas, you need to make your own, or spend a fortune at Harrod’s. Plus the cake is made well in advance – I usually make mine 6 weeks before Christmas so it can mature. Once you’ve cooked it, you only have to feed it with a little brandy to make it nice and moist.

This recipe is of course for an English-style Christmas cake; the Scottish, Welsh and Irish have their own versions, all in a similar vein, but with a few differences. I’ll blog about them at some point.

It makes one hefty 8 inch/20 cm cake, for a smaller cake, half the amounts and bake in a 6 inch / 15 cm tin for 2 1/2 hours.

Ingredients:

900 g mixed dried fruit (currants, raisins and sultanas)

125 g of whole roasted almonds (or hazelnuts or walnuts, or a mixture)

125 g chopped candied citrus peel

125 g rinsed glacé cherries quartered or left whole

300 g plain flour

1 1/2 tsp mixed spice

the grated rind of a lemon

250 g salted butter, softened

250 g soft dark brown sugar

1 tsp vanilla extract

1 tbs black treacle (or molasses)

4 eggs

1/2 tsp bicarbonate of soda

1 tbs warmed milk

brandy

Preheat your oven to 140⁰C (275⁰F).

Begin by mixing all the dried fruit, almonds, candied peel and cherries in a large bowl. Next, sift in the flour, turning in and coating the fruit, then mix in the spices and fresh lemon rind.

Now cream the butter sugar in a separate bowl, then mix in the vanilla and black treacle. Beat in four eggs one by one until incorporated, and the mix in the fruit and the flour. For the final stage, dissolve the bicarbonate of soda in the warmed milk, stir it in, and then add enough brandy to slacken the mixture slightly, so that it achieves a dropping consistency – you don’t want a dry cake, now do you?

Line an eight inch cake tin with greaseproof paper and pour the mixture in, hollowing the top a little to compensate for it rising in the oven.

Cover with a layer of brown paper to prevent scorching and bake for 3 to 3 ½ hours. Test it after 3 hours with a skewer. When done, leave to cool in its tin overnight. Wrap in greaseproof paper or foil and keep in an airtight container.

Ideally, the cake should sit for at least a month to mature, but 2 or 3 weeks is also fine. Whilst it sits, you need to feed it with a sprinkle of 2 or 3 tablespoons of brandy, turning the cake each time it is fed.

The cake is ready to eat when sufficiently fed and matured, however, you might want to add a layer of marzipan and royal icing.


If you like the blogs and podcast I produce, please consider treating me to a virtual coffee or pint, or even a £3 monthly subscription: follow this link for more information.


29 Comments

Filed under baking, cake, Christmas, food, history, Puddings, Recipes, Seventeenth Century, Teatime, Uncategorized